When you click on links to various merchants on this site and make a purchase, this can result in this site earning a commission. Affiliate programs and affiliations include, but are not limited to, the eBay Partner Network.
Thanks @PK_Celsior for the original guide which i am modifying for this and @eddie420 for the help and parts
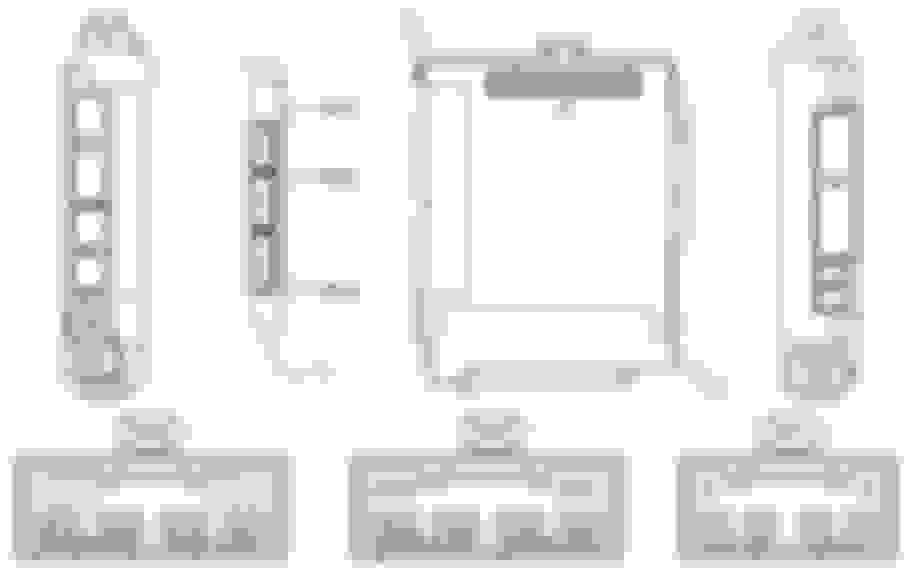
Extra parts used Part# 84140-30360 - Headlamp Switch Part# 85315-30460 - windshield was reservoir (sadly its half the size as the original) Part# 82998-12870 (N28, 5D, and 2A Connector Pins ) x 4 (if you buy on ebay, ask the seller for 1 that is 2' long(for connecting switch to ecu) and the rest can be the normal 6" he advertises. He can also sell you the pin shown below if you send him the pick asking for it, he didn't know the parts number for that)
plus an additional connector to 2B
Relay/Fuse Connections 2B Connector - Pin 3 or 9 (using unknown connector type above)
2A Connector - Pin 15 (same as all the other ECU connectors)
FogLight Switch Connections Ground N28 Connector - Pin 10 -> N28 Connector - Pin 19 I used a t-tap to connect these two
On/Off Function N28 Connector - Pin 11 -> N12 Connector - Pin 27 (switch to ecu)
5D connector - pin 22 -> 2A connector - pin 15 (ecu to relay)
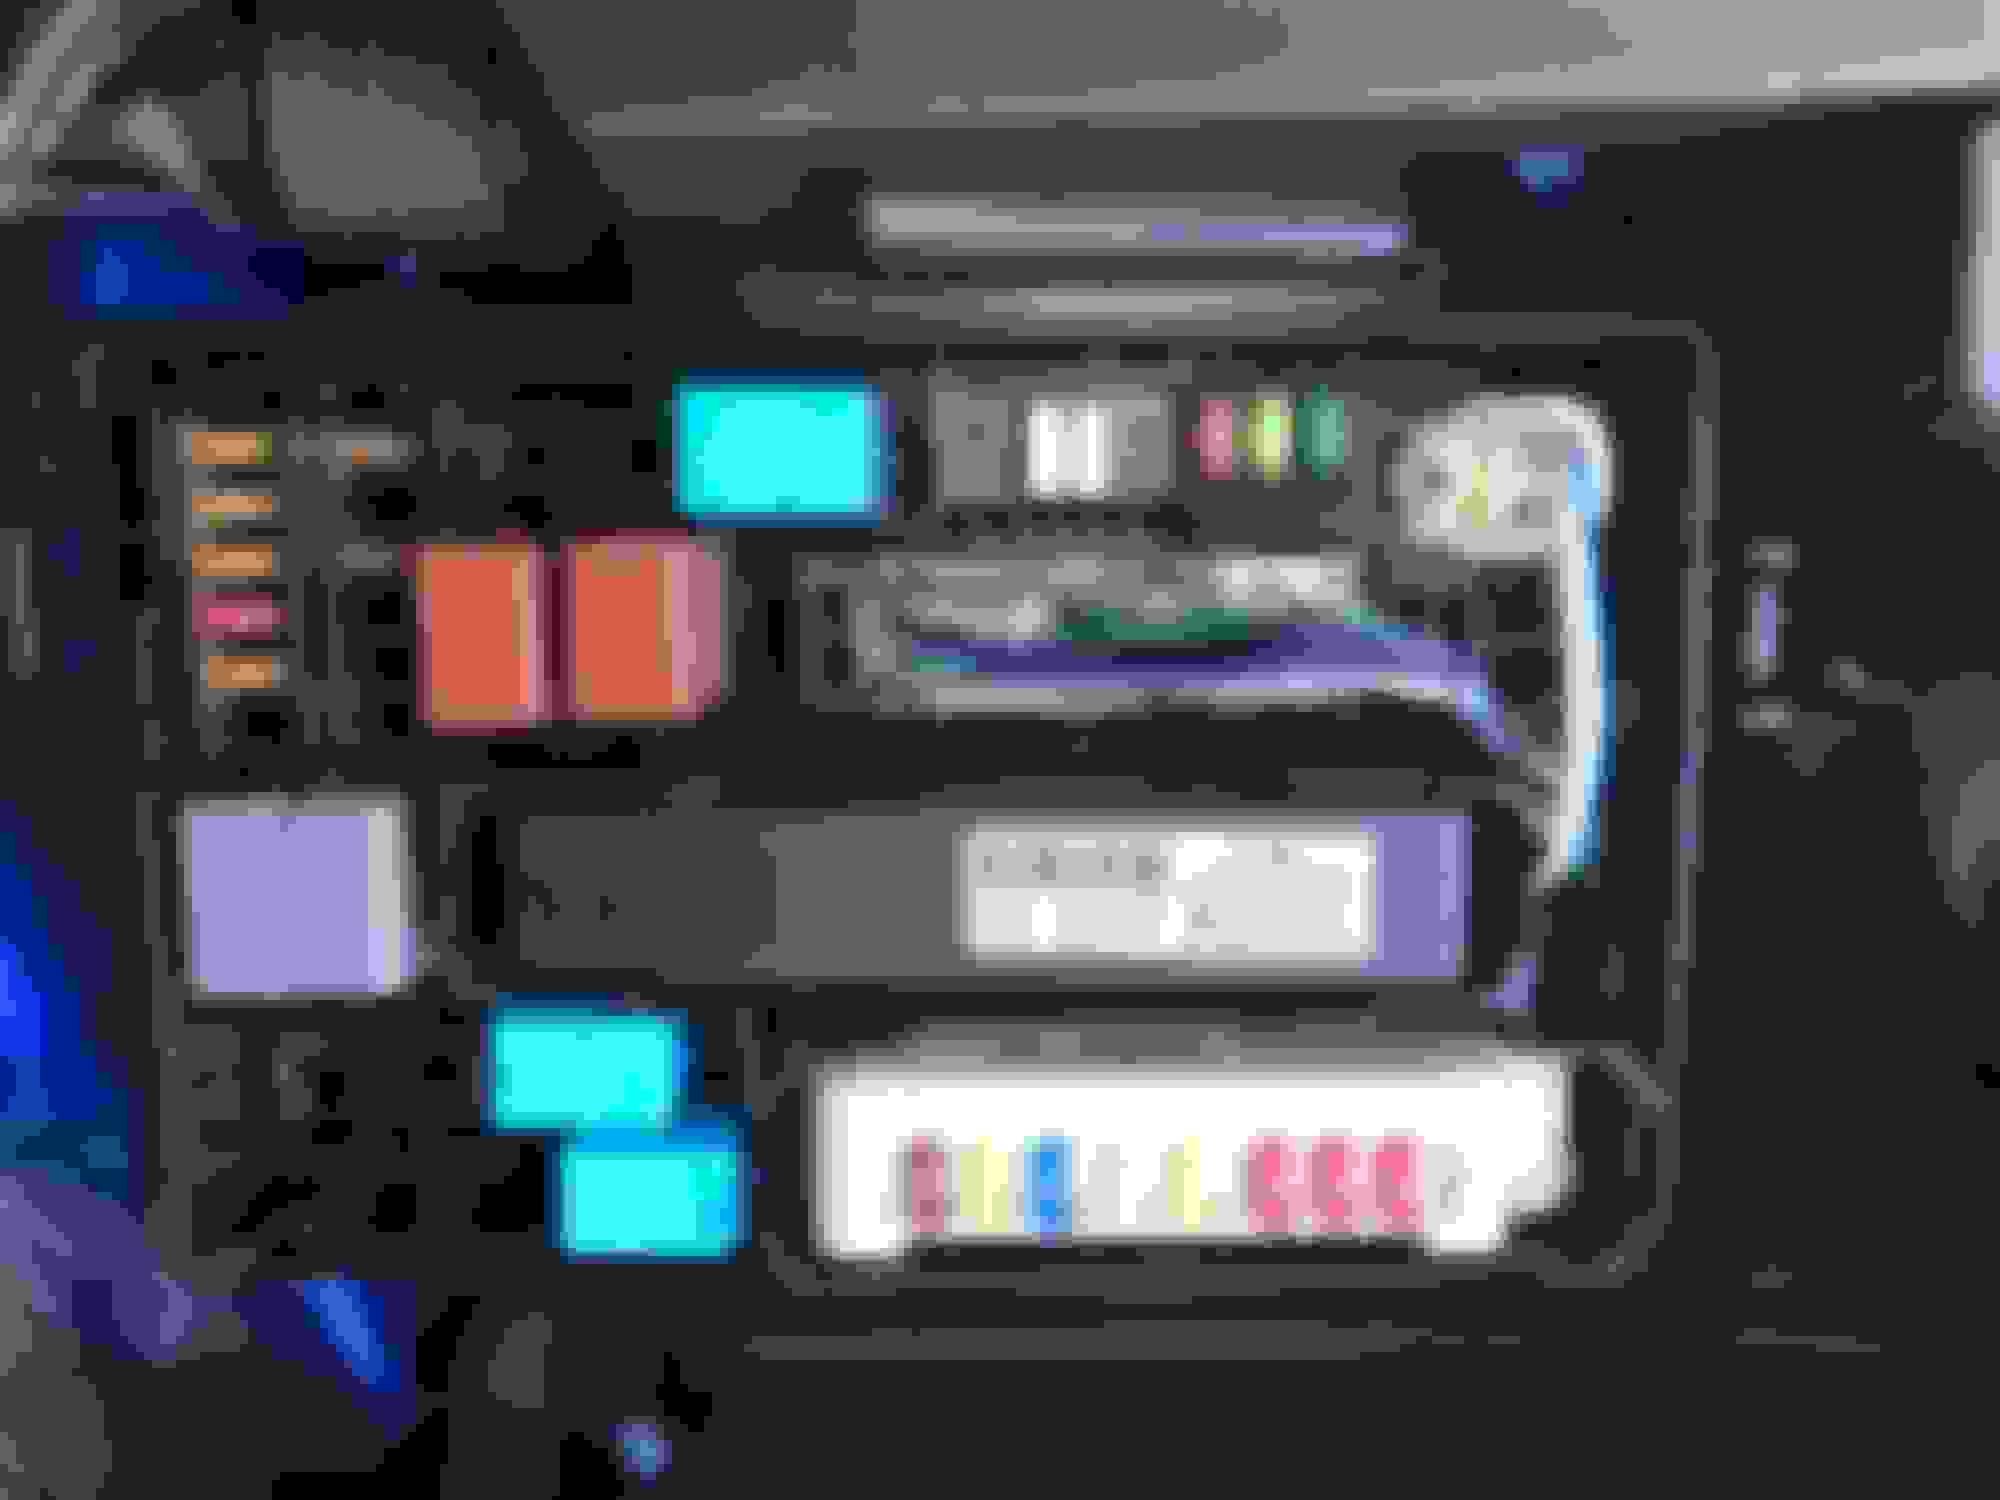
Spot relay fuse box
This will be a similiar relay harness provided in your kit. The red circle indicates the part in which I cut. You will be left with a postive and negative wire going to the left and right plug. The positive wire will go to the 2B Connector to either the 3 or 9 pin while you will ground the negative wire. The alternative would be to use this and send the switch wire to the ecu if you want to use an oem switch and have the dash light work.
Use a thin screw driver on each end of relay integration unit to release it and slowly pull it out. It'll be tight but it pulls out just fine and there will be 3 plugs to unplug. (this is a picture of everything after install so as you can see you can't really tell there are additional wires)
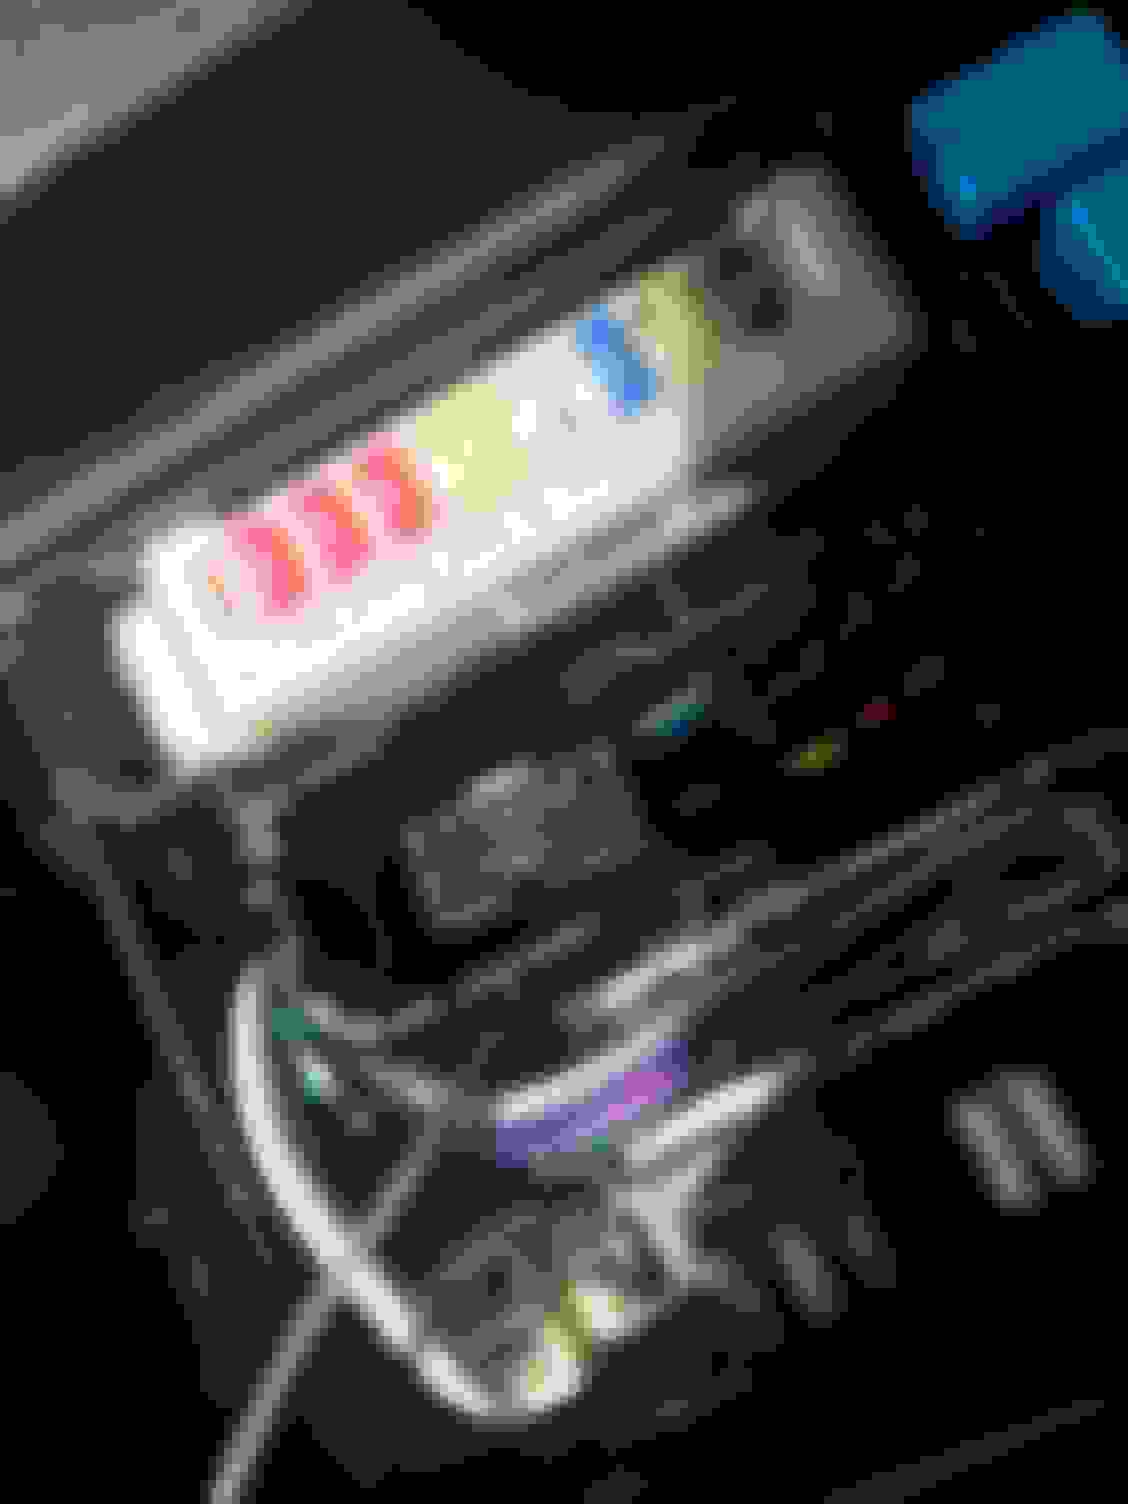
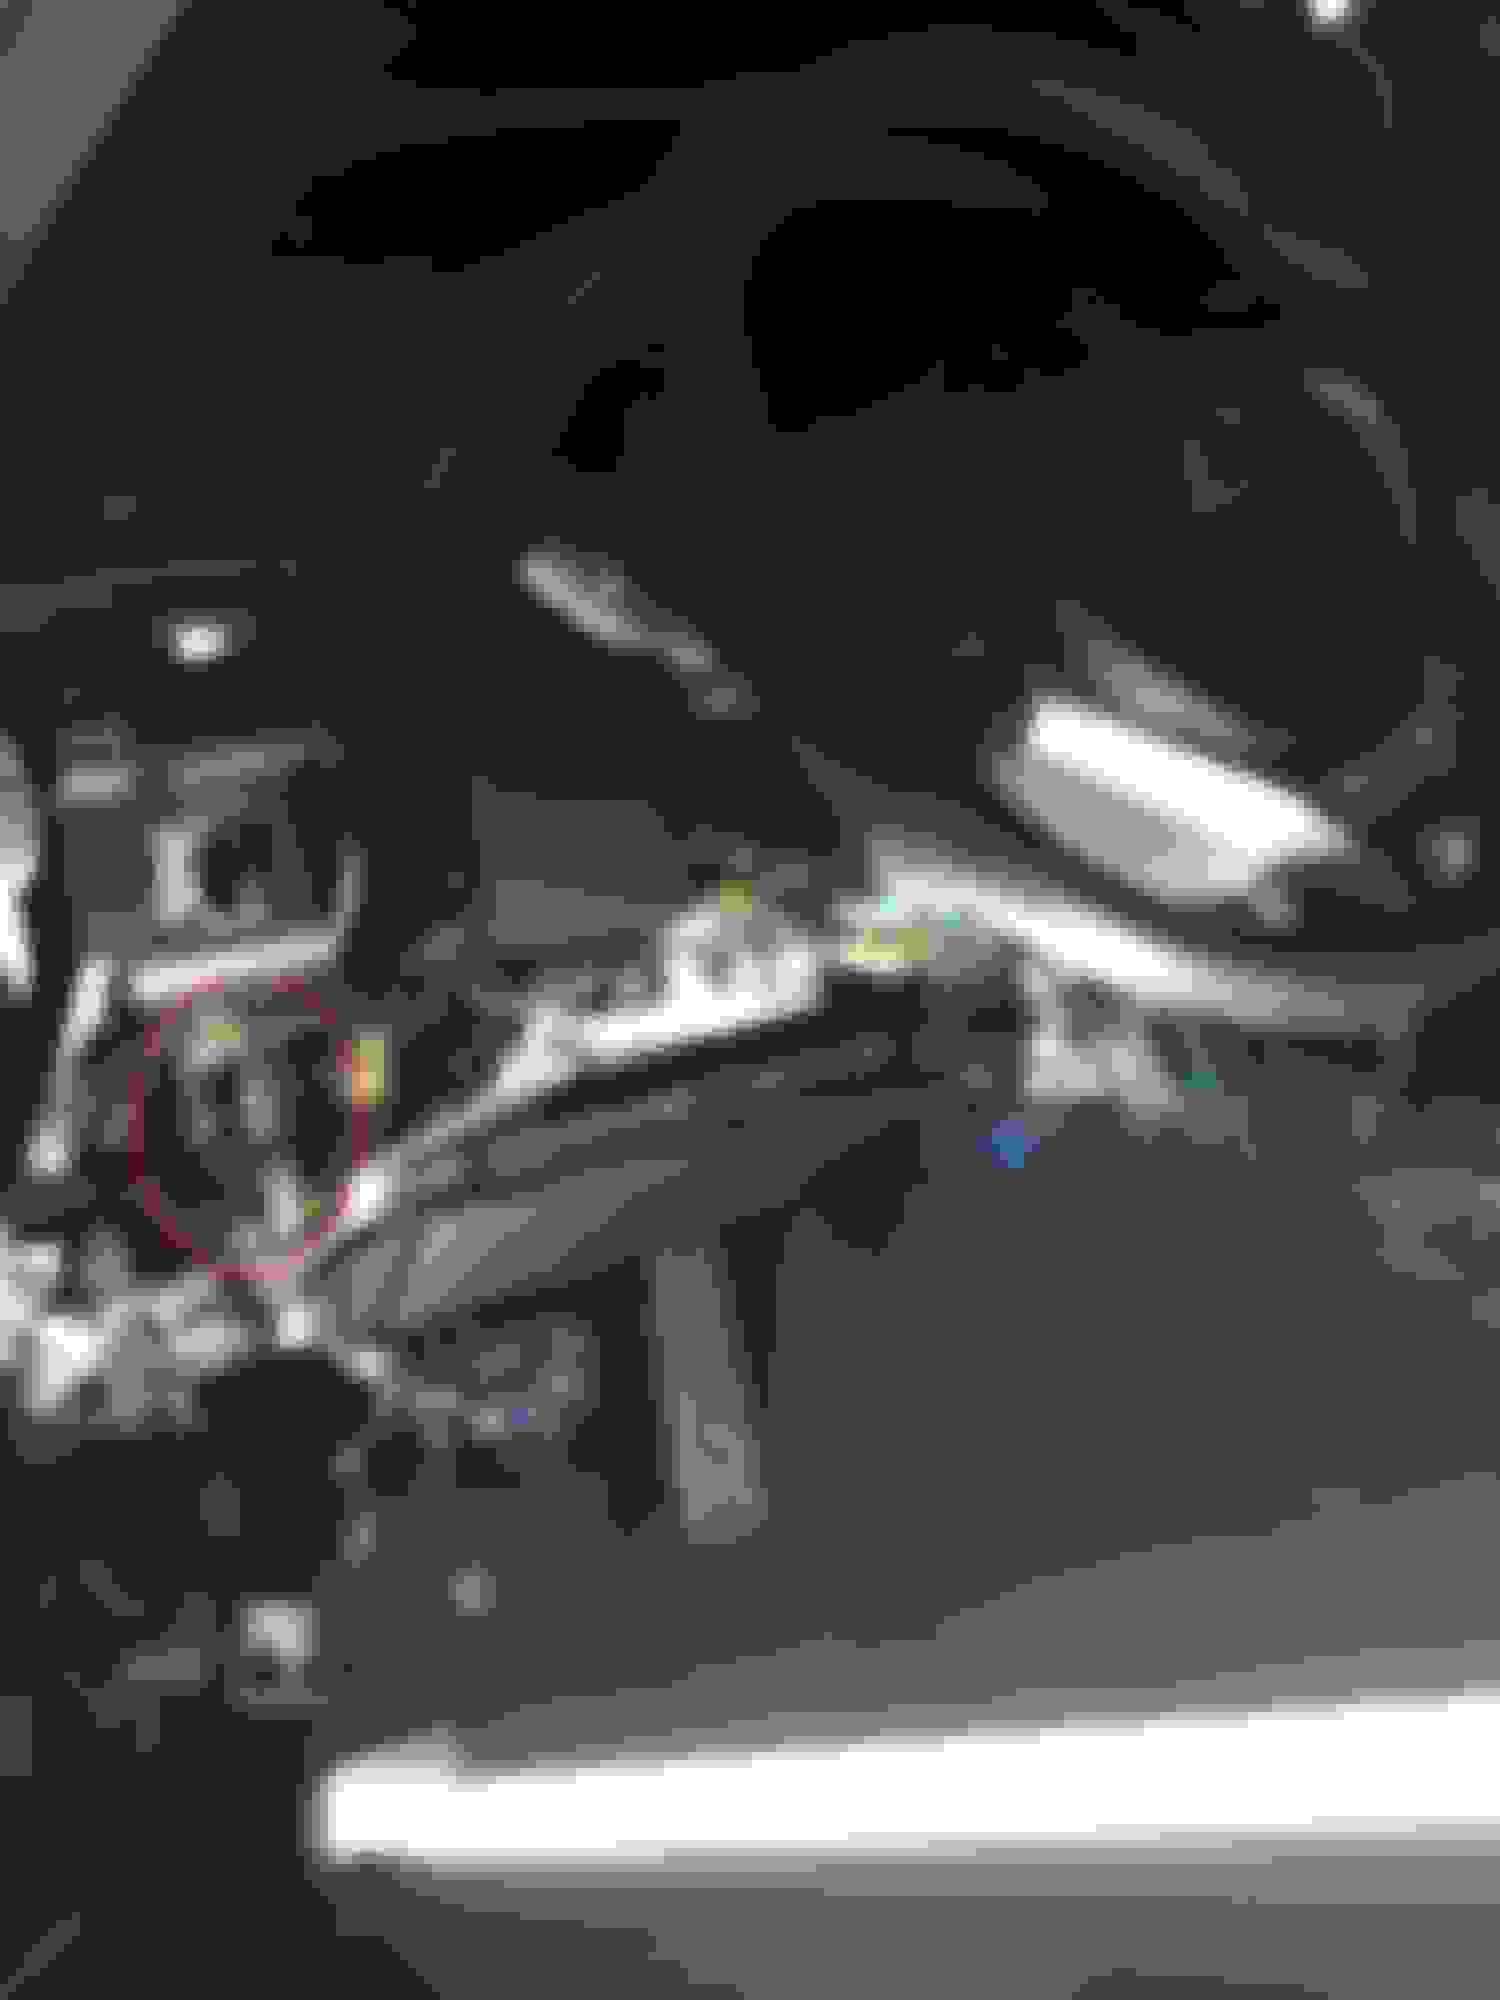
-Circled in red are the 3 and 9 pins on 2B. You only need to use one of these and the connector is the first picture sown that i don't have a parts number and I bought from the ebay guy. he should be able to figure out which one it is if you tell him the connector and show him the connector I posted in the first picture. These connectors are what are missing from the 13-15 that go to the BA2 connector. -The pin circled in green is pin 15 on the 2A connector that you will wire to the main ecu at pin 22 on connector 5D using one of the 82998-12870 wire connectors on each end
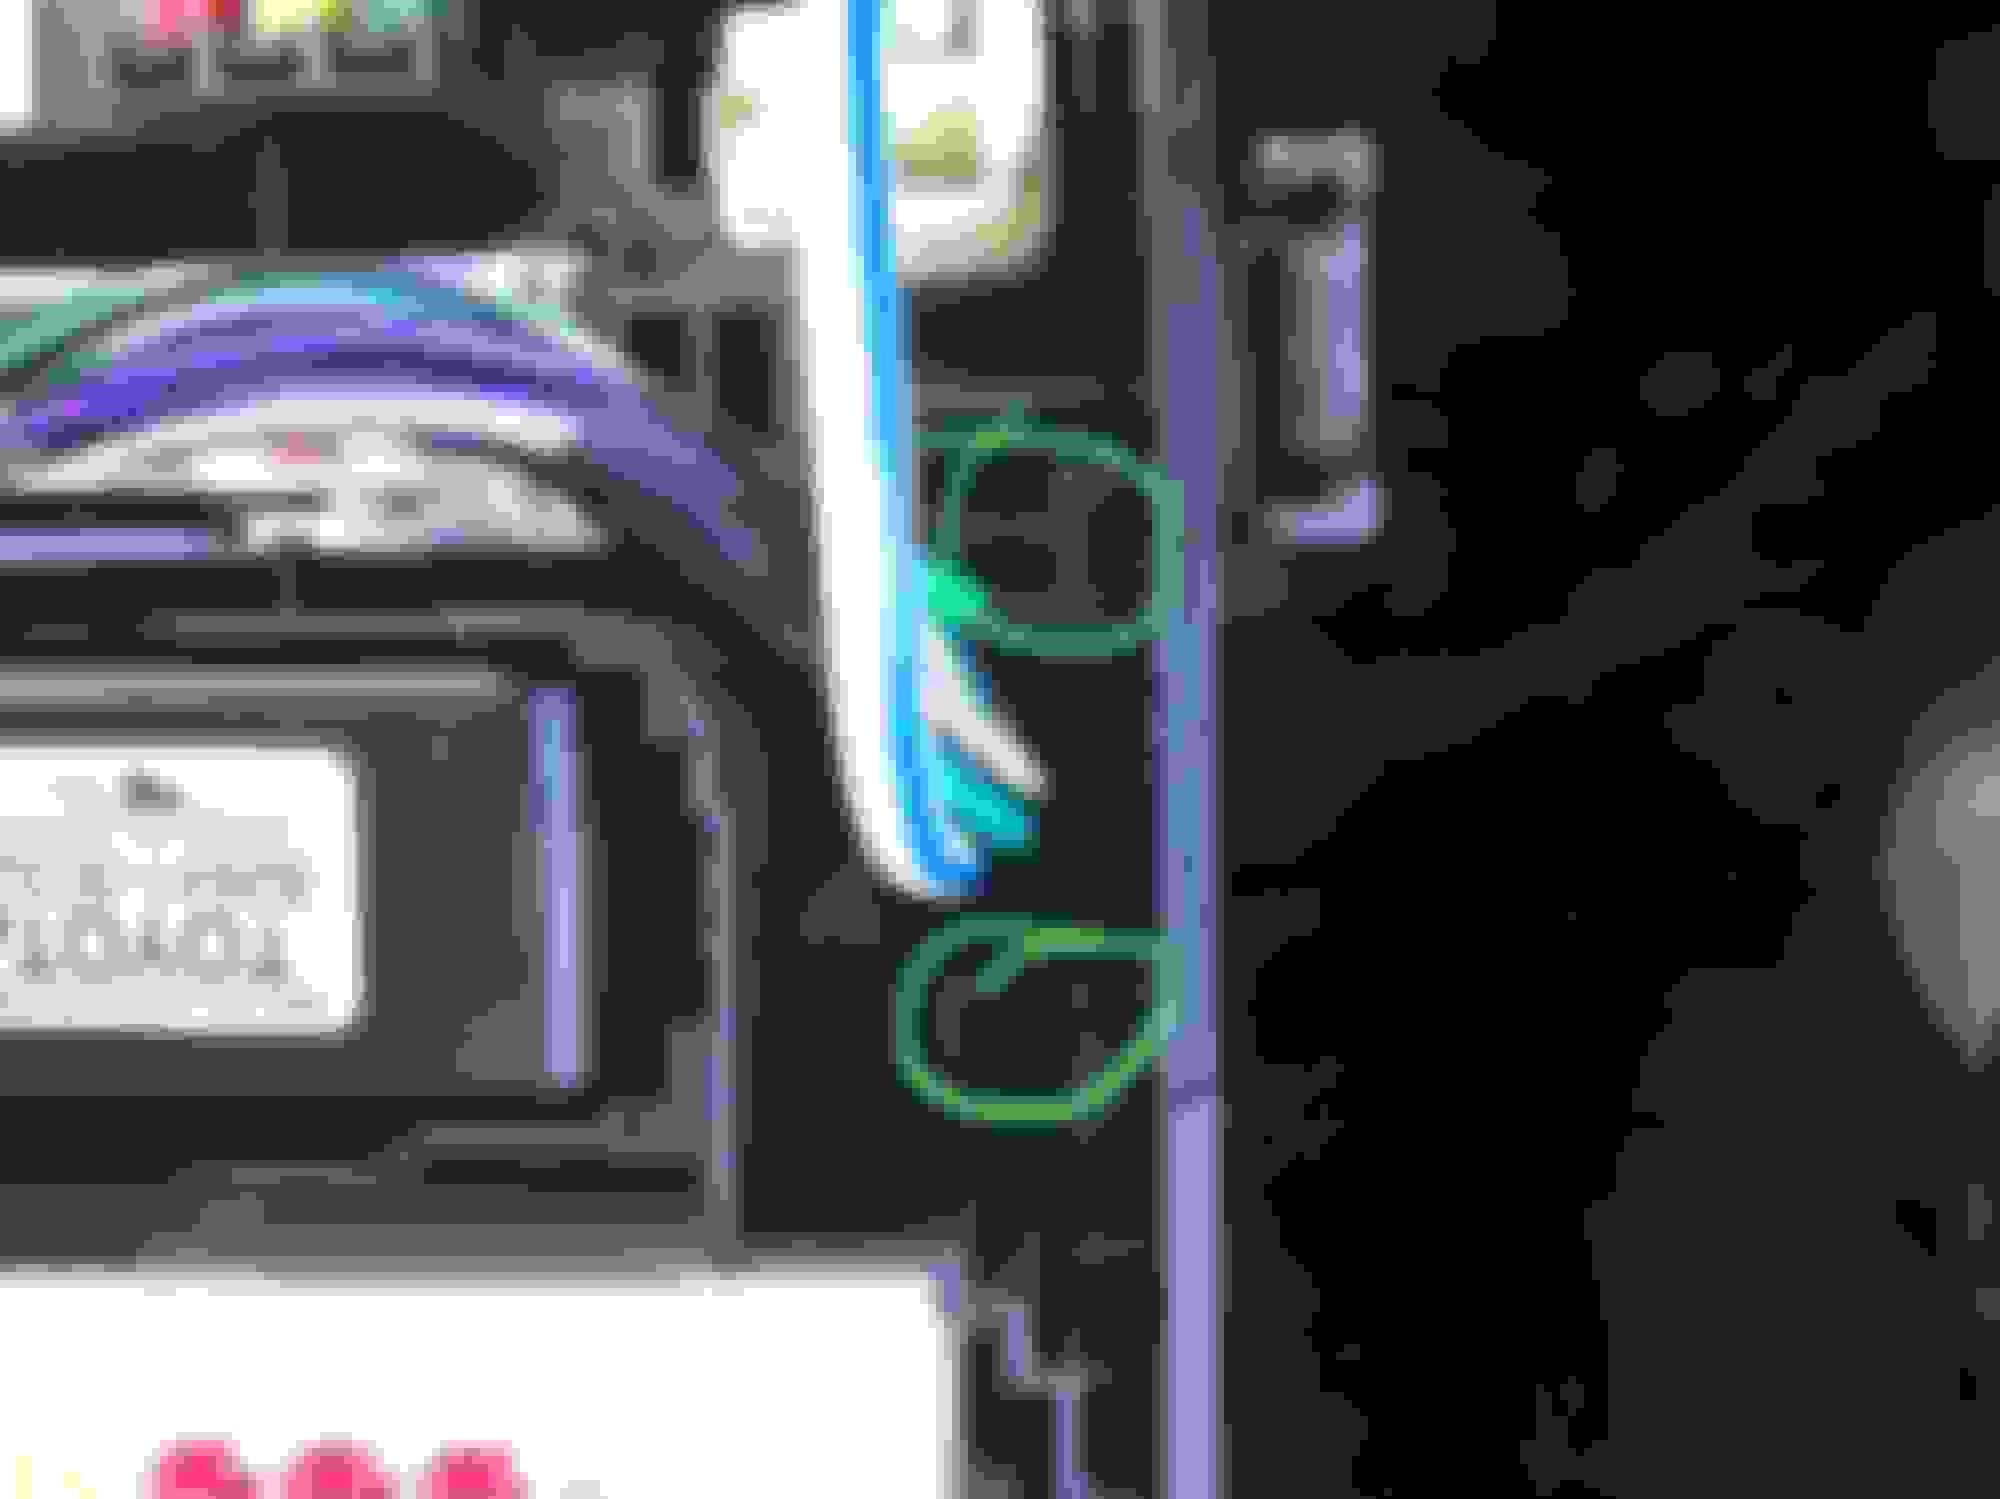
Tothread the the wire into the box you'll have to unscrew this screw in red at the bottom of the relay box and then 1 more at the top. Then it's a matter of releasing tabs around the box so that it'll open up (circle in green).
This is the group of wires on the right side of the box. I have to undo the zip tie and some electrical tape to get the wire from the cabin to go in. The housing it threaded to be snug with the wire thread loom so you'll have to insert the wire where its split. I tried to just thread the wire through the entire bundle but couldn't get it through cause of how tightly its taped up
The black stripped white wire is what is going to the 2B connector and then I threaded that out of the box to the fog lights positive wire of the harness. you will have to separate the relay box in order to thread the wire for connector 2a to connector 5D discretely
Release the green tabs so that you can thread the wire from the harness to the relay box.
When installed you can only see the added wire when pulling back the wires going to the BA2 connector.
Running wire from driver side to passenger side (provided by member 4matador)
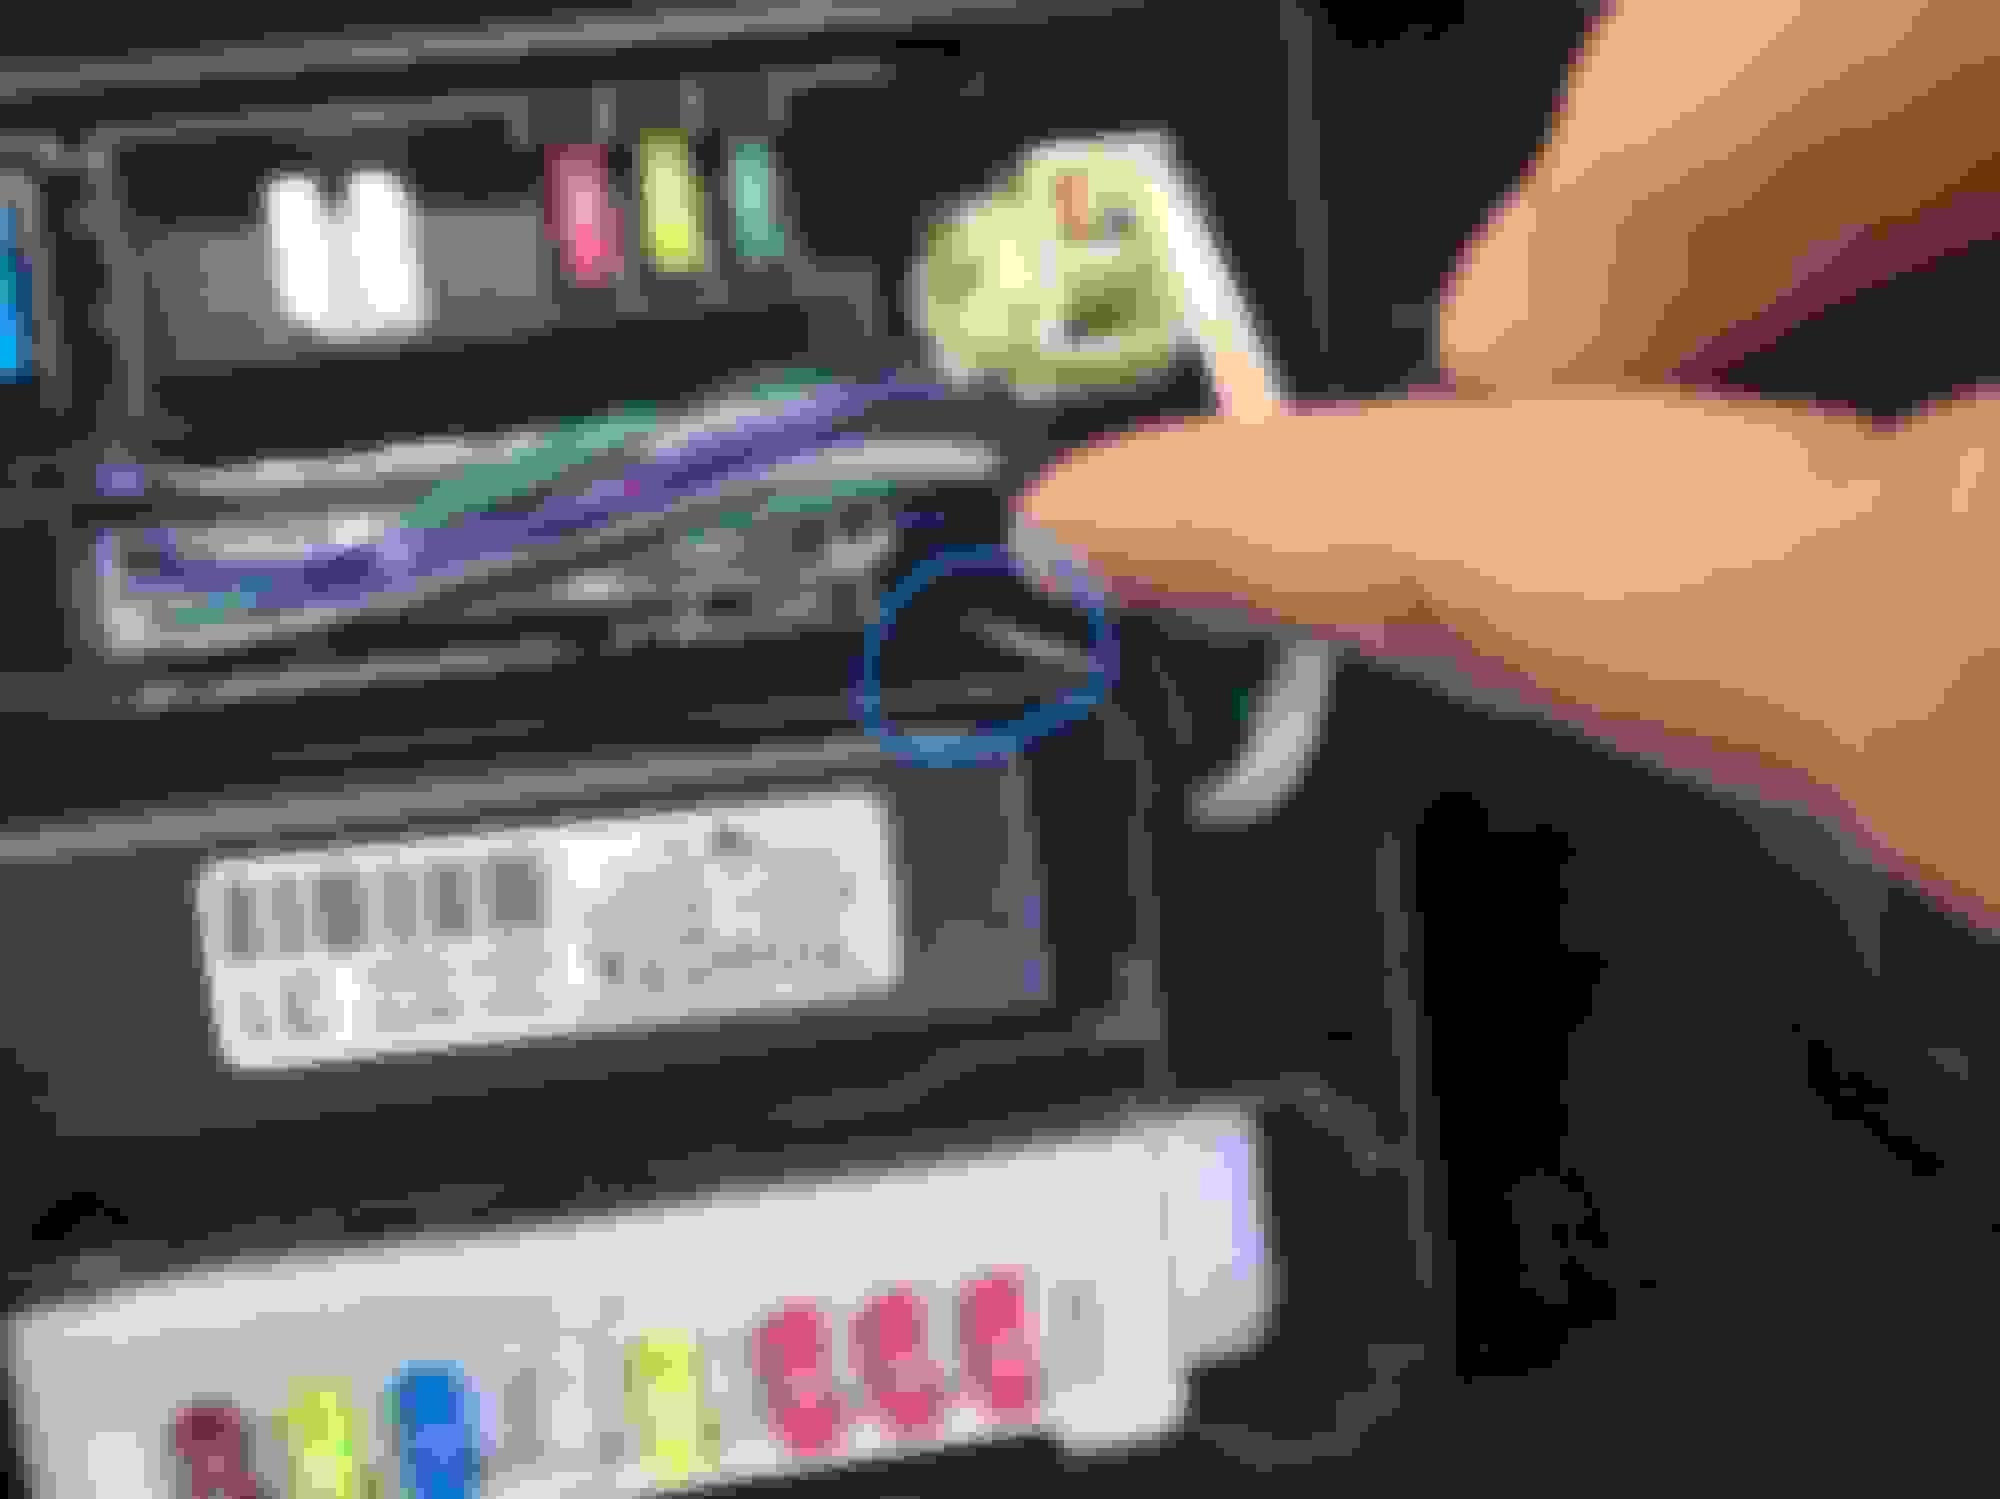
Area to access main body ecu (red circle/behind coin tray)
The spot above the green wire that the pink wire is pointing at is pin 22 of the 5D connector that you will connect to from pin 15 on connector 2A in the engine bay. The rest of the guide should be the same as the 13-15 model year
N12 and 5D Connectors (Main Body ECU or Multiplex Network Body ECU)
I did not bother to purchase a pin for the N12 connector. I ended up pushing in the wire I extended from the foglight switch and zip tieing it down.
pin 27 is the blank slot under the green wire and above the red.
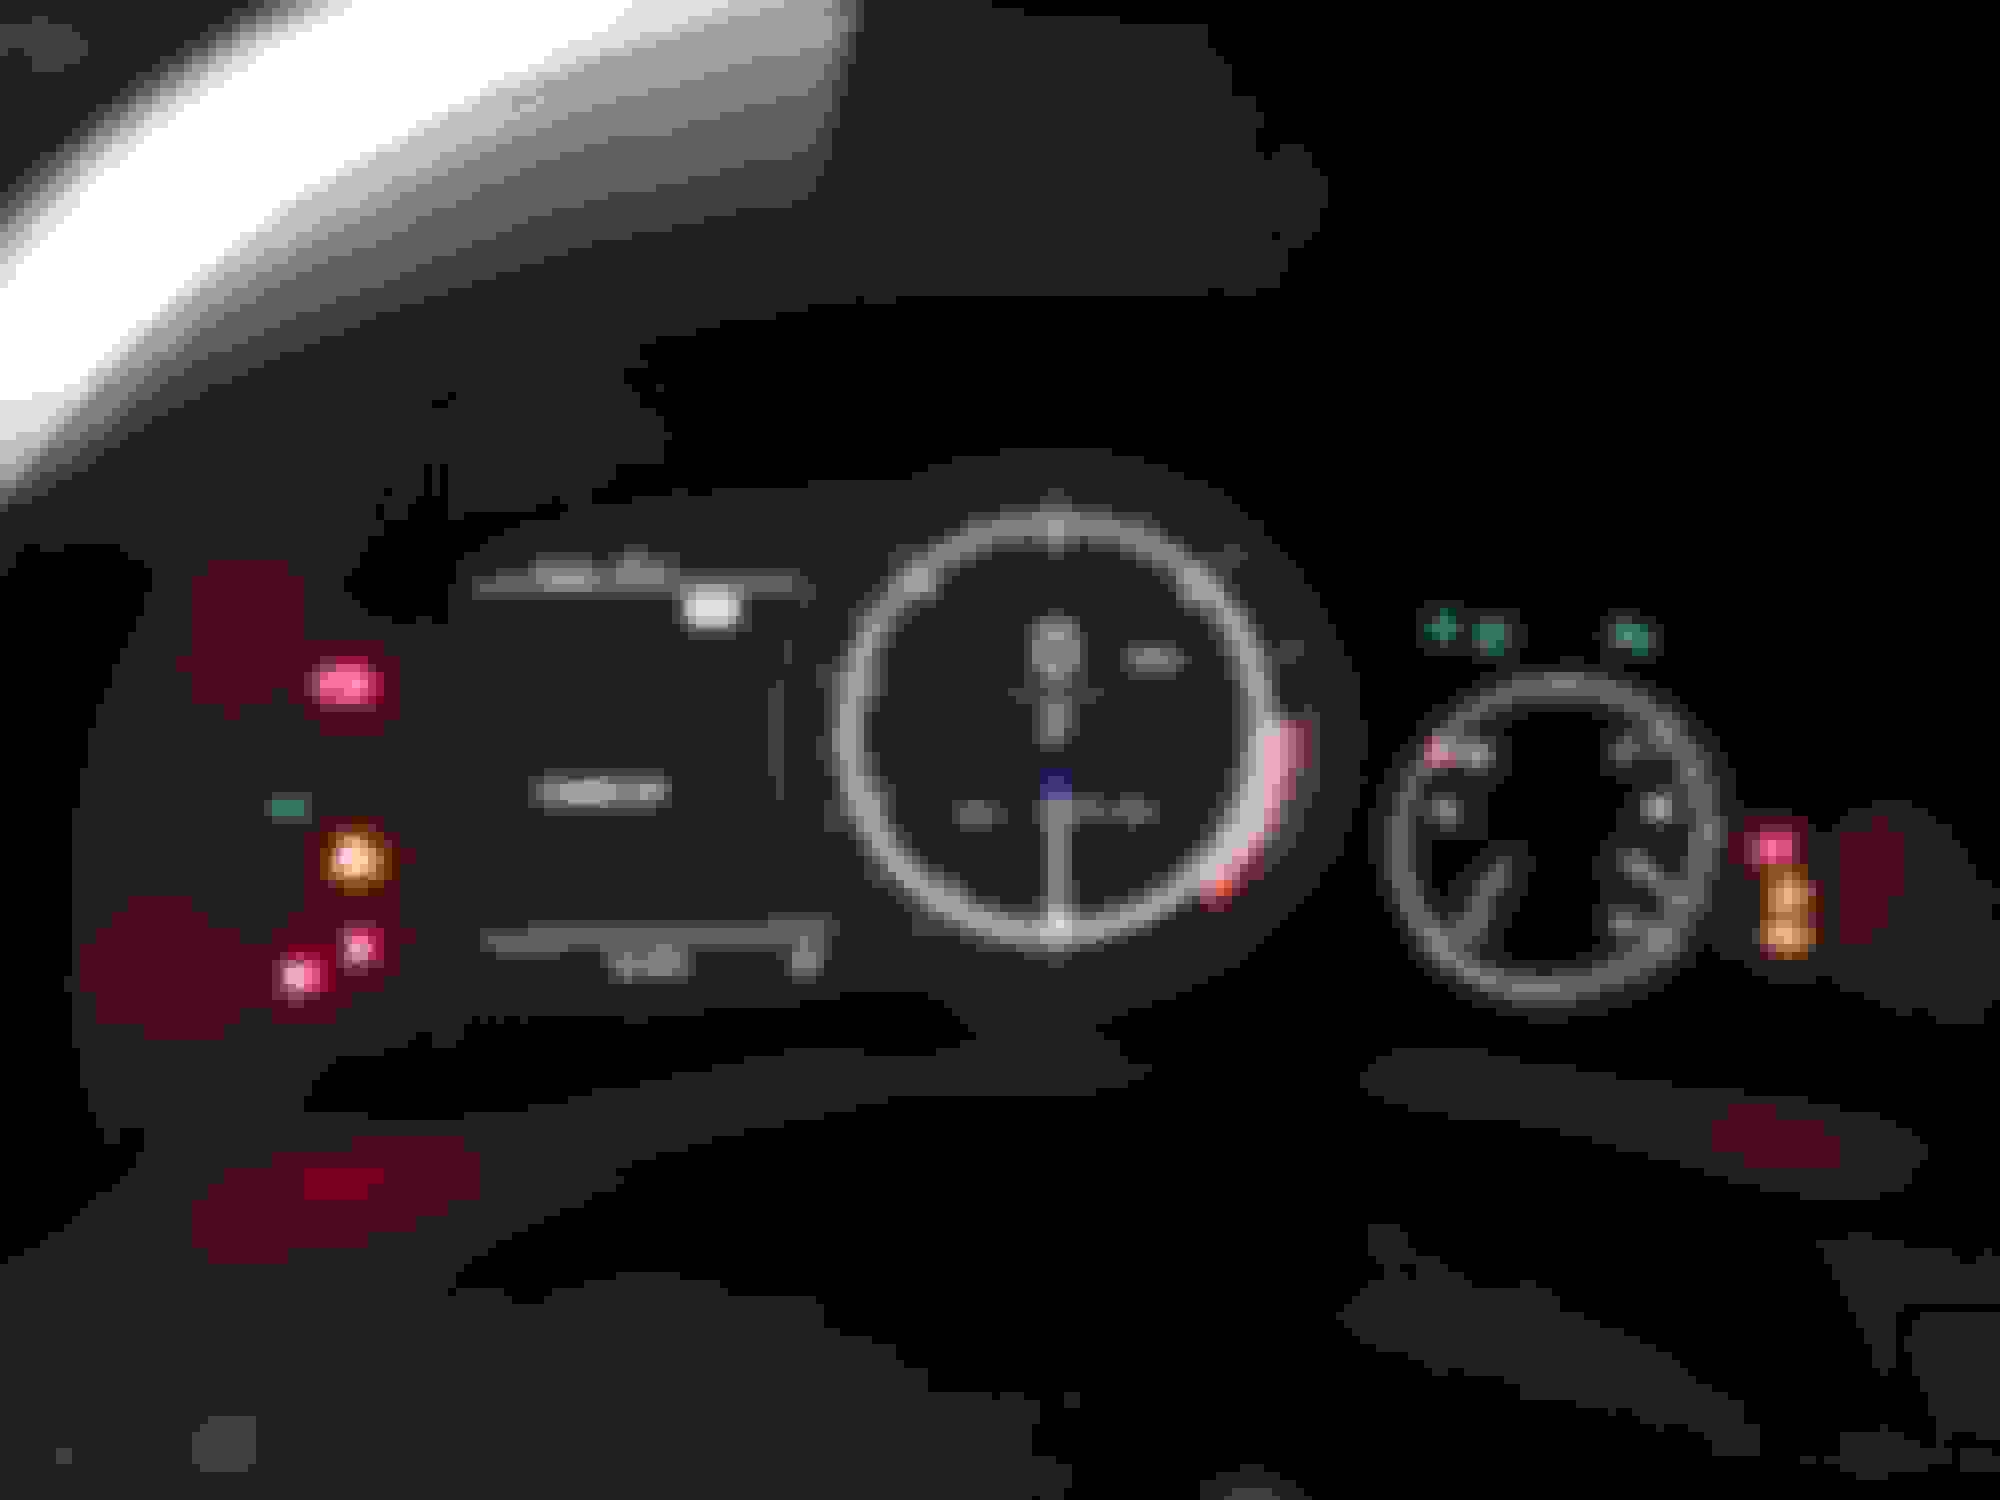
Lights on
Dash light working
Just morimoto fog output. Pretty good Just fogs at night
Only issue i had was reinstalling the steering column trim. there a small gap that i can't seem to close and I didn't see that there were any broken clips
Glad you figured this out and thanks for detailed write-up will help many others. FYI my bottom steering wheel cover started to rattle like crazy after this mod. I need to remove and readjust the cover.
Glad you figured this out and thanks for detailed write-up will help many others. FYI my bottom steering wheel cover started to rattle like crazy after this mod. I need to remove and readjust the cover.
definitely let me know whatever you have to do to fix it. I'd like to be able to close this gap.
@baconRx I was starting to worry when I did not see any posts from you LOL. But I have to admit, that looks awesome. And thank you for the write-up, you already know it's going to help a lot of people out. Concerning the misaligned steering column, it's possible a wire or another trim piece is getting in the way when you snapped it back together. If it doesn't bother you too much, on your next service visit to your dealership, just point it out to them and kindly ask if they can fix that; they won't say no. Thanks again for the write-up.
@baconRx I was starting to worry when I did not see any posts from you LOL. But I have to admit, that looks awesome. And thank you for the write-up, you already know it's going to help a lot of people out. Concerning the misaligned steering column, it's possible a wire or another trim piece is getting in the way when you snapped it back together. If it doesn't bother you too much, on your next service visit to your dealership, just point it out to them and kindly ask if they can fix that; they won't say no. Thanks again for the write-up.
true, anything like this we can take in for free right? It just took me a while to get the t-tap in since it came from china....I'm glad it all just worked and it was just a couple missing wires. get your new GS already and I have all the extra supplies and extra pins for your install
@baconRx nicely done! I don't recall but did you get the OEM fog light/garnish or an aftermarket one? How's the light output?
I bought an ebay kit which will pretty much be the same as OEM as far as the garnish goes. Came with bracket, lights, and harness/switch, but I used morimoto lights in place of the ebay ones because they are much higher quality and the lens ls much better and then I bought the oem switch. I only bought the ebay kit because eddie was selling his premium kit for 13-15 model that he no longer had a use for unfortunately.
true, anything like this we can take in for free right? It just took me a while to get the t-tap in since it came from china....I'm glad it all just worked and it was just a couple missing wires. get your new GS already and I have all the extra supplies and extra pins for your install
Believe me, I have been looking. The dealership inventory is so limited! Also, why didn't you just get the t-taps from Amazon, same day shipping? lol...
Believe me, I have been looking. The dealership inventory is so limited! Also, why didn't you just get the t-taps from Amazon, same day shipping? lol...
it was from amazon, just not fulfilled by amazon. I was ok with waiting for half the price lol
well i did copy half of it from the 13-15 write up. truck isn't used much so i park as close as i can just to make sure no one accidentally bumps any groceries or anything into it
I didn't mean "you" specifically. I meant, one would still have to run a wire thru the firewall to connect 5D to 2A. Yeah I have my fogs connected directly to the switch/stalk. I might try out your method to see if I can get the fog indicator to light up in the dash. Shouldn't be too difficult since I already have most of the wiring in place and already have a wire going thru the firewall.
Originally Posted by baconRx
I already ran the wire. I'll post more pictures later today of the wiring. You installed it directly to the switch right?


 Thanks again for the write-up.
