When you click on links to various merchants on this site and make a purchase, this can result in this site earning a commission. Affiliate programs and affiliations include, but are not limited to, the eBay Partner Network.
Lexus issued a service bulletin for a hard shift condition from 2-1 when coming to a stop. That bulletin was issued in 2012, and it covered 2006 GS300 models (both RWD and AWD), and 2006-2007 model GS430s. Basically, the troubleshooting called for having a tech test drive to verify the condition, and if the condition was present, replace the ECM. No other troubleshooting steps were requested or required for this condition.
Hi Sdigginz,
I live in Australia, and we own a 2007 Lexus GS GS300 SPORTS LUXURY Automatic Sedan Model: GRS190R-BETQHW
we are experiencing gear change issues and we don't want to replace the transmission if it can be fixed by either replacing the solenoids or repairing the ECU. Would you know of where we might be able to get the ECU repaired? or which solenoids I should start with? and finally, any idea where I could get this done in Australia... yes I know its a big ask... but I might as well ask, just in case it saves me $6000 on replacing the transmission...
I'm pretty sure the solenoid diagram on page 2 is the same as what is in our car.
My understanding is that, our car uses the A760E transimission, which is the same as what you have described.
Any chance you may have a manual regarding this that I could have?
This post details how I was able to fix the hard 2-1 downshift in a 3rd generation Lexus GS300. This fix may also apply to other models as similar issues have been noted on other vehicles of this era from Toyota and Lexus. This is going to be a long post - to skip the detail and get to the solution, see the “repair summary” below. In this write-up: "ECT" means electronically controlled transmission, "PCB" means printed circuit board, "ECM" means electronic control module (aka power train control module, engine computer, or engine control module), "SMD" means surface-mounted device (these are the electronic components of the computer).
Disclaimer: The attached document was created solely for my own notes as I diagnosed and mapped out the system. These notes are incomplete and may have some errors but should contain enough information to help map out the key components involved in the 2-1 shift. They are not a complete ECM schematic – merely what I could map out while tracing each circuit looking for problems. Note that I am not a certified mechanic so the below should be considered as novice advice. Attempt any repairs at your own risk!
Vehicle: 2006 Lexus GS300 with engine code 3GR-FSE and transmission model A760E. Note that this repair may also be applicable to other models including the 2006-2007 GS430, both RWD and AWD variants, though the details of which components need to be repaired may vary.
Symptoms: Vehicle exhibits hard downshift during deceleration between 2nd and 1st gear which results in the vehicle bucking / jerking when coming to a stop. No other significant symptoms were noted. Symptoms and OEM solutions are also noted in Lexus technical service bulletin number L-SB-0126-12. While the OEM recommends replacing (and re-programing) the ECM with a new part number (89661-30W70), I have found that it is possible to repair the ECM using little more than a soldering iron – though it should be noted that the repairs below should only be performed by trained professionals or those that have sufficient experience with SMD rework, who are familiar with PCB’s, and who are familiar with ESD precautions. Attempt these repairs at your own risk!
Transmission Details: To diagnose the issues, it’s worth noting how the transmission works. There are 9 electronically controlled solenoids in the A760E (see page 2 of attached PDF). The power-flow diagram (see page 3) shows that shifting between 1st and 2nd gears involves only S1 and SLU so any electronic components driving these two solenoids are the most likely culprits. Though SLT, SL1 and SL2 may be involved, it’s unlikely that these components are at-fault since no other gear changes experience any issues. Given that the key symptom is an abrupt / hard downshift, the most likely issue is something in the SLU circuit; either the MOSFET, the fly-back diode, or a bad RC filter causing bad timing on lockup clutch disengagement – though this is only a theory since all of the repairs outlined below were conducted before attempting to reinstall the ECM into the vehicle; therefore the exact cause is not known.
ECM Circuits: The ECM is connected to the ECT via main wiring harness connector H for the 3GR-FSE (connector E for the 3GR-FE). The wiring diagram for this is shown on page 4 of the PDF. The pinout diagram of multi-pin connector “H” is shown on page 5, with a table indicating each function’s purpose. The harness connects to the ECM through 6 separate plugs in a single connector body – see the white component at the top of the image on page 6 – with the ECT connections on the 5th plug from the left (as shown on page 6). A crude (and incomplete) schematic of the PCB components in the ECM that control the ECT are shown on page 10 (and also in the first image below), but note that the underside of the PCB is not labeled so I’m creating my own numbering system for the key components, which corresponds to the rough outline on page 11. (Again, these are my scratch notes so forgive the cartoon nature of the drawing…)
Repair Process: To repair the ECM, I used a soldering iron with a variety of (interchangeable) tips. For the larger diodes, I’m using a large flat tip at around 375 degrees C. For the resistors, I’m using a needle-point tip at around 325C. For the through-board header pins, I’m using a medium tip at around 350C. To remove and replace the capacitors, simply grab the component with needle-nose pliers and twist. (See YouTube videos for removing SMD electrolytic capacitors for more details.) I’m then removing the broken capacitor leads from the PCB using a soldering iron, and cleaning up the pad using solder-wick and alcohol. At each connection I’m also using a dab of no-clean solder paste (e.g. KL-558) to ensure good heat transfer at every joint. Dwell time for each connection is 1 second or less – just enough to melt the solder and repair any micro-fractures between the component and the pad. I did this on nearly all SMD resistors but focused on those that are known to be part of the ECT circuits.
While I did replace most of the capacitors, doing so did not have an impact on transmission performance. I initially replaced all but C724 and the hard downshift persisted. During my second attempt, I touched up all solder connections and replaced C724 so while it’s possible that this was the bad component, it tested fine once removed from the PCB (using a bench tester) so it’s likely not the root cause. However, while replacing this component, I noticed that the diode on the gate of transistor T728 (located between C724 and T728) had come loose. It’s possible that the heat from re-soldering the capacitor loosened this diode (since they share a common ground) but I’m not certain. I did re-attach the diode during the second repair attempt, and touched-up the solder points on the transistor as well. If you don’t replace the capacitors, check diode D711.
Lastly, I touched up the solder points on the various integrated circuits that control each solenoid. These include the two 851A chips and the two SE690 chips. After every connection was touched, I reinstalled the ECM and – viola – no more hard downshift!
Repair Summary: Root cause was suspected bad solder joints on the PCB of the ECM and possibly a bad electrolytic capacitor. Solution is to touch up all through-board header pins for wiring harness connector “H” (3GR-FSE) or “E” (3GR-FE), including pins 2, 10-13, 16-19, 24-27 and 34-35. On front (labeled side) of PCB, touch up MOSFET connections on T900, T901, diodes D903, D901, D905, D906, integrated circuits IC901, IC903, and resistors R910, R912 (see page 8 of attached PDF). On back side of PCB, touch up 6 fly-back diodes (not numbered on my ECM) and all resistors related to ECT (see page 9 of attached PDF) and all integrated circuits with part numbers SE690 and 851A (see diagram). Optionally, (not likely root cause, but good practice) replace capacitors C724, C901, C771, and C103. Inspect and touch-up solder on the SMD diode D711 connected to the gate of T728 through resistor R839. If the above is not successful in resolving the issue, touch up all resistor connections on both sides of PCB.
In Closing: I hope this helps someone save another GS. If you have additional questions, or if you notice any errors in my crude schematics, please post them to this thread.
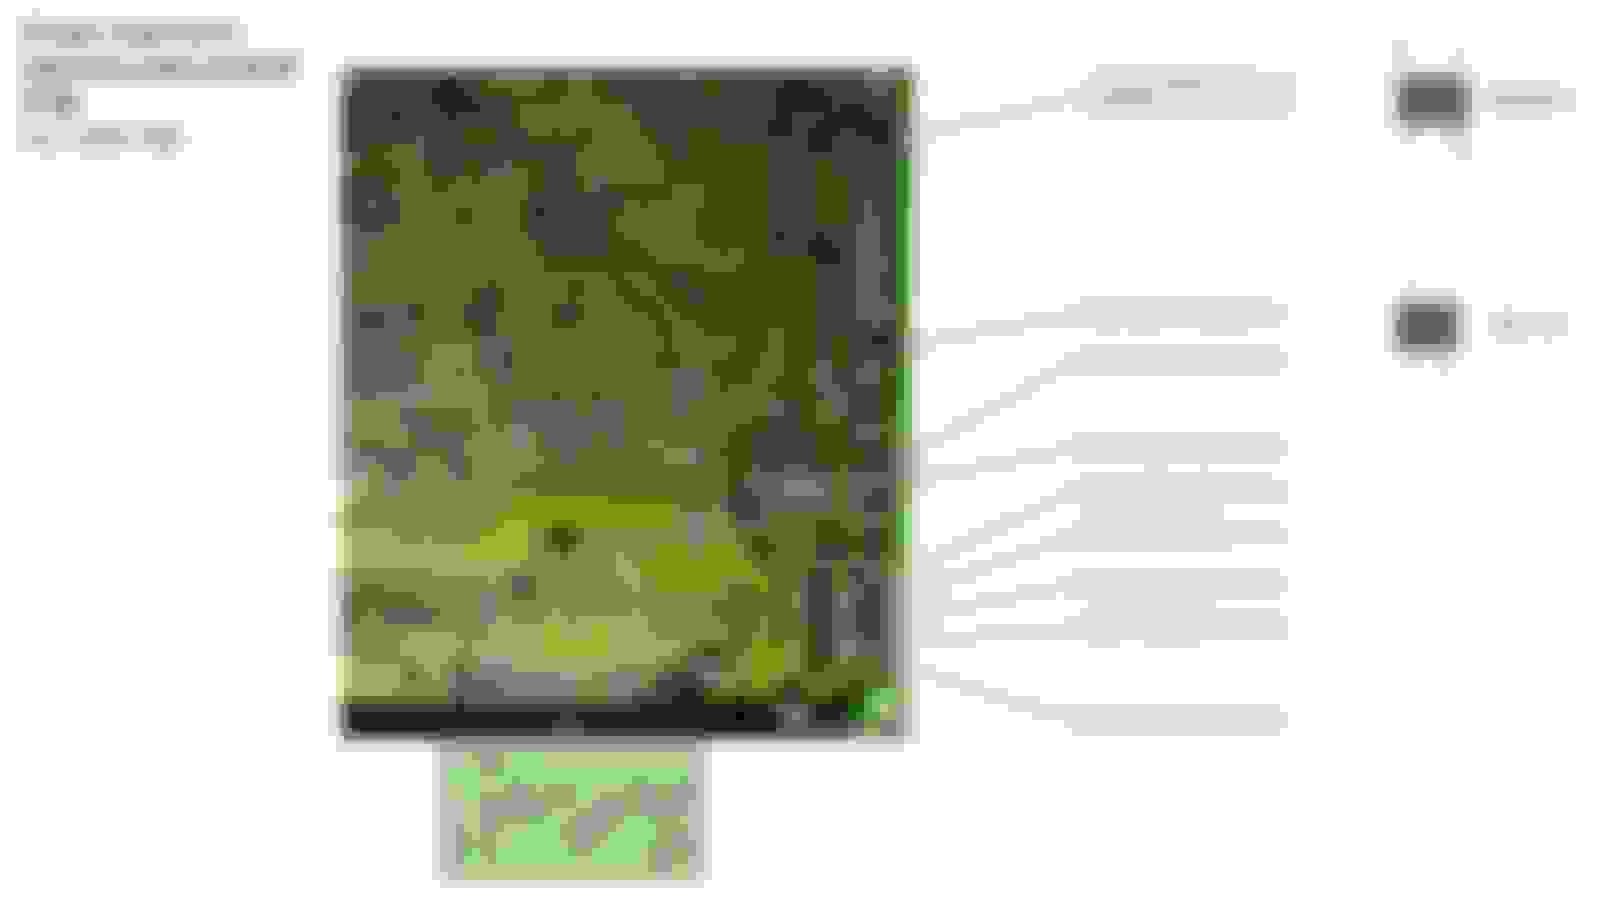
Diagrams: From page 8 - summary of repaired SMD connections from PCB topside.
From page 9 - summary of repaired SMD connections from PCB underside.
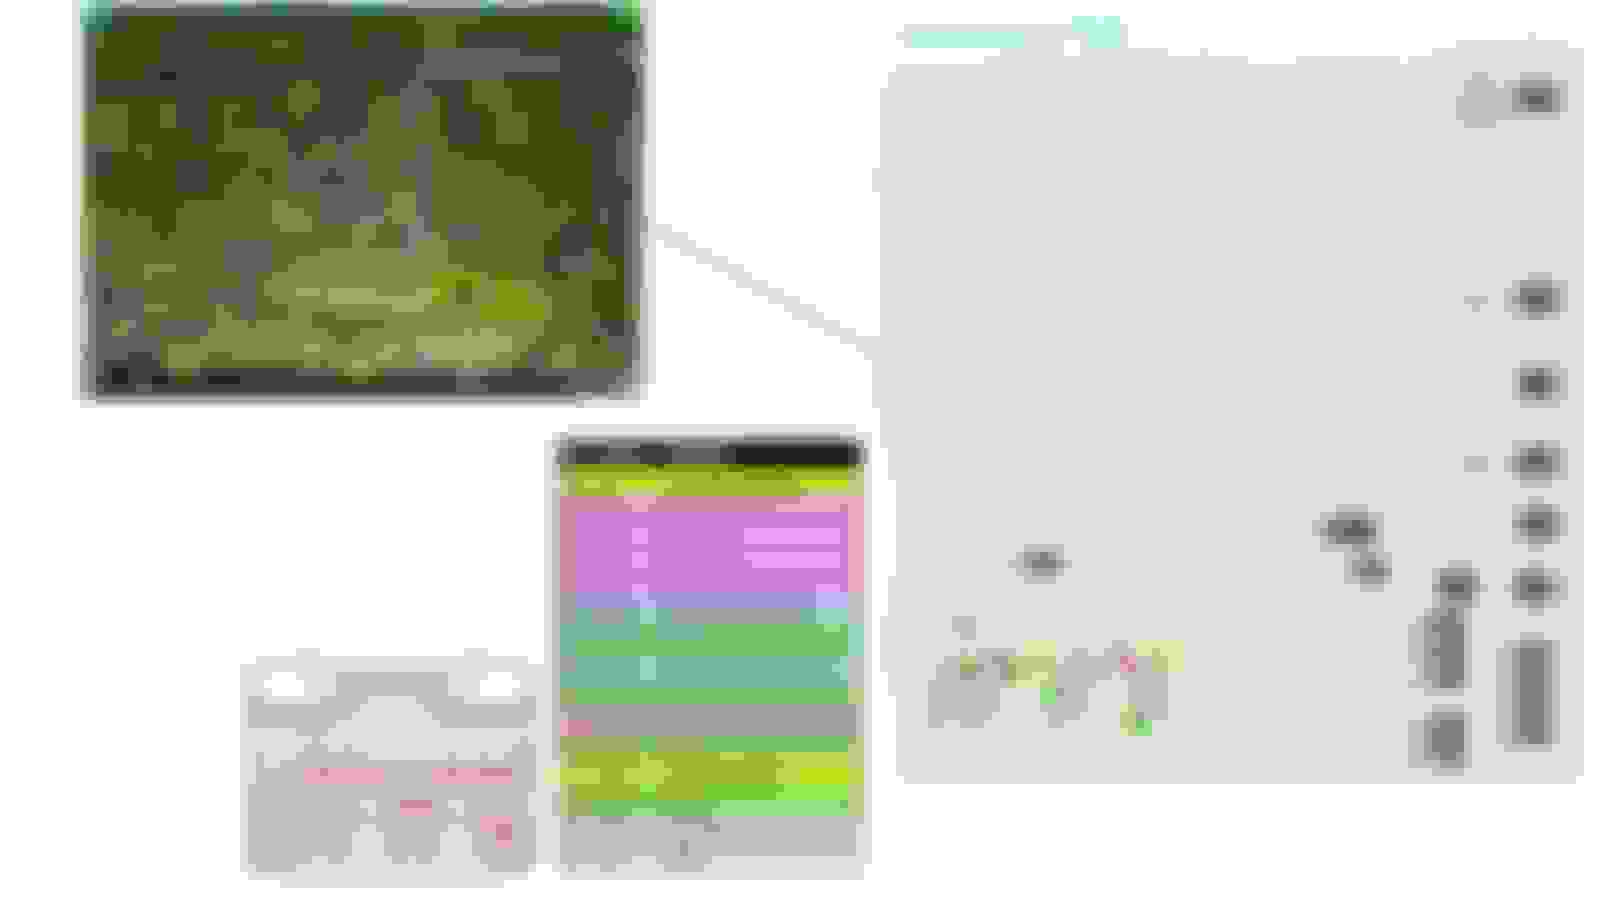
From page 10 - basic and incomplete schematic of ECT components on ECM PCB. From page 11 - underside of PCB component layout and device numbering
Hi Sdigginz,
I live in Australia, and we own a 2007 Lexus GS GS300 SPORTS LUXURY Automatic Sedan Model: GRS190R-BETQHW
we are experiencing gear change issues and we don't want to replace the transmission if it can be fixed by either replacing the solenoids or repairing the ECU. Would you know of where we might be able to get the ECU repaired? or which solenoids I should start with? and finally, any idea where I could get this done in Australia... yes I know its a big ask... but I might as well ask, just in case it saves me $6000 on replacing the transmission...
I'm pretty sure the solenoid diagram on page 2 is the same as what is in our car.
My understanding is that, our car uses the A760E transimission, which is the same as what you have described.
Any chance you may have a manual regarding this that I could have?
This post details how I was able to fix the hard 2-1 downshift in a 3rd generation Lexus GS300. This fix may also apply to other models as similar issues have been noted on other vehicles of this era from Toyota and Lexus. This is going to be a long post - to skip the detail and get to the solution, see the “repair summary” below. In this write-up: "ECT" means electronically controlled transmission, "PCB" means printed circuit board, "ECM" means electronic control module (aka power train control module, engine computer, or engine control module), "SMD" means surface-mounted device (these are the electronic components of the computer).
Disclaimer: The attached document was created solely for my own notes as I diagnosed and mapped out the system. These notes are incomplete and may have some errors but should contain enough information to help map out the key components involved in the 2-1 shift. They are not a complete ECM schematic – merely what I could map out while tracing each circuit looking for problems. Note that I am not a certified mechanic so the below should be considered as novice advice. Attempt any repairs at your own risk!
Vehicle: 2006 Lexus GS300 with engine code 3GR-FSE and transmission model A760E. Note that this repair may also be applicable to other models including the 2006-2007 GS430, both RWD and AWD variants, though the details of which components need to be repaired may vary.
Symptoms: Vehicle exhibits hard downshift during deceleration between 2nd and 1st gear which results in the vehicle bucking / jerking when coming to a stop. No other significant symptoms were noted. Symptoms and OEM solutions are also noted in Lexus technical service bulletin number L-SB-0126-12. While the OEM recommends replacing (and re-programing) the ECM with a new part number (89661-30W70), I have found that it is possible to repair the ECM using little more than a soldering iron – though it should be noted that the repairs below should only be performed by trained professionals or those that have sufficient experience with SMD rework, who are familiar with PCB’s, and who are familiar with ESD precautions. Attempt these repairs at your own risk!
Transmission Details: To diagnose the issues, it’s worth noting how the transmission works. There are 9 electronically controlled solenoids in the A760E (see page 2 of attached PDF). The power-flow diagram (see page 3) shows that shifting between 1st and 2nd gears involves only S1 and SLU so any electronic components driving these two solenoids are the most likely culprits. Though SLT, SL1 and SL2 may be involved, it’s unlikely that these components are at-fault since no other gear changes experience any issues. Given that the key symptom is an abrupt / hard downshift, the most likely issue is something in the SLU circuit; either the MOSFET, the fly-back diode, or a bad RC filter causing bad timing on lockup clutch disengagement – though this is only a theory since all of the repairs outlined below were conducted before attempting to reinstall the ECM into the vehicle; therefore the exact cause is not known.
ECM Circuits: The ECM is connected to the ECT via main wiring harness connector H for the 3GR-FSE (connector E for the 3GR-FE). The wiring diagram for this is shown on page 4 of the PDF. The pinout diagram of multi-pin connector “H” is shown on page 5, with a table indicating each function’s purpose. The harness connects to the ECM through 6 separate plugs in a single connector body – see the white component at the top of the image on page 6 – with the ECT connections on the 5th plug from the left (as shown on page 6). A crude (and incomplete) schematic of the PCB components in the ECM that control the ECT are shown on page 10 (and also in the first image below), but note that the underside of the PCB is not labeled so I’m creating my own numbering system for the key components, which corresponds to the rough outline on page 11. (Again, these are my scratch notes so forgive the cartoon nature of the drawing…)
Repair Process: To repair the ECM, I used a soldering iron with a variety of (interchangeable) tips. For the larger diodes, I’m using a large flat tip at around 375 degrees C. For the resistors, I’m using a needle-point tip at around 325C. For the through-board header pins, I’m using a medium tip at around 350C. To remove and replace the capacitors, simply grab the component with needle-nose pliers and twist. (See YouTube videos for removing SMD electrolytic capacitors for more details.) I’m then removing the broken capacitor leads from the PCB using a soldering iron, and cleaning up the pad using solder-wick and alcohol. At each connection I’m also using a dab of no-clean solder paste (e.g. KL-558) to ensure good heat transfer at every joint. Dwell time for each connection is 1 second or less – just enough to melt the solder and repair any micro-fractures between the component and the pad. I did this on nearly all SMD resistors but focused on those that are known to be part of the ECT circuits.
While I did replace most of the capacitors, doing so did not have an impact on transmission performance. I initially replaced all but C724 and the hard downshift persisted. During my second attempt, I touched up all solder connections and replaced C724 so while it’s possible that this was the bad component, it tested fine once removed from the PCB (using a bench tester) so it’s likely not the root cause. However, while replacing this component, I noticed that the diode on the gate of transistor T728 (located between C724 and T728) had come loose. It’s possible that the heat from re-soldering the capacitor loosened this diode (since they share a common ground) but I’m not certain. I did re-attach the diode during the second repair attempt, and touched-up the solder points on the transistor as well. If you don’t replace the capacitors, check diode D711.
Lastly, I touched up the solder points on the various integrated circuits that control each solenoid. These include the two 851A chips and the two SE690 chips. After every connection was touched, I reinstalled the ECM and – viola – no more hard downshift!
Repair Summary: Root cause was suspected bad solder joints on the PCB of the ECM and possibly a bad electrolytic capacitor. Solution is to touch up all through-board header pins for wiring harness connector “H” (3GR-FSE) or “E” (3GR-FE), including pins 2, 10-13, 16-19, 24-27 and 34-35. On front (labeled side) of PCB, touch up MOSFET connections on T900, T901, diodes D903, D901, D905, D906, integrated circuits IC901, IC903, and resistors R910, R912 (see page 8 of attached PDF). On back side of PCB, touch up 6 fly-back diodes (not numbered on my ECM) and all resistors related to ECT (see page 9 of attached PDF) and all integrated circuits with part numbers SE690 and 851A (see diagram). Optionally, (not likely root cause, but good practice) replace capacitors C724, C901, C771, and C103. Inspect and touch-up solder on the SMD diode D711 connected to the gate of T728 through resistor R839. If the above is not successful in resolving the issue, touch up all resistor connections on both sides of PCB.
In Closing: I hope this helps someone save another GS. If you have additional questions, or if you notice any errors in my crude schematics, please post them to this thread.
Diagrams: From page 8 - summary of repaired SMD connections from PCB topside.
From page 9 - summary of repaired SMD connections from PCB underside.
From page 10 - basic and incomplete schematic of ECT components on ECM PCB. From page 11 - underside of PCB component layout and device numbering
Your write up helped me get away from solenoids S1-S4, SL1, SL2 and SLT. I had no luck with these other solenoids as there were no transient signals indicating anomalies yet the 2-1 hard shift is constant. Following the powertrain workflow as your write up suggested however, I focused on SLU. Unfortunately for me, IC907 (pin 5 in my case, 2005 LS430 ECU) isn't moving from +12V under any driving condition. Thus, T901 will never activate SLU+. I'm wondering if that Denso chip has failed and if replacement would work, or if there is something driving IC907 which would render swapping it out useless and leave me with the existing problem. Both the flyback diode and MOSFET transistor check out OK with diode tester on a multimeter. If firmware has failed, then likely a programmed gate array as failed as well. Any technical responses are appreciated.