When you click on links to various merchants on this site and make a purchase, this can result in this site earning a commission. Affiliate programs and affiliations include, but are not limited to, the eBay Partner Network.
Nice bro much help my passenger side juss cracked and have been using gorrila tape to hold it for now currently lookin for a replacement when i find one this is my go to for help
I was asked about how to make the window trim clips, so I thought I would post these pictures and explanations here.
Made by Dorman part# 799-135. <br/>I believe this is what I used for my car's personal window trim clips.
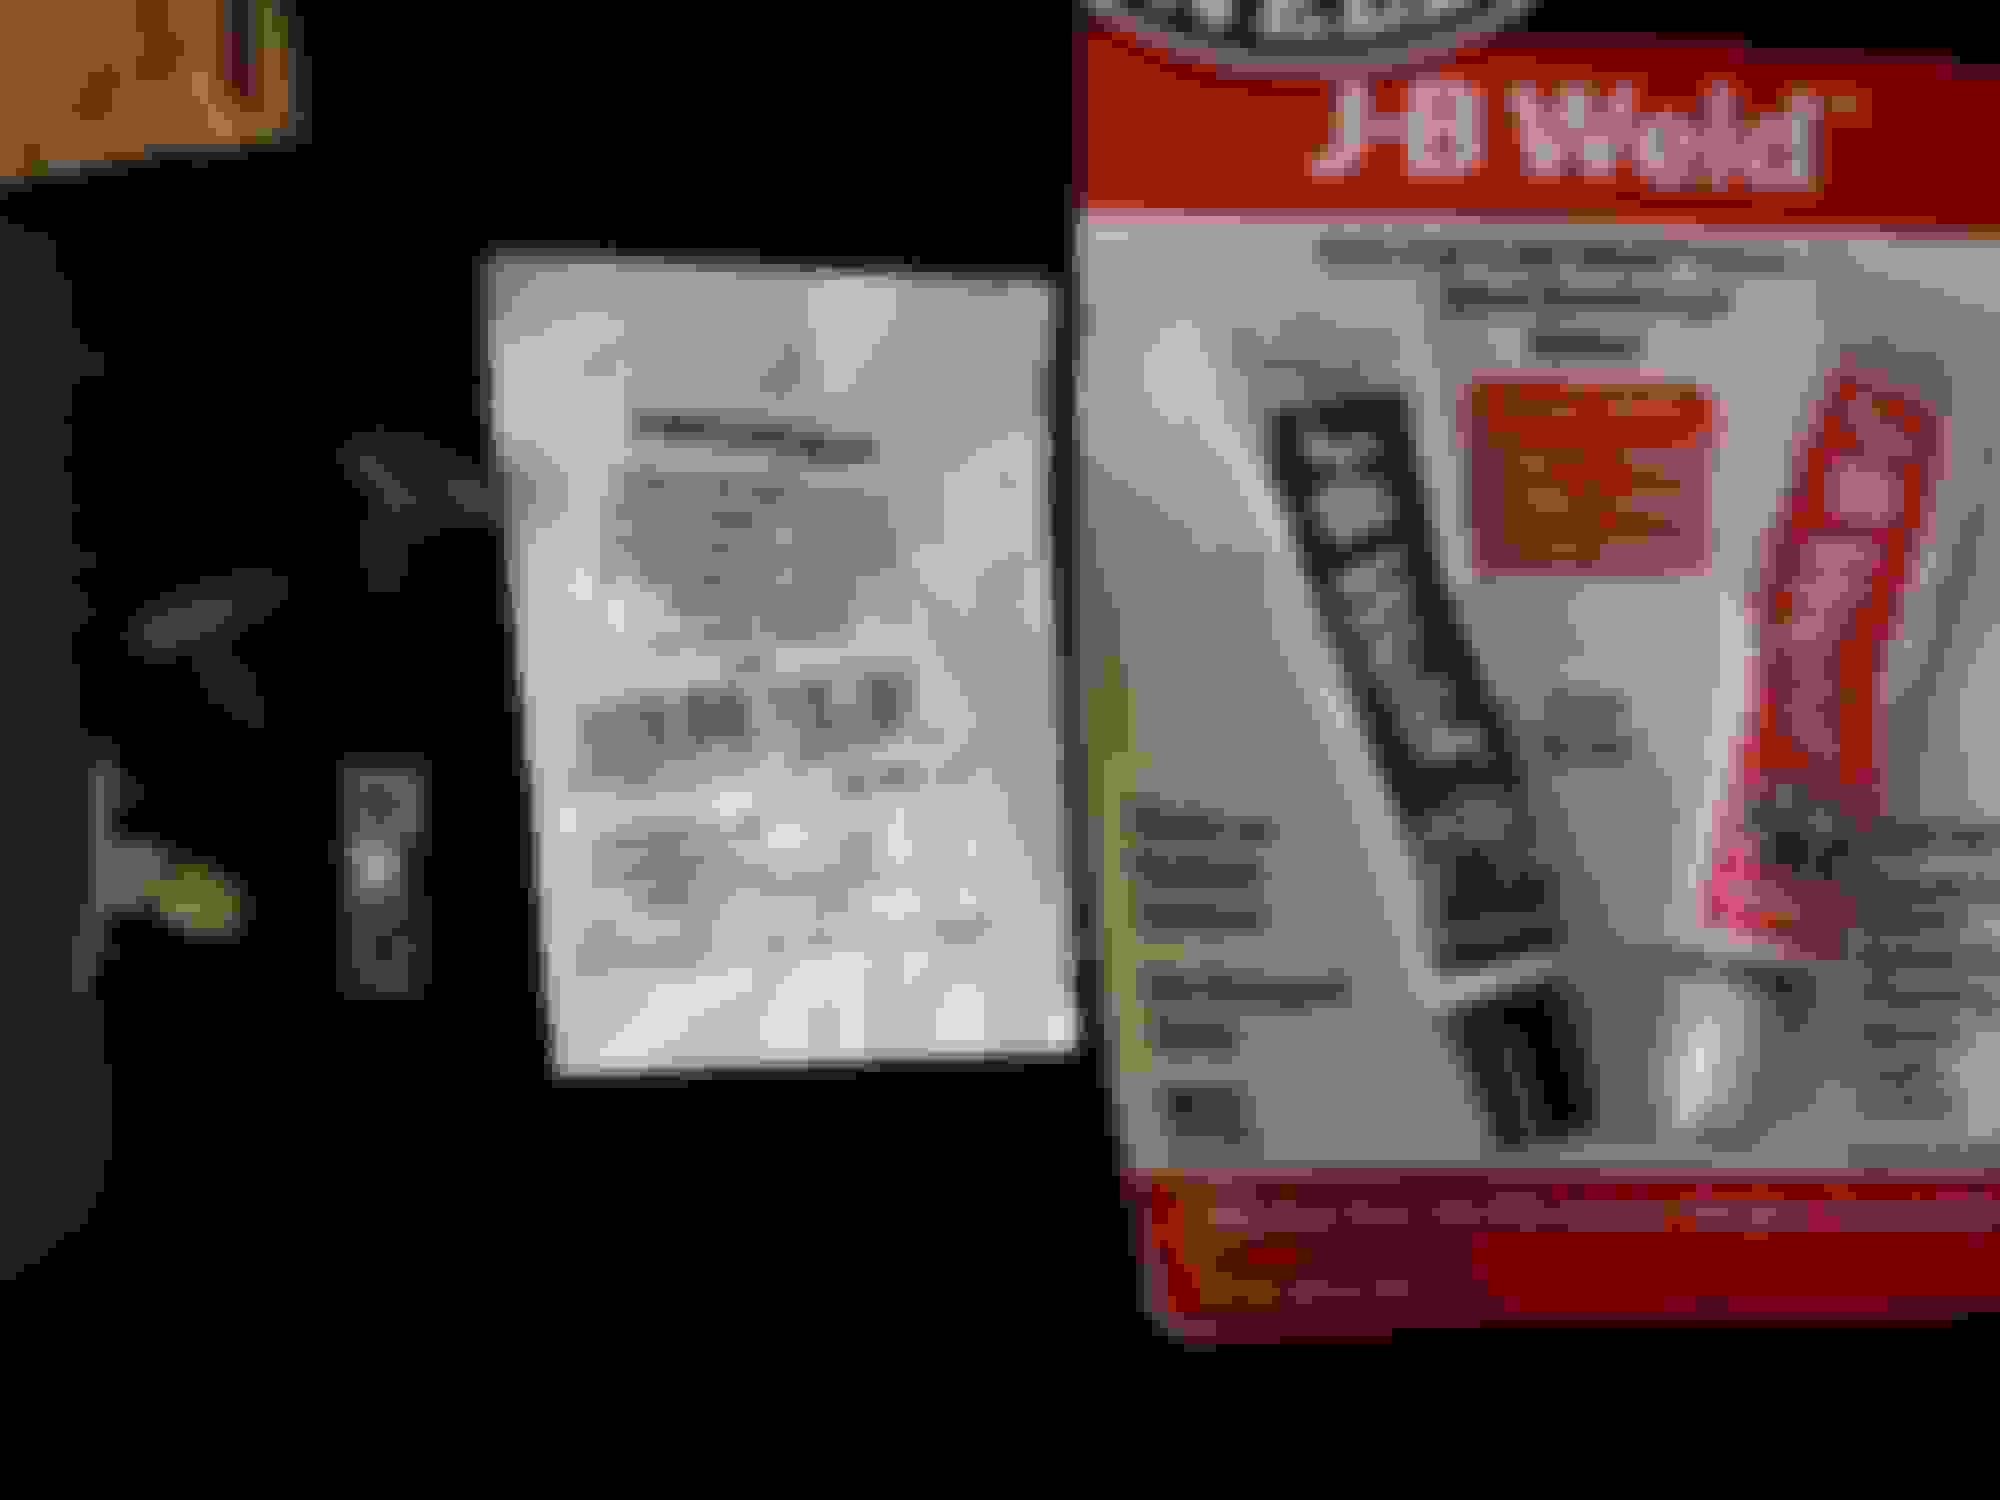
These are the Hillman clips I purchased at pepboys for this demonstration along with 2 factory clips (one broken), and JB weld.
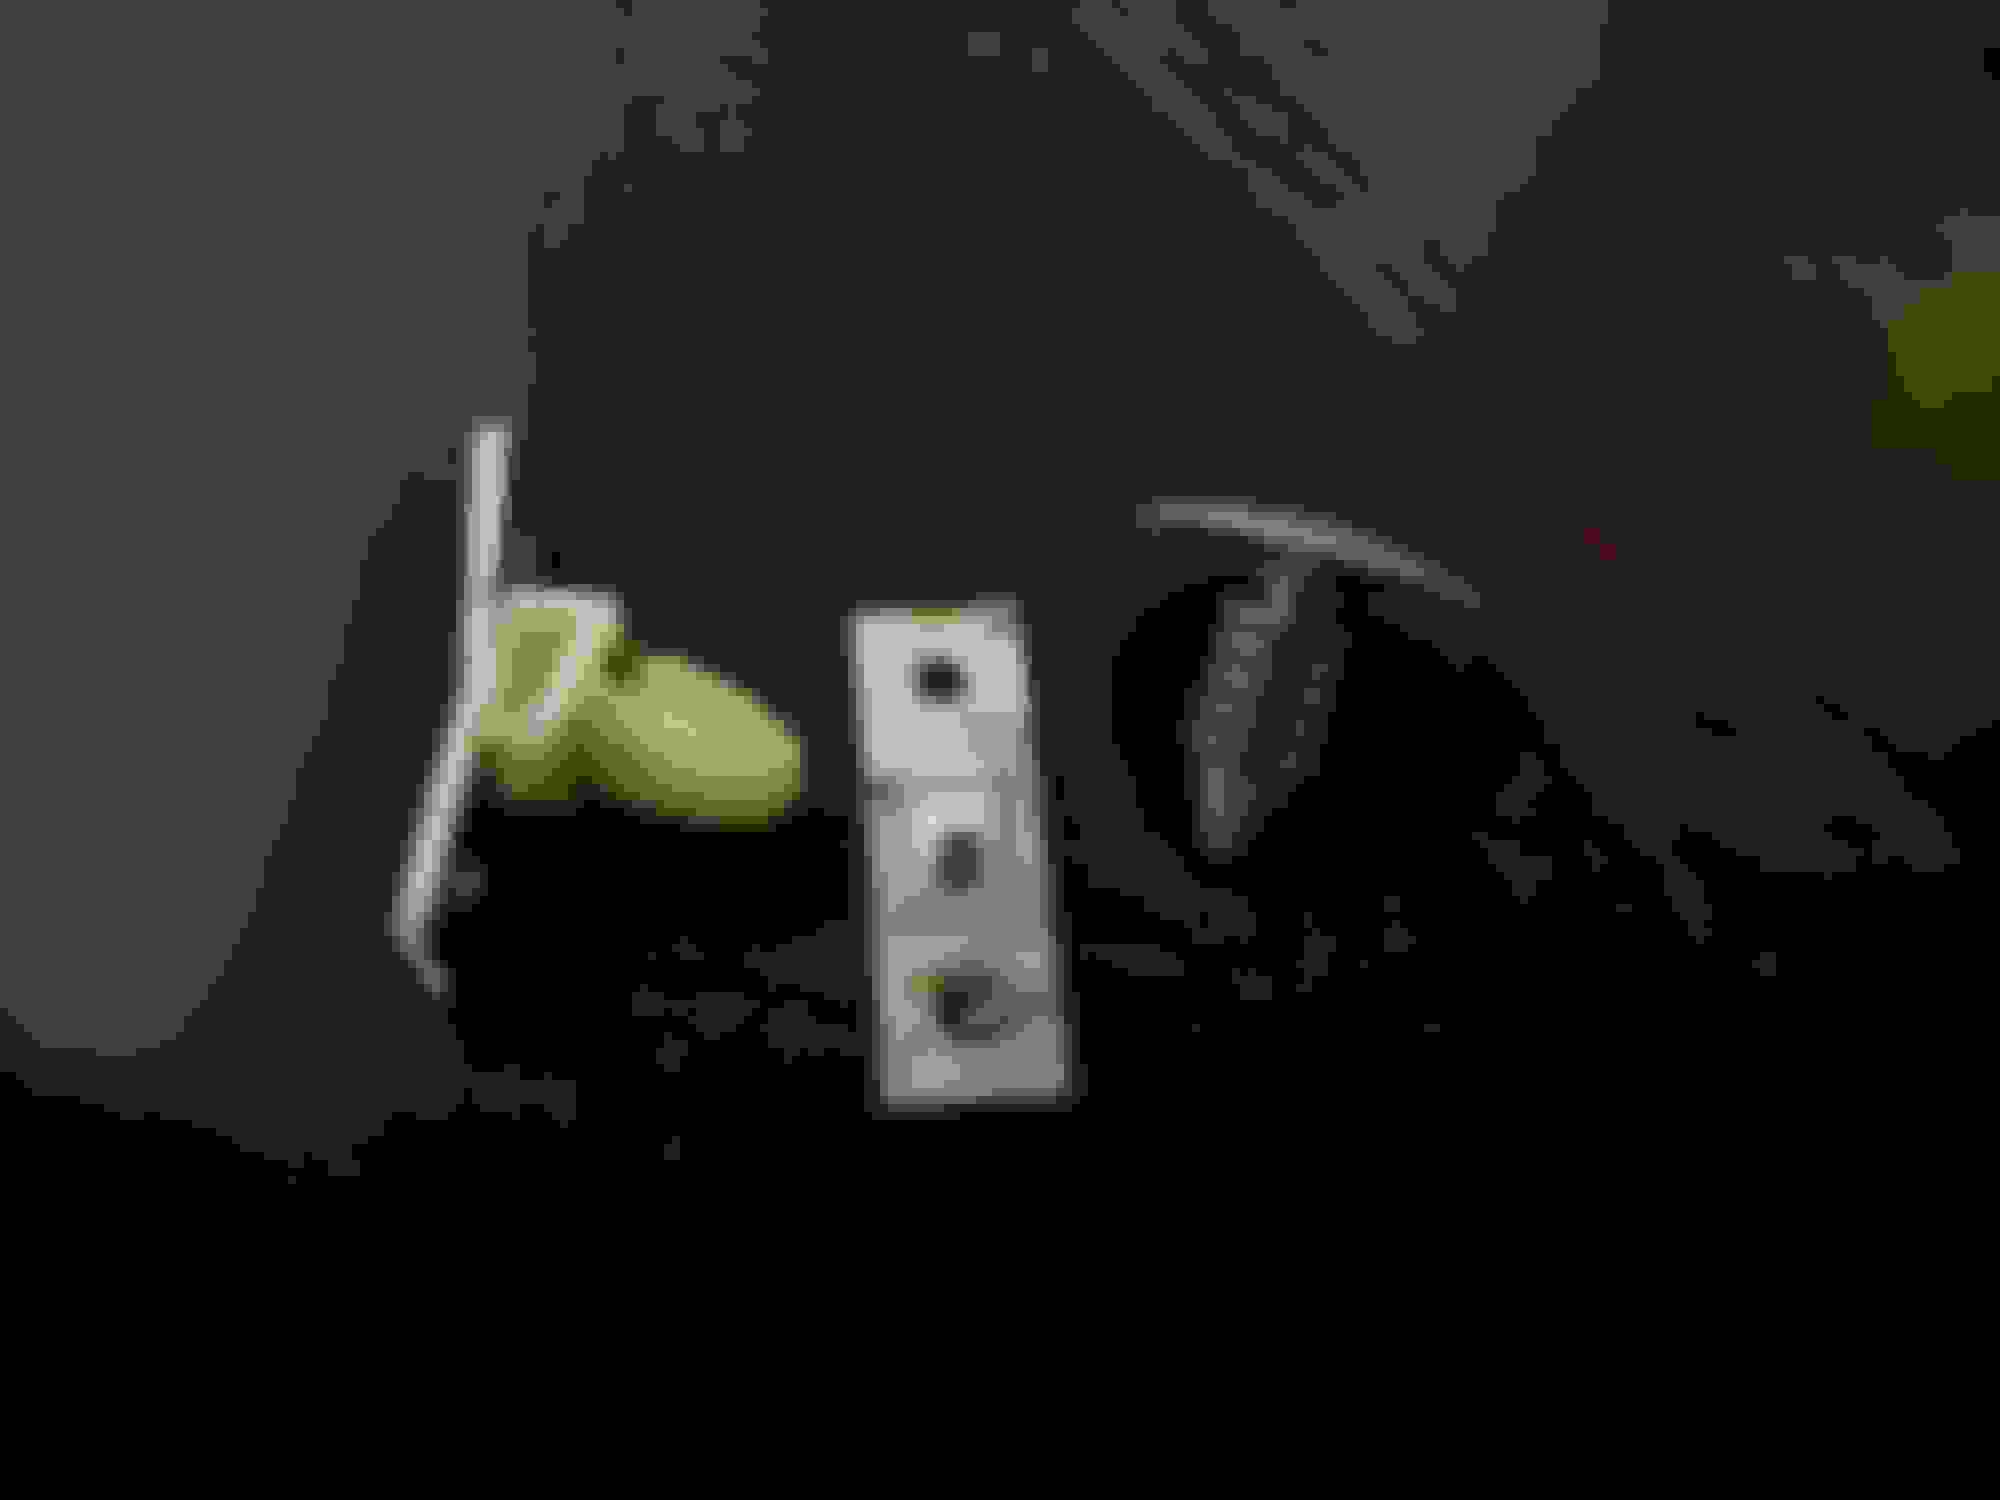
Factory clip on the left, broken clip back plate center, and new universal plastic clip on the right.
This picture was taken just to indicate how the backplate will sit on the inside window trim. The circular window trim clip does not get installed on the bottom corner of the window trim as seen in this pic. It actually gets installed in the top corner of the inside window trim.
This is the new plastic clip with its circular base cut off in reparation for it to be "JB Welded" to the metal backplate shown in the picture.
Here is a picture of the new plastic clip JB welded to the metal backplate. The toothpick was used to clear out misplaced JB weld from the mounting holes of the metal backplate.
pictures of the finished product next to the original factory clip. I waited at least 48hrs(I really forgot about if for 2 weeks) for the JB Weld to fully cure when I did this.
After it cured, I then took the window trim and sanded away the black paint in the area where the clip would be mounted to. Once the clip's JB Weld is fully cured, I then took the clip and placed it onto the inside window trim. I aligned the holes, and made sure it was orientated right side up. I then JB Welded it in place on the inside window trim. This was done OFF of the vehicle. And when I was 100% sure that the clip was cured fully to the inside window trim, I then went and placed it onto the vehicle.
Here is a picture of the 20lb rating Extreme 3M Scotch double-sided tape. I used 2- half inch squares of this tape and place them just above, and below where the new clip was JB Welded to the inside window trim.



 Window Trim Removal Tutorial Video (Front and Rear)