
Project: headlight Mod: version 2

Been doing this for years on customer cars, so im saying it from experience, not to be a smartass or ahole.
See for yourself the results
http://vipstylecars.com/forums/showthread.php?t=24184
Also lmk if u guys want a step by step diy on this since it is actually purrty easy.
See for yourself the results
http://vipstylecars.com/forums/showthread.php?t=24184
Also lmk if u guys want a step by step diy on this since it is actually purrty easy.

Thread Starter
Lead Lap
Joined: Jul 2008
Posts: 797
Likes: 0
From: Canada
and yea, looking at your thread, i don't think it'll work
i'm using 180 grit sandpaper on the inside of hte lense.
have you completely cleared the inside of hte lenses using your method of spray paint?
i'm using 180 grit sandpaper on the inside of hte lense.
have you completely cleared the inside of hte lenses using your method of spray paint?


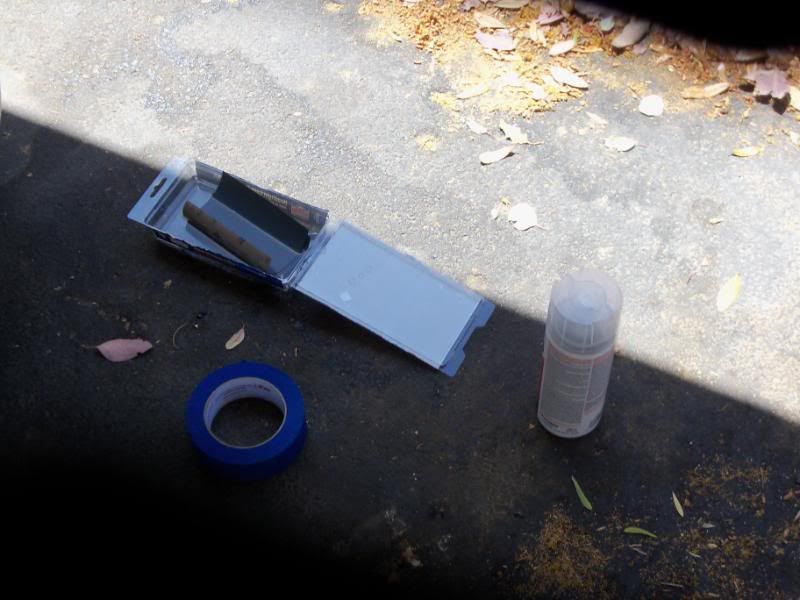

So if you use 180, start gradually going up in grit till u get to 1000.
To do the outside lens all i usually do is 800 wetsand then 1000 wetsand followed by gray scotch brite with prepping soap then clear. Since the inside of the lens has the grooves, the goal is to remoce them. I would do it as follows: 180 dry till i get all the humps more less, 220 dry, 320 dry, the wetsand with 400, 800, 1000, scotch brite w prepping soap, then clear.
The only reason me personally dont like polishing is because over time the lens will get yellow and the only way to remove the yellowish is bt repolishing. By clear coating the lens you are basically sealing the plastic adding a coat of protection if you may thus eliminating yellowing. Again this is just the method i follow based on my experience.
The way you are doing it is fine as well the only thing i am a bit afraid of is if it yellows in the inside you will have to take it appart to clean it up. My method is a bit more work but eliminates yellowing.
Thread Starter
Lead Lap
Joined: Jul 2008
Posts: 797
Likes: 0
From: Canada
so what product do you use to clear it with? and is it spray painted on? or do you have to get a auto painting place to use a air gun to put it on?
and what is the scotch brite soap? i've never seen or heard of it up here
cause i have some minor hazing in the one that i've polished up, cause i didn't spend e nough time with 2000 and above before polishing, so i'll have to resand it anywant and re polish it.
but my main objective is to get ride of the lines first in the 2nd one. i'm not looking for something that'll last 20 years, cause well i'm sure the car wont' even last that long
Thread Starter
Lead Lap
Joined: Jul 2008
Posts: 797
Likes: 0
From: Canada
it's been about a month since i polished up that one, and it hasn't hazed, it just never got 100% clear in the first place.
the lights on my car have been on for a year and 4 months, after completed my last project and they're still clear
the lights on my car have been on for a year and 4 months, after completed my last project and they're still clear


Thread Starter
Lead Lap
Joined: Jul 2008
Posts: 797
Likes: 0
From: Canada
uhhh, a daily Z32? were you looking at buying some reliable? cause a z32 isn't really the best method to go about that with, specially if it's TT.
and just buy a spare set of headlights, bake them apart and start sanding away, that way your car won't be down and out for weeks or months at a time ( like mine would have been if i didn't get a 3rd set of lights) haha
what's wrong with your JDM tails?
and just buy a spare set of headlights, bake them apart and start sanding away, that way your car won't be down and out for weeks or months at a time ( like mine would have been if i didn't get a 3rd set of lights) haha
what's wrong with your JDM tails?
Thread Starter
Lead Lap
Joined: Jul 2008
Posts: 797
Likes: 0
From: Canada
your **** outta luck then, unless you want them looking like ****. if the plastic is cracked, there's not much to do, your best bet is to source out a new set, i know of 2 parts cars i can get parts from, i can get oyu thier contact information if you'd liek