When you click on links to various merchants on this site and make a purchase, this can result in this site earning a commission. Affiliate programs and affiliations include, but are not limited to, the eBay Partner Network.
Successfully installed the longer dash trim on passenger side this weekend and it was such a pain. Biggest takeaway is to just take out the remove the radio and snake in the extension adapter from the kit to underneath the steering column. If you don't remove the radio, it's not happening. Trust me.
I've also written up instructions on how to remove the front seat back covers for the ambient lighting here. JamesAZ feel free to use my pics and update your instructions if you'd like
Finally done with the install this weekend! Sharing some additional takeaways/comments to questions I was thinking about while I was contemplating on whether I should buy it or not.
-I only installed the center dash x2 and door trims. Definitely didn't want to drill a hole for the storage light and didn't care for the footwell light. Considered doing the door handle...
-But door handles fit like crap. I don't know if it's just my set but it took me a bit to realize that the front and rear triangle piece are different sizes. Thought that that was the fix to my problem but it still didn't fit like OEM so I scrapped it. If I had installed it, I probably would've taken it off anyways. Feel like the trim only gives the car a much cleaner and elegant look. Just my opinion and preference.
-All of the red plugs are the same. I spent so much time trying to google translate, label the wires and placing them into sorted bags but once I started installing the trims in, realized it's all the same. "contour light" tag is to the trim. JamesAZ said on his first post that you can set up different zones? I'm happy with everything as the same color at the same brightness. So if you don't care either like me, no need to spend that much time to label everything.
-The 4 identical white plug that Mrbungle was asking about is for power. It does NOT plug into your window switch but rather to the power window regulator motor. Remove the door panel and you'll see it plugged inward into a hole. You'll see what I mean when you open the door.
-Each door operates individually. It gets powered by the white connector, which plugs into the control box, which is connect to a wire that will branch out into several other red connectors, that will connect to the trim/handle/storage. There's no physical wire that will link each door to each other. Each control box communicates wirelessly with the main control box (behind the coin compartment). Start separating and organizing all the cables to 4 sets (each door). It's the same set for each door. You'll be able to fly through each door in a matter of 10 minutes if you have everything organized.
-Didn't wrap anything in foam to minimize noise/rattling. Half assed some "cable management" and popped everything back together. I've driven about 20 miles so far and didn't hear a single rattle. Don't need to worry about that too much.
-For the front seat back cover trim on top, the fitment is what you would expect buying something from Aliexpress. Wiggle it on, put some tape on the bottom to "hold it in place" and put a piece of scotch tape on each corner to pull after you get the cover back. When you reinstall the back cover, you have to push up and that may cause the light trim to slide down a bit. Use the scotch tape as a tab to pull up and it'll eventually slide out. Use electrical tape to secure the clear tube in the light hole or it may slide out in the future.
-I powered the seat trim ^ by using the reallyyyyy long (probably the longest) wire extension that I'm pretty sure is labeled as footwell? If it's not labeled, you'll see which cable I'm referring to. It's split into 2 and splits into 2 each so 4 male red connectors. Powered from the main control box by the steering wheel, hid it inside behind the driver side dash plastic trims, scuff plate, etc. (step 3 in Jame's write up) Once I got near the B pillar (on the bottom), I slipped the wires underneath the driver seat rail so between the rain and the carpet. You don't have to worry about wires getting damaged, even with the convenience seat sliding at entry/exit. Is this the right wire? probably? But like I said, all the red plugs are the same so it worked for this.
-I'm using the app Ambientavto that James posted and I am baffled on how easy it synced. The first time I opened the app, it automatically connected without needing to connect or log in or anything.
-I'm using the steering wheel controls because I didn't see anyone using the trackpad nor did the doc that Jersey5974 say anything about it. Instructions are in the document. It works fine...you're better off using the app. I've played with it a bit and have found the color I'm content with leaving it in. Would be cool for it to switch to red if I changed to sports mode but that's not an option.
Prior to this project, I installed some sound deadening and then the illuminated door sill. Feel like doing those 2 installs had slowly helped give me confidence to do this because I've already had experience removing parts from each project to lead into this. Would probably rate the install a 3/10. Removing the dash and radio an 8/10.
My front door handles are good, but th backs needed some modification, since the tolerances didn't match. I assume its a difference between regions. I think the storage bins were worth drilling the hole, but to each their own. Was very easy to drill as well. The app has follow-2 mode where you can split the zones between top and bottom.
one of the manufacturers uploaded an install video 6 months ago.
I was playing with the app and noticed there's a lot of functions that don't work on my install. Thinking about them, I realized they would need data from CAN-BUS, and I remembered that my main controller did have CAN HIGH and CAN LOW wires that I never bothered to hook up. I'm going to find a good spot to tap into for this, maybe into the comma.ai harness.
Last edited by Jersey5974; Oct 31, 2024 at 08:43 PM.
I started installing my ambient lighting kit on my 2019 Lexus ES 350 Ultra Luxury over the weekend and decided to make a thread documenting my experience for those who may be interested in such a mod for their own cars. Feel free to give any input or criticism in order to refine this for anyone who may find it useful. __________________
10mm Socket Wrench Flat-Head Screwdriver Phillips Head Screwdriver __________________
Level of difficulty:
3/10
If you can change a flat tire, you can install this yourself just fine. It's pretty easy, just takes some basic ingenuity.
__________________
Things to know:
- The lights only come on when the headlights are on. So if your headlights are set to "Auto", and it's bright enough outside that your headlights aren't coming on, turn your headlights on manually in order to turn on the ambient lights. The only issue is your car doesn't like you leaving the lights on when you turn the car off. I'm considering seeing if it's possible to turn that alert off via Cariasta, but not in the mood to spend $10 right now just to find out it doesn't work.
- My kit has the option for 2 zone colors, by happy accident when I did the 2 front doors and both the dash lights, I "messed up" so the driver's side and passenger side were 2 different colors. Was great since it allowed my girlfriend to have her green side, and I get to have my blue side. But the intended effect is to have the top of the car be one color, and the footwell and door bin lights be another. So I'd advise before you put everything back together to test which zone it is by plugging it in first, and making some kind of indication for which zone is which. I personally just cut the tags off the cables that were the color I wanted, since I have no desire to add the handle, door bin, or speaker lights.
- The lights are pretty poor in the daylight. Which is fine, but I ended up setting my headlight sensitivity to -2 since even at 0 or -1 it's pretty washed out looking. But at night, they're very beautiful and vibrant.
- I believe there's an issue with the 2019 models. If you do this mod and your experience reflects the following statements, please share your experience to help either prove of disprove my theories:
In order to power on the driver's side door, you'll need to get a different connector as I believe the connector provided (at least in my kit) connects to the cable for the power folding side mirrors which wasn't a feature until the 2020 MY. I have contacted my seller in hopes of them sending me a proper cable. I'll update in the future on the status of this issue.
- I am unable to control the lights from the steering wheel. It may be an error on my end, a defective control module, or it's due to, again, it being 2019 MY. My seller provided me with an app that I can use to change the lights which works for me as I usually just set and forget and don't feel the need to constantly change them.
They sent me this QR code for the app:
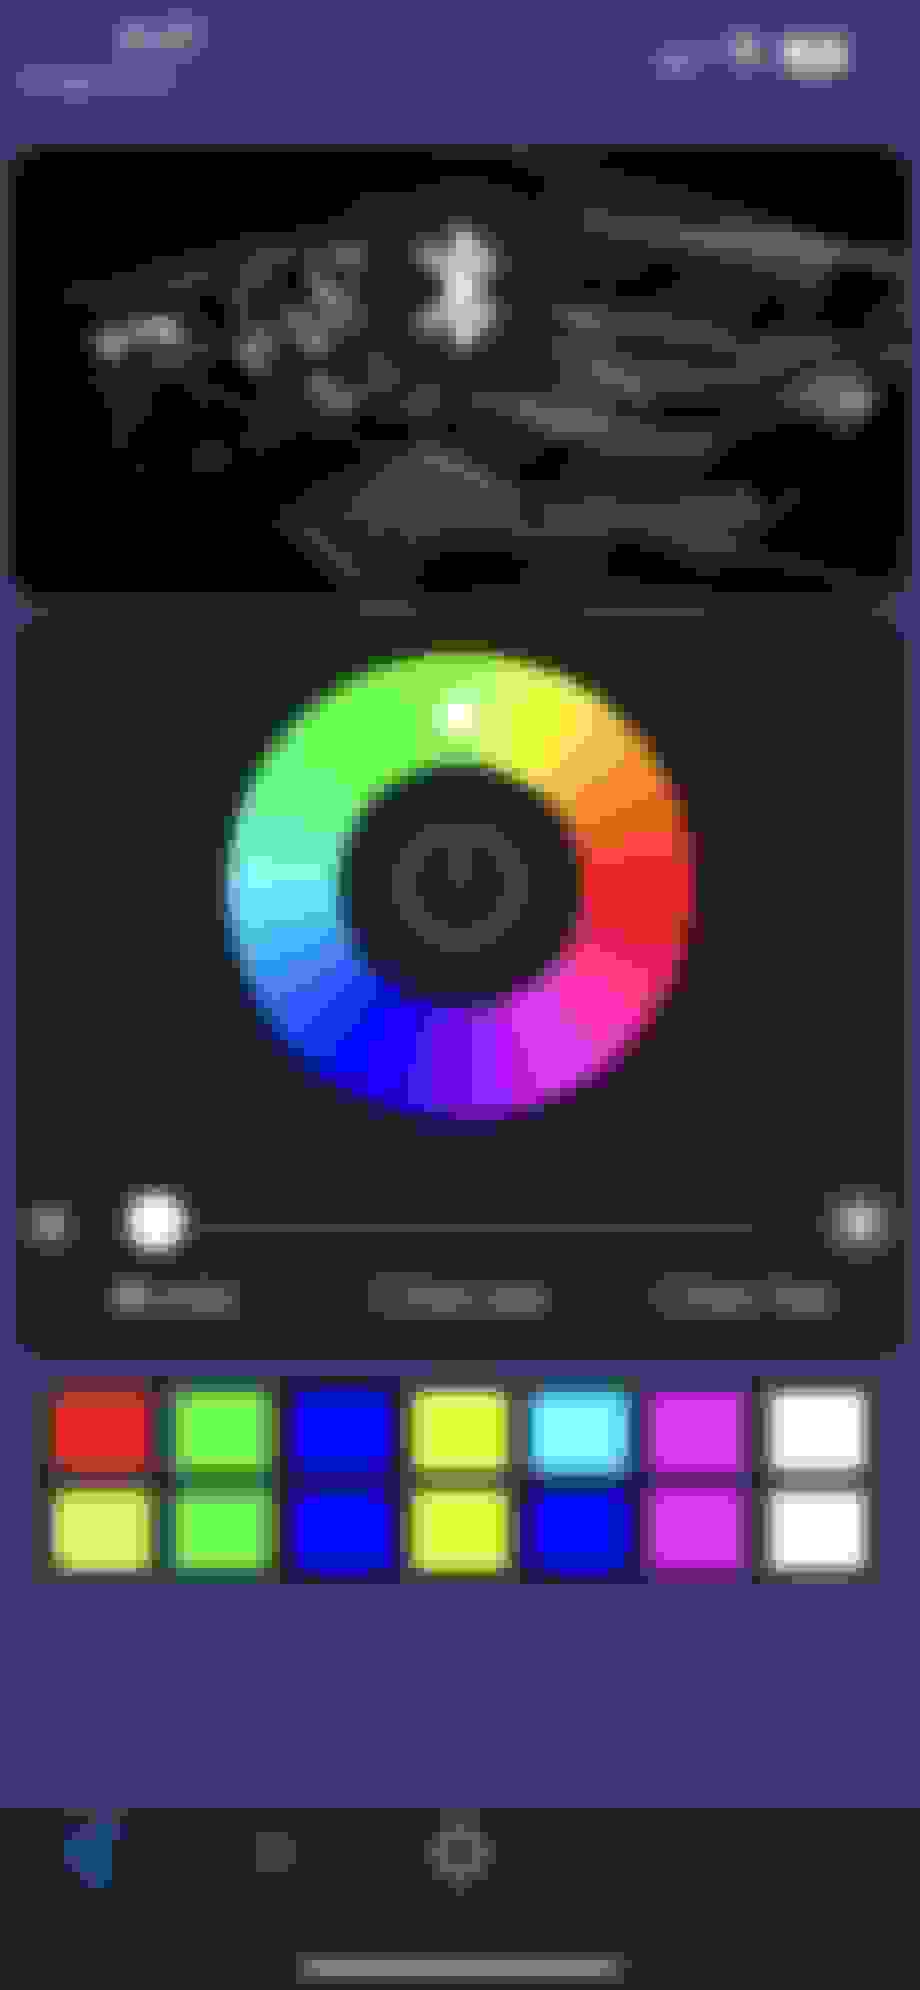
If you don't want to download an app by a QR code posted by a random stranger on the internet claiming to get it from some random person across the globe in China, I found this app works just as well:
I tried the app you showed but it�s not working?
any ideas ??
it�s doesn�t do anything when I click on the Bluetooth button is just has a refresh logo that does nothing when pressed
ambientavto
A simple way is to go to the web site page showing the ambient light kit you purchased and copy the full URL of that page from the web browser's address bar text field and then just paste that into the reply composing/editing text field.
A more reader friendly way is to use the "compose a clickable link" tool (the chain link icon) form the reply composing toolbar. Place your text cursor where you want to clickable link placed. Then click on the toolbar's chain link icon and a fill out form dialog will come up. The top text field is where you enter the plain text label (e.g., Super Ambient Light Kit) for link and the bottom text field is where you paste the URL for the ambient light kit's web site page for the kit you purchased.
wow that�s to smart for me but thanks for your help!!
I�ll try to locate the seller to get more info
[img alt="Any idea what these option do??
It�s off on my app..!
Funny I had these on my car for over a year and I just found this setting on my app .
Hopefully it lights up when I do those action that�s highlighted yes or no"]https://cimg6.ibsrv.net/gimg/www.clublexus.com-vbulletin/750x1334/img_3667_316576c3e6d128c86cfdaae2e2787b50f0c64923.png[/img] Any idea what these option do?? It�s off on my app..! Funny I had these on my car for over a year and I just found this setting on my app . Hopefully it lights up when I do those action that�s highlighted yes or no
Funny, those options are the reason why I revived this thread. It depends on your kit, but I have been told from one of the factories that 7th Gen ES supports those features. Most of those features logically will need to read can-bus to get that data though. Whether or not that's built into main controller harness or needs to be tapped manually like mine could be a difference.
Thanks for the help !!
I really appreciate it so much
I try these option door blind etc and it�s said not available or something like that!
man I wish I can manually can bus what you did but I still have be clue what that means !
do you mean the main big black box that controls all the little boxes !!
if only I didn�t drop out of school early!!
I started installing my ambient lighting kit on my 2019 Lexus ES 350 Ultra Luxury over the weekend and decided to make a thread documenting my experience for those who may be interested in such a mod for their own cars. Feel free to give any input or criticism in order to refine this for anyone who may find it useful. __________________
10mm Socket Wrench Flat-Head Screwdriver Phillips Head Screwdriver __________________
Level of difficulty:
3/10
If you can change a flat tire, you can install this yourself just fine. It's pretty easy, just takes some basic ingenuity.
__________________
Things to know:
- The lights only come on when the headlights are on. So if your headlights are set to "Auto", and it's bright enough outside that your headlights aren't coming on, turn your headlights on manually in order to turn on the ambient lights. The only issue is your car doesn't like you leaving the lights on when you turn the car off. I'm considering seeing if it's possible to turn that alert off via Cariasta, but not in the mood to spend $10 right now just to find out it doesn't work.
- My kit has the option for 2 zone colors, by happy accident when I did the 2 front doors and both the dash lights, I "messed up" so the driver's side and passenger side were 2 different colors. Was great since it allowed my girlfriend to have her green side, and I get to have my blue side. But the intended effect is to have the top of the car be one color, and the footwell and door bin lights be another. So I'd advise before you put everything back together to test which zone it is by plugging it in first, and making some kind of indication for which zone is which. I personally just cut the tags off the cables that were the color I wanted, since I have no desire to add the handle, door bin, or speaker lights.
- The lights are pretty poor in the daylight. Which is fine, but I ended up setting my headlight sensitivity to -2 since even at 0 or -1 it's pretty washed out looking. But at night, they're very beautiful and vibrant.
- I believe there's an issue with the 2019 models. If you do this mod and your experience reflects the following statements, please share your experience to help either prove of disprove my theories:
In order to power on the driver's side door, you'll need to get a different connector as I believe the connector provided (at least in my kit) connects to the cable for the power folding side mirrors which wasn't a feature until the 2020 MY. I have contacted my seller in hopes of them sending me a proper cable. I'll update in the future on the status of this issue.
- I am unable to control the lights from the steering wheel. It may be an error on my end, a defective control module, or it's due to, again, it being 2019 MY. My seller provided me with an app that I can use to change the lights which works for me as I usually just set and forget and don't feel the need to constantly change them.
They sent me this QR code for the app:
If you don't want to download an app by a QR code posted by a random stranger on the internet claiming to get it from some random person across the globe in China, I found this app works just as well:
Great write up. Thank you. I'm trying to look for ambient lighting kits for my es300h base trim, but it seems as of 2025, most of the kits are replacing the wood trim and making that whole piece led. Why????? I want the kit you got lol.
Great write up. Thank you. I'm trying to look for ambient lighting kits for my es300h base trim, but it seems as of 2025, most of the kits are replacing the wood trim and making that whole piece led. Why????? I want the kit you got lol.
I have the same kit.
does anyone know how to change the color upper and lower so I can have dual color on the app shown and also on start up!!