


2ES Project Thread: Custom LED Lighting
Thanks man. If you ever need one let me know. I just need a trace of the stuff then I can make the kit for you or I can make it and sell it to you or something. With over 1000 LEDs left I should start thinking about kits again...especially since i figured out that the max amount of lights I'm putting into each tail is roughly 100 lol.....
Yeah, the guy was praised for his discovery. So far I have 30 completed and it works quite nicely in the space i traced out so far
Yeah, the guy was praised for his discovery. So far I have 30 completed and it works quite nicely in the space i traced out so far
Small update!
Just picked up a second set of tail lights for the 95-96 years. Once they arrive I can bake, measure, then add the LEDs directly to my original or soon-to-be-spare set of tails
PS, making those LED reflectors with the Michaels bells takes a long time, especially when its been cold here in SoCal lately. The silicone isn't at the right "hardness" yet
Guess its time to update what I have so far. Needless to say its coming along quite nicely. Its a slow but steady process I have to say
On with the show as they say hehe
---------------------------------------------
So as I got a spare set of tails to play with, I obviously had to measure the amount of space I had to play with. Surprisingly, the amount of light that shown through while it was still original was a very accurate indicator of how much space there was.

Pre-soldered board placed inside "hole" (took a chance and soldered everything since I had trouble waiting for everything to arrive)

Cardboard cut up to fit inside...

LED board cut with a dremel and placed inside to verify accurateness of my measuring...

Now for the outer part that uses a NORMAL 194 bulb <--surprised me since I never saw it working in the first place -.-"
Empty

Found a PCB board that fit from my HK stock

Now for the board fabrication pictures. As you can probably tell, they are much cleaner than the 3rd brake light since I had more room to play with. Needless to say, I'm definitely happy with the layout on the limited space I had.
LED with "reflector"

194 bulb first...


Now for the 1157 brake bulbs...


Semi-final design (need to find voltage of "driving lights" before I JB weld the board into place)

So here are some in place "brake only" shots lit up sans 194 boards...


Heres it with the darn cover on. I'll be dremeling out the stupid refractor plastic pieces of course. I want everyone to see the hard work I put into it

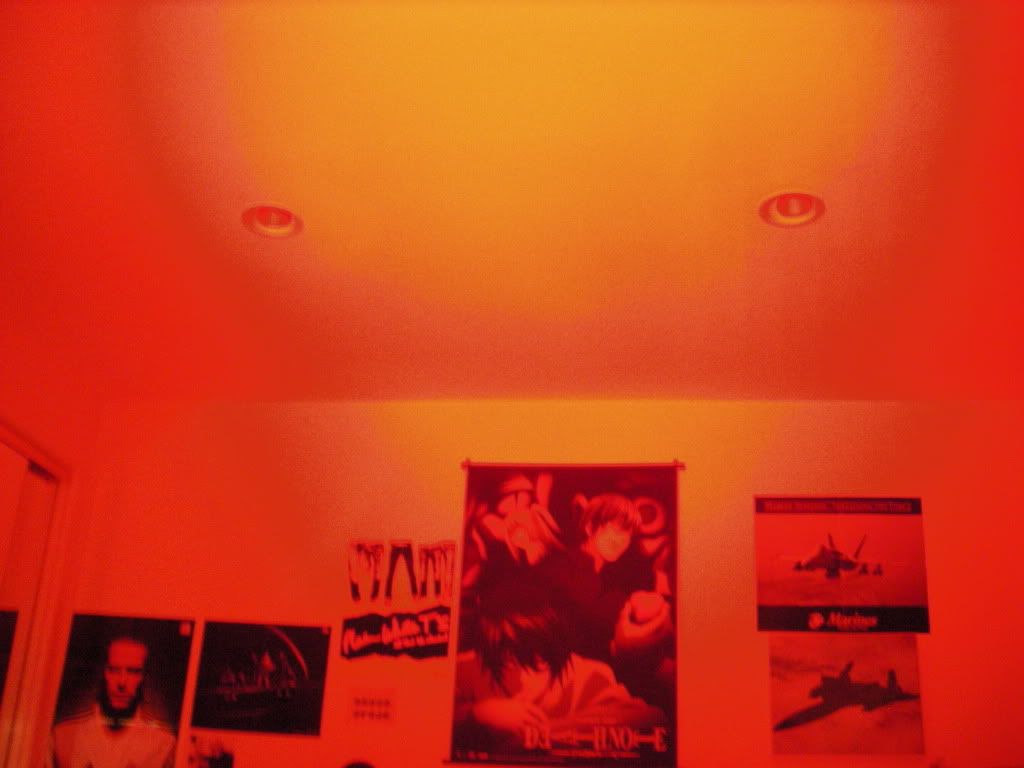
Oh yeah, heres the 2 boards against the ceiling of my room
Hope you're all happy seeing this. I know I am since I'm roughly 60% finished with the thing. Slow and steady as she goes boys
On with the show as they say hehe
---------------------------------------------
So as I got a spare set of tails to play with, I obviously had to measure the amount of space I had to play with. Surprisingly, the amount of light that shown through while it was still original was a very accurate indicator of how much space there was.
Pre-soldered board placed inside "hole" (took a chance and soldered everything since I had trouble waiting for everything to arrive)
Cardboard cut up to fit inside...
LED board cut with a dremel and placed inside to verify accurateness of my measuring...
Now for the outer part that uses a NORMAL 194 bulb <--surprised me since I never saw it working in the first place -.-"
Empty
Found a PCB board that fit from my HK stock
Now for the board fabrication pictures. As you can probably tell, they are much cleaner than the 3rd brake light since I had more room to play with. Needless to say, I'm definitely happy with the layout on the limited space I had.
LED with "reflector"
194 bulb first...
Now for the 1157 brake bulbs...
Semi-final design (need to find voltage of "driving lights" before I JB weld the board into place)
So here are some in place "brake only" shots lit up sans 194 boards...
Heres it with the darn cover on. I'll be dremeling out the stupid refractor plastic pieces of course. I want everyone to see the hard work I put into it
Oh yeah, heres the 2 boards against the ceiling of my room
Hope you're all happy seeing this. I know I am since I'm roughly 60% finished with the thing. Slow and steady as she goes boys
ClubLexus Stories
Celebrating Lexus & Toyota from Around the Globe

Top 10 Most Confusing Things Lexus Has Ever Done!
Joe Kucinski
2026 Lexus ES Review: Lexus Re-Embraces Founding Principles
Michael S. Palmer
10 Lexus Bargains That are Cheaper Than a New Toyota RAV4
Joe Kucinski
8 Weirdest Things Lexus Has Ever Built
Verdad Gallardo
10 Lexus Designs That Have Aged Like Fine Wine
Verdad Gallardo
8 Tips for Improving Your Hybrid or Plug-in Hybrid's Efficiency!
Michael S. Palmer
10 Best Lexus Models No One Remembers
Joe Kucinski
TRD Off-Road Premium: Best 2026 4Runner, Except This One Thing
Michael S. Palmer
Top 10 Lexus & Toyotas to Drive Before You Die!
Joe Kucinski
Thanks Dixon
I'm getting so impatient right now, especially since its almost finished haha
haha
I think I'll keep the turn signals plain for now since I have no worked out hyperflashing yet haha. That and I don't have any amber superflux LEDs. Theres a guy selling 1200 of them for $449 but I paid quite a bit less than that for my 1200 red-orange set....
Thanks swifty. I noticed that way back but I figured a progress thread would be nice. If you honestly think about it, almost none of this is DIY capable for the average Joe haha. Sorta sad but its a nice project. Are you almost finished as well?
I'm getting so impatient right now, especially since its almost finished
hahaThanks swifty. I noticed that way back but I figured a progress thread would be nice. If you honestly think about it, almost none of this is DIY capable for the average Joe haha. Sorta sad but its a nice project. Are you almost finished as well?
Small update!!!
So I figured out what I'll do to do the dual brightness mode AKA running/braking lights. A short trip over to HIDplanet enabled me to purchase a barebones Opti-Drive PWM kit. In short, this kit lets me dial in exactly how bright I want the running lights to be. It also lets me change it if I want since its just a simple turn of the **** on the board.
Pretty much, I'll dial it into the same brightness (or brighter) of the LED tails in my 2010 Camry. With that, it'll go to running lights OEMish (whatever voltage that is since I couldn't figure it out), then go the full 12v blast everyone usually sees on the road
Its another thing to build but thats the fun of it all. Best of all, the needed parts for this Opti-Drive kit are found at Radioshack and the rare ones are included. All you need is solder
Picture of the board and the 1157 and 194 bases I picked up...


1157 is empty, which is good since I want this to be plug and play...


194 base is also empty, for true retrofit goodness...

And here are completed pictures of the Opti-Drive PWM board
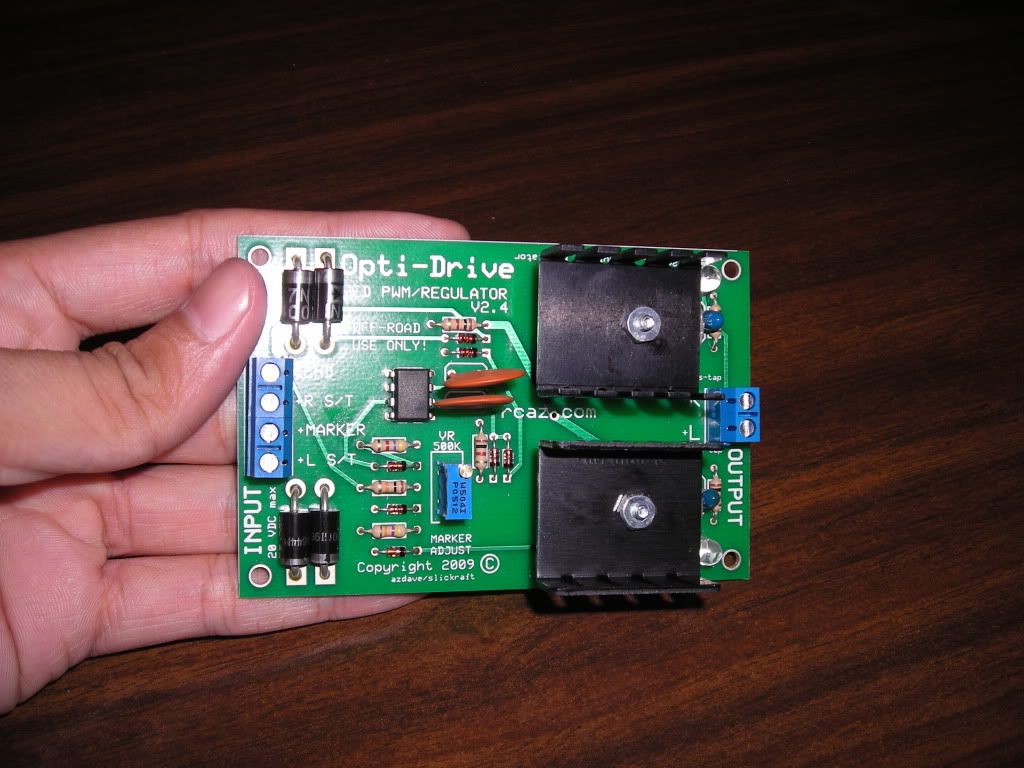

Thoughts about the board...yes, the heatsinks are supposed to face down but I sort of messed up on accident while making it so they face up now. It wont affect me since I plan to put it into a box anyway lol. Its pretty cool dialing in the brightness as well since I can control the voltage going into the lights from 5%-98%. It does get misleading since after I dial it, I touch the "brakes" and then I'm blinded...again lol...
Hope you guys liked this mini-update!
So I figured out what I'll do to do the dual brightness mode AKA running/braking lights. A short trip over to HIDplanet enabled me to purchase a barebones Opti-Drive PWM kit. In short, this kit lets me dial in exactly how bright I want the running lights to be. It also lets me change it if I want since its just a simple turn of the **** on the board.
Pretty much, I'll dial it into the same brightness (or brighter) of the LED tails in my 2010 Camry. With that, it'll go to running lights OEMish (whatever voltage that is since I couldn't figure it out), then go the full 12v blast everyone usually sees on the road
Its another thing to build but thats the fun of it all. Best of all, the needed parts for this Opti-Drive kit are found at Radioshack and the rare ones are included. All you need is solder
Picture of the board and the 1157 and 194 bases I picked up...
1157 is empty, which is good since I want this to be plug and play...
194 base is also empty, for true retrofit goodness...
And here are completed pictures of the Opti-Drive PWM board
Thoughts about the board...yes, the heatsinks are supposed to face down but I sort of messed up on accident while making it so they face up now. It wont affect me since I plan to put it into a box anyway lol. Its pretty cool dialing in the brightness as well since I can control the voltage going into the lights from 5%-98%. It does get misleading since after I dial it, I touch the "brakes" and then I'm blinded...again lol...
Hope you guys liked this mini-update!