
2ES CD Changer Void-fill DIY Walkthrough (PICTURES)
 08-03-12, 11:38 AM
#1
Advanced
Thread Starter
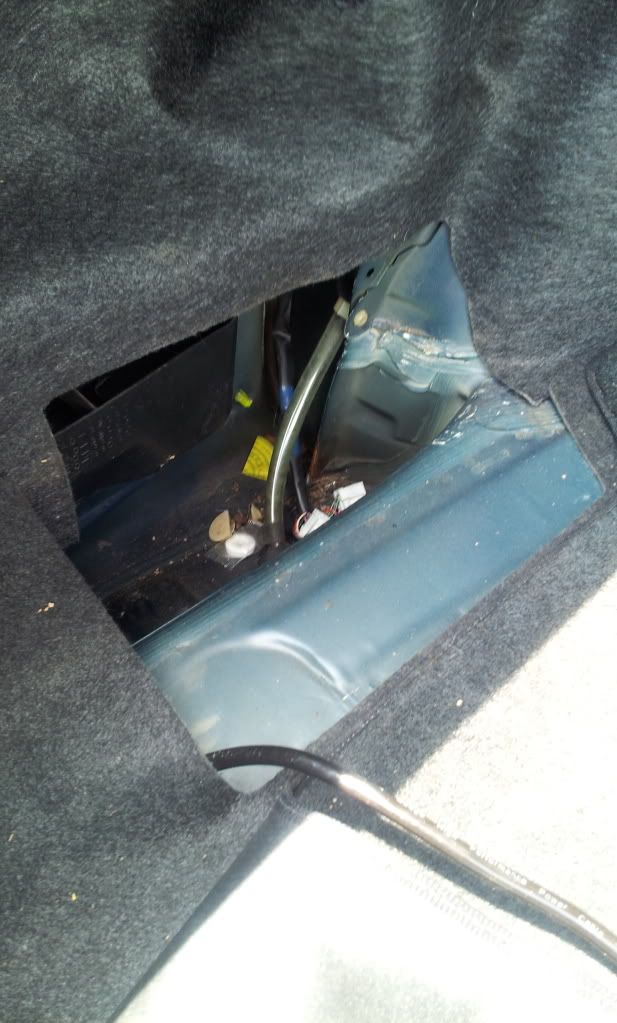
So I am building a box that almost takes up all my trunk, and since I have aftermarket stereo and all that, the CD changer is useless (didn't work when hot anyway), and I need that space for the box to fit soooooo.....took out the changer, but it was this BIG void that lead to a return line (didn't feel comfortable with it exposed). Pretty pleased with the results.
Materials used:
-drill
-MDF board (any wood will do)
-jigsaw
-wood screws
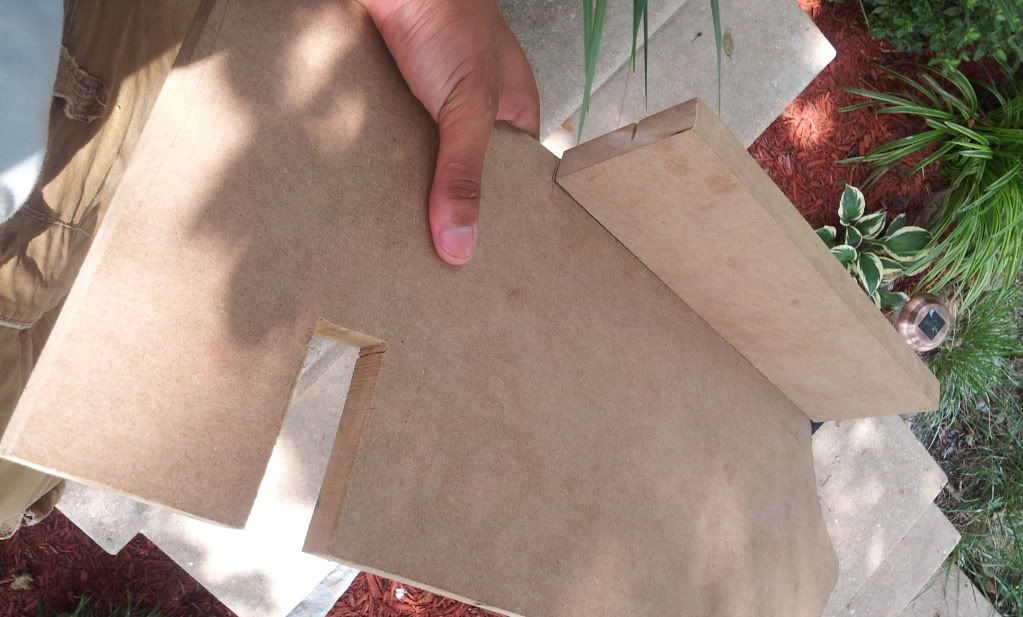
This is what it starts off as:
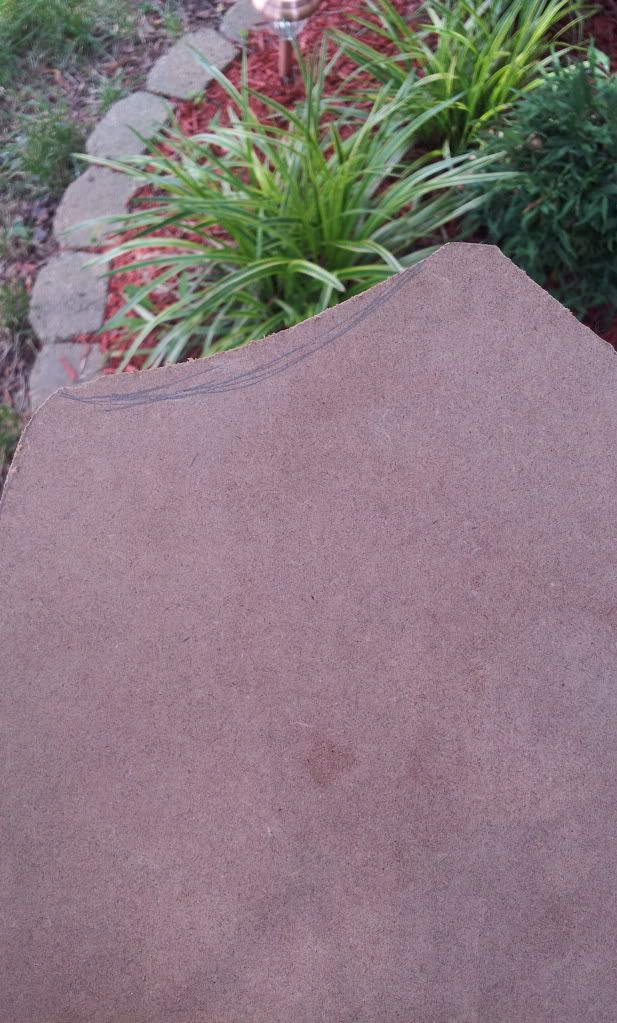
I used the top carpet of the CD changer for the template because it was a pretty nice fit for the void. Jigsawed it out after tracing.
(looks better already)
Had to go back to perfect it after the initial cut to make a better fit.
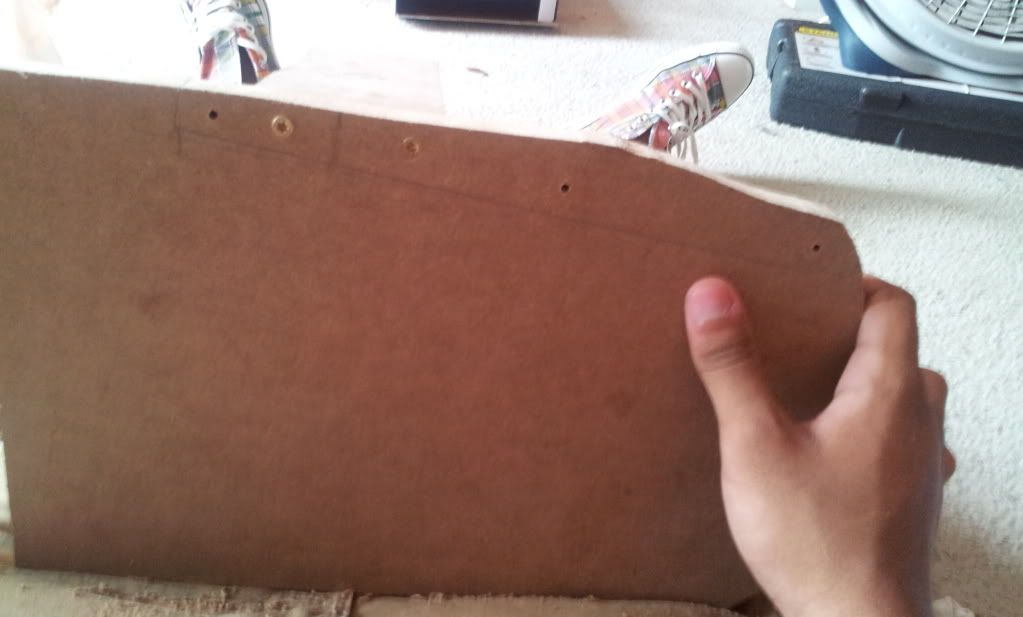
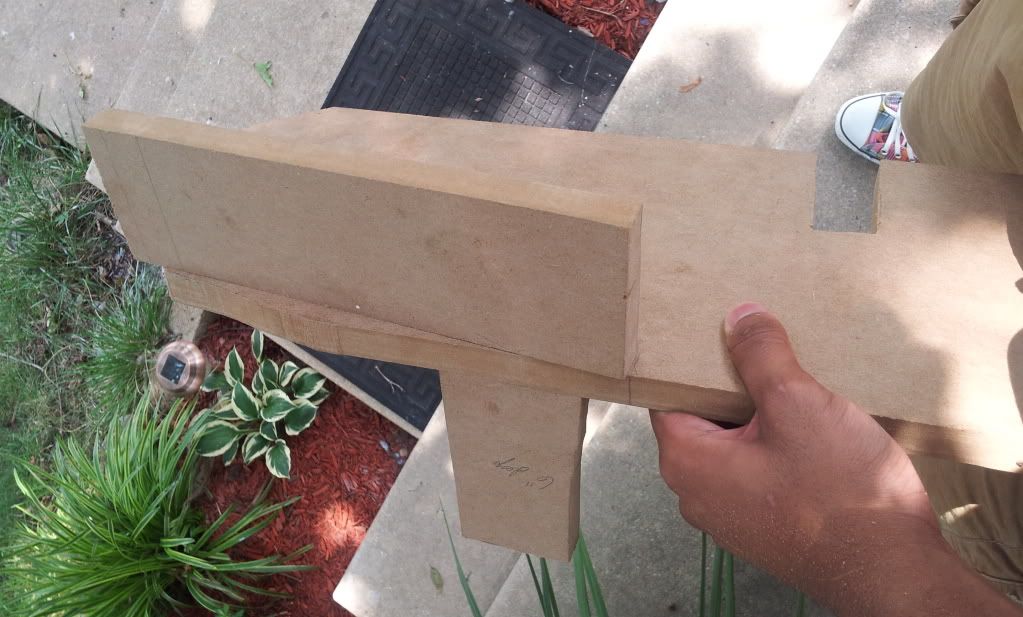
added a piece for the "leg" to sit in the void that was exactly 6" down from the top of my 3/4" MDF board. Secured it with 2 screws.
After the leg, it was still a gap in the carpet I wanted to protect, so used wood about 3.5" tall and drew a line to measure up the angle it needed to protect, then I drilled the screws (you only need 2 holes):
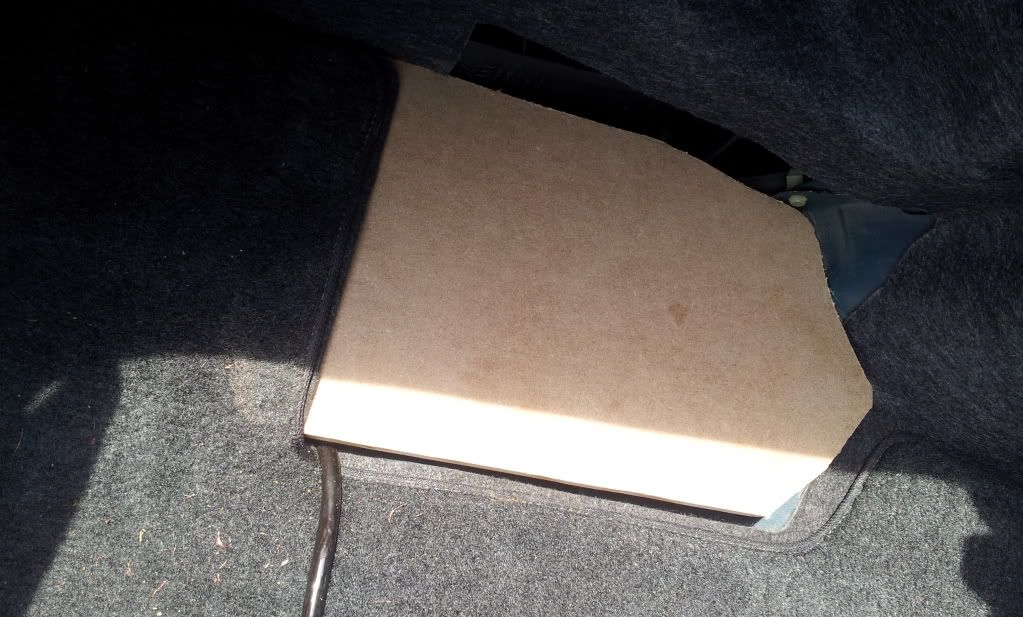
cut out a square for my ground wire to travel through so it wouldn't sit so uneven. Here is the finished product:
After:
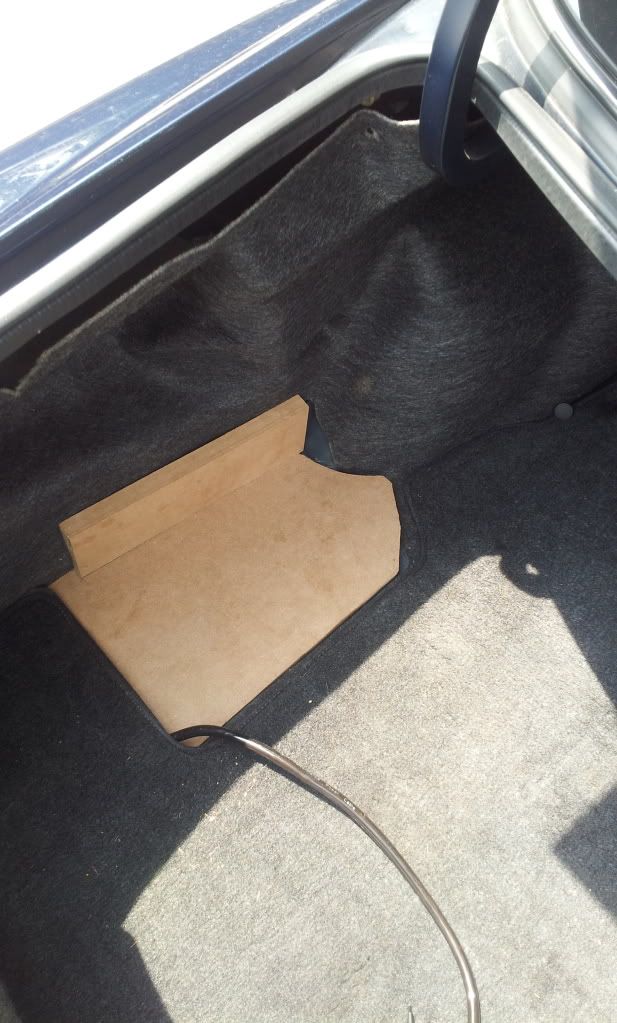

Total time: about 45 min.
Materials used:
-drill
-MDF board (any wood will do)
-jigsaw
-wood screws
This is what it starts off as:
I used the top carpet of the CD changer for the template because it was a pretty nice fit for the void. Jigsawed it out after tracing.
(looks better already)
Had to go back to perfect it after the initial cut to make a better fit.
added a piece for the "leg" to sit in the void that was exactly 6" down from the top of my 3/4" MDF board. Secured it with 2 screws.
After the leg, it was still a gap in the carpet I wanted to protect, so used wood about 3.5" tall and drew a line to measure up the angle it needed to protect, then I drilled the screws (you only need 2 holes):
cut out a square for my ground wire to travel through so it wouldn't sit so uneven. Here is the finished product:
After:
Total time: about 45 min.
 08-03-12, 11:39 AM
#2
Advanced
Thread Starter
not PERFECT: but indeed good enough for the application. You can paint it as well to blend with the carpet. I didn't have the patience to. Comments are welcome =)
 08-07-12, 10:33 AM
#4
Well done. I applaud the posting of pics.
Sometimes 'mods' aren't worth posting... I won't for example go out of my way on how to remove the original AMP, since its common sense. Follow the screws and figure it out. I would've done the same as OP but wouldn't have to post pics, since not many will care or refer to it anyways.
Sometimes 'mods' aren't worth posting... I won't for example go out of my way on how to remove the original AMP, since its common sense. Follow the screws and figure it out. I would've done the same as OP but wouldn't have to post pics, since not many will care or refer to it anyways.
08-22-12, 03:41 PM
#5
Advanced
Thread Starter
Well done. I applaud the posting of pics.
Sometimes 'mods' aren't worth posting... I won't for example go out of my way on how to remove the original AMP, since its common sense. Follow the screws and figure it out. I would've done the same as OP but wouldn't have to post pics, since not many will care or refer to it anyways.
Sometimes 'mods' aren't worth posting... I won't for example go out of my way on how to remove the original AMP, since its common sense. Follow the screws and figure it out. I would've done the same as OP but wouldn't have to post pics, since not many will care or refer to it anyways.


Thread
Thread Starter
Forum
Replies
Last Post
Lamchop21
Lexus Audio, Video, Security & Electronics
4
07-11-08 02:38 PM
nuocmam122
Lexus Audio, Video, Security & Electronics
1
02-05-04 02:49 PM