
factory HIDs Question
 12-15-07, 10:09 AM
#1
Driver
Thread Starter
Join Date: Jul 2007
Location: Toronto
Posts: 139
Likes: 0
Received 0 Likes
on
0 Posts
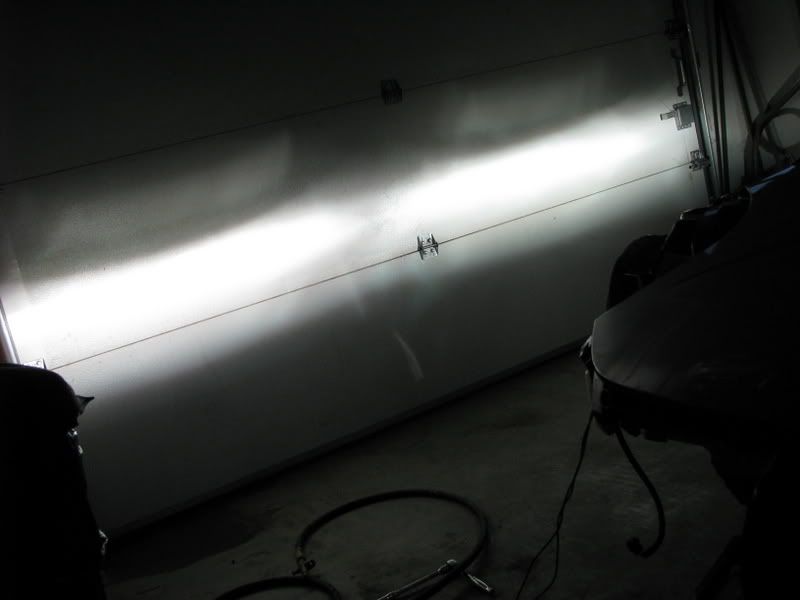
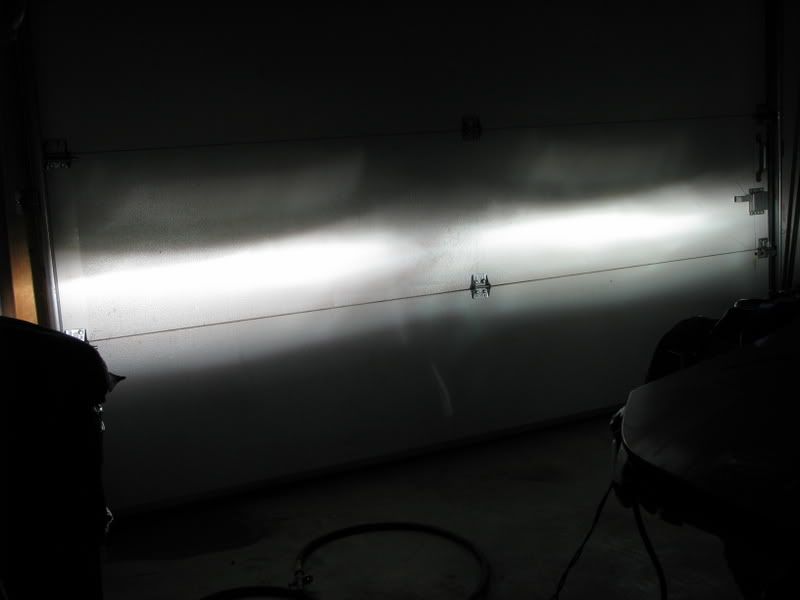
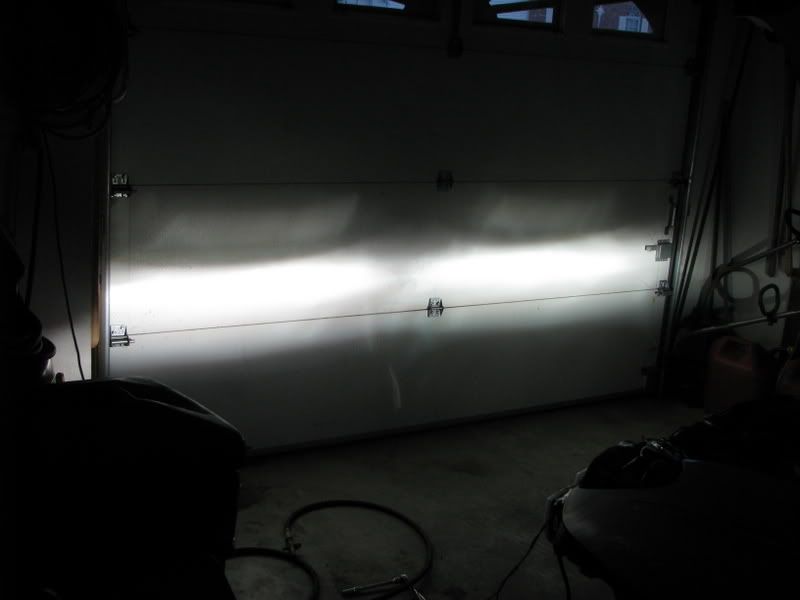
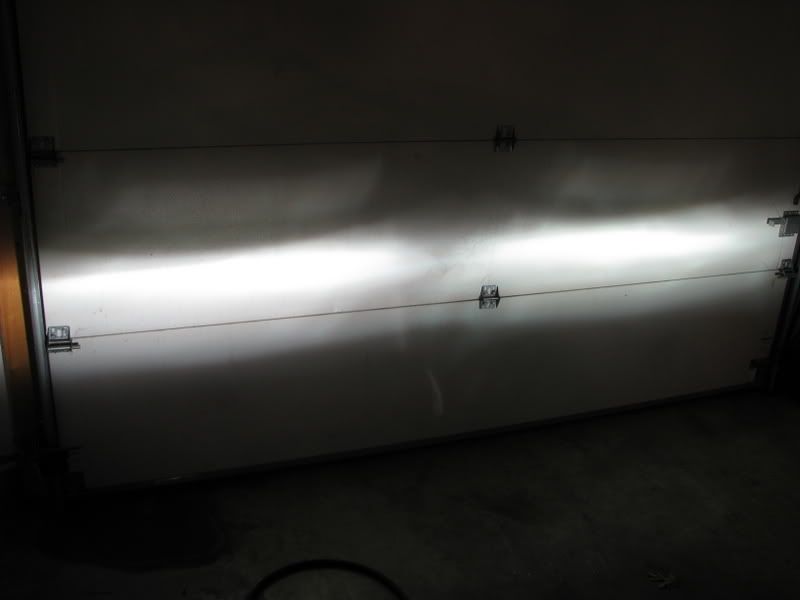
hey everyone i hav the auto-leveling HIDs on my 2000 and the beam pattern looks off is there any way to adjust these? also if you have factory HIDS can you post your cutoff line? has anyone tried modding the unit for a better cutoff? thanks in advance
Last edited by happy_es3; 12-15-07 at 10:14 AM.
 12-17-07, 01:14 PM
#4
Lexus Test Driver
HID type: ADJUST HEADLIGHT AIM
Inspect the headlight aim.
Place the vehicle in the following conditions.
The area around the headlight is not deformed.
The vehicle is parked on a level surface.
Tire inflation pressure is the specified value.
A driver is in the driver's seat and the vehicle is in a state ready for driving (with a tank full).
The vehicle has been bounced several times.
Prepare a thick white paper.
Stand the paper perpendicular to the ground at the position 9.84 ft away from the headlights.
Ensure that the center line of the vehicle and the paper face forms a 90-degree angle as shown in the illustration.
Draw a horizontal line (H line) on the paper, showing where the headlights should strike.
Draw a vertical line (V line) to where the center line of the vehicle is to be.
Draw 2 vertical lines to where the both headlights should strike (V RH and V LH lines).
Draw a horizontal line (by connecting the both low beam center marks) to where the headlights should strike (H RH and H LH lines). HINT: The H RH and H LH line is 0.4 � below the horizontal line (H line) of the light axis.
Take appropriate measures to prevent influence of other lights. NOTE: Disconnect connectors of the other lights so that the aiming adjustment will not be affected. When connecting the connectors again, take care not to make the aiming out of adjustment.
Start the engine.
Turn the headlights ON.
Check that the headlights properly strike the position shown in the illustration.
If not, adjust the lights in the vertical direction.

As shown in the illustration, adjust each aim of the RH and LH lights.
The "High Beam" values in the illustration are reference values. The "*" marked values in the illustration are reference values.

When adjusting it in the vertical direction: Using adjusting bolt A, adjust the headlight aim to within the specified range.
Inspect the headlight aim.
Place the vehicle in the following conditions.
The area around the headlight is not deformed.
The vehicle is parked on a level surface.
Tire inflation pressure is the specified value.
A driver is in the driver's seat and the vehicle is in a state ready for driving (with a tank full).
The vehicle has been bounced several times.
Prepare a thick white paper.
Stand the paper perpendicular to the ground at the position 9.84 ft away from the headlights.
Ensure that the center line of the vehicle and the paper face forms a 90-degree angle as shown in the illustration.
Draw a horizontal line (H line) on the paper, showing where the headlights should strike.
Draw a vertical line (V line) to where the center line of the vehicle is to be.
Draw 2 vertical lines to where the both headlights should strike (V RH and V LH lines).
Draw a horizontal line (by connecting the both low beam center marks) to where the headlights should strike (H RH and H LH lines). HINT: The H RH and H LH line is 0.4 � below the horizontal line (H line) of the light axis.
Take appropriate measures to prevent influence of other lights. NOTE: Disconnect connectors of the other lights so that the aiming adjustment will not be affected. When connecting the connectors again, take care not to make the aiming out of adjustment.
Start the engine.
Turn the headlights ON.
Check that the headlights properly strike the position shown in the illustration.
If not, adjust the lights in the vertical direction.
As shown in the illustration, adjust each aim of the RH and LH lights.
The "High Beam" values in the illustration are reference values. The "*" marked values in the illustration are reference values.
When adjusting it in the vertical direction: Using adjusting bolt A, adjust the headlight aim to within the specified range.
 12-17-07, 04:43 PM
#7
Lexus Test Driver
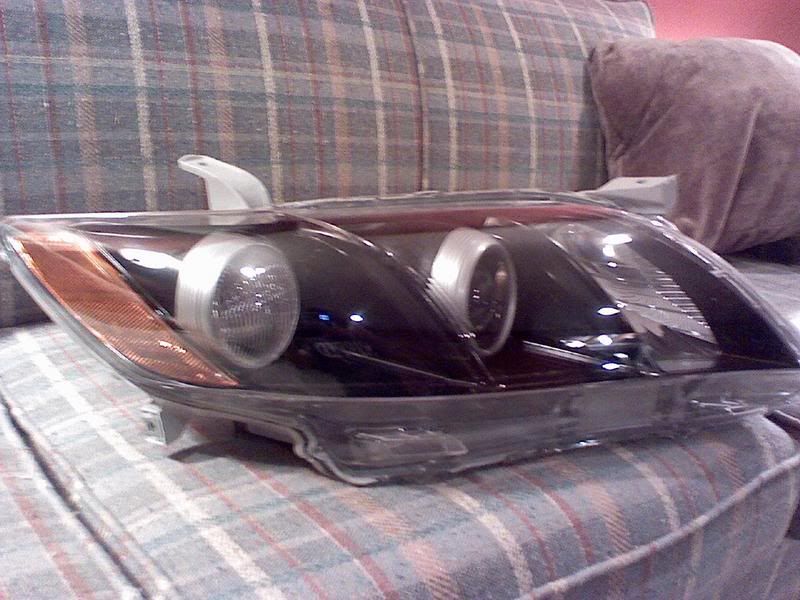
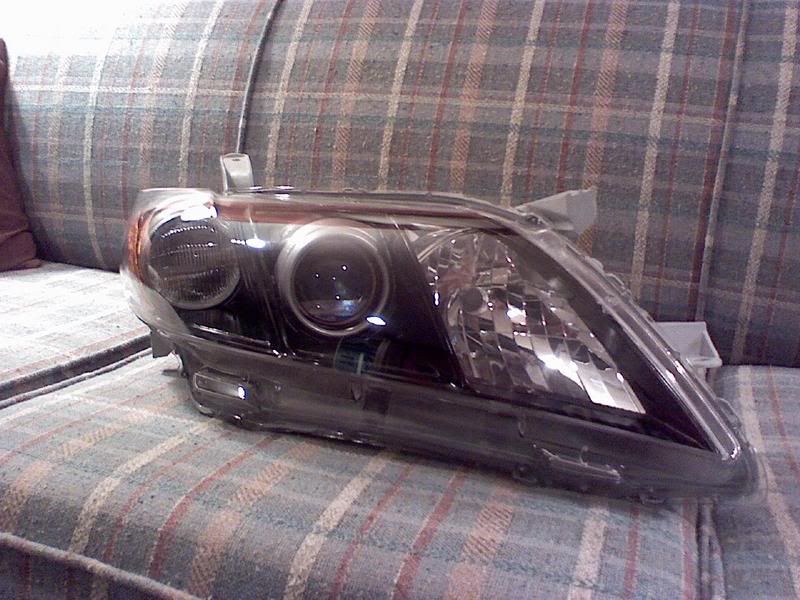
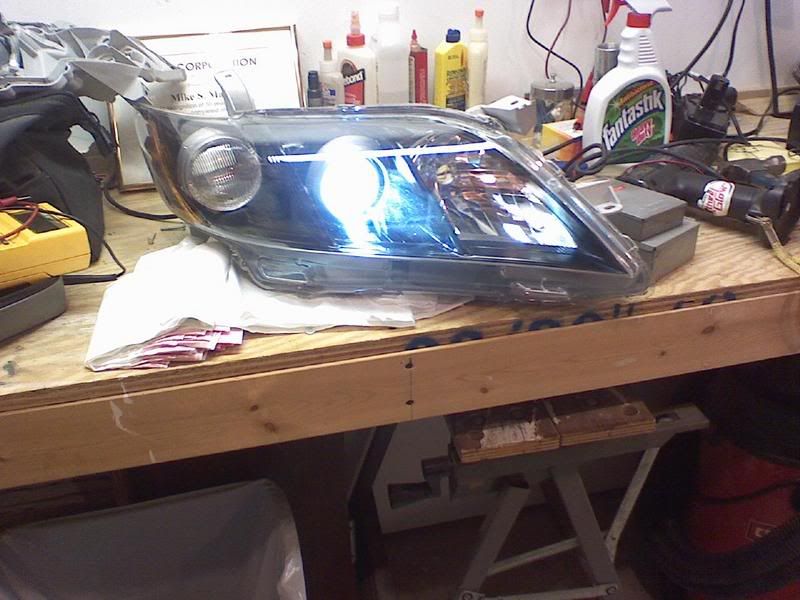
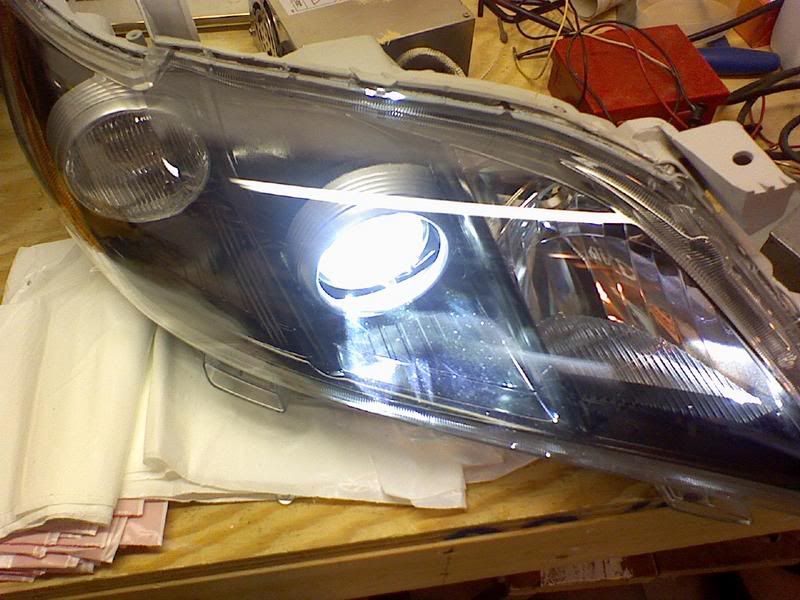
Yea i know. Im sorry. I do TSX projector retro's for 07-08 Camrys. Here are some pics of the modified TSX projectors I use:


Now those ^^^ Are BEAUTIFUL cut-offs!!
Now those ^^^ Are BEAUTIFUL cut-offs!!
Last edited by JSM1284; 12-17-07 at 04:50 PM.
Trending Topics


 12-18-07, 08:29 AM
#15

It looks like you do really nice work.