Meraki Autoworks
Your #1 Lexus Vendor
close


Today
- Join DateOct 2011
- LocationCA - USA
- Posts:19,371
-
iTrader Positive Feedback100
-
iTrader Feedback Score(8)
-
Likes:832
-
Liked:808 Times in 712 Posts
Nice!
-Josh
-Josh


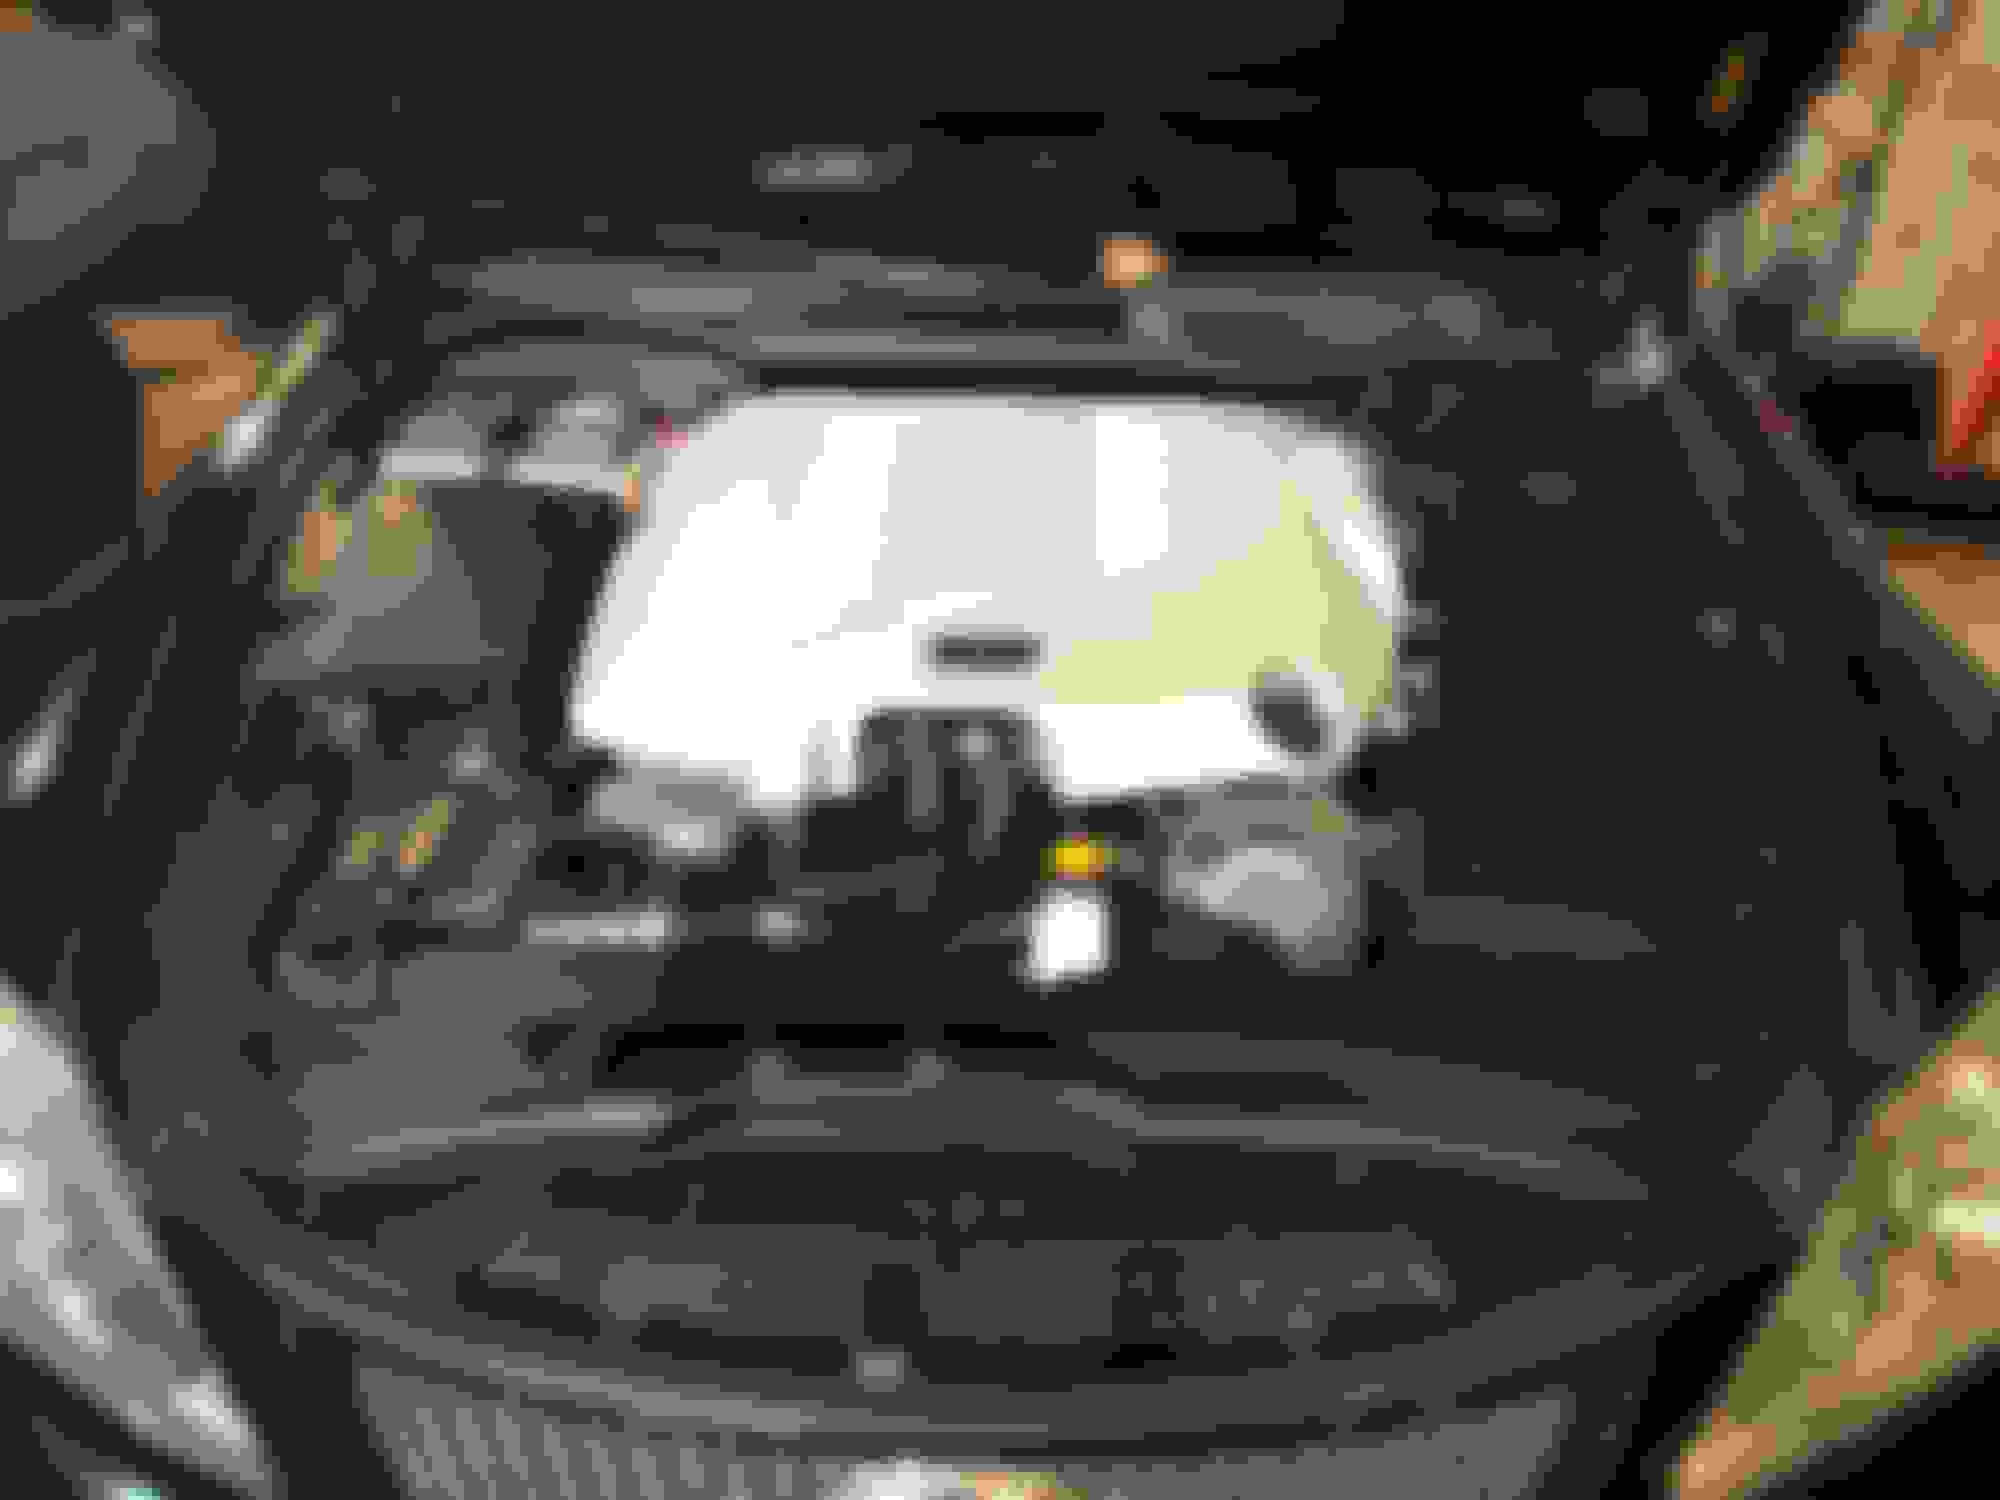
The next installment consists of a new radiator, tranny fluid, and brake booster check valve.
I took enough pictures to do a half assed write up on each. The mother tranny thread is a mess though.
I took enough pictures to do a half assed write up on each. The mother tranny thread is a mess though.


I did the tranny thread. https://www.clublexus.com/forums/is-...procedure.html
not much new. The steering wheel�s leather had split along the top. I bought one of those $30 leather stitch on covers but I didn�t do a good enough job to keep that. So now a new/used wheel sits in place and the world is right again.
I did like the extra thickness of the cover. I considered an aftermarket wheel but all the options are pretty ugly in my opinion.
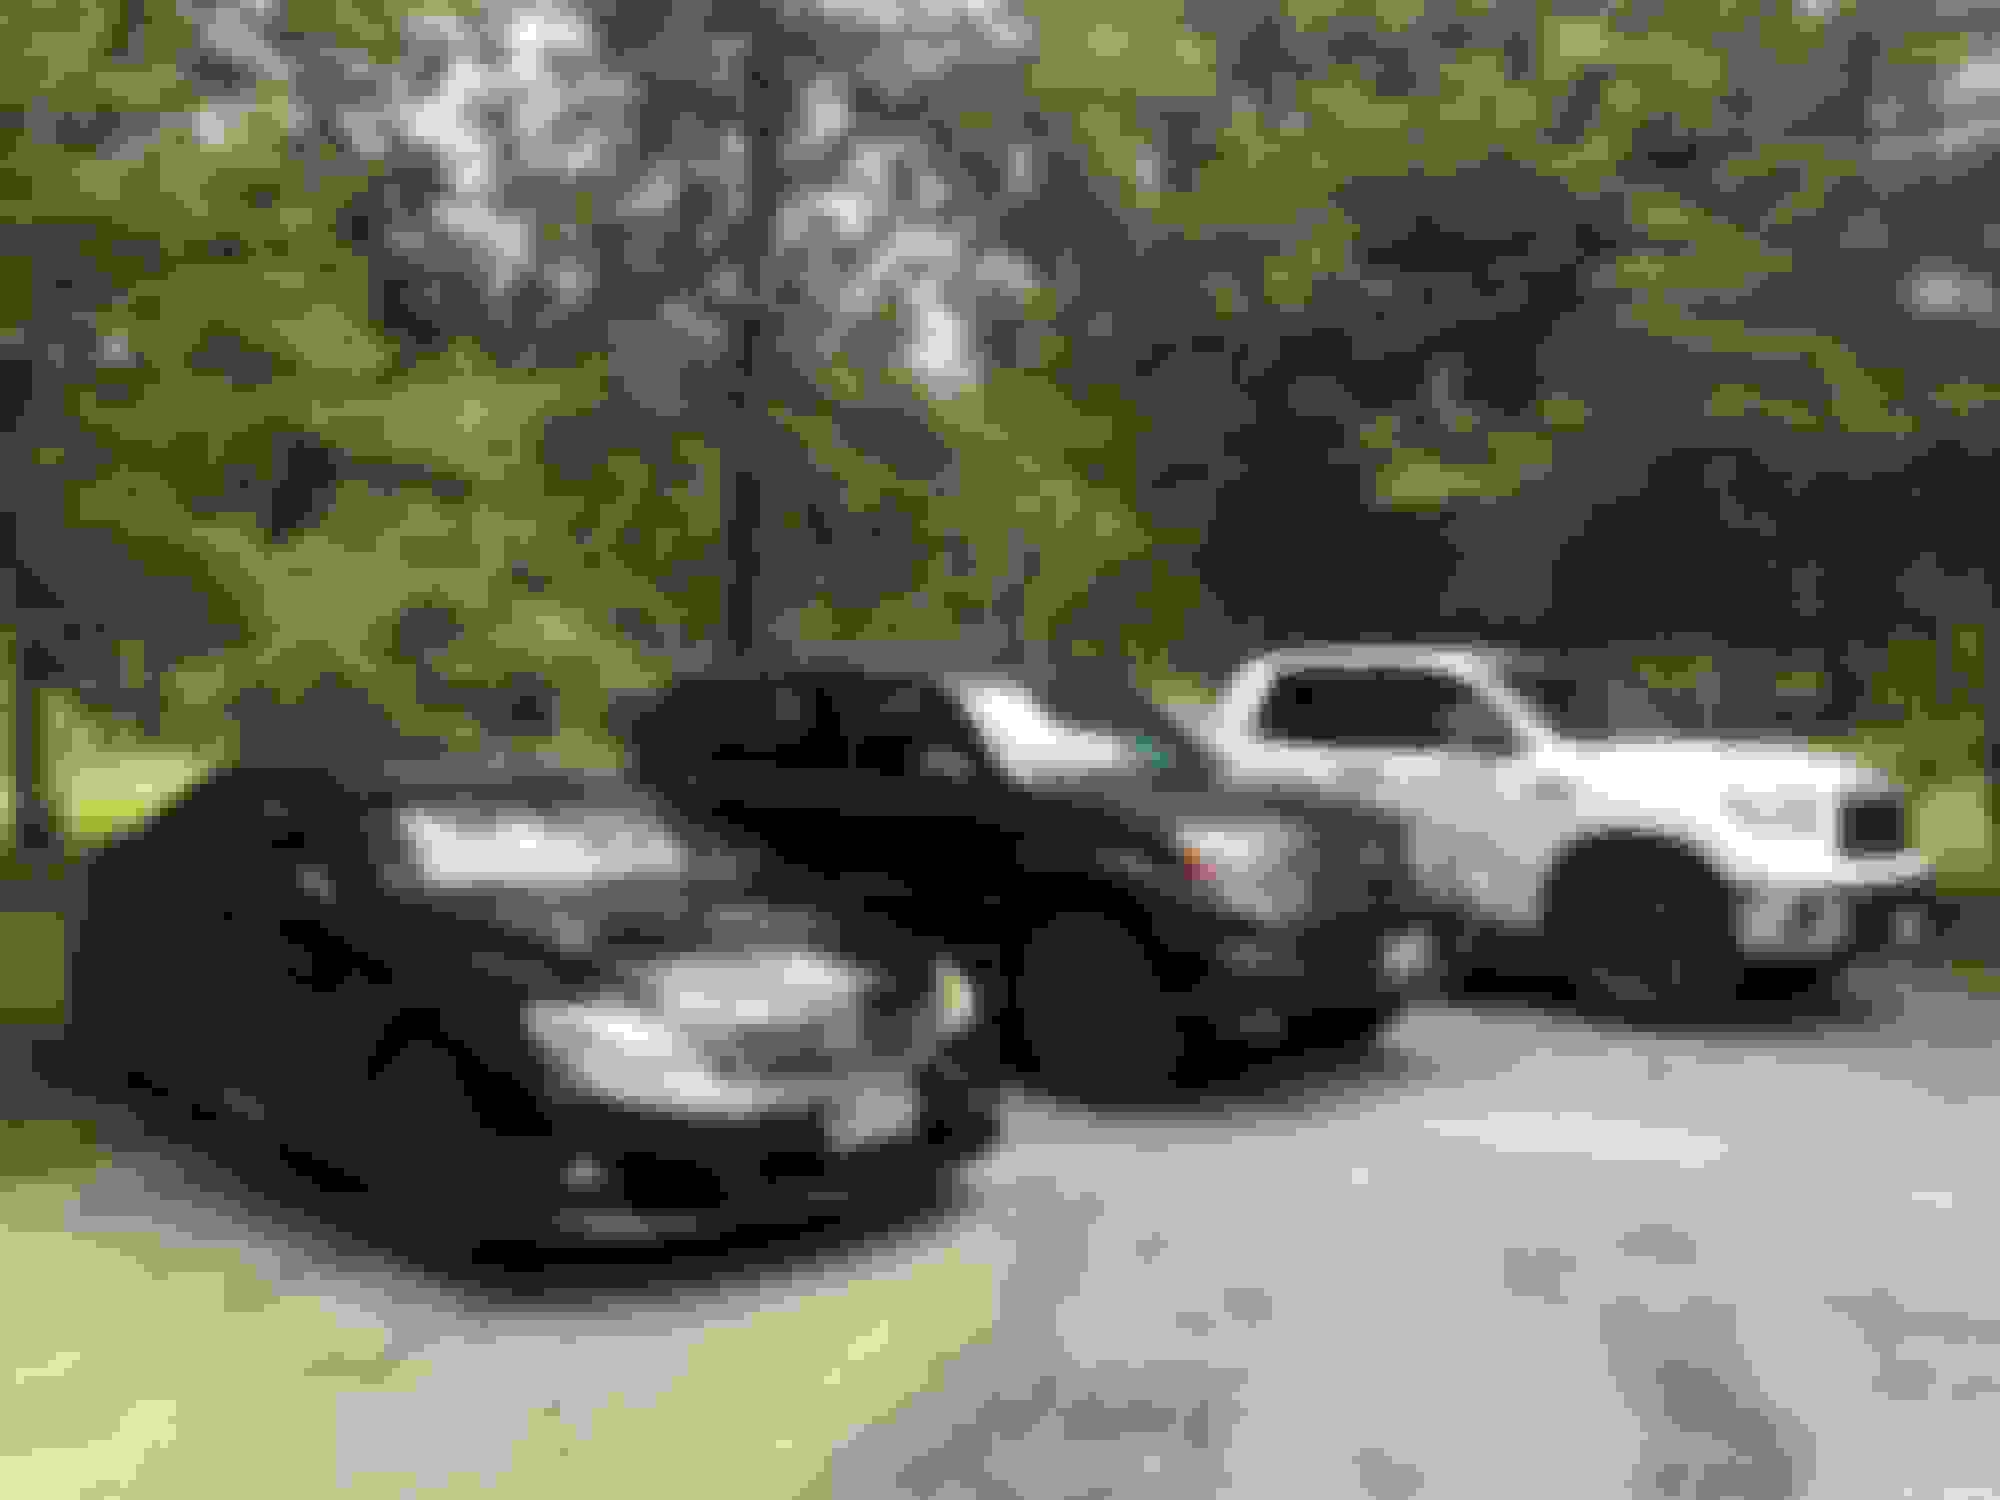
I replaced the busted armrest today. I think the interior is now officially mint condition.


I�ve neglected this thread mainly out of embarrassment. I�ll update the past few years�
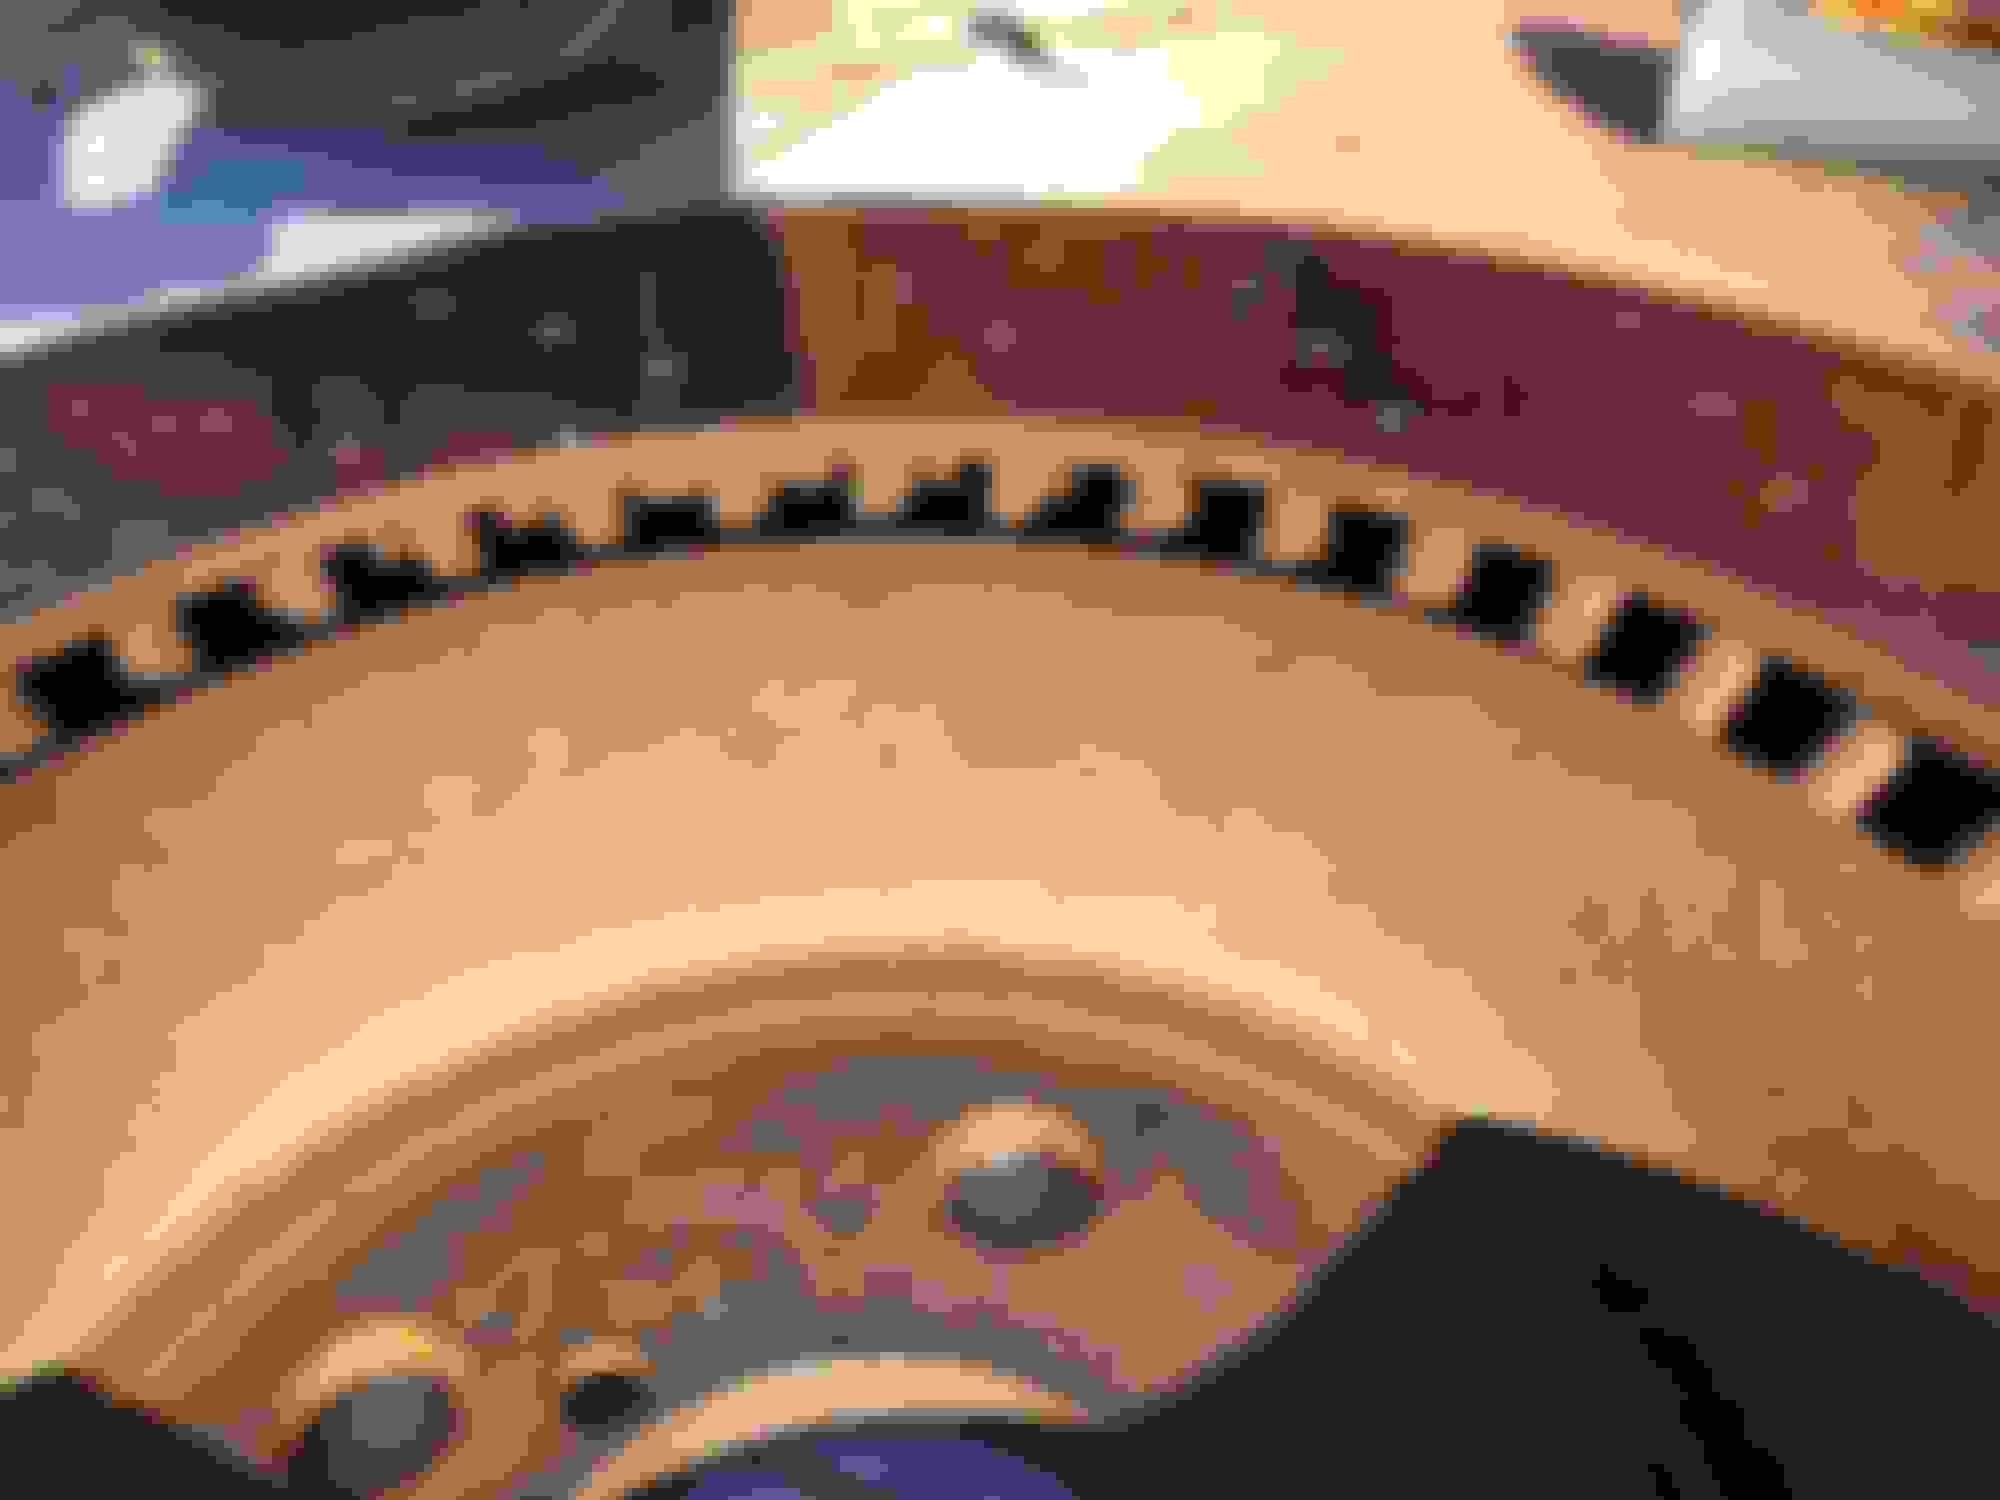
painted the calipers red since the old clear had failed.

while in there in installed the easy bleeders and changed the brake fluid for the first time.
painted the calipers red since the old clear had failed.


while in there in installed the easy bleeders and changed the brake fluid for the first time.
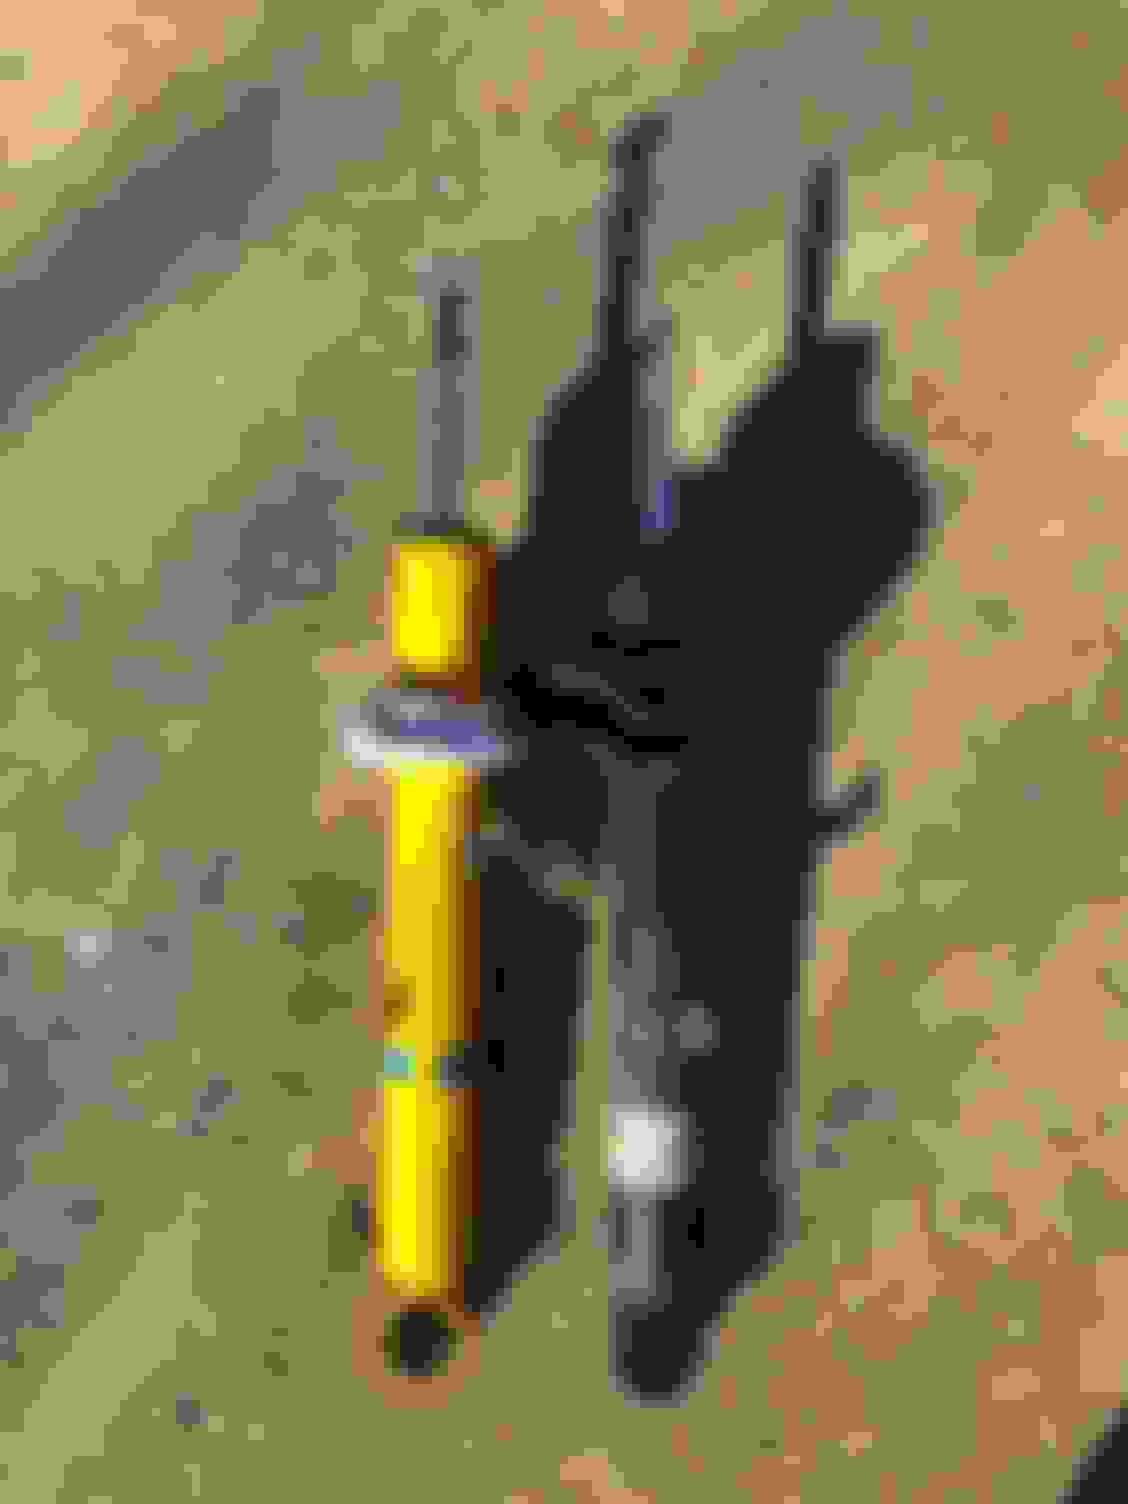
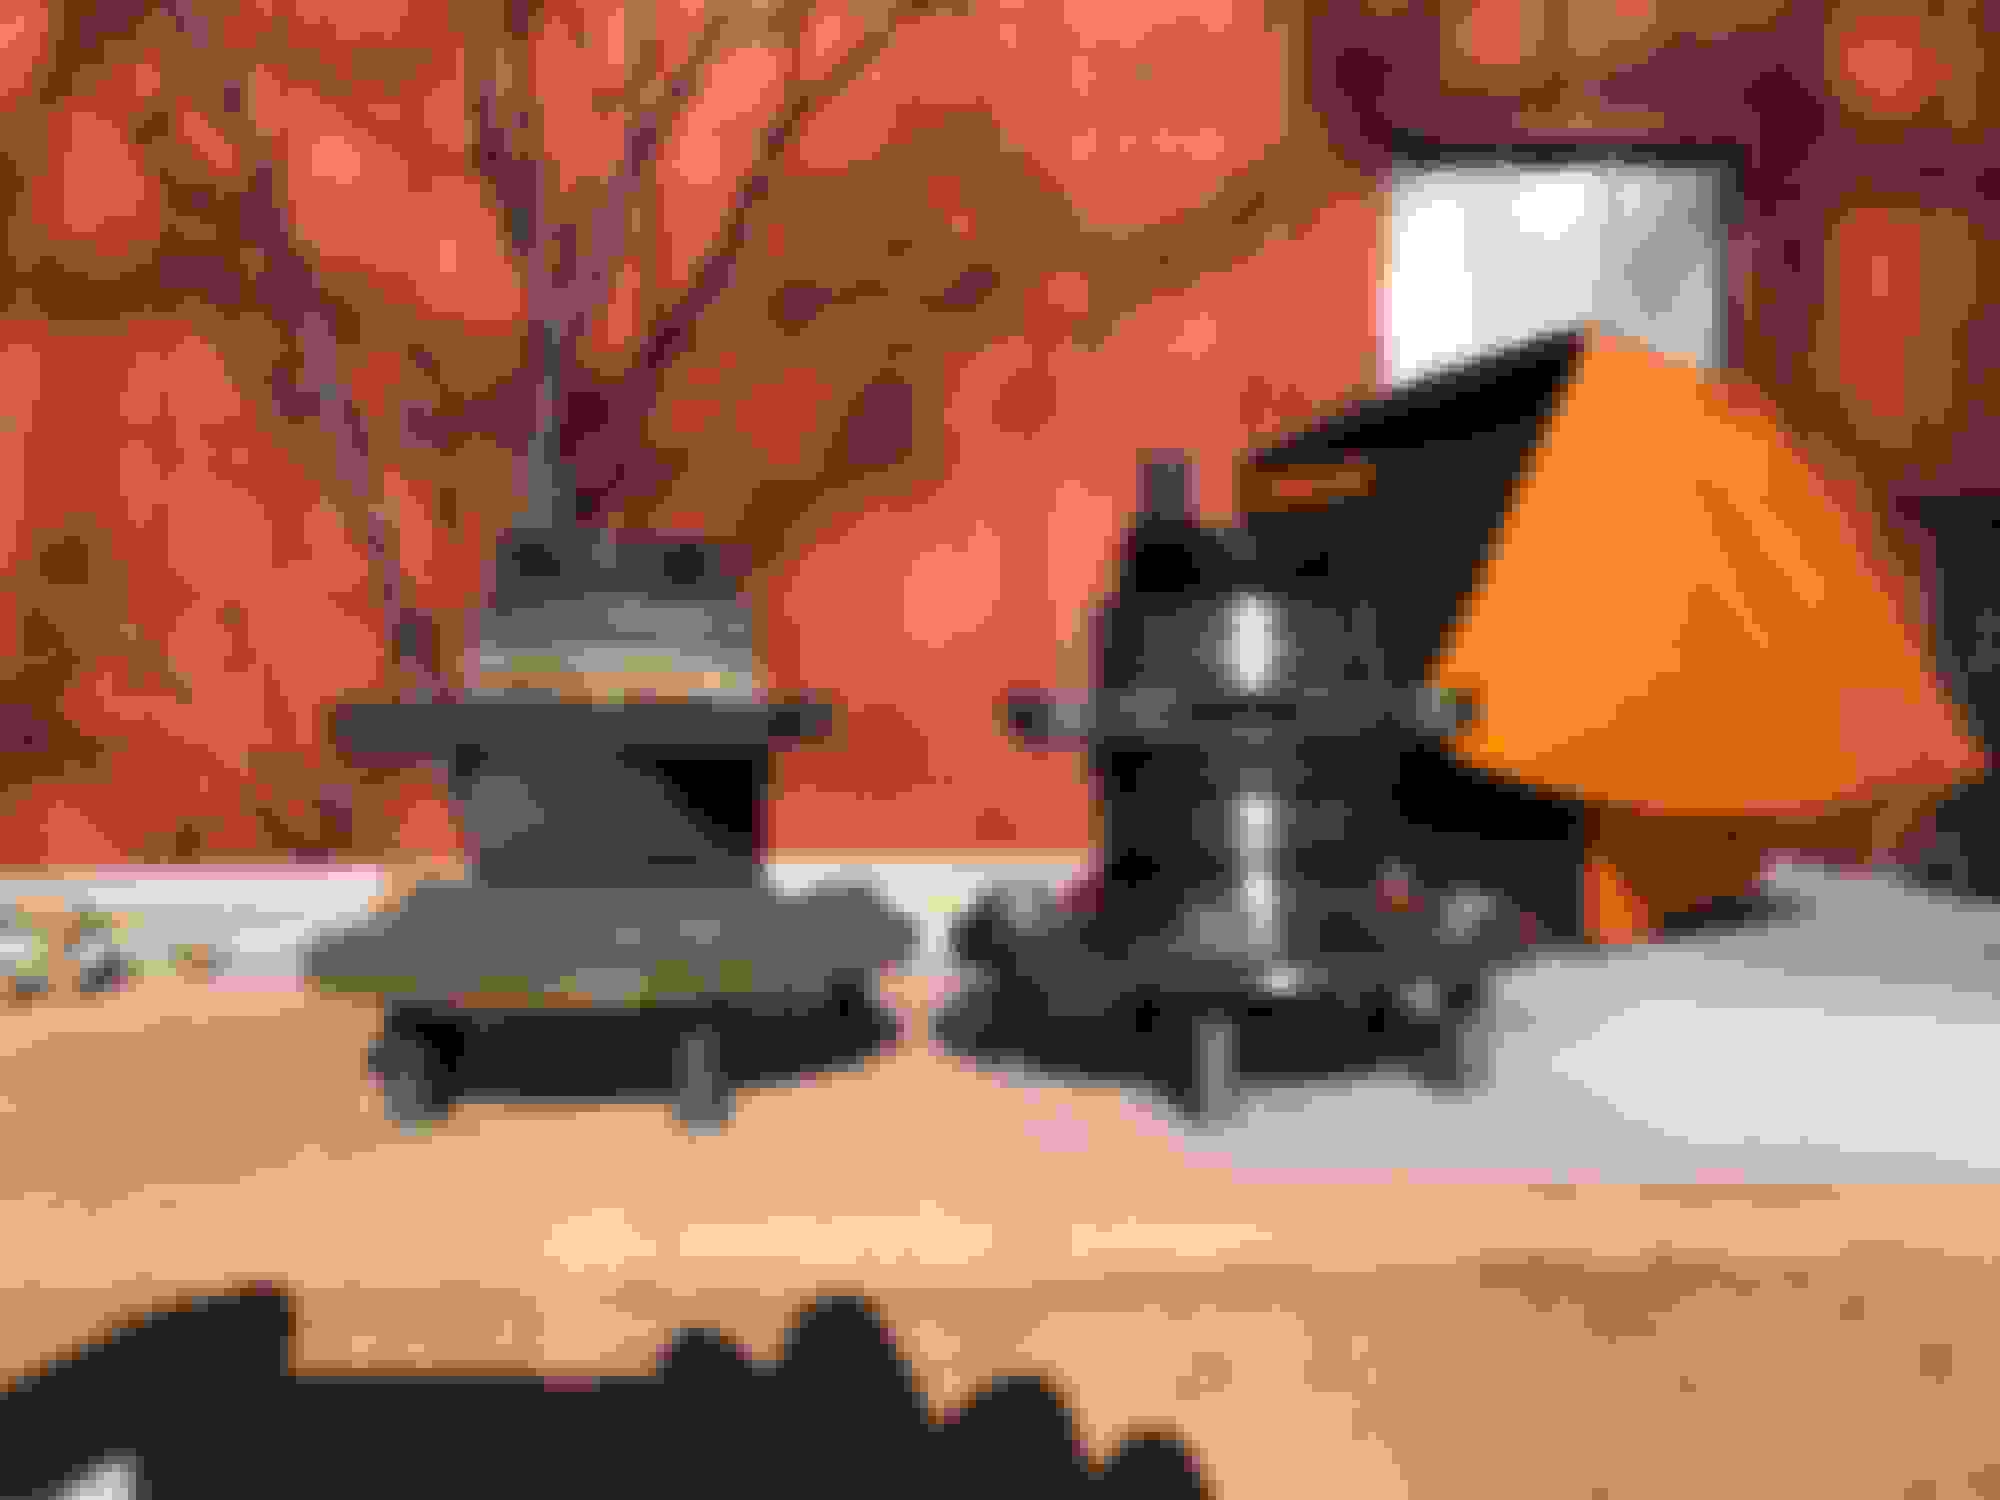
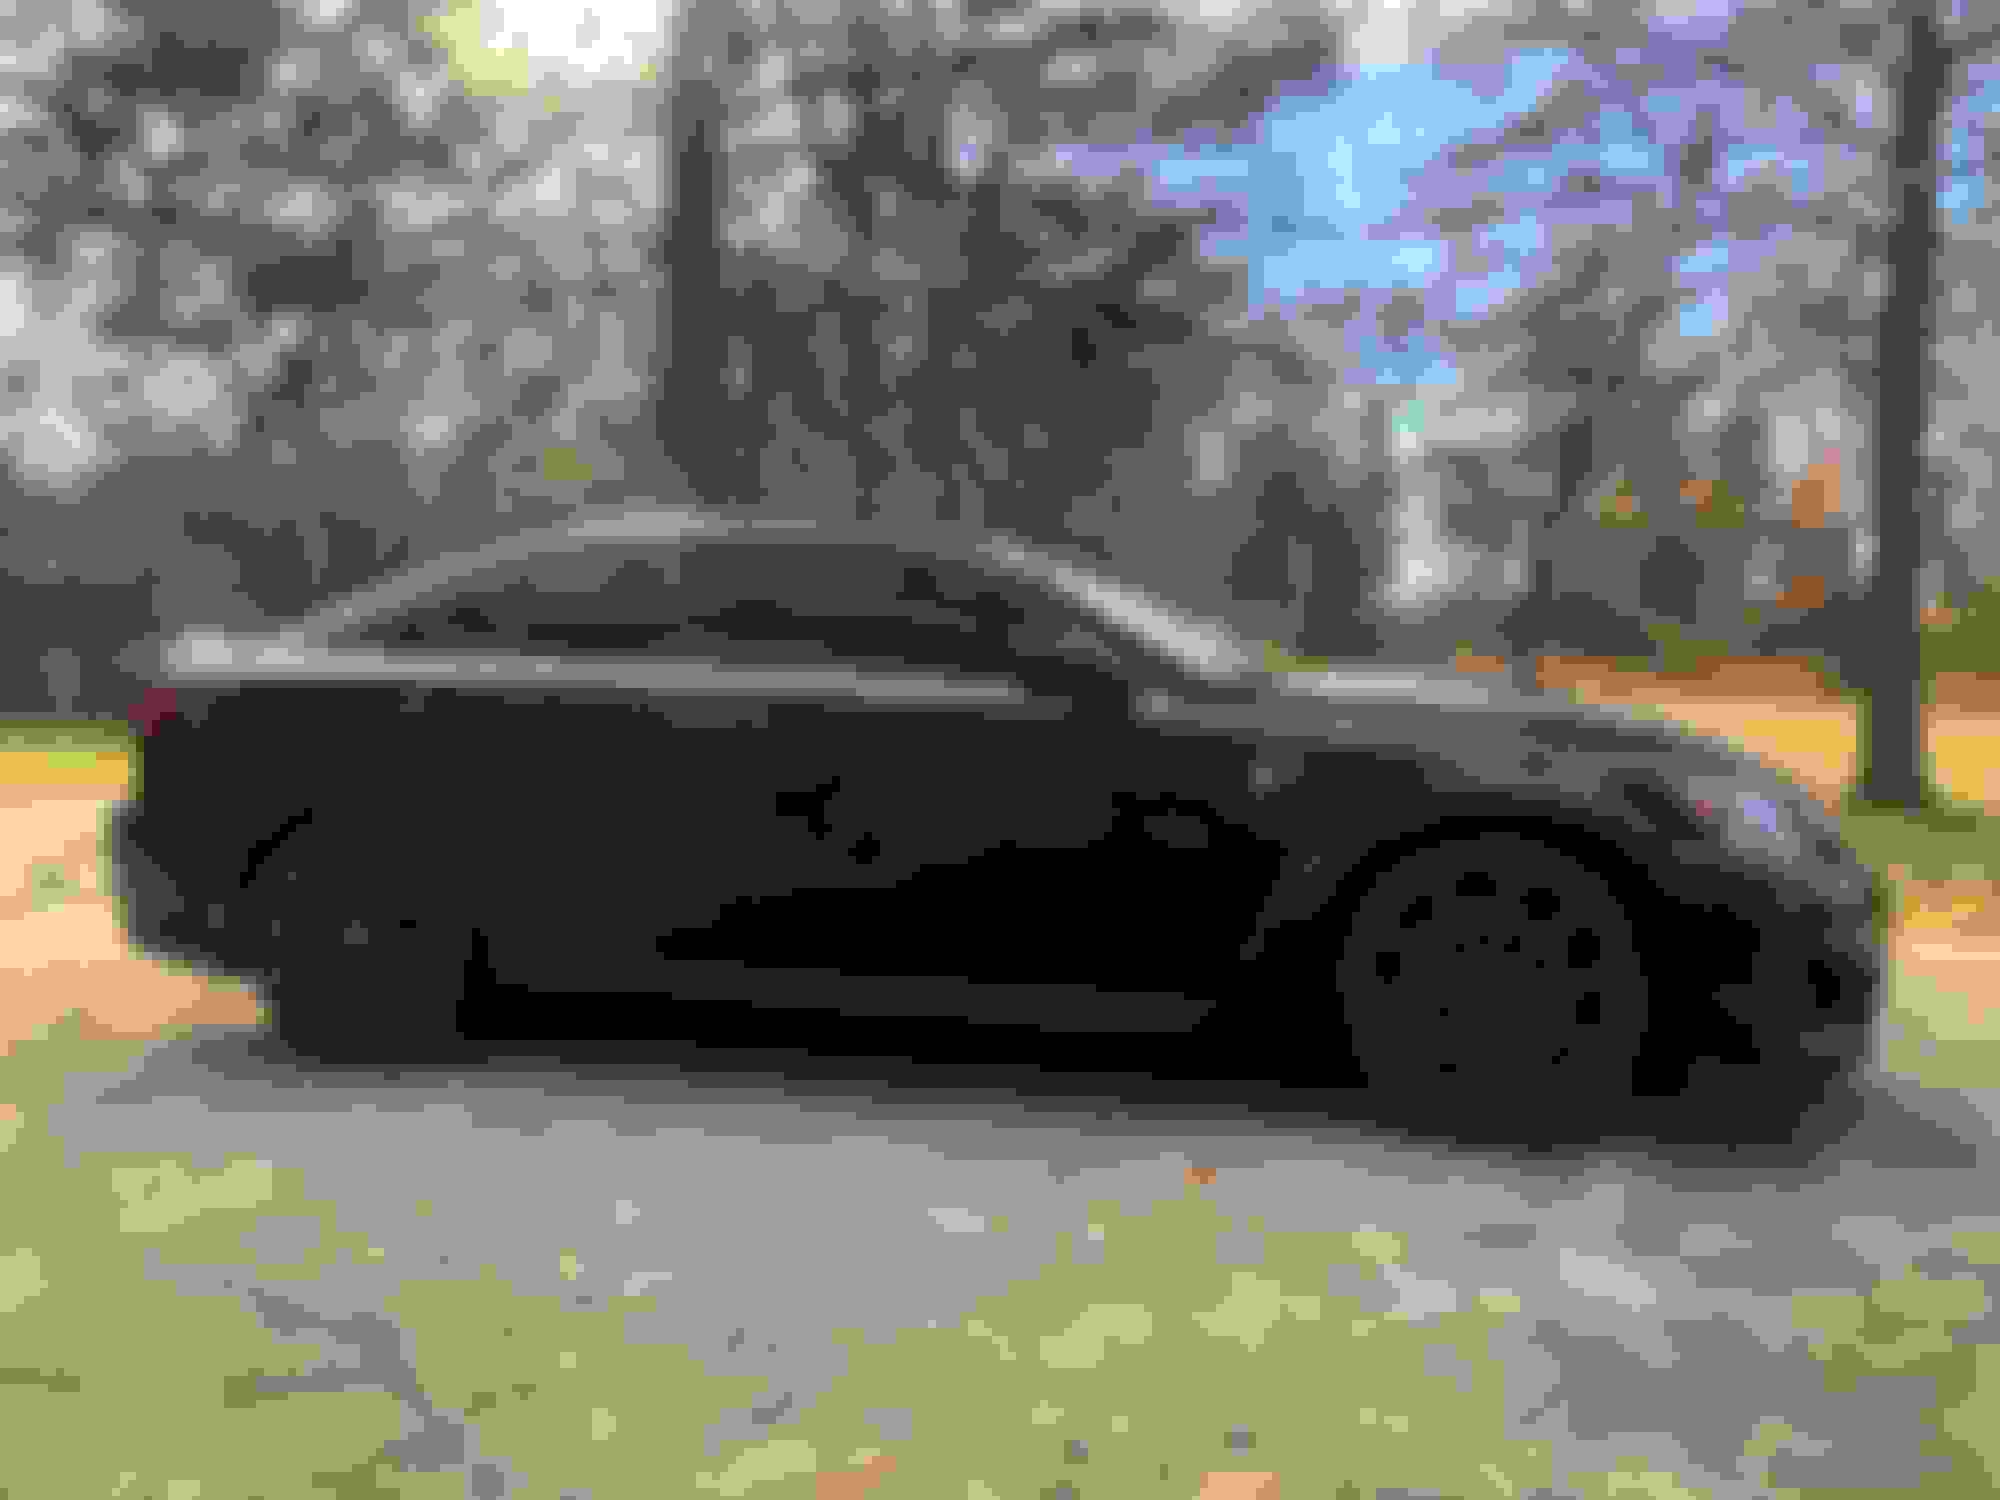
I changed out the OEM shocks for bilstein.
while there I changed some front rotors

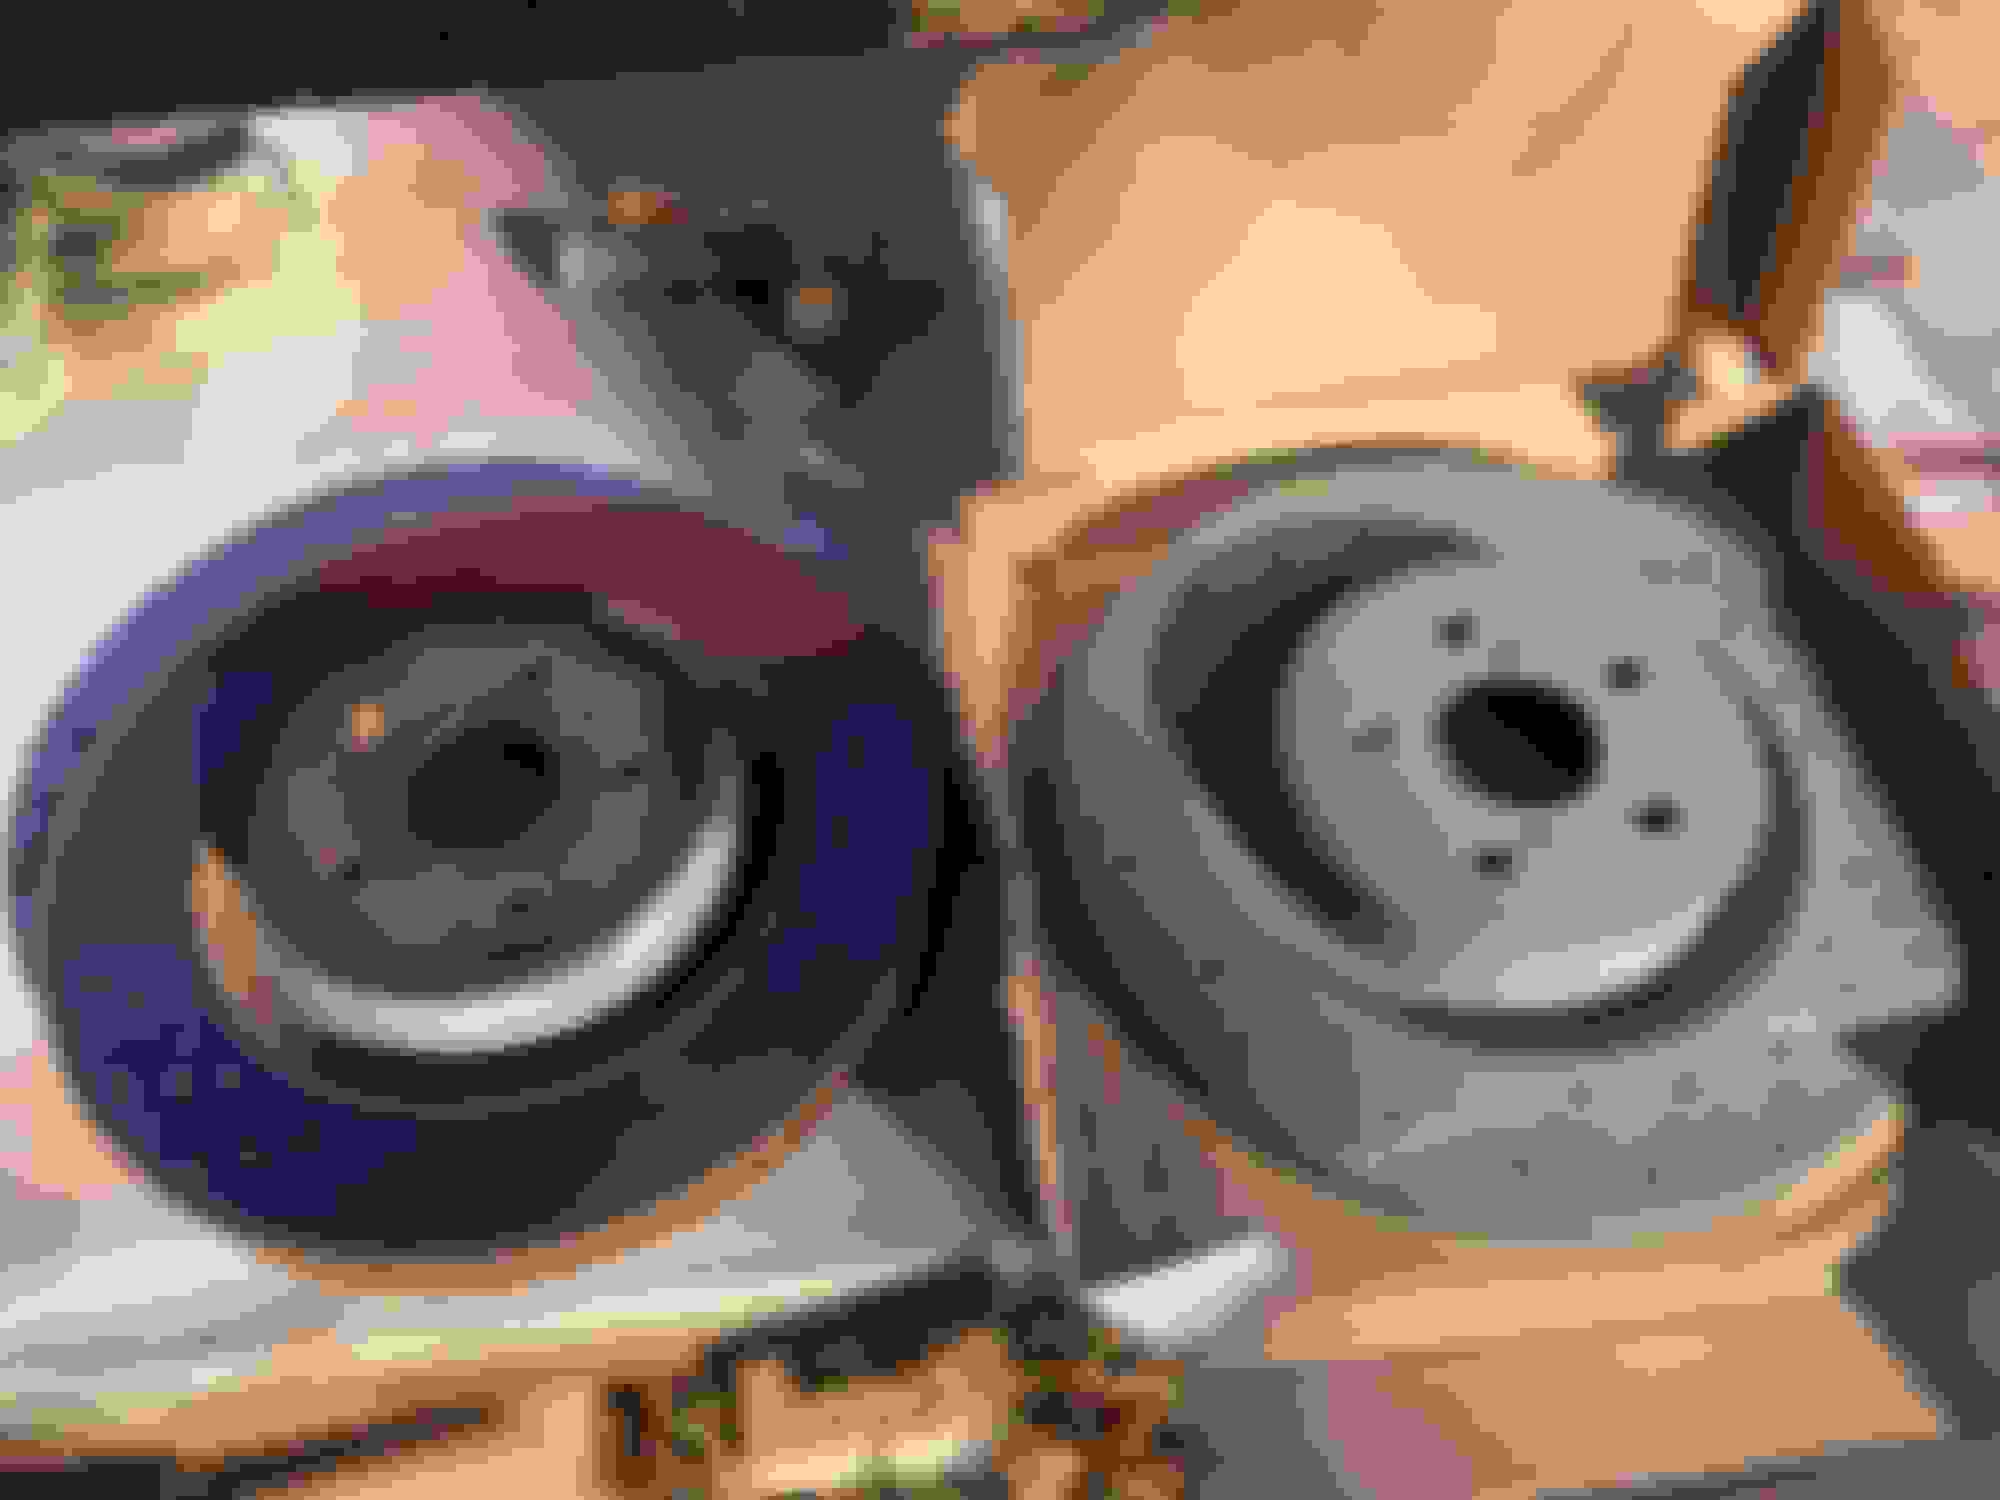

and a front hub.
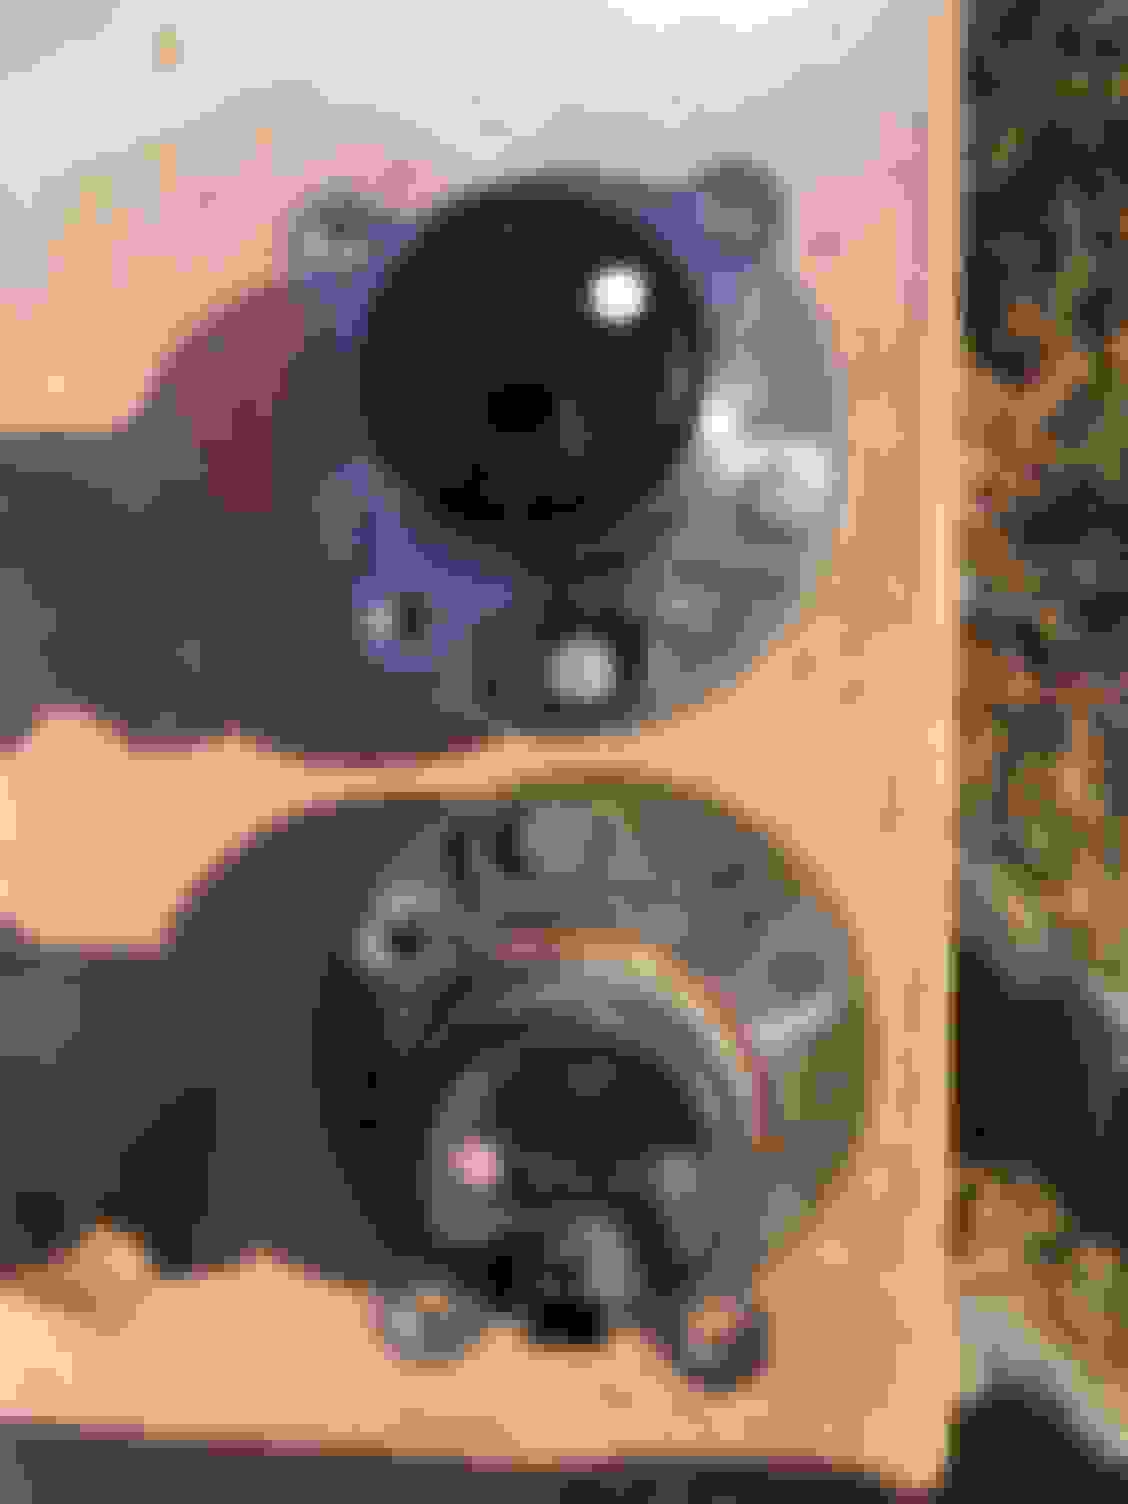

while there I changed some front rotors


and a front hub.


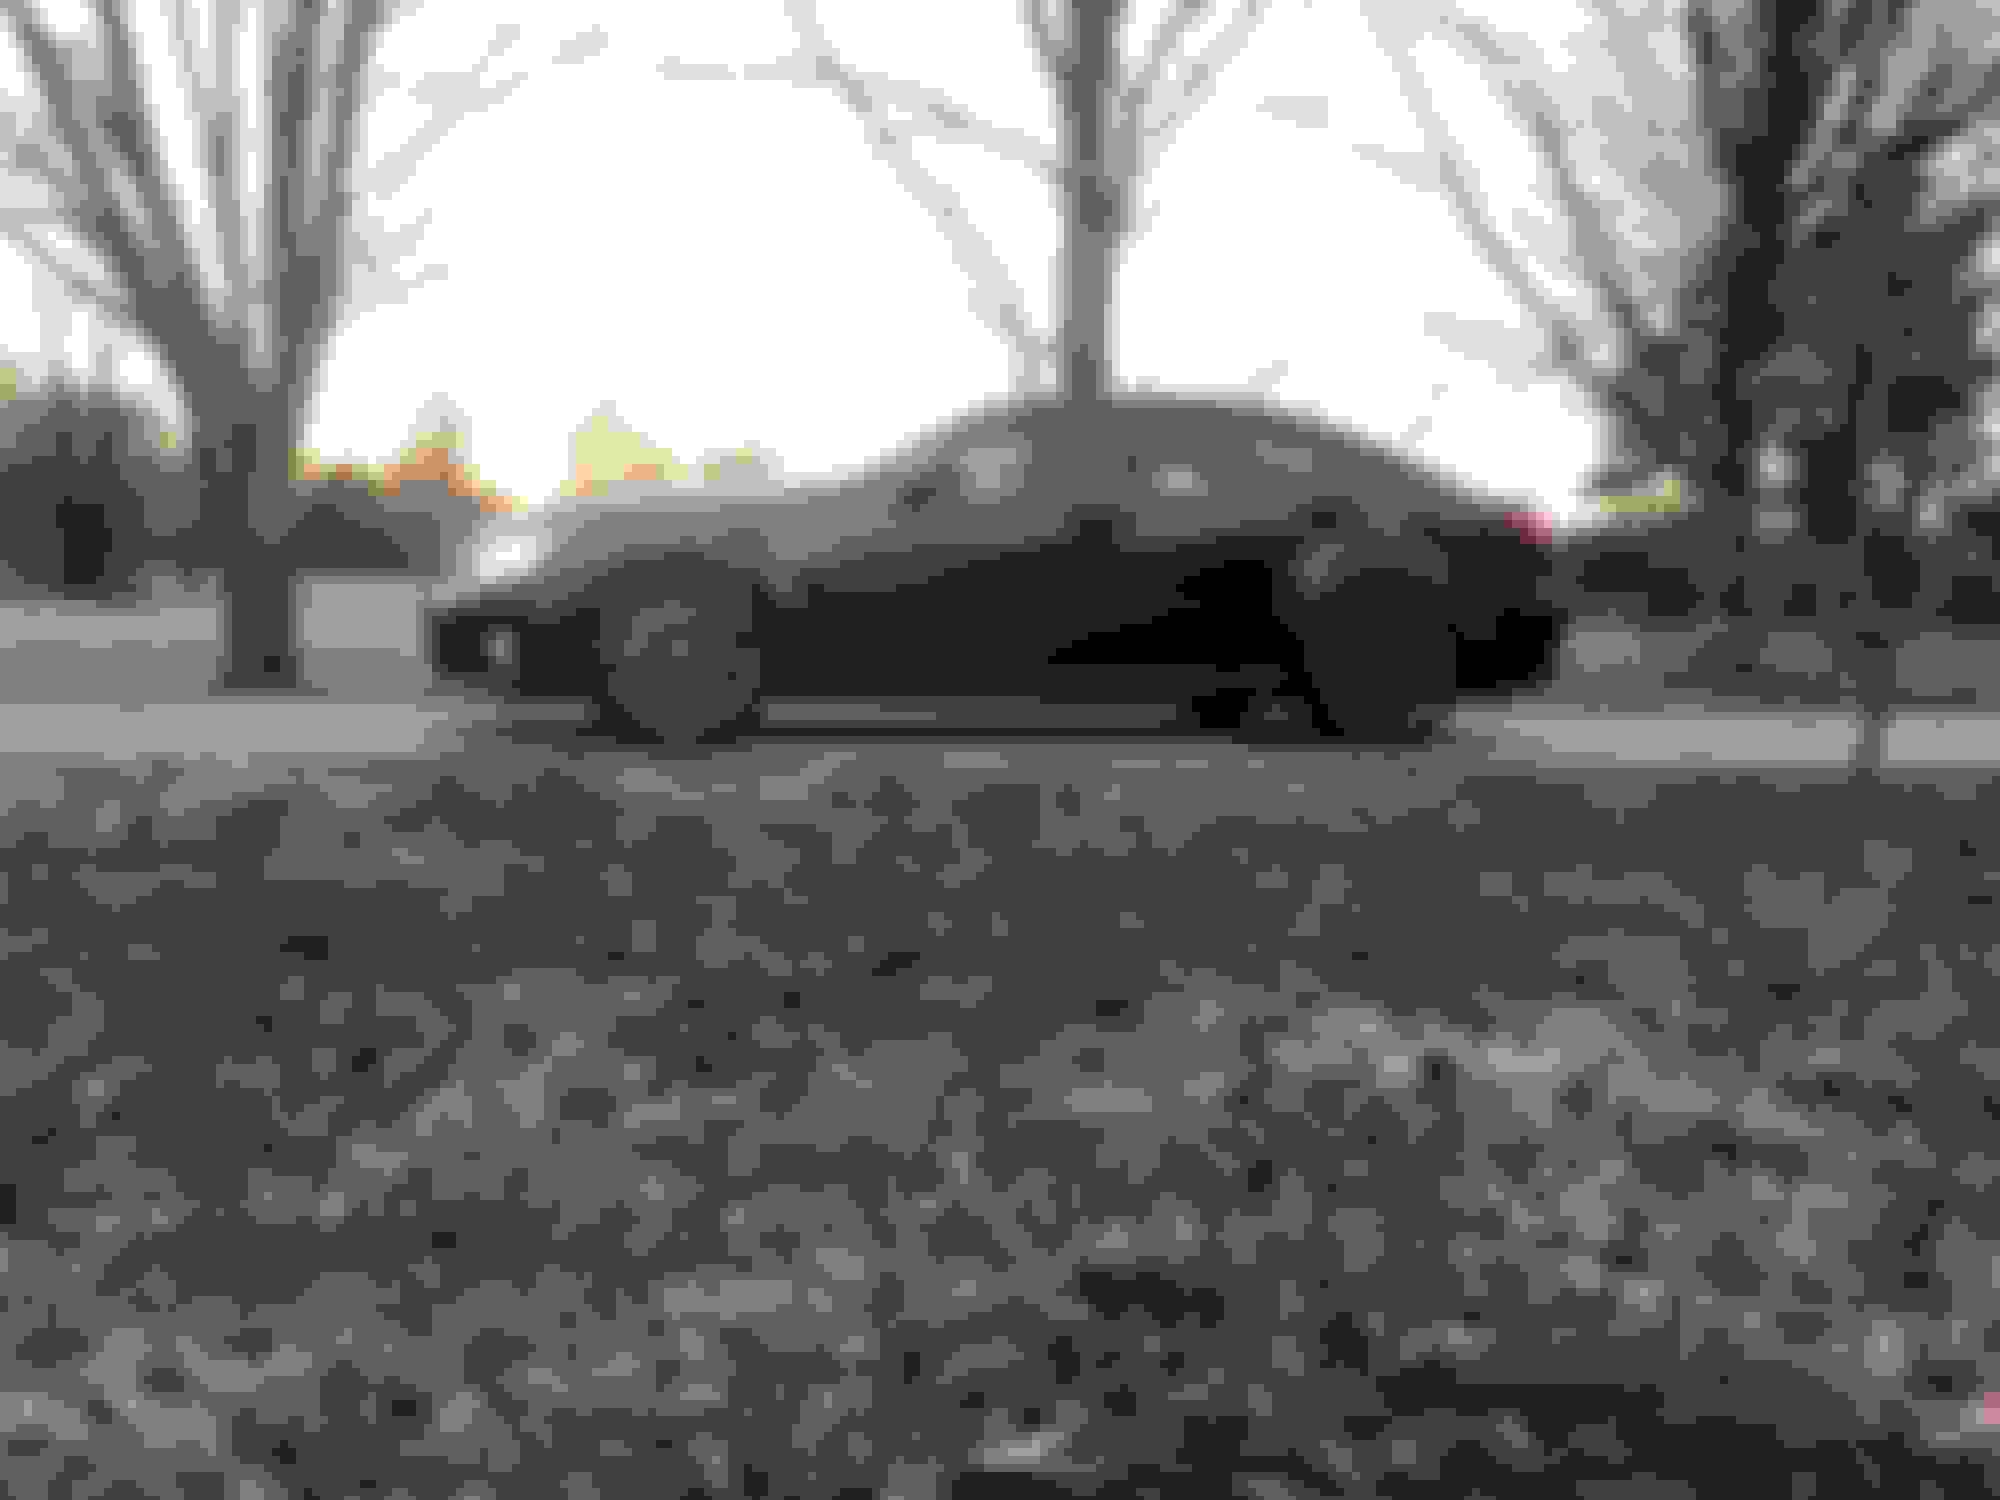
I also got some pictures of the repair of the rear passenger quarter from the outside with the bumper off.


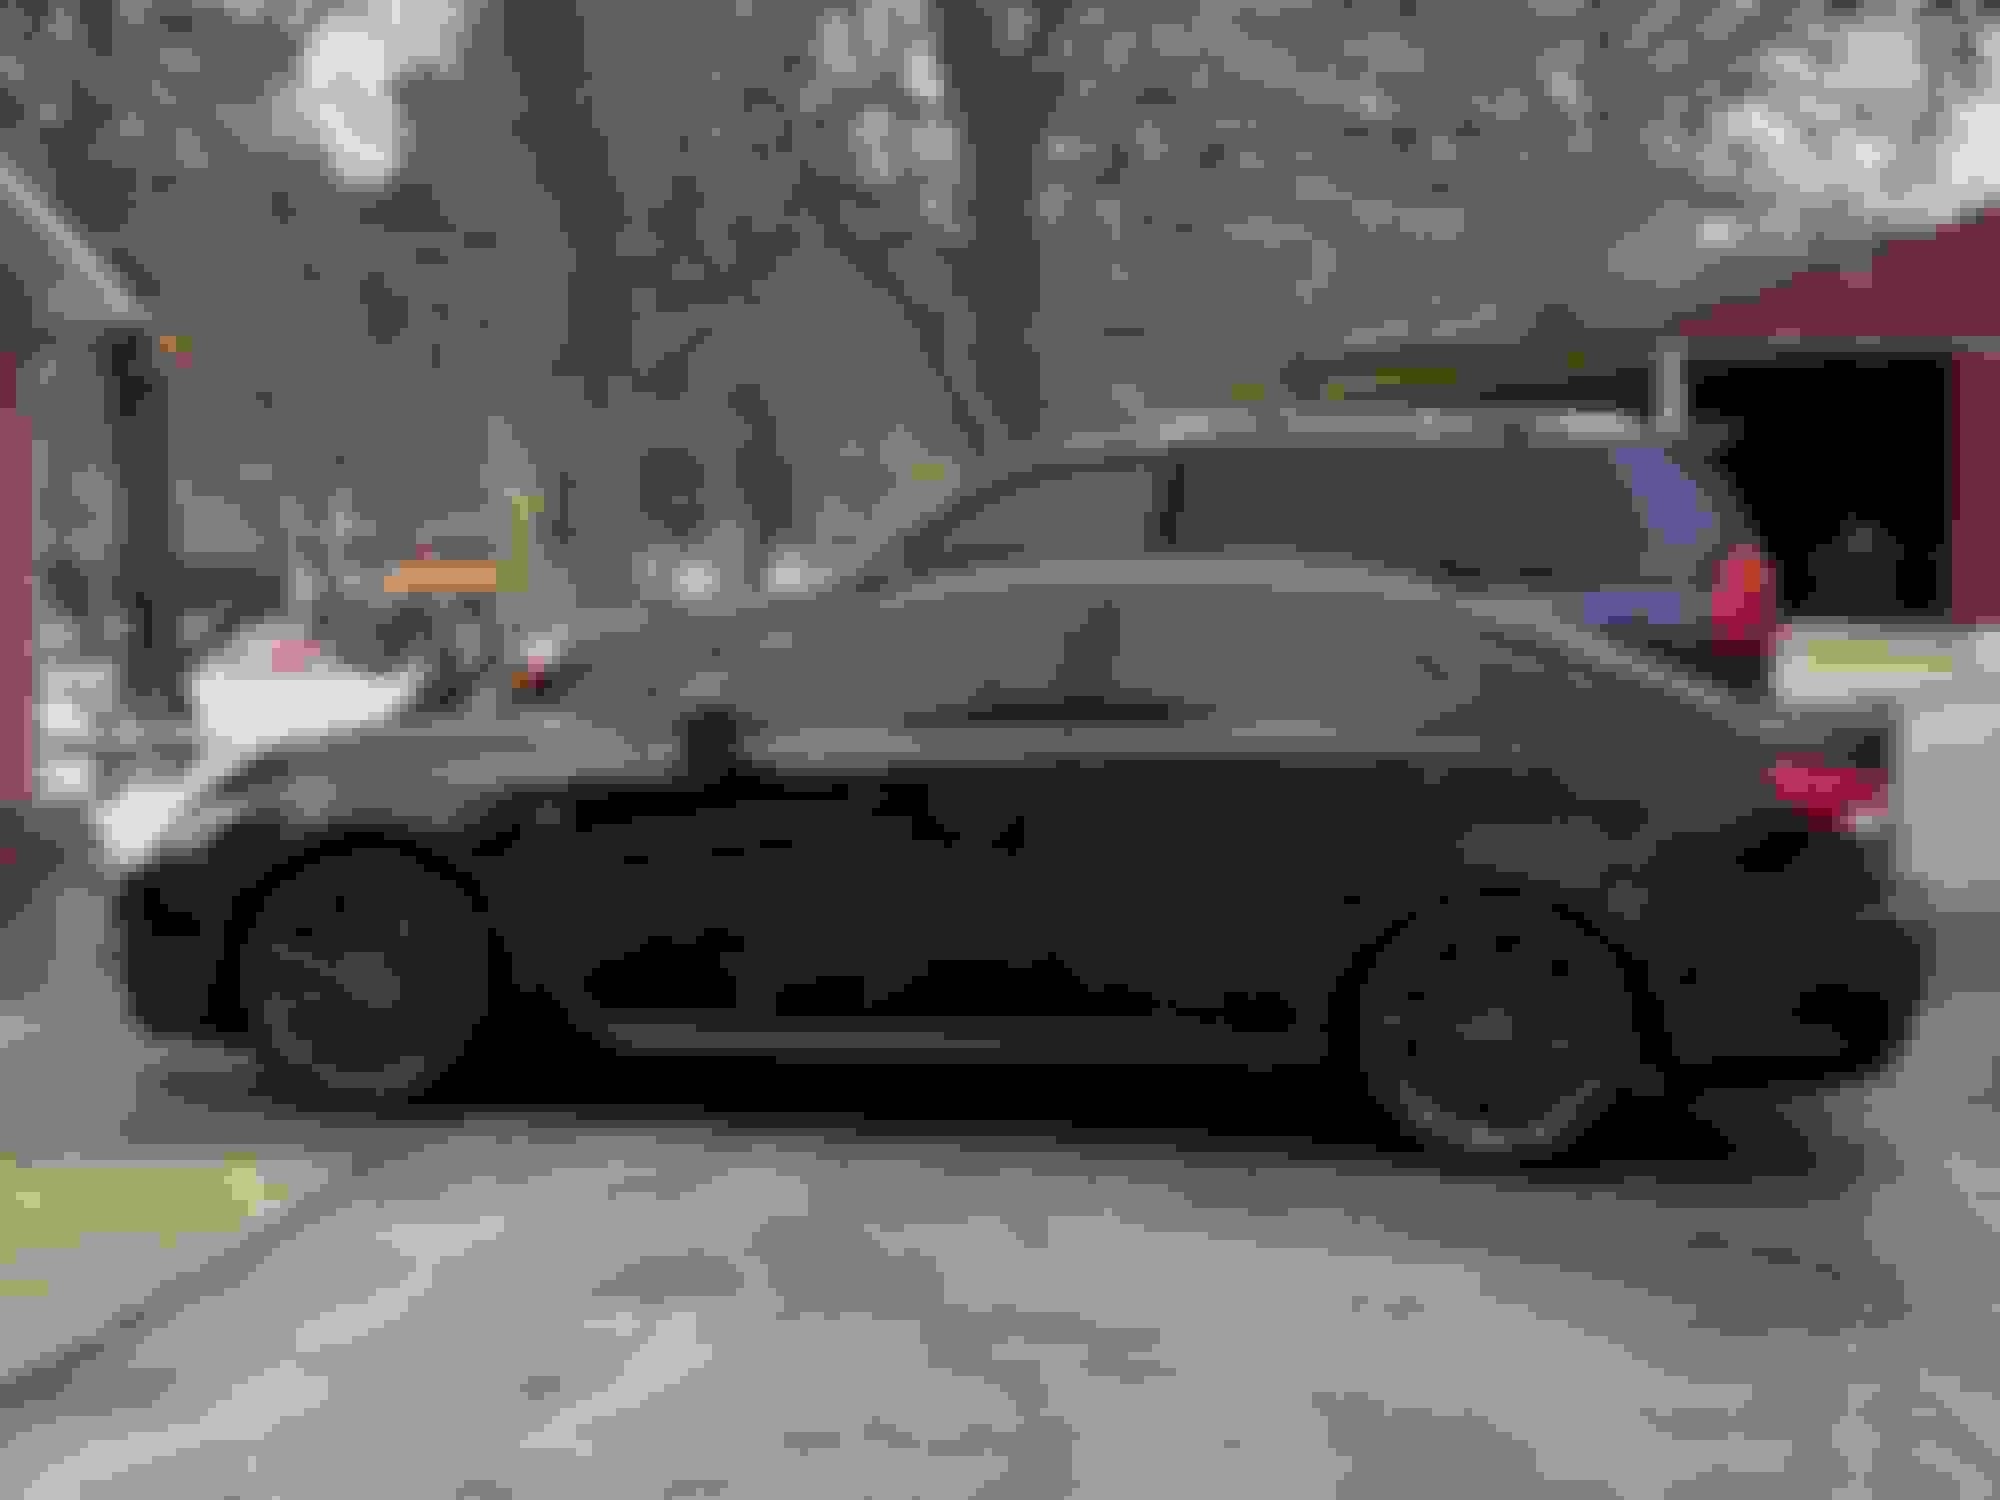
So that lead me to some cosmetic stuff like the trim around the windshield.


I did some touch up paint work and that made a pretty big difference.
The OEM driver light had had some damage since I got the car so I picked up some of the DEPO v2 halogen replacements.
and added an eBay lip
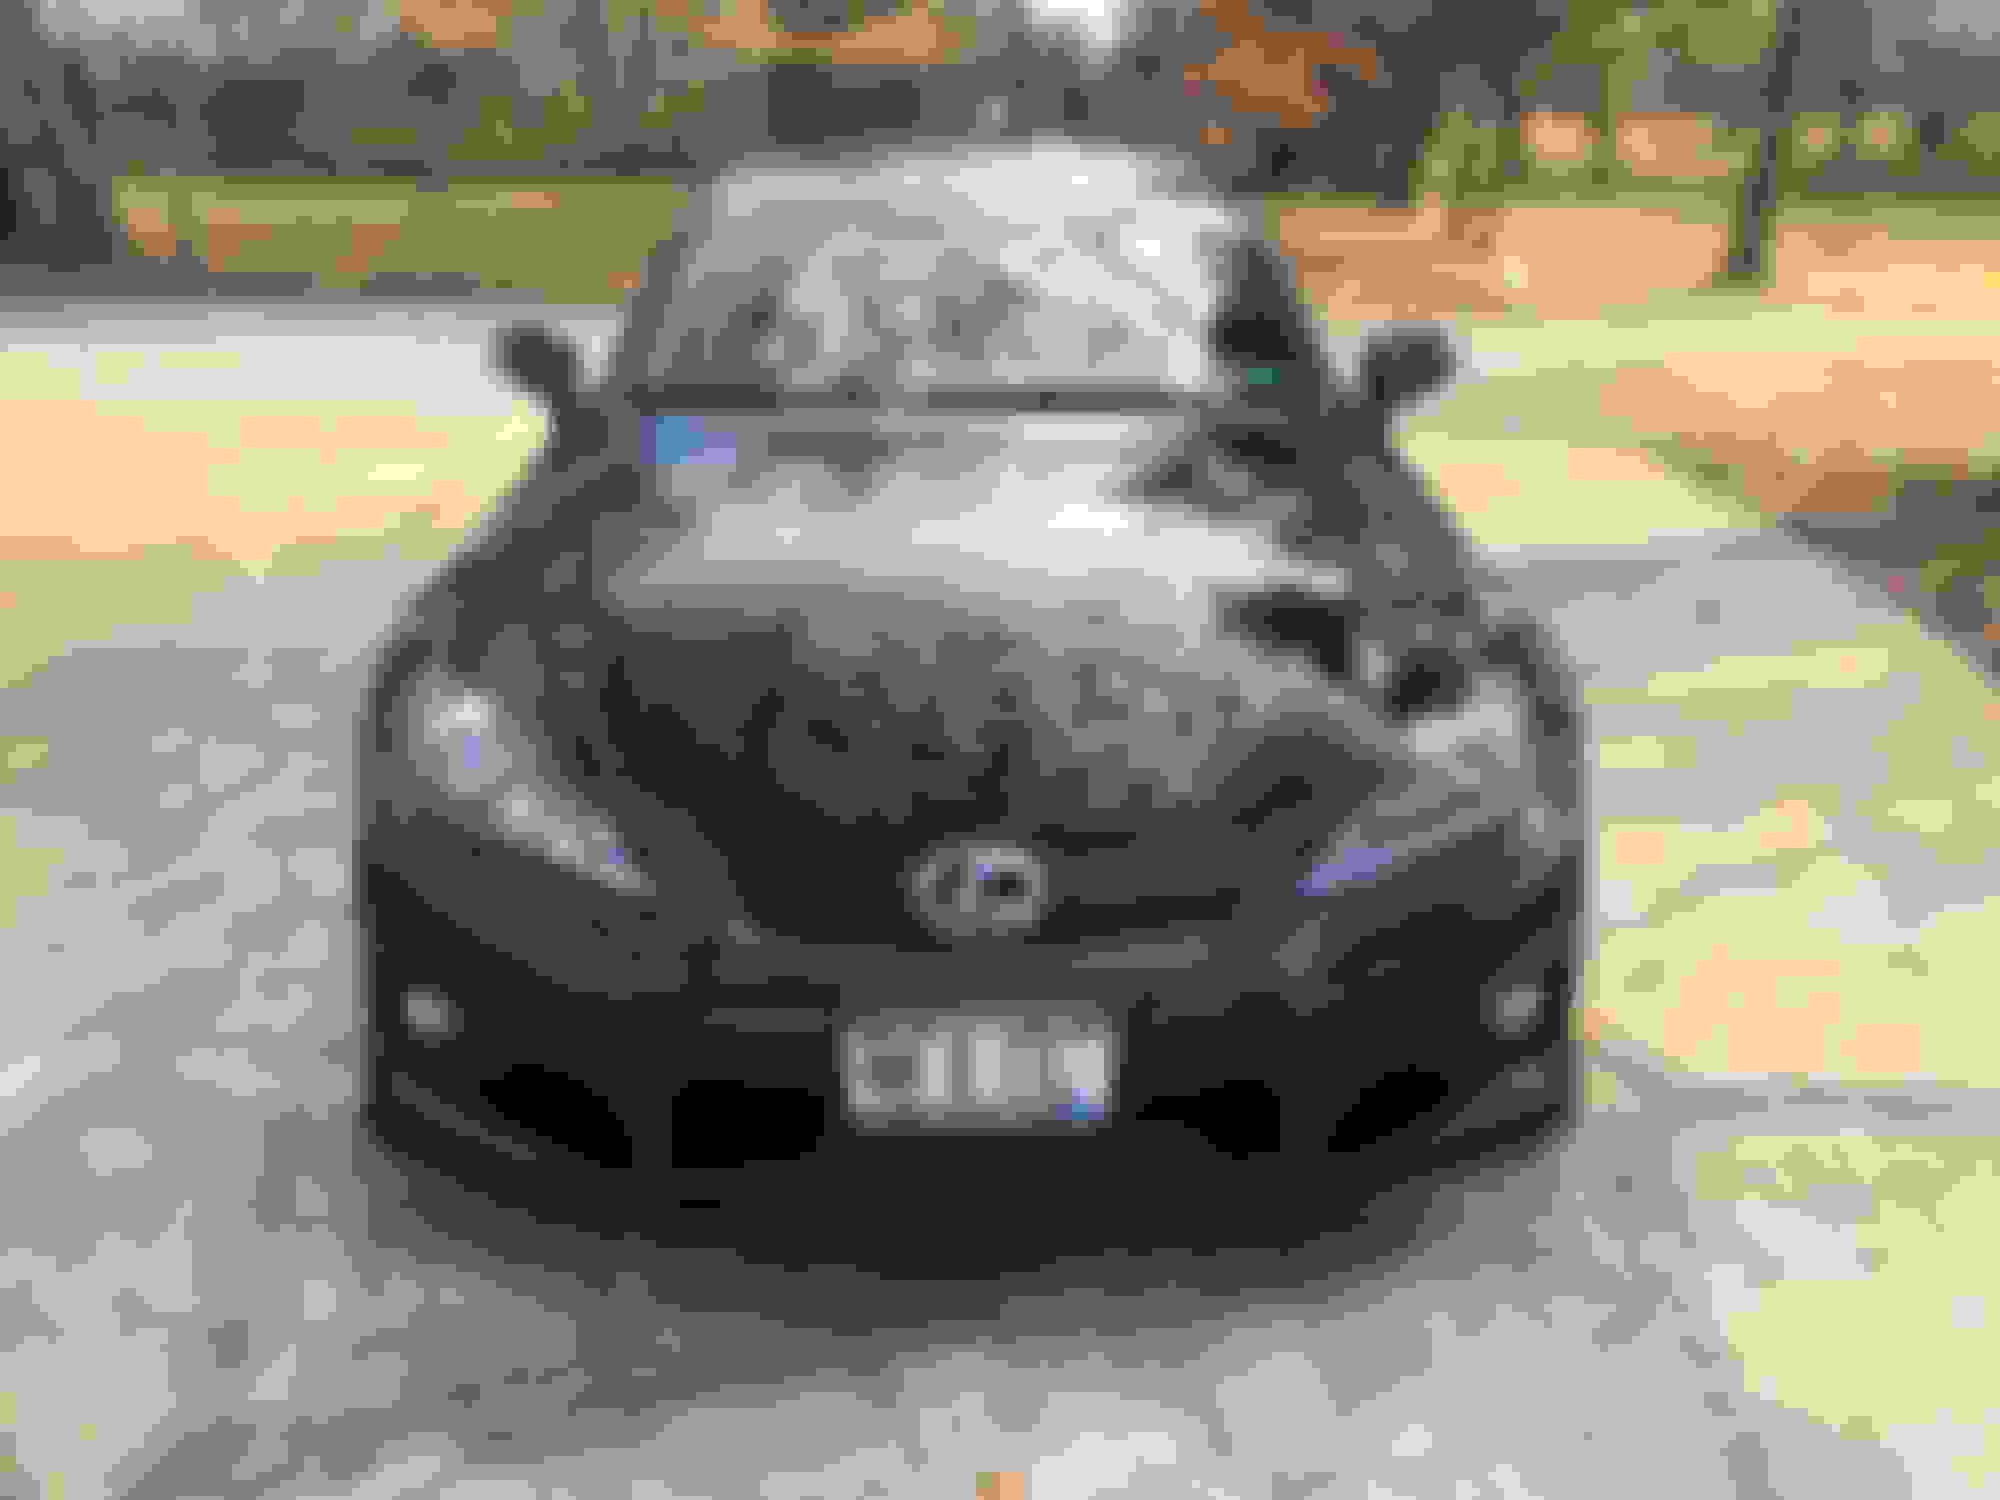


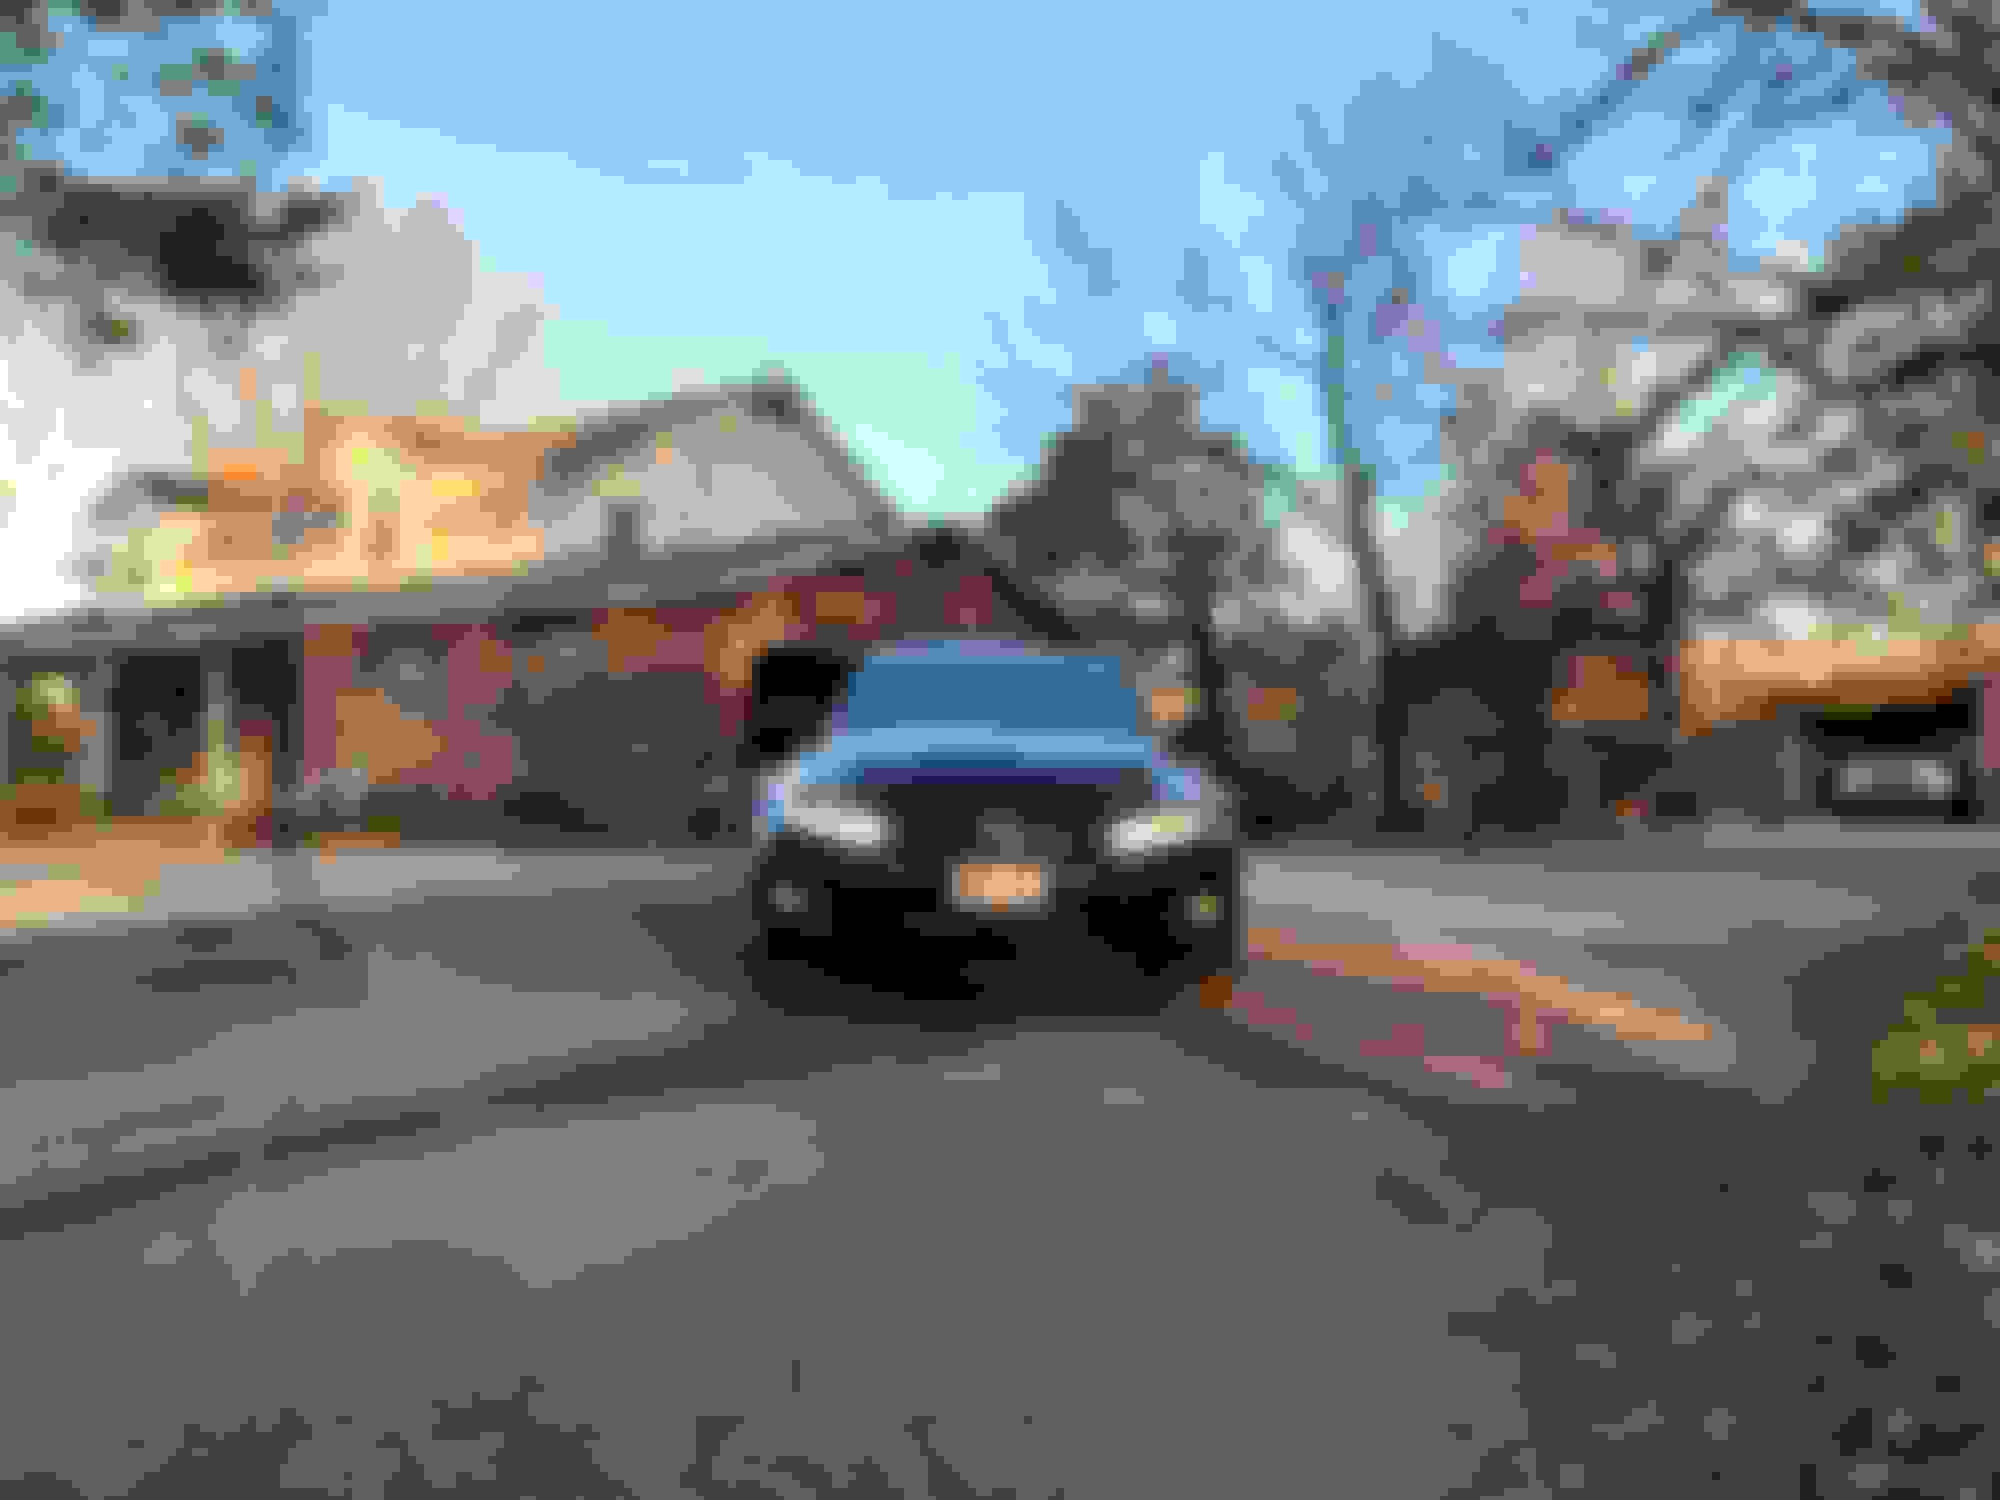
and the OEM wing had clear coat failure so I dropped on this
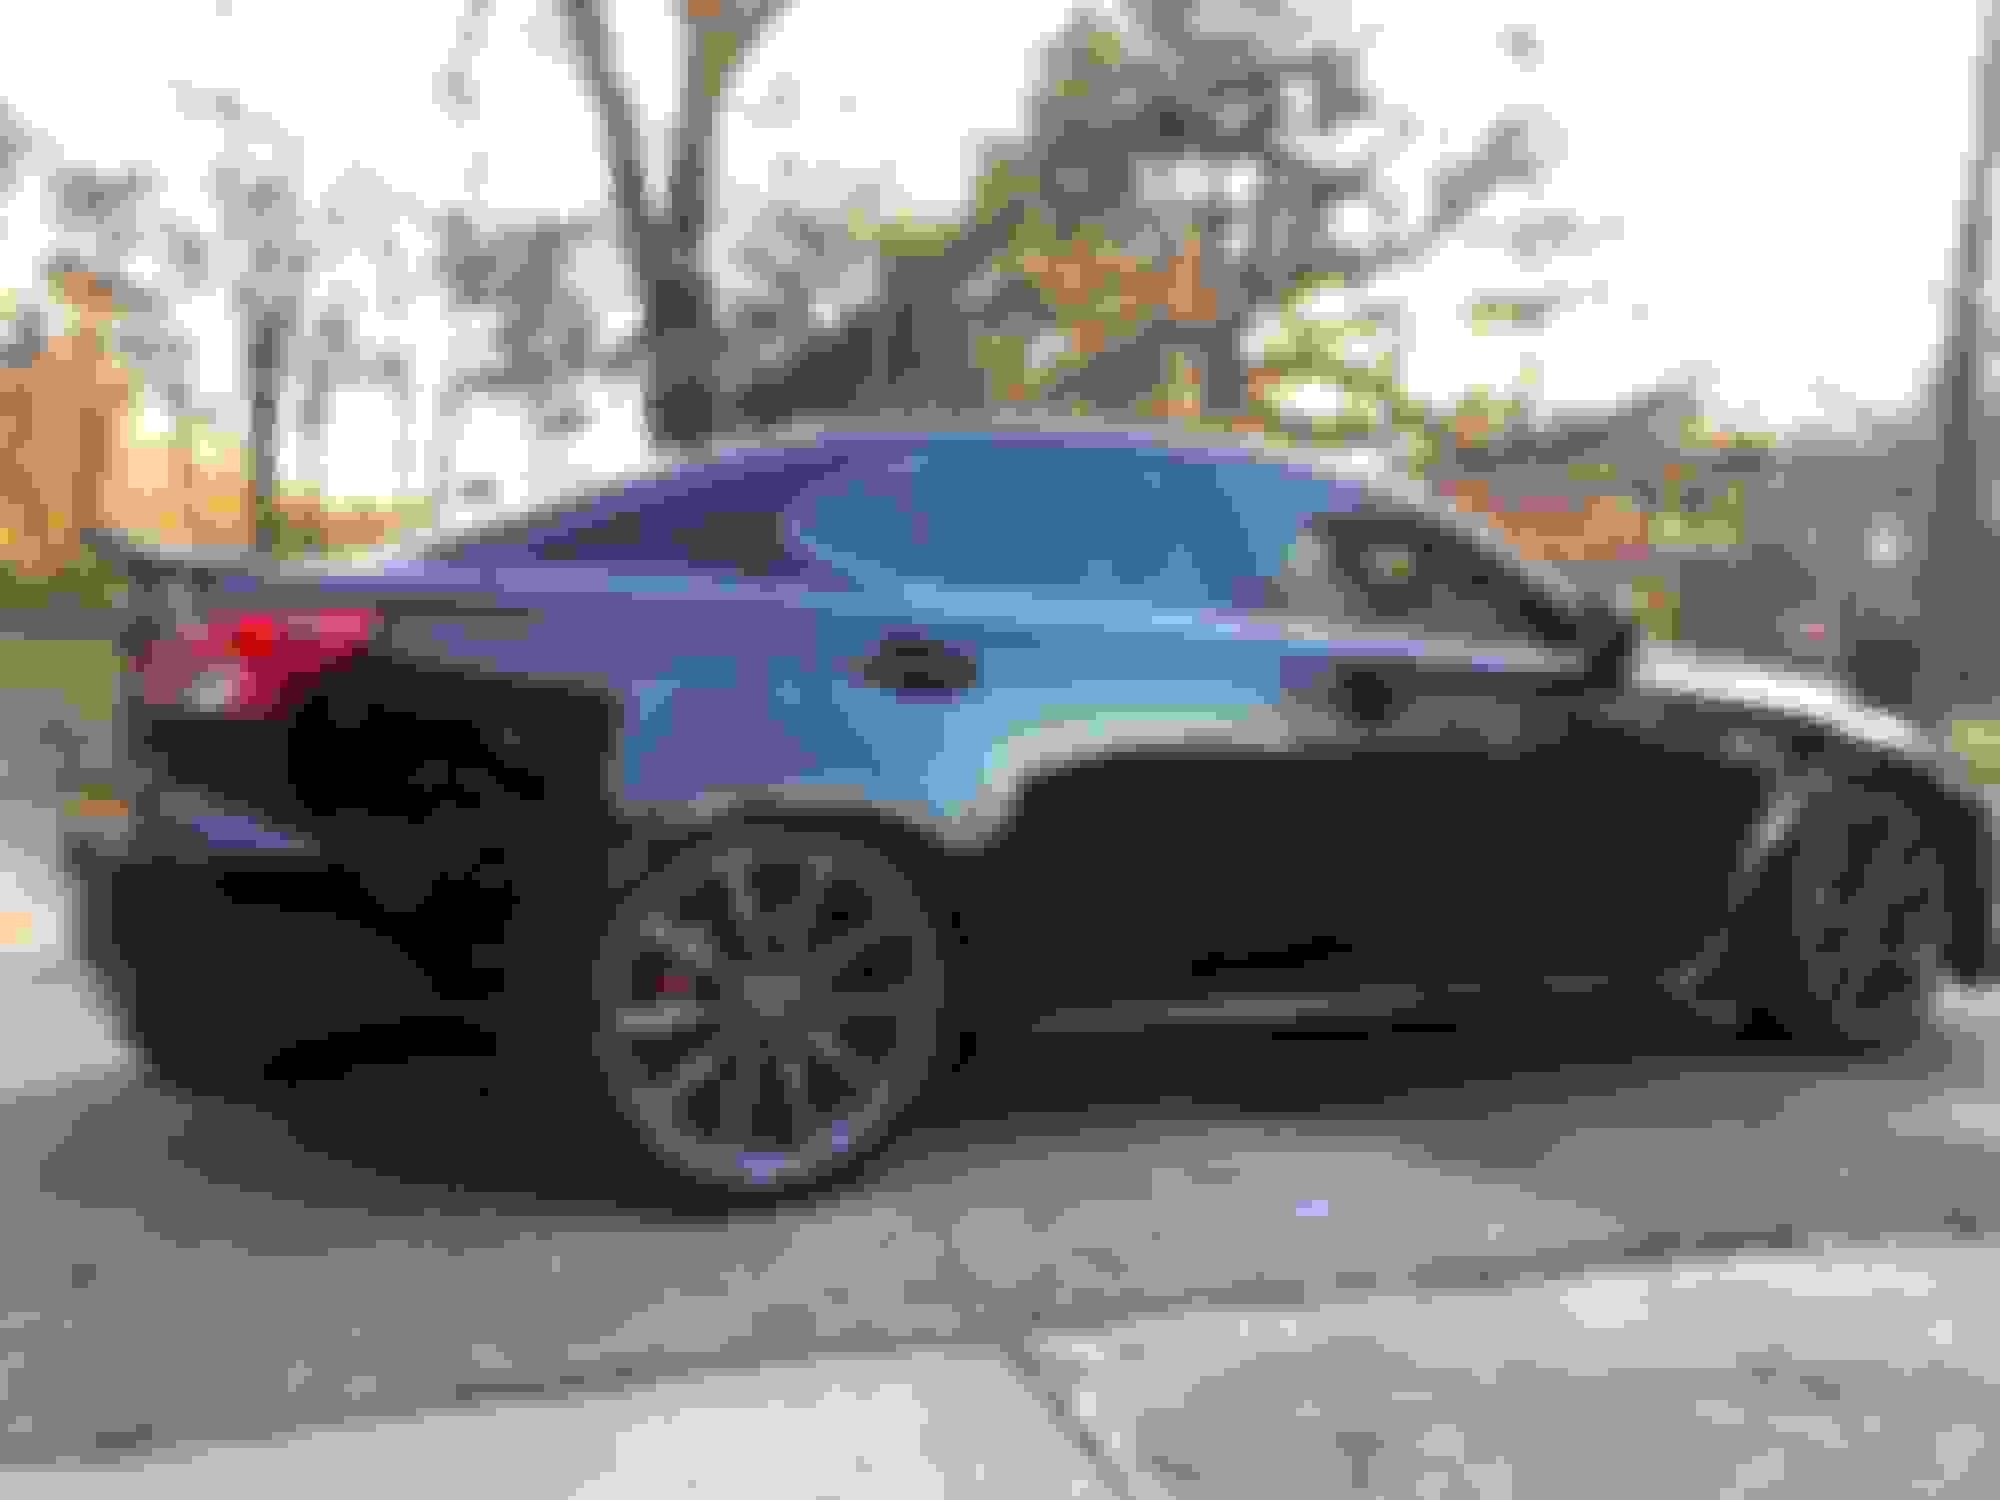


I did some touch up paint work and that made a pretty big difference.
The OEM driver light had had some damage since I got the car so I picked up some of the DEPO v2 halogen replacements.
and added an eBay lip


and the OEM wing had clear coat failure so I dropped on this


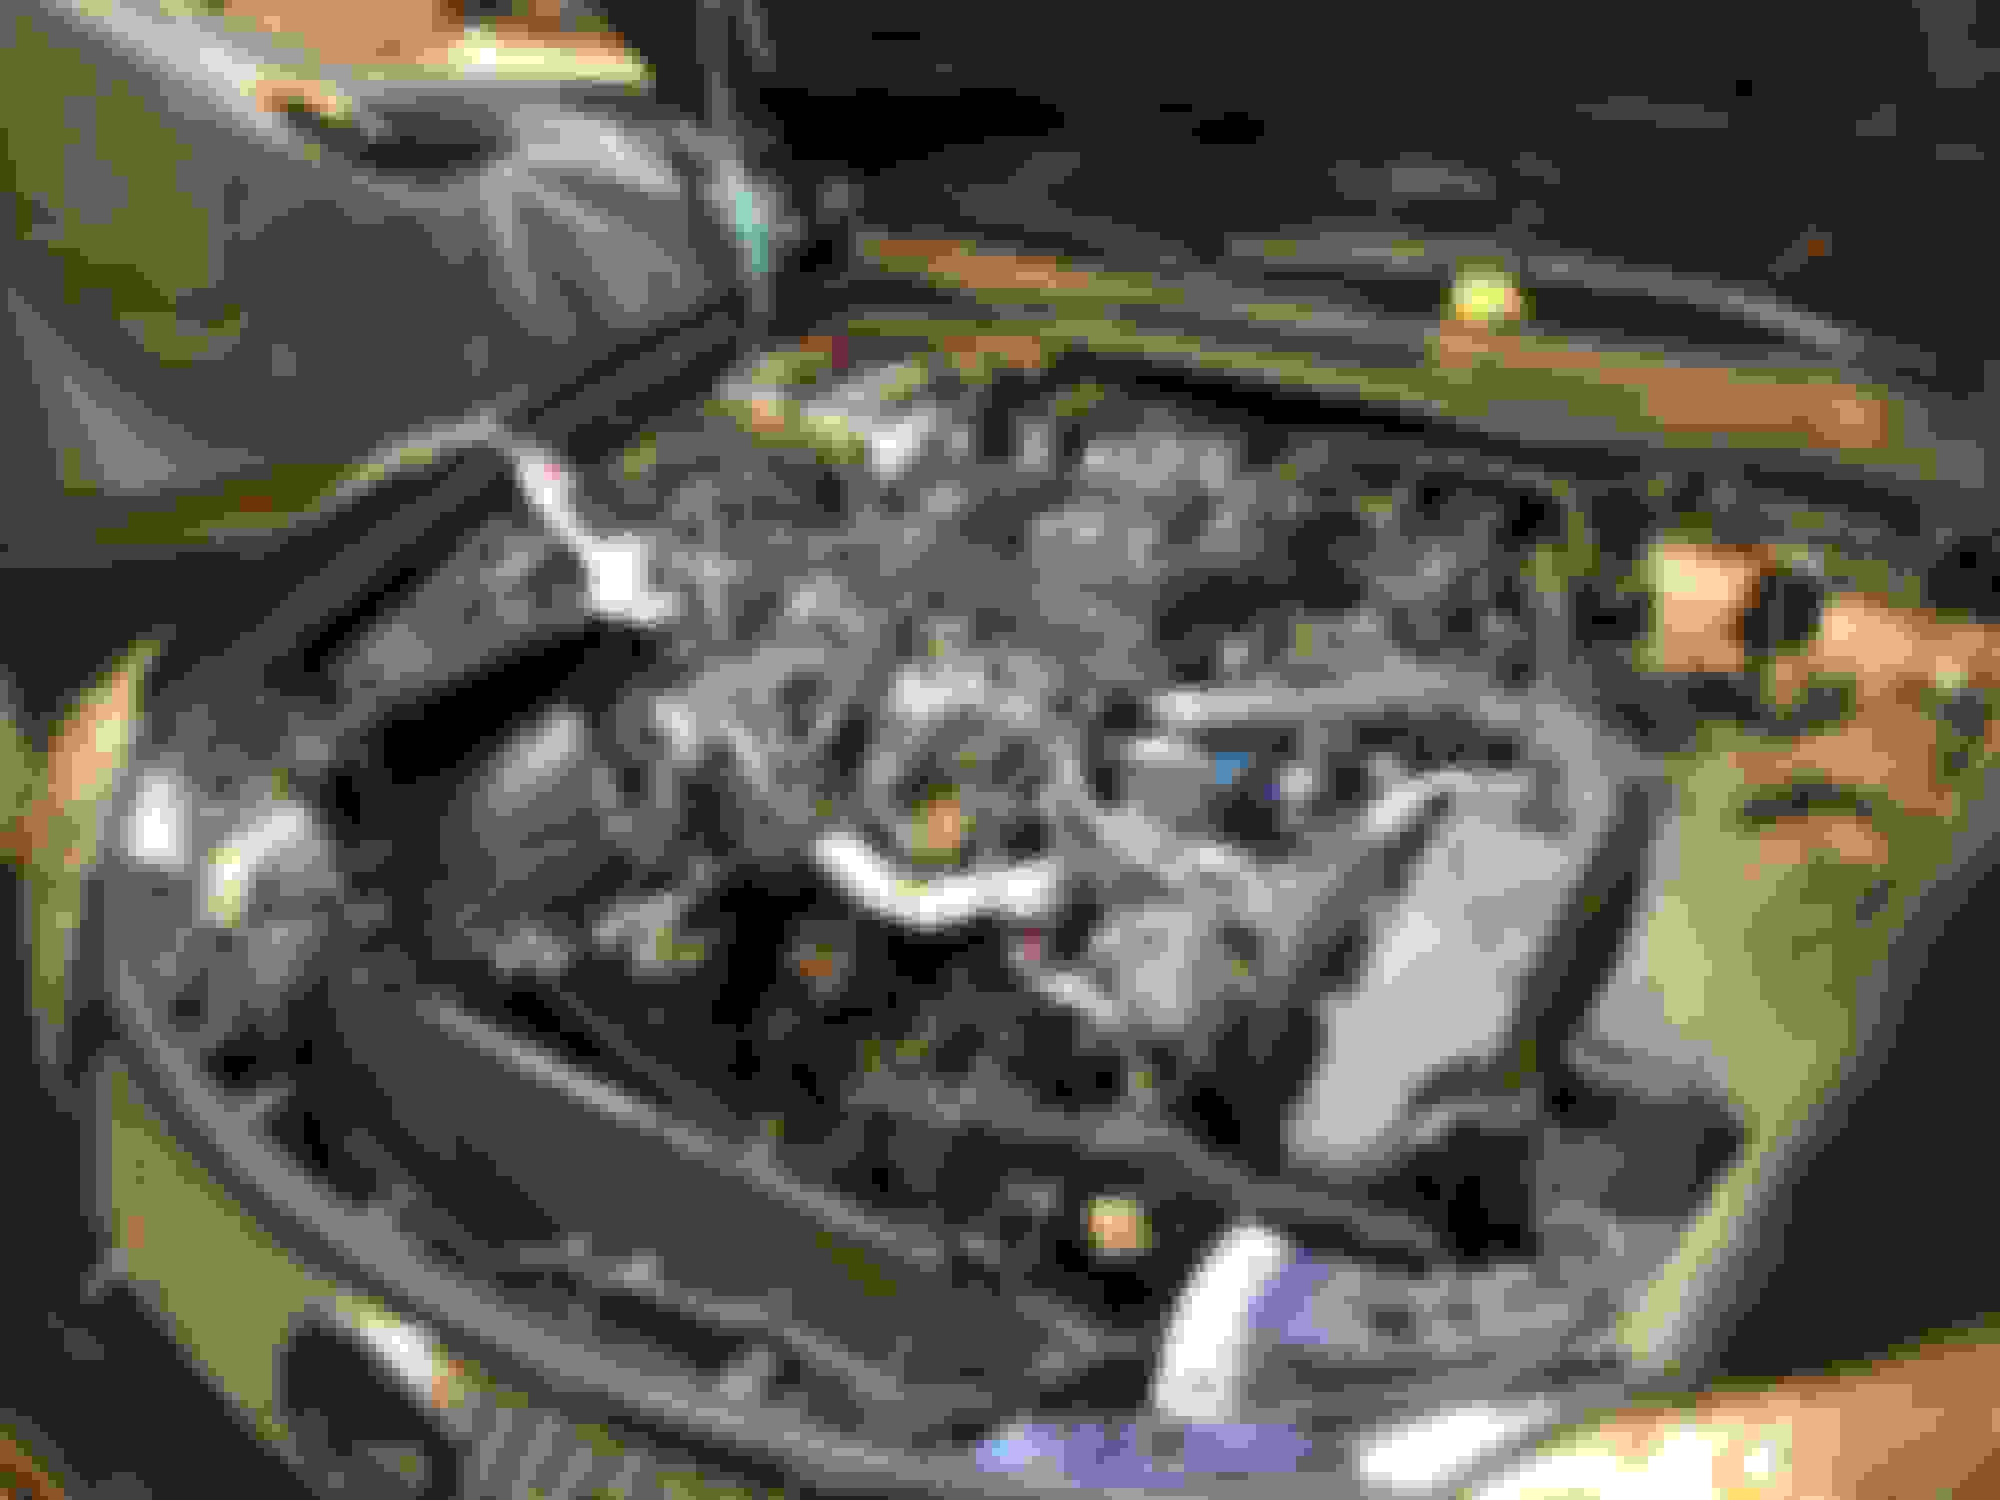
I ended up at the dealer for a TP sensor and the suggested a new valve cover gasket and plugs�. I�ve planned on doing this along with a valve tolerance check, but work has been too busy and I decided to have them do all that.
Got a good report the valves were all within a 0.01� of each other and were within spec.
I�ll post a few more pics from the past couple of years.


Got a good report the valves were all within a 0.01� of each other and were within spec.
I�ll post a few more pics from the past couple of years.


Lexus Fanatic
Joe Z
Lexus Fanatic
close
May 15, 2022
- Join DateNov 2004
- LocationUnder an IS F since 2008
- Posts:13,441
-
iTrader Positive Feedback100
-
iTrader Feedback Score(10)
-
Likes:764
-
Liked:1,076 Times in 592 Posts
Nice work through the keep on keeping the IS F fresh..!!
Joe Z
Joe Z
Jwconeil
Moderator
close


Oct 16, 2025
- Join DateApr 2017
- LocationIndiana
- Posts:3,069
-
iTrader Positive Feedback0
-
iTrader Feedback Score(0)
-
Likes:366
-
Liked:978 Times in 632 Posts
Your fleet is awesome. I�ve wanted a bit older Lexus SUV, but their prices are insane now, even with high mileage.
ChpEng
Advanced
close
Today
- Join DateMar 2020
- LocationCA
- Posts:558
-
iTrader Positive Feedback100
-
iTrader Feedback Score(1)
-
Likes:595
-
Liked:331 Times in 182 Posts
Quote:
@McPierson Car looks great. Is that a Bayson R front lip? Does it attach to front bumper cover by self-tapping screws? How is fitment?Originally Posted by McPierson
...and added an eBay lip...
Quote:
not 100%. It was $130 and it did use self taping screws on all but the two outside bolts of the bumper cover. Originally Posted by ChpEng
@McPierson Car looks great. Is that a Bayson R front lip? Does it attach to front bumper cover by self-tapping screws? How is fitment?
it fit very good. It�s fairly flexible. My bumper cover isn�t long for this world so I didn�t hesitate to put a few holes in it.
I�m able to remove the bumper without taking off the lip.
Rookie
Lovely fleet. A vehicle for all occasions. Looks like a Bayson-R lip to me. I have the same, as many others on here. Best bang for buck and very little guilt if you hit a curb compared to a $2k lip.
Curious about those Bilstein's. Do they offer different perch height settings? How's the ride with stock springs compared to OEM?
Curious about those Bilstein's. Do they offer different perch height settings? How's the ride with stock springs compared to OEM?