When you click on links to various merchants on this site and make a purchase, this can result in this site earning a commission. Affiliate programs and affiliations include, but are not limited to, the eBay Partner Network.
Those would look great with USB. I will tell you now that these are a pain to clean. I just ceramic coated the front wheels yesterday and plan to do the rears this weekend. I am hoping that makes cleaning much easier.
That makes ANOTHER wheel that will NOT clear the calipers on our car! Back to drawing board.....
I have just about EVERYTHING Ceramic Coated. Thinking of doing it to myself next!
Your RC looks amazing!! I love the stance, the wheels and pretty much everything about yours!! I mostly envy your ability to do that work yourself. I am sorry to hear about your paint though, that blows that a stupid washer can cause so much damage You take it a lot better than I would, I think I would need to be institutionalized (lol)
Thanks @wthrman2, luckily with time, wash and polish 99% of those paint spots came out. There are a couple deeper ones on the side skirt but nothing too serious.
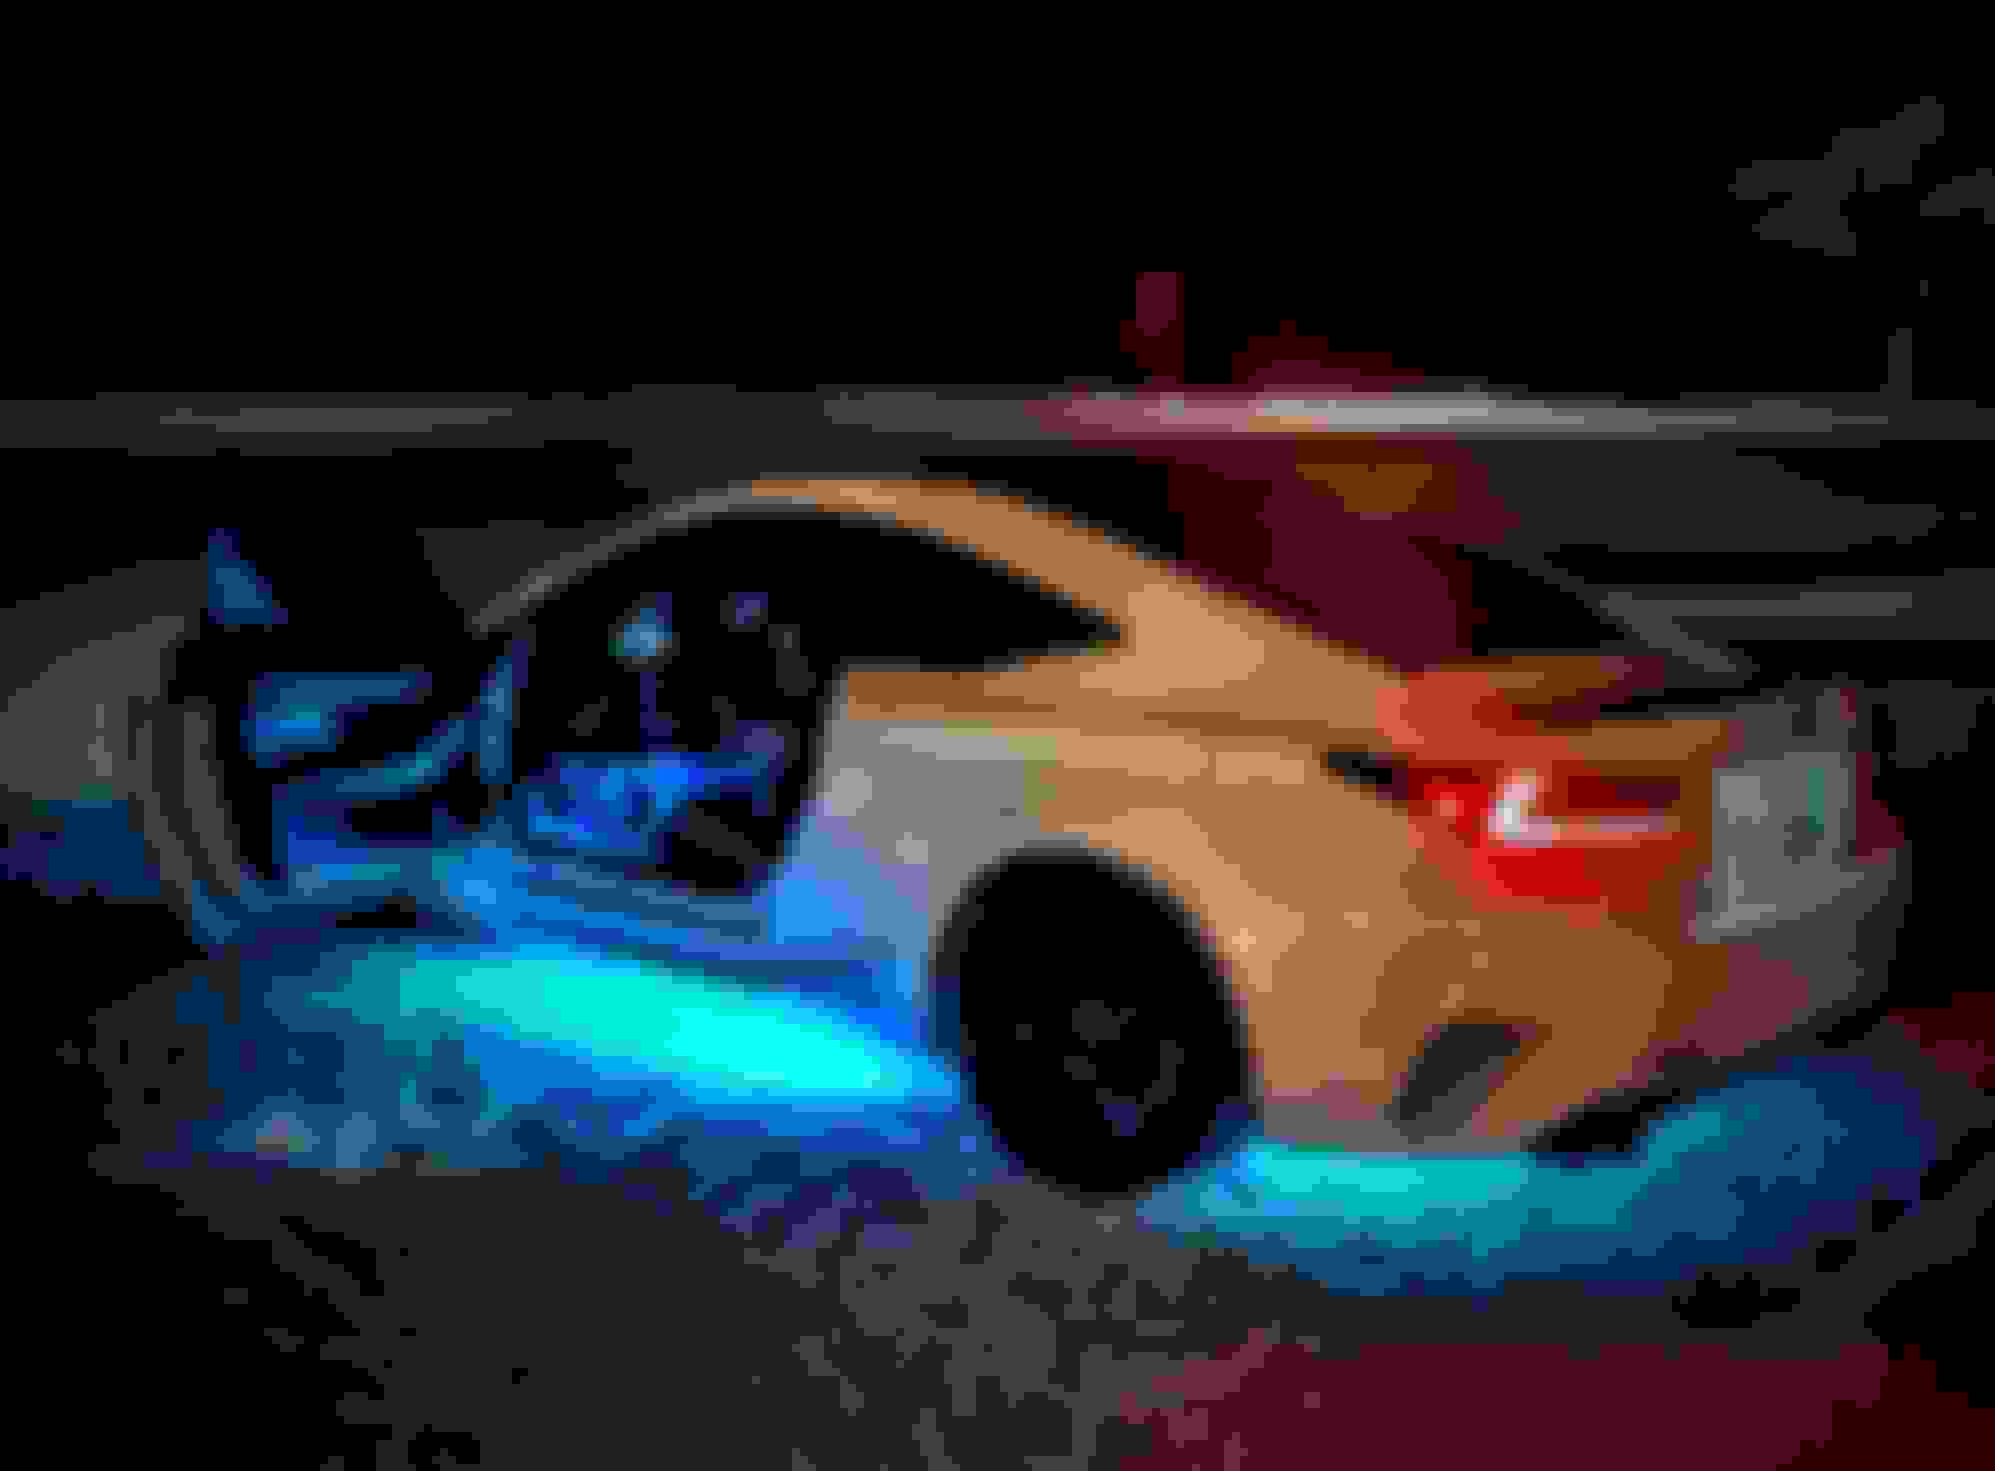
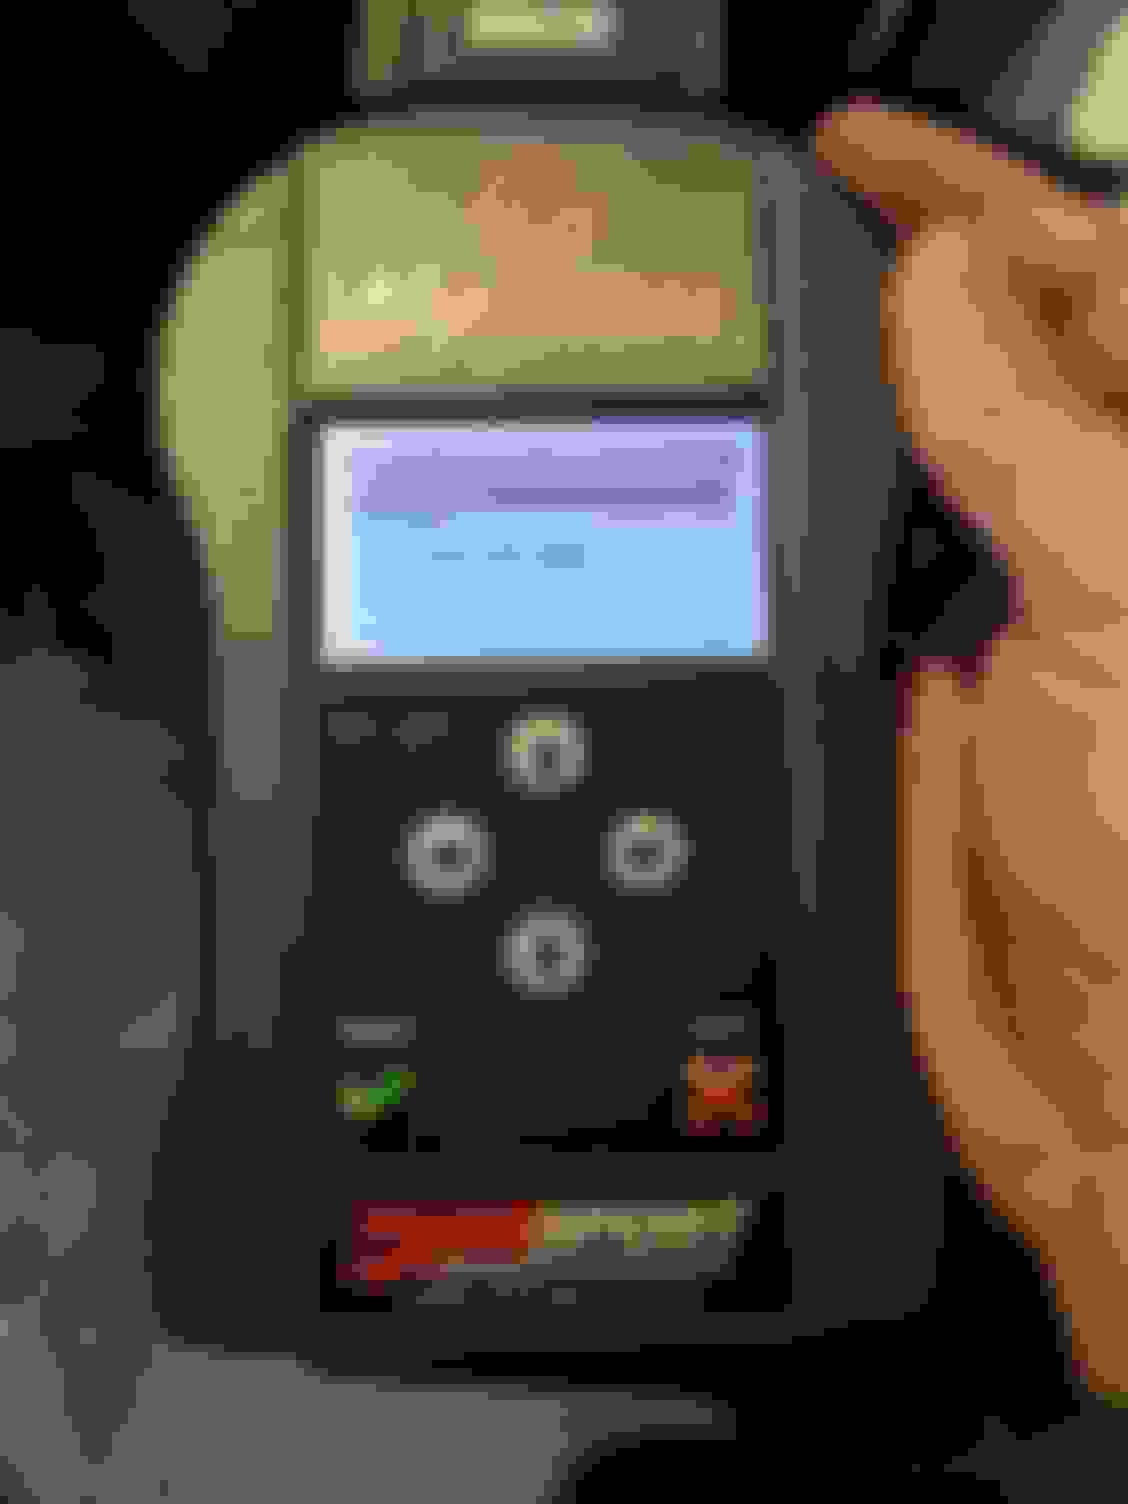
Installed the Opt7 underglow and interior LED kits. Fairly easy install with wire tucking under the fender liners and under the dash. Added on/off switches so they don't run 24/7. Everything is controllable through a phone app. Really wish they made more room to work down in the foot wells. Overall like the result although I will only be using these things at car meets. Cost was not bad and customer service was great, had a control box go out after install and they sent a new one in 2 days and provided for free return shipping of the defective box.
I finally got around to installing this. Depending on your level of comfort tearing apart your car the install was not too difficult. There is an install guide somewhere on these forums that was helpful. Have a good way to wire tap because the kit included taps are garbage. You will need some sort of quick disconnect taps or the farthest your bumper will ever be from your car is about 1 foot. I ended up leaving the DRL wire disconnected because I did not want the light on when my DRLs were on. I have it wired to light up when breaking and then it does a sequential light up when the turn signal, hazards or is unlocked. Found it on ebay or Amazon, search for the The Arrow LED. Fits both the RC (all models) and the RCF.
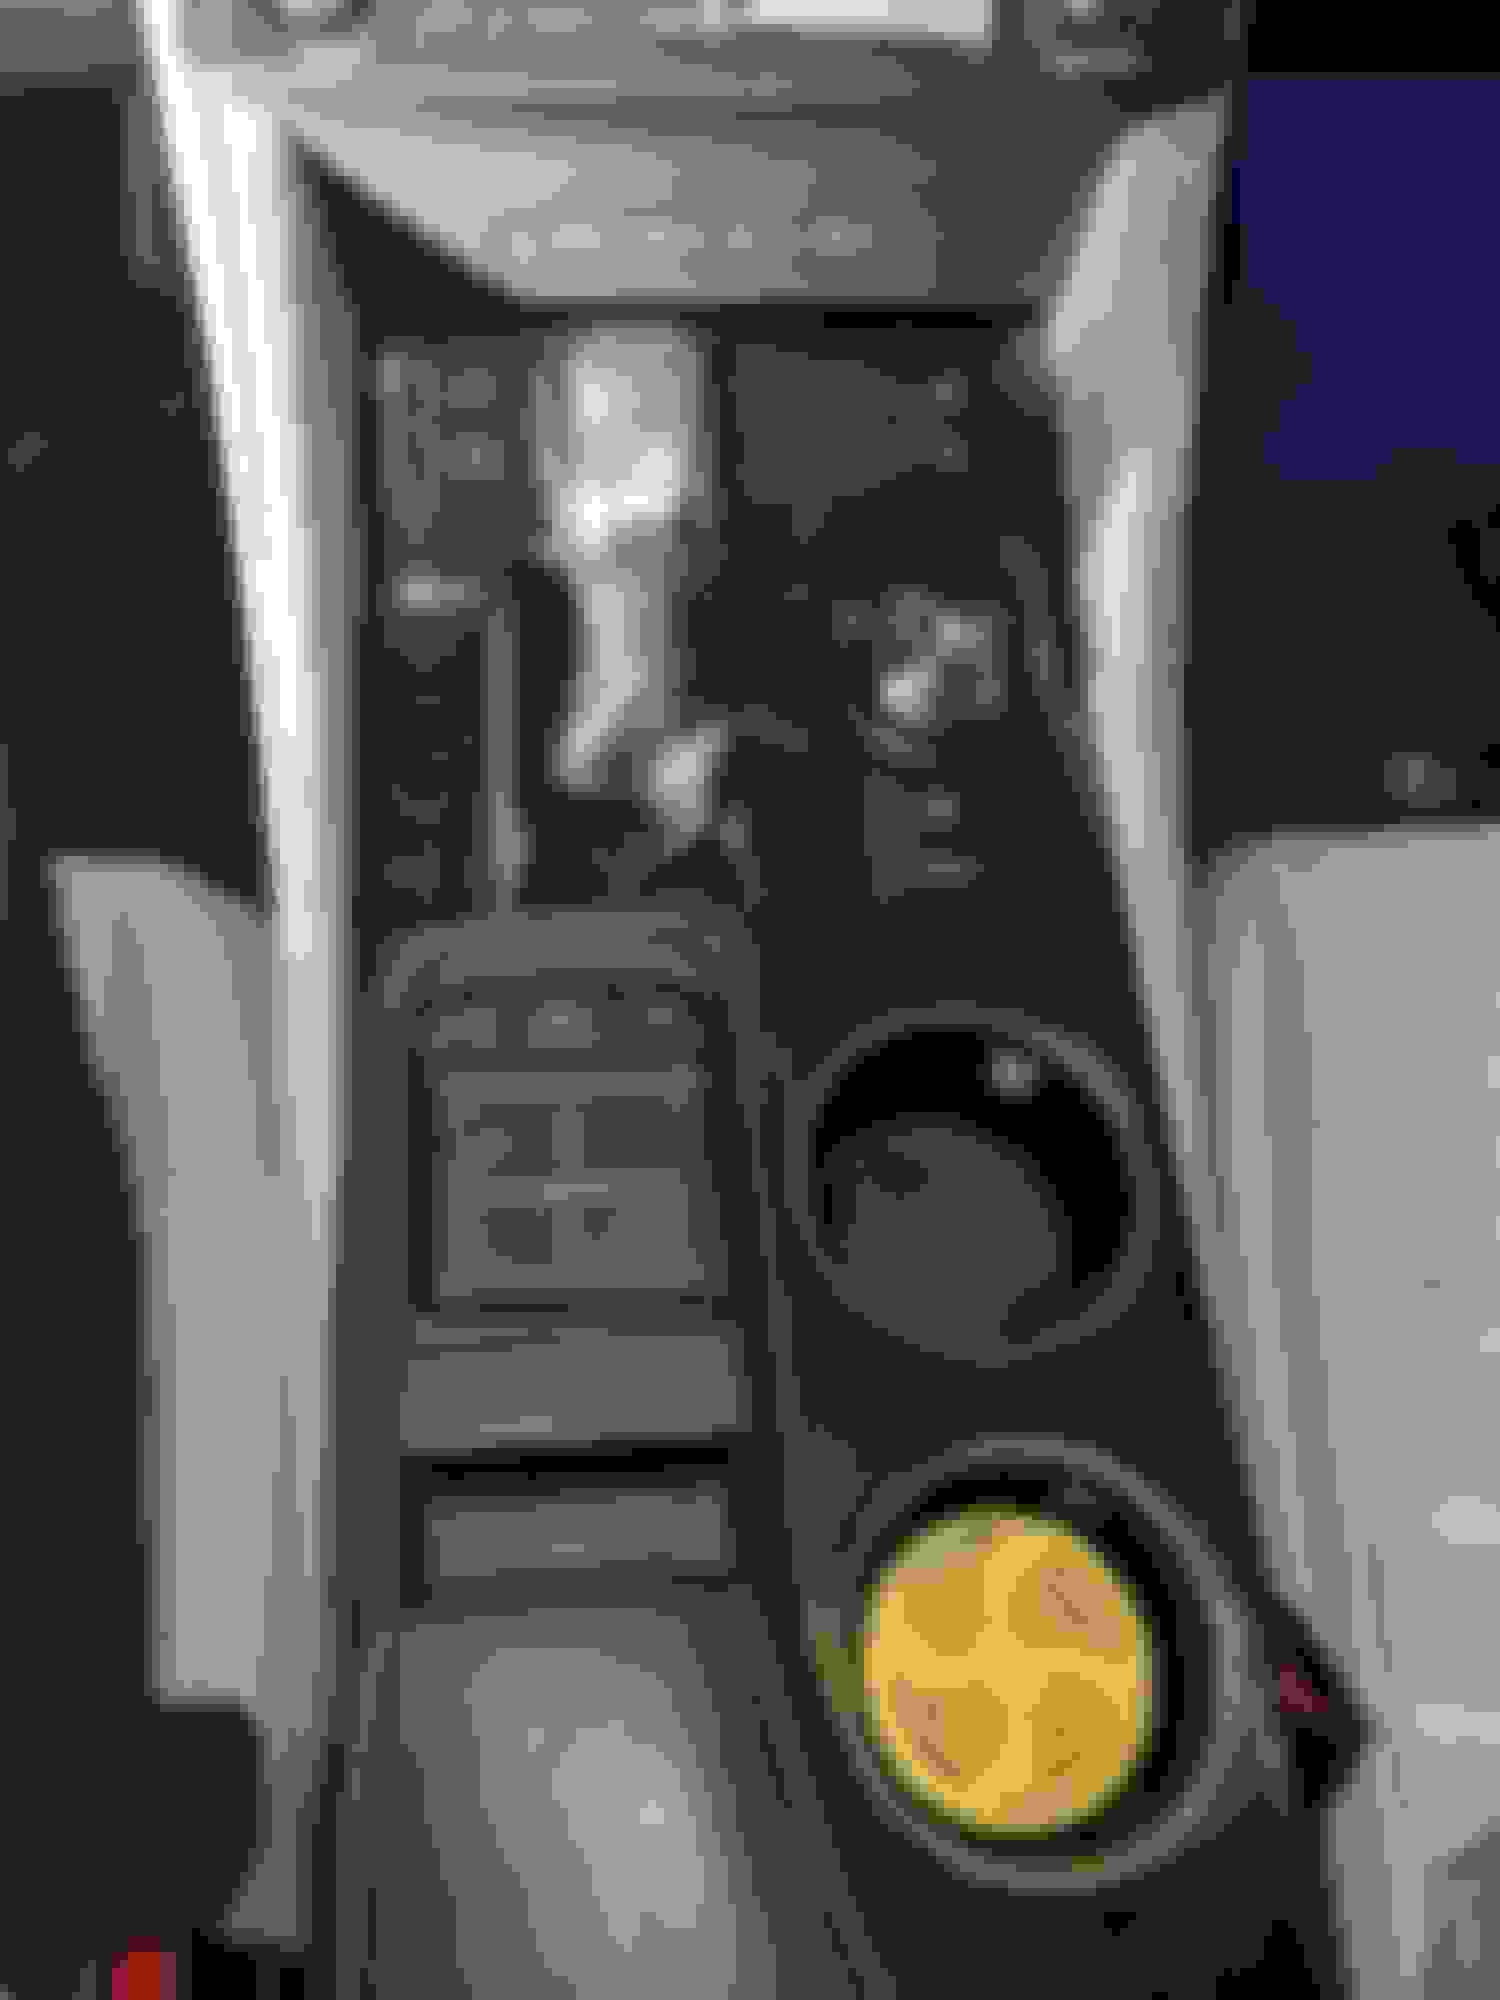
I finally had a day off from work and got bored with my self imposed quarantine...so I decided to re-wrapped my interior trim pieces. I used Vvivid's epoxy carbon fiber vinyl wrap which I purchased off Amazon with some new wrap tools for $40ish. I think I got a 2ft x 5ft roll which is more than enough if you don't mess up. The photos do not do this material justice. It has a very nice shine with great 3D depth as it is a layered vinyl product. Being a layer vinyl makes it somewhat thicker than typical vinyl material but I did not feel it was overly difficult to apply. The pieces are not as nice as real CF parts from say someone like Elvin but a very nice alternative considering the price. Depending on your experience with vinyl it is also a nice way to occupy your time if you have nothing else to binge watch. The door pieces and the bit ob the glove box are rather straight forward and really only require a heat gun, a blade and patience. The center console has some elements that are tricky but with patience and some knifeless tape can be done.
Next up I have some high heat caliper wrap coming that I plan to wrap my engine cover with. My white high heat paint and turned a odd shade of yellow so I plan to place with wrap. Stay tuned....and wash your hands.
Before wrapped in Averyl matte black After...look at that shine
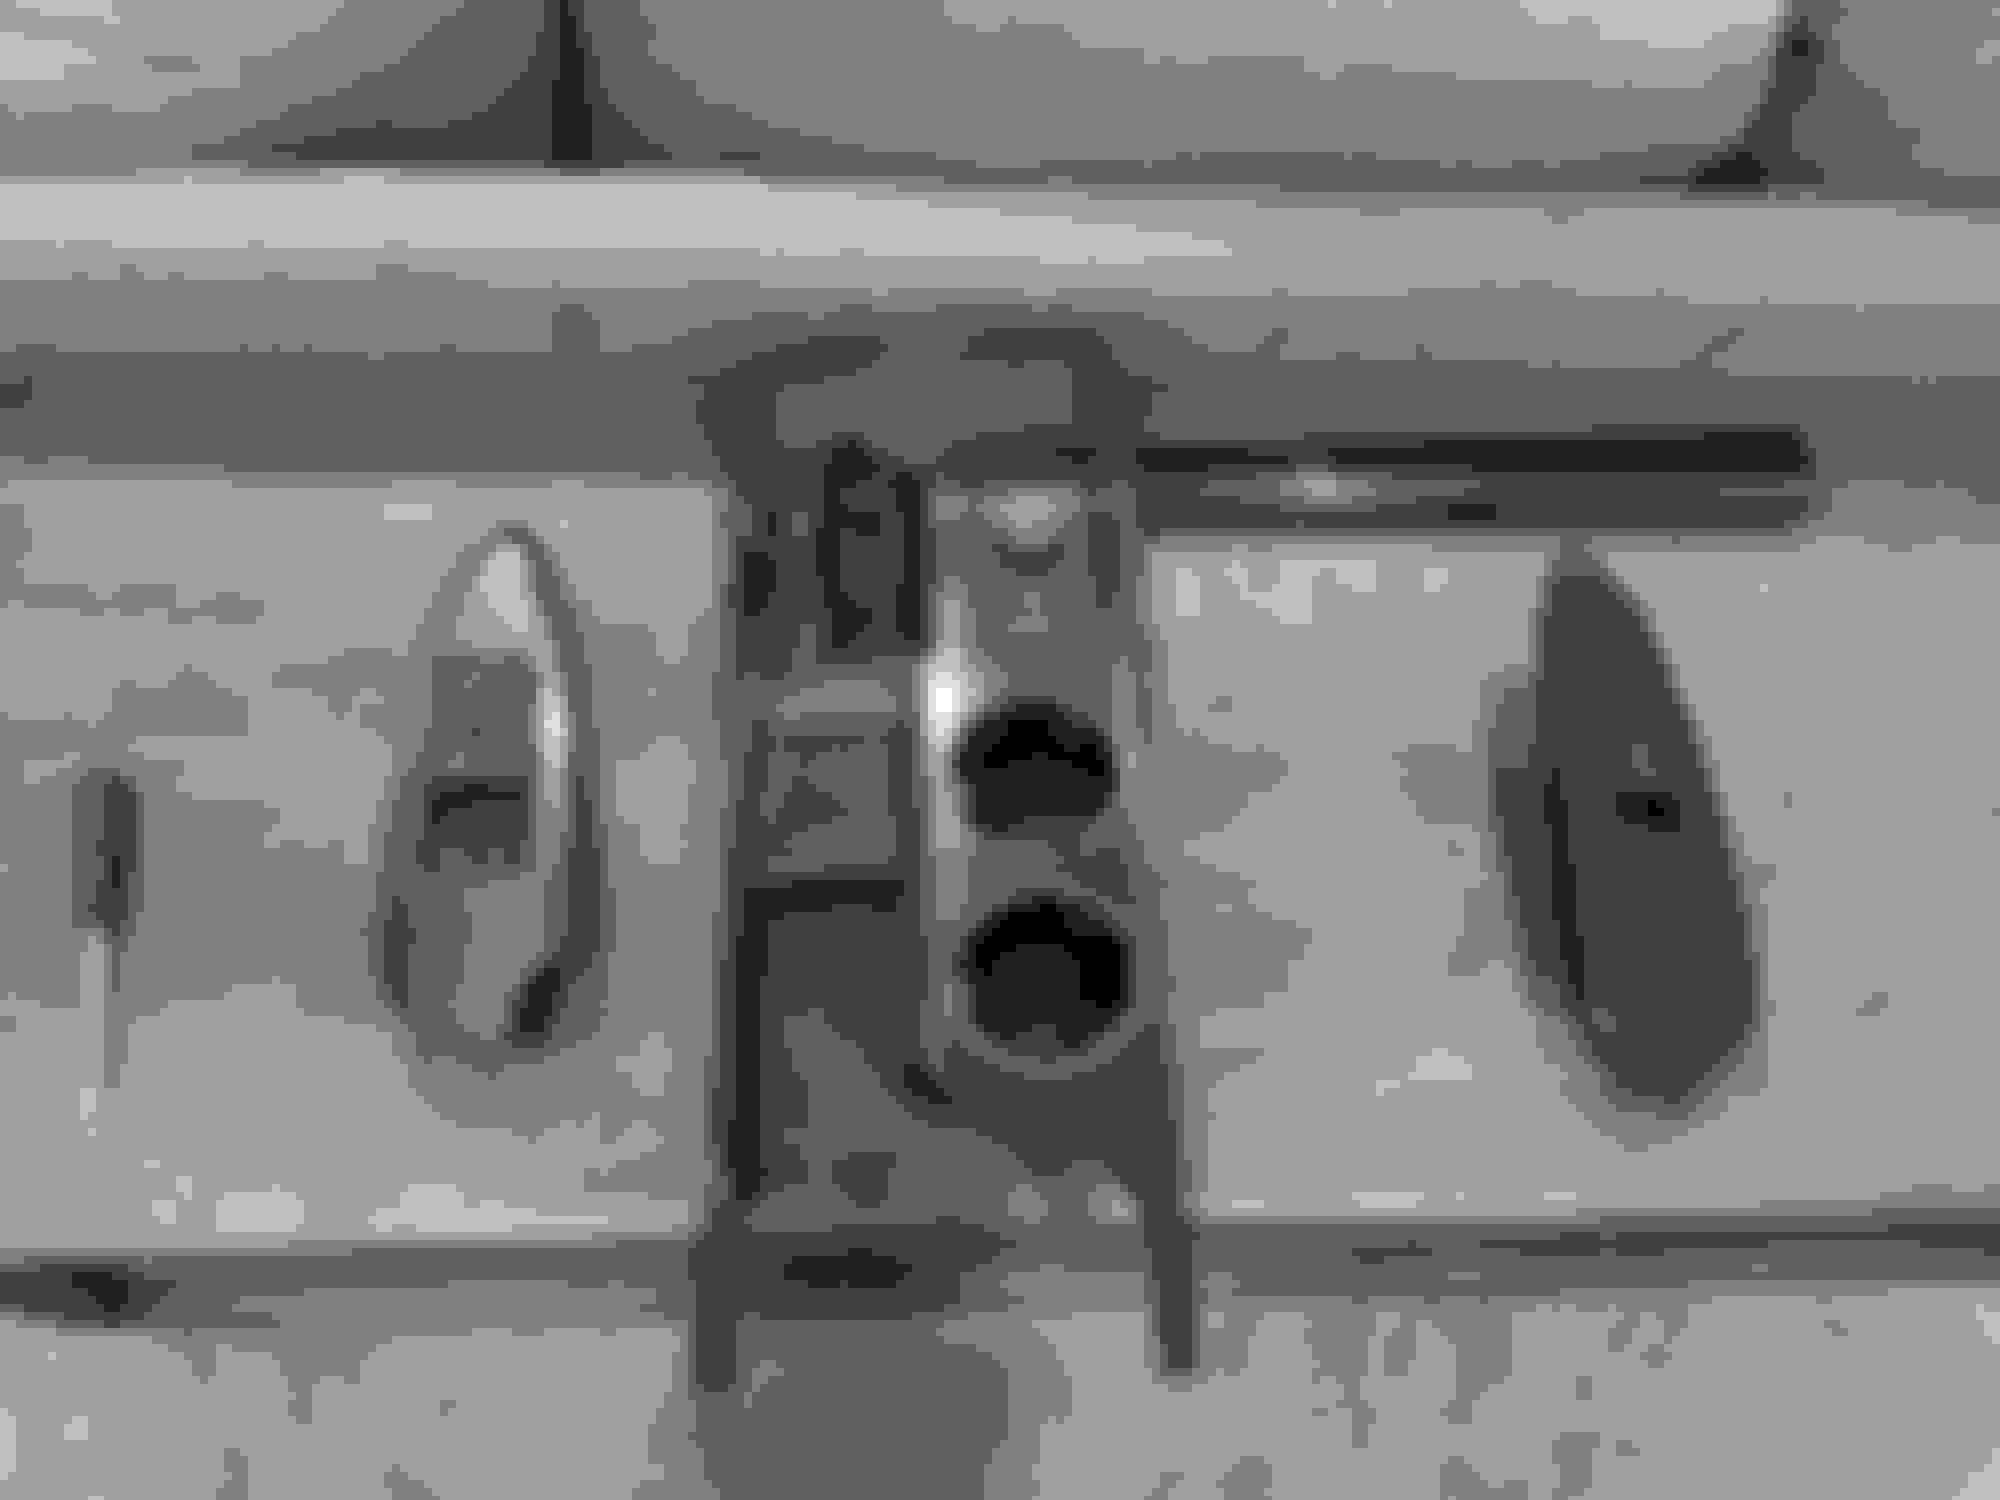
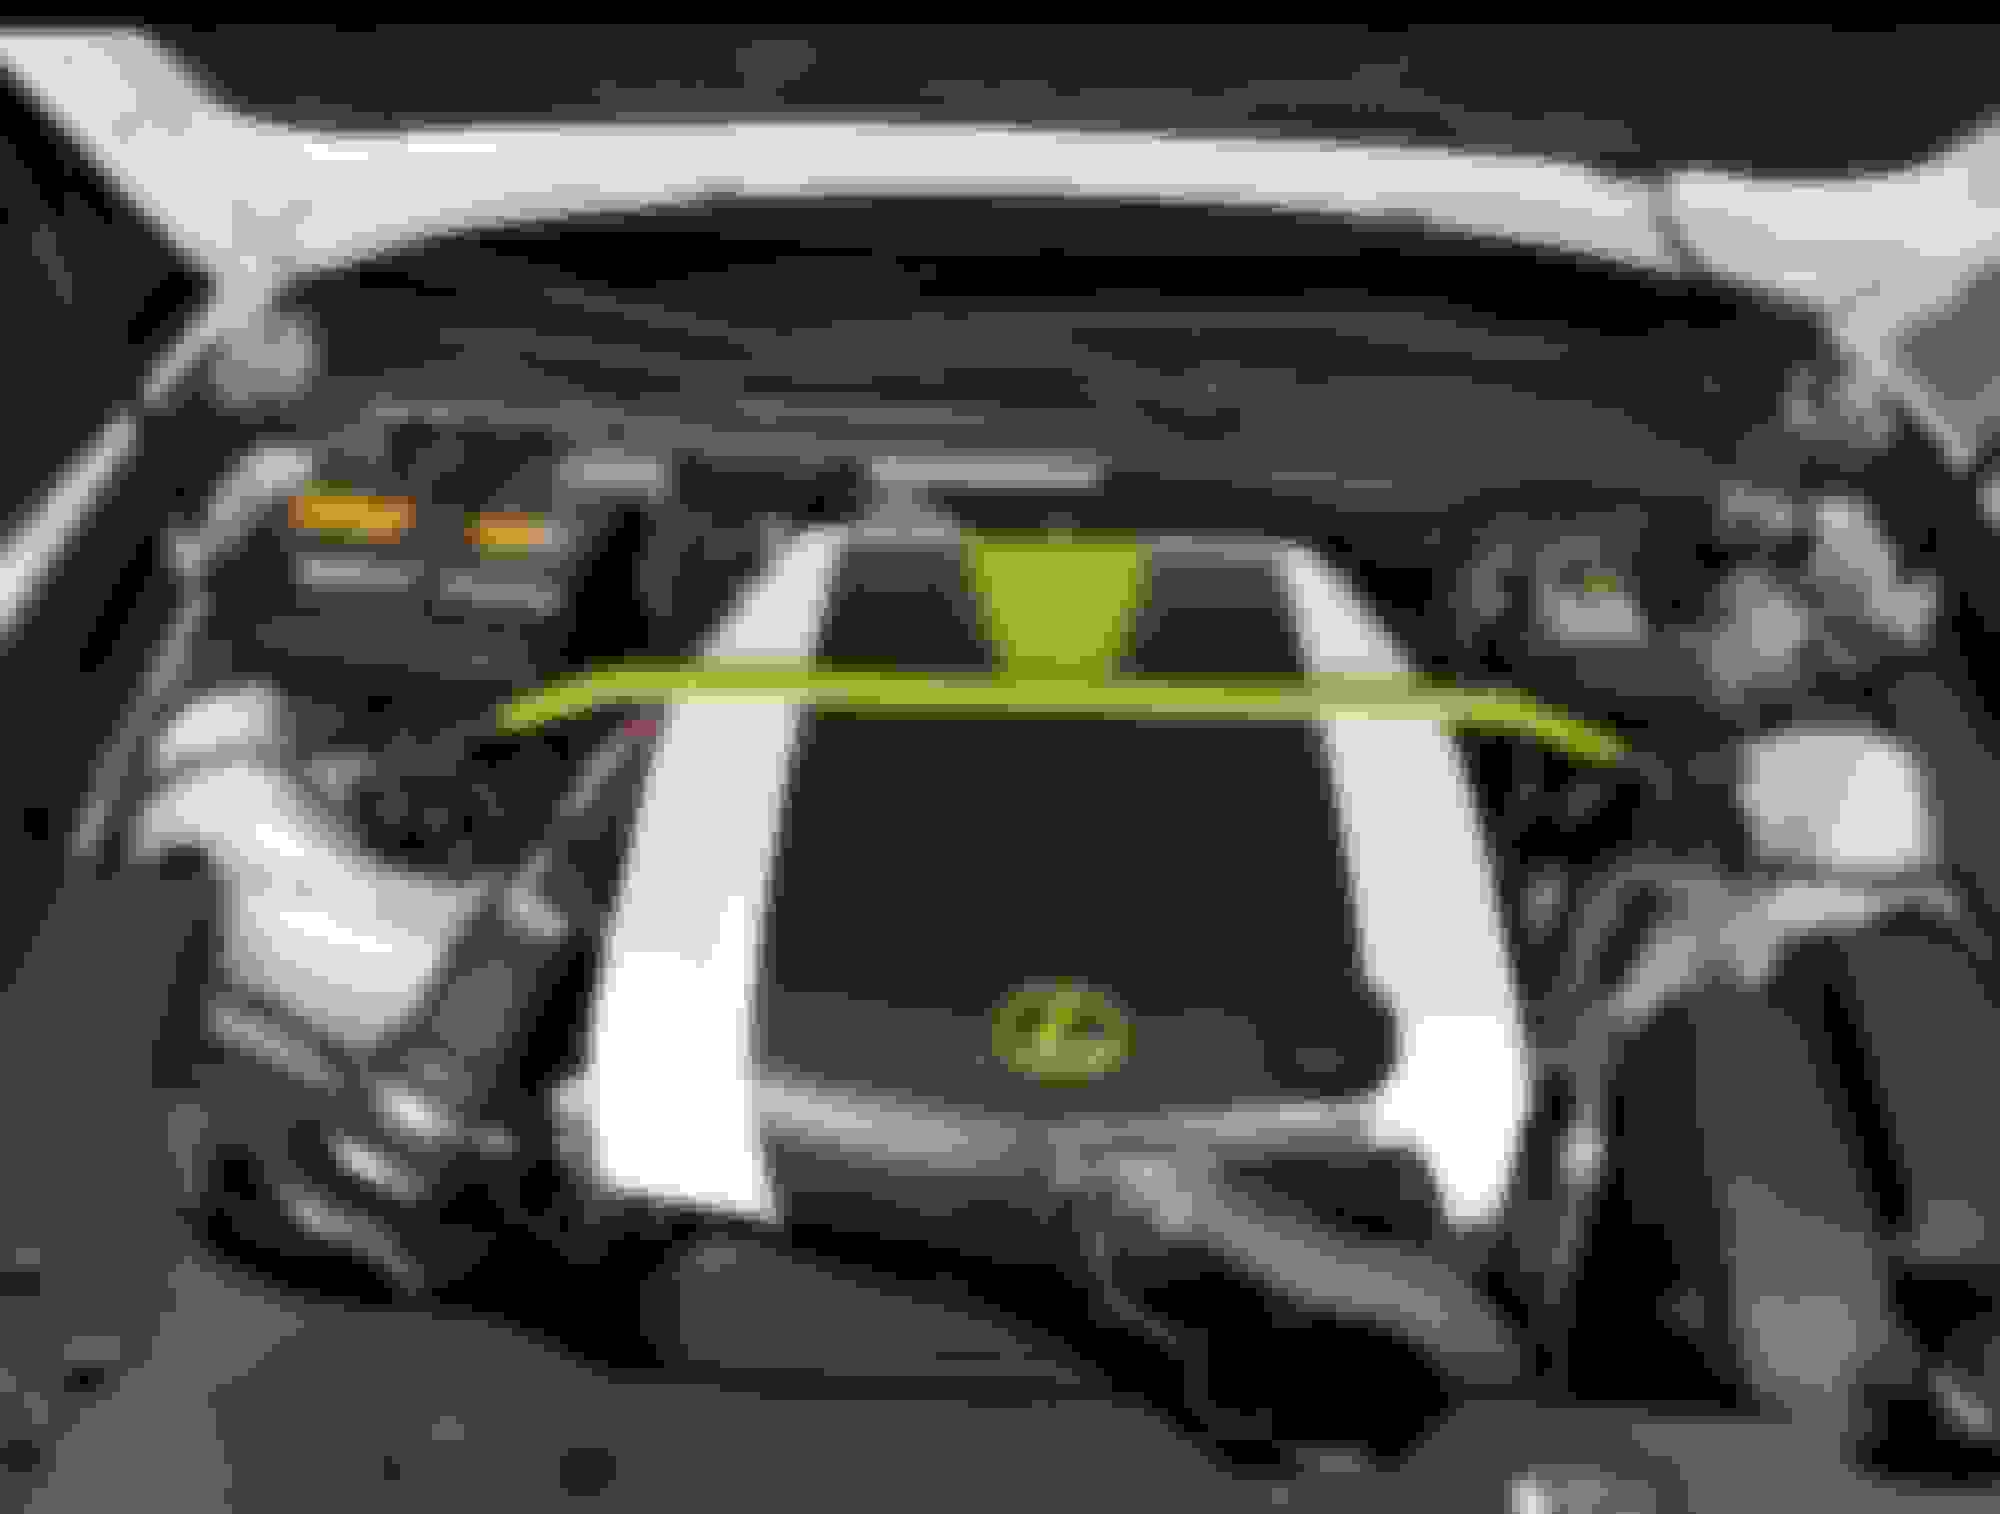
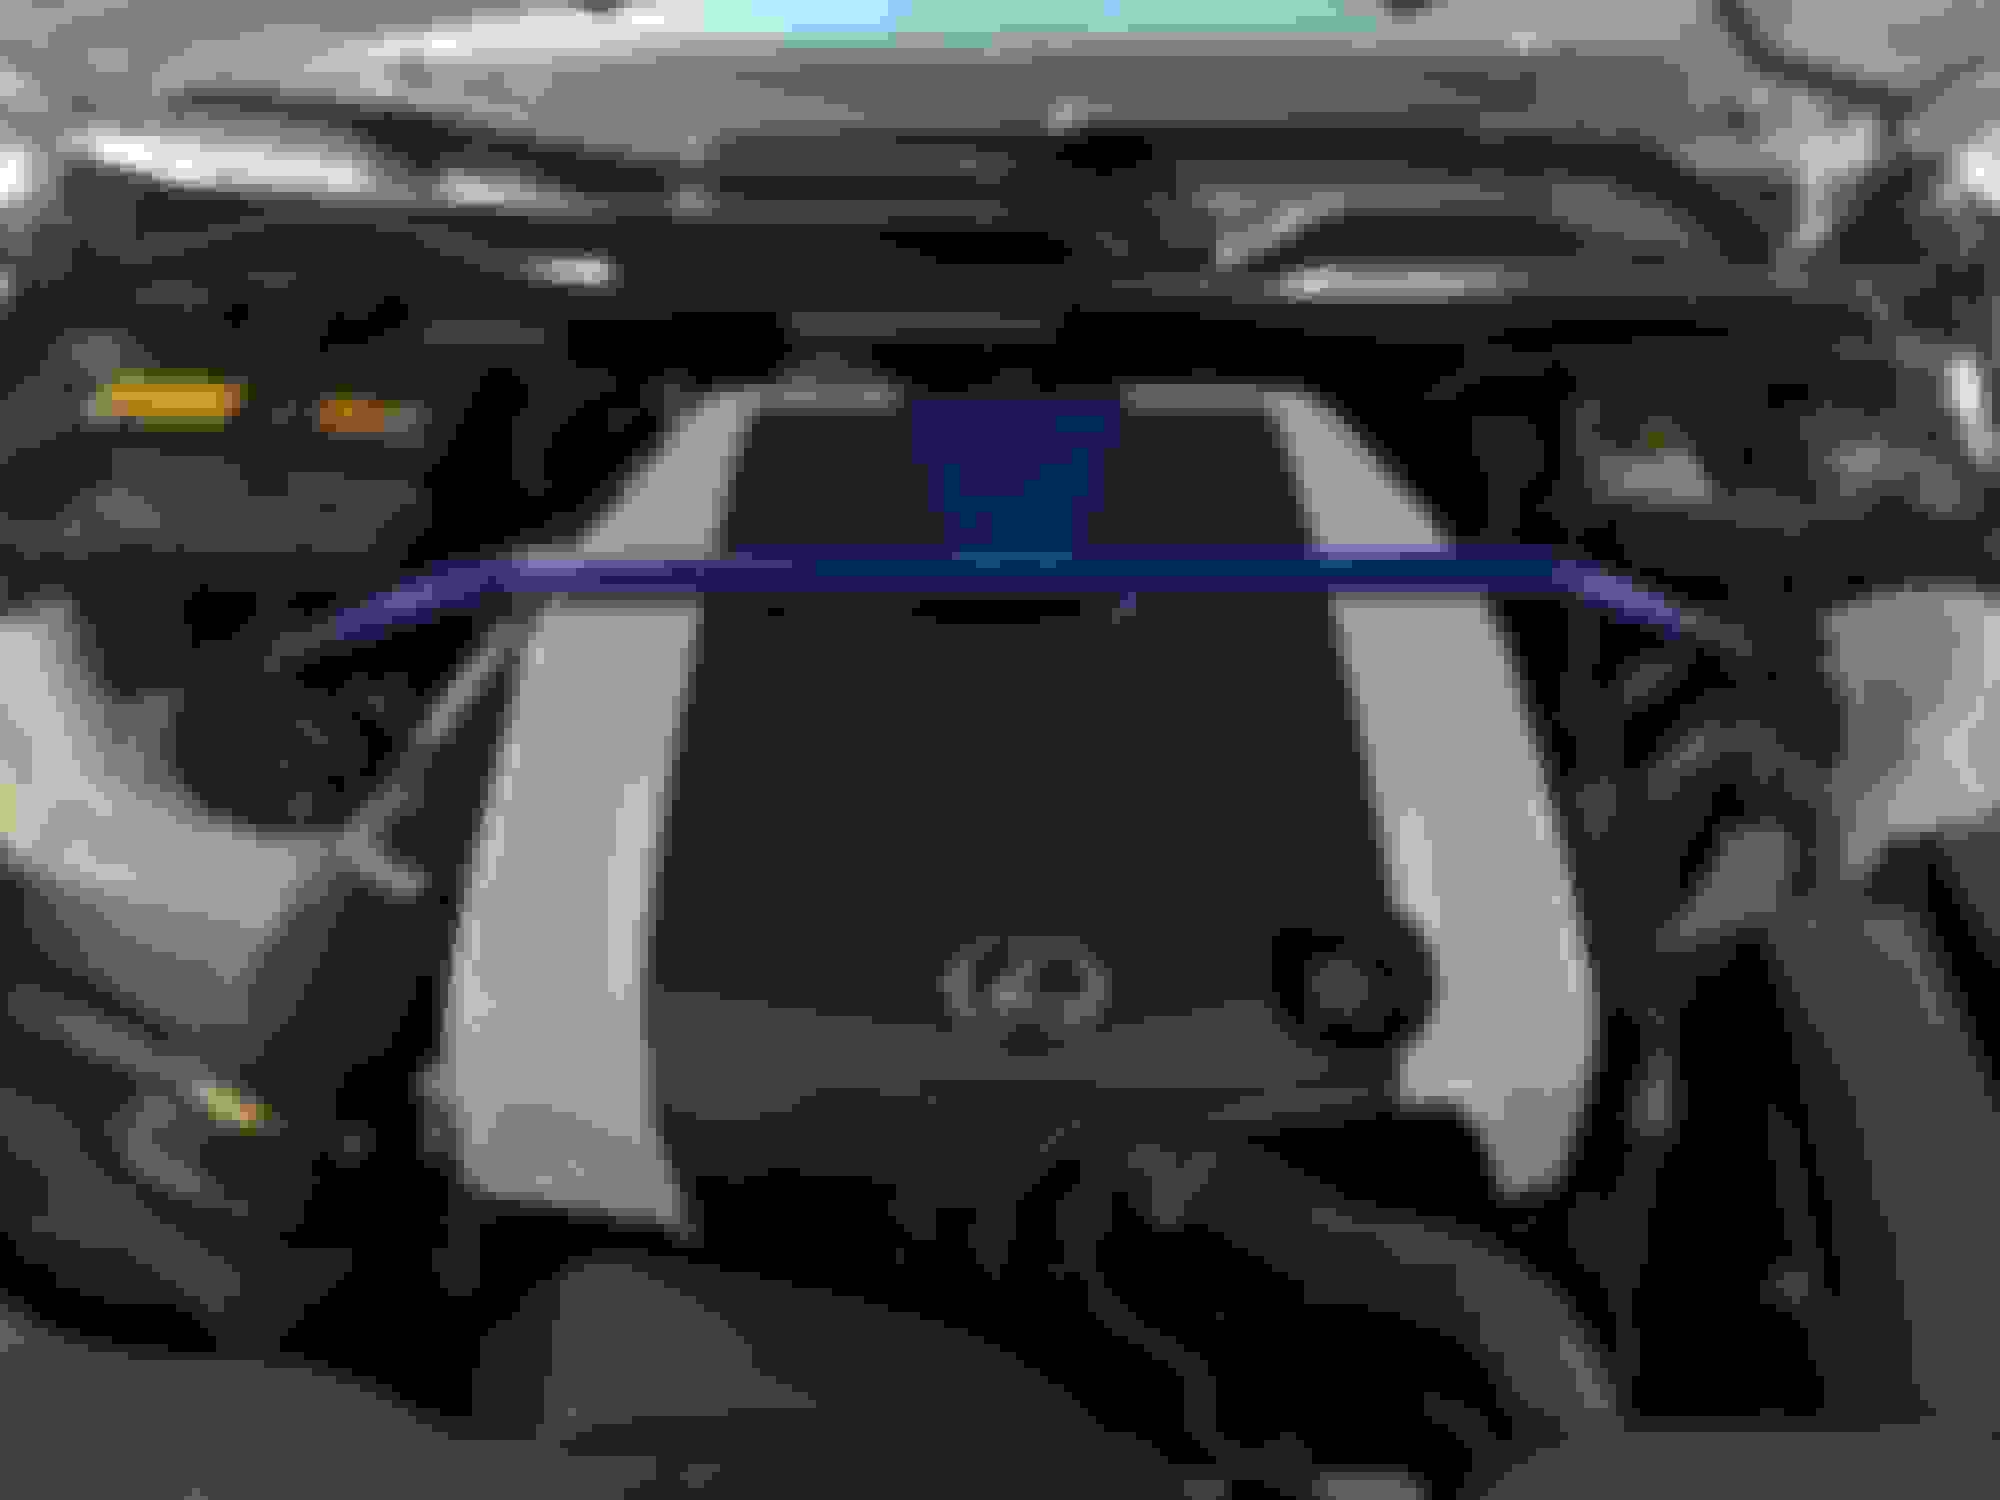
Another quarantine project that I did a couple of weeks ago and forgot to post. I had painted my engine cover to match my body and caliper colors. The high heat paint that I used did not hold up and started to yellow. I decided to redo things with a high heat vinyl product from Vvivid. Here is the evolution of my engine cover.
Initial paint job Second paint job after several months of living in the bay....that bright white was not so bright anymore. Finished project. Wrapped the strut tower bar to match.


 You take it a lot better than I would, I think I would need to be institutionalized (lol)