When you click on links to various merchants on this site and make a purchase, this can result in this site earning a commission. Affiliate programs and affiliations include, but are not limited to, the eBay Partner Network.
I've seen that most people have mostly the same results. Not much power gain. However in the future, I think it might be worth it to install at least the cams and a true exhaust system just for the sound of the cammed V8 alone. I'll cross that bridge when I come to it.
Hi Andrew. You�ve got a really beautiful car . Black, facelift, really nice. Looks like the paint is in good condition. No problem with rust for you California people, but the Sun can be hard on the paint, right?
Have you considered a shift kit for the transmission? Cheap, easy to install and gives a sporty feeling when the shifting is more firm. Just don�t go for the Hot Rod mode. That�s too much, if you ask me.
Hey thanks man! Yeah no rust out here but that sun does make this car feel like a million degrees sometimes. I've actually burned my hand opening the door a couple of times. But luckily Lexus really know how to make a good AC system. I have looked into those shift kits but from what I have read they don't work for the 5 speed auto. As for the interior I will post some pictures once all of the speakers are in and the rear seats are put back together.
So the new speakers are in and they sound really great! I had some serious issues with some of the stock speakers. Most were full of holes and destroyed speaker cones and rattled really badly. The removal process was relatively simple. If you want a full breakdown on the installation search use this link. https://www.clublexus.com/forums/lex...sc3-400-a.html
This is what remained of the 20 year old rear speakers. They rattled really bad and had a pretty tight sound range due to the torn sound cones.
The one surprise of this exercise was the condition of my stock subwoofer. As you can see, it is pretty much perfect and has no holes or tears of any kind. Very impressed to see this.
For this installation process, I had to make some minor modifications. My father, who is a dremel tool master, helped me widen the mouth of the stock speaker housings to allow the larger speakers. The process wasn't too difficult and only involved a few new holes to mount the speakers. I had to remove a bit of foam from the rear housings to fit the new rears as well. The stock wires fit perfectly on the new speakers, and they all sound perfect. Unfortunately I slightly damaged the right corner of the rear deck cover as it had become very brittle from baking in the sun over all these years. But regardless of that, everything fit back on the car pretty much perfectly!
Hi all. Sorry for not posting about this build in a long time. I'm still active on the forums, just haven't done anything with my own build thread. With that in mind I figured I would give you guys an update about what's been happening with this car.
The first major thing that was done to the car were 2 new Magnaflow Mufflers with 3 inch tips I don't remember the model number but it's their typical ovular shaped performance exhaust if you want to try and find it. I had this installed by a local performance shop and it turned out great. Car is quieter than it was with those nasty ebay cans, but the sound is much cleaner and purer. This also happened to be done like a month before they put that California Exhaust Law into effect so it was perfect timing. (Sorry for the potato quality on this one. It was pulled from Instagram)
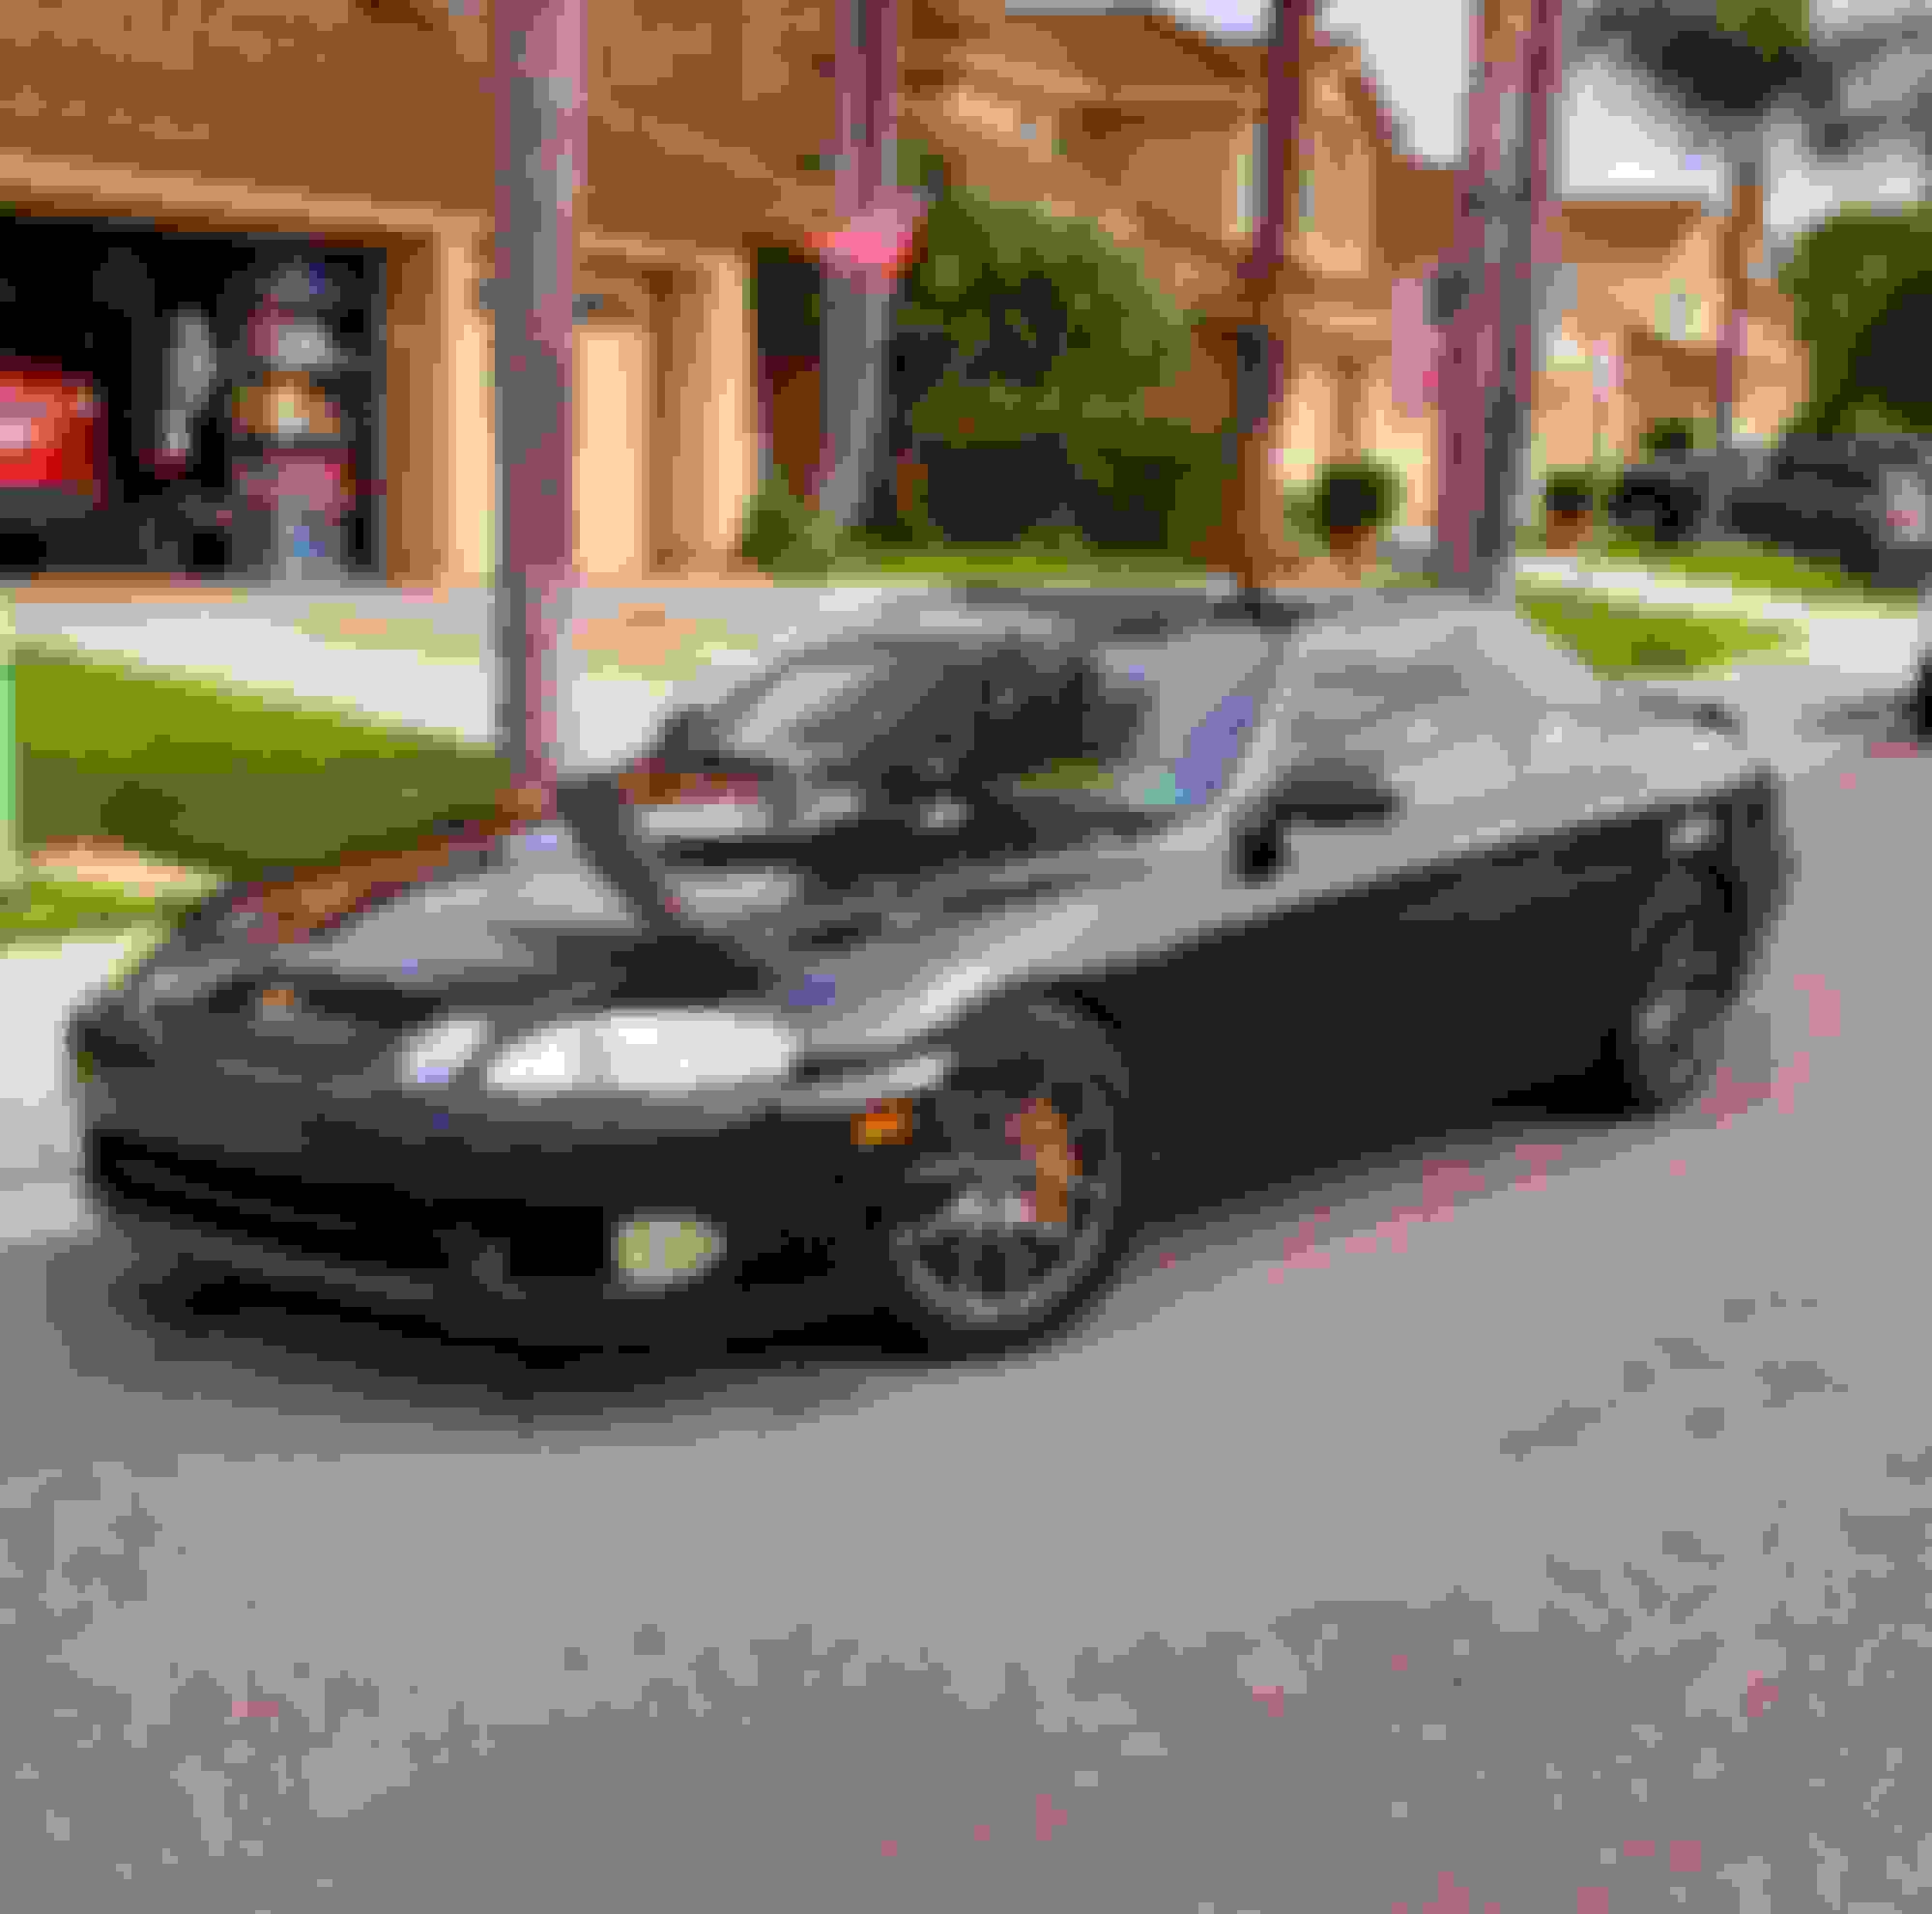
Following this, the next major update to the build was a suspension rebuild and upgrade. Me and my father found a free Saturday and completely disassembled the front suspension. After removing the LCA's I removed the shot bushings via the burning method. There's already a thread on this but I'll say it wasn't too hard but it was extremely messy. With the bushings gone, I replaced them with some Super Pro Polyurethane Bushings. These are the ones to get if you're considering replacing them. These tighten up the front suspension and the car feels way more capable than before. You can also feel more of how the car is reacting through the seat of your pants and the steering wheel which is great. They also wont squeak because they have these small little veins running up and down the bushings which trap the bushing grease keeping it nice and lubricated. While I had the suspension disassembled, I also tackled the shocks and springs. I ripped out the old shock/spring assembly and installed Megan EZ Street II Coilovers front and rear. These are really great if you're looking for a quality sub $1000 dollar option. They have adjustable ride height and 15-way adjustable dampers so you can really tune the ride to your liking. With these installed, I dropped the ride height by about an inch and a quarter to an inch and a half front and back. I also left the front to rear rake in so that it looked relatively factory spec. For me, this is the perfect stance for the car. At this height the wheels tuck nicely but will not rub on the inner fenders even at full lock. After the install, I drove to my buddy's shop to have him align the car. After the alignment, the car has about -1.7 degrees of camber in the front and about -1.5 in the rear if my memory serves me right.
For those wondering, at this height the car clears all parking blocks, the doors don't scrape any curbs, and when doing normal driving, the car has plenty of clearance for bumps and rough patches in the road. Also with this setup, the car handles so much better than stock. Very minimal body roll, great control/confidence on backroads and severely lessened brake dive. The ride is also still really good. Definitely a little stiffer, but the newer adjustable dampers really make it pretty supple overall. Visually the car looks so much better than before as well. The lower overall height supplemented by the long body lines make the car look so sleek. I also tried my best when lowering the ride height to have the pinch point that comes from the back of the front wheel well line up near the outer radius of the front tire. It's not exact but close enough for me. Here's another picture of the car after it was lowered.
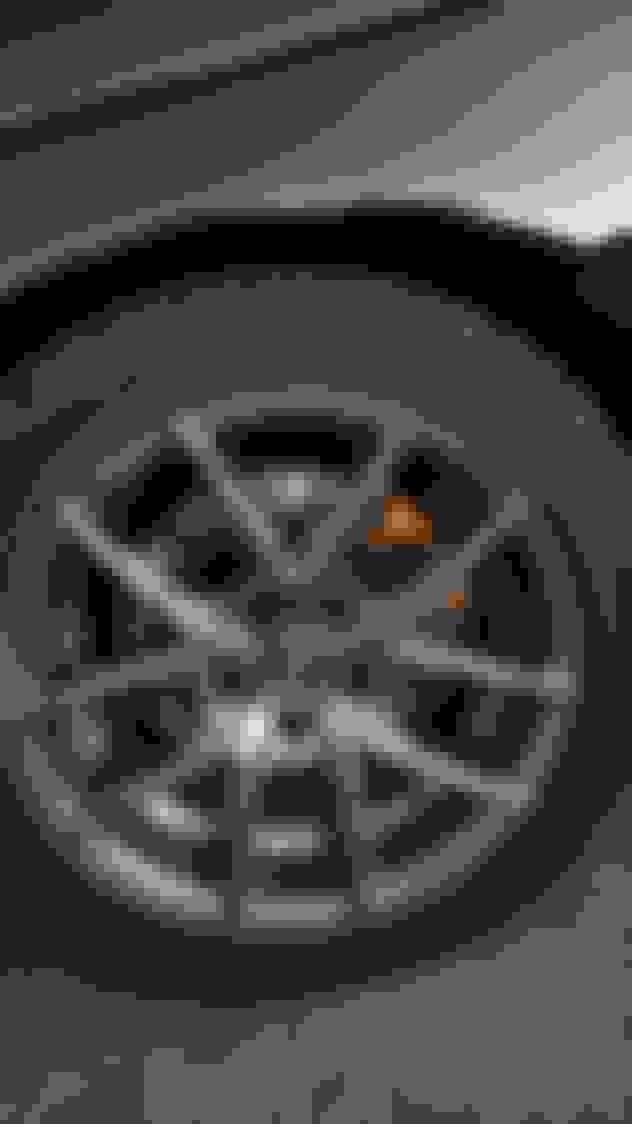
After this, I decided to tackle the rear brakes. I purchased a newer set of SC400 rear calipers, disassembled them and painted them in the same gold as the front brakes. For those wondering, the paint code is VHT Engine Enamel SP404 Gold Flake. Color looks great with the black paint and gunmetal wheels. The color is also pretty darn close to the gold Lexus badge colors as well which is great. I also installed some new R1 Concepts drilled and slotted rotors to match the front. Here's how they look installed. You can also see the new coilovers as well.
After the rear brakes, I tackled some maintenance items. The car had always run fine but it seemed to take a while to reach operating temp. I figured this was a bad thermostat so I purchased a brand new one from my local Lexus dealer. Out the door for about $45 bucks with the new thermostat and a new gasket. I also purchased some red Toyota coolant and some brand new OEM Denso Iridium Spark Plugs. I figured I would knock it all out at the same time. The thermostat was super easy to install. Just drained the coolant from the radiator, pulled of the coolant hose that runs to the left side of the engine block underneath the intake and pulled the busted thermostat out. Installed the new one no problem, re-installed the coolant hose and all was well. There's plenty of forum posts and Youtube vids on this for those who want a tutorial. After this me and my father tackled the spark plug situation. Had to remove the main intake tube section from the airbox to the throttle body to access all the plugs.
Also make sure you disconnect the negative battery terminal when you do this. They were a little tricky to get out mainly because I didn't have a perfect length extension for the socket wrench. We had to cobble up 2 different sizes and tape them together so that they wouldn't get stuck in the openings running down to the plugs. Aside from this the old ones came out and the new ones went in without a hitch. After this, we reinstalled everything that we took off, re-filled the coolant in the radiator and let the car run for a while. I had heard stories that after a thermostat, coolant and spark plug change that SC's run better in every way and I don't really know why, but for me this came true. Everything on the car became smoother. The transmission seems to be more responsive and shift more smoothly, the car idles way better, gets to operating temp way faster and so far I have gotten better gas mileage as well. To those who haven't done this in a long time, I highly recommend you do so. The cost for the plugs, thermostat and coolant was about $110 all in for shipping and such. It's worth the money.
And now you all are fully caught up. If anyone is interested, you can follow me on instagram @andrewgladkowski for more immediate updates about the car and such. I hope everyone stays safe and healthy during this time. More updates to come in the near future!
Nice updates on the car. It looks so much better lowered. Don't forget to relocated the harness in the driver fender higher up, so you don't rub through the casing on hard bumps.
Nice updates on the car. It looks so much better lowered. Don't forget to relocated the harness in the driver fender higher up, so you don't rub through the casing on hard bumps.
Thanks for the info man! The car isn't super low or anything and I still have the inner fender wells to protect the harness for now. But next time I work on it I'll look into re-routing that stuff through the engine bay.
Thanks for the info man! The car isn't super low or anything and I still have the inner fender wells to protect the harness for now. But next time I work on it I'll look into re-routing that stuff through the engine bay.
On my car, I removed the protective casing, then wrapped the wires in electrical tape to keep them from moving, and zip tied it above the frame rail. It's been 10 years with no issues and isn't as ugly as having the wires in the engine bay.
Car looks great. I envy you guys that still have motivation to do all the work on your own cars.
Kinda off-topic, but did you remove and/or update your original spare wheel? I'm asking mainly because it won't be clearing your front calipers anymore. I ended up using an older aftermarket wheel I had sitting around.
I still have the original wheels/spare wheel for the car. And you're totally right, they will not clear the front calipers. Worst case scenario if I pop a front tire, and I can't get a cell signal out to AAA for a tow, I can move one of the rears to the front and use the spare for the rear as those will fit no problem.
On my car, I removed the protective casing, then wrapped the wires in electrical tape to keep them from moving, and zip tied it above the frame rail. It's been 10 years with no issues and isn't as ugly as having the wires in the engine bay.
That sounds more appealing to me than running it through the engine bay. Has anyone made a tutorial on this method on the forums? Most of the ones I've seen have rerouted the wires through the engine bay.
Looks great lowered, although as mentioned above, you definitely want to do something about the harness even if you aren't crazy low. Even when I wasn't very low with mine I started noticed that my tires rubbed through my wheel well covers and it only would have been a matter of time until they rubbed through the harness.
 06-02-18, 07:27 PM


 . Black, facelift, really nice. Looks like the paint is in good condition. No problem with rust for you California people, but the Sun can be hard on the paint, right?