When you click on links to various merchants on this site and make a purchase, this can result in this site earning a commission. Affiliate programs and affiliations include, but are not limited to, the eBay Partner Network.
LC400CE's IS250 build!!! Slowly from the beginning
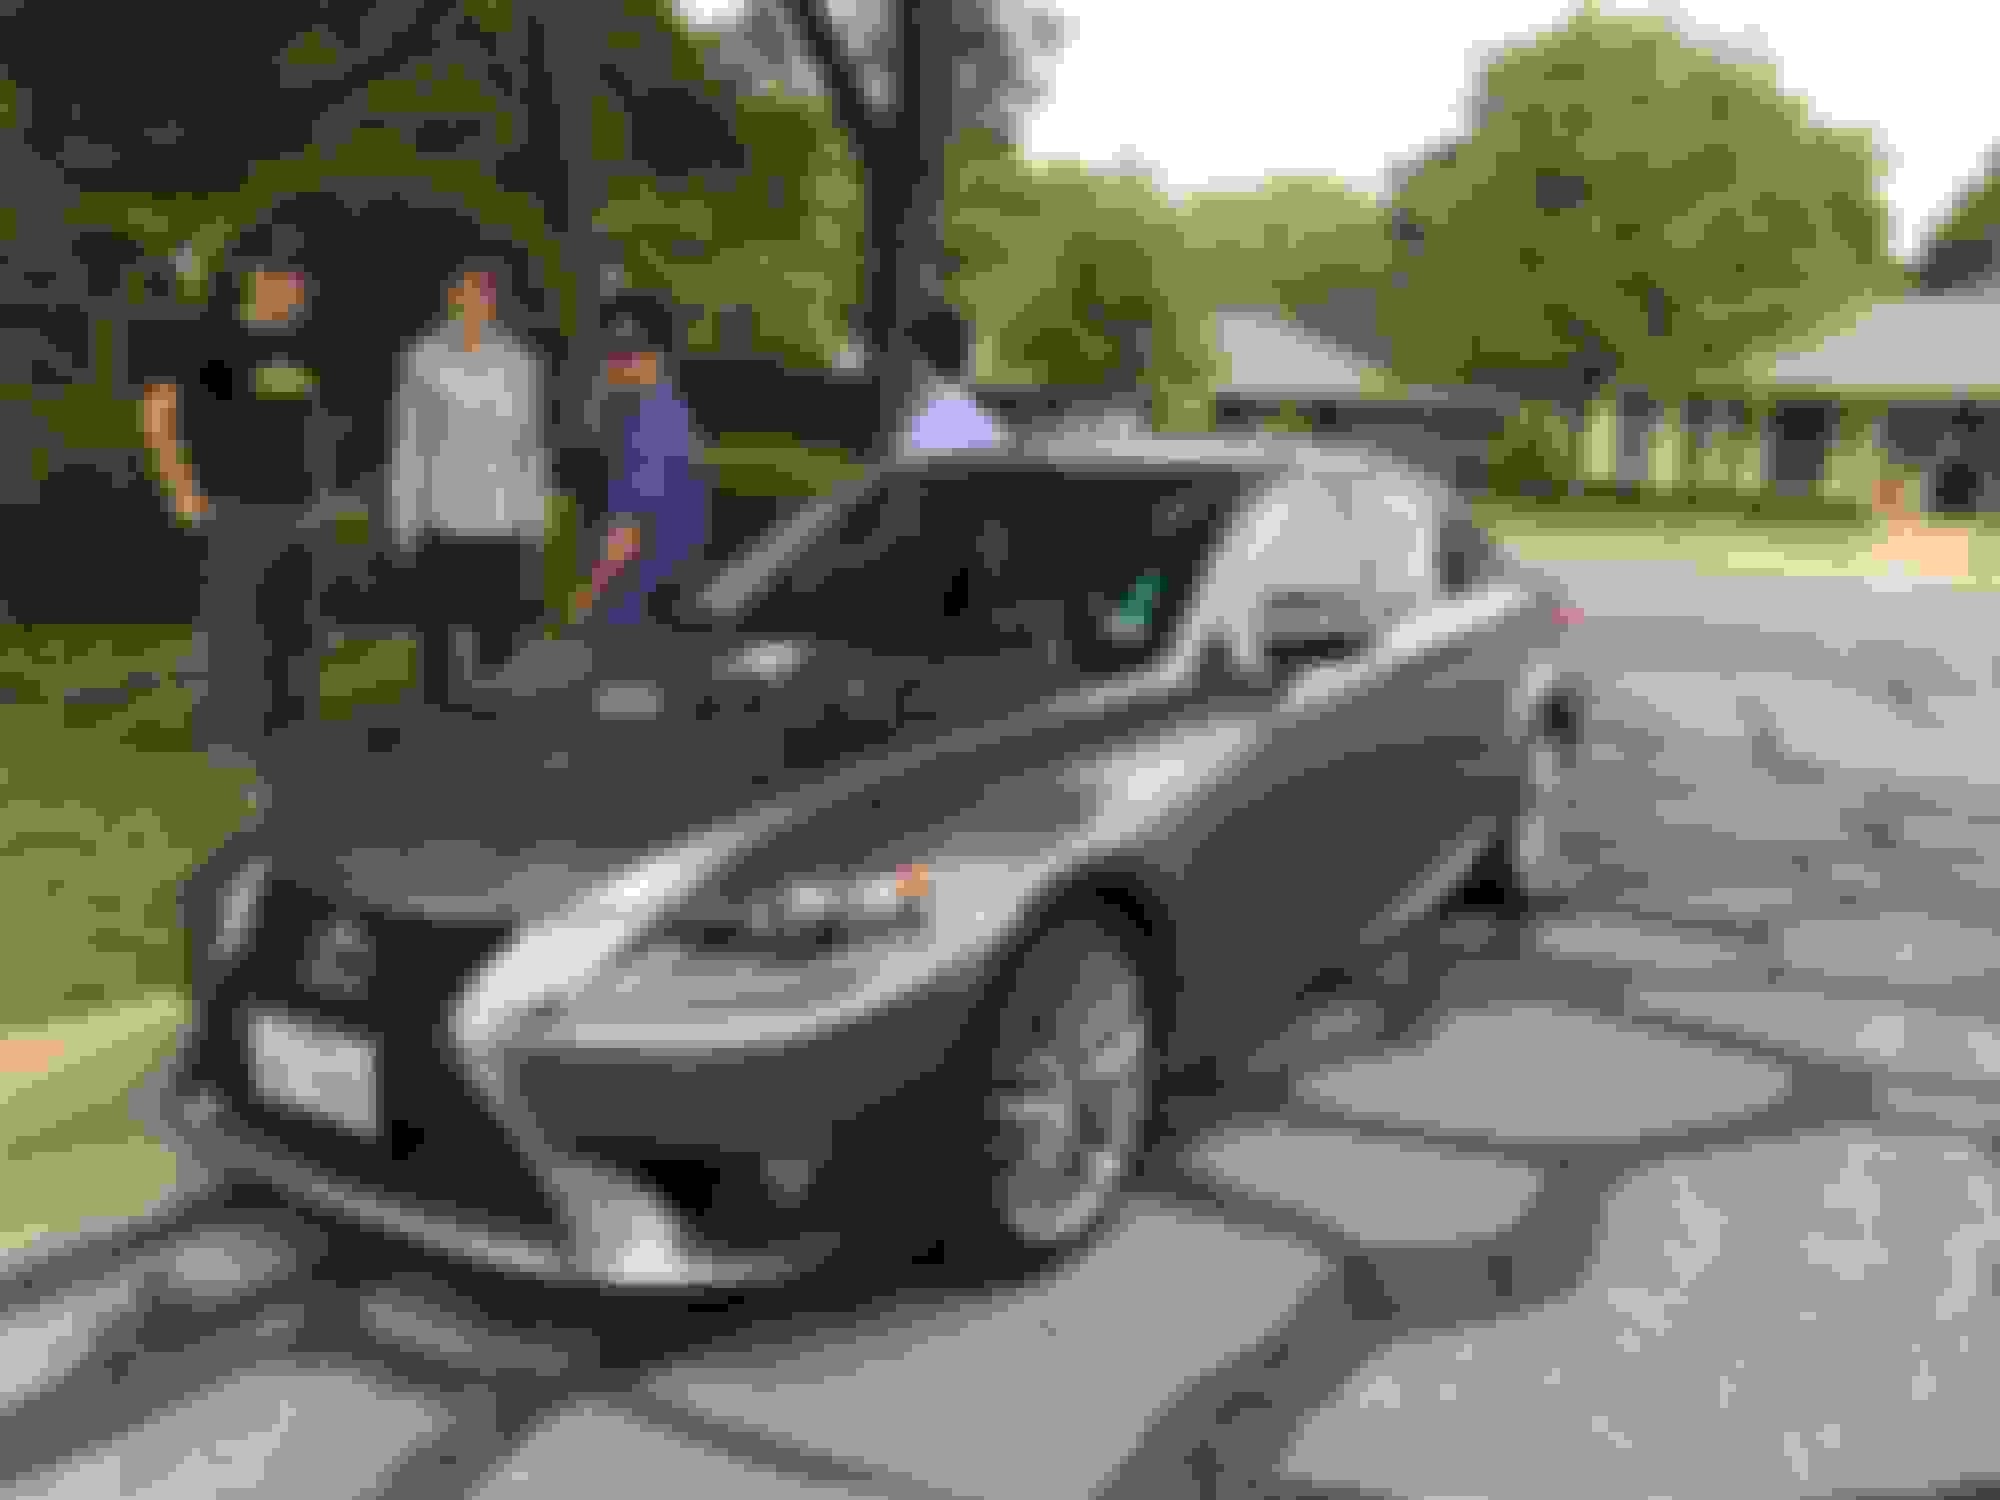
I'm not entirely new here but I no longer drive an LS400 Coach Edition, which was my username's namesake. I have since acquired a 2014 Lexus IS250 RWD in Nebula Gray Pearl. Her name is Yui and for the foreseeable future, she will be an ongoing build that will be sure to drain my bank account. I've had her for a year and have only just begun the mods.
A little background info. She was previously a lease vehicle and the lease holder just really didn't give a **** and curbed the rims to hell. They hold air well so I'm not complaining. Rims will be a purchase later down the line. I do take her autocrossing and frequently go on spirited road drives.
The first mod that I did was the shift ****. I just really wanted a katana handle for a shift ****. So I went with DND 10" katana handle as the shift **** XD.
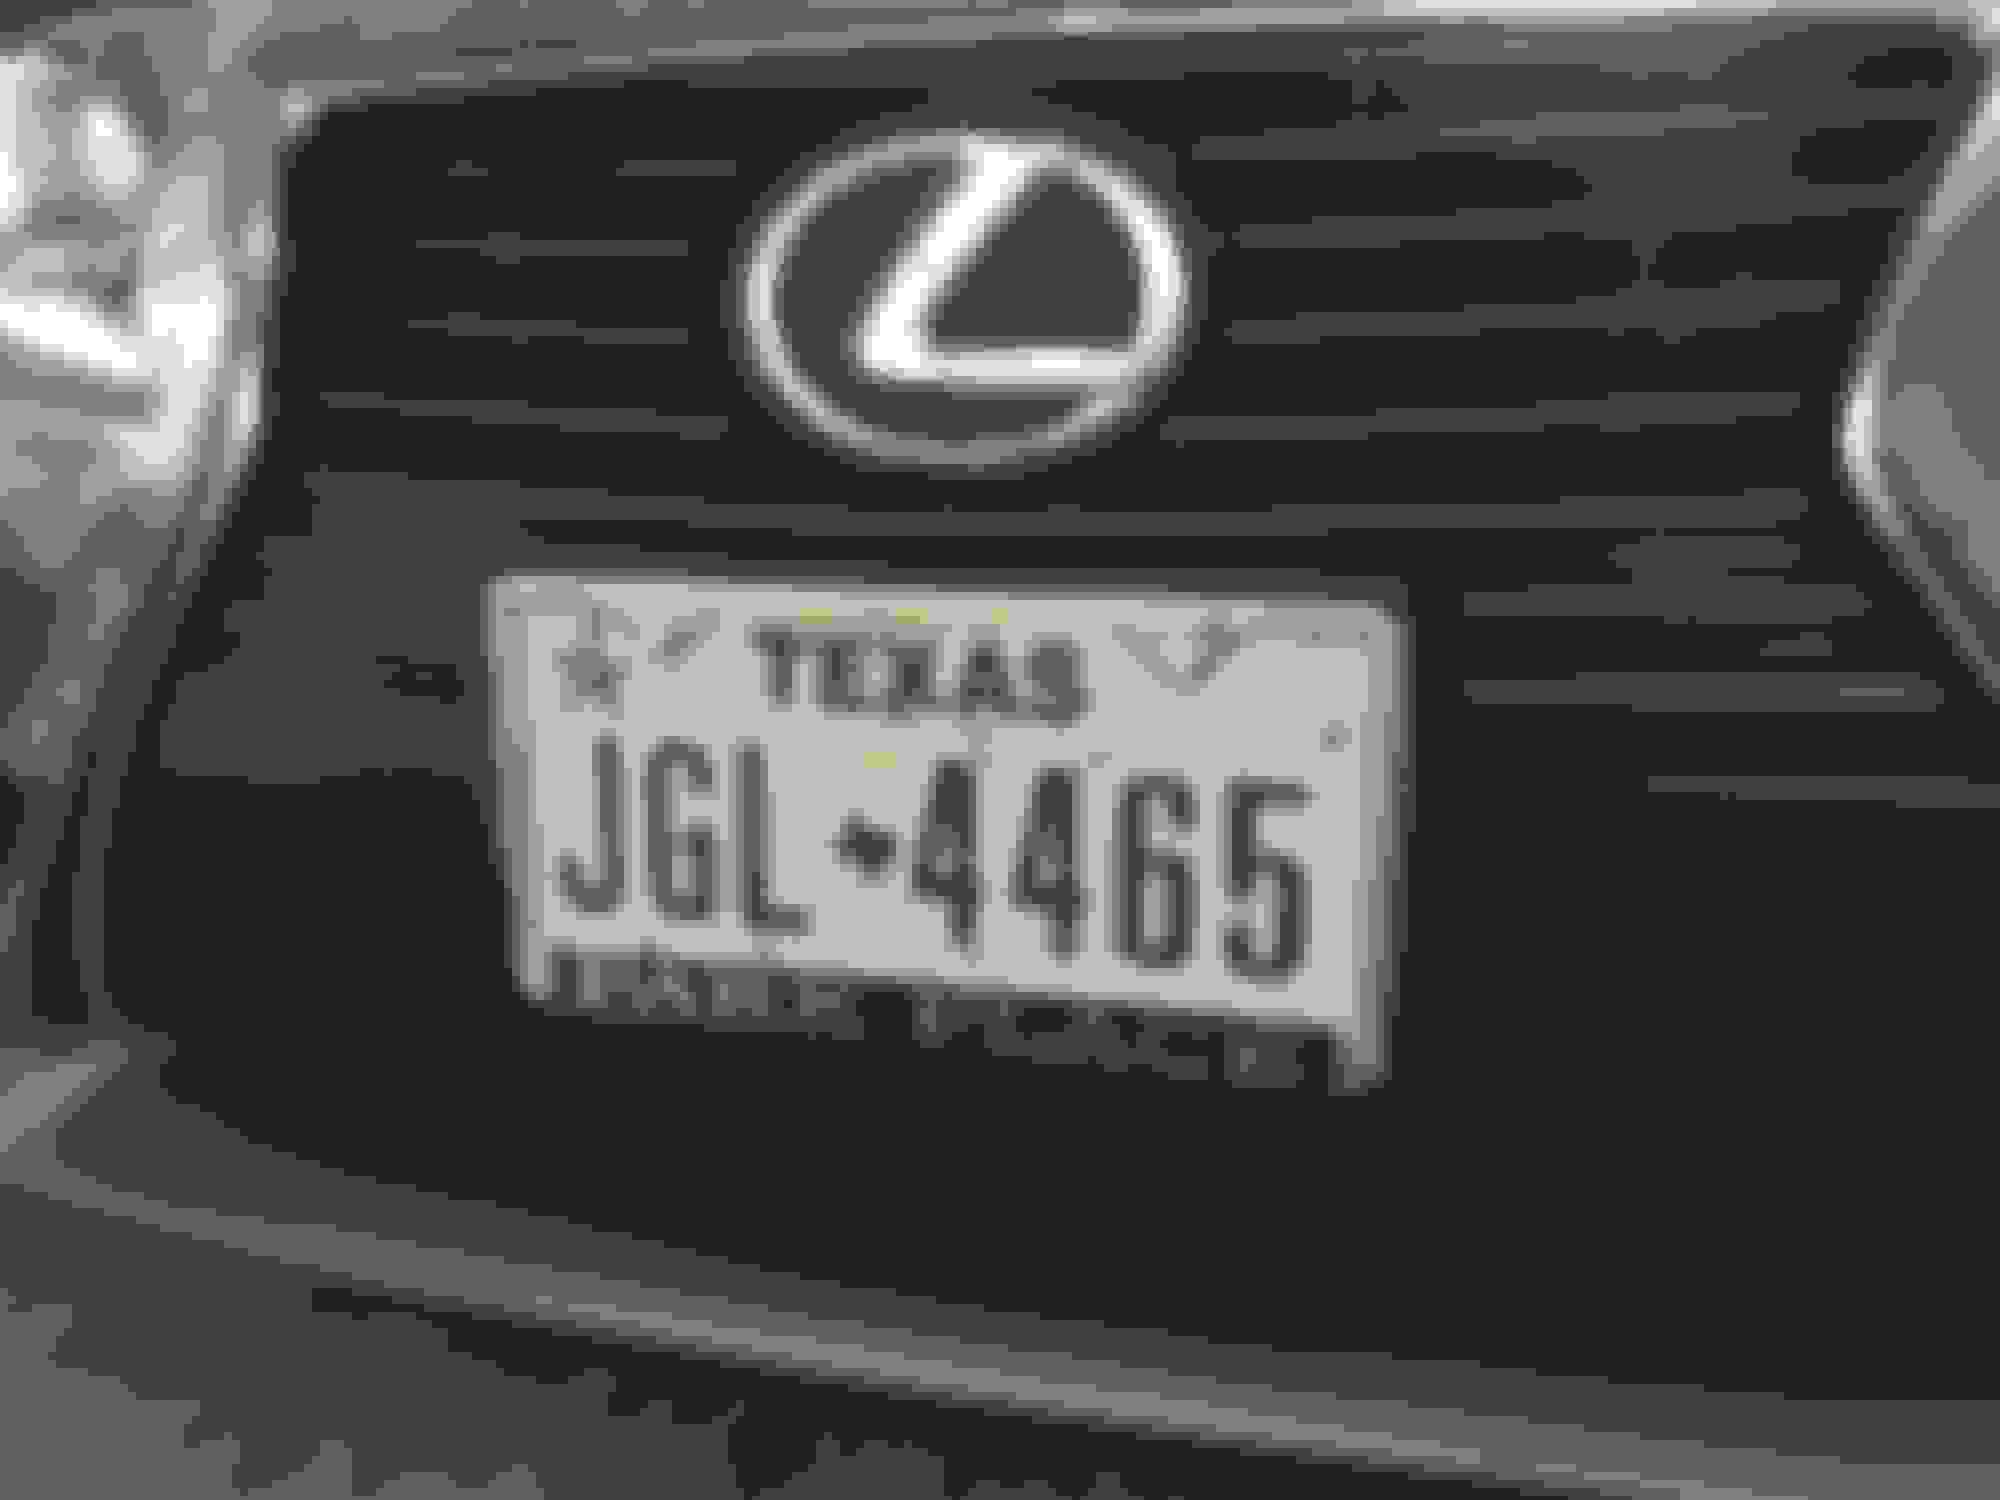
Of course the next thing I had to do was relocate the front license plate since the original location was smack dab center on the grill and that bothered me.
I installed the Grimmspeed kit and drilled through the tow hook cover so that it looks better and sealed around the mount with a 3/4" grommet fitted to the drilled hole. Fairly painless job.
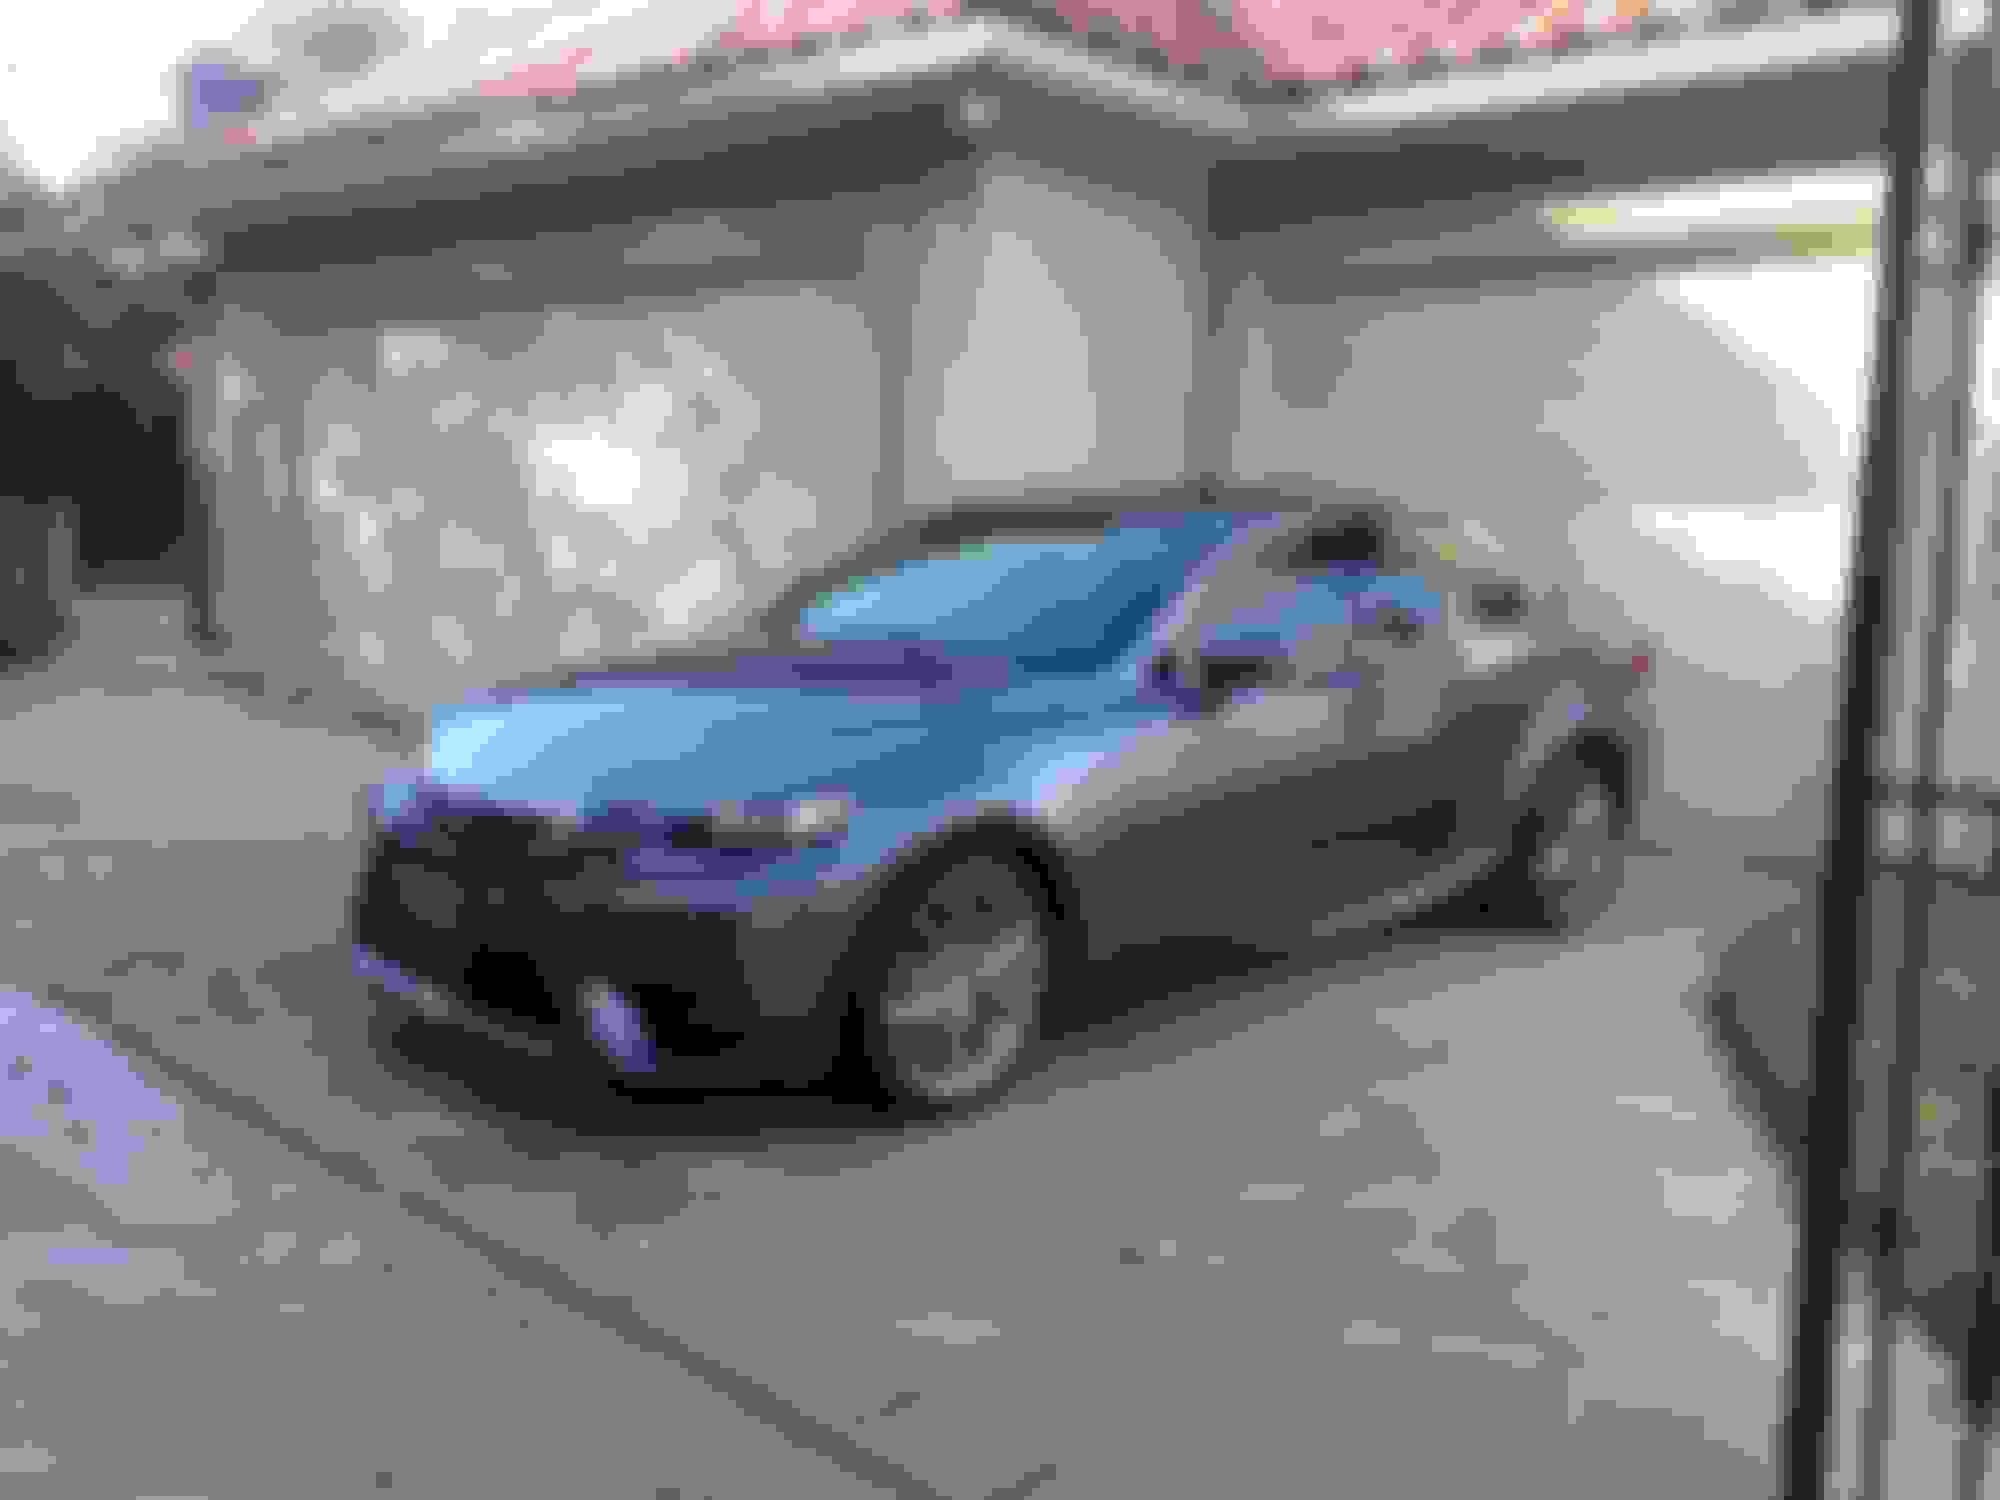
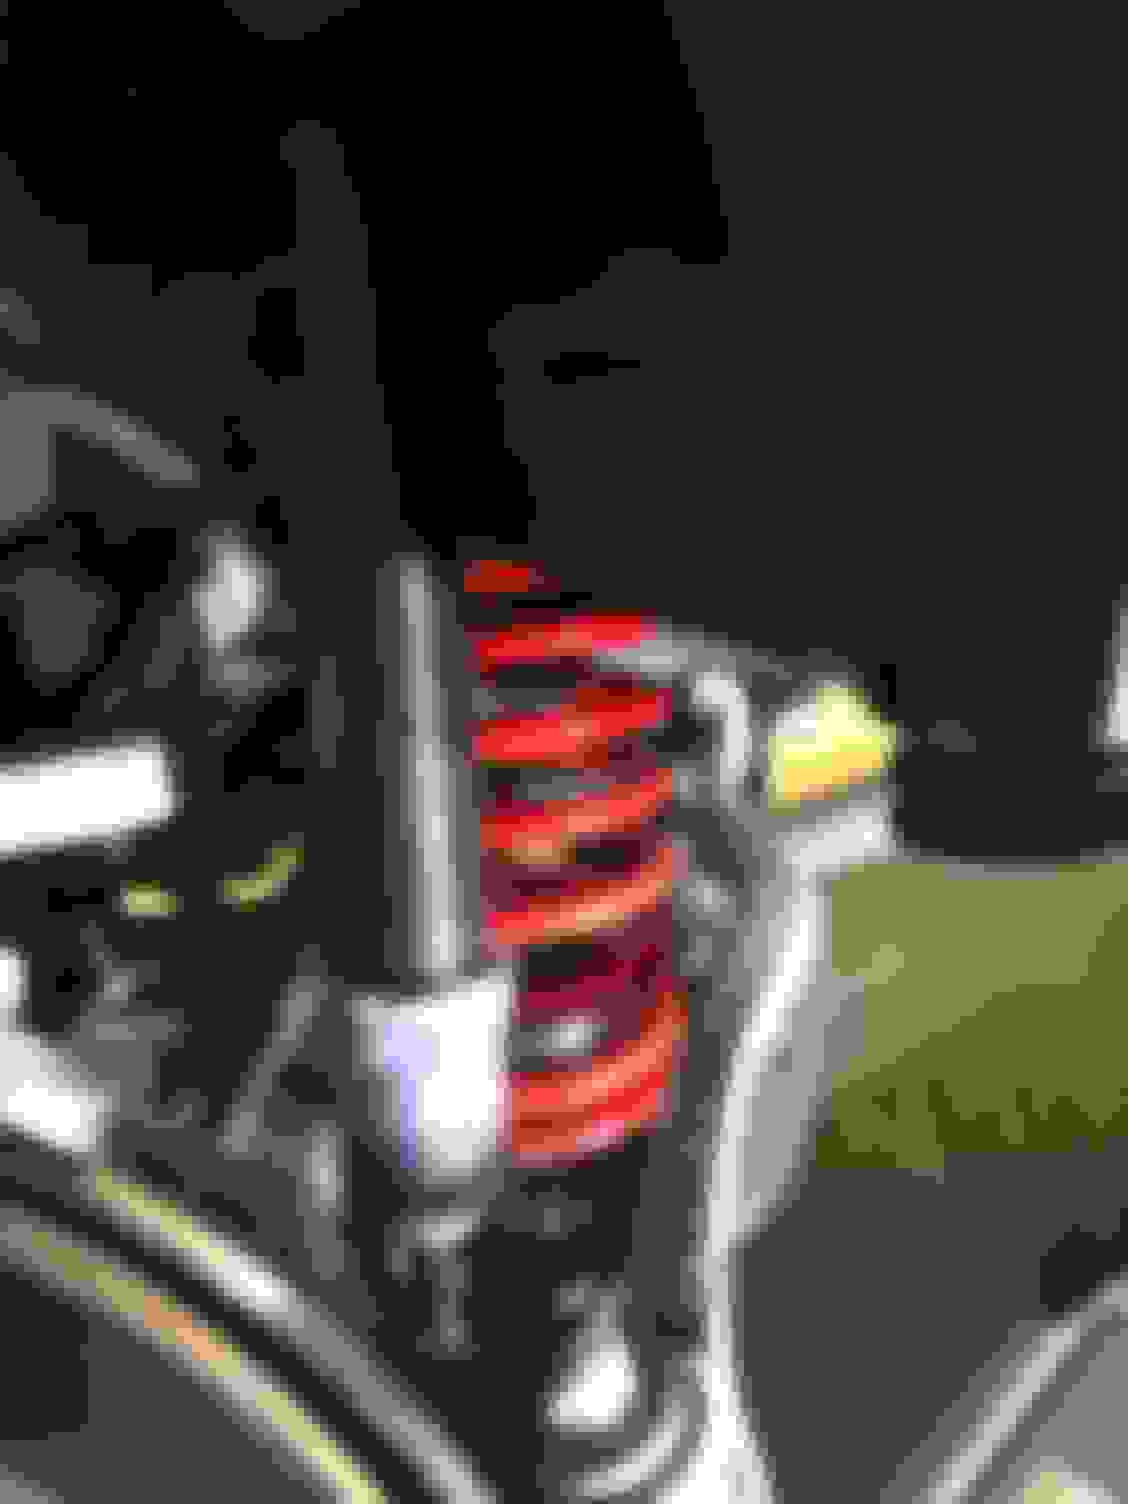
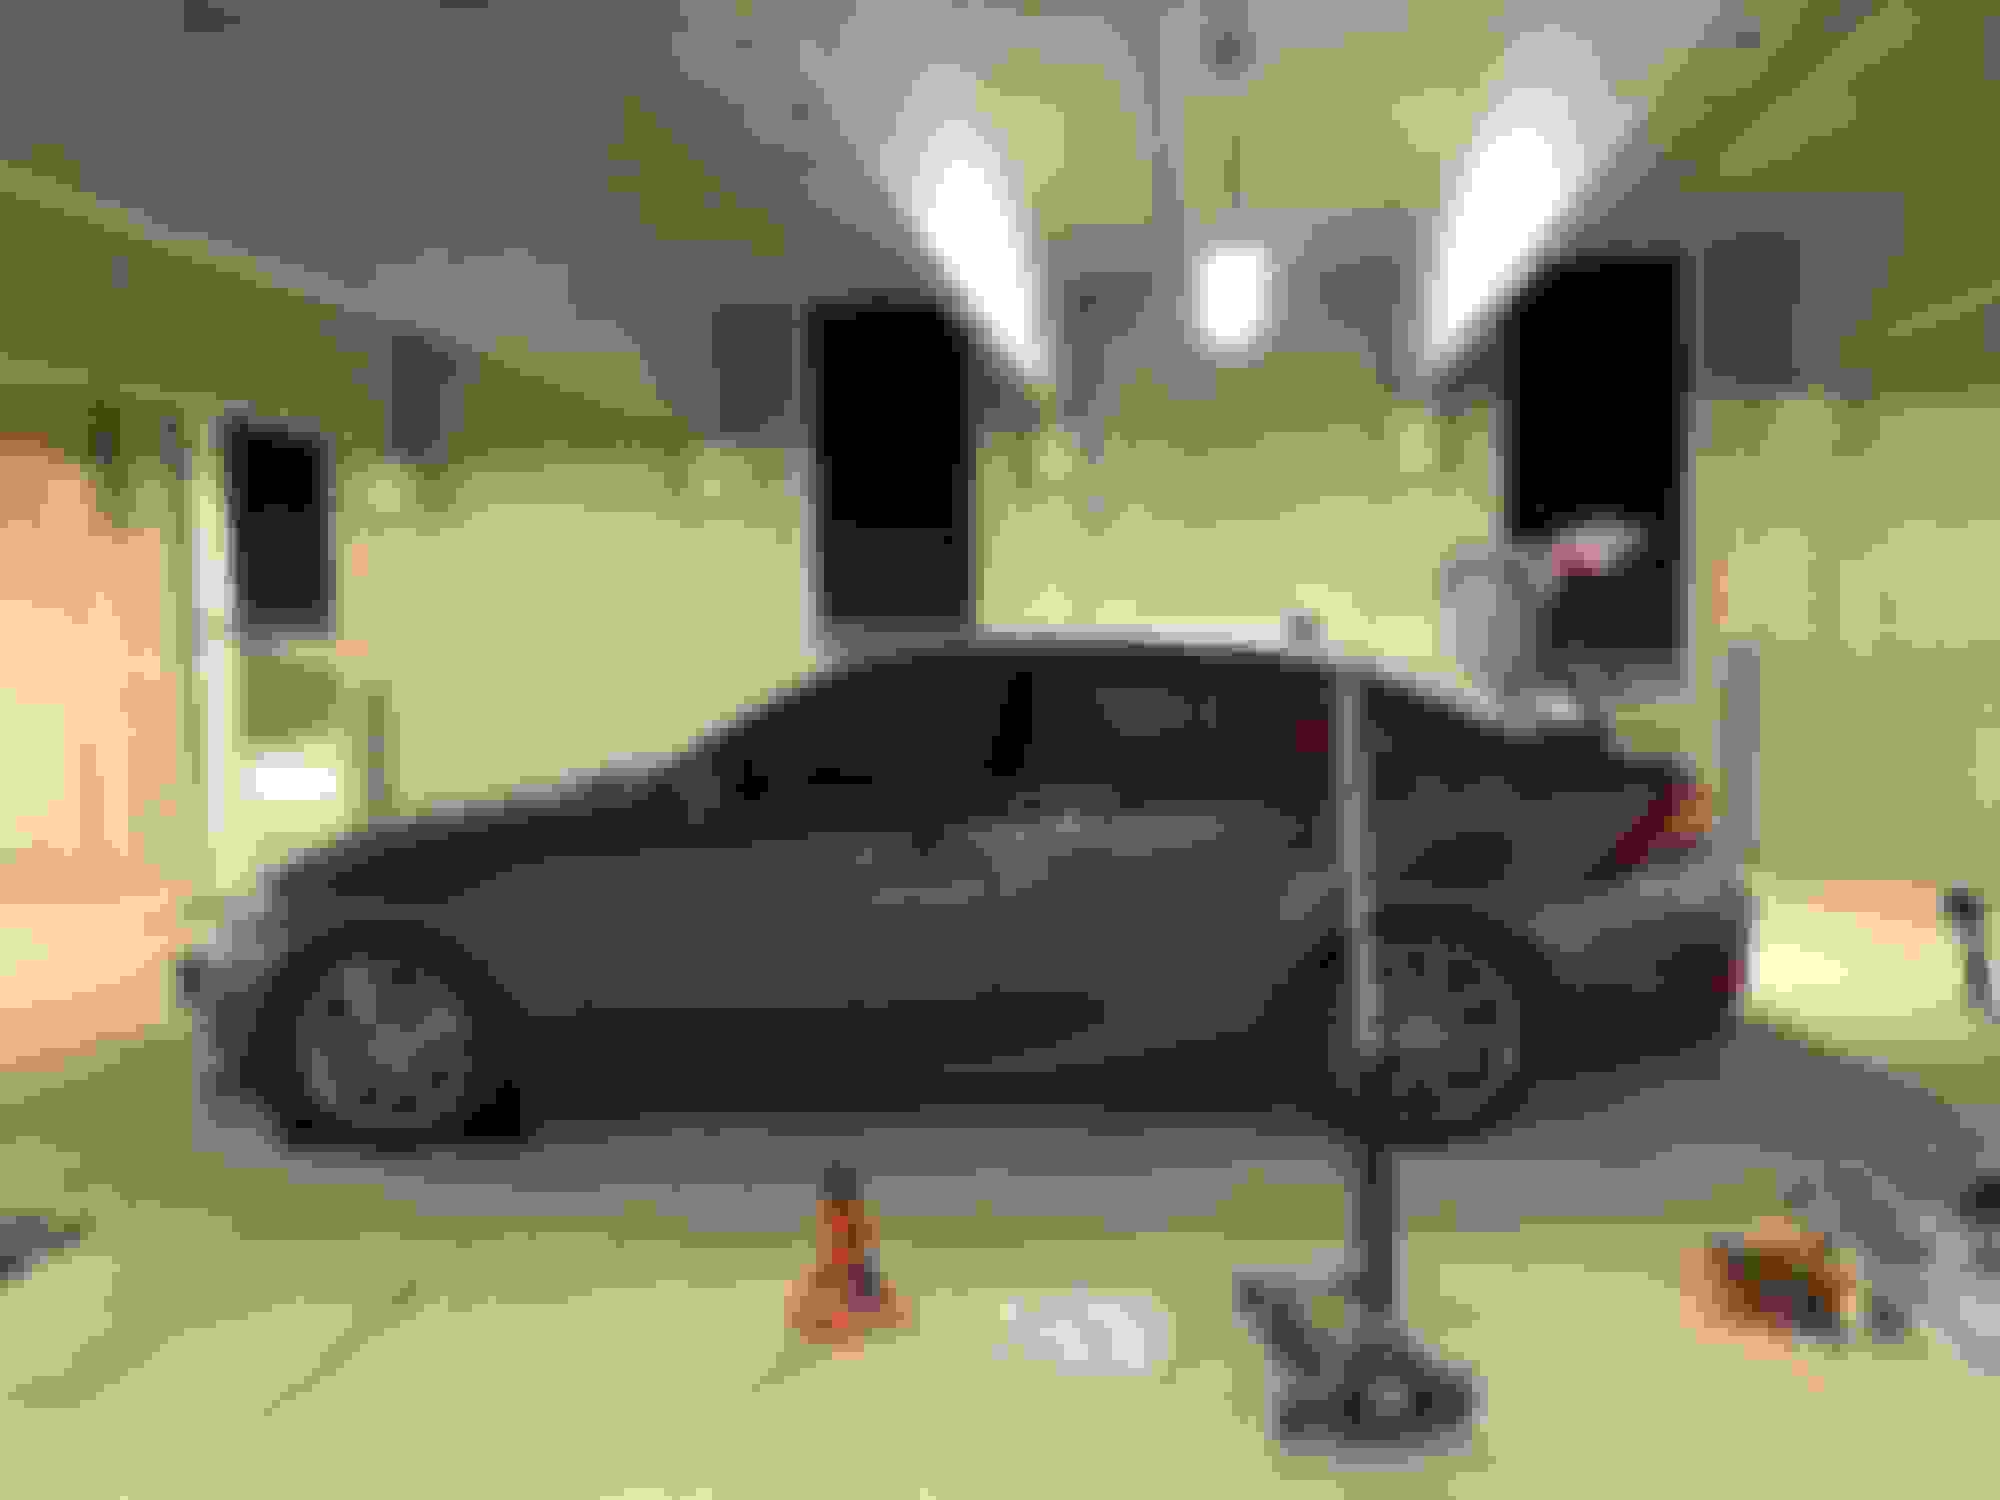
My most recent mod is the RS-R Sport-i coilovers. I actually just installed these last week. I have a video to go with it at the bottom!!!! but here are the photos!!!!
Now that I installed the coilovers....my camber is running rampant. It isn't bad but I'd like it aligned correctly. Next on the list is a camber kit. I think I'ma go for the 8 pc rear + 2 pc front Megan Racing kit. Tax returns......please come in.....
I got a CB radio because I drive around the state of Texas lot and it helps to be able to passively keep up with traffic updates in front of and around me as well as general weather updates on the fly. In addition, my friends are also getting some CB so we can communicate easily like this when we cruise and when we just see each other around town or wherever. It's also not a cell phone.
What you need for an install like mine:
CB radio of your choice
magnetic mount CB antenna
coax cable if your antenna doesn't come with one
low profile mini fuse tap with a 2 amp or 5 amp fuse
wire crimp
plastic interior panel removal tools
Dremel with a super tiny drill bit
screw drivers
This is generally how you would go about installing a CB in the 3rd generation IS. There are things that I did that are just things that I personally wanted to do like route the wires around the interior trim so it's mostly hidden and I don't need to see the wire everywhere especially in the trunk area.
Here is a list of the stuff I bought for this project (tools I already had)
You don't have to go with the same equipment I did to do a similar install. I highly suggest you watch the video at the bottom AND read the writeup here. Keep in mind some plastic pieces and trim pieces around the car DONT HAVE TO BE, but I DID trim or cut slightly for the wires. I did it just to not pinch the wires anywhere. The wires should be fine without any cutting but may be forced to take sharp angles.
STEP 1: find where you want to place the radio.
I decided that the passenger area was the best. If you put the radio in the driver footwell it tends to become cramped especially with regard to your driving position. in the passenger footwell it has less issues.
STEP 2: install the power wire.
You can do it however you feel, but I felt like I did it in the cleanest way.
follow this video to remove center console pieces:
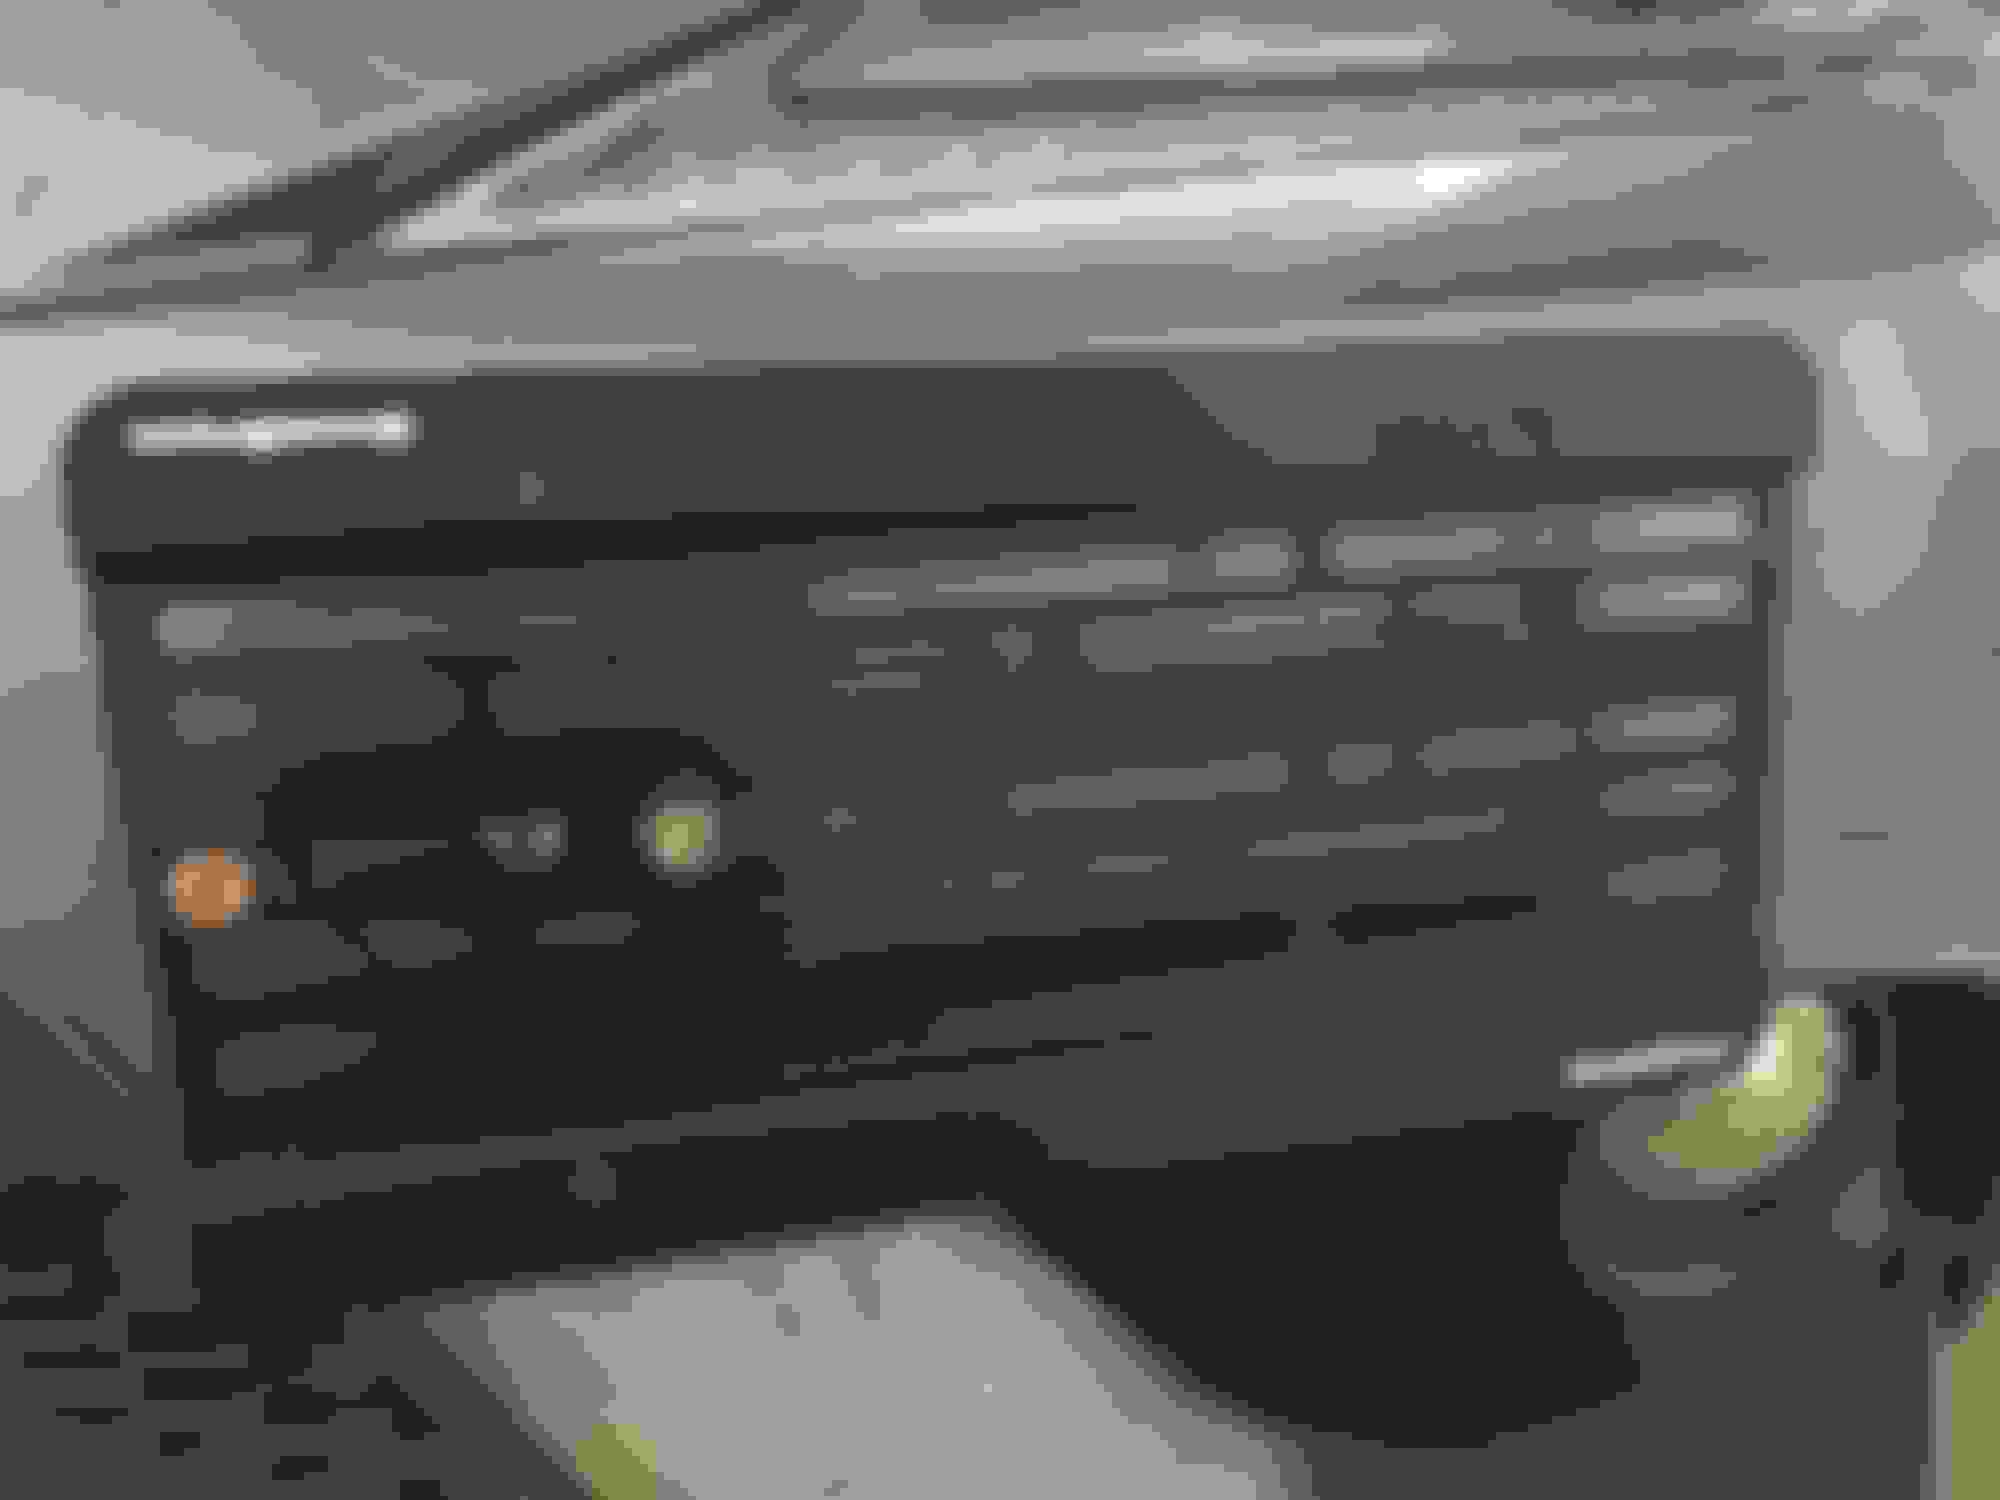
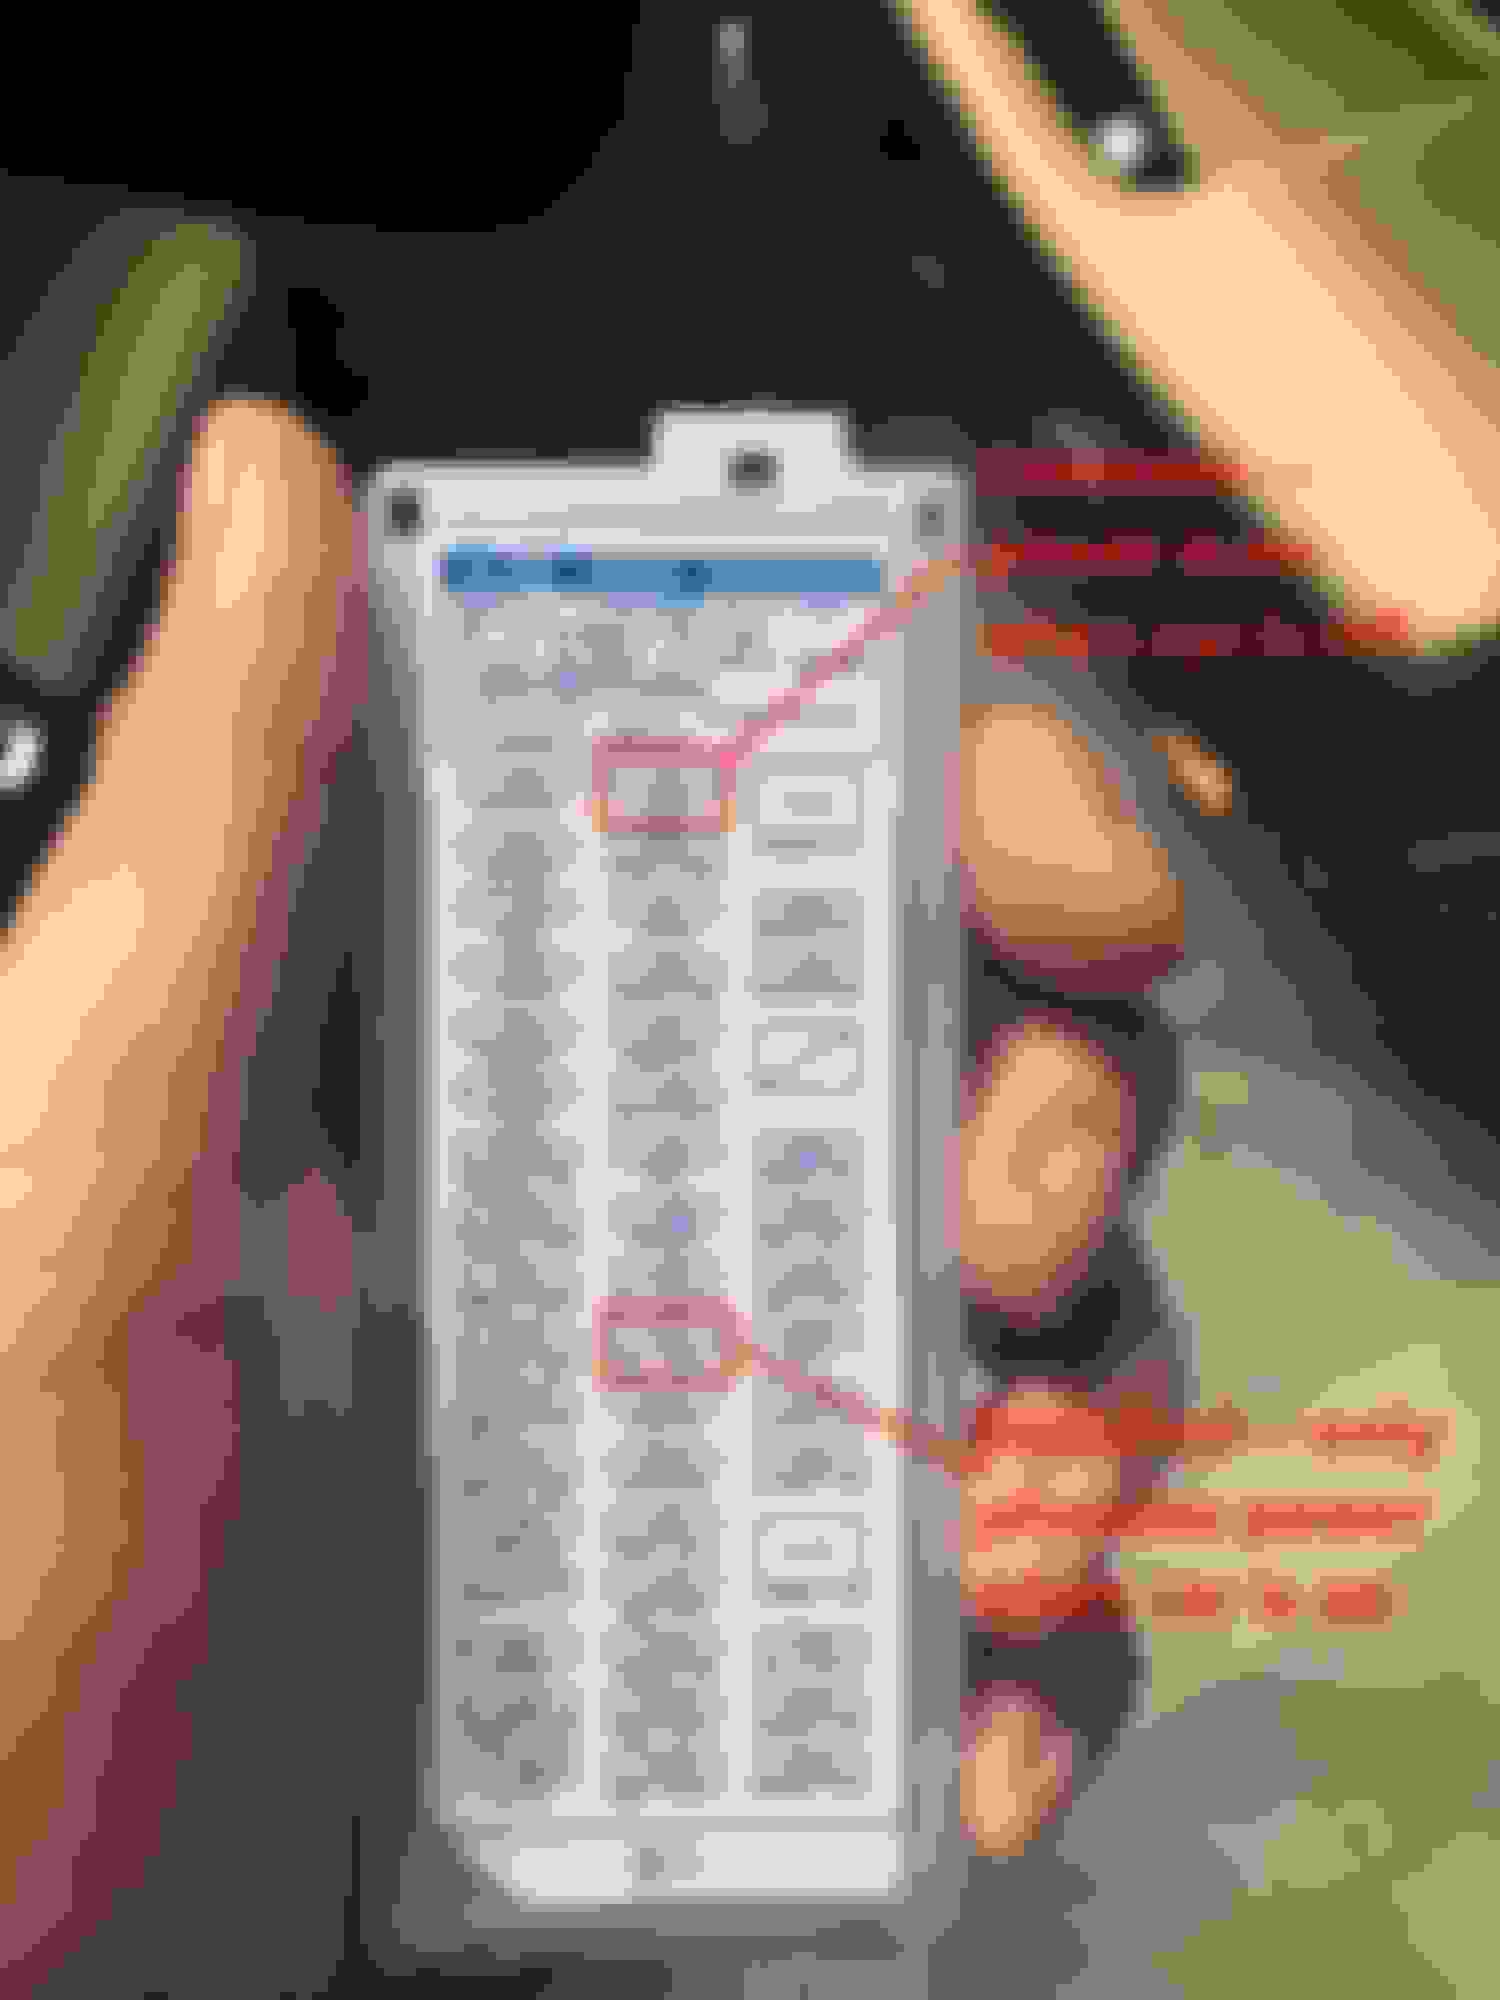
I routed my wire through the center console and then through the bottom of the dash to the fuse box. You can choose two methods of powering the radio, constant and switched. Constant means that it will have power available even when the car is not on. Switched means that you will have to turn the car on to power the radio. In the picture below, I have highlighted the two choices I would suggest for either option. Then I ground the black wire under the screw that attaches to the chassis under it.
With the fuse tap, ORIGINAL FUSE GOES ON THE BOTTOM, new fuse (I suggest 2 amp to 5 amp fuse) goes on top!
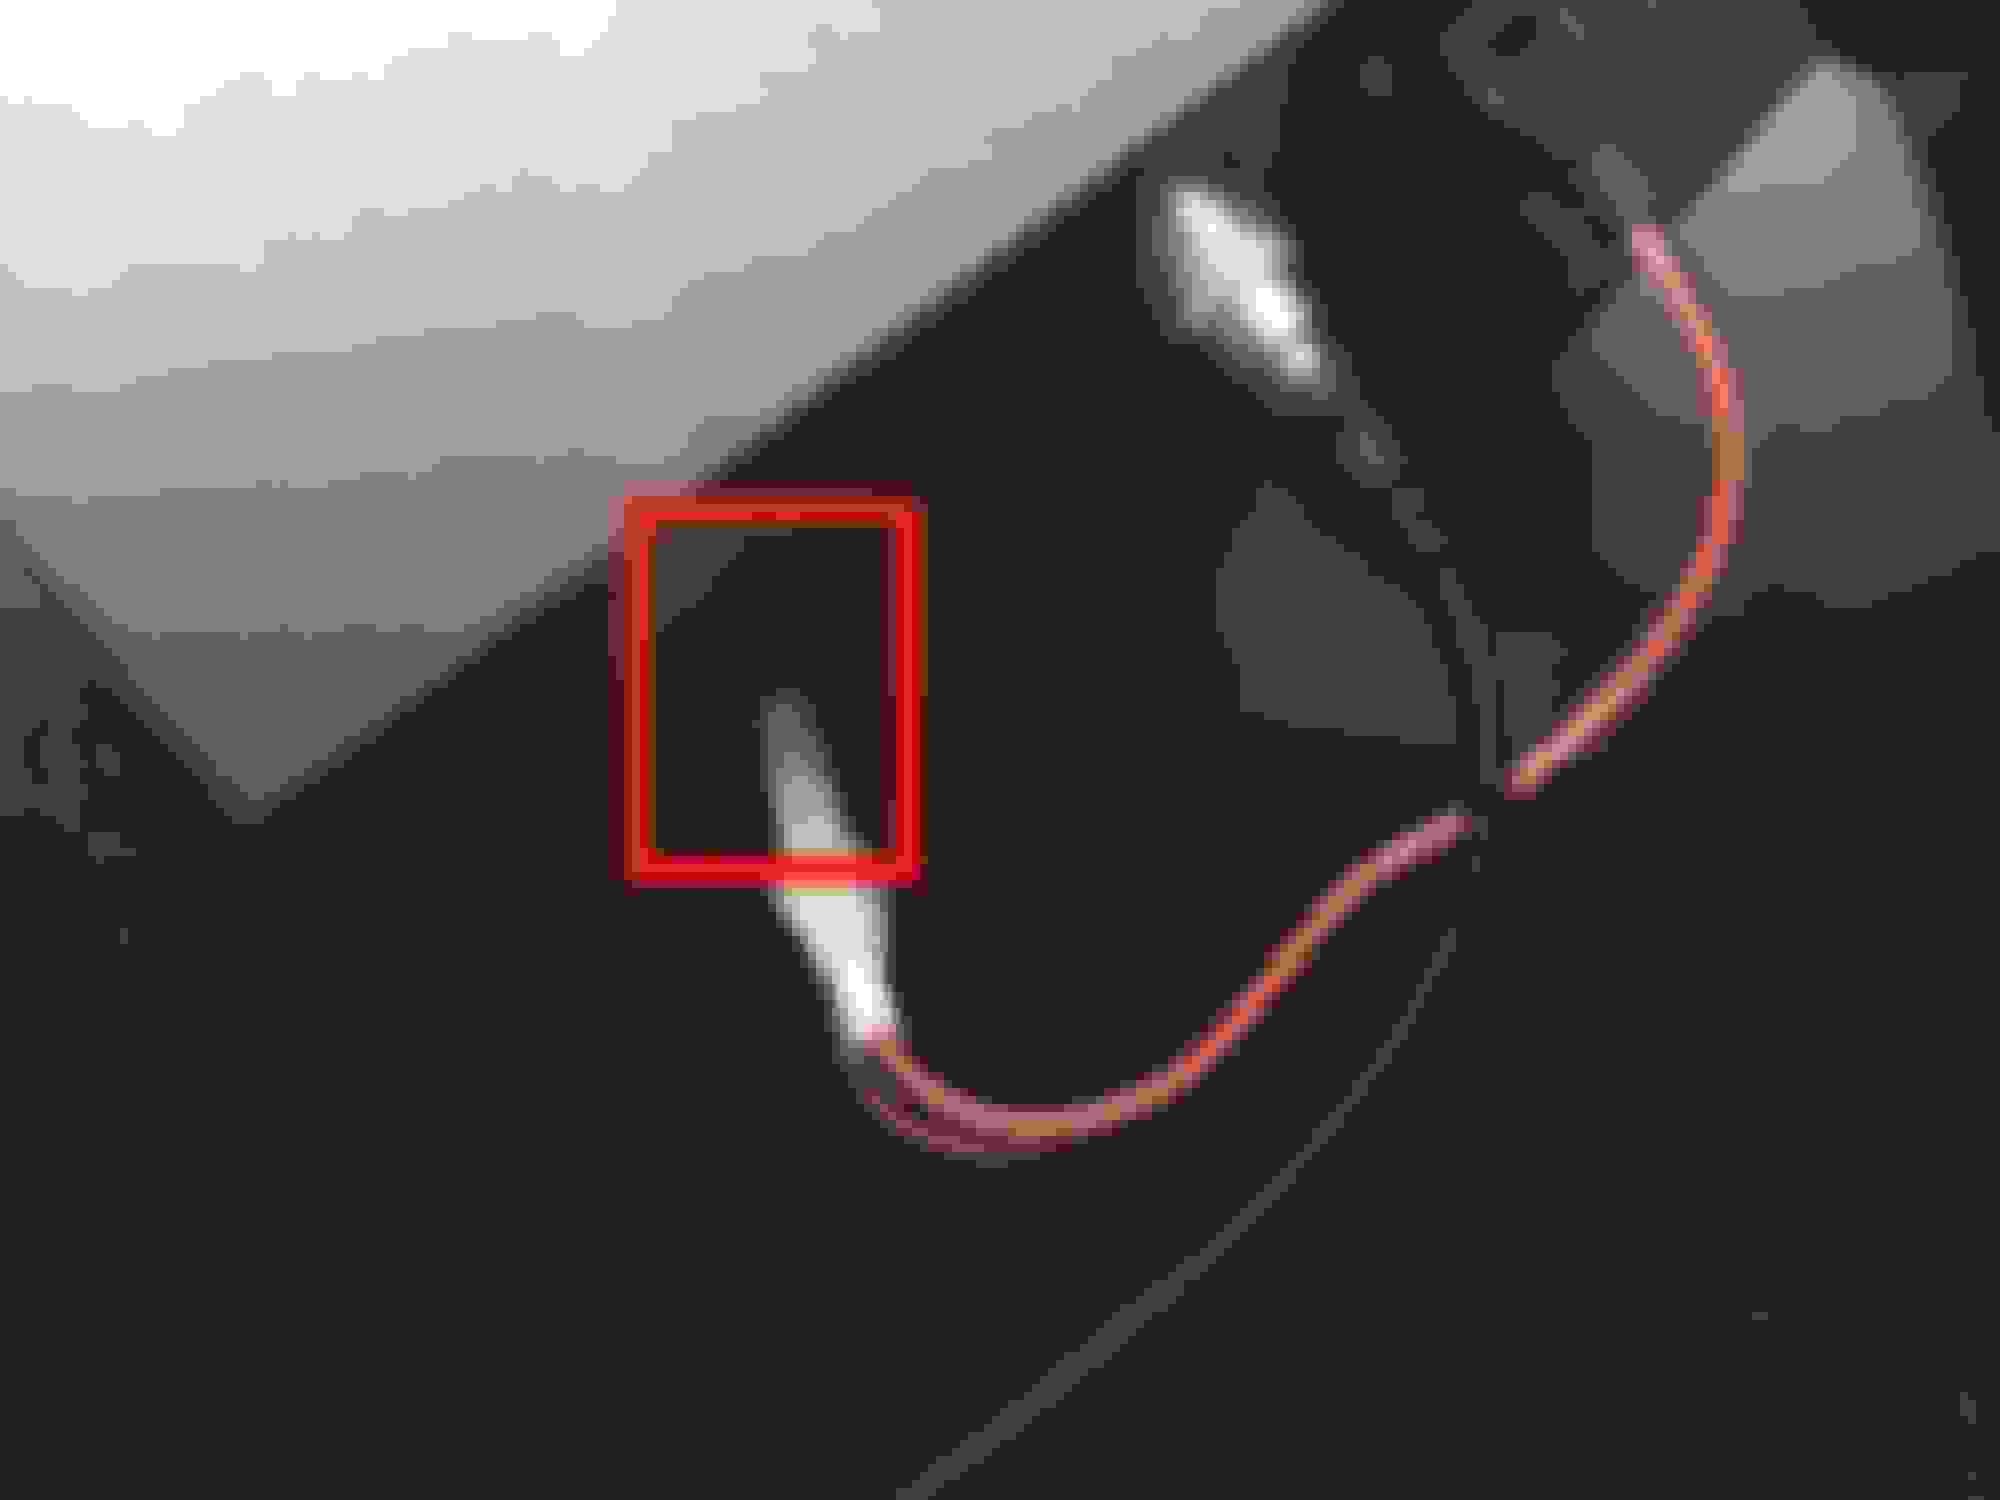
YOU CAN LOOP THE WIRE UNDER THIS BOTTOM TRIP JUST PULL ON IT SO YOU CAN STICK THE WIRE THROUGH
RIGHT SIDE OF THE CONSOLE:
LEFT SIDE OF THE CONSOLE:
GROUND:
Step 3: mount your radio in the spot you chose
Step 4: Mount your antenna!
This step required me to remove a lot of trim around the trunk. I decided to mount the antenna on the trunk. YES when you open it, the antenna will give your roof a love tap. YES the antenna will be fine. YES the car will be fine. From there, I ran the wire from the antenna around the edge of the trunk lid and thru the trunk lid liner and then to the left side and down along the hinge just as Lexus did with the trunk lights, reverse camera, and license plate lights. From there, I ran it into the liner around the trunk To the cabin area. There is a piece of plastic between the trunk and the rear seats. A few clips hold it in. You can just tear it out and trim the edges so the wire can run into the plastic piece and not be pinched or something. You don't have to and I'm sure it will be no issue, but I did because I like my wires to take the LEAST sharp angle turns. I ran the wire under that little plastic piece to the middle rear seat. Then I lifted the rear seat cushions and pulled the wire through, ran it down the right side of the rear drive shaft hump/transmission tunnel, under the floor carpetting so it isn't flying freely, along the side of the tunnel to the front and then up the side to my CB radio.
I did use some zip ties to tie the coax wire to the factory wires while running it from trunk lid down to the general trunk liner, so that it wouldn't get unnecessary creases.
Step 5: Tune your antenna
MOST antennas will need to be tuned. Only very few don't need tuning. By tuning, I mean tuning the SWR (Standing Wave Ratio). Anything belows 1.5 is decent. Below 1 is optimal. Anything above is not good. If your SWR is 3 or above....RUN. No jk. Just adjust appropriately and don't broadcast. Follow the instructions your radio gives your to adjust SWR properly or just google it. Here is a helpful resource for it: https://www.rightchannelradios.com/b...g-instructions. Some radios like mine have a built in SWR meter and calibration functions otherwise you will need to get an SWR meter.