When you click on links to various merchants on this site and make a purchase, this can result in this site earning a commission. Affiliate programs and affiliations include, but are not limited to, the eBay Partner Network.
Well I hate to be the barer of bad news, but the 1UZ is gone.
There was a local guy who hurt the motor in his daily driver, so I struck a deal with him on my engine/trans/ECU & Harness. As soon as he agreed, I had it pulled out that weekend and off to its new home
I wasn't actually sure what the plan was going to be, but I kind of assumed it would go LS. As it turns out a couple days after I sold the engine, a good deal came up on a 5.3 "LS" engine so I jumped on it. The following Saturday it showed up.
got the engine stripped down for the most part the following day just to see what I was working with. Overall the new engine looks to be in pretty decent shape, a LOT better looking than my old 5.3 I had when I first got it. The plan is to do the typical boosted LS. That means doing cam, lifters, springs, head studs, gaskets, etc.. I am going to back it with a TH400 trans to keep it simple, Holley EFI, and so on.
It doesn't look like much right now
But I am VERY excited for this project! I am way more excited for this than I have been about any other car project I have had in a while. I am probably going to build my own mounts, will definitely be building my own turbo kit and possibly intercooler as well. I am looking to sell the procharger setup if anyone is interested just shoot me a PM.
Its update time! Nothing really exciting, but I have been slowly chipping away at things.
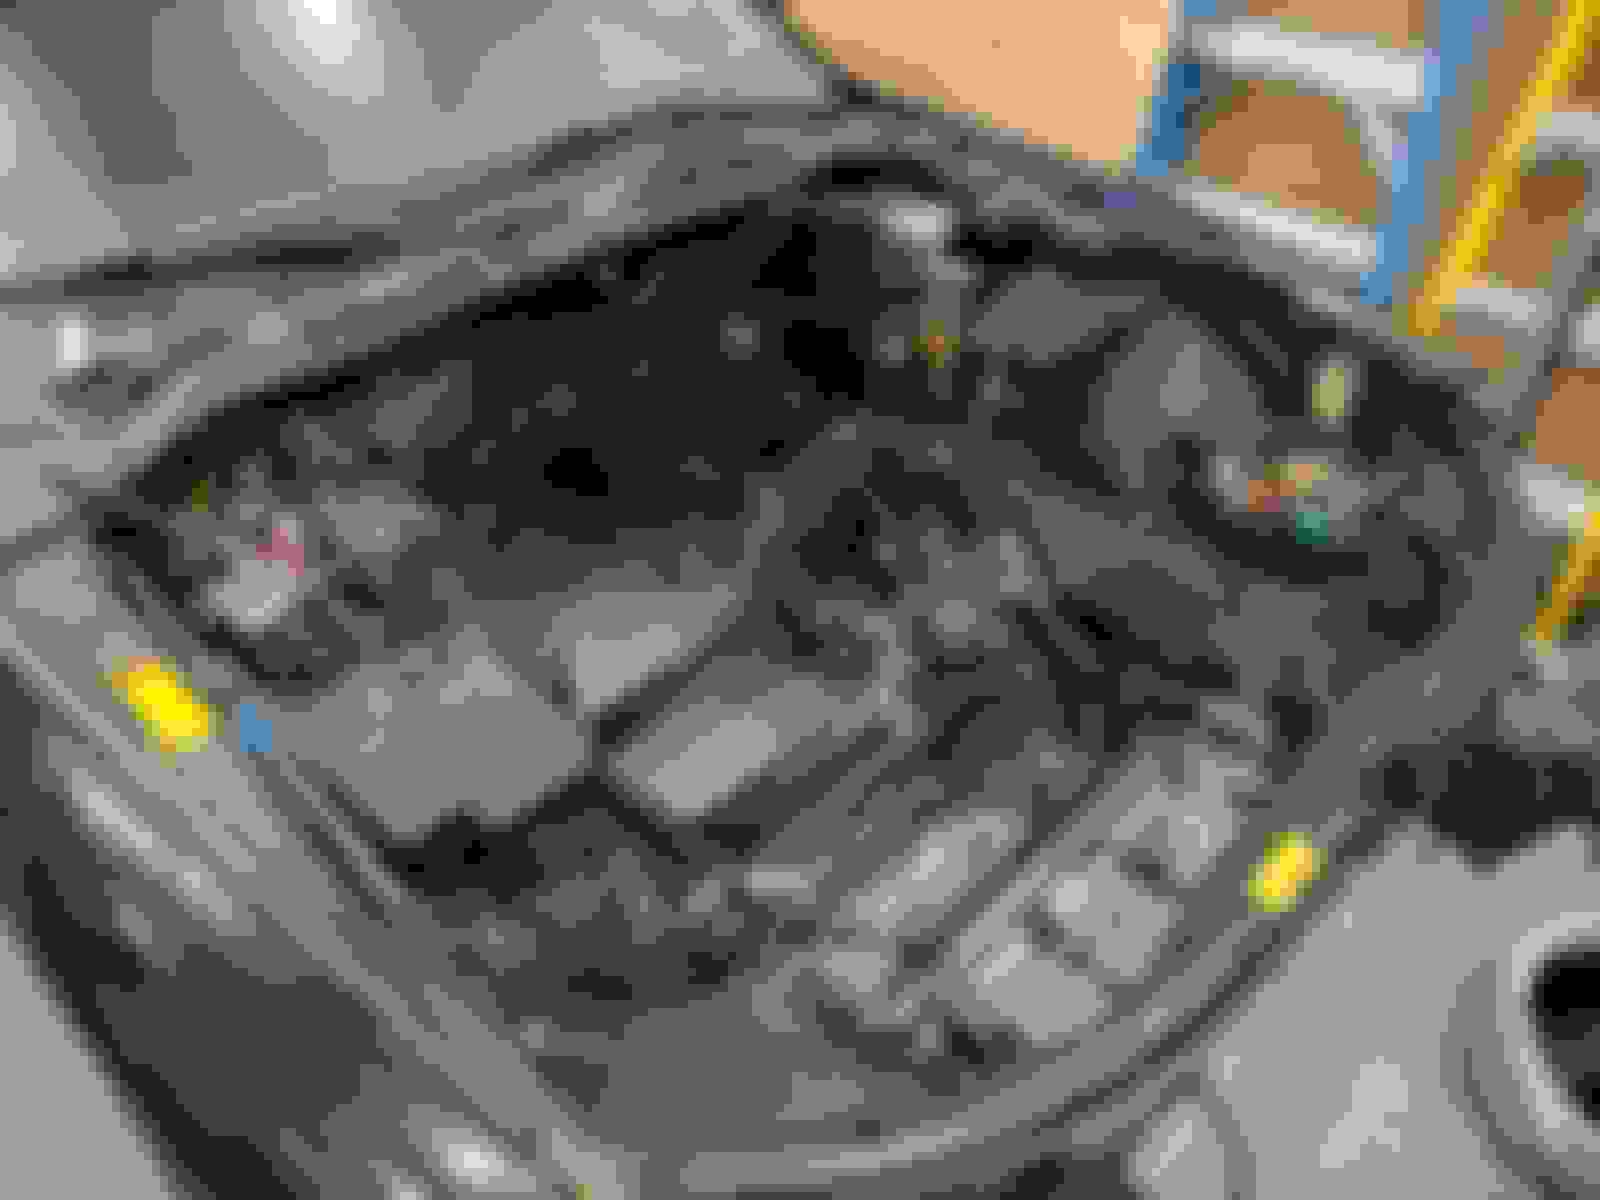
First up was wiring. I am planning on using the stock ECU for a little bit with HP Tuners, so I had some wiring work to do.
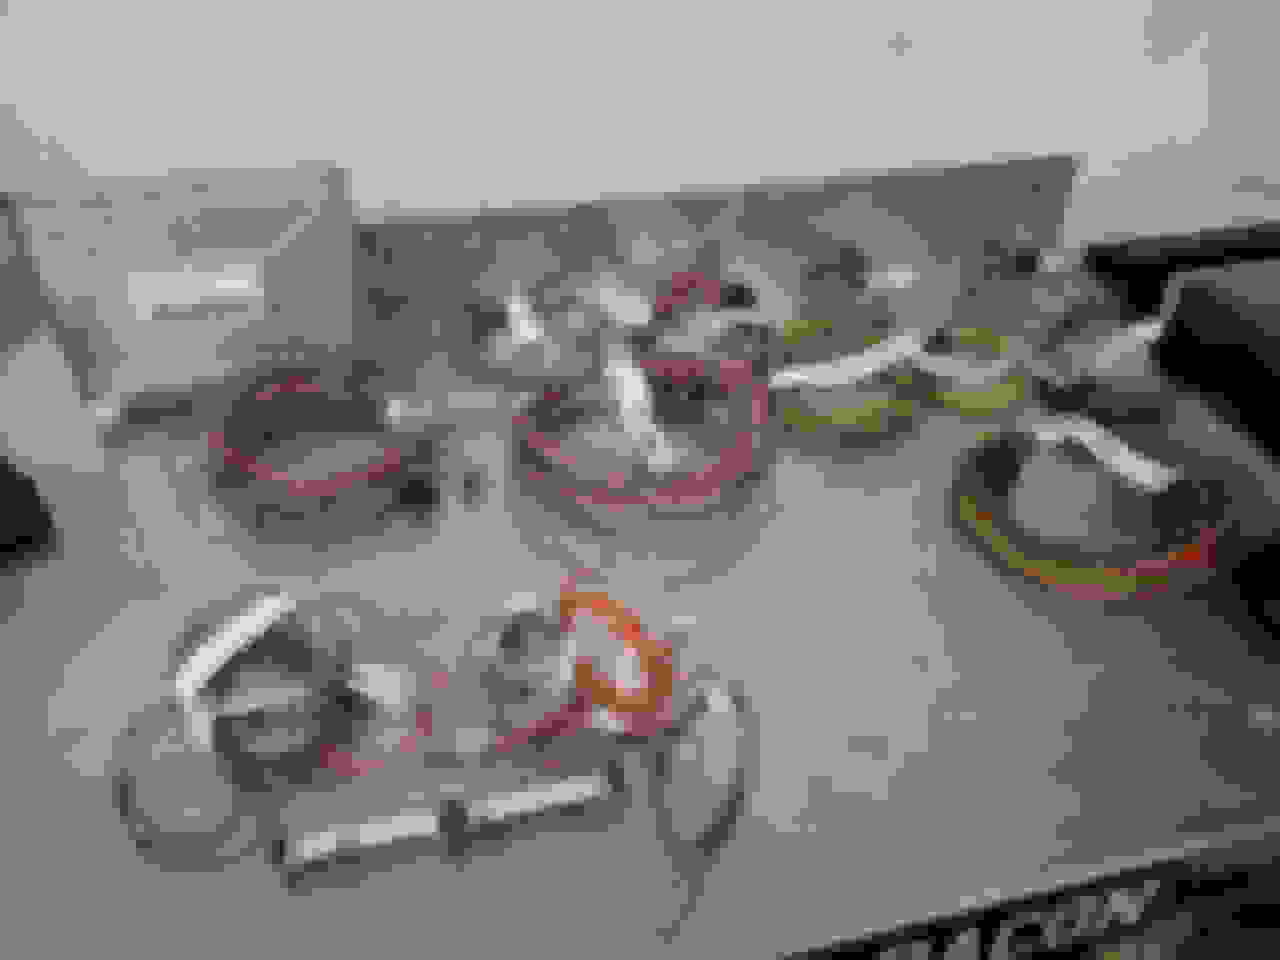
Harness as I got it with the motor
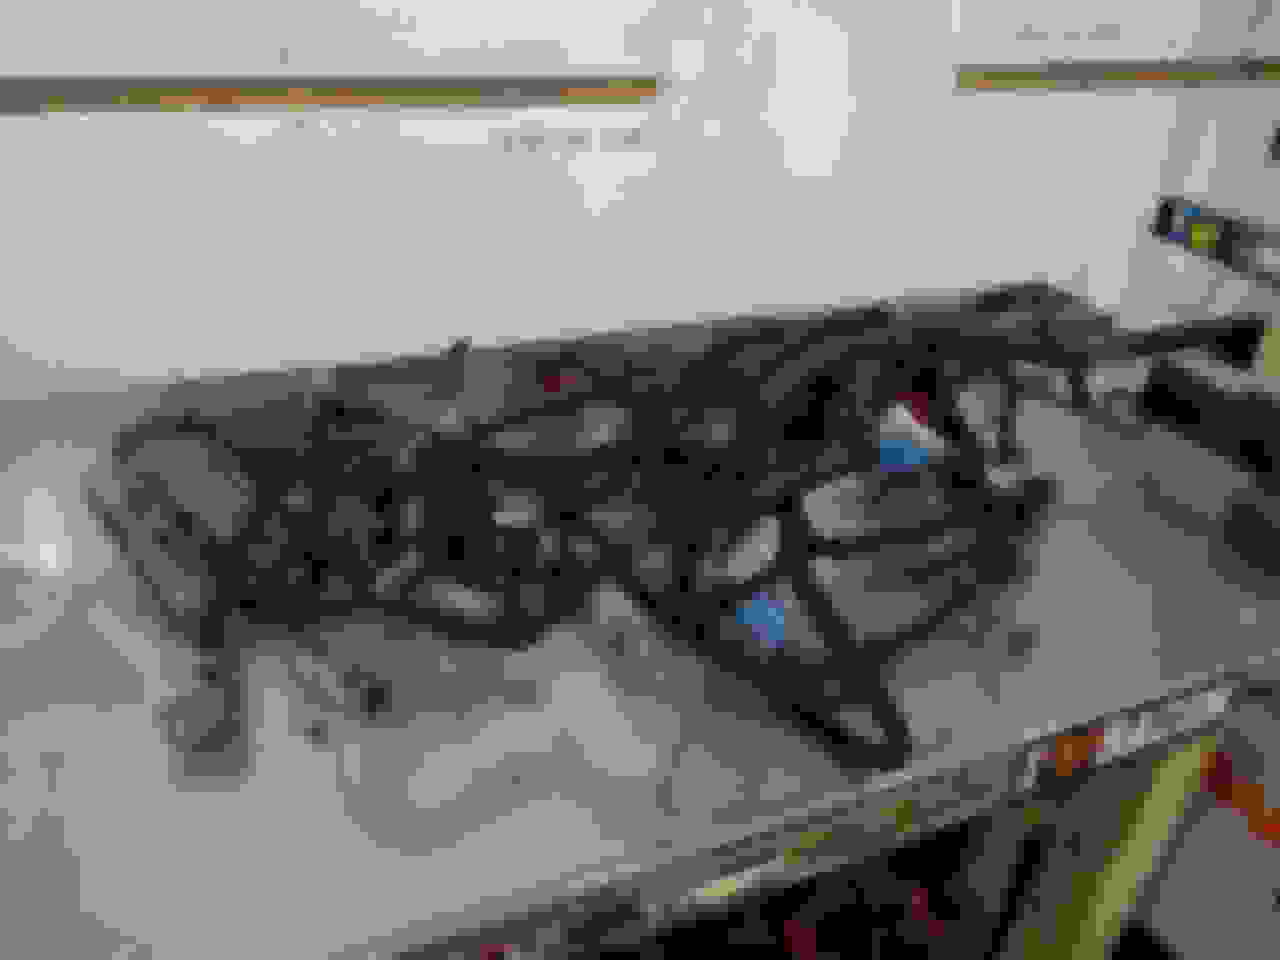
Stripped of all of the brittle loom and crappy electrical tape.
Unfortunately I ended up having to move it around after I had stripped off all of the crap, and it got pretty tangled.
So I decided to just fully depin everything since I only need a few things from that mess.
Here is the pile of junk I didn't need from that harness. There is actually a bit more, but that is 99.99% of it.
And here is everything all apart, ready to be cleaned, routed, extended, and loomed.
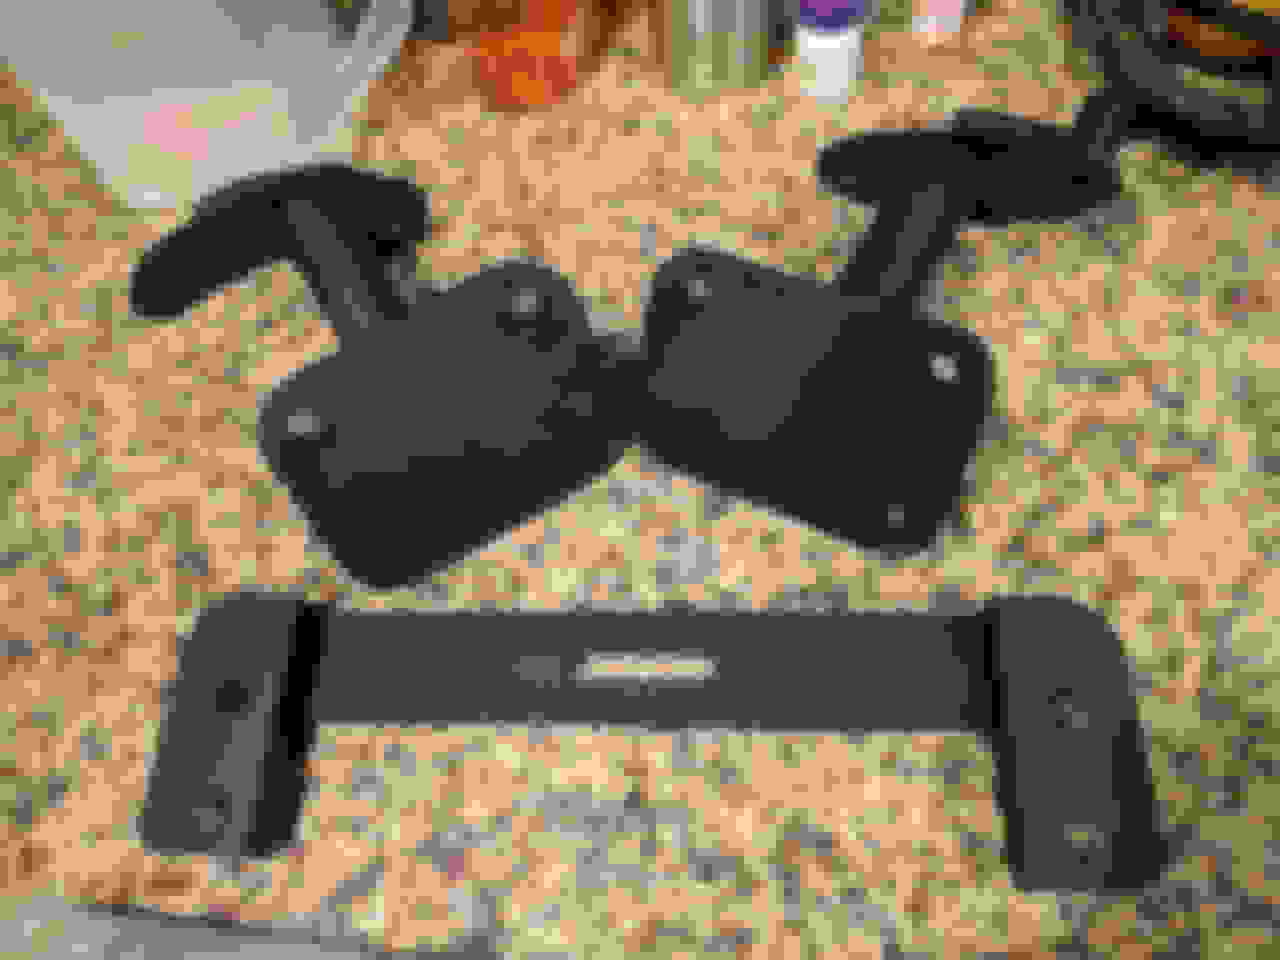
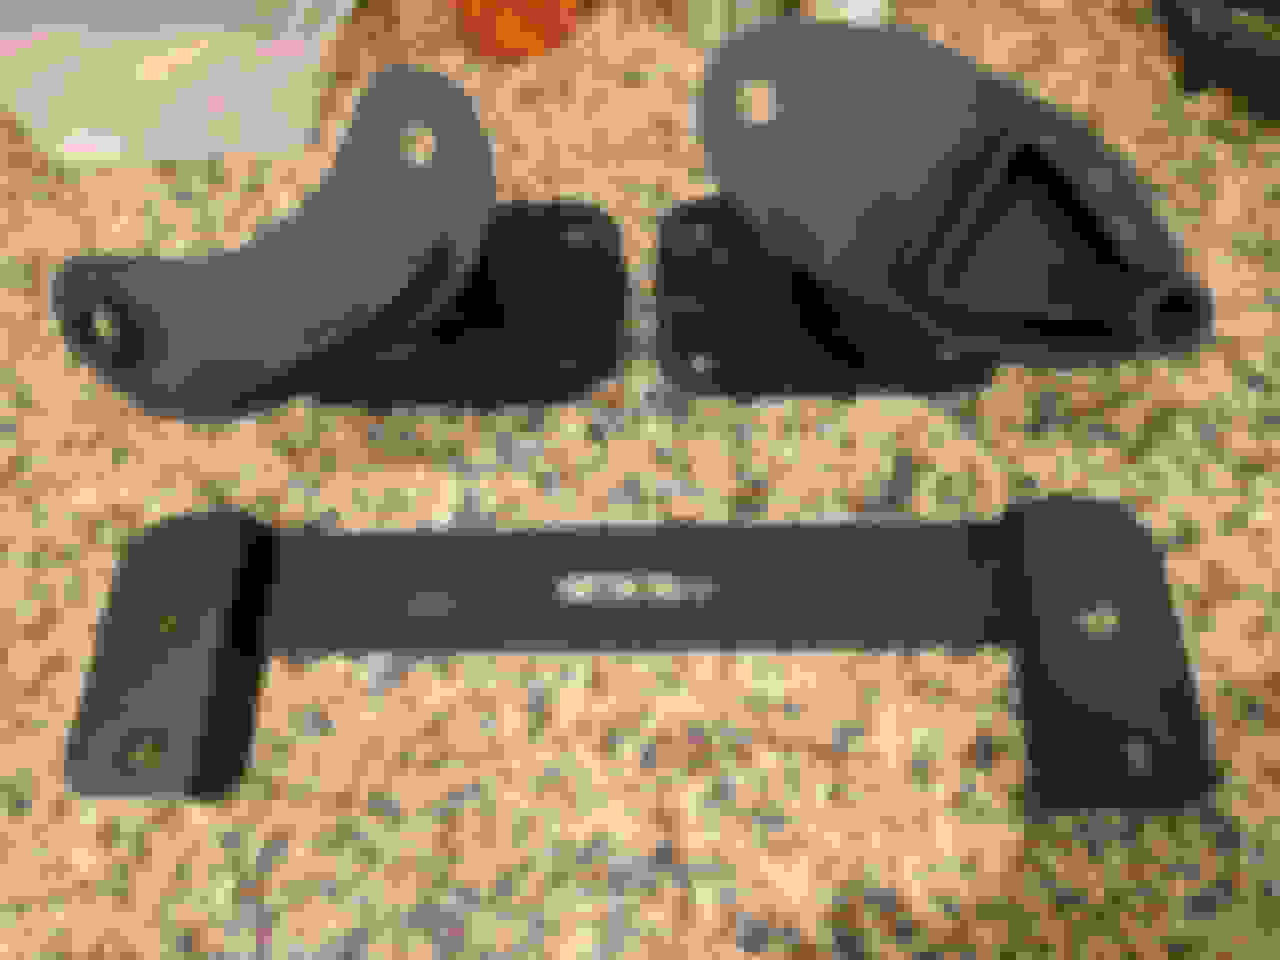
Next up I got some mounts for the LS from Dan Perlenfein. He even made me a custom trans mount for the TH400. These are very nice pieces, and I got them really quickly.
Got them set in the car, fit like a glove! (BTW they are not bolted down in any of these pics, just have the nut on the other side a few turns)
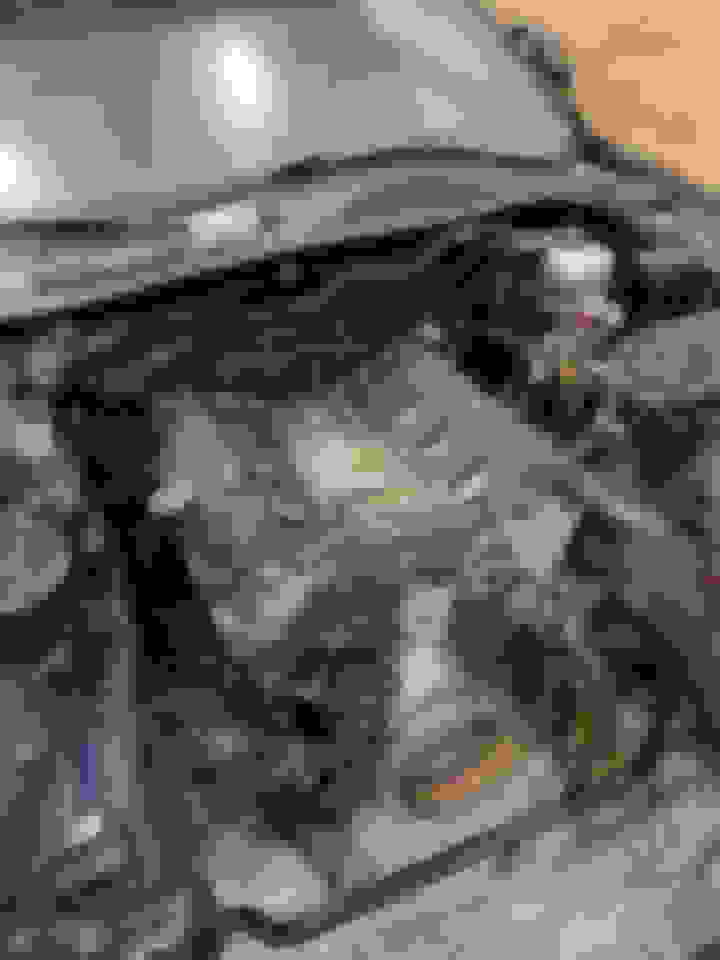
Next up I pulled the oil pan off my motor so I could drop it in and see what I am working with.
Bit of wishful thinking seeing of the truck intake would clear the hood. It wont.
So keep in mind that the mounts are not 100% bolted down yet. I need to get my trans from my buddy so I can get that in place before locking everything in place (just to take it all back out again). Once I have put the trans in then I can check a few things, and it can all come back out. Engine bay is going to get cleaned up, and the motor will get some TLC as well. I am still planning on trying to get it running and driving this year, but we will see if it happens. I am not one to let things be "good enough" so I may end up spending a bunch of money and time on the motor even though it will remain a stock bottom end.
Anyway I am really happy with the fitment, and how much space I have! This seems to be more room than I remember in an F-body (on the sides) even with a tubular K-Member. Should be able to get a big single in there no problem with a 4" down pipe to run out back. I am really glad I went LS!
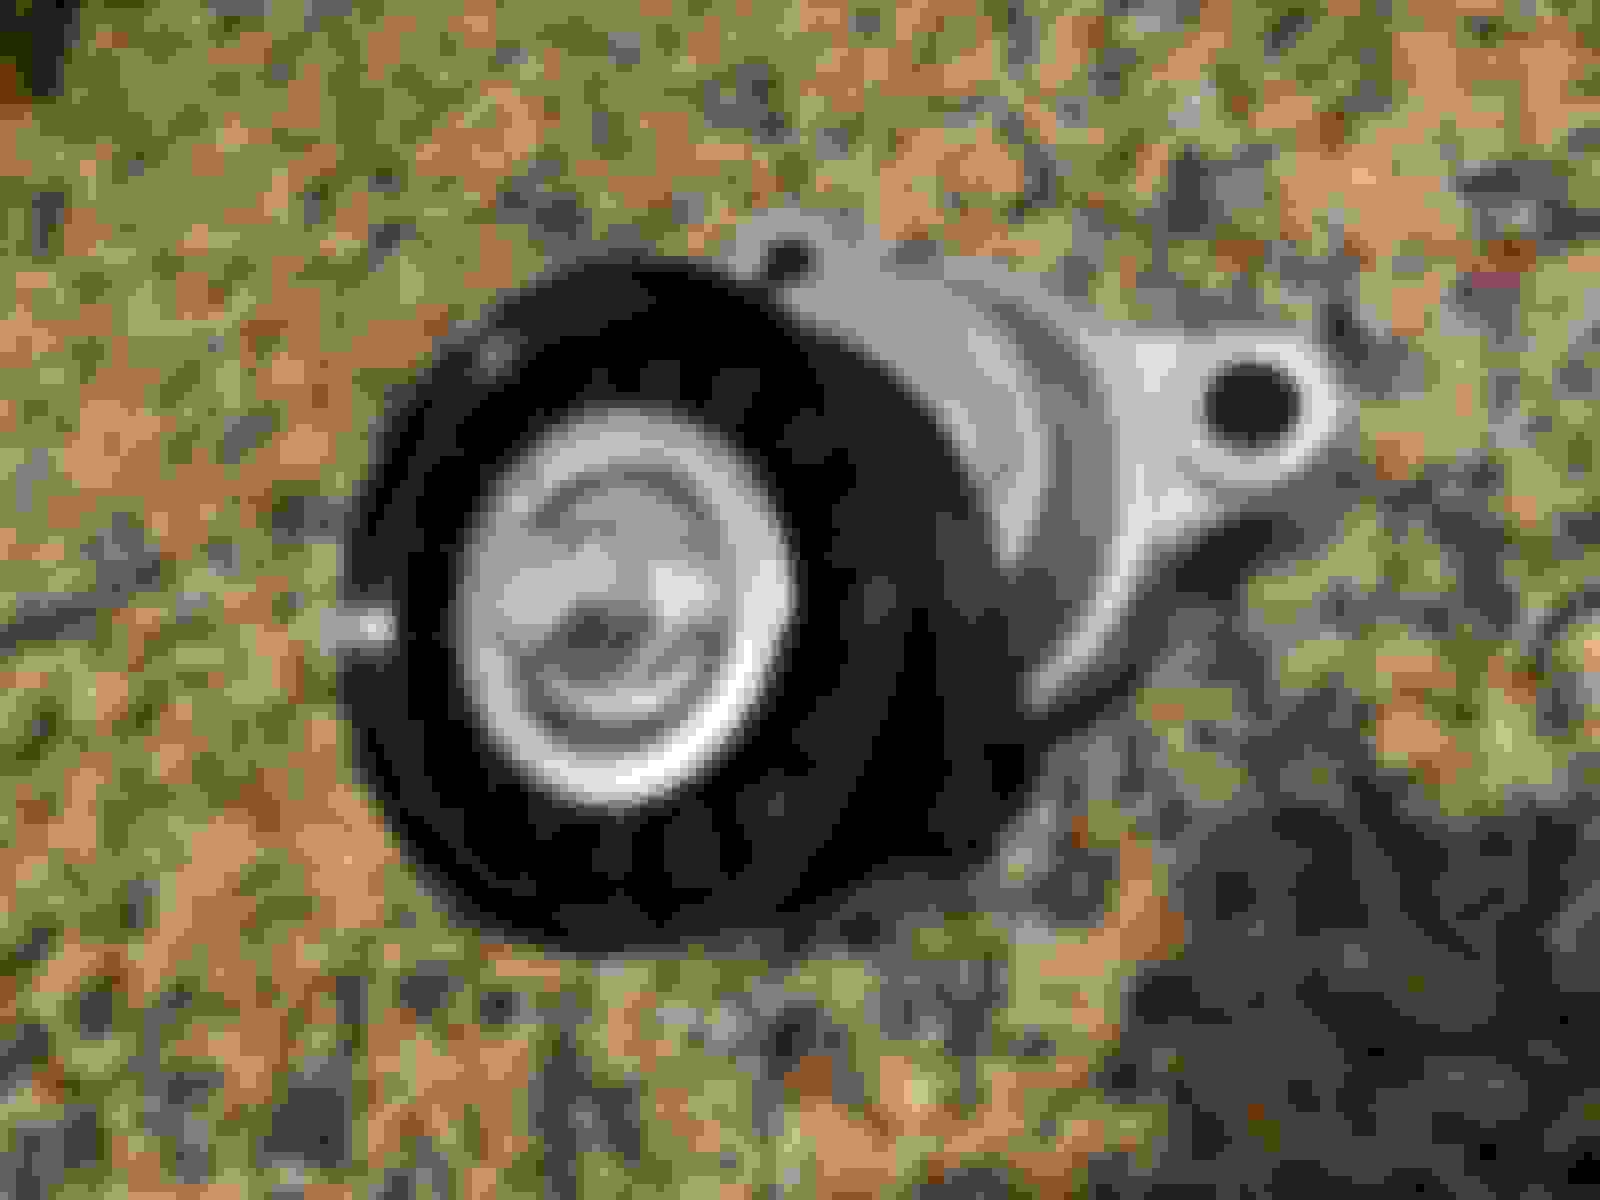
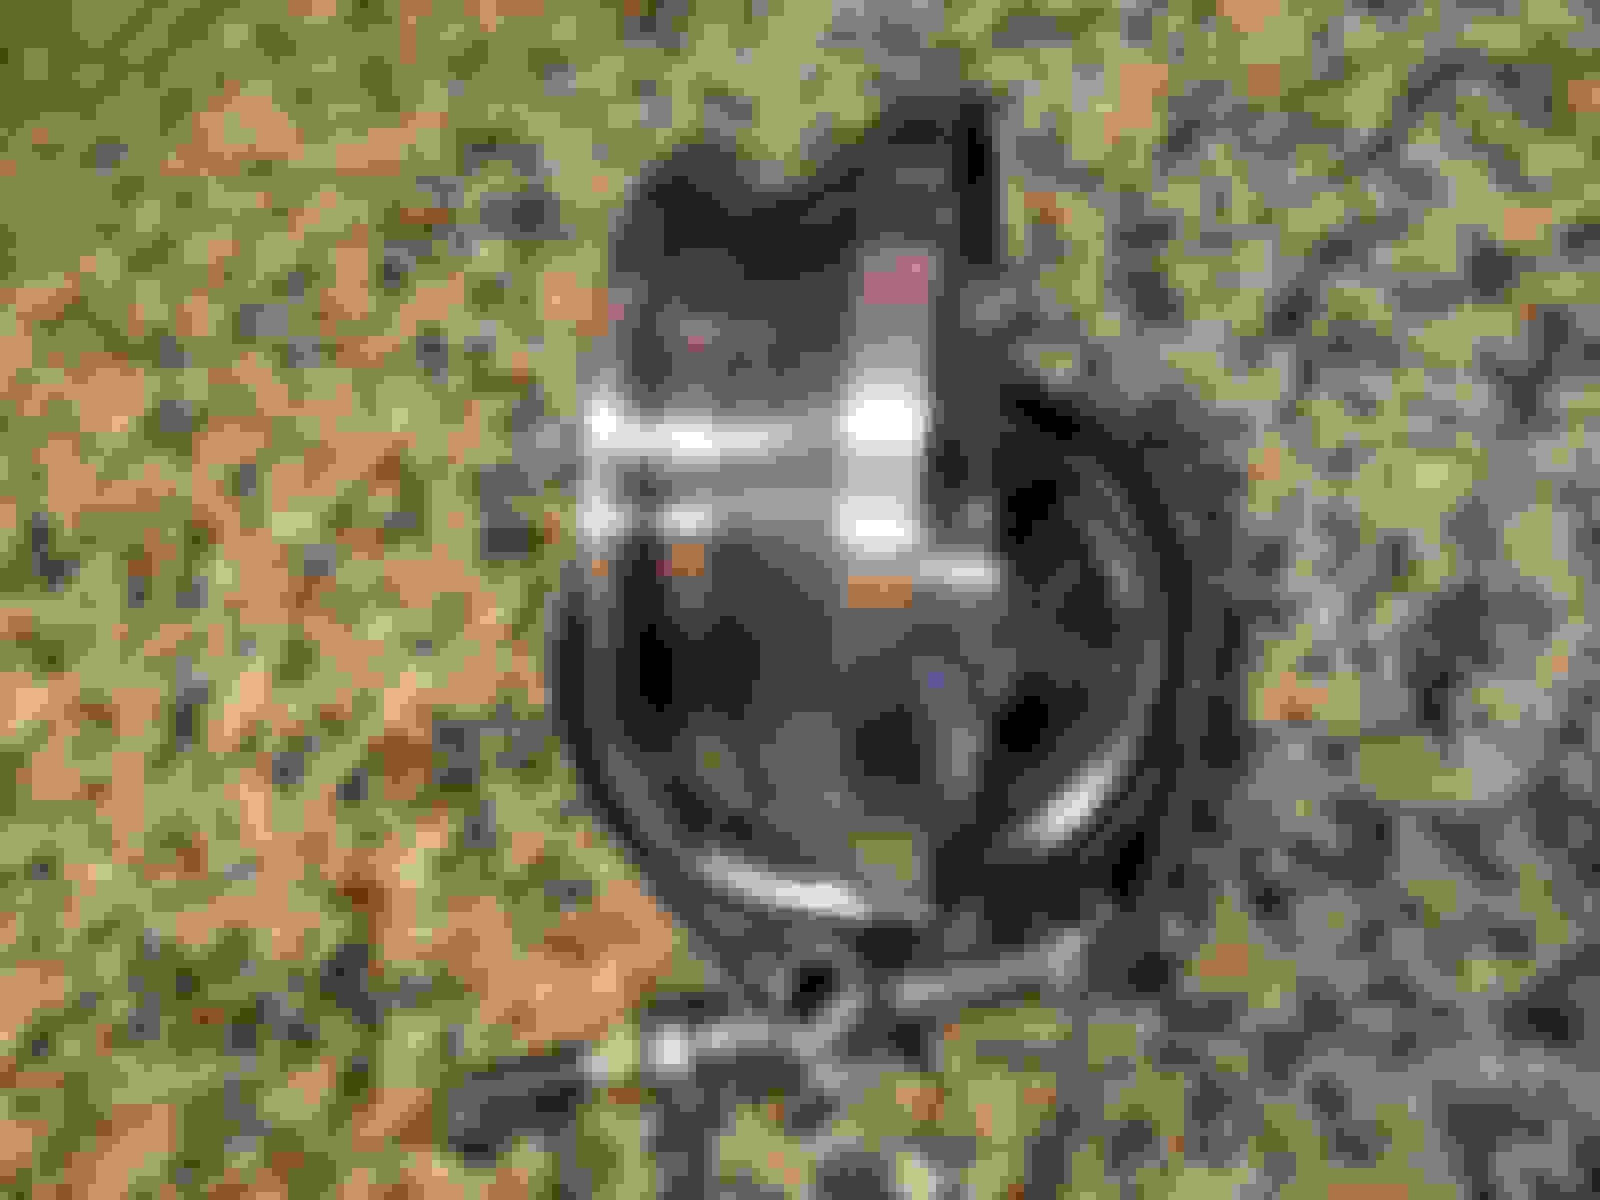
Well time for a small update on the thread that nobody follows I got the trans, and a converter from my buddy a while back. Turns out the trans was shot, and needs a rebuild. That pretty much killed my plans for just getting it running this year. The good news is that I will be able to use it as a core to verify the trans mount, and hold everything in place so I can do all the fab work and wiring. I need to get un-lazy and move the car over in the garage so I can get the trans in one of these days. Its been hot as *****, and until I got my turbo there hasn't been much of a reason to bother getting it done. That excuse is out the window now though, since this came in last week
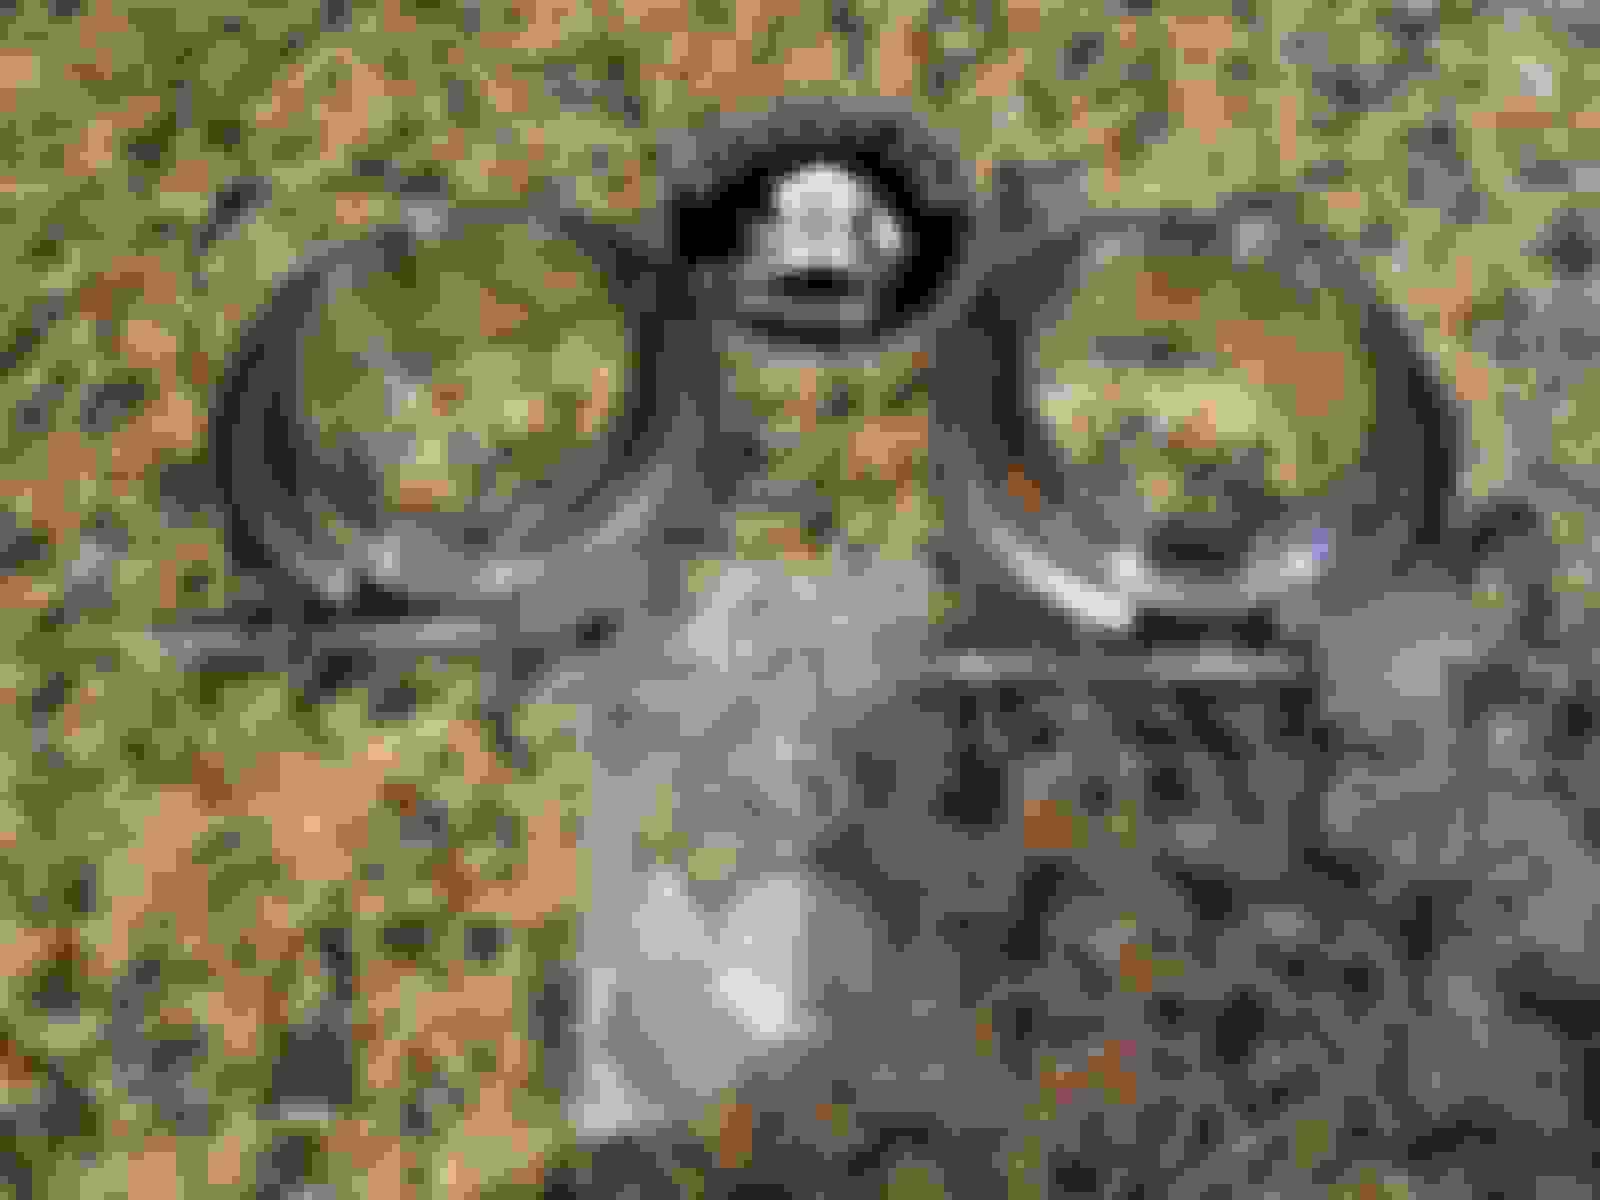
Its nothing special, just a Precision LS 7675, which is a cast wheel journal bearing 76mm. It should be able to max out the 5.3 though, so it will do for now. This weekend (it was hot as *****) I went out to the garage for a bit to try and get some idea where I was going to place the turbo so I can start getting an idea for a materials list. First up I got the radiator sitting in place (close enough)
These were the most obvious positions (turbo would need to be clocked differently for most) that I snapped some pics of not in any particular order.
Inside forward facing 45
TA style
Inside forward facing
Outside forward facing
That is really about all I got right now. I guess I also got the LS6 intake since my last update. That is still sitting on the truck steam ports which is why it isn't flat. I also got a set of non-EGR truck manifolds to use as the base of the turbo kit.
So right now I need to get everything mounted temporarily. That includes the trans, front accessories, exhaust manifolds, intake manifold, etc. Then I can lock down the turbo placement 100% and order material to start work. I also need to delete the ABS so I can mount the ECU over there and get started on the wiring. Well that's all for now, thanks for following along the journey of me seeing how dirty I can get my car.
Last night I got the car moved over and back into its working position. Because I have such a small garage I will put the car on dollies and push it tight to the one wall when I am not doing anything with it. So when its time to work on it I have to clear out all the parts that are under it, pull it over so I can get to both sides, and then get it up in the air. I tried getting the trans in last night, but to no avail. I had some issues with things lining up, and I will need to do some cutting, grinding, and beating to get the trans up in the tunnel. The good news is that it doesn't seem like it will need a lot of massaging to fit, at least without a shield. Not much of an update, but since I was responding I figured I would say something.
I needed to get the trans in so I could check the fitment of the mount, as well as get everything locked into position for fabricating. Doing a trans by yourself is no fun, worse when you don't have a lift, and worse yet when you have to do some modifications for it to even fit. I ended up grabbing a trans jack from Harbor Freight to make my life a million times easier.
The only downside to it is that it is quite a bit taller than having the trans on my regular jack, but other than that it was SO MUCH BETTER. I could slowly move it into position and make small changes to angle and overall position with ease. Not to mention how nice it is to have the trans stable as you are moving around to get a good look at everything. It turns out it only needed a little massaging to get it bolted into place. Again, that is without a shield on it (or a bell) but I was glad I didn't have to spend hours hammering overhead.
Ignore the mess, the garage is in process of getting a lot of work as well.
Next up I wanted to see what I was working with on the exhaust manifolds.
Driver side is actually hitting the frame, but that is fine since I always planned on v-banding them anyway.
Plenty of space on the passenger side
Next up was trying to get an idea of what to do for accessories. There are about a million options out there these days. I started by trying to place the stock truck pieces just to get some idea.
Clearly those weren't going to work, but it was worth a shot. I have since figured out what I am going to do, but I will post more about that when I get all the parts. After that I reassembled the main fuse box under the hood. I need to patch where I cut for the procharger bracket, but the car is going to be outside for a bit while we finish the garage so I wanted to close off the fuses and wiring.
That was about it. Got the car back on the ground and pushed back out of the way for now.
Not really a crazy update, but progress none the less. While we are finishing the garage I will get the rest of the parts needed for the accessory drive setup. Once that is all in place I can start on fab work (FINALLY!), so hopefully the garage wont take too long. That's all I got for now, thanks for following along!
Nothing exciting, but parts have been coming in lately. I had to figure out and order up all of the front accessory drive components. Luckily there are a LOT of options for that kind of stuff these days. I ended up with a set of ICT billet brackets that will use a mix of F-body and Truck pieces.
While I am at it, I got all new everything else too since most of it required f-body pieces anyway.
New tensioner
New power steering pump pulley
I have a new water pump, but no pic of it. The new power steering pump will be here early next week as well. I haven't ordered an alternator yet, but I will later when I get a crank pulley.
Next up is some of the fabrication pieces for the turbo kit. I have only ordered the parts and pieces for the hot side so far.
All stainless steel T4 flange, four 2.5" 90's for the crossover, and a 4" 90 for the start of the down pipe
The stainless steel adapter from the weird 3-5/8" outlet of the turbo to 4" tubing.
I am still waiting on the 2.5" stainless v-band assemblies and the stainless O2 bung. I will also run another section of stainless on the downpipe, then a bellows, then adapt to aluminum for the rest of the exhaust. I probably wont start on that until after I do the cold side piping, which I will hopefully be able to start directly after the hot side fabrication is done. My garage is currently being finished, so I wont be able to start work for a couple weeks still, but its great to see parts coming in! That's all I got for now, thanks for following along.
Well at least one person is! I mean, I am pretty excited, but it seems like I may be the only one. Since we are both pumped up about this, how about a few more parts pics?!?
Here are the 2.5" stainless steel v-band assemblies and the stainless steel O2 bung.
They are very nice with indexed flanges built in
Quick release clamps, another nice touch!
GM reman power steering pump came the other day as well
I was a bit surprised to see that the pump did not come with the pulley bolt, or the reservoir cap. Not a big deal, just slightly annoying. That is all I have for now. The garage is taking longer than expected, but I have also been working on the wife's car anyway. Sometime next week I will probably stock up on welding supplies so I can be ready to go. I should have enough to get started, but I know I will need some soon. One day this project will be exciting enough to elicit some response from you guys
Well nothing too exciting to report still. I have been busy as hell finishing the garage, and getting our house ready for a party this weekend. I did however order up a bunch more material and pieces. I should have everything to build the intercooler piping except the intercooler (which is on backorder). I have all of the material to build my exhaust, but will probably need a couple v-bands so I can section it. Anyway, here are a couple pics.
Half stainless, half aluminum 4" V-band. I have two stainless steel 90's to come out of the turbo and get me to about the firewall, then it will be aluminum from there to the bumper. The other three pieces are 3" aluminum clamshell clamps for the intercooler piping.
Detail of the 4" v-band
And one of the clamshell clamps pulled apart.
I also got two boxes of piping as well. Those have a single stainless steel 4" 90, ten 3" aluminum 90's, six 4" aluminum 90's, two 4" aluminum 45's, two 2' long aluminum straight sections, a 3" silicone coupler, and a 3" to 3.5" silicone adapter with T-Bolt clamps. I am really hoping to start fabrication next weekend now that I should be done with all of these other projects. My pile of parts/material is starting to take up too much space!
Finally time for a bit of an update! After busting our asses on Friday night, the garage is now 99% done. All that really means for non OCD people is that I have more than 2 outlets (a LOT more) and don't need to drag extension cords all over! Let me back up a second, I needed to get the steering rack out of the car since it was wore out and I got a replacement for it. I also wanted to take the motor out to make taking the rack out easier, and so I could do some things with it on the stand. Thursday night I got under the car and pulled the trans.
Pretty easy to do with nothing really connected at all. Friday the car and the bike went outside while my buddy and I did the massive amount of electrical work in the garage. Saturday got mostly eaten up cleaning the garage from the previous nights thrashing. In the evening I got the car pulled back into the garage and was able to get back to work on it.
I let the snow melt off and dry up a bit before getting to work pulling the motor. Not terribly hard (again, nothing to disconnect or move), but kind of a pain in the *** since I have to come at it from the side.
So one of the first things I wanted to try, was see about fitting AC. I don't think I would run it this year, but if I could build with it in mind it would make things easy down the road. I grabbed a bracket and a junk compressor from a buddy so I could mock it up. He also had this manifold laying around, so I took that as well.
It is clearly a tight fit, but I think I could make it work. It pretty much kills running a 4" downpipe on the passenger side though, so I grabbed a piece of tubing to see what it looked like on the driver side.
Again, very tight but I should be able to make that work if I need to. I still haven't decided if I am going to mess with it or not, but its good to know about options. Next up was getting the front accessory drive all installed.
All laid out on the bench (minus the water pump since I forgot where I put it!)
Unfortunately I have the wrong tensioner, and I clearly still need parts (balancer, thermostat housing, alternator, etc.) but I can move forward with fabrication for now. Once that was done I pulled out the old rack.
Then I got the new poly bushing installed in the new rack
Then got it put in for now.
I am going to change the "EVO component", intermediate shaft, and outer tierods but its in the car so I can fabricate around it for now and keep it out of my way.
Then I got busy organizing all of my material so I could clear the space under my bench.
Pile of tubing!
Ahhhh thats better
At that point I was going to call it a night, but I decided to dive in and try and get something done. So I busted out the big boy grinder
Then I hacked off the end of the driver side manifold
Unfortunately, that was where I had to end it. Its been so long since I have welded, the batteries in the hood were dead! I am going to stop and get some on my way home today, and I am also waiting on some welding supplies. It was great to FINALLY be working on the car again! Like I said I am still unsure on the whole AC deal, but I think for now I am going to cut up that manifold and see whats up. I will also be putting the motor back in the car as soon as I get my new steering parts (that is a whole story on its own). Thats all I have for now, thanks as always for following along!
Toyota and Lexus Join Mille Miglia For The First Time
Slideshow: A five-car lineup spanning more than five decades of Toyota performance and engineering will tackle one of Italy's most celebrated automotive routes.


 I got the trans, and a converter from my buddy a while back. Turns out the trans was shot, and needs a rebuild. That pretty much killed my plans for just getting it running this year. The good news is that I will be able to use it as a core to verify the trans mount, and hold everything in place so I can do all the fab work and wiring. I need to get un-lazy and move the car over in the garage so I can get the trans in one of these days. Its been hot as *****, and until I got my turbo there hasn't been much of a reason to bother getting it done. That excuse is out the window now though, since this came in last week