When you click on links to various merchants on this site and make a purchase, this can result in this site earning a commission. Affiliate programs and affiliations include, but are not limited to, the eBay Partner Network.
Better late than never, I wanted to start a build thread and document some of the mods for my wife's car. She often says, "Wait a minute, is this "my" car or really yours?!" Either way, I'm very lucky she's allowing me to mod it a little!
We picked up the car back in 4/2016 and lowered it with RS*R Down Springs in the 1st month. I added the 20mm H&R spacers to improve the stance with the stock F Sport wheels.
Stock Height:
20mm Spacers:
Lowered on RS*R Down Springs and spacers installed on OE F Sport wheels:
Then the flood gates really opened up last month and we wrapped the roof, window trim, and front grill trim in gloss black.
If you're local to Vegas, we went with http://www.grafikimpact.com/ for the wrap. Paul Janik was a pleasure to work with. We couldn't get a clean wrap for the shark antenna, so I ordered a OE black antenna to replace the white one at http://www.ebay.com/itm/LEXUS-860775...ZXGImq&vxp=mtr. I was able to swap the shark fin antenna by carefully popping off the 3 plastic clips that hold the rear headliner bordering the rear window and removing the rear dome light. C pillar panel and rear grab handle removal was not necessary. I slipped my hand behind the rear headliner via the rear window and evenly pushed it down to expose the 10mm bolt holding the antenna down. I simply worked my smallest ratchet with 10 mm socket through the dome light opening to loosen the nut, being careful not to crease the headliner. It was a little nerve racking but got the job done!
Now for the fun part, we ordered some VMR V706 wheels directly from VMR. http://www.velocitymotoring.com/wheels/v706/
Brandon was a pleasure to work with. My wife actually picked the style wheels and color. She went with Titan Bronze and I think it was a great choice. From order to shipped to our door, it took about 6 weeks. Sorry for the double post as I posted the below specs and photos in the "Aftermarket Wheel Showcase - 3ISx Exclusive" as well.
VMR Wheels V706 19x8.5 ET35 5x114.3 60.1 wrapped in Hankook Ventus V12 Evo2 235/35/19
VMR Wheels V706 19x9.5 ET45 5x114.3 60.1 wrapped in Hankook Ventus V12 Evo2 265/30/19
Custom Powder Coat in Titan Bronze by VMR
Still in the box:
Getting the wheels mounted and balanced at Discount Tires:
We did run into a little snag....the front wheels did not clear the front F-Sport brakes for some reason. The base of the V706 spokes would hit the brakes. 19x8.5 ET35 typically clears in most wheel designs from my research so maybe it's just this particular design. I let Brandon over @VMRWheels know about the issue, and he quickly sent me 3mm spacers to solve the problem, no charge. Thanks Brandon!
Special thanks to Brandon Spann (different Brandon from VMRWheels) for taking these pro shots:
Here's me taking a photo of Brandon Spann shooting my wife's car:
Brandon Spann was awesome to work with. Check out more of his work on IG @b_spann270
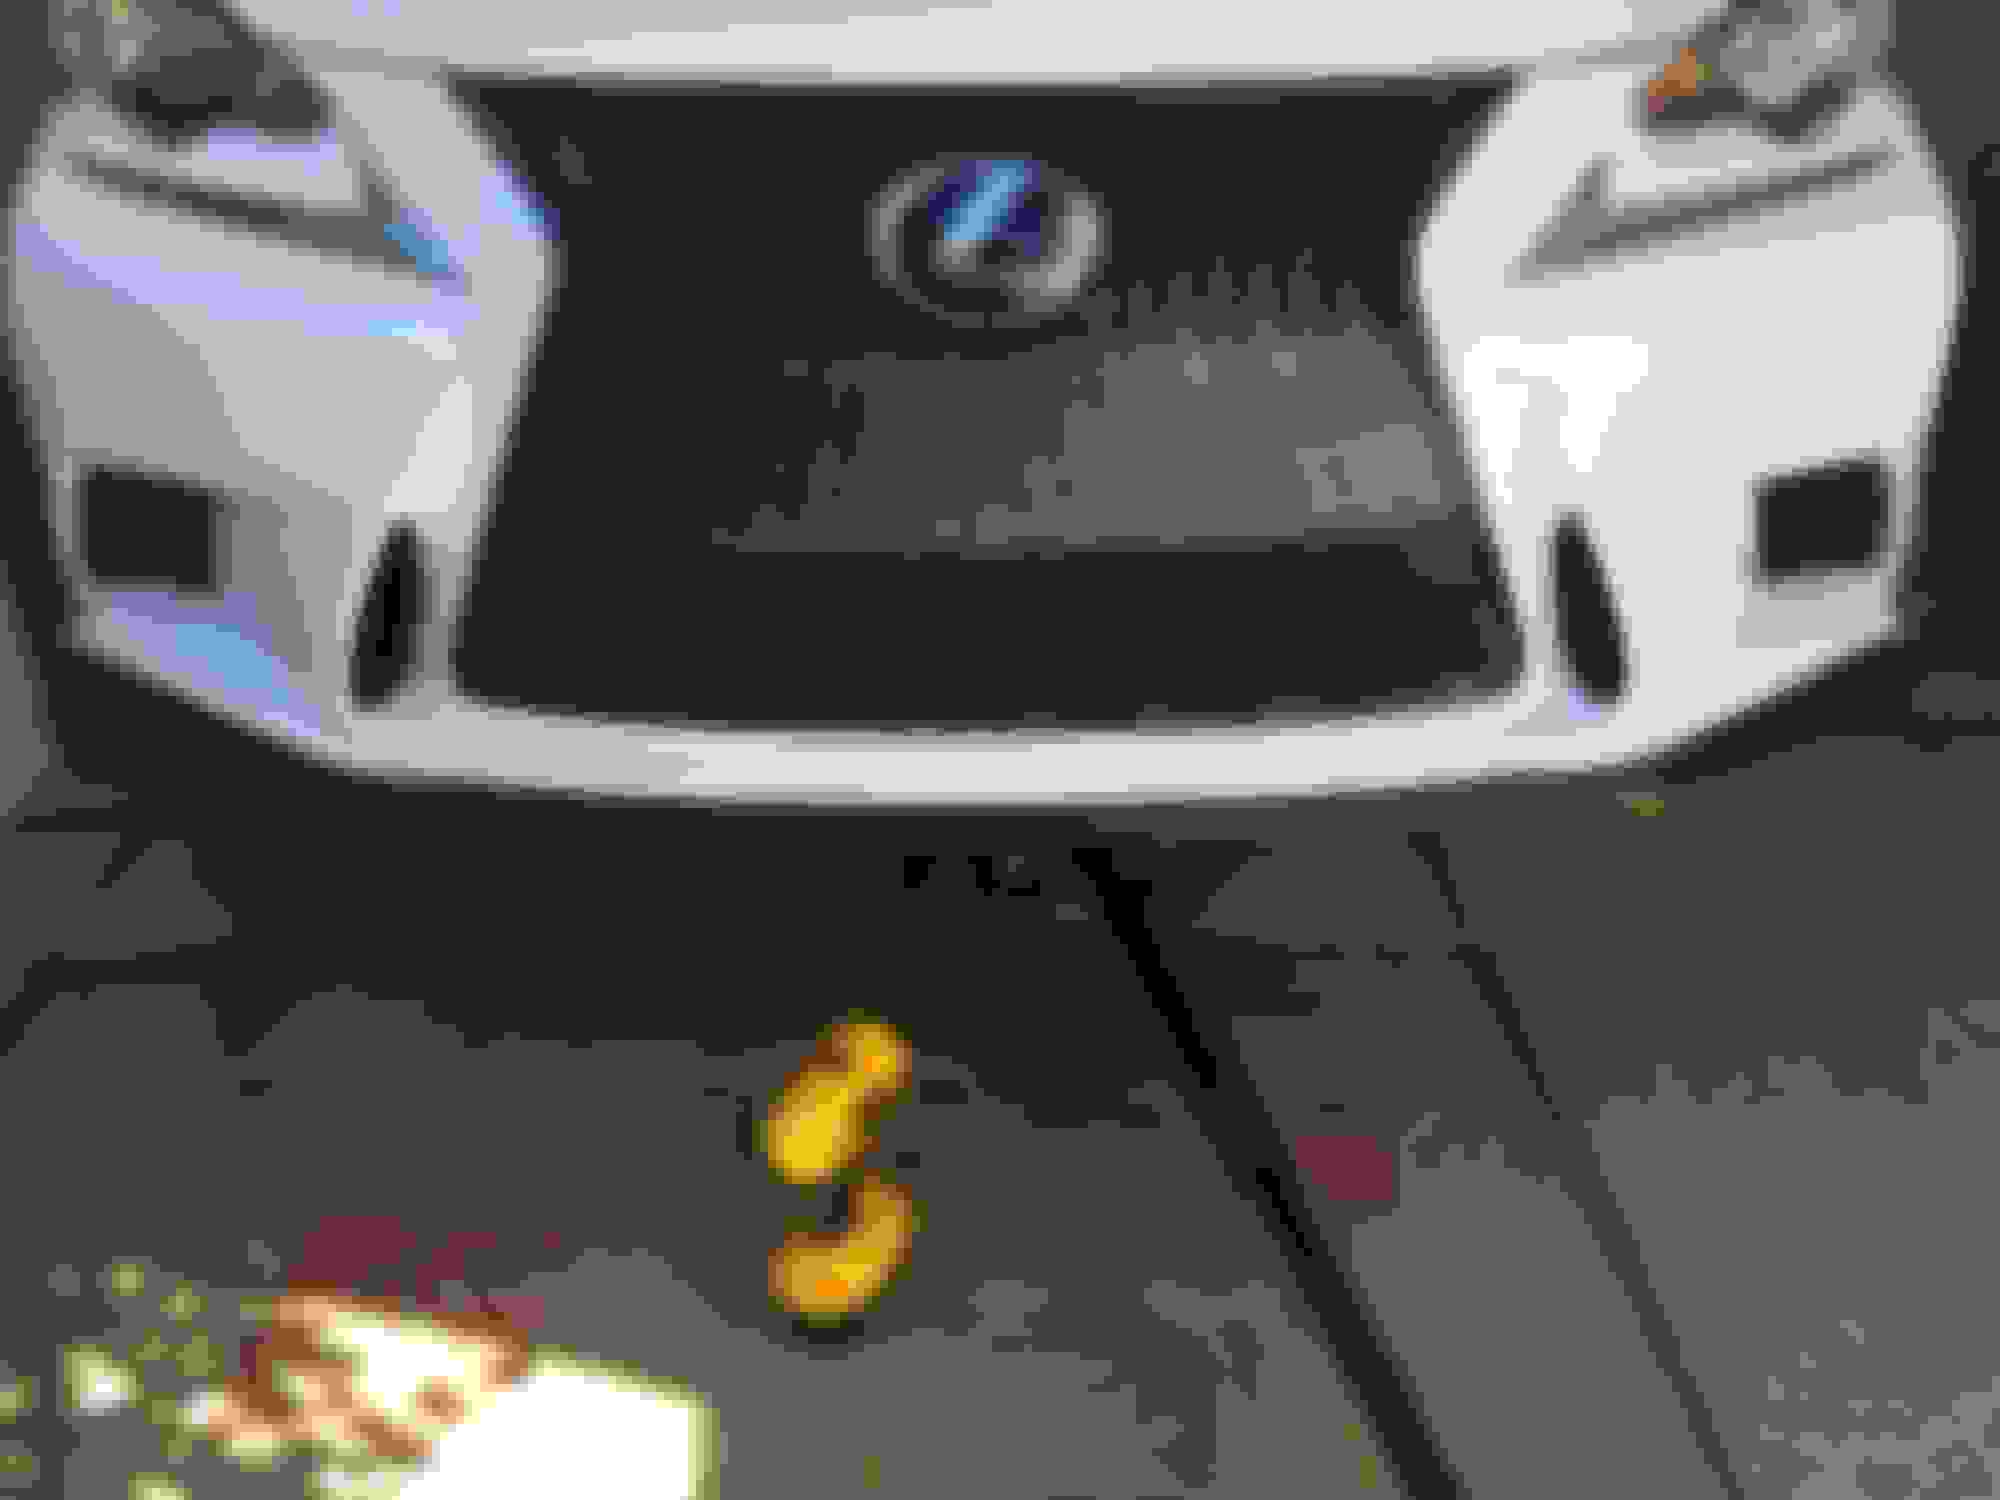
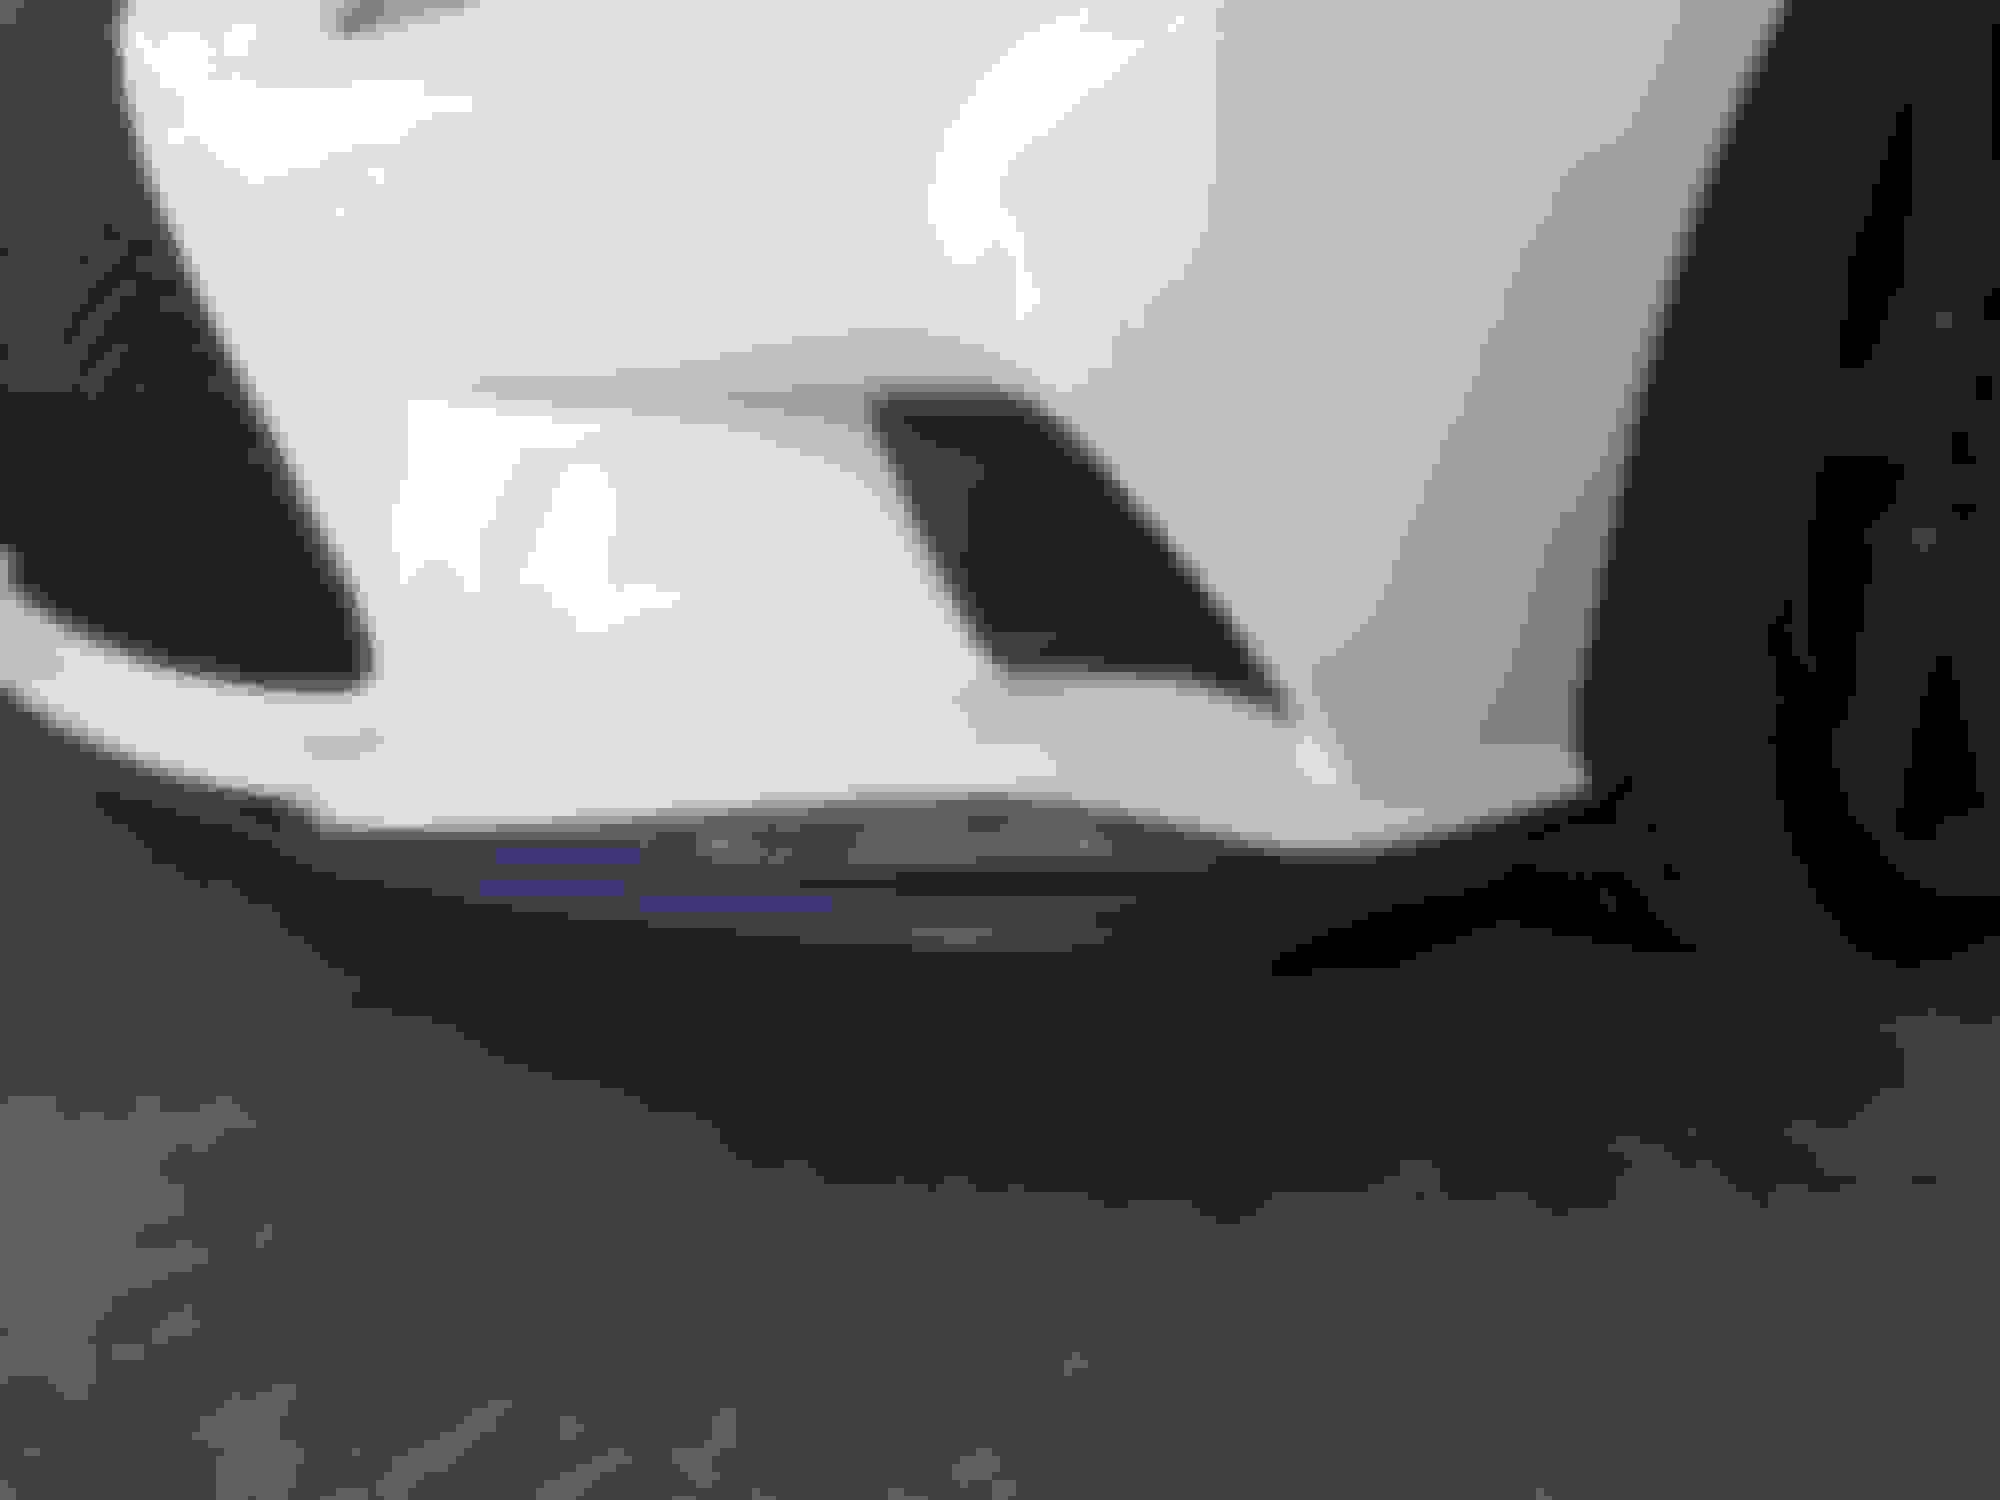
In September, I installed side splitters from an Ebay vendor. I took a chance here but wanted something carbon-like. Fitment was 9 out of 10, more because I'm not a pro installer. 6 self-tapping screws took care of each side. Note: I had to remove the rear mud deflectors and cut a little bit of the front fender liner that wraps under the OE rocker panel to make the fit work. http://www.ebay.com/itm/Lexus-IS200t...VXfgCQ&vxp=mtr
Installed side skirts:
Next install will be the front lip this weekend: I also ordered from the same vendor.
http://www.ebay.com/itm/2014-2016-LEXUS-IS250-IS350-Carbon-Fiber-Add-on-Front-Lip-w-F-Sport-Package/191654879425?_trksid=p2047675.c100005.m1851&_trkparms=aid%3D222007%26algo%3DSIC.MBE%26ao%3D1%26asc%3D20131003132420%26meid%3Dde401069bd254c5fa75c20912b5b2139%26pid%3D100005%26rk%3D1%26rkt%3D6%26sd%3D201629148241
Here's how it looks out of the box:
More photos to come once the lip is installed. I also plan on finishing the rear diffuser with the Seibon OE-style Carbon rear diffuser. https://www.stillen.com/exterior/car...xus-is350.html
I would have wanted a diffuser for a quad exhaust but my wife vetoed that as she wants to keep the stock exhaust actually. I'm going to try and convince her to let me at least install an Invidia Q300 Axle Back. *Fingers crossed. LOL!!
And a shameless plug of my car to close out this first post on this thread! Thanks for looking!
2013 JRSC BRZ running E85 on high boost pulley, rolling on Rays Gramlights 57C5 in matte graphite!
Car looks great. I wouldn't mind getting together sometime as I am in Vegas as well. My car is a slow work in process. Still would be nice meeting some more down to earth car enthusiest in the Vegas area.
Car looks great. I wouldn't mind getting together sometime as I am in Vegas as well. My car is a slow work in process. Still would be nice meeting some more down to earth car enthusiest in the Vegas area.
Weekend mini project complete. Installed the front lip! This was much easier than the side skirts and I would say the fitment is 9.5 out of 10. There is a slight gap between the lip and bumper. This lip goes on with the existing 6 10mm bolts that attach the front bumper cover with the plastic under tray. 5 additional self tapping screws with washers are used to further secure the lip to the bumper cover. Hardware not included.
Last edited by dj2020; 09-11-16 at 02:34 PM.
Reason: Adding photos
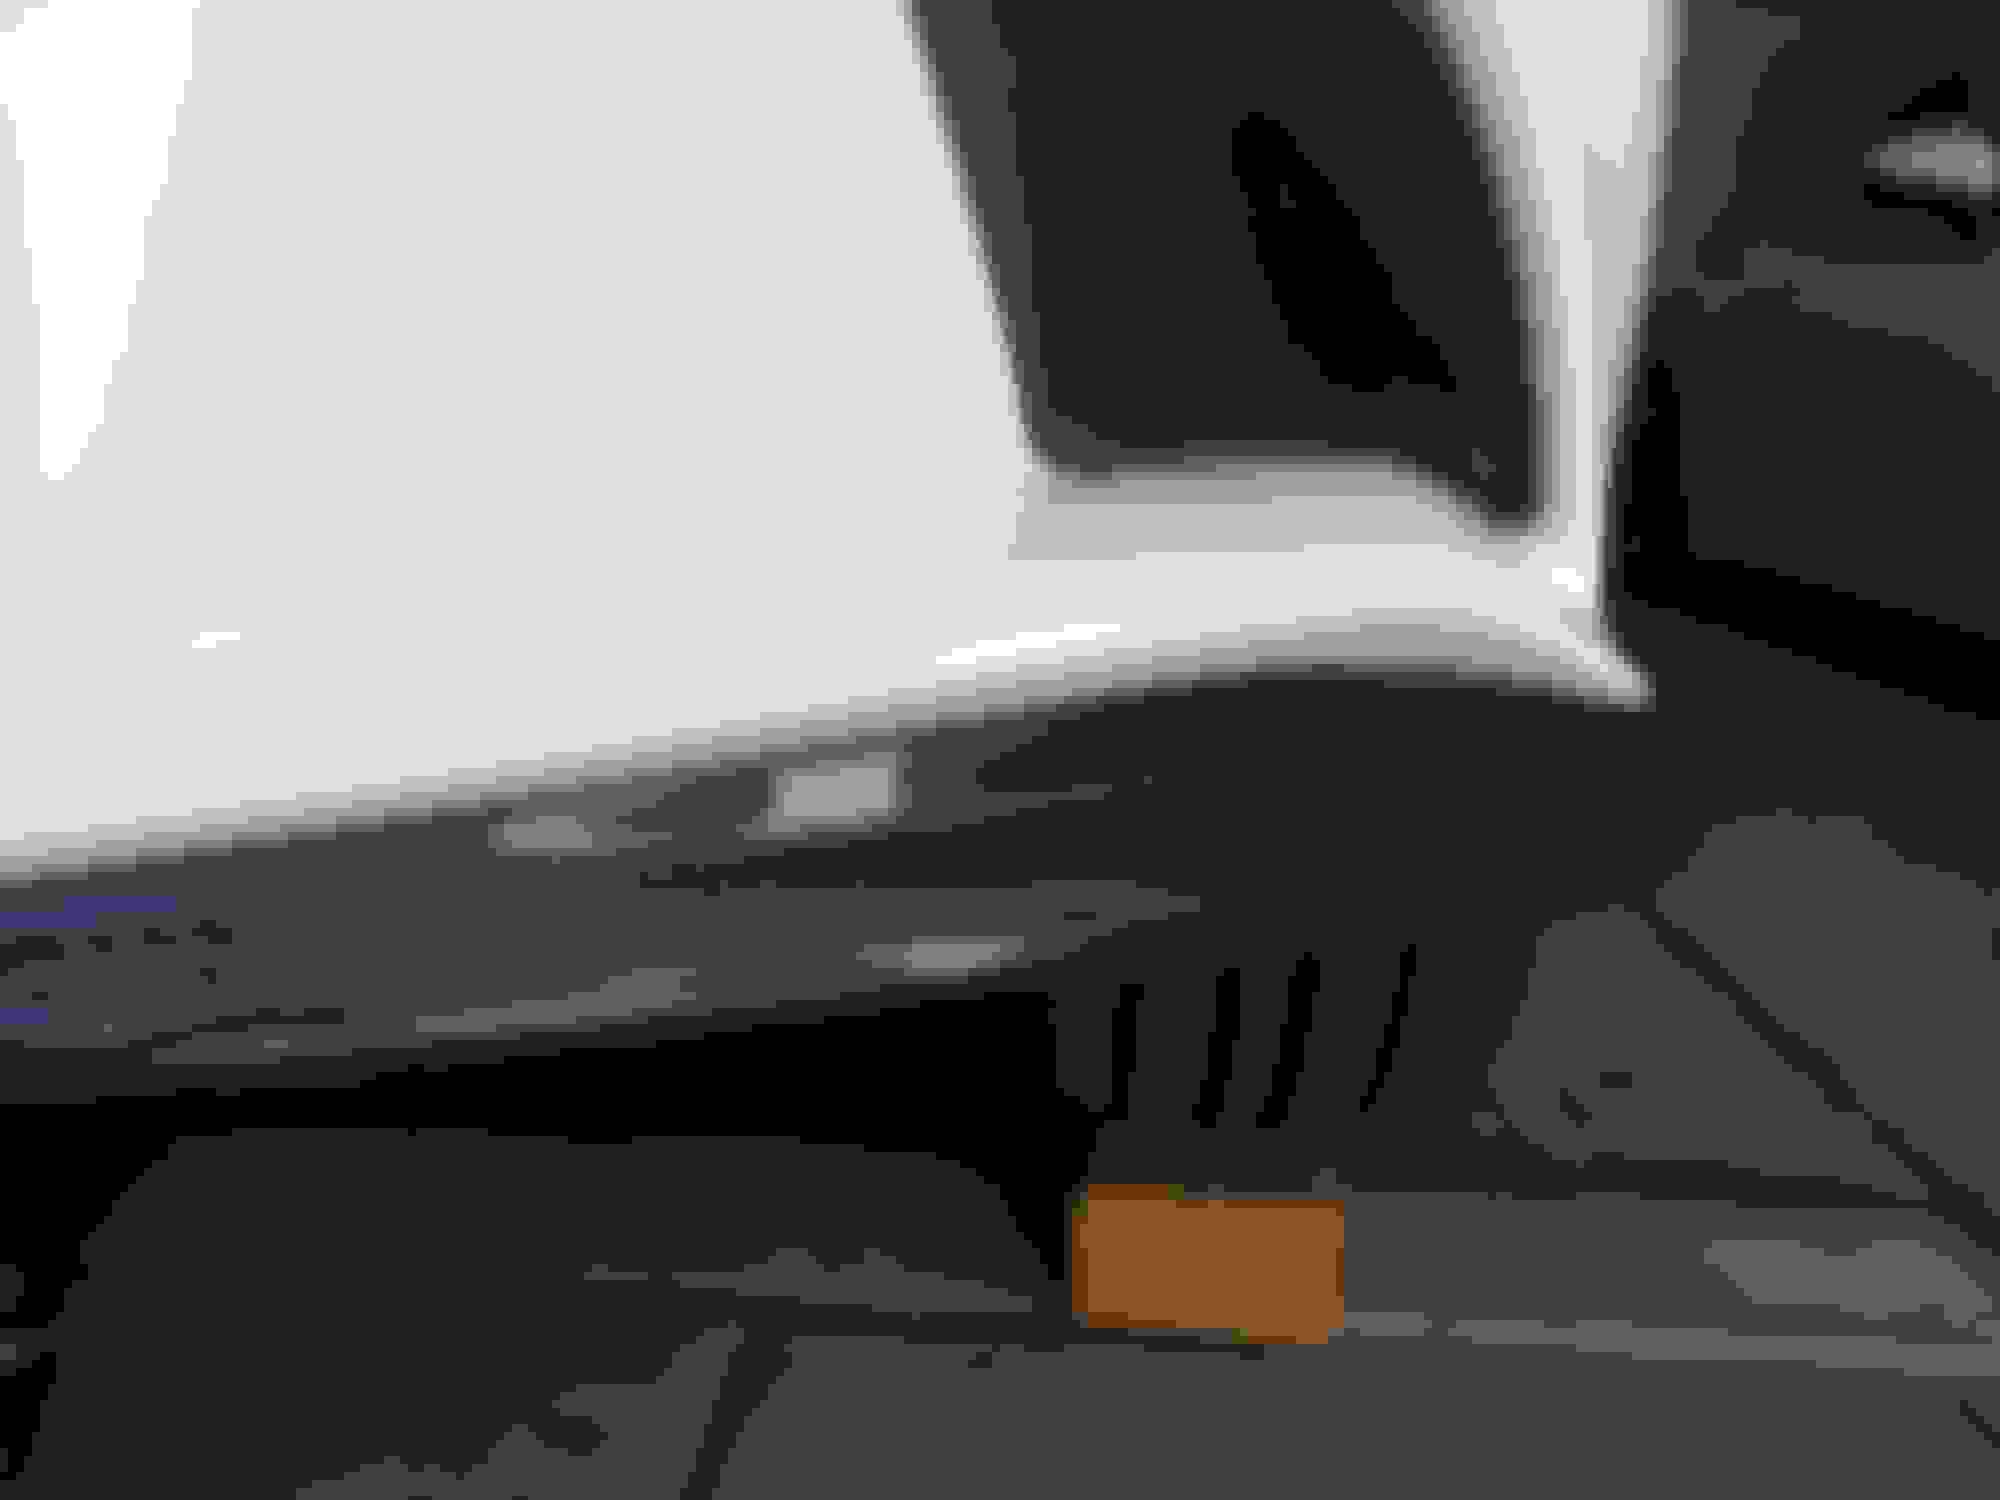
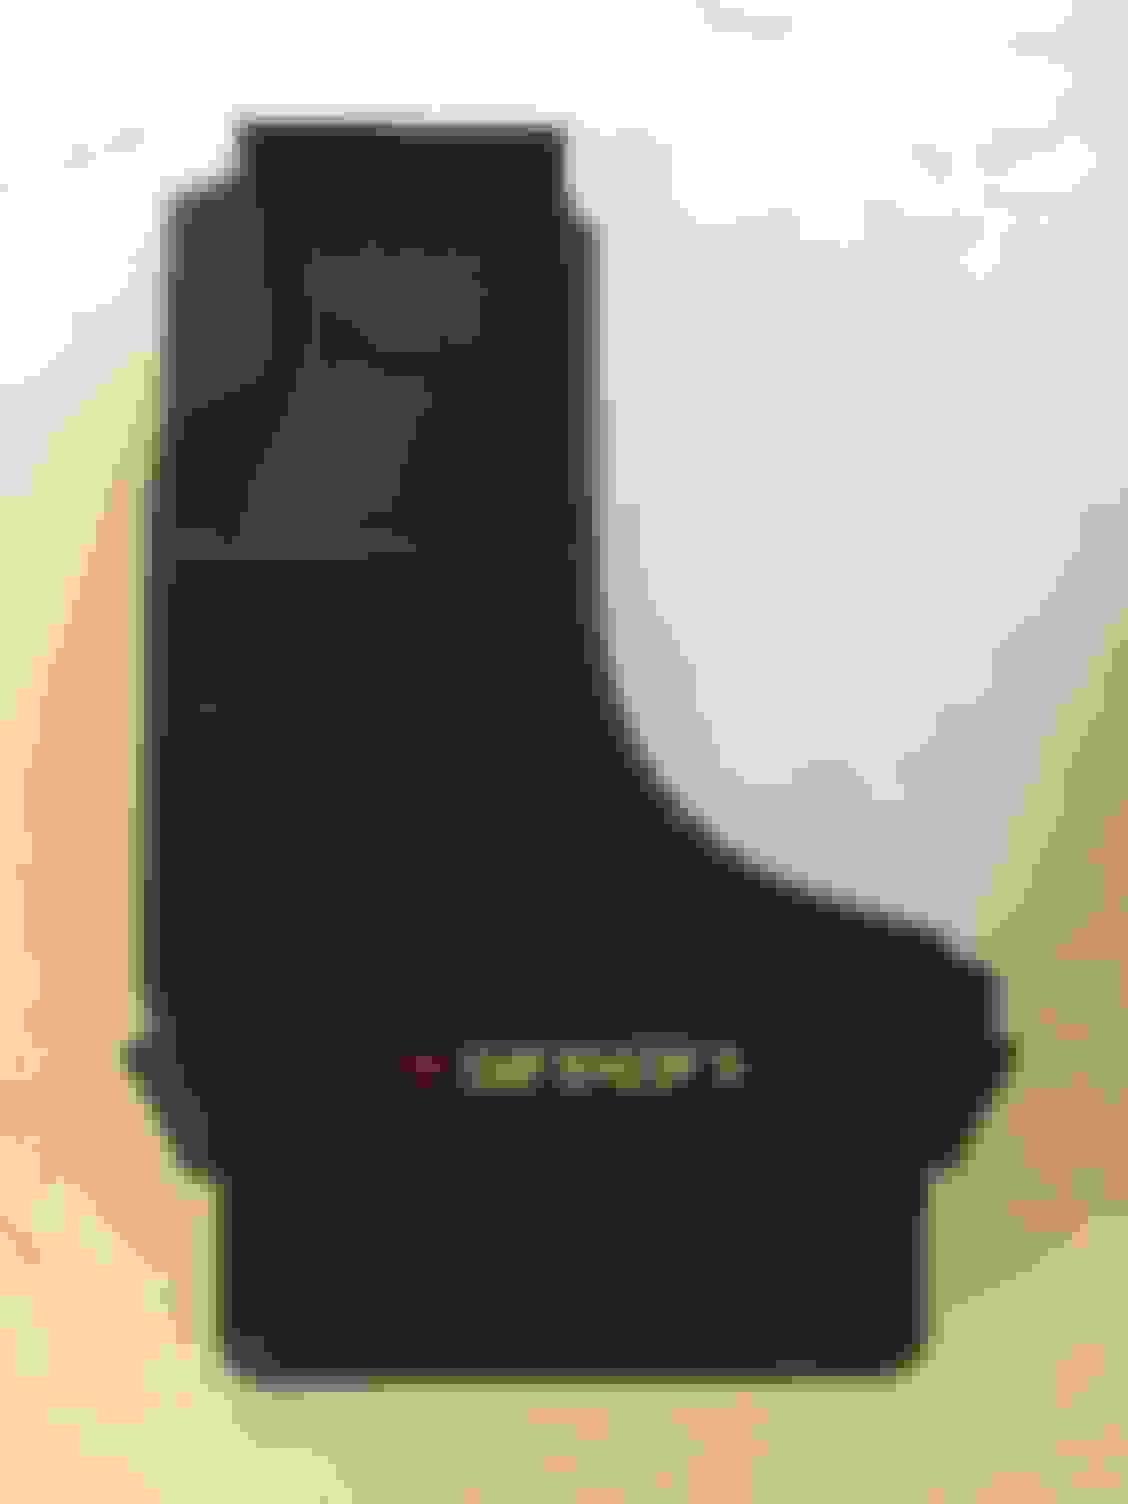
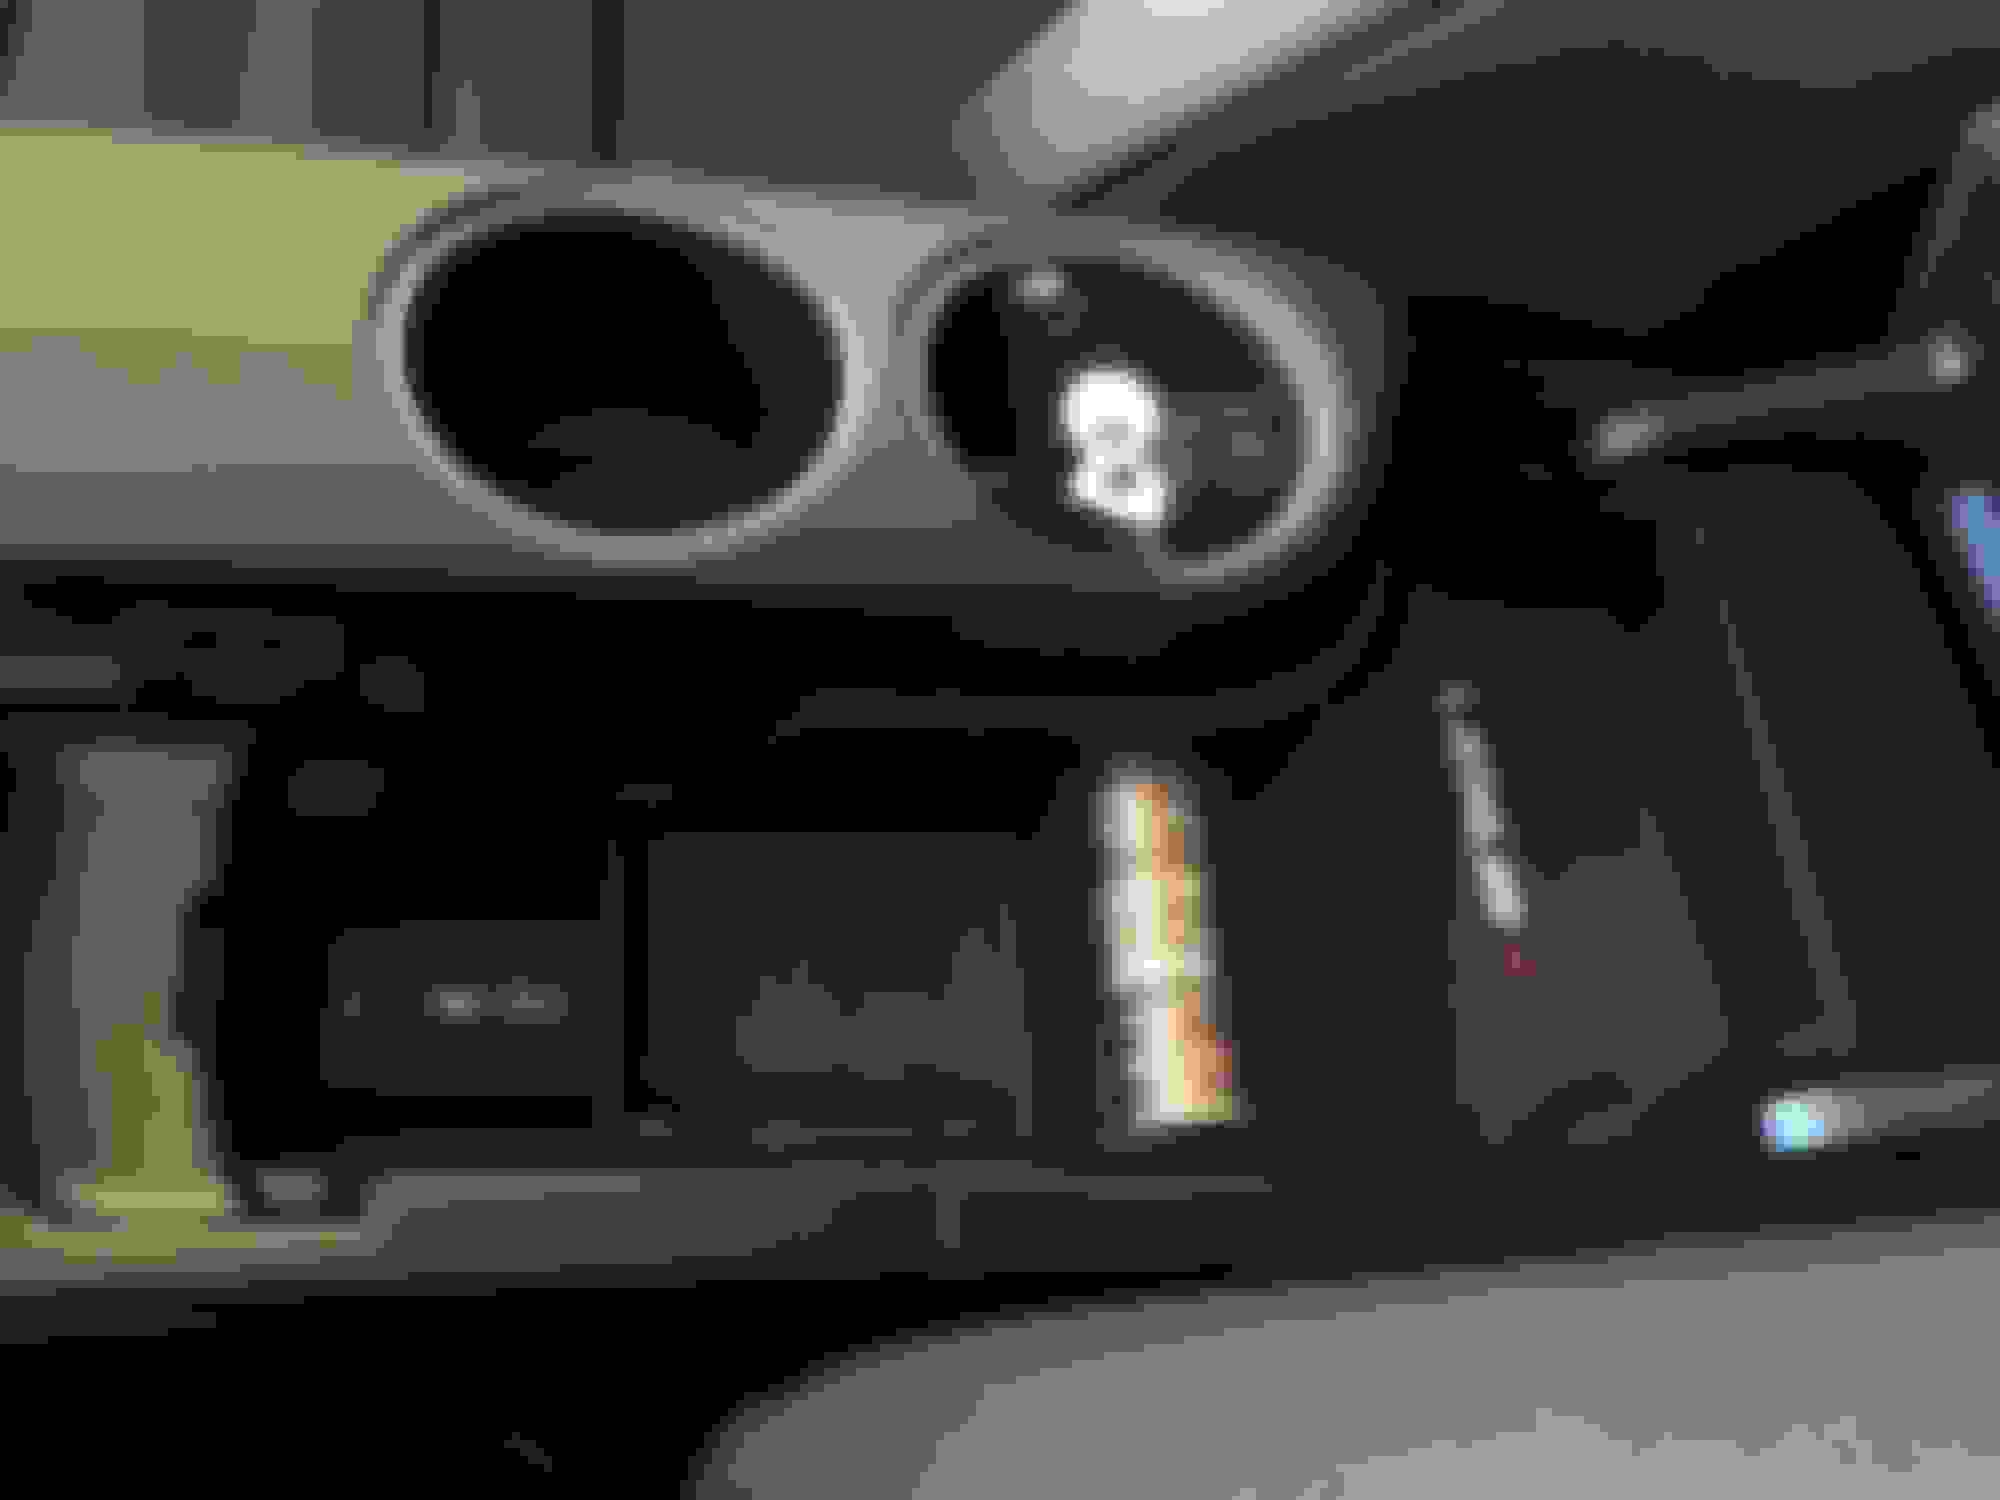
Also added the center console tray/coin holder/organizer recommended by others.
I got it from this eBay vendor:
http://www.ebay.com/itm/172145183088?_trksid=p2057872.m2749.l2649&ssPageName=STRK%3AMEBIDX%3AIT
Last edited by dj2020; 09-11-16 at 02:40 PM.
Reason: Adding eBay link
That front lip looks really good for eBay and the price. Can you take pics to show where you put the self tapping screws. Thanks.
I'll do that the next time I work on the car. The self tapping screws are spaced fairly evenly on the lip. Pre drilled holes on the lip serve as a template to where the screws go into the bottom edge of the bumper cover. I used 5/8" long screws.
and replaced all my OE bulbs with LEDs. Really nothing to show here since these links already have great photos. I ended up using LED panels for both the front and rear dome lights and trunk light.
I used foam pieces and double sided tape to secure the panel in the front dome light. The foam pieces give enough surface area for the double side tape to hold the LED panel to the dome compartment.
For the rear dome light, the LED panel was simply stuck on to the two parallel "ridges" found inside the rear dome light compartment. No foam pieces were needed here. We'll see how this holds over time as the "ridges" seem to provide enough surface area for the LED panel to stick to.
I really like the LED panel in the trunk as it really provides a good amount of light. However, I could not figure out how to place the panel behind the plastic cover piece. There just isn't enough room. I ended up just sticking the LED panel directly on the outside of the plastic covering. It's not in the way, nor does it protrude into the trunk space but it does seem a little ghetto and unfinished. Anyone know if there's a better way to fit a LED panel behind the plastic covering, preferably without cutting into anything?
Next project will be courtesy light projectors. We're still waiting on the Courtesy Ghost Shadow Lights and custom logo chips before replacing the OE courtesy lights. I got this idea from @geigerbran's build. I can't wait to see how this turns out. Custom logo chips were ordered here.
Nice. As mentioned, I trimmed part of the inside of the plastic lens to get it to fit. The cover fits back on perfectly as if nothing happened. Ive left the trunk open for 15 minutes and the light gets pretty warm to the touch but nothing that would melt anything.
I like the foam idea. I need to try that. Where did you get the foam? stuff lying around?
 09-07-16, 10:23 PM