
My indecisive 98 SC300 build


^Same here on my height. Would you happen to know a good source where we can get them?
Thanks for sharing your friends insight on safety equipment, it certainly has merit. I would definitely get harnesses, although if I caged mine it would be a must to mirror that fine example you provided.
Thanks for sharing your friends insight on safety equipment, it certainly has merit. I would definitely get harnesses, although if I caged mine it would be a must to mirror that fine example you provided.
It really depends on the seat style. I'm not as knowledgeable as my friends, but it has to do with the way each system is designed. A harness and cage is designed to keep your body in a fixed upright position during an accident while the oem seatbelts and air bags have more give and move your upper body forward into the air bag. If you're strapped into a harness and in a fixed position, then when the airbag goes off its kind of like being sucker punched in the face. The same is true if you use an aftermarket steering wheel with oem seat belts. Your face is going to hit the wheel, and I've heard it hurts a lot.
Ideally you'd use a nice seat from another car that was designed to be used with oem seat belts. If the sides of the seat are too high (especially true for buckets) or the seat belt is routed improperly the lap belt won't tension and the person in the seat can submarine and slide under the belt (usually the case with smaller people and children).
I finally got around to splitting one of the tail lights. If anyone has done this and had no damage on their first attempt, then props to you. I broke part of the flange, and the driver side is supposed to be the easy one. lol

Anyone know the purpose of the center reflector? I was curious why they felt it was necessary to have a detachable piece.
These reverse lenses are really yellow

Anyone know the purpose of the center reflector? I was curious why they felt it was necessary to have a detachable piece.
These reverse lenses are really yellow
Last edited by Blkexcoupe; Nov 10, 2020 at 08:13 AM.
I attempted to split the passenger side tail light. The good news is, I'm over my fear of breaking the tail light trying to remove the key hole.
I broke the key hole.

For those of you who are interested in what it looks like:

After accepting my mistake, I went to prep the driver side tail light for paint:

I wanted a gloss black trim with the original chrome

While I was removing the masking tape, part of the chrome came off with the tape

Partially assembled

Brand new oem tails vs painted tails

Painted vs unpainted

I broke the key hole.
For those of you who are interested in what it looks like:
After accepting my mistake, I went to prep the driver side tail light for paint:
I wanted a gloss black trim with the original chrome
While I was removing the masking tape, part of the chrome came off with the tape
Partially assembled
Brand new oem tails vs painted tails
Painted vs unpainted
Last edited by Blkexcoupe; Nov 10, 2020 at 08:17 AM.
Thanks, I still need to find a replacement passenger side light for parts or buy a complete assembly and attempt it again.
I haven't decided which shade of red I want to try for the orange turn signal. I bought a tamiya translucent red, but I think VHT nightshade red might be a better match.
*Edit* I ended up painting the orange section with the tamiya red, and the match is good enough. These pictures are before clear coat.


Overall, I think they came out pretty good for my 1st attempt. I like the theme that I have, so I'll probably be buying another set of tail lights to do this again. Hopefully I won't make the same mistakes twice and do a cleaner job.
I haven't decided which shade of red I want to try for the orange turn signal. I bought a tamiya translucent red, but I think VHT nightshade red might be a better match.
*Edit* I ended up painting the orange section with the tamiya red, and the match is good enough. These pictures are before clear coat.
Overall, I think they came out pretty good for my 1st attempt. I like the theme that I have, so I'll probably be buying another set of tail lights to do this again. Hopefully I won't make the same mistakes twice and do a cleaner job.
Last edited by Blkexcoupe; Nov 10, 2020 at 08:19 AM.
I shot the tail lights with clear to give all the newly painted parts a nice gloss and sealed them up.

I also picked up some LED reverse bulbs to compensate for the new tinted lenses. I got these bulbs from DDM, they have 6 philips SMD leds with an output of about 1300 lumens. They're a bit pricey at $16 each, but they had the best fit of all the bulbs they sold. I brought a tail light with me to check the fit and to get an idea of how the light would output.

Left side is a polarg hyper white 7440 bulb vs a DDM 6 SMD led bulb on the right

Both bulbs installed


I also picked up some LED reverse bulbs to compensate for the new tinted lenses. I got these bulbs from DDM, they have 6 philips SMD leds with an output of about 1300 lumens. They're a bit pricey at $16 each, but they had the best fit of all the bulbs they sold. I brought a tail light with me to check the fit and to get an idea of how the light would output.
Left side is a polarg hyper white 7440 bulb vs a DDM 6 SMD led bulb on the right
Both bulbs installed
Last edited by Blkexcoupe; Nov 10, 2020 at 08:23 AM.

Driver School Candidate
Joined: Jun 2013
Posts: 19
Likes: 0
From: Texas
such a clean sc... everything about it is just perfect. I'm in the process of restoring an sc and just started a thread on it as well to document my build. its awesome how you guys are representing the sc. keep up the great work! ill be sure to sneak over time to time to steal some ideas for my sc.
such a clean sc... everything about it is just perfect. I'm in the process of restoring an sc and just started a thread on it as well to document my build. its awesome how you guys are representing the sc. keep up the great work! ill be sure to sneak over time to time to steal some ideas for my sc.
I finally fixed all the pictures in this thread, and since I don't feel like going through all my other threads I'll add my other lighting stuff to this one.
These pictures were in my TSX retrofit thread:
Supplies needed for the retrofit
- Some TSX projectors
- HID bulbs with ballast and ignitors
- Brackets for projector of choice (I went with luxurymods brackets)
A picture of all the supplies needed (more than necessary)

Projector with the brackets mocked up:

Back view of the projector with the brackets mocked up. The 2 ears in the center of the photo will have to be cut off to clear the headlight housing

Ears shaved off

TSX projector vs stock

Transfer over the plastic tabs and trim 1 of the ears on the pivot tab. I used a soldering iron and melted off the necessary clearance

You use the bolts between the projector and the bracket to space the projector until it looks proper in the housing. In this photo, the projectors are too far back.

Since the projectors were too far back and the adjusters were off, the light shoots high into the sky


Adjust your light until the final output is level across like this:

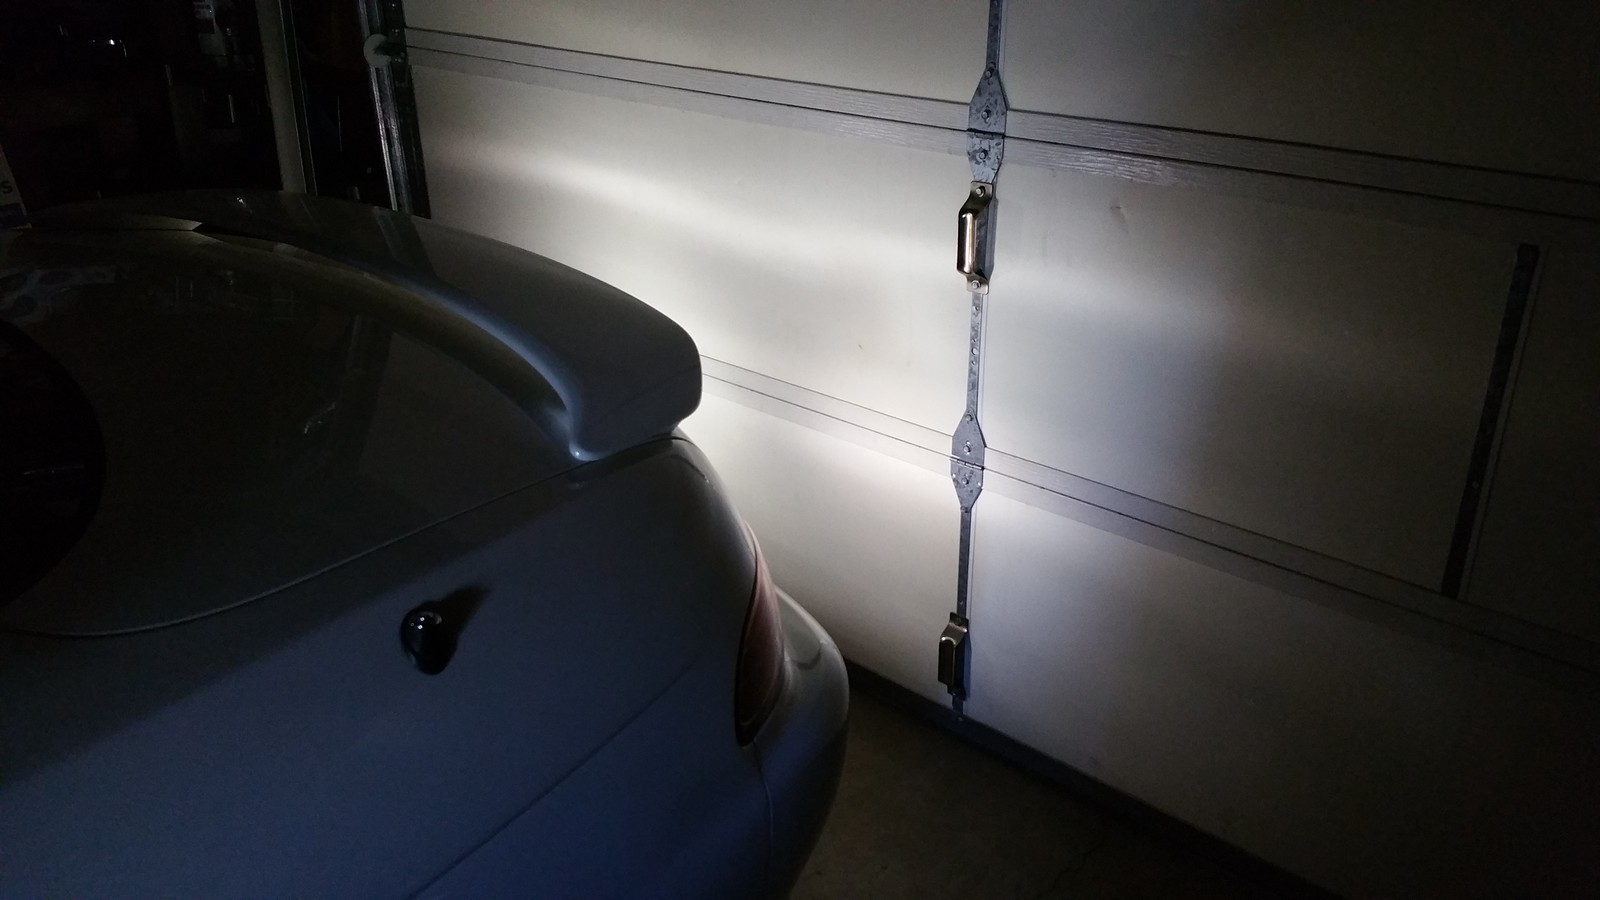
Final light output:


These pictures were in my TSX retrofit thread:
Supplies needed for the retrofit
- Some TSX projectors
- HID bulbs with ballast and ignitors
- Brackets for projector of choice (I went with luxurymods brackets)
A picture of all the supplies needed (more than necessary)
Projector with the brackets mocked up:
Back view of the projector with the brackets mocked up. The 2 ears in the center of the photo will have to be cut off to clear the headlight housing
Ears shaved off
TSX projector vs stock
Transfer over the plastic tabs and trim 1 of the ears on the pivot tab. I used a soldering iron and melted off the necessary clearance
You use the bolts between the projector and the bracket to space the projector until it looks proper in the housing. In this photo, the projectors are too far back.
Since the projectors were too far back and the adjusters were off, the light shoots high into the sky
Adjust your light until the final output is level across like this:
Final light output:
Last edited by Blkexcoupe; Jul 31, 2017 at 05:25 PM.
Climate control LCD Bulbs. I have to thank "SC400NL" for the help with this.
Climate control LCD requires 3 - T4.7 or T5 bulbs
If you want to change the bulbs for the buttons to a different color, then you'll need 3 additional bulbs. I wanted them to stay white, so I didn't bother.
Bulbs:

The bulbs come with their own base, remove the bulbs and resistor. The Bulbs on the right is how they come when you buy it. I opted to put them on to the factory bulb holders (right side). After I did this, SC400NL told me it would work better if I ditch the black base completely and solder the LED to the circuit board directly.

All 3 LED installed (using them without the bases would provide better results)

Final outcome

Climate control LCD requires 3 - T4.7 or T5 bulbs
If you want to change the bulbs for the buttons to a different color, then you'll need 3 additional bulbs. I wanted them to stay white, so I didn't bother.
Bulbs:
The bulbs come with their own base, remove the bulbs and resistor. The Bulbs on the right is how they come when you buy it. I opted to put them on to the factory bulb holders (right side). After I did this, SC400NL told me it would work better if I ditch the black base completely and solder the LED to the circuit board directly.
All 3 LED installed (using them without the bases would provide better results)
Final outcome
I've never done it personally, but I know there are services that offer it. It looks like a 3mm LED, so it's just about figuring out what the original specs are and getting a LED + resistor to match it, so it doesn't blind you while driving.
The power steering on my car has been leaking for a while now, but I've been too lazy and cheap to replace it. I found a deal I couldn't pass up on a remanufactured A1 Cardone steering rack, so it pushed me to start this project/repair.
The steering rack showed up today. The box was beat up and there was some fluid leaking from it. I guess the plastic caps they use don't hold up that well during shipping.

I'm planning on doing a doing a leak test with a dye and UV light to see what else needs to be changed, but for now the rack, high pressure line, and all copper gaskets will be replaced. I'll also be cleaning out the filter for the evo unit (I'll be reusing my old one) and the filter for the reservoir. The PS pump will be rebuilt if I find it's necessary. Can anyone else think of what else I would be missing?
Useful links during my research:
Evo unit cleaning: https://www.clublexus.com/forums/sus...creen-diy.html
Reservoir Cleaning: https://www.clublexus.com/forums/per...reservior.html
Steering rack Replacement: https://www.clublexus.com/forums/sus...ement-diy.html
Steering rack rebuild: https://www.clublexus.com/forums/sus...well-alot.html
Thread about bleeding/whining sounds: https://www.clublexus.com/forums/per...e-whining.html
High pressure PS line rebuild: https://www.clublexus.com/forums/per...ring-hose.html
Earl's PS line Build: https://www.clublexus.com/forums/per...so-pretty.html
PS pump gasket kit PN: 04446-30120
Copper Gasket PN: 44327-30040
Steering rack without EVO PN: A1 Cardone 26-1688
The steering rack showed up today. The box was beat up and there was some fluid leaking from it. I guess the plastic caps they use don't hold up that well during shipping.
I'm planning on doing a doing a leak test with a dye and UV light to see what else needs to be changed, but for now the rack, high pressure line, and all copper gaskets will be replaced. I'll also be cleaning out the filter for the evo unit (I'll be reusing my old one) and the filter for the reservoir. The PS pump will be rebuilt if I find it's necessary. Can anyone else think of what else I would be missing?
Useful links during my research:
Evo unit cleaning: https://www.clublexus.com/forums/sus...creen-diy.html
Reservoir Cleaning: https://www.clublexus.com/forums/per...reservior.html
Steering rack Replacement: https://www.clublexus.com/forums/sus...ement-diy.html
Steering rack rebuild: https://www.clublexus.com/forums/sus...well-alot.html
Thread about bleeding/whining sounds: https://www.clublexus.com/forums/per...e-whining.html
High pressure PS line rebuild: https://www.clublexus.com/forums/per...ring-hose.html
Earl's PS line Build: https://www.clublexus.com/forums/per...so-pretty.html
PS pump gasket kit PN: 04446-30120
Copper Gasket PN: 44327-30040
Steering rack without EVO PN: A1 Cardone 26-1688