When you click on links to various merchants on this site and make a purchase, this can result in this site earning a commission. Affiliate programs and affiliations include, but are not limited to, the eBay Partner Network.
Well since parts will begin to trickle in bit by bit, I figured I would start my build thread. The goal is to make my LS better in ways that appeal to me. Reading the build threads of you pioneers gives me inspiration!
The guidelines are simple - make it look, sound, go, turn and stop better than when it was new (no easy task). It will be a budget build, but hopefully tastefully executed and not done in a way to detract from its classic lines.
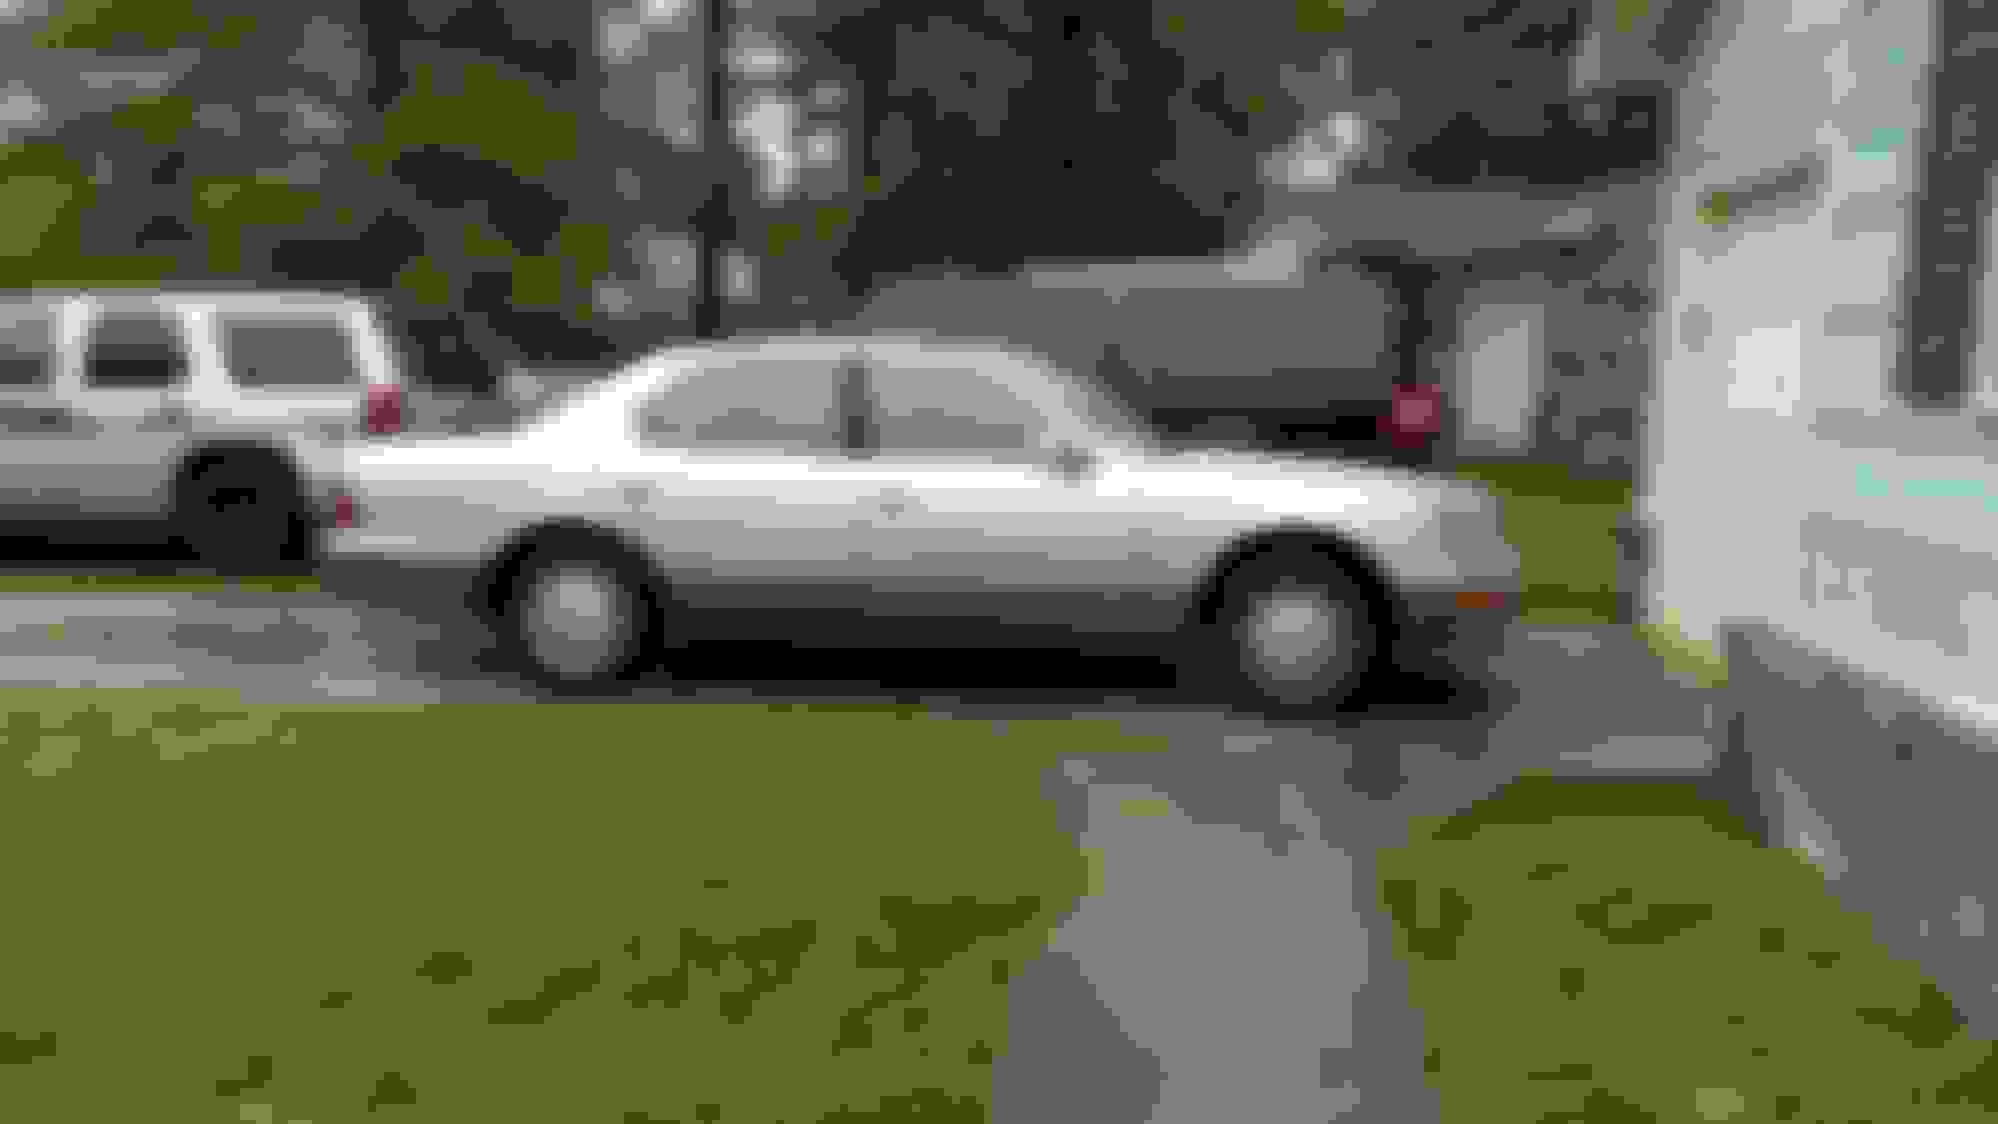
The project car is a 1997 silver jade LS400 sitting at 219,600 miles. I know that with maintenance it will see plenty more. And maintenence is cheaper than a car note.
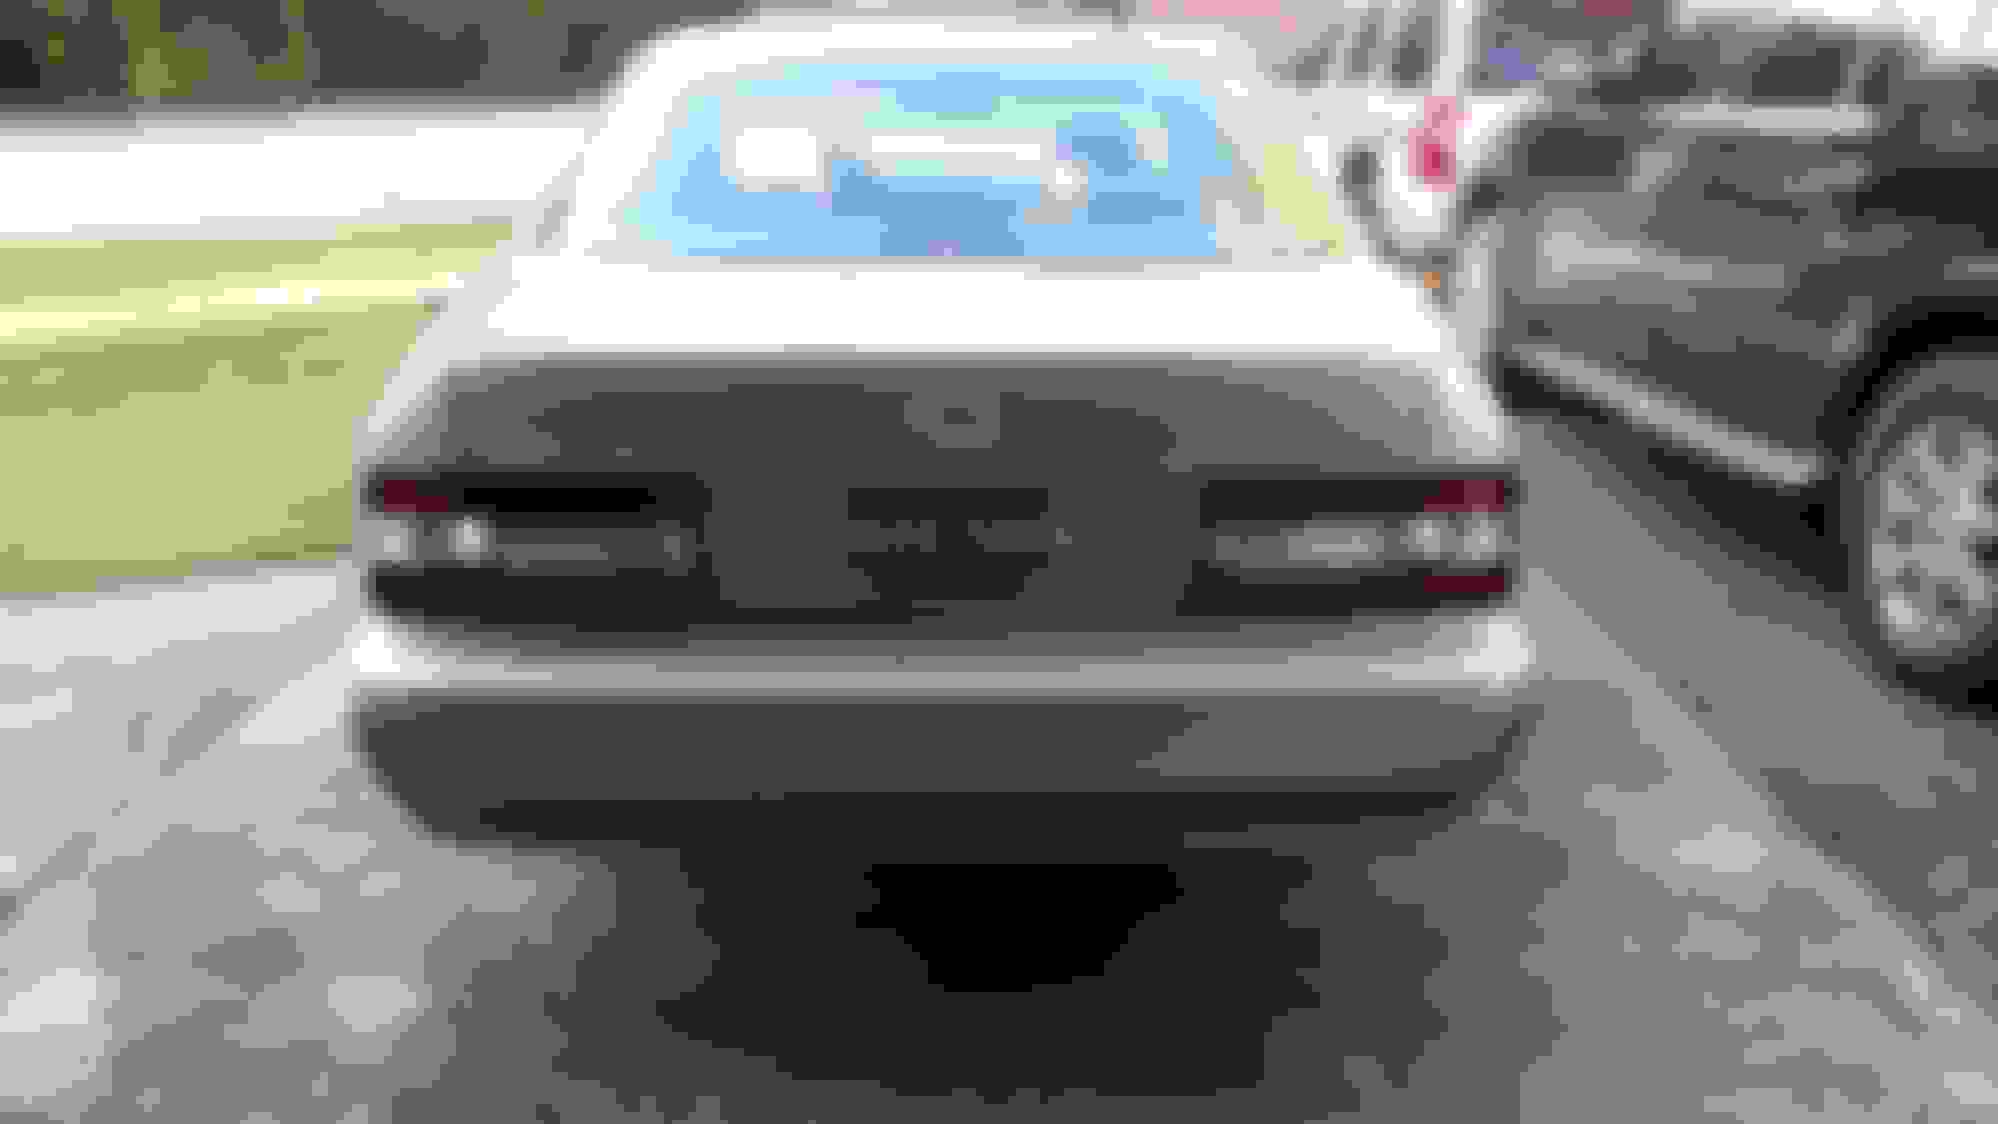
Got my new led tails in and I must say I'm impressed! They are bright as heck! Added the Phillips 7440 red turn signals to keep it all red and clear in the back. Clear corners up front, looking 100% better already.
I love those tails! Do they less with the "light out" indicator?
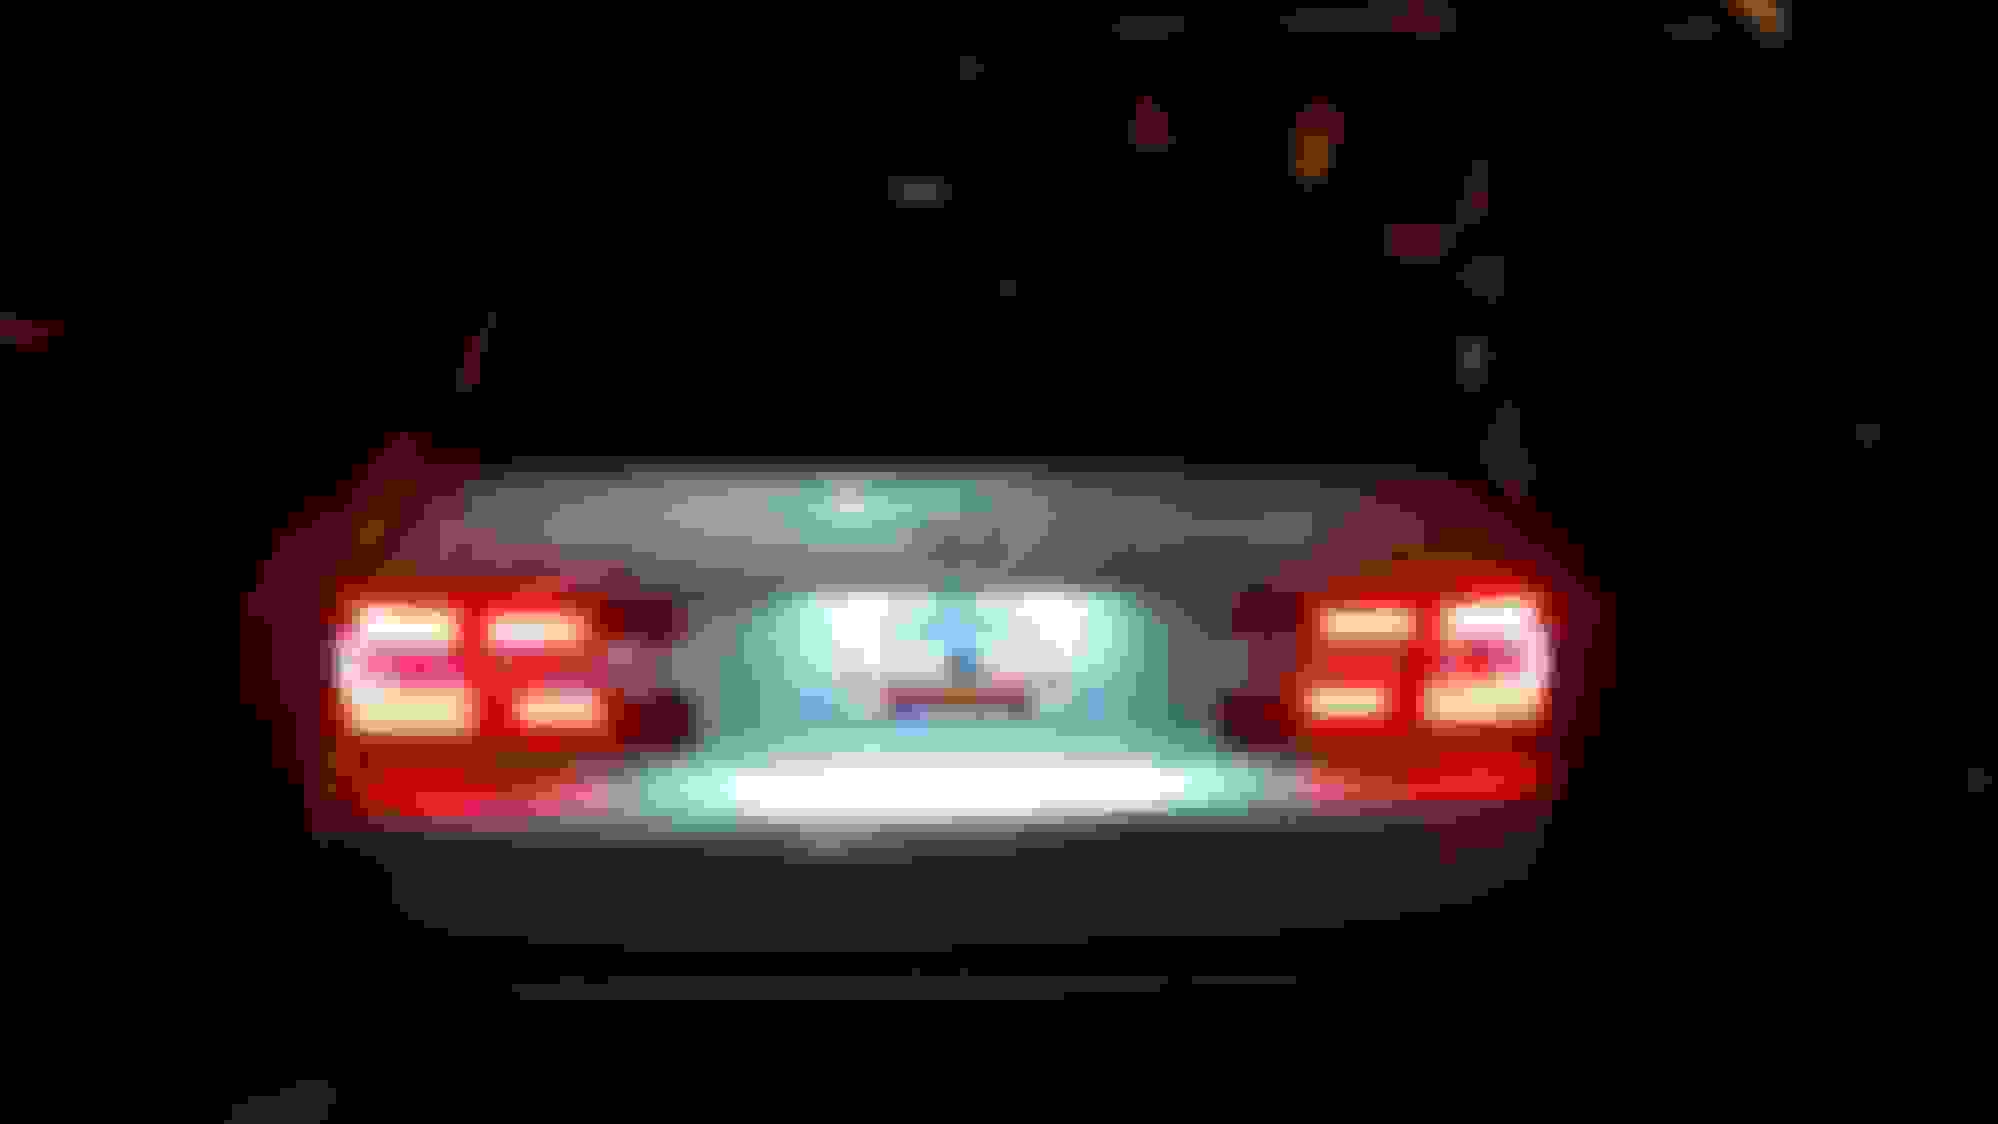
They come with 6 resistors to stop that from happening. Mine is still on because I changed the 3rd brake light bulbs to led as well but haven't put the resistors in yet. I picked some up yesterday and haven't put them in yet, so I'll let you know if it does the trick.
So, what is the "fix" for the "tail lamp out" error?
Usually it's putting a resistor in the line to match the load that the incandescent bulbs have. These tails come with load resistors that you install into the wiring harness for the lights. When I fired up the car and turned the park lights on, there was no bulb out indication, but as soon as I hit the brakes, it popped up. That leaves only the third brake light bulbs.
I'm going to head out and put them on as soon as I get munchkin down for a nap.
The resistors did the trick. I found a small pack of 2 at pep boys where they have all the led lights. They're about an inch and a half long so they fit down in the hole under the 3rd brake light.
It's important to note that you have to put the connector very close to the base of each bulb because of how they're wired. But I'm all buttoned up with no light out indicator.
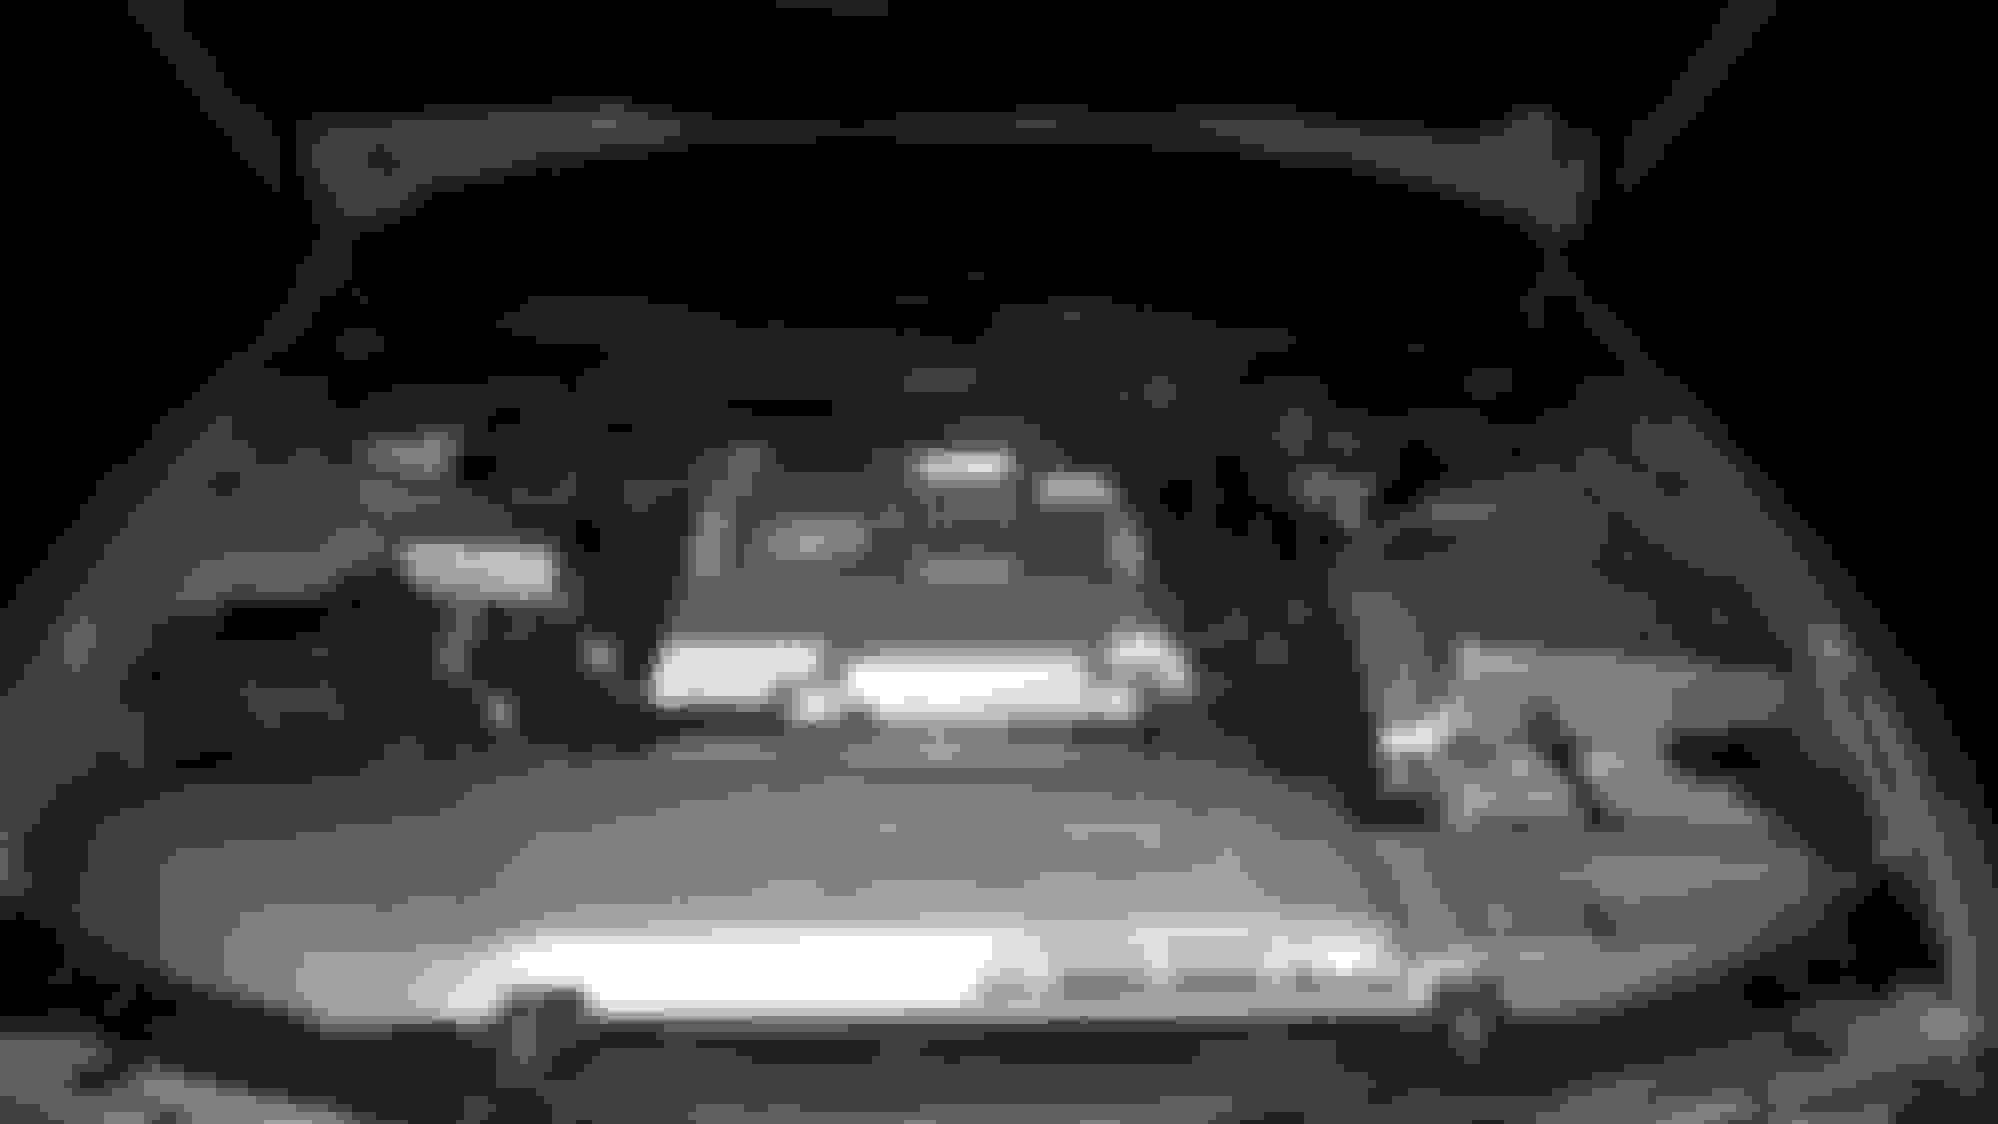
Ok, the part of modding that sucks is having to redo work you've already done. That being said, DO NOT BUY THE RESISTORS FROM PEP BOYS!!! They get entirely too hot and I could smell them cooking. So I'm going to suck it up and buy the bigger Sylvania ones from Auto Zone. I've got them hooked up on my Expedition with no issues. There is a metal shelf under the 3rd brake light that will allow me to mount them with 2 sided tape.
Finally got around to doing the brakes. Have some detailing and touching up to do, but I'm digging them. Think they'll look good peeking from behind some 19" graphite wheels with some cross-drilled and slotted rotors turning in them.
Did you order the tails from Japan that are on Ebay?If so, what was the wait time?
They may be from Japan but they shipped from California. I ordered on Monday and they arrived on Saturday. I got the combo deal that included the tails and clear bumper lenses.

 11-11-15, 09:21 AM