soarer (sorry not lexus!) from new zealand (loads of pics!!)


 12-26-12, 03:42 AM
#35
Driver School Candidate
Thread Starter
Join Date: Nov 2012
Location: chch
Posts: 45
Likes: 0
Received 0 Likes
on
0 Posts
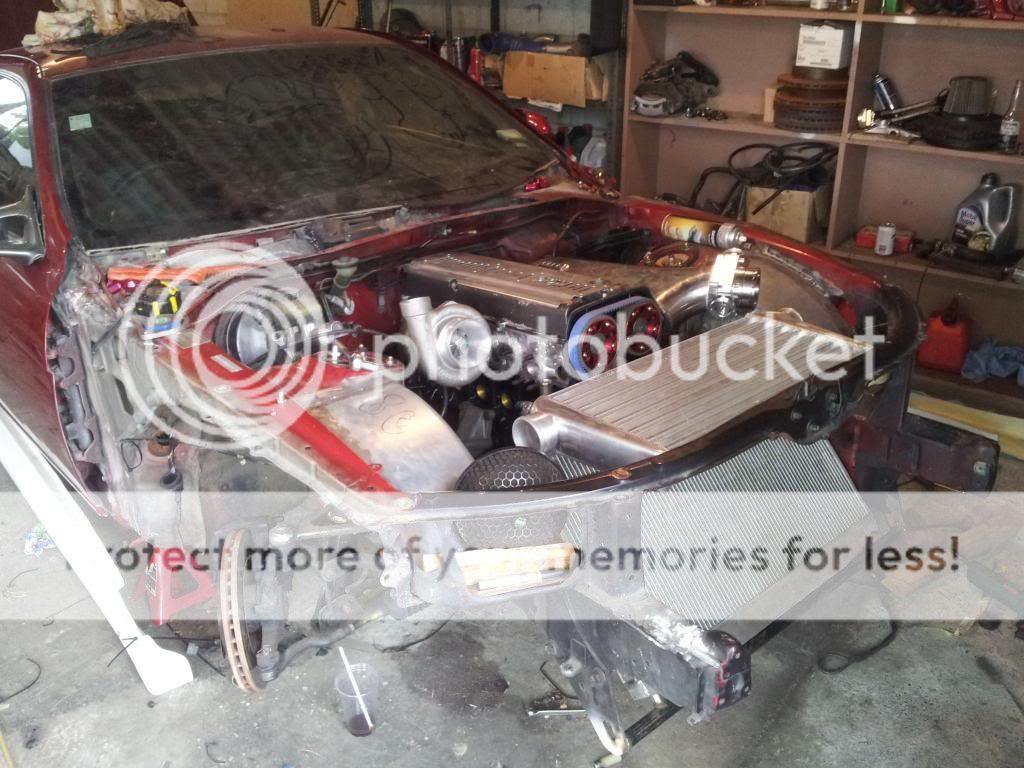
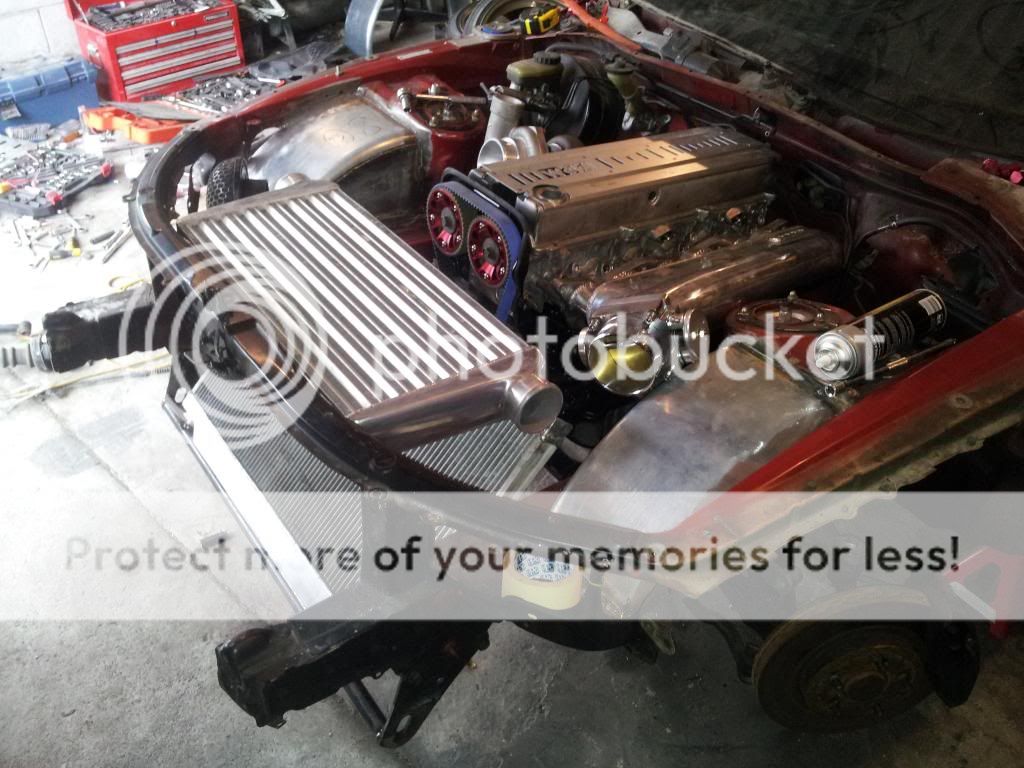
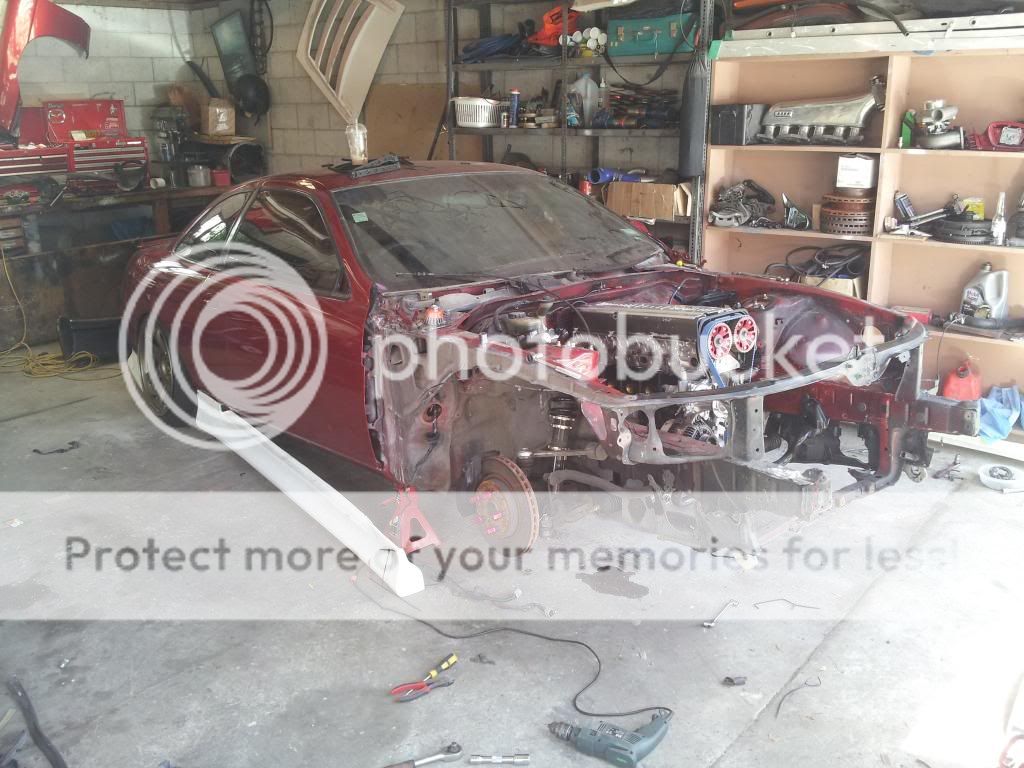
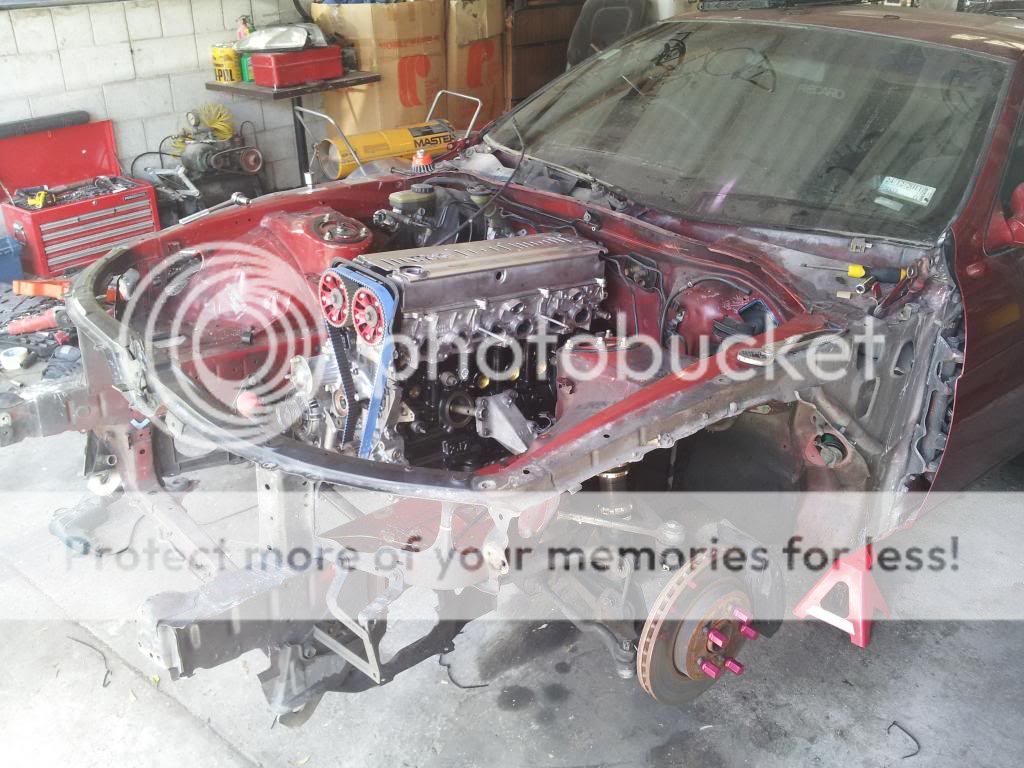
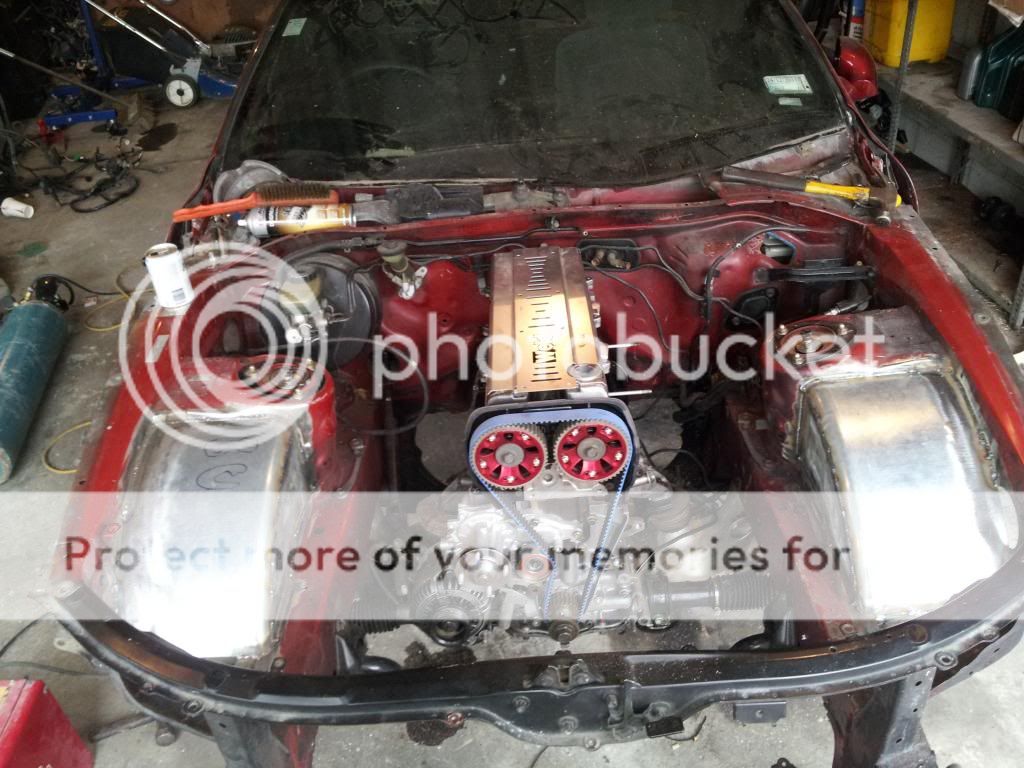
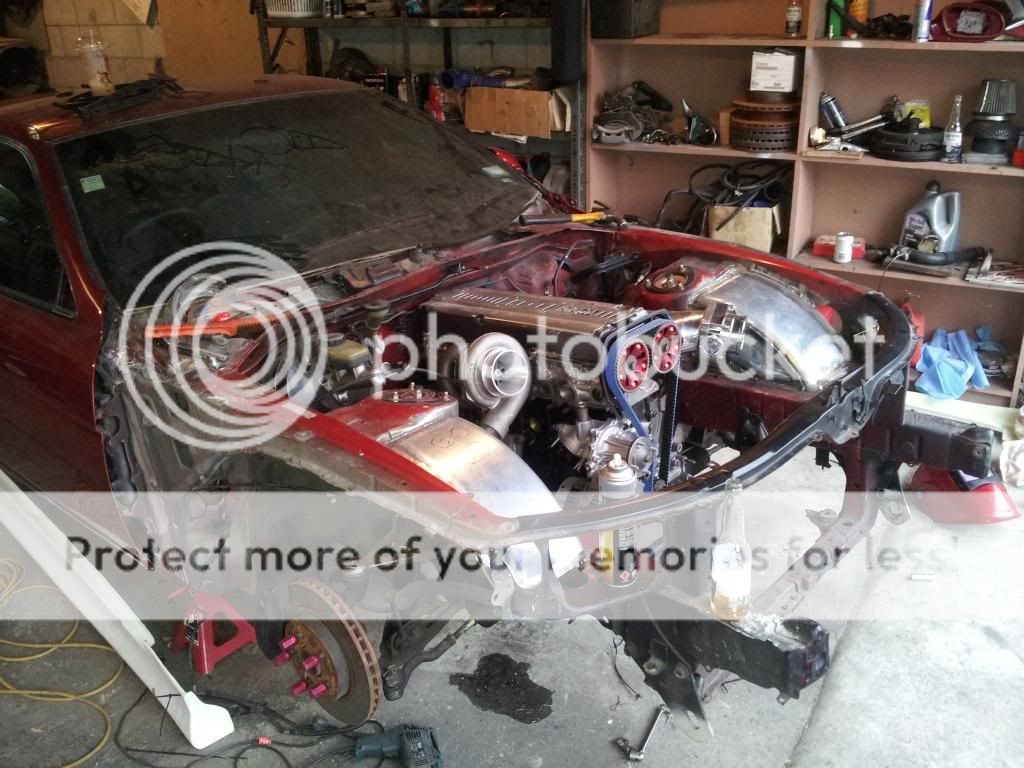
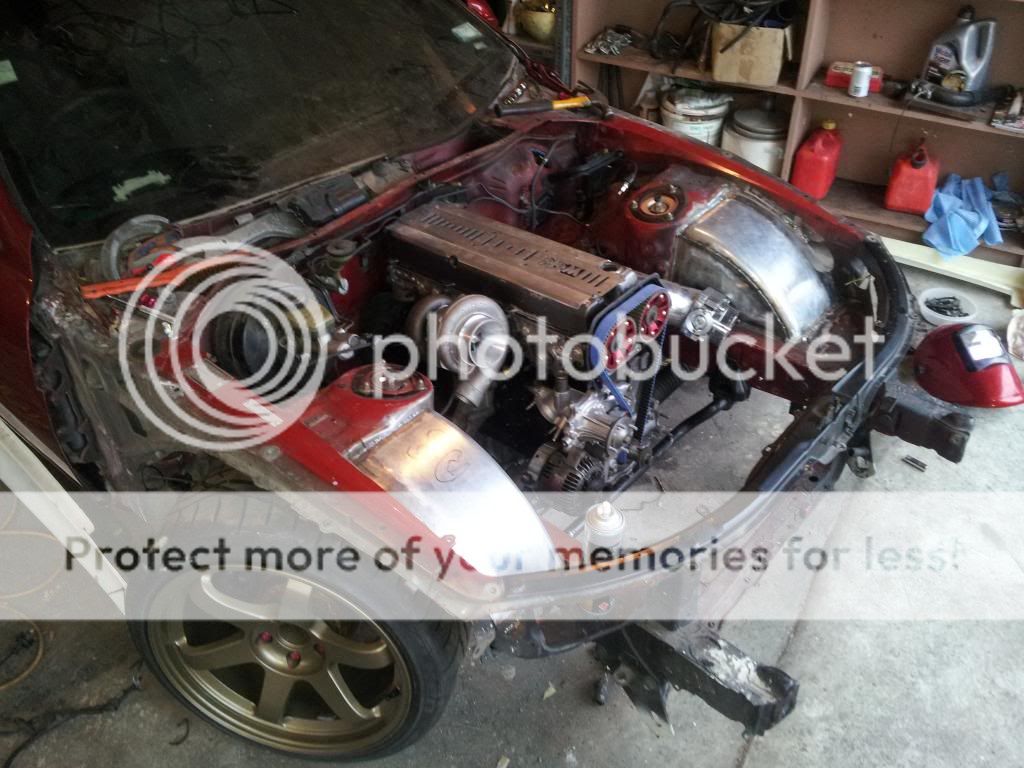
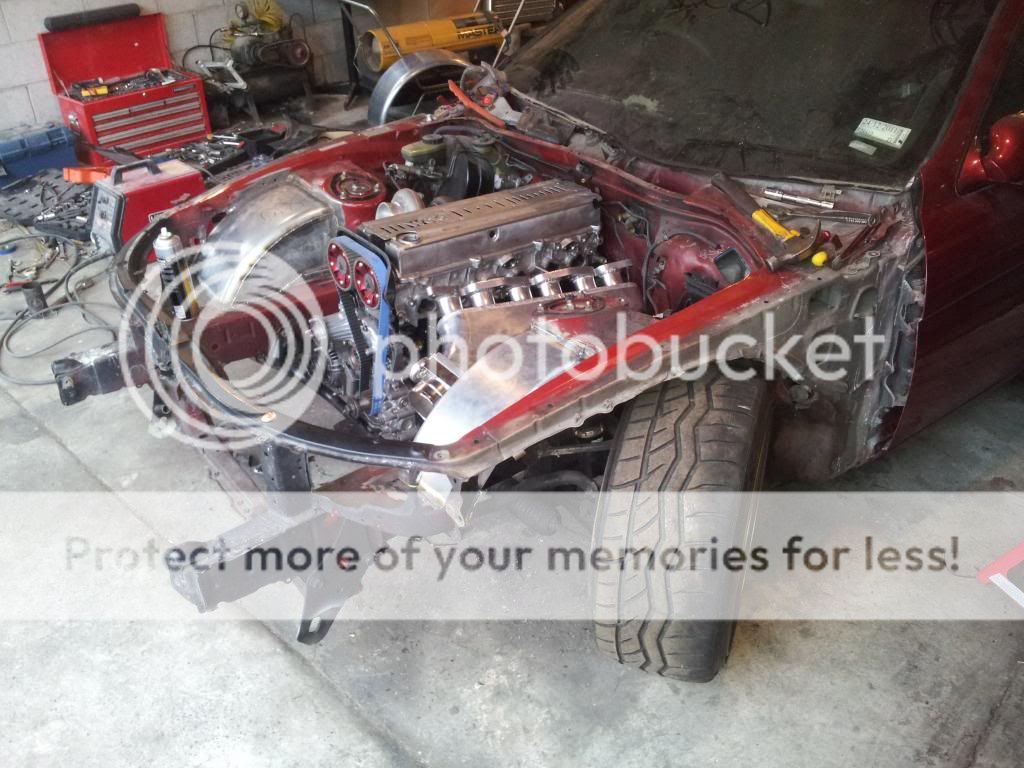
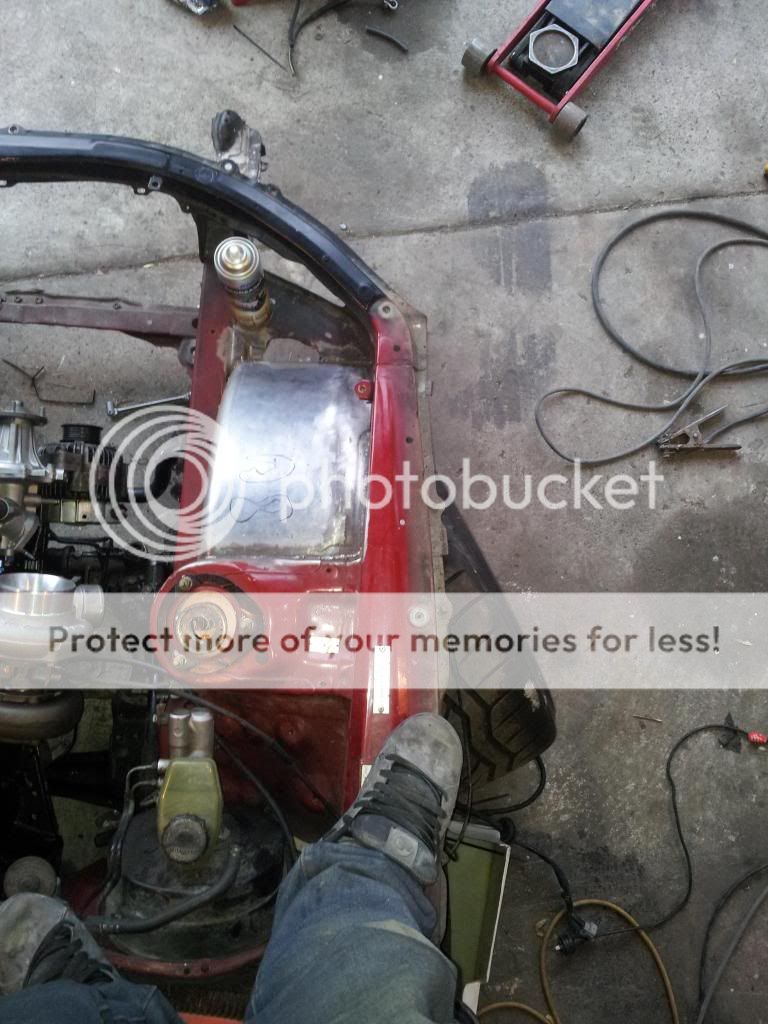
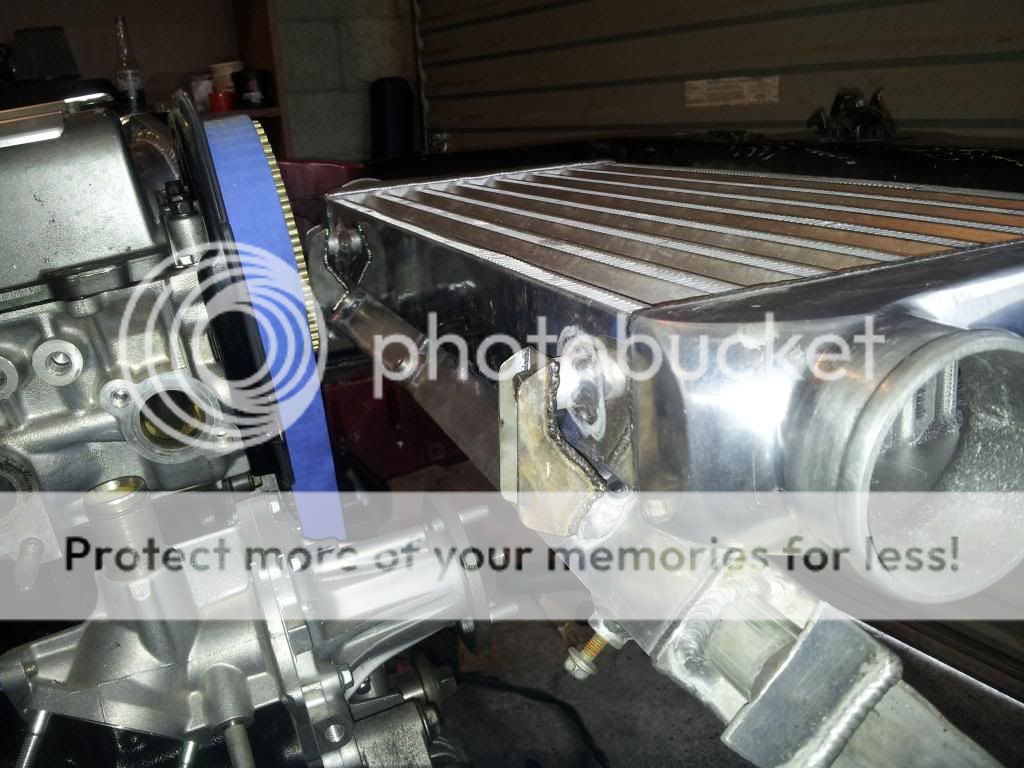
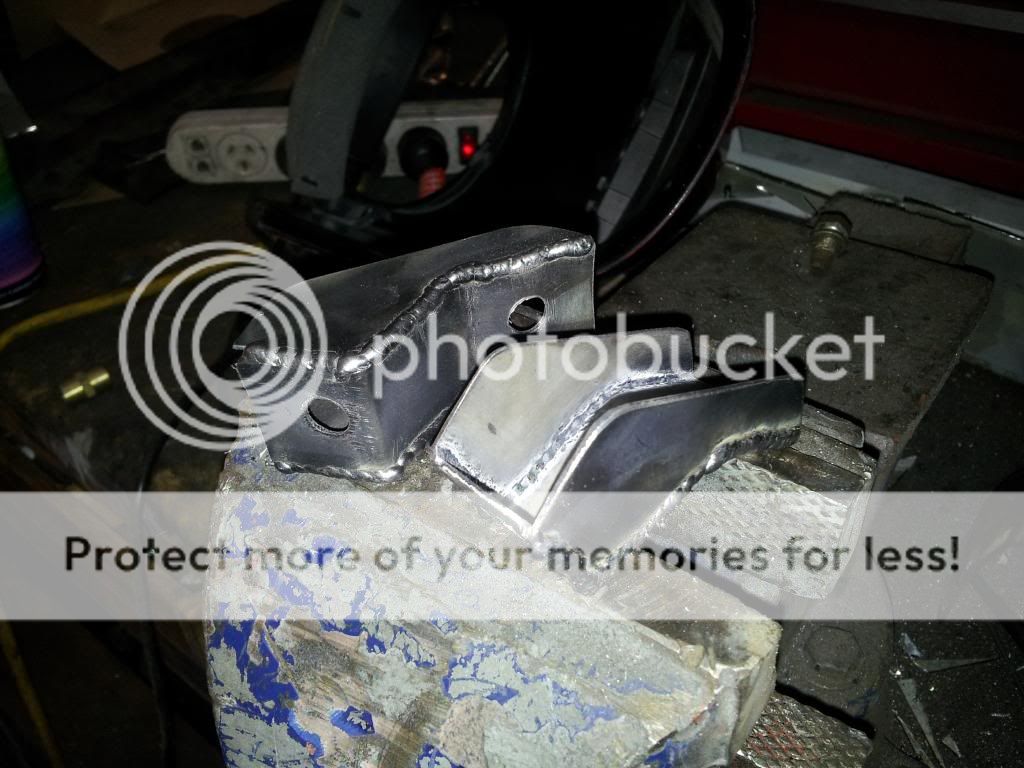
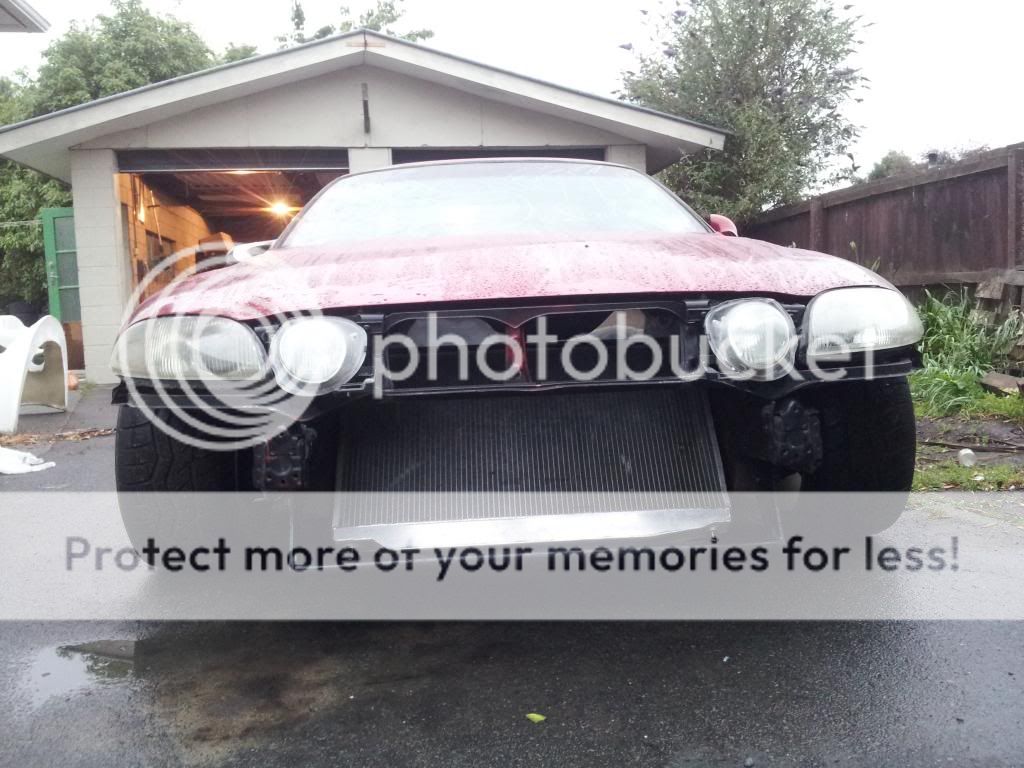
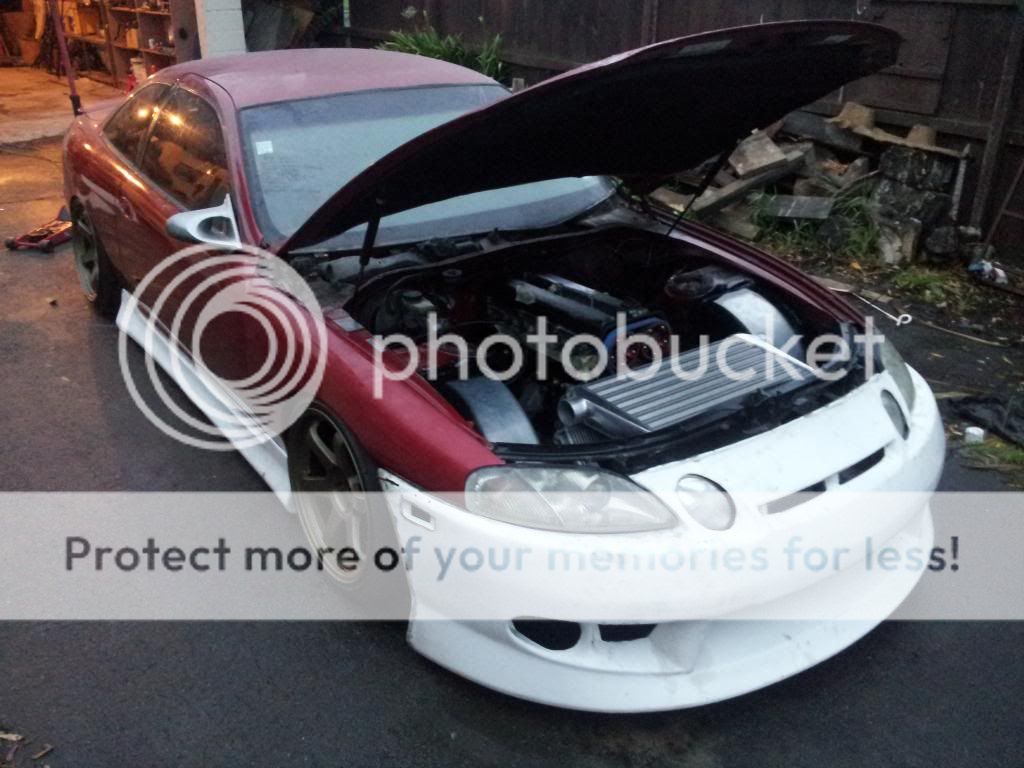
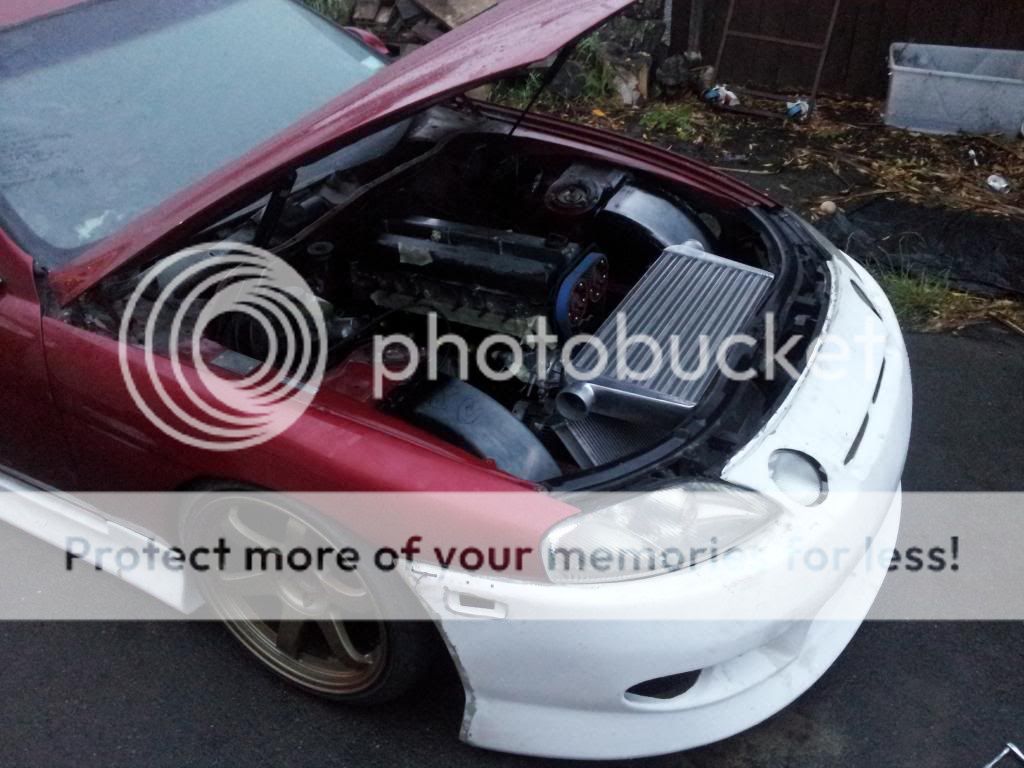
made up these brackets to tie the rad and intercooler together
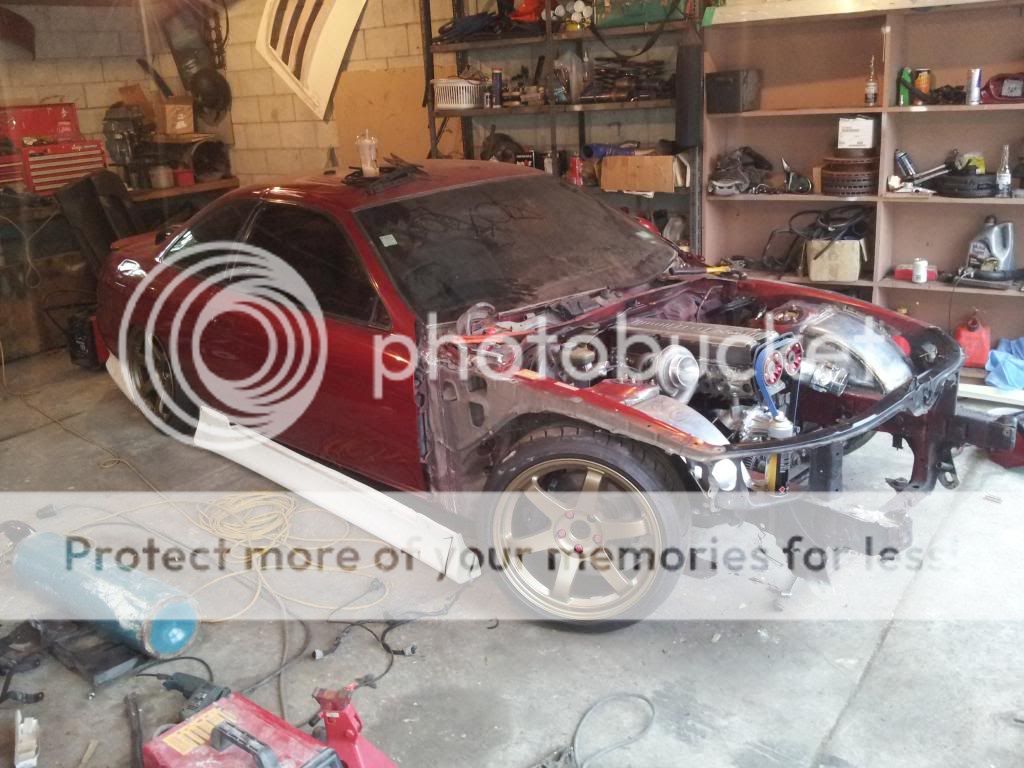
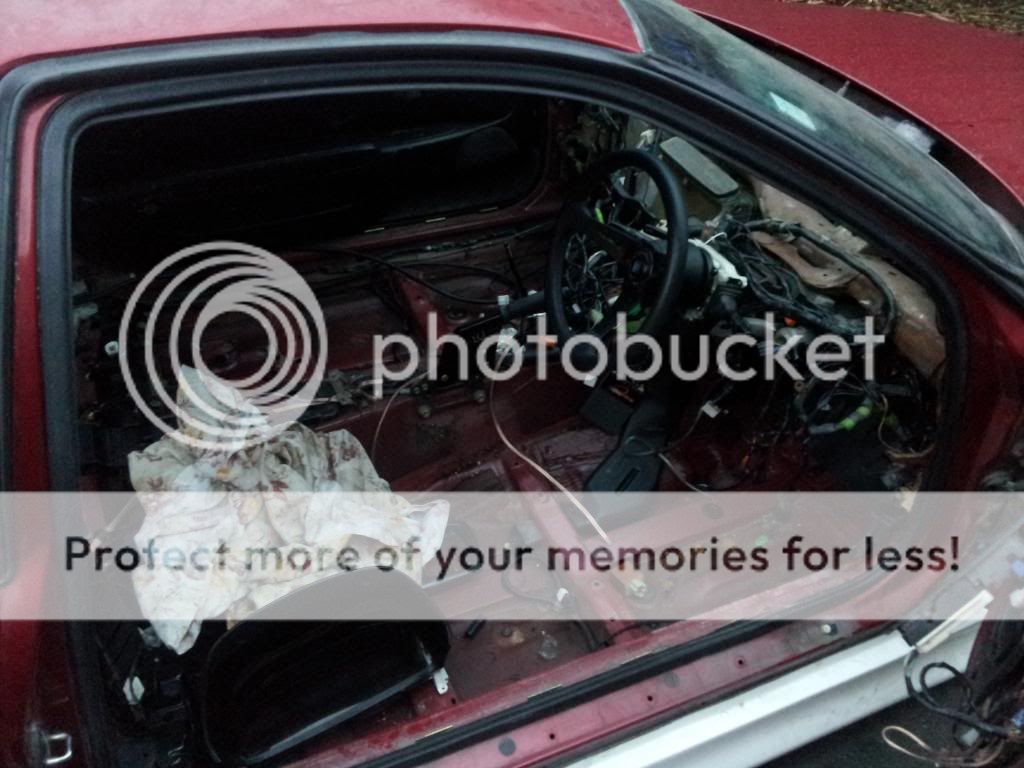
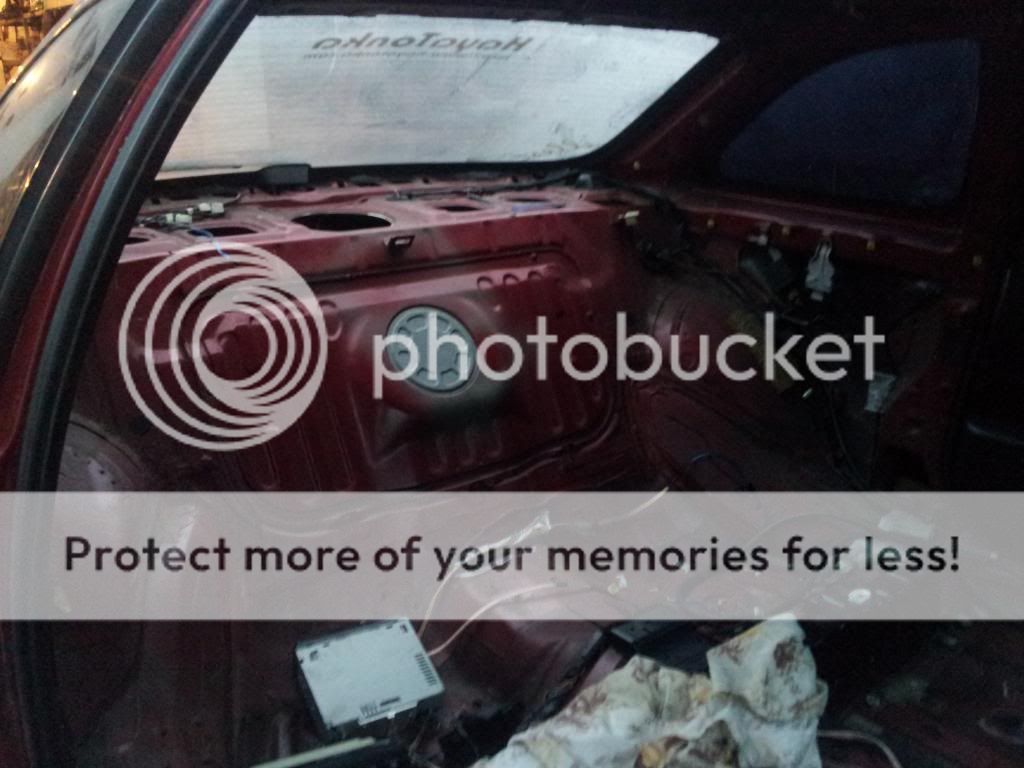
interior all stripped too
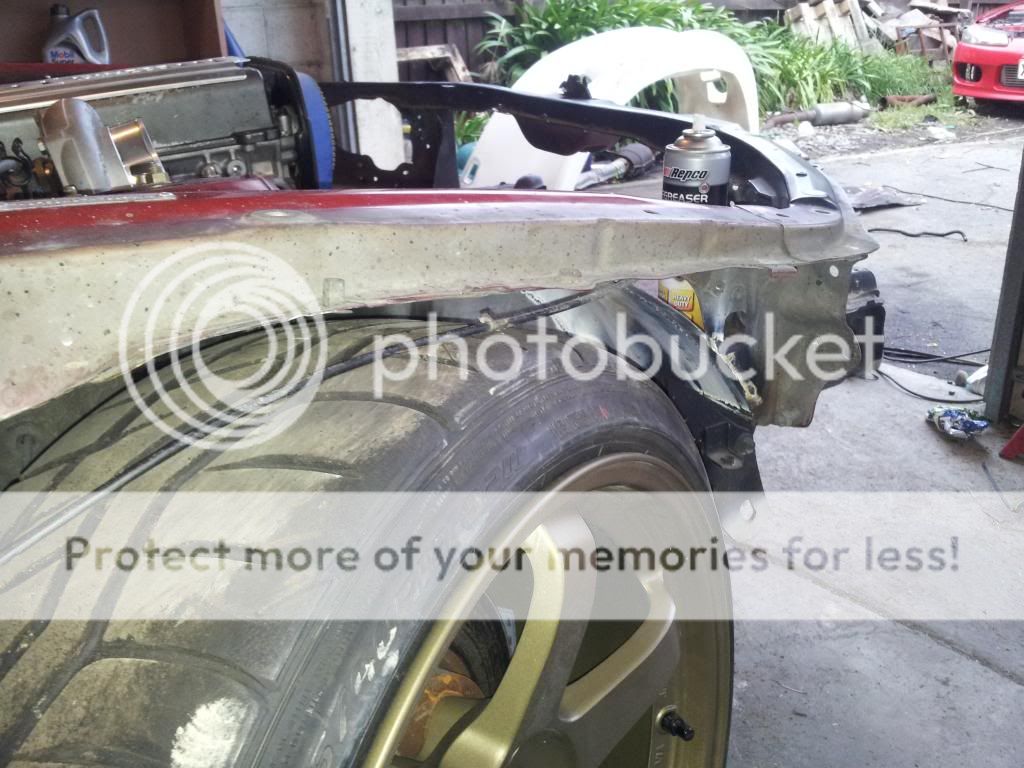
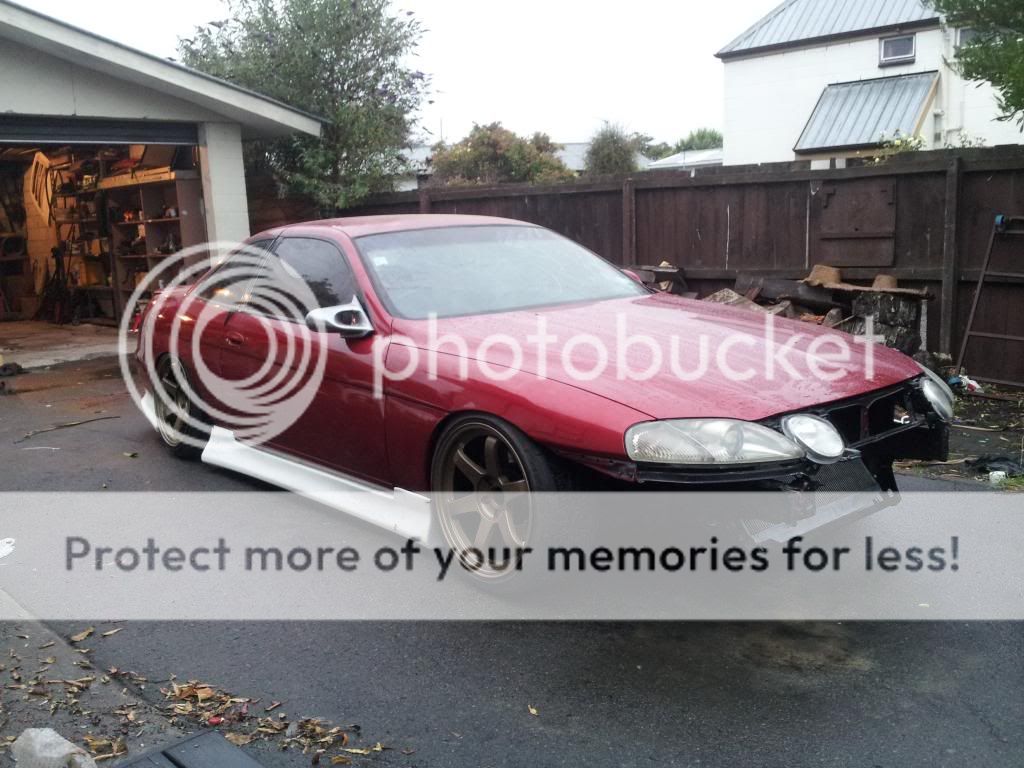
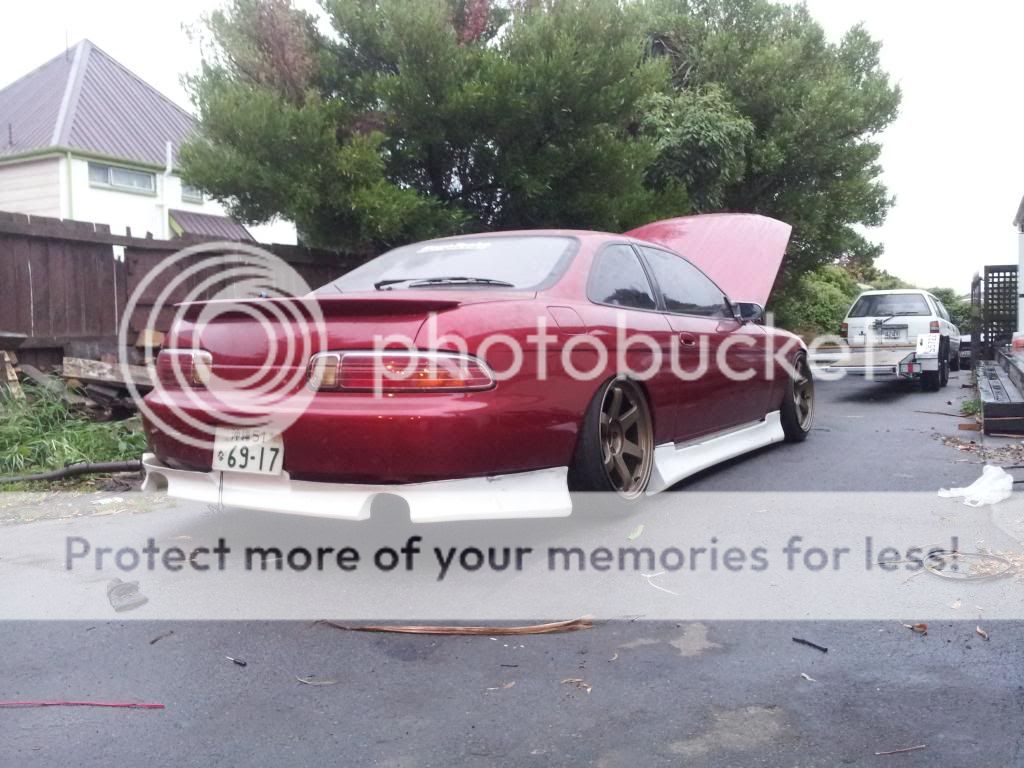
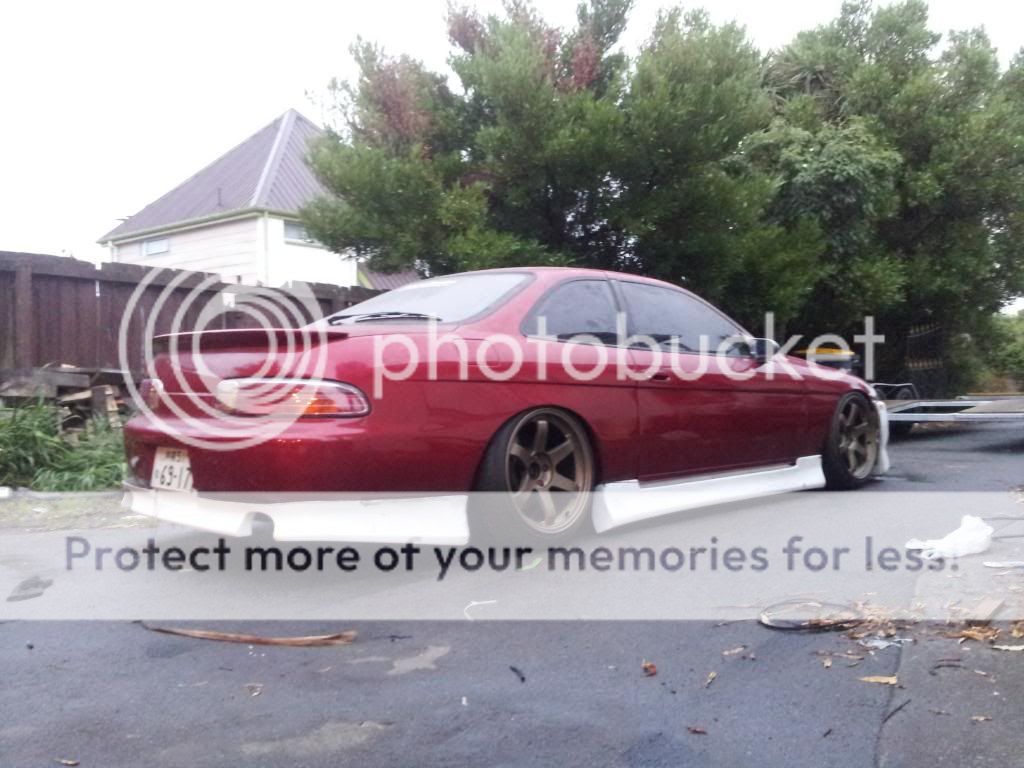
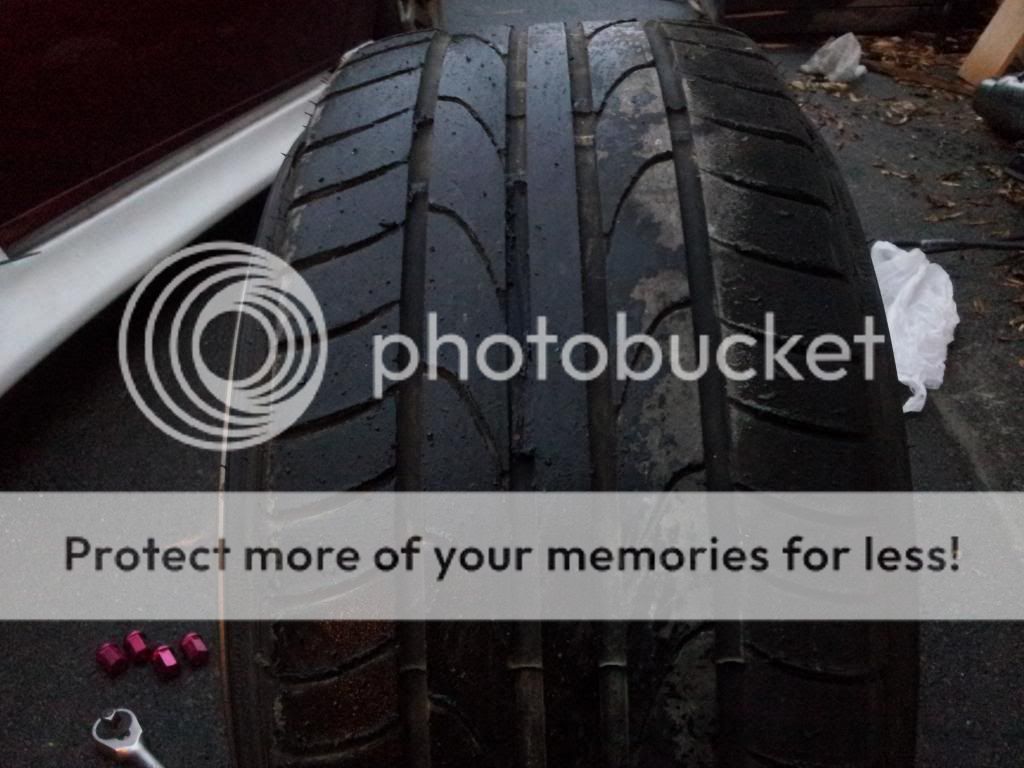
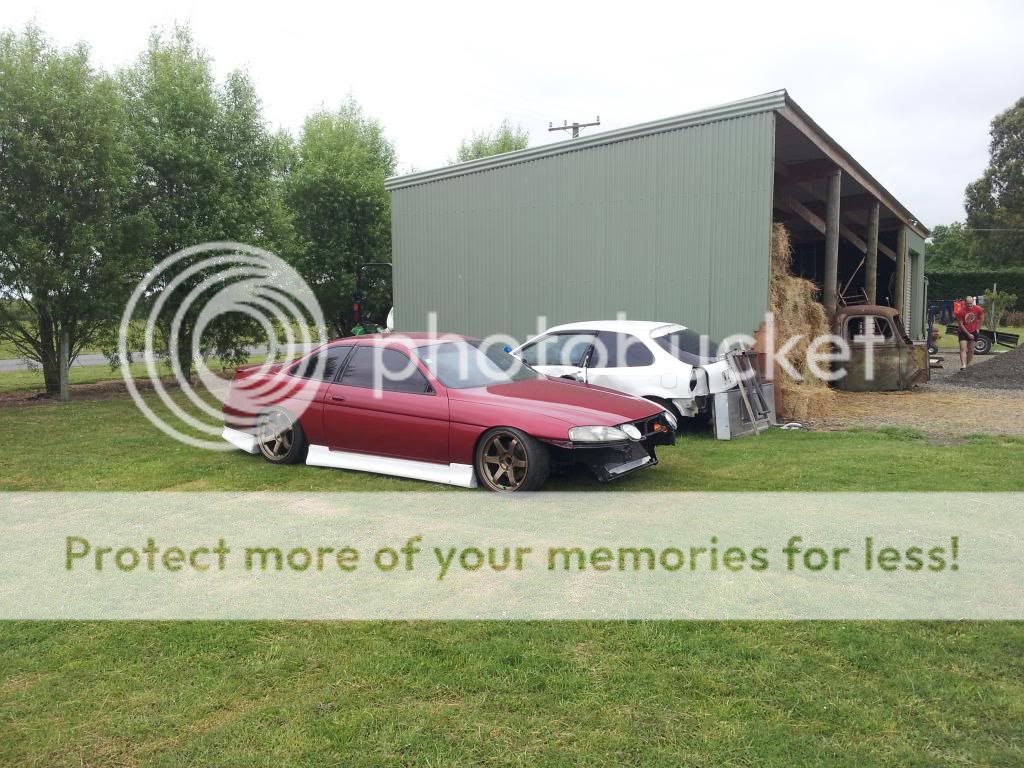
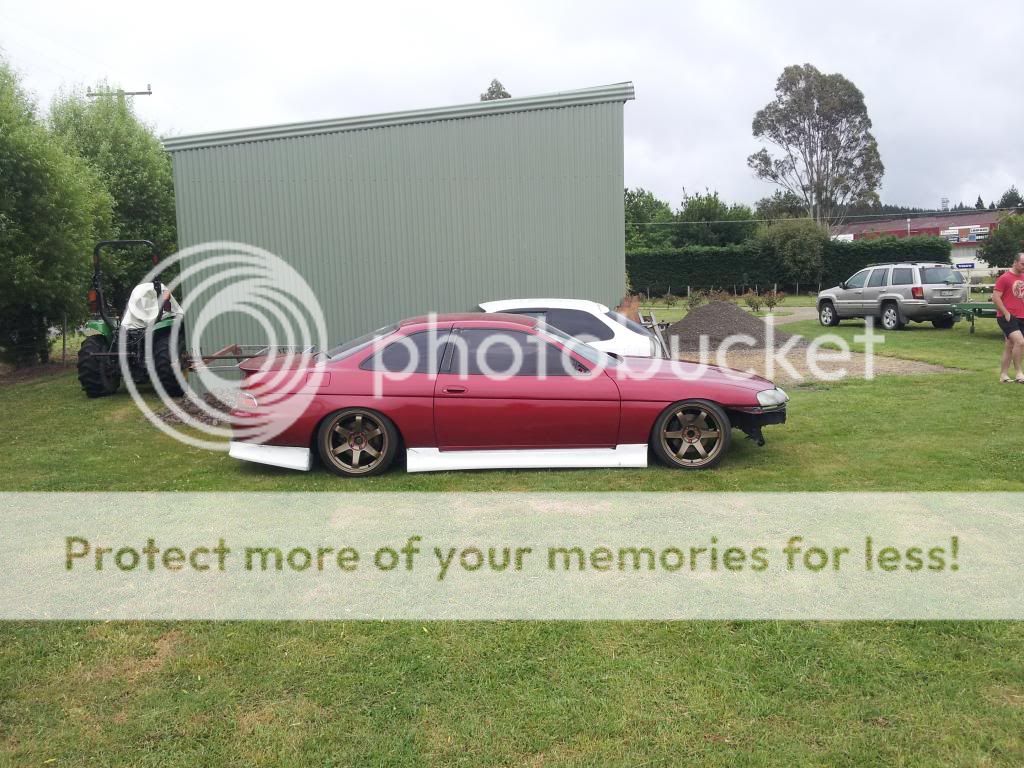
a visual guide of the camber its running haha....well....its more than half on the ground...
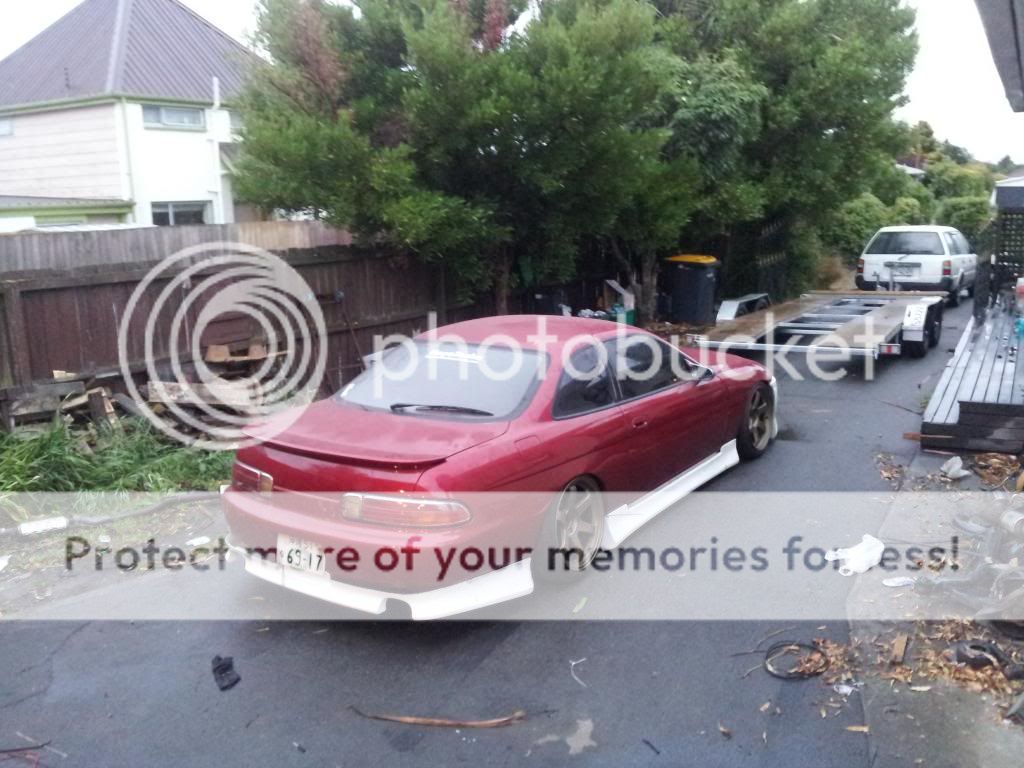
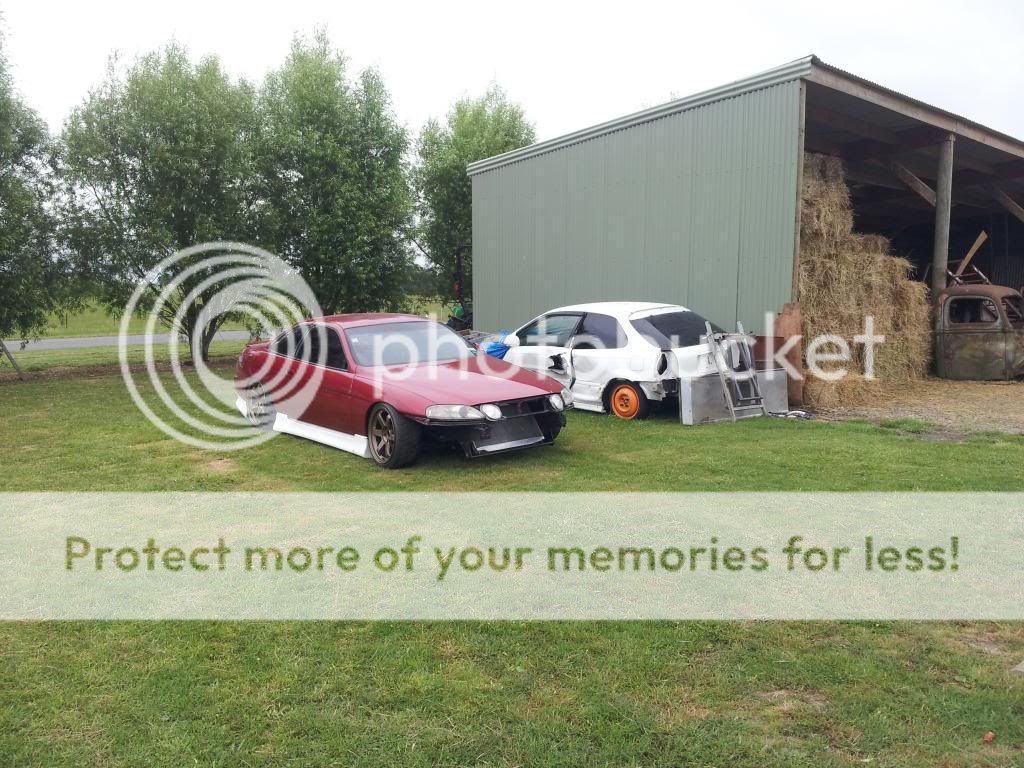
all loaded up on the trailor


 12-26-12, 10:32 AM
#41
Driver School Candidate
Thread Starter
Join Date: Nov 2012
Location: chch
Posts: 45
Likes: 0
Received 0 Likes
on
0 Posts
 01-29-13, 02:09 AM
#44
Driver School Candidate
Thread Starter
Join Date: Nov 2012
Location: chch
Posts: 45
Likes: 0
Received 0 Likes
on
0 Posts
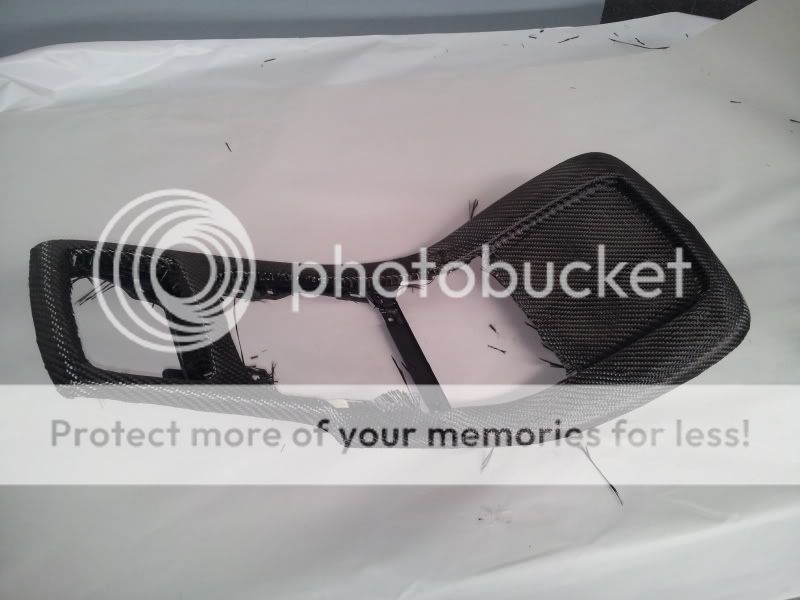
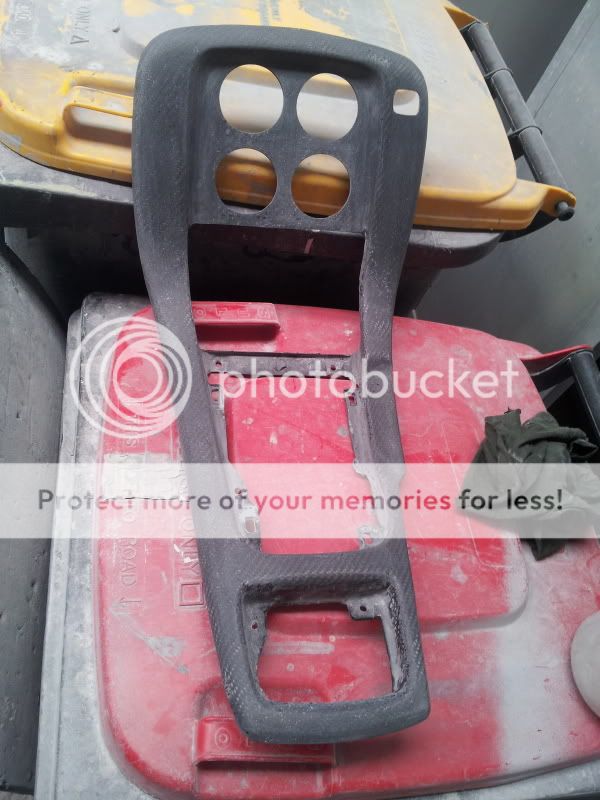
so ive done some more time filler-in work on this boat. mostly playing with carbon fibre some more. i shaved my centre console of pointless things like volume and temp control dealies, also the little cubby hole.
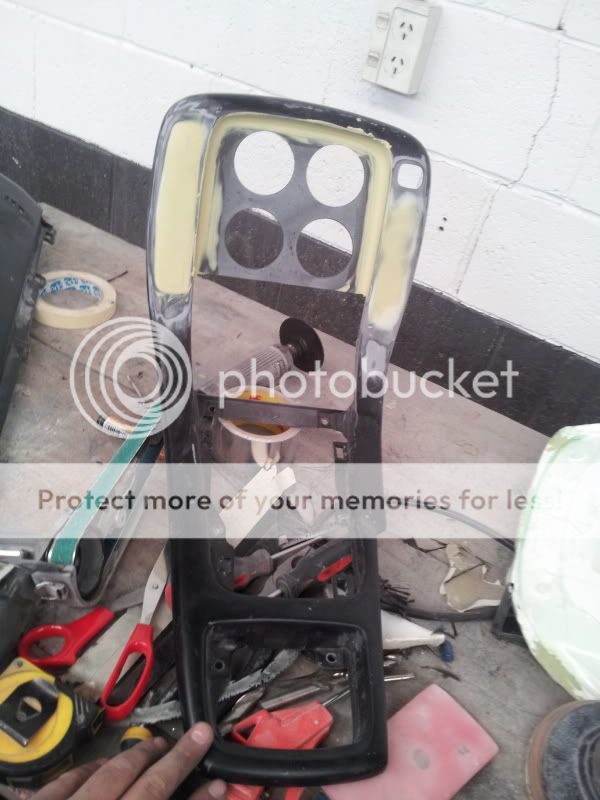
painted it with some black epoxy sealant, mostly because the carbon fibre is actually transparent in 1 layer.
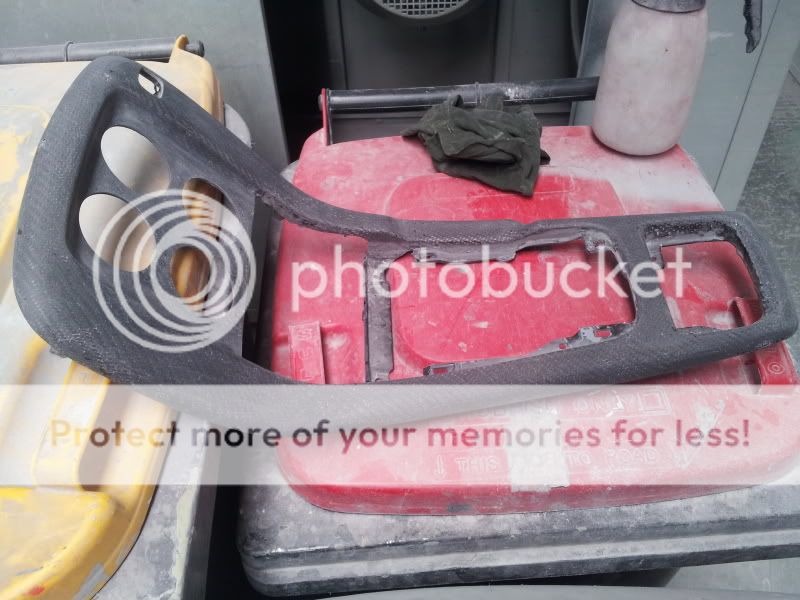
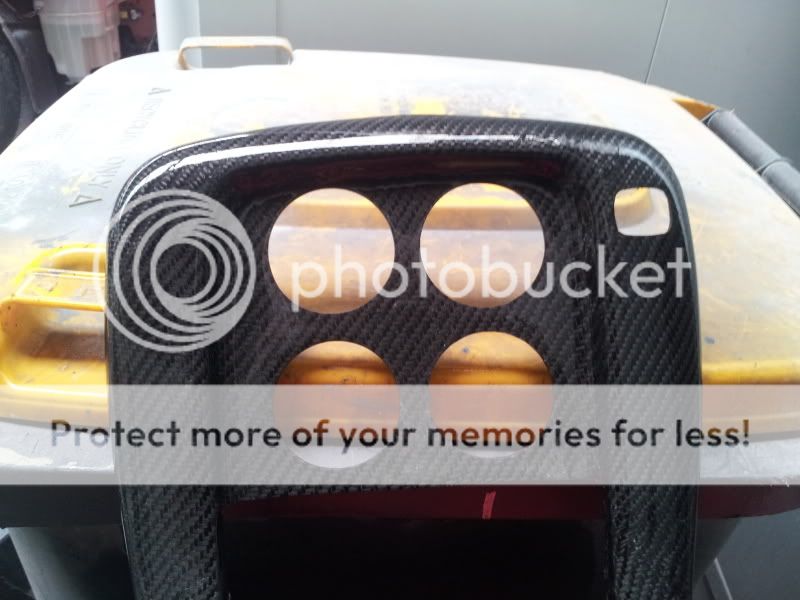
laid down a layer of resin, let it tack off then laid over my carbon fibre cloth
then wetted that down with resin, after this dried i gave it a good scotchbrite and laid over annother coat of resin to build it up
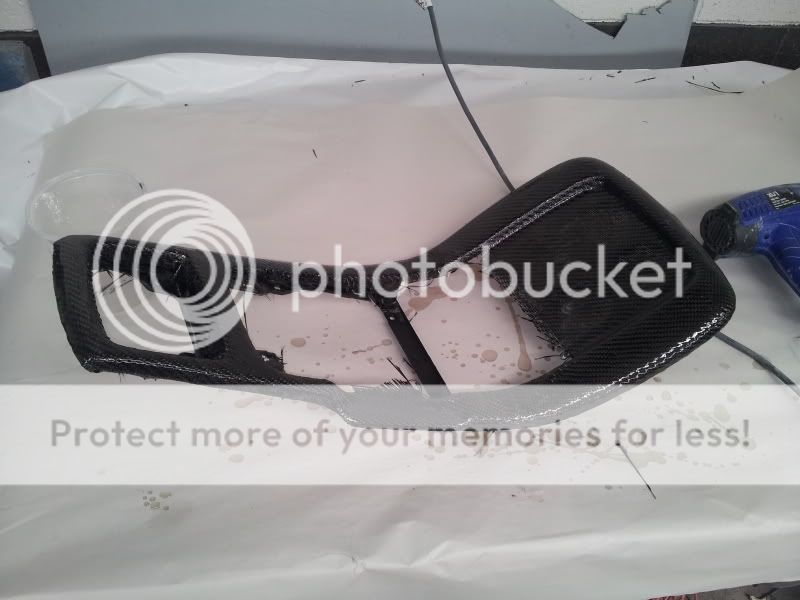
this is after the 2 coats of resin
you can see the texture the resin gets. its like super bad orange peel. its the imprint of the cloth under the resin
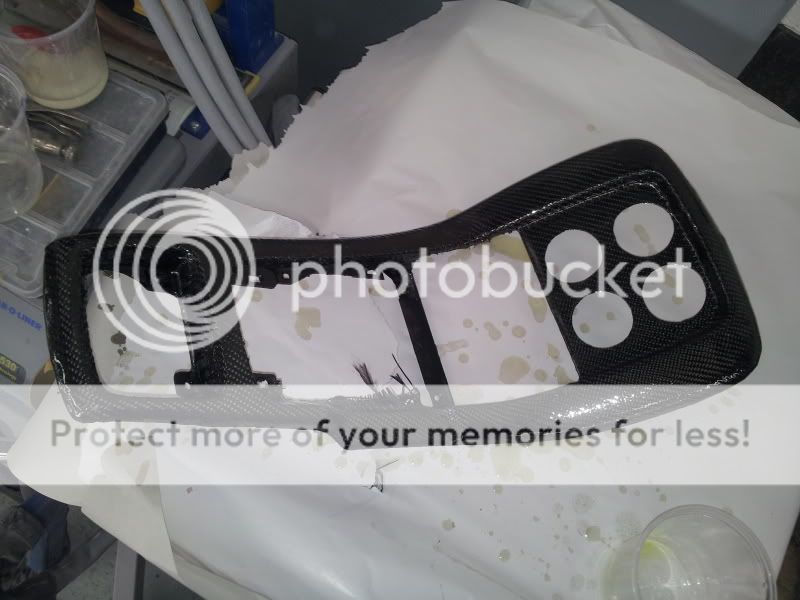
[img]this%20is%20after%20about%202%20solid%20hours%20of%20sanding%20it%20down%20with%20a%20block%20and%20240%20grit.[/img]
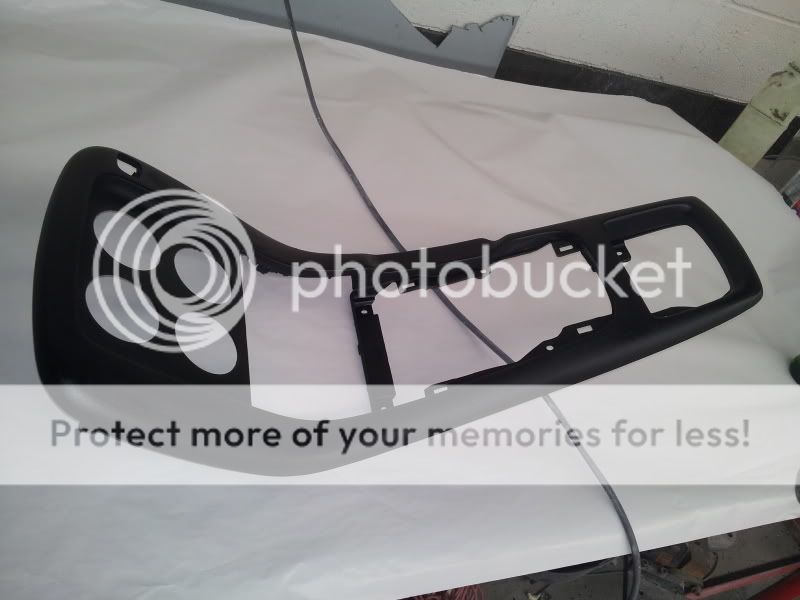
it has removed all the orange peel and left a flat surface. i am going to go over this again tomorrow with 320 and then it will get cleared with 2k clear.
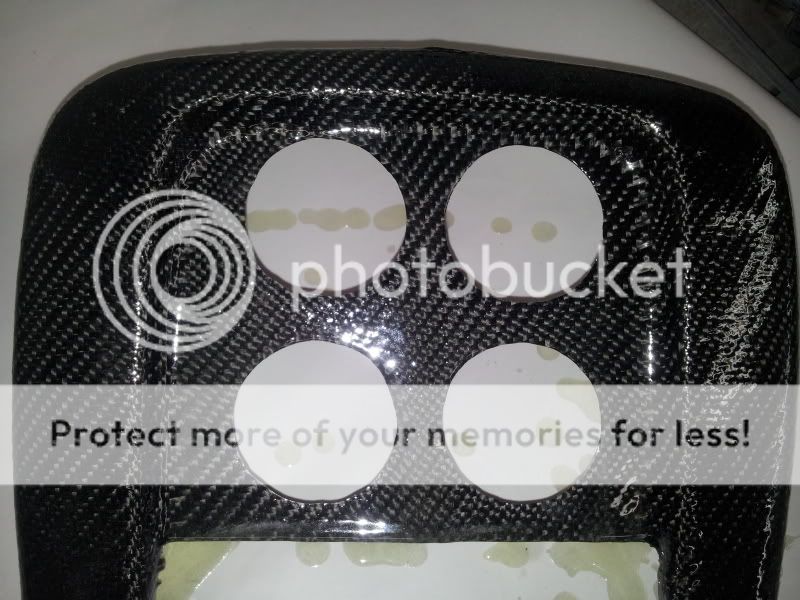
this it it after i sprayed it with degreaser to put a shine on it to see how it will look.
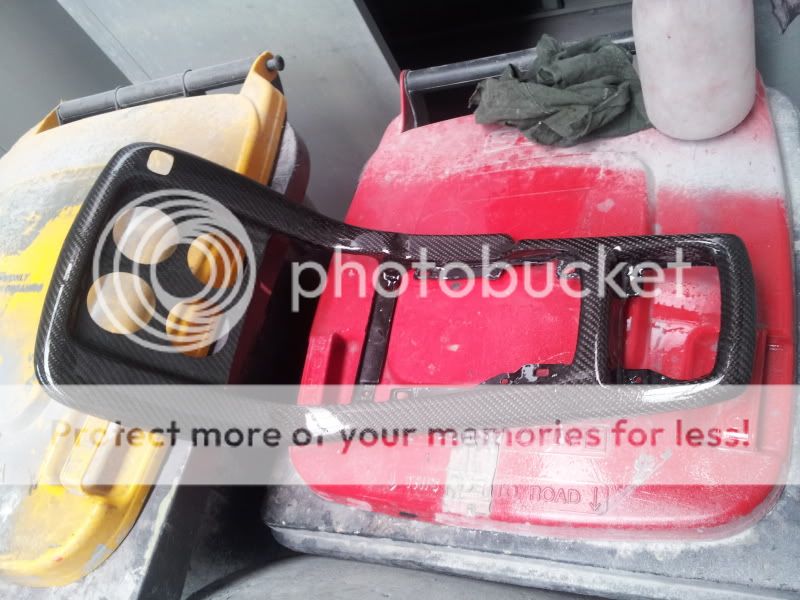
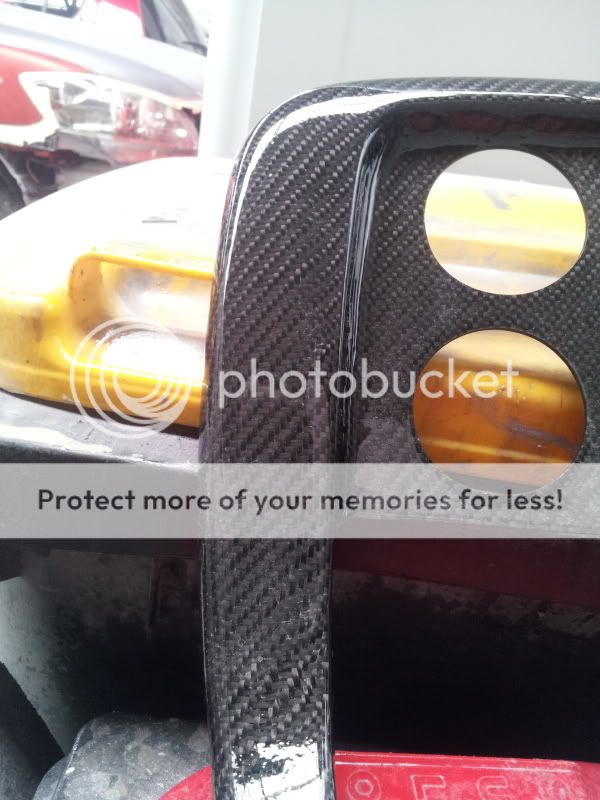
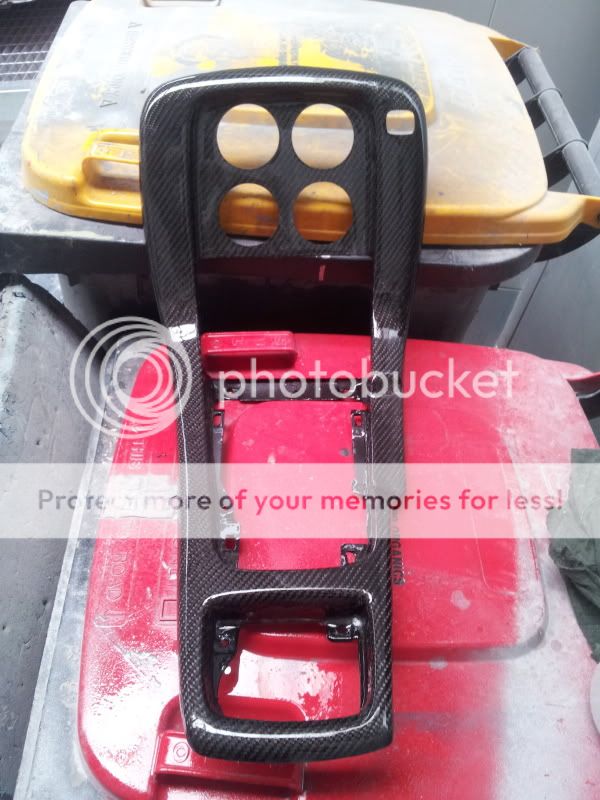

i like it. i know its just an overlay, but **** it. looks cool.
painted it with some black epoxy sealant, mostly because the carbon fibre is actually transparent in 1 layer.
laid down a layer of resin, let it tack off then laid over my carbon fibre cloth
then wetted that down with resin, after this dried i gave it a good scotchbrite and laid over annother coat of resin to build it up
this is after the 2 coats of resin
you can see the texture the resin gets. its like super bad orange peel. its the imprint of the cloth under the resin
[img]this%20is%20after%20about%202%20solid%20hours%20of%20sanding%20it%20down%20with%20a%20block%20and%20240%20grit.[/img]
it has removed all the orange peel and left a flat surface. i am going to go over this again tomorrow with 320 and then it will get cleared with 2k clear.
this it it after i sprayed it with degreaser to put a shine on it to see how it will look.
i like it. i know its just an overlay, but **** it. looks cool.
01-29-13, 02:24 AM
#45
Driver School Candidate
Thread Starter
Join Date: Nov 2012
Location: chch
Posts: 45
Likes: 0
Received 0 Likes
on
0 Posts
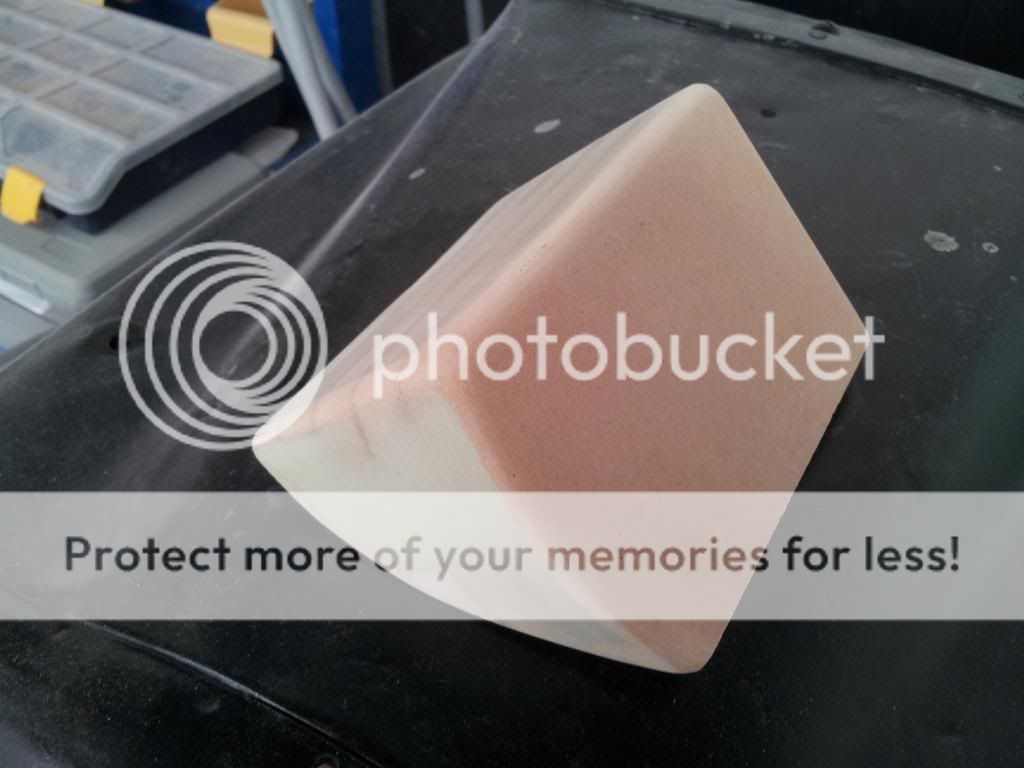
ive also made this aswell. bit of a process but here goes
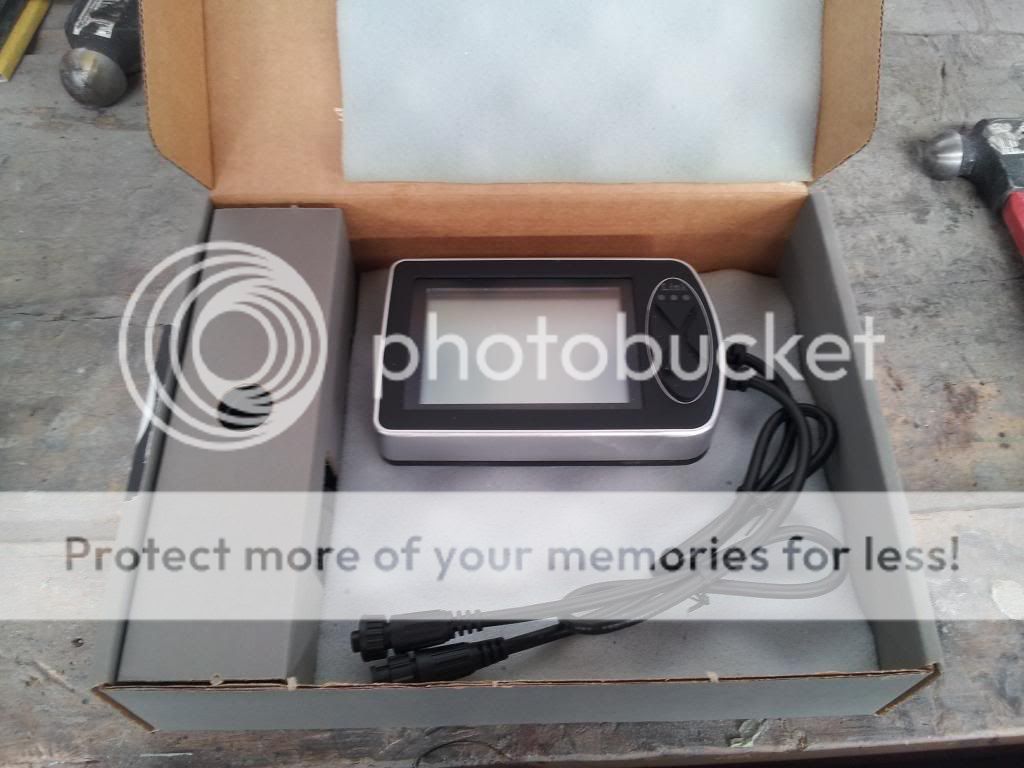
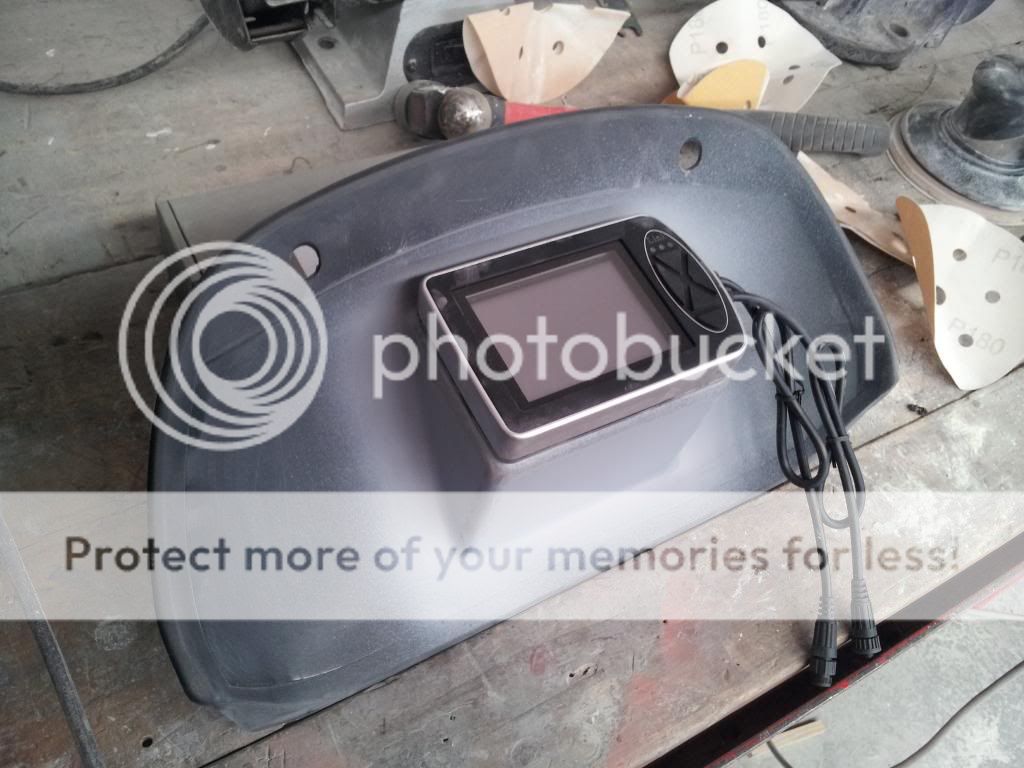
i got this display link. its going to tell me everything that i need to know about the car.
it starts with some custom wood. all glued together with bog (bondo) -i am a panel beater afterall haha
http://i27.photobucket.com/albums/c1...psd7c15da9.jpg
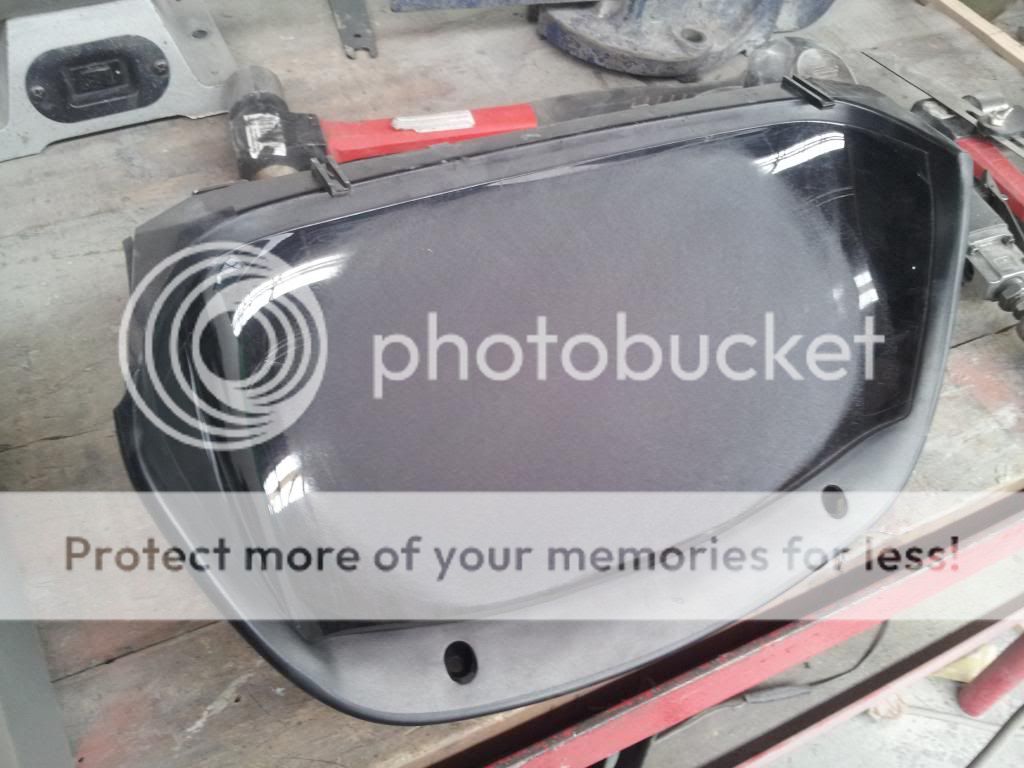
plus one gutted out speedo screen
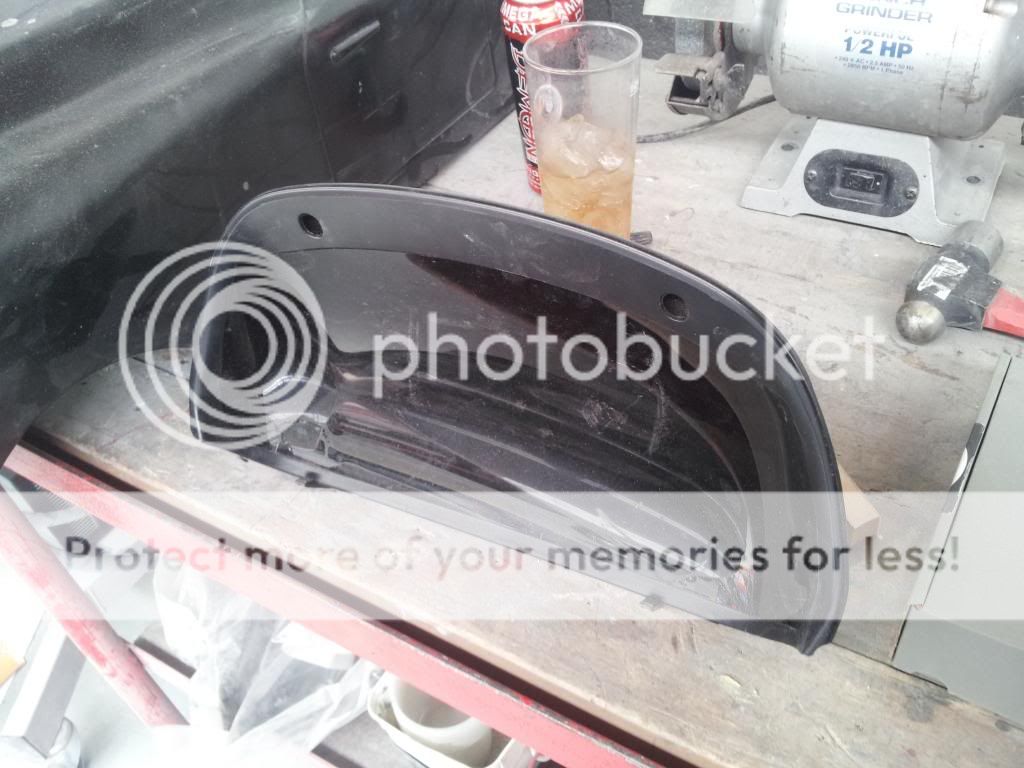
shaped up the customwood wedge
scuffed up the lens
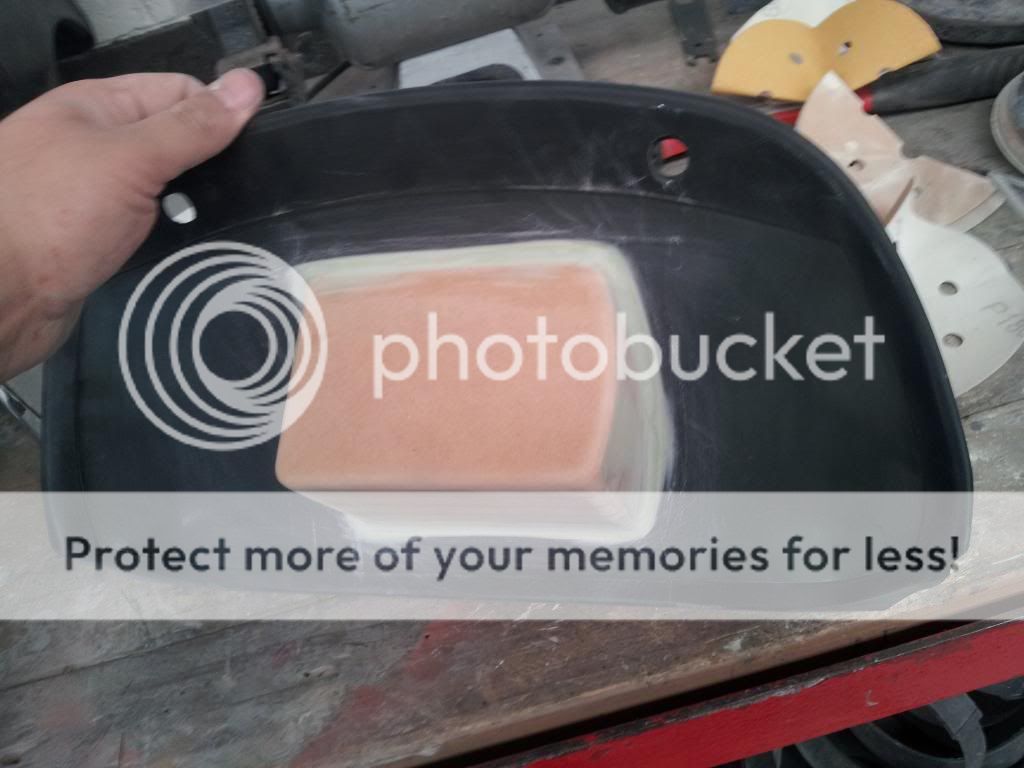
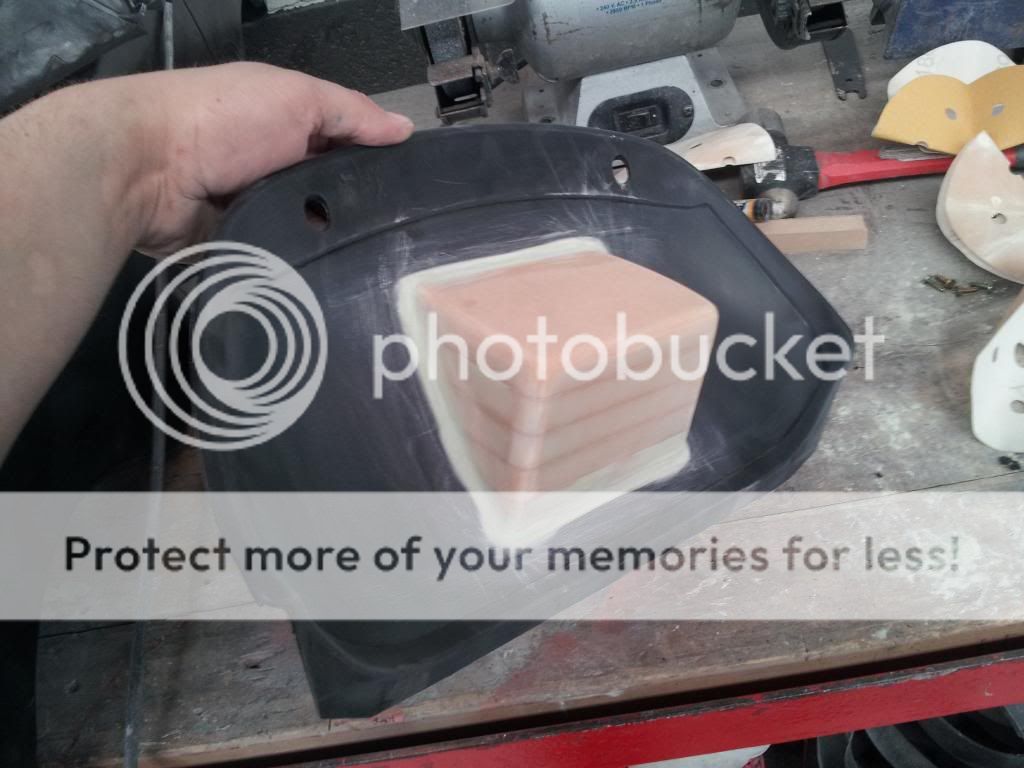
stuck the wood on and smoothed out the edges
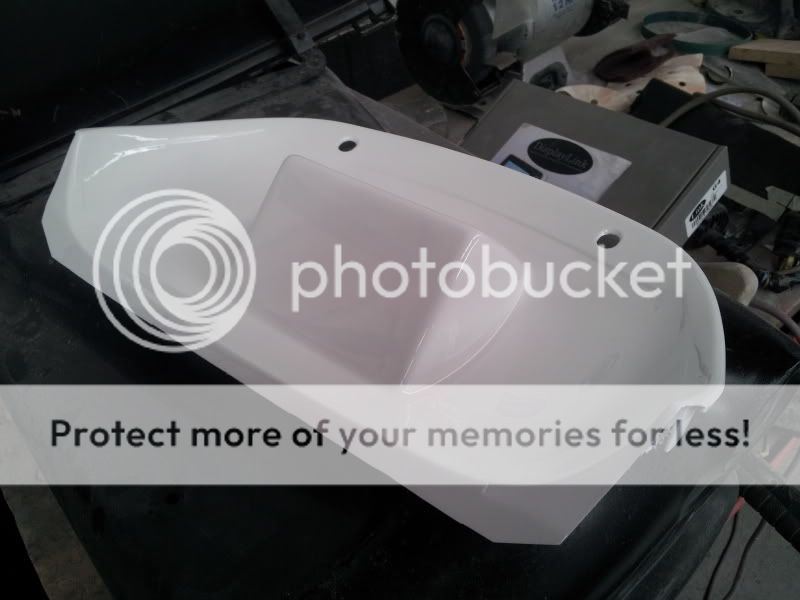
gave it a quick prime up
got it properly 2k primed, rubbed it back and got one of the boys to hit it white while painting a van at work one day. just to get a gloss on it all
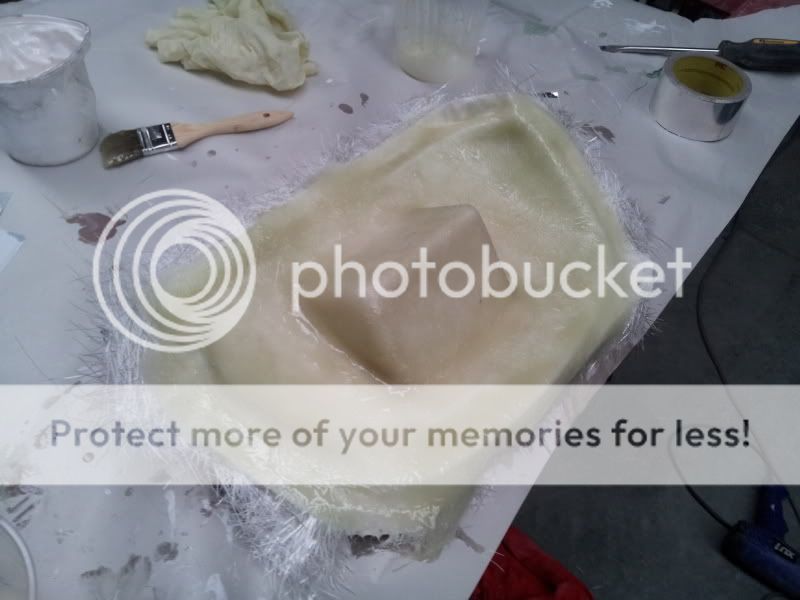
laid down some gelcoat over it, followed by some layers of fibreglass
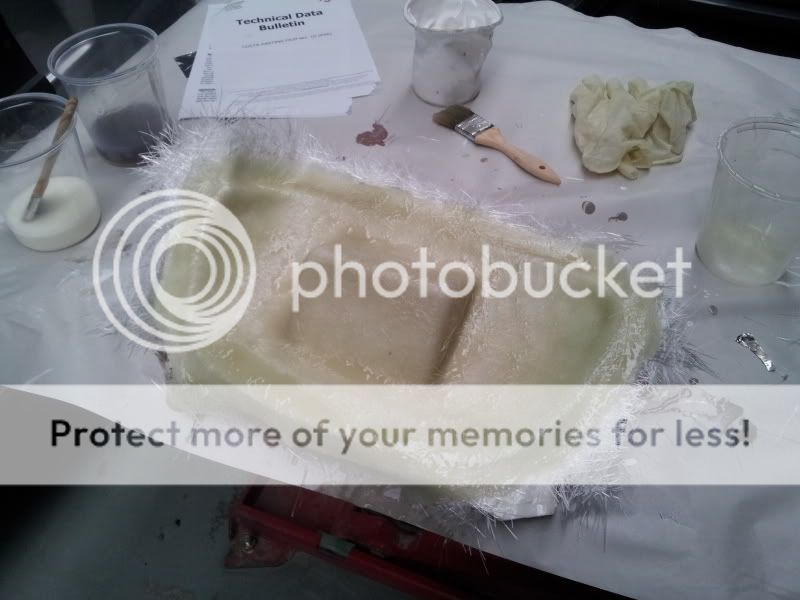
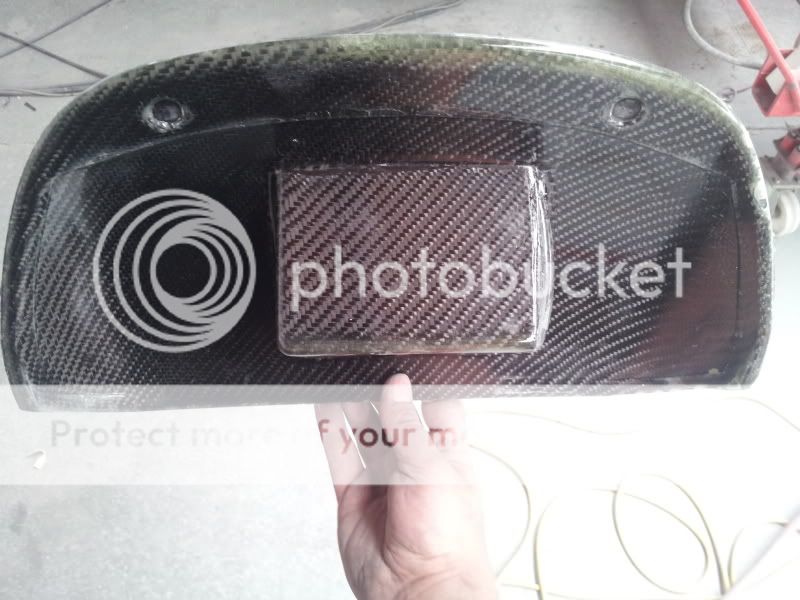
and then i forgot to get images of it in the mould, but ta-da, one carbon fibre custom dash. its legit carbon fibre.

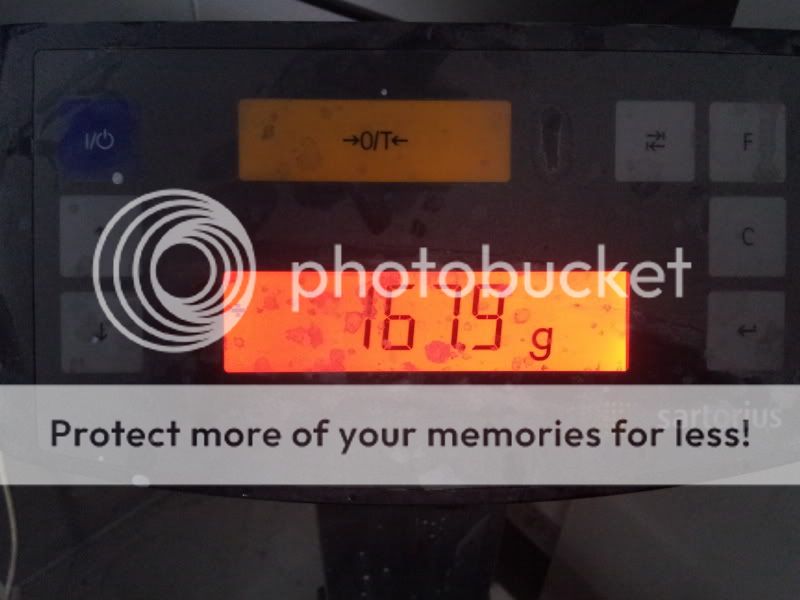
dosent weigh much
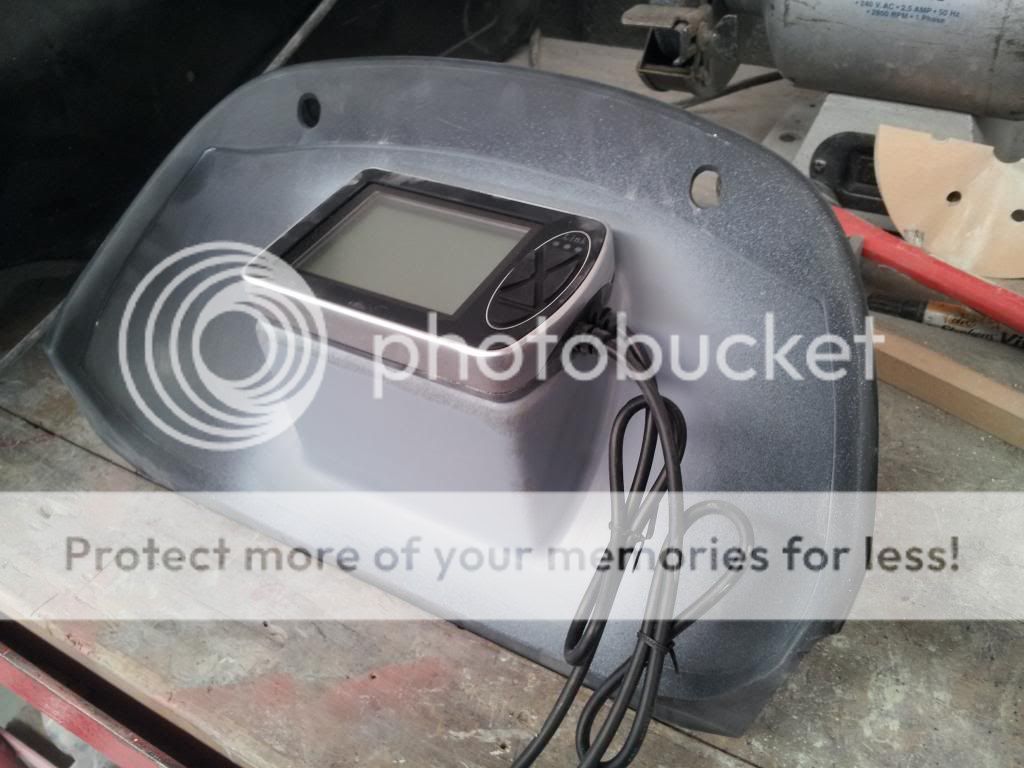
with the display attached
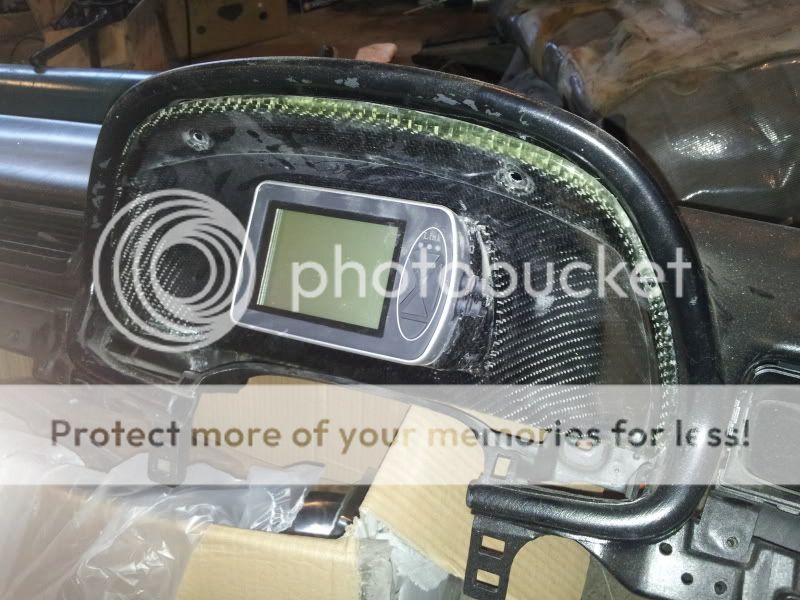
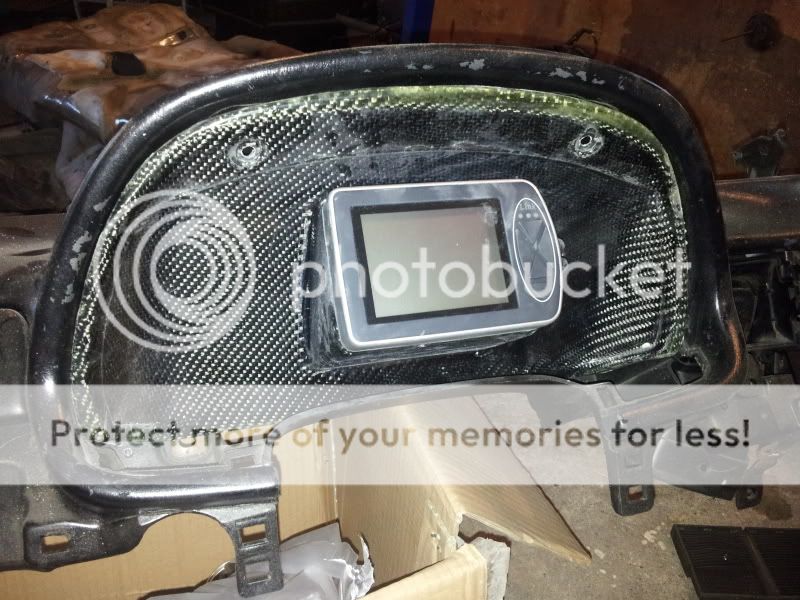
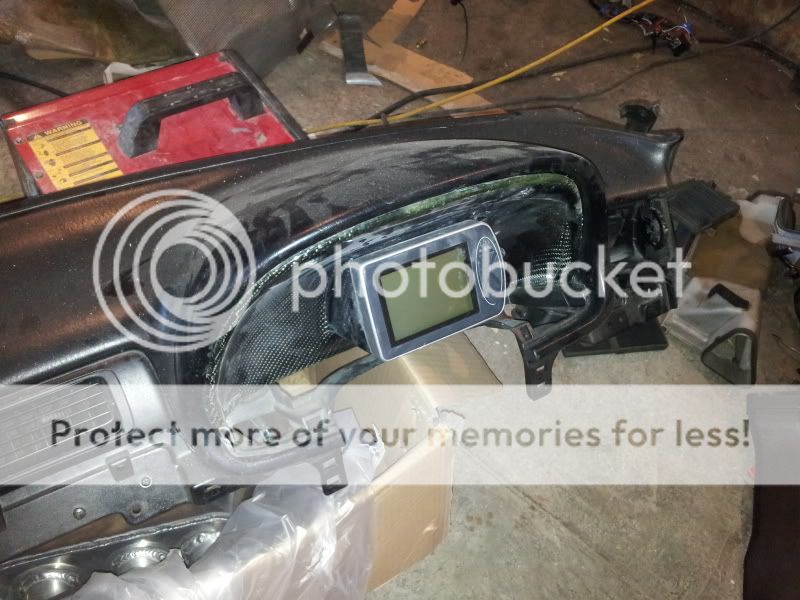
it was my very first actual carbon scratch made peice, theres some flaws on it like theres too much resin at the top of the dash where it pooled in the mould. lesson learnt. also some air bubbles that could have easily been avoided too. i think what i'll do is paint the border bit thats embossed around the edges black. should look fine then.
i got this display link. its going to tell me everything that i need to know about the car.
it starts with some custom wood. all glued together with bog (bondo) -i am a panel beater afterall haha
http://i27.photobucket.com/albums/c1...psd7c15da9.jpg
plus one gutted out speedo screen
shaped up the customwood wedge
scuffed up the lens
stuck the wood on and smoothed out the edges
gave it a quick prime up
got it properly 2k primed, rubbed it back and got one of the boys to hit it white while painting a van at work one day. just to get a gloss on it all
laid down some gelcoat over it, followed by some layers of fibreglass
and then i forgot to get images of it in the mould, but ta-da, one carbon fibre custom dash. its legit carbon fibre.
dosent weigh much
with the display attached
it was my very first actual carbon scratch made peice, theres some flaws on it like theres too much resin at the top of the dash where it pooled in the mould. lesson learnt. also some air bubbles that could have easily been avoided too. i think what i'll do is paint the border bit thats embossed around the edges black. should look fine then.