Project Lex (92 Royal Jade SC300)
 12-01-10, 04:15 PM
#76
Just ordered the Megasquirt (MS3x) from DIYAT. Almost decided to get the parts and build it myself to save $200, but just decided to spend the extra to have it assembled and tested by them to alleviate any chance of me screwing something up during assembly.
Also realised they sell 18" pigtails for a little cheaper than the 12' harnesses I originally linked. So that saved me about $40 also.
Big thank you to Shaodome for helping me through this!
Also realised they sell 18" pigtails for a little cheaper than the 12' harnesses I originally linked. So that saved me about $40 also.
Big thank you to Shaodome for helping me through this!


 Your going to love it boosted, I too upgraded from a fast DSM
 12-06-10, 04:36 PM
#78
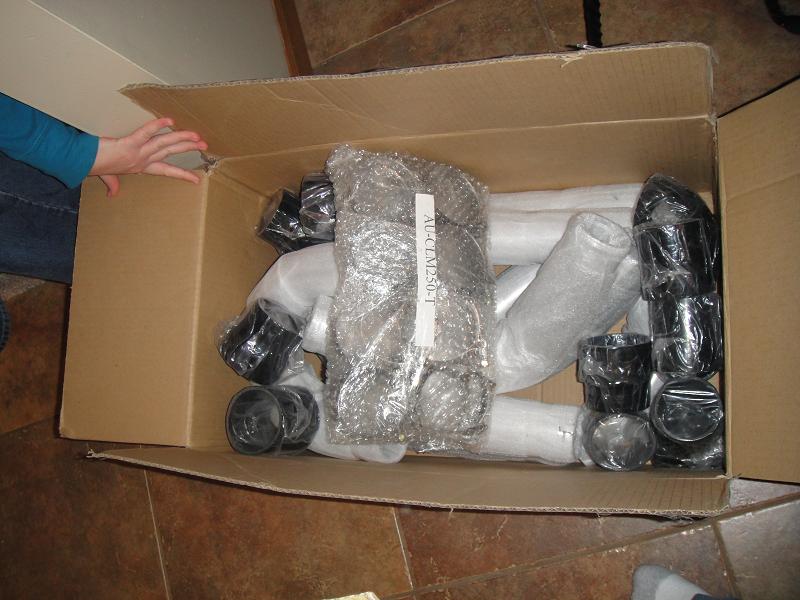
IC Piping and all the couplers showed up 
lso, I fu(king give up on the metric M10 x 1.0 Tee's. Nobody sells them, and I'm not going to tromp through a foot of snow at the junkyard looking for these on some other cars. So I ordered two of these from Vatozone. So I will be using 3/16" brake line, and on the Tee end it will be standard 3/8-24 fittings, but on the other ends it will be the M10x1.0 fittings that go into the OEM components.
http://www.autozone.com/autozone/acc...uestid=1366137
Last edited by Halon; 12-06-10 at 05:22 PM.
12-07-10, 08:03 PM
#79
Got a little bit done today.
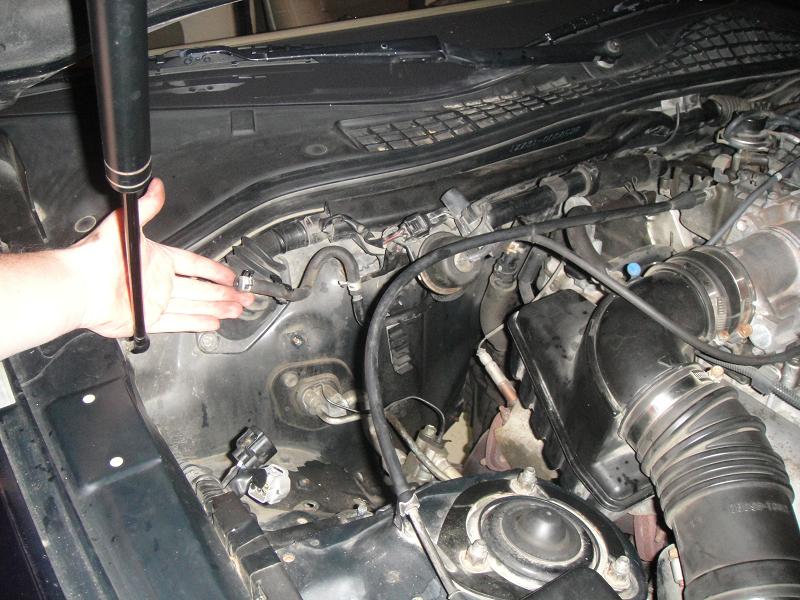
This is the fuel tank evap line that went into the charcoal canister which is now under my workbench never to be installed again. I cut this line back so it ends underneath the car. May do something more with that later but it's fine for now.
So here you can see that evap line that I removed. Also that is where the stock ABS and charcoal canister used to be, so I have a nice big empty corner there now
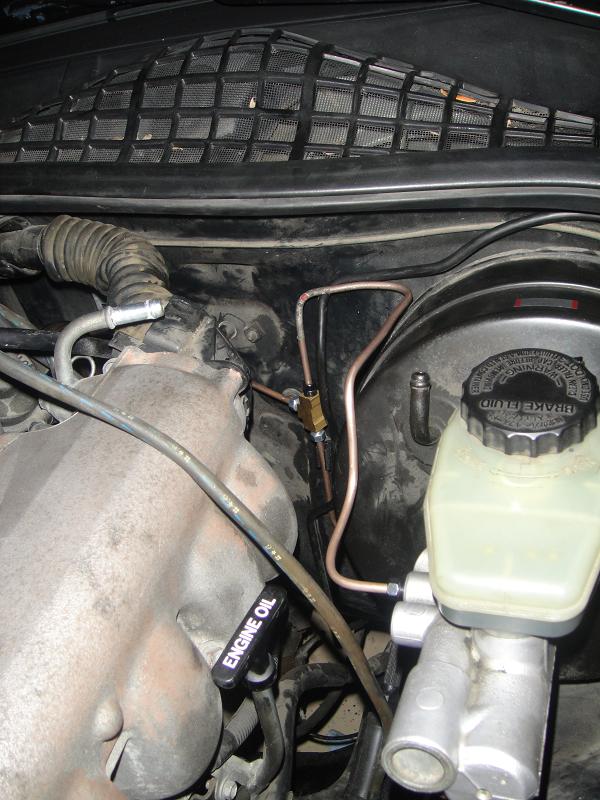
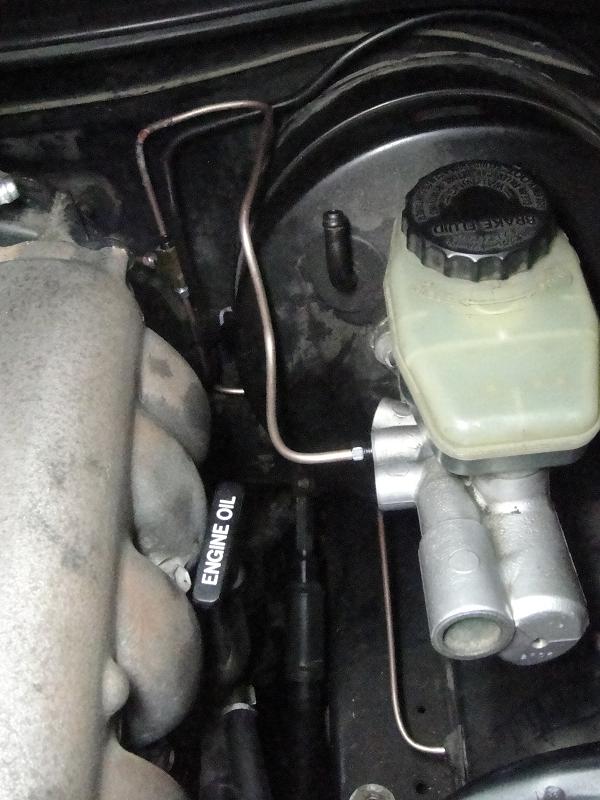
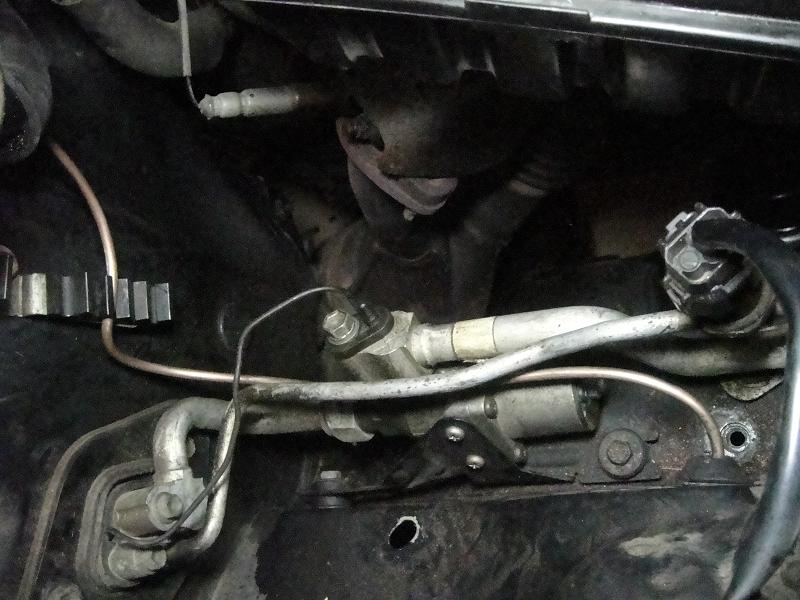
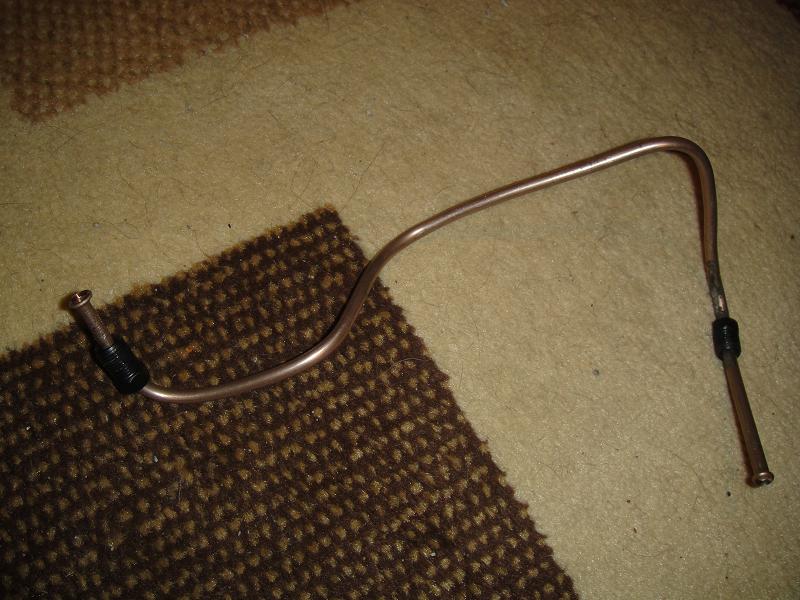
Picked up a Tee Fitting (3/8-24) from Vatozone. So on the Tee side they will be standard fittings, but on the car components they will still be metric to mate up to their respective components. Bought two lengths of 3/16" line from Vatozone as well. This is some sort of copper alloy which is nice to use as it's easy to bend. I still have to flare one end of it but you can basically see how it is routed here. This is the Tee for the front brakes. So it will just leave the master cylinder, go into the Tee and from there two lines will come out (1 for pass side and 1 for drv side). So that is the only line I've made so far, but I consider it a success as I worked slow to try and make it as nice as possible, and it was the first line I've ever made before so it's not perfect, but not bad for the first time
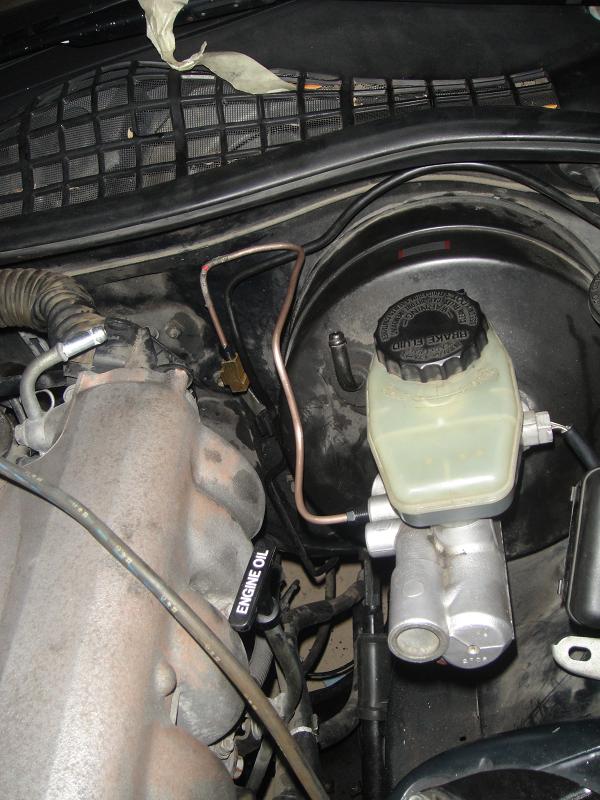
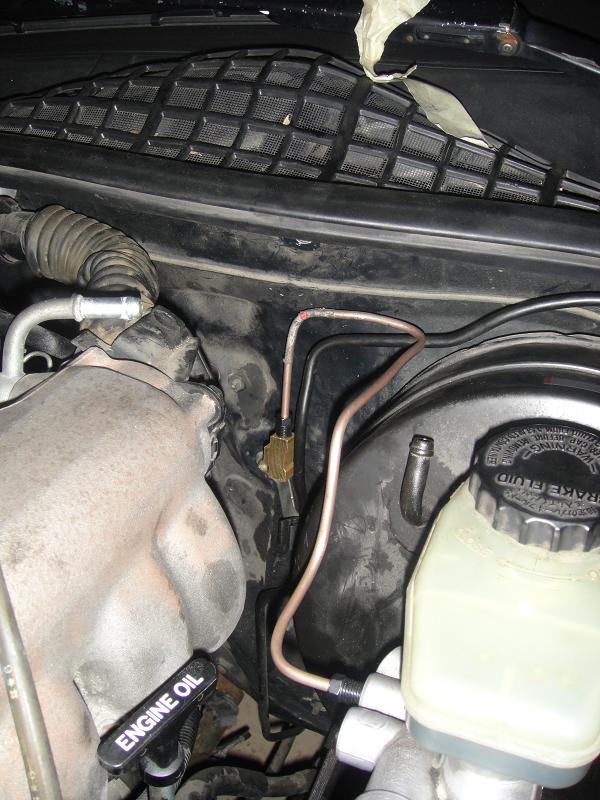
So 1 line down. Figure I can slowly just work on and aim for 1 line a day, and then the brakes should be done.
This is the fuel tank evap line that went into the charcoal canister which is now under my workbench never to be installed again. I cut this line back so it ends underneath the car. May do something more with that later but it's fine for now.
So here you can see that evap line that I removed. Also that is where the stock ABS and charcoal canister used to be, so I have a nice big empty corner there now
Picked up a Tee Fitting (3/8-24) from Vatozone. So on the Tee side they will be standard fittings, but on the car components they will still be metric to mate up to their respective components. Bought two lengths of 3/16" line from Vatozone as well. This is some sort of copper alloy which is nice to use as it's easy to bend. I still have to flare one end of it but you can basically see how it is routed here. This is the Tee for the front brakes. So it will just leave the master cylinder, go into the Tee and from there two lines will come out (1 for pass side and 1 for drv side). So that is the only line I've made so far, but I consider it a success as I worked slow to try and make it as nice as possible, and it was the first line I've ever made before so it's not perfect, but not bad for the first time
So 1 line down. Figure I can slowly just work on and aim for 1 line a day, and then the brakes should be done.
12-09-10, 07:39 PM
#80
Front brake lines are all mocked up. All I need to do is some flaring which I think is going to suck, haha. Here's some pics, showing how the line is routed.
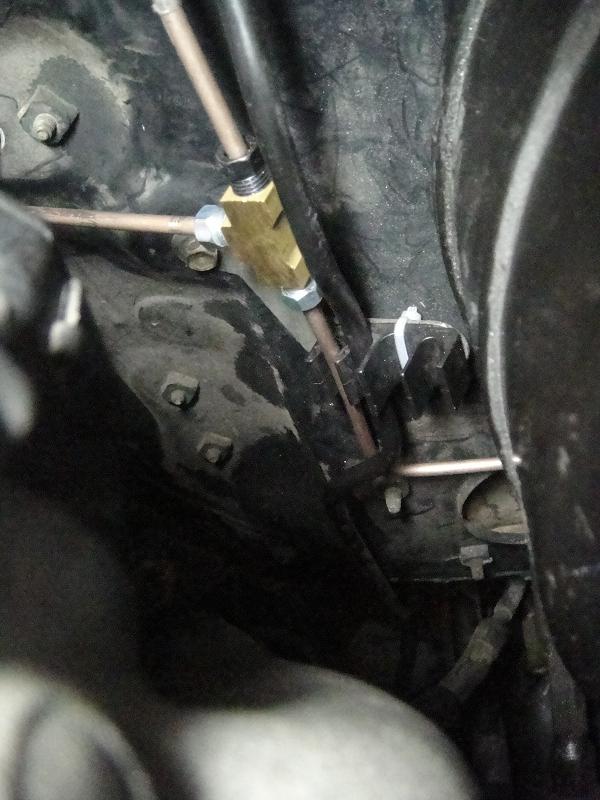
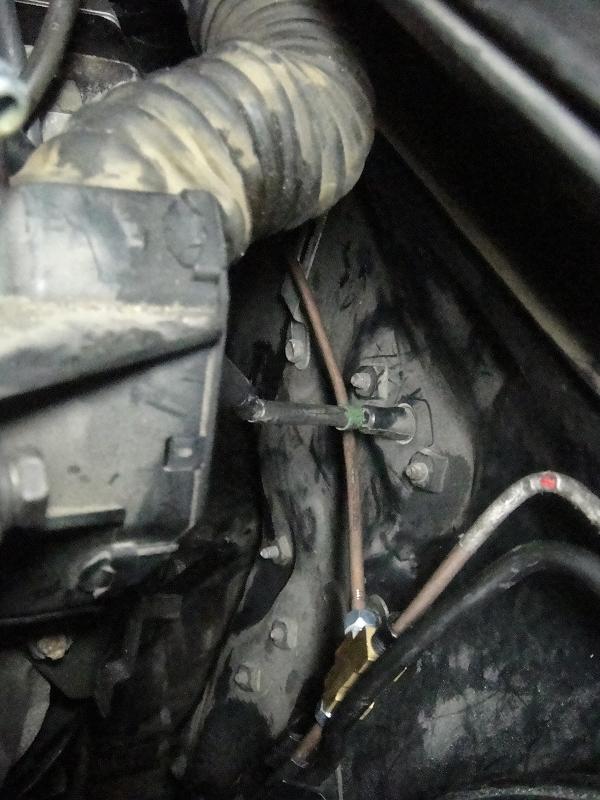
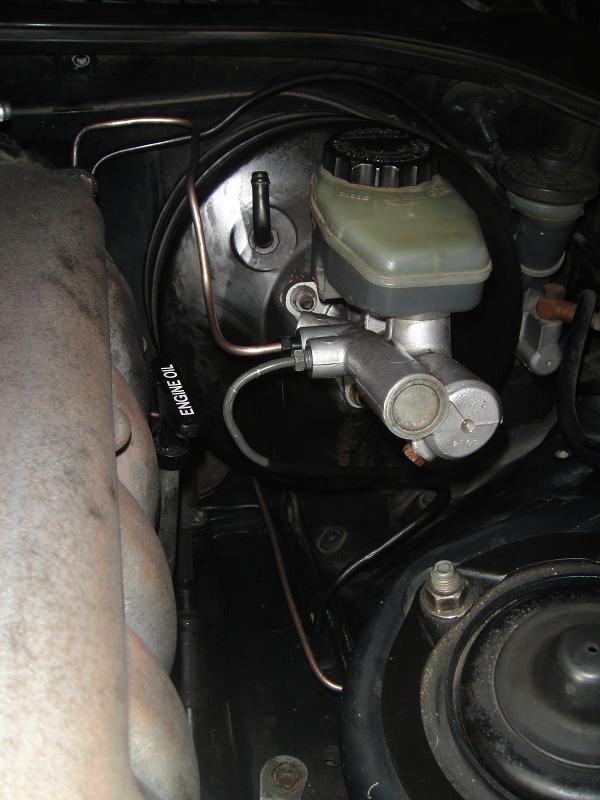
The line from the bottom of the Tee, coming down then bent right under the brake booster, then bent straight again to continue going towards the front of the car
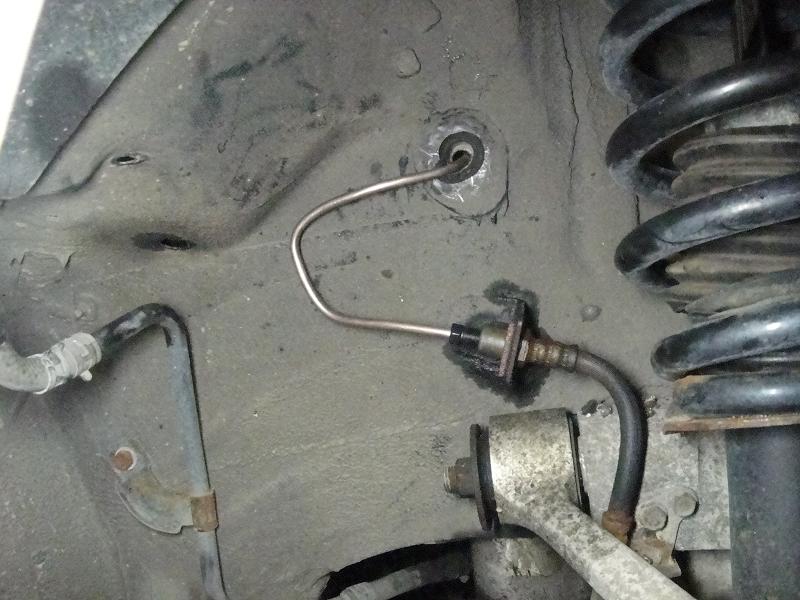
Same bend as shown above, but from further back so you can see the last bend that takes it through the gromet and into the fender well
Drv Side Fender Well, mating to the stock flex line that goes to the caliper

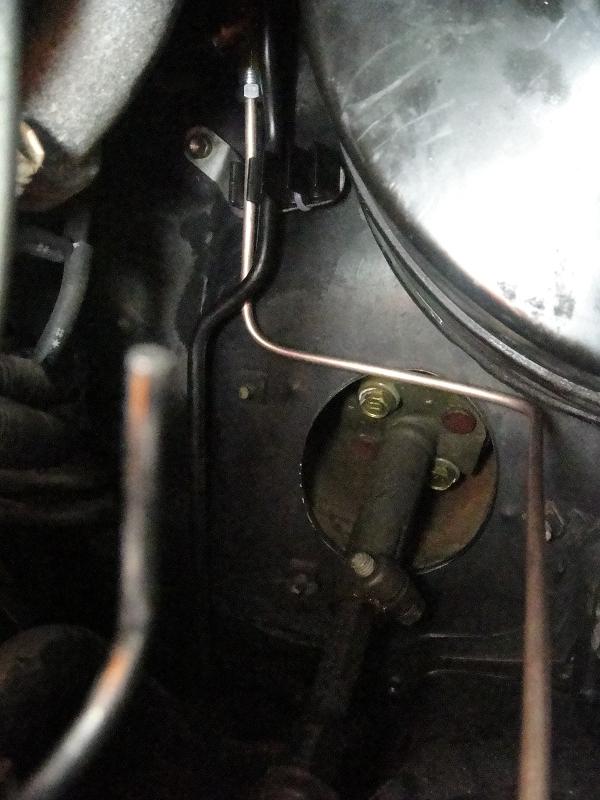
Back to the Tee, showing the line that runs along the firewall towards the passenger side
Line along the firewall, now on the passenger side.
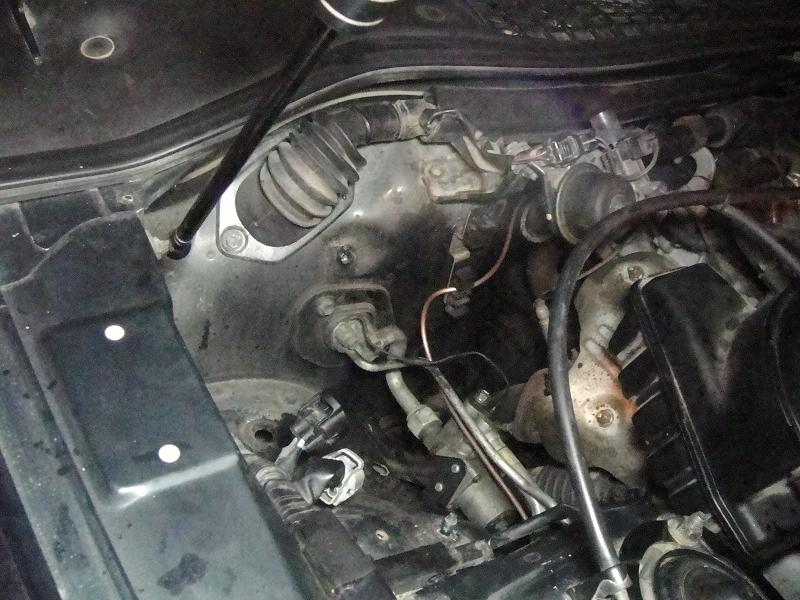
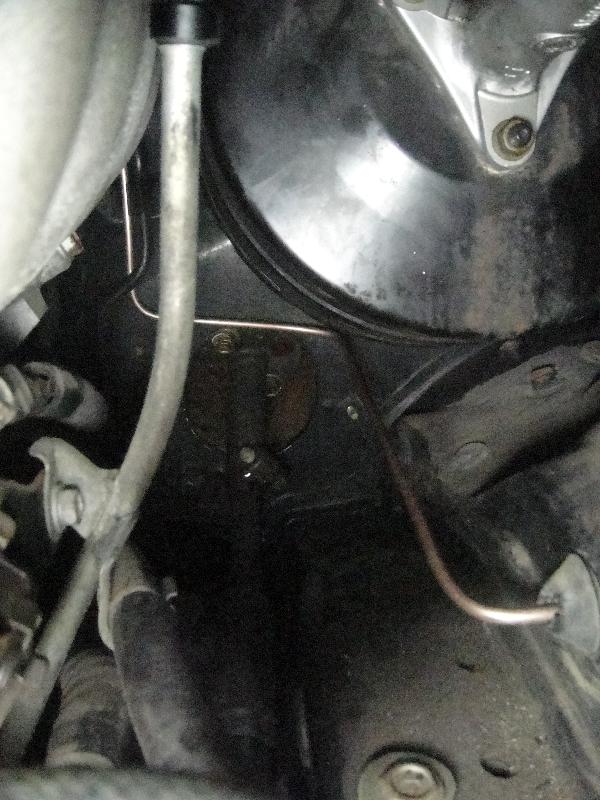
Showing the bends that take it into the fender well
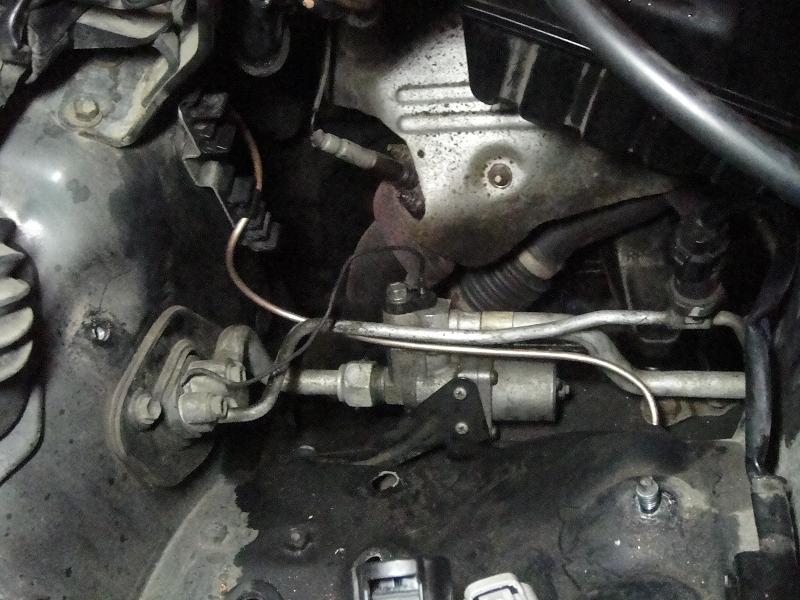
Pass side fender well.
The line from the bottom of the Tee, coming down then bent right under the brake booster, then bent straight again to continue going towards the front of the car
Same bend as shown above, but from further back so you can see the last bend that takes it through the gromet and into the fender well
Drv Side Fender Well, mating to the stock flex line that goes to the caliper
Back to the Tee, showing the line that runs along the firewall towards the passenger side
Line along the firewall, now on the passenger side.
Showing the bends that take it into the fender well
Pass side fender well.
 12-13-10, 05:31 PM
#85
So no real big update today. Spent the weekend in Fargo so wasn't able to do much. However Dave Henry was kind enough to let me and the lady stop by to chat for a little while this weekend. I picked up a drain line flange from him that'll bolt to the oil pan so one more small part to add to the stash of parts in the garage. Kind of cool to see some of the stuff he's doing, as well as some nice carnage. Thanks again for your time Dave
12-14-10, 08:31 PM
#86
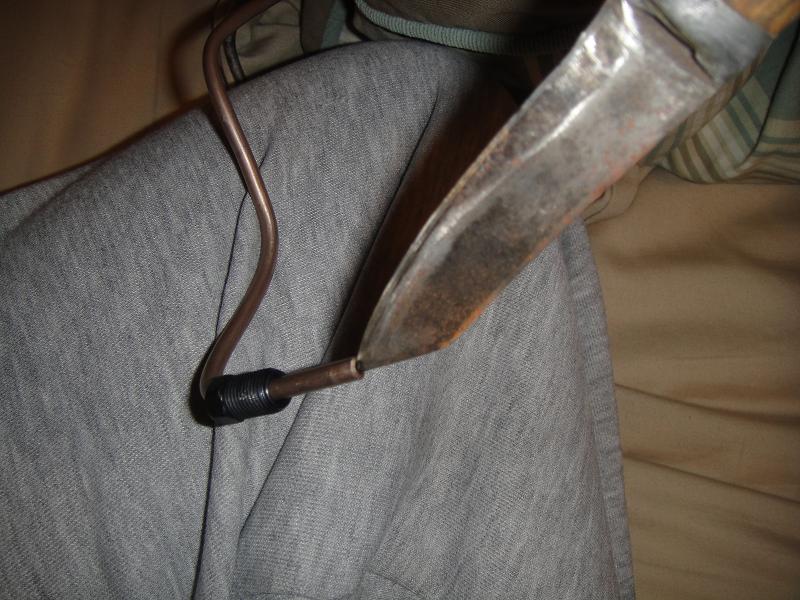
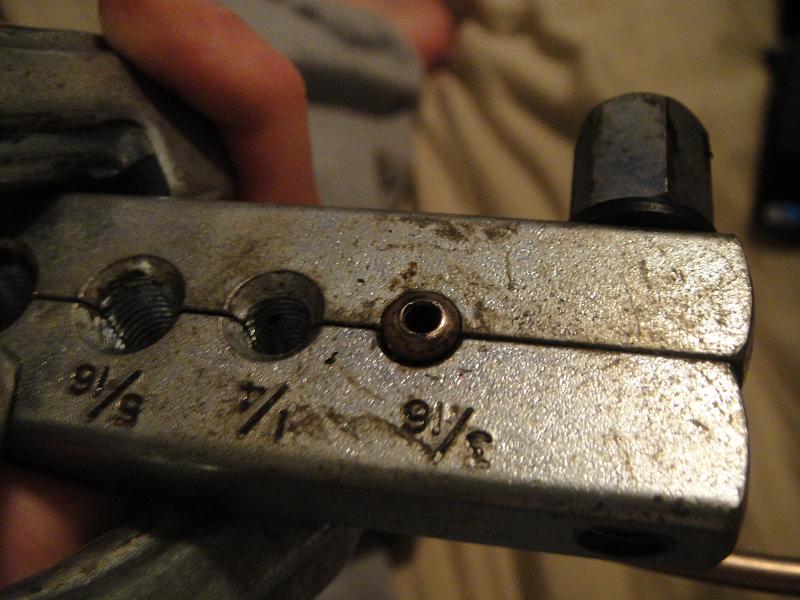
Didn't have much time today, but was able to go to my cousins today and borrow his flaring tool. I removed that first upper line and decided to just give this flaring tool a shot while laying in bed. One end was already flared, so I only had to flare one end. So here's my pics of the process of applying a double flare to the line. Was pretty simple, and took only a couple minutes. Turned out just fine it looks like. I suppose the real test will be once it's installed and hopefully doesn't leak.
Break out your professional deburring tool:
Use the die to measure the correct amount of line is protruding out of the clamp
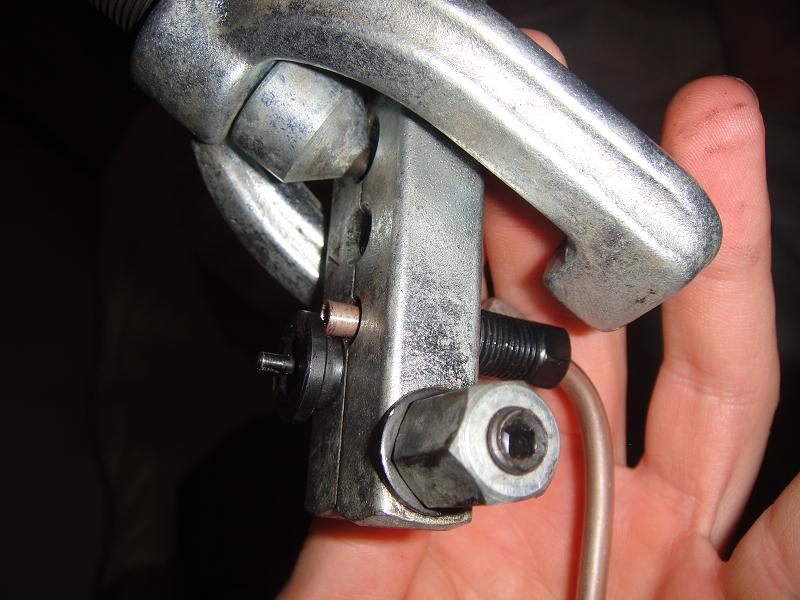
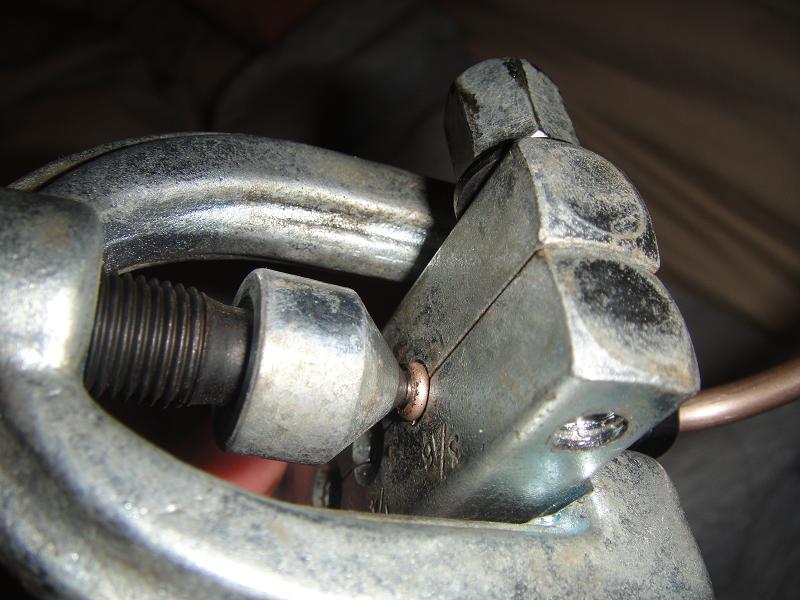
First flare created with the die
Use cone to make the double flare
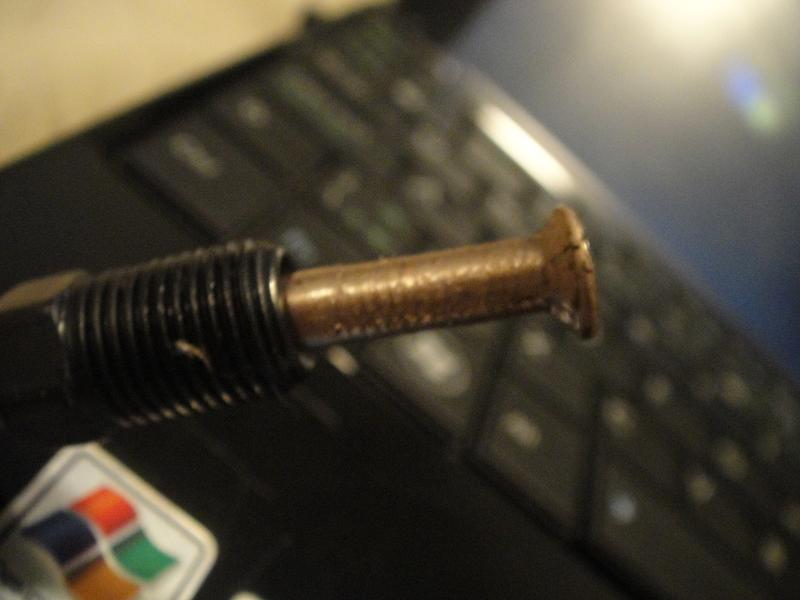
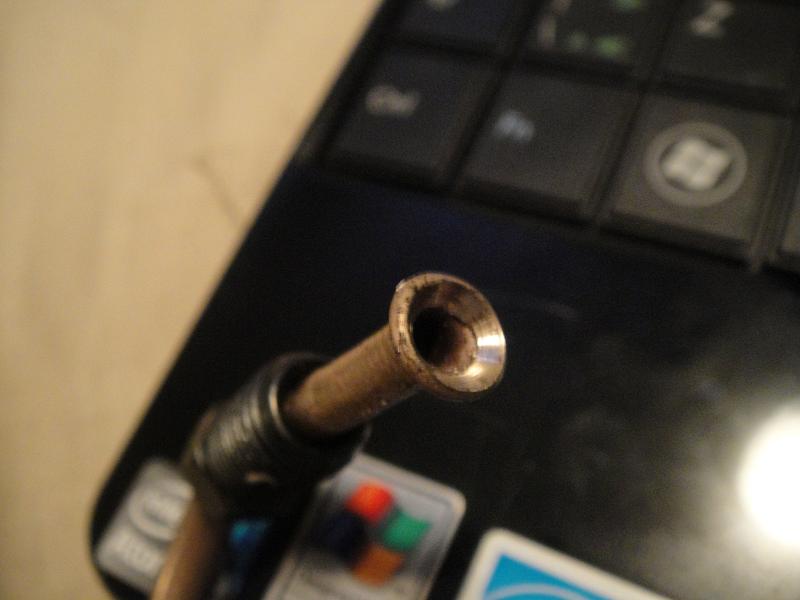
Double flare done
Also, the stereo company from Chiyyna shipped out a new stereo to me, that should arrive here in the next few days. Hopefully this one lasts a little bit longer than the last one. It cost me $68 to ship it back to them, then another $10 to send me a new one. They won't reimburse any of that. BS in my opinion, but not much I can really do. Just hope this one works better.
Break out your professional deburring tool:
Use the die to measure the correct amount of line is protruding out of the clamp
First flare created with the die
Use cone to make the double flare
Double flare done
Also, the stereo company from Chiyyna shipped out a new stereo to me, that should arrive here in the next few days. Hopefully this one lasts a little bit longer than the last one. It cost me $68 to ship it back to them, then another $10 to send me a new one. They won't reimburse any of that. BS in my opinion, but not much I can really do. Just hope this one works better.
12-16-10, 07:17 PM
#87
Get to pick up the new stereo tomorrow at DHL. I gotta drive to friggen Bloomington to get it though, booo.
And the brake lines are done, front and rear The rear was easy, I just had to make a single short line from the master cylinder to the bottom of the firewall as that is where the stock line going to the rears is. Pretty simple, actually just reused some of the old stock line that I had ripped out. Appears to be leak free  Now that I've done it once, I feel like I could do a better job, so if I have some free time left over at the end of winter, I may actually redo it with stiffer line, and do a cleaner job. But for now it looks OK, and appears it's working so I can at least move on and focus on other things!
And the brake lines are done, front and rear
The rear was easy, I just had to make a single short line from the master cylinder to the bottom of the firewall as that is where the stock line going to the rears is. Pretty simple, actually just reused some of the old stock line that I had ripped out. Appears to be leak free Now that I've done it once, I feel like I could do a better job, so if I have some free time left over at the end of winter, I may actually redo it with stiffer line, and do a cleaner job. But for now it looks OK, and appears it's working so I can at least move on and focus on other things!
12-17-10, 08:32 PM
#88
Big thanks to brownman for coming over and manning the brake pedal. Brakes are bled. Took it for a quick spin around the block and they seem to work great! Damn near had a flat tire however which was random but oh well.
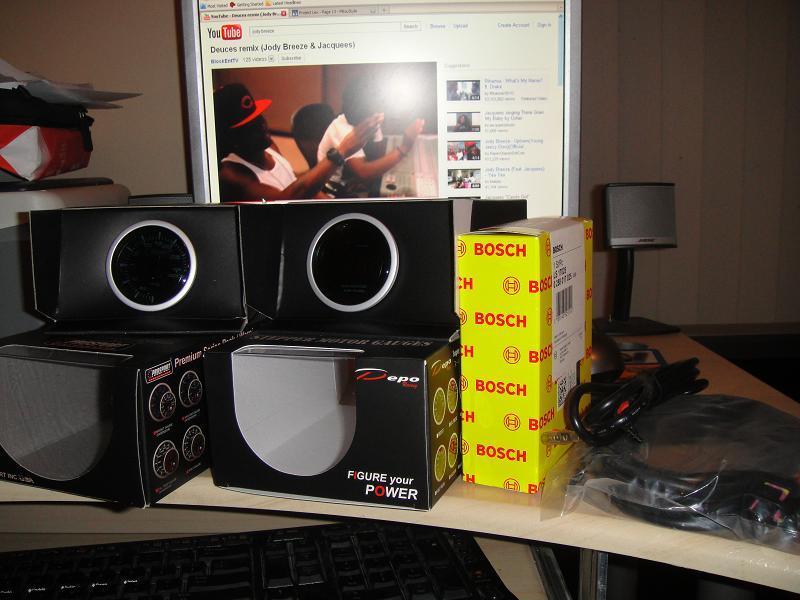
Also got some new **** today as well.
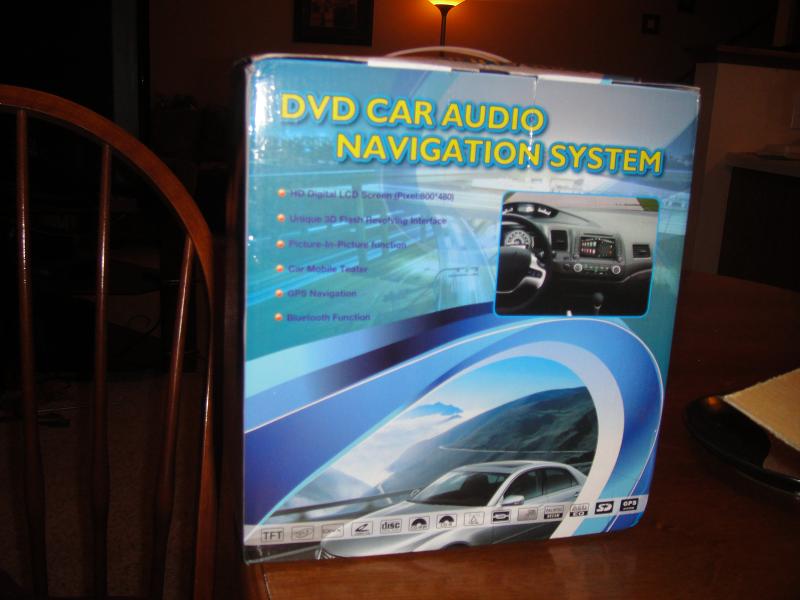
Stereo (round 2)
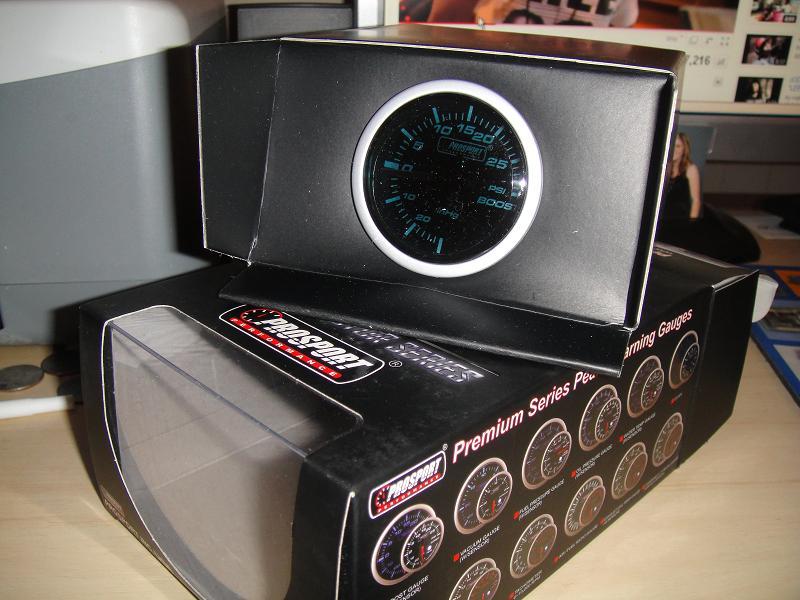
Stopped at MAP and picekd up the Pro Sport Boost Gauge and Depo Wideband kit. These things are a perfect match, even the boxes were pretty much the same!
Also got some new **** today as well.
Stereo (round 2)
Stopped at MAP and picekd up the Pro Sport Boost Gauge and Depo Wideband kit. These things are a perfect match, even the boxes were pretty much the same!