
My 04 LS430 (ongoing project)


Thanks guys. The ride quality on the 20's is pretty good. Probably cause I'm running 35 series tires (rather than 30 series).
The only issue I had with the Tein CS and SS kit is the SS kit cause my factory lower ball joint assem to push up against the back to the backing plate which pushed up against the brake rotor (front). To help solve the issue, I cut the front backing plate (as if I was installing big brakes).
Ride felt the same with and without the SS kit to me.
I'll post up more pics if/when I find them.
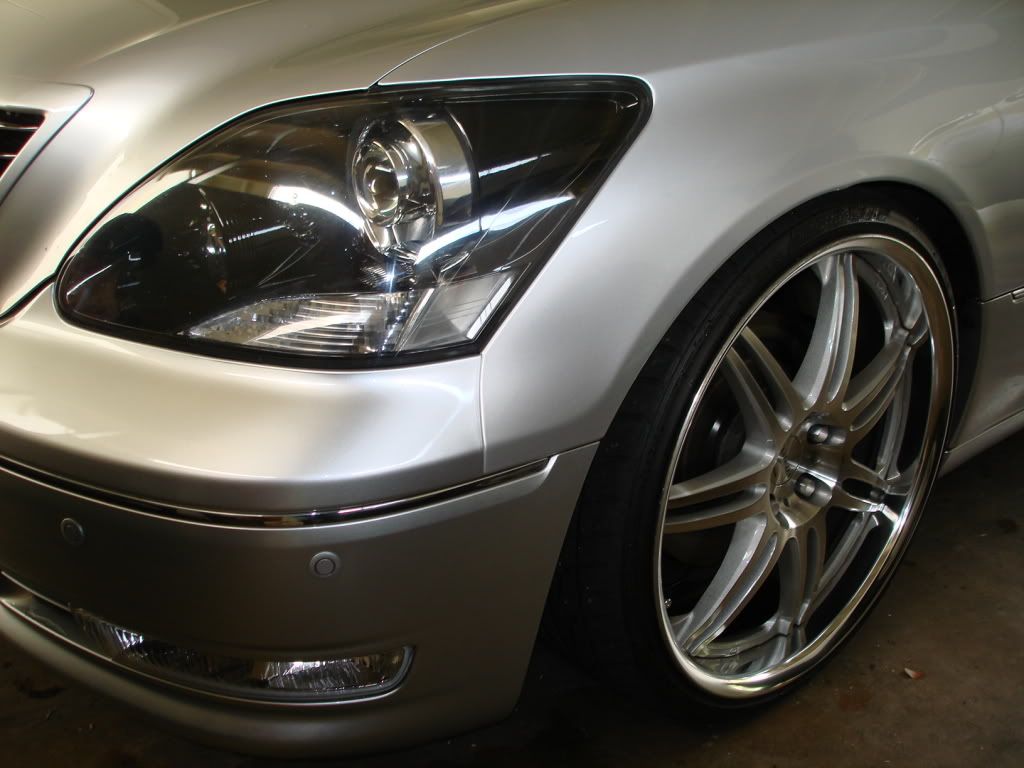
It's been awhile since I've done anything major to my car but I finally did. About a week ago, I finally mounted my wheels (which I picked up used for cheap from a friend) and blacked out my headlight housing.
About a month ago, I found one of my headlights had moisture in it (indicating a leak), so I figured "what the hell" and took it appart. I had a friend spray the housing gloss black while I removed the amber lens and custom made some clear lens (using thick lexan).
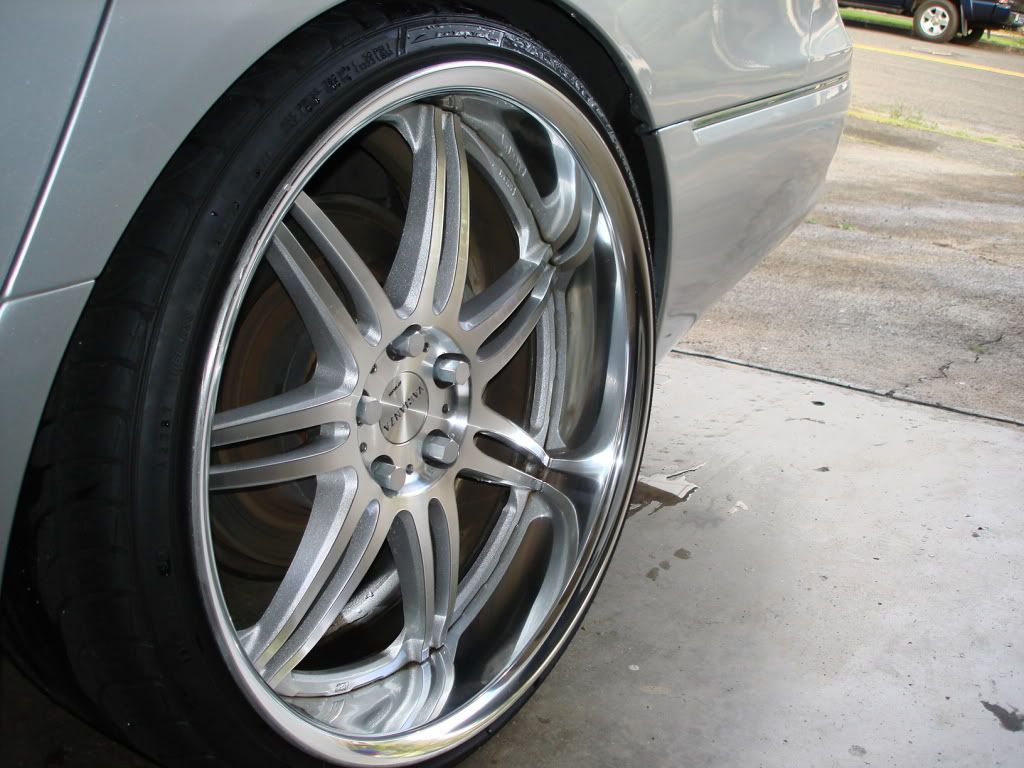
The wheels are 20 x 9 (+30) front and 20 x 10 (+30) rear. I had to cut the lip of both the front and rear fenders to prevent any rubbing. The wheels are temp beater wheels until I can afford what I really want.
Anyway, here are the updated pics:

About a month ago, I found one of my headlights had moisture in it (indicating a leak), so I figured "what the hell" and took it appart. I had a friend spray the housing gloss black while I removed the amber lens and custom made some clear lens (using thick lexan).
The wheels are 20 x 9 (+30) front and 20 x 10 (+30) rear. I had to cut the lip of both the front and rear fenders to prevent any rubbing. The wheels are temp beater wheels until I can afford what I really want.
Anyway, here are the updated pics:


Thanks for the comps fellers. I'll try and answer you questions if I remember them as I type this.
I sold my old 20" MRR wheels ending of last summer to a guy with a UCF20 (after MC). Saw pics of his car and I must say it matched well.
The JDM front plate was borrowed from a friend for one of our carshows. I asked him to sell it to me but he declined my offer.
I don't have current far away/full shots of my car. The weather here has been very bi-polar. My girlfriend took those quick pics for me to post up and show the fellers on here. I will post pics once the weather and time permits.
Yes...beater wheels. The wheels are NOT in the greatest condition. There are scratches, nicks and dents but it does hold air and for the price I got it for, NO ONE would have turned it down. It was cheap.
Opps. I forgot. As for the removal...
1. Drill out one screw holding the headlamp lens and housing together. It's a oneway screw that cannot be unscrewed out. Also remove the all bulbs but leave all other components in.
2. Put the housing in the oven at 350 degrees for about 3 minutes (to soften the glue/seal).
3. Slowing and gently pry the tabs while pulling apart the housing and lens.
4. Remove the inner part of the housing (the part you will paint) from the lens. It will be held on with one screw.
5. Remove the 2 screws holding in the side marker/turn signal housing from the headlamp housing.
6. Carefully remove the amber lens from the side marker/turn signal housing.
7. To make a new lens, use the old amber lens as a stencle (sp).
8. Assembly,is the same in reverse. I left the old seal in and added a bead of silicone. Hasn't leaked since and I washed it right after I installed the headlamps back in.
I was planning on putting LED's where the side marker/turn signal housing is but I would hate for the LED's to crap out then I'd have to take apart the entire assembly again.
Good luck!!!