When you click on links to various merchants on this site and make a purchase, this can result in this site earning a commission. Affiliate programs and affiliations include, but are not limited to, the eBay Partner Network.
Interior micro scratch removal - wood and metal trim. DIY with pics
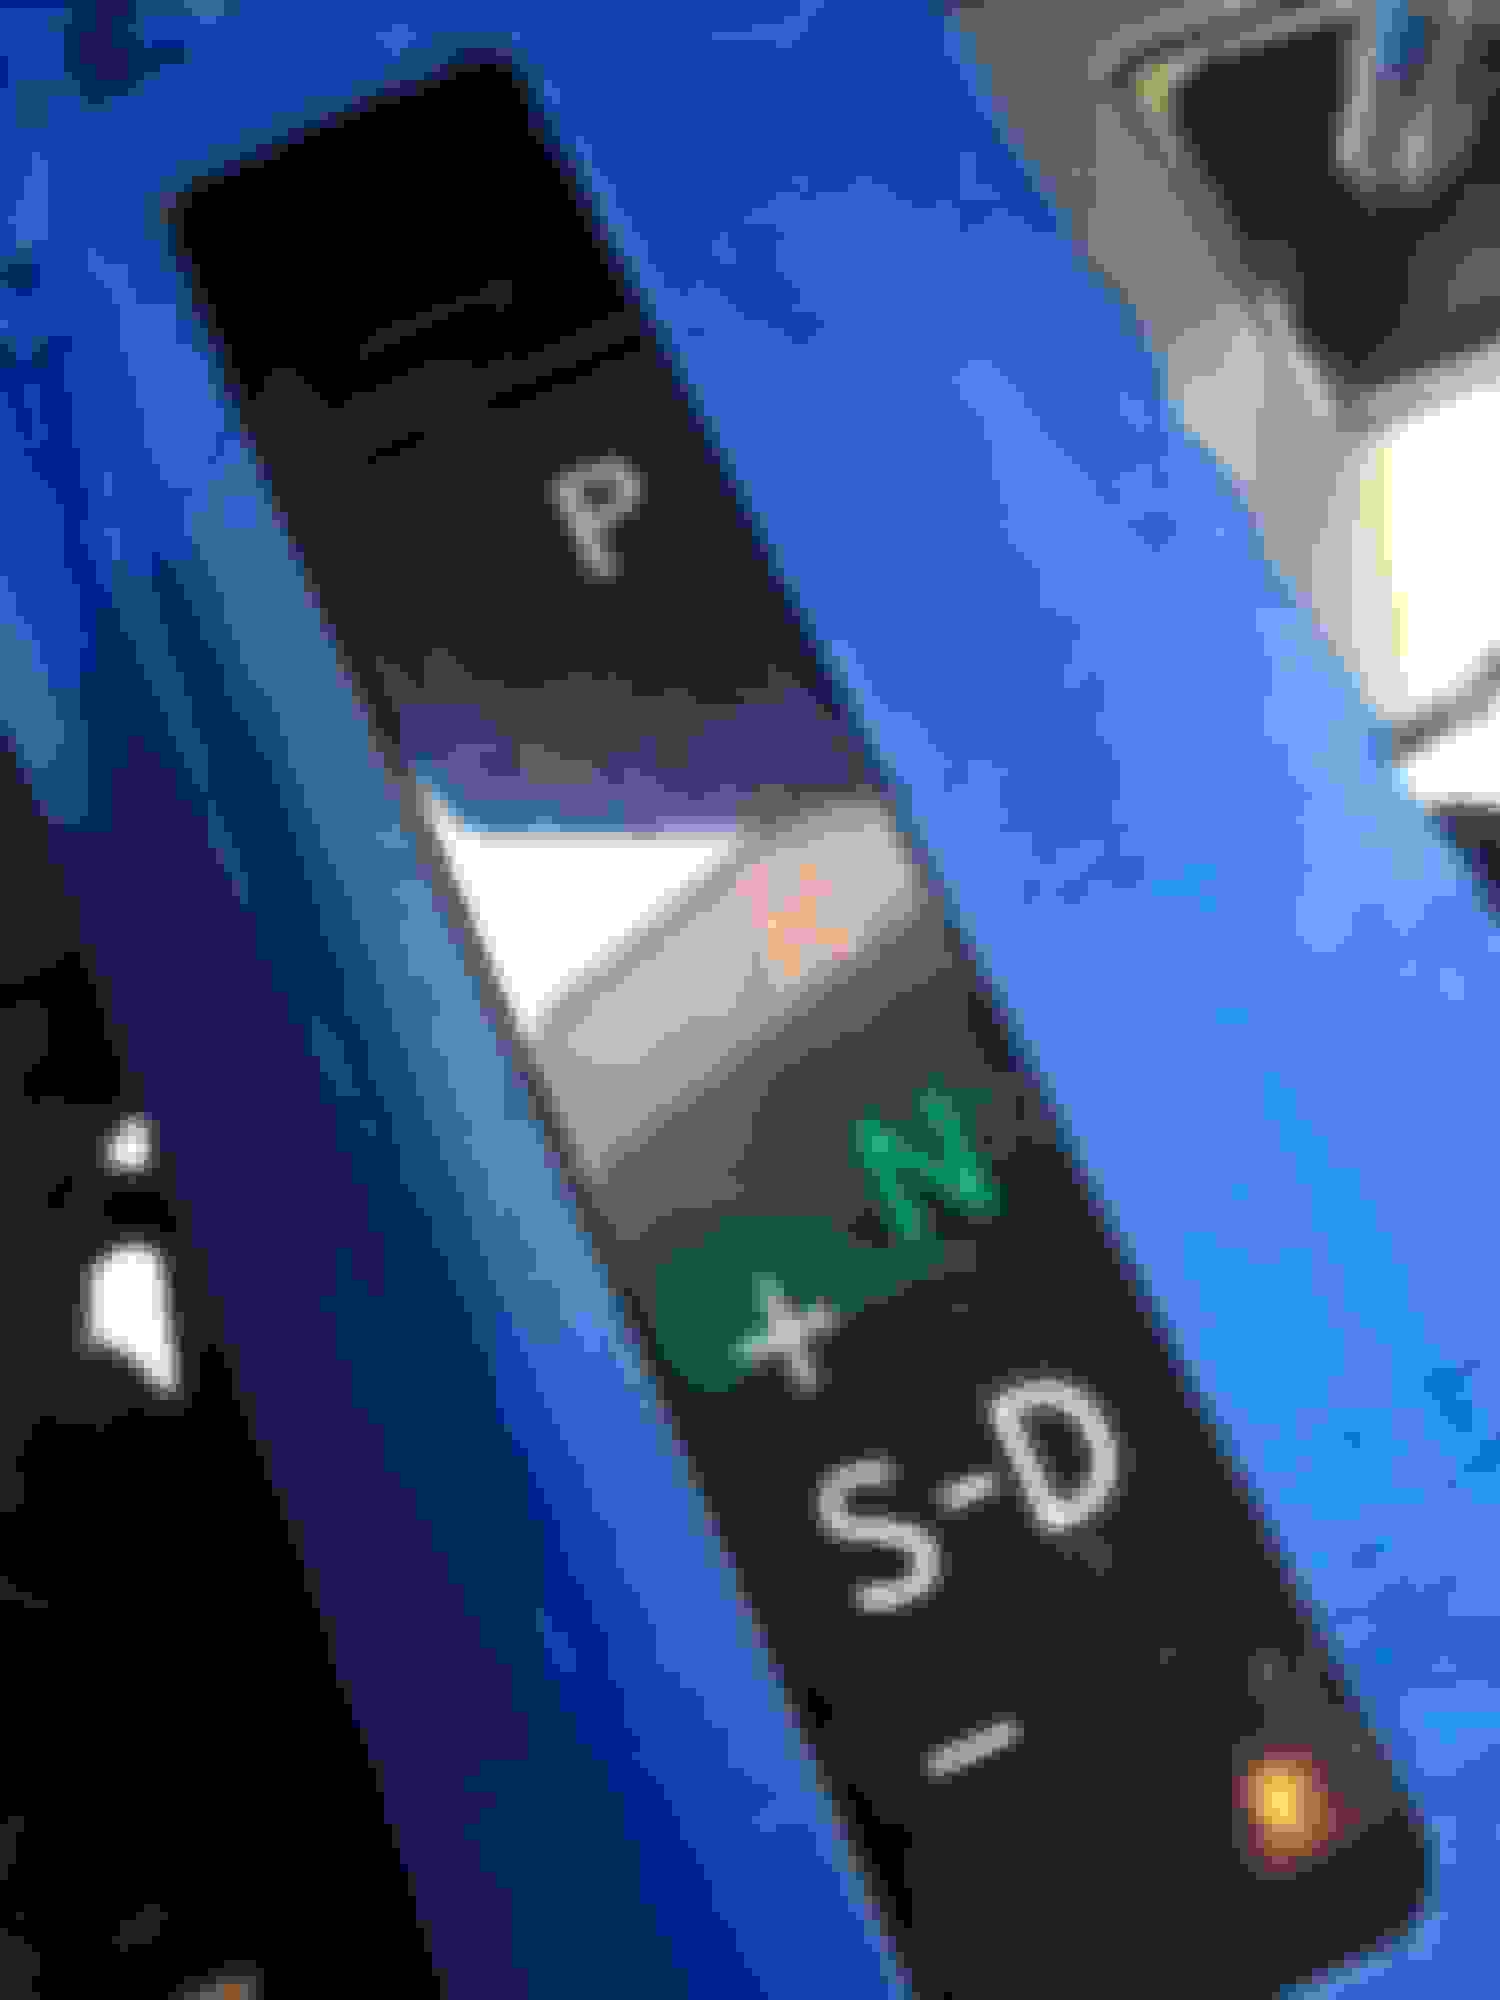
I did some reading looking for tips on getting those micro scratches out that show up in the clear wood coating over time. It happens with keys, sunglasses, coins, etc simply sliding on it and after a while they simply annoy me. In case the worst offender is the black gear label section as I think the black background makes those micro scratches look hazy. I found some helpful tips and thought I'd give it a go with what I had laying around and to be frank I am amazed at how well it turned out.
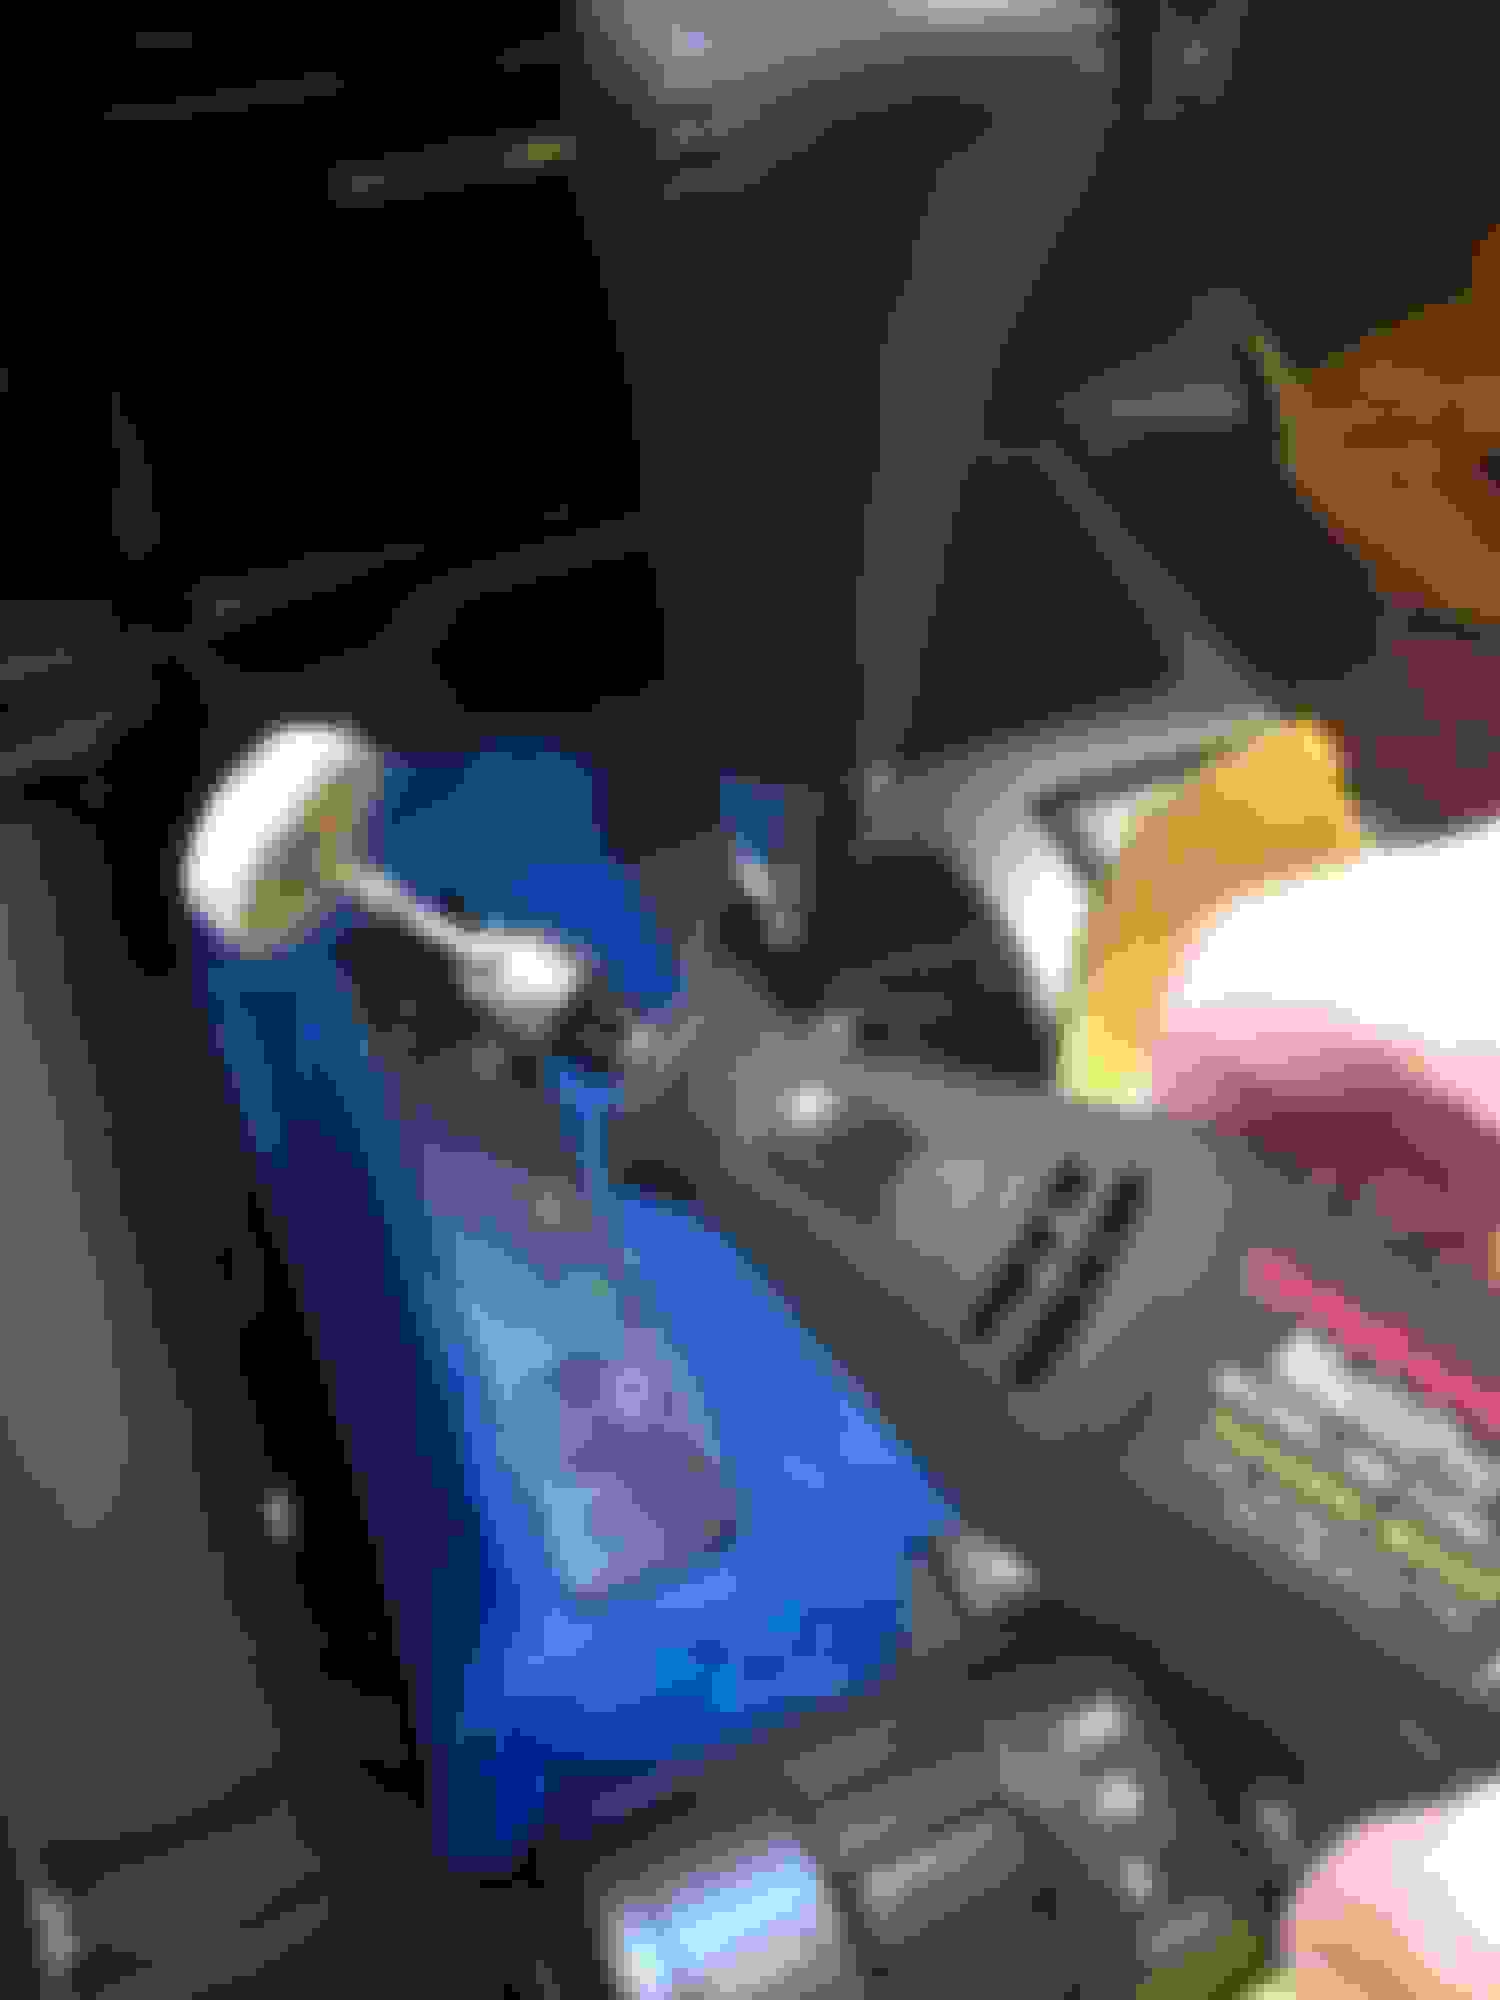
I removed the side leather panels on my LX570 to get them out of the way and then took some blue painter's to mask off the area. Then I started slow and rapidly worked my way up in intensity as the results began to appear. I did the gear area and wood, then the entire area including the aluminum trim. The whole center console area in essence. I also masked the suspension switches off with tape but that's not in the pics. I'd recommend that though as that is plastic of some sort. Also did the wood dash section in above the glove box. It looks brand new now.
I used Meguiars Ultimate Compound - where I know some others have used Scratch X. I had the Ultimate Compound which is what I used. Here is some info from their website that I posted directly for reference-
"Ultimate Compound is exactly that- a compound. Compounds have traditionally been products that were nick-named things such as "rocks in a bottle" because they were very coarse, rough, and gritty...good for removing heavy sanding marks or DEEP scratches, but not known for leaving good looking finishes. They themselves left behind a hazy, scratched surface.
Ultimate Compound however is a change for the better as it utilizes NEW, patented, and exclusive technology to Meguiar's known as S.M.A.T, or Super Micro Abrasive Technology. This new technology allows more aggressive defect removal WITHOUT the nasty left-over haze or scratches. In the majority of cases users can go straight from Ultimate Compound to their wax of choice. Occasionally, on soft or unique paints you may need to follow up with something more gentle like ScratchX 2.0 or SwirlX.
ScratchX 2.0 also uses the new SMAT technology, but a very different formulation as it is intended to be a lighter defect removal tool, NOT a heavy compound. It is very unlikely that ScratchX 2.0 will ever need to be followed up with a different product due to it leaving anything undesirable behind. If it does, it almost certainly is due to an outside problem (technique, application medium, contamination, etc).
So, to sum them up, both are intended to remove defects on the surface of the paint, but UC is more aggressive than ScratchX 2.0."
I applied first with a microfiber cloth and then followed up with a dremel polishing wheel. Randomly moving the pattern and staring slow then ramping up the speed. YOU MUST BE CAREFUL with this as it is possibly to over polish the metal in particular. I think one of those mini buffing powerball things would likely work well but I did not have one. Just take your time and don;t over do it. Stop and wipe off the haze every so often and continue until it looks amazing. I finished everything off with the Carnuba cleaner wax as I had some but am not sure whether that was really necessary.
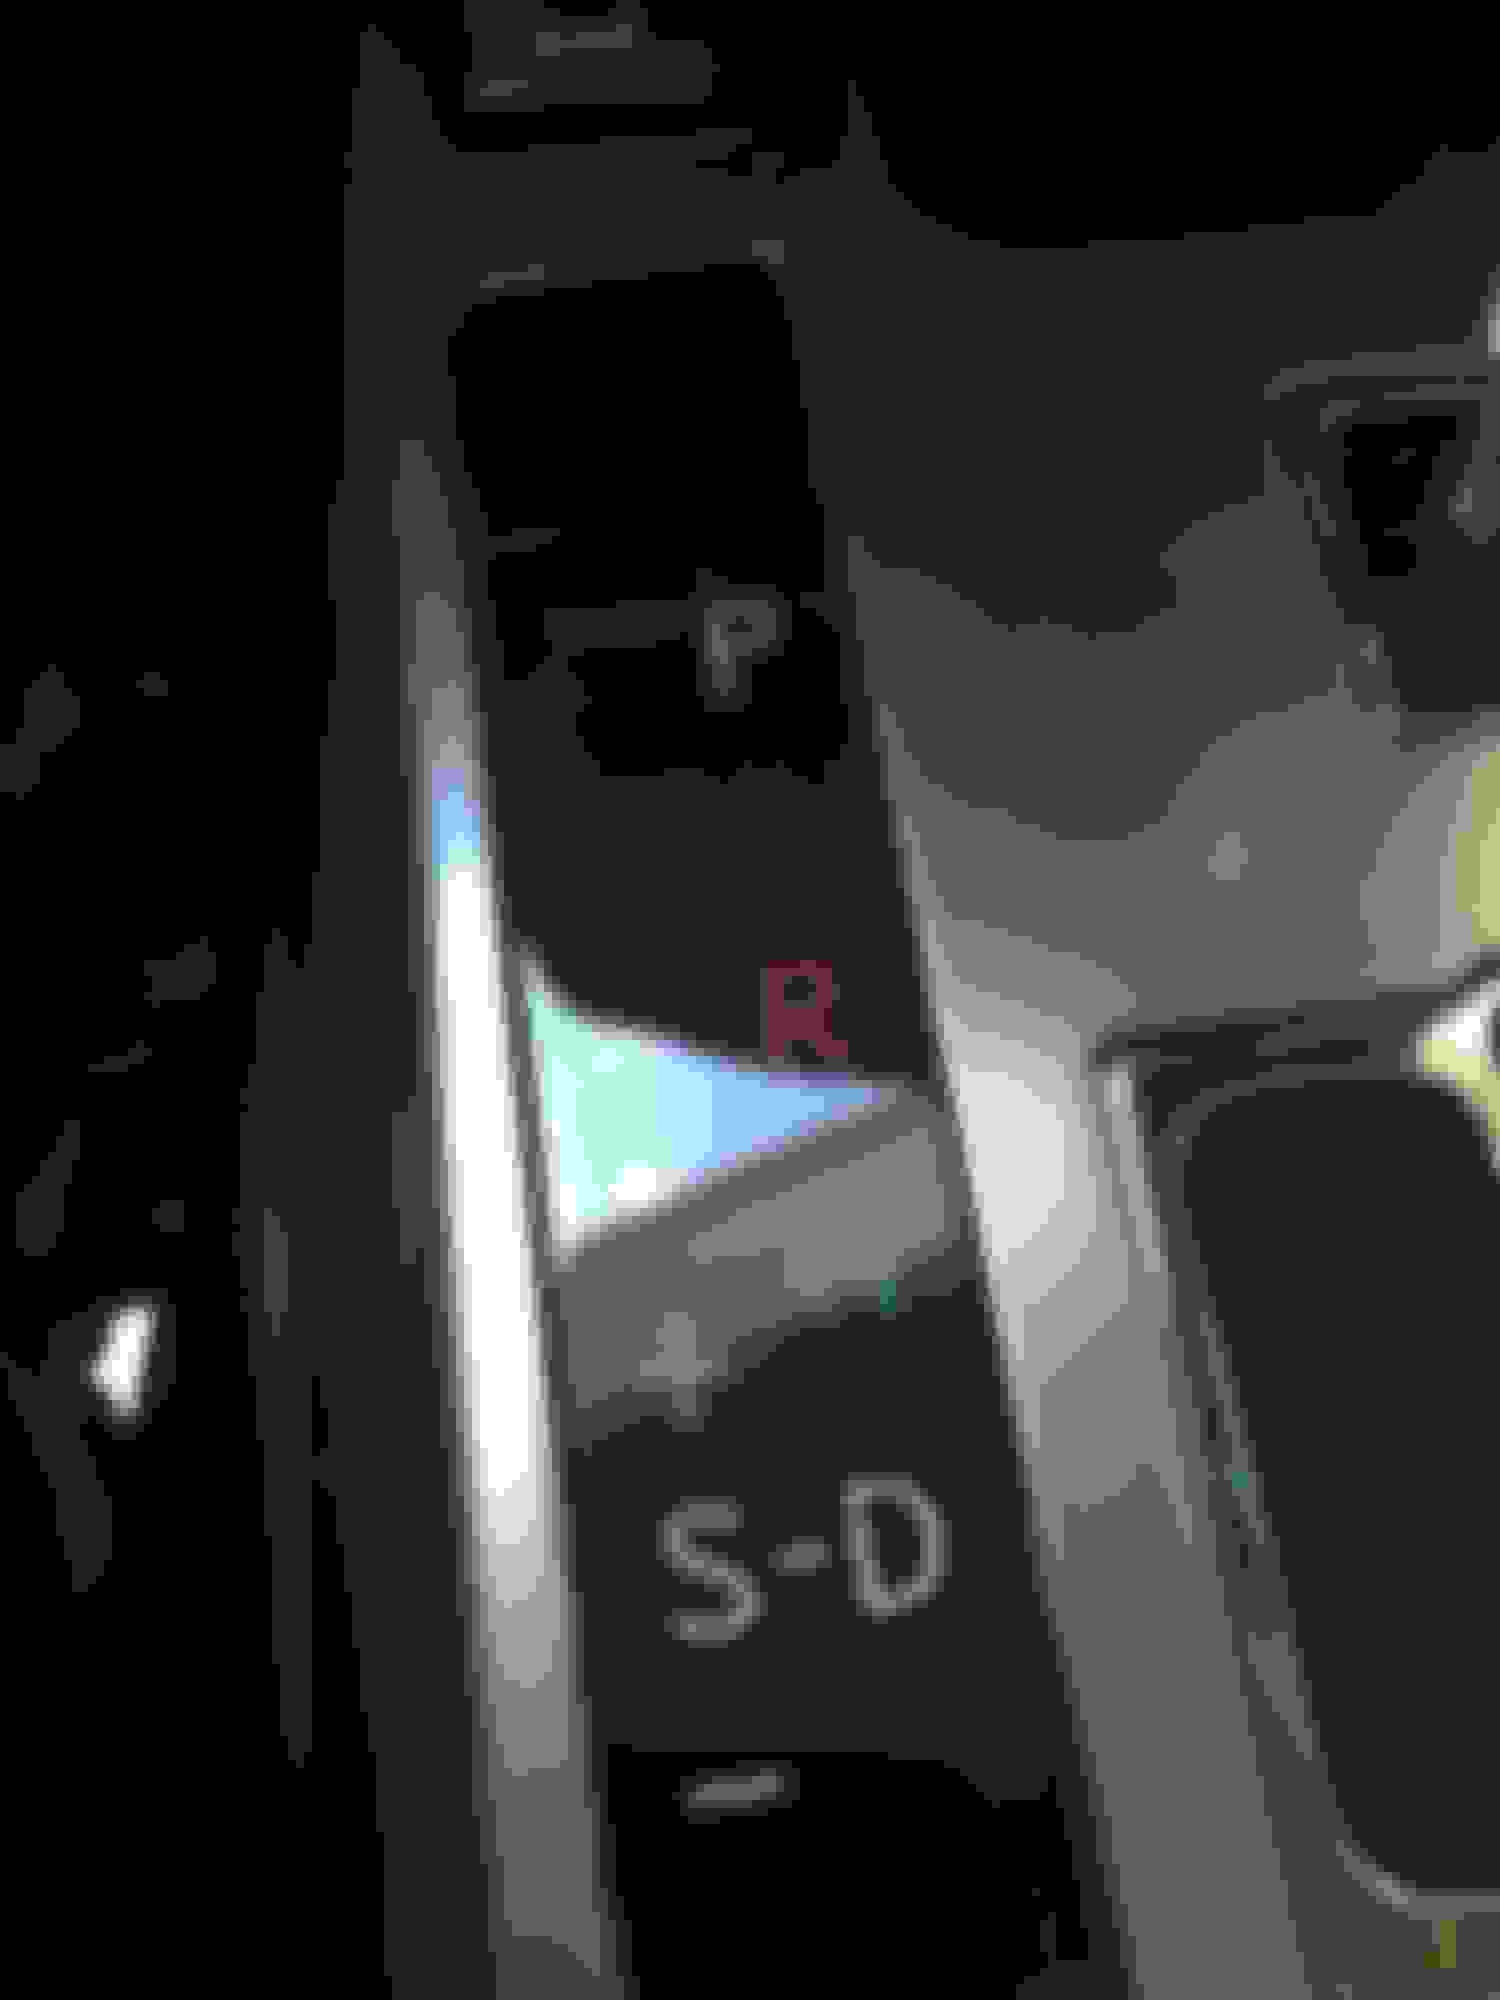
Hopefully the picture show the results but it was hard to pick up the micro-scratches with an Iphone. I also should have taken a picture right out of the gate. I did not think about it until I was mid way through unfortunately. This is an amazing transformation in my opinion. The car looked great before but now it looks BRAND NEW. Anyone with a Lexus or other car with lots of real wood inside knows what I am talking about. Those little mars just bug the XXXX out of me. No longer...
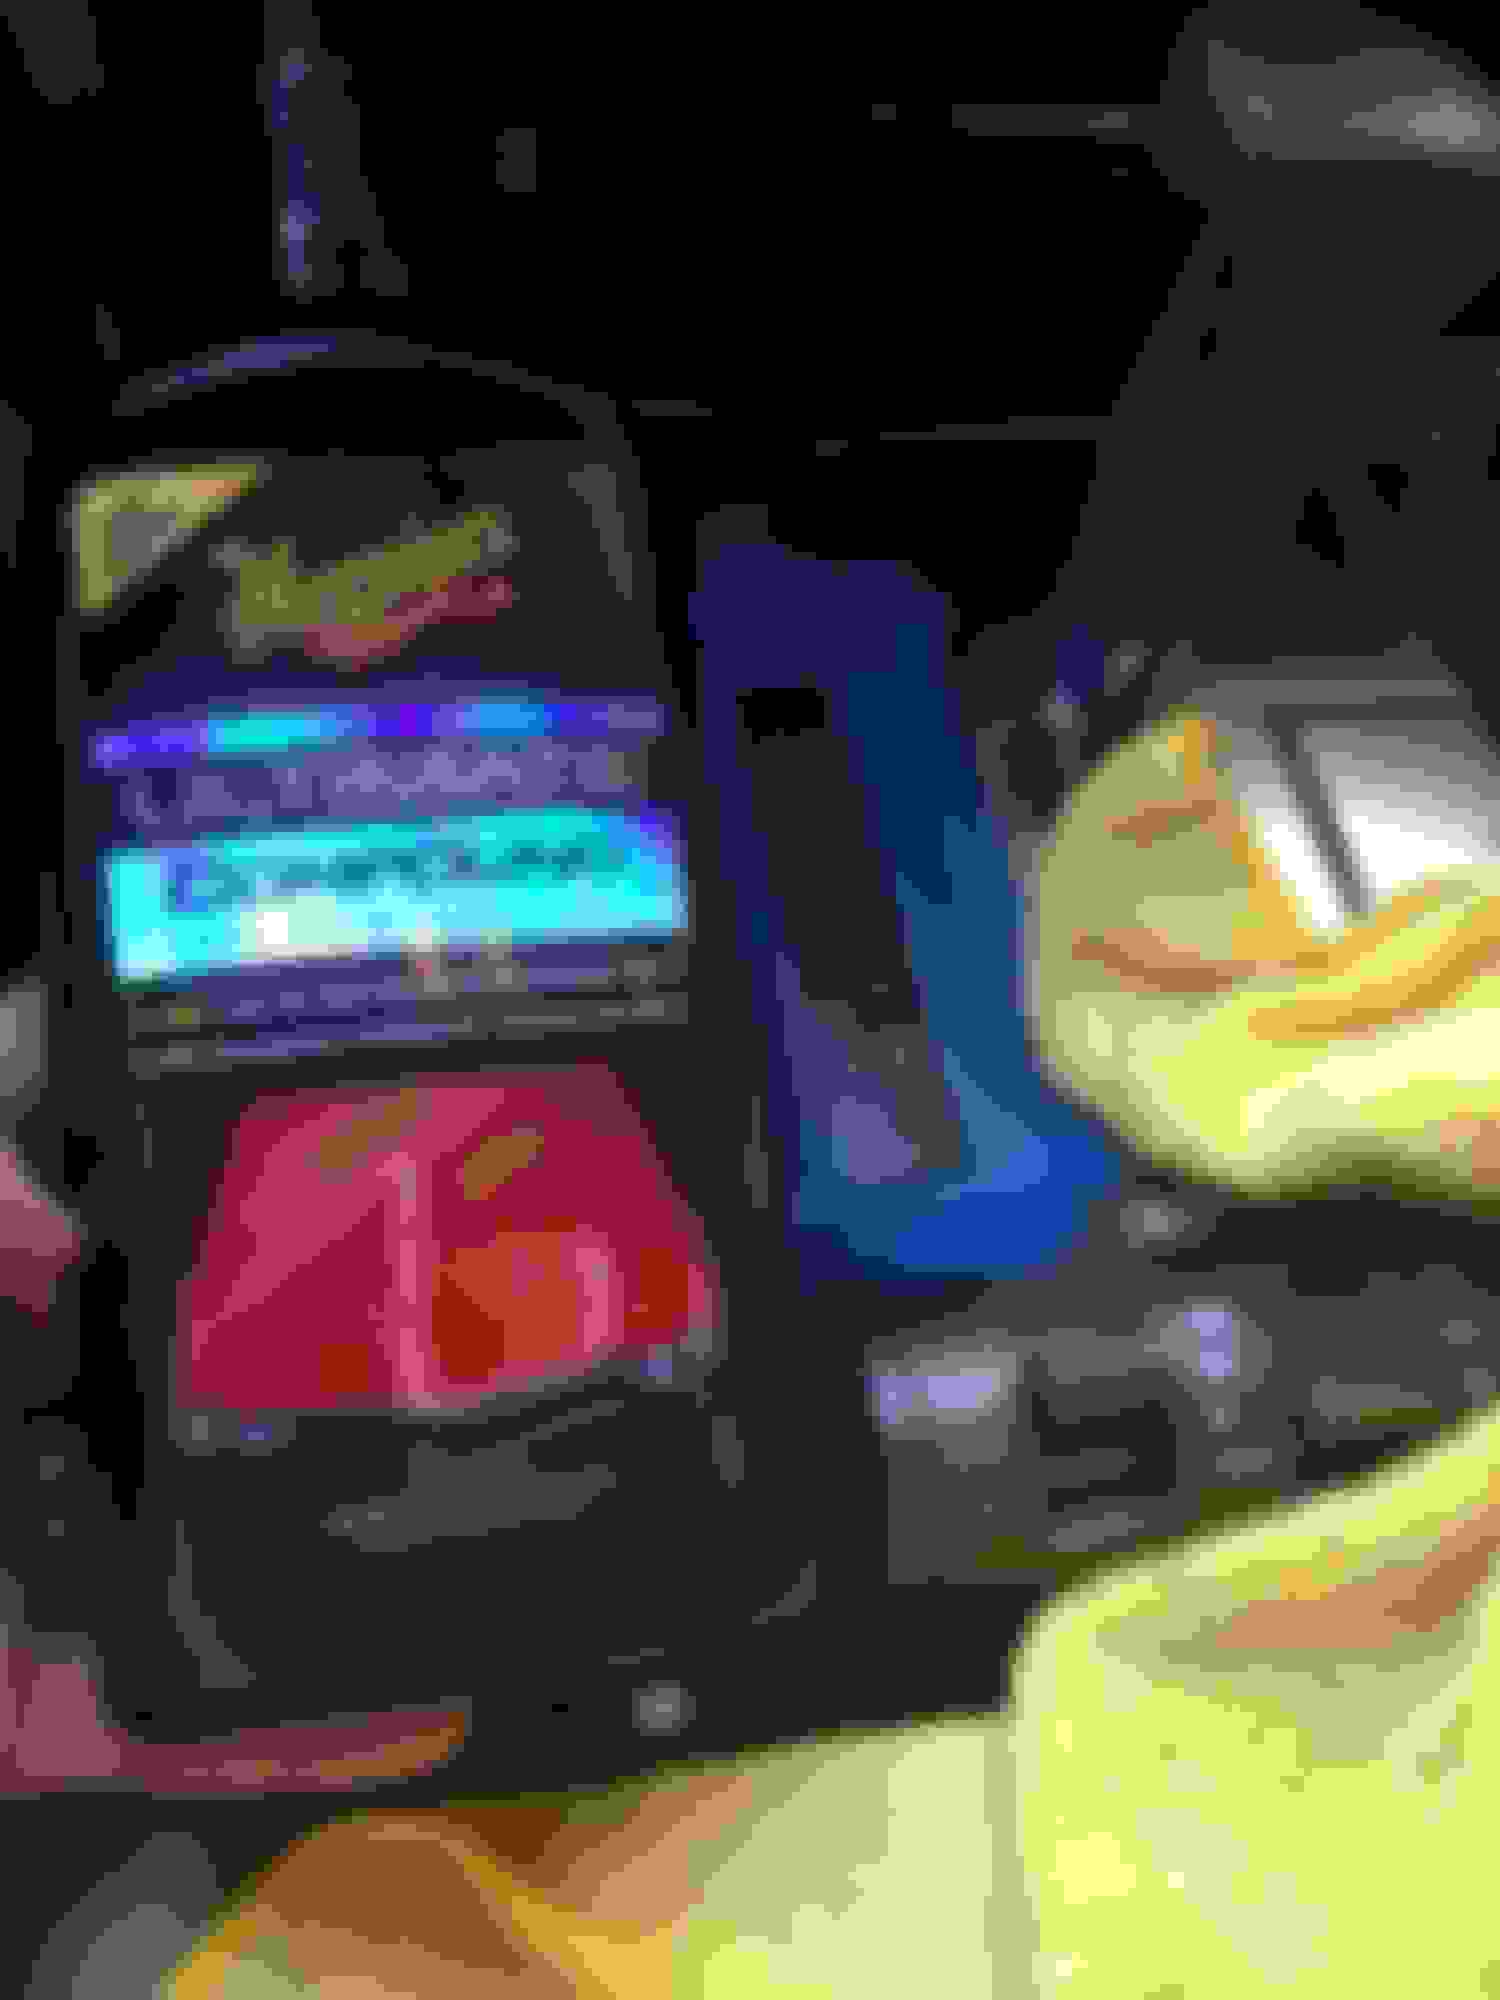
The first pic is of the gear label and should show some of the light scratches. Then the next few are really hazy just cause they have the compound on. I took a picture of the gear label itself later on but not yet finished and then continues working the entire console which you can see in the last picture. I really should have documented this better but hopefully you get the idea.
You can follow it up by buying clear vinyl, like 3M Scotchgard, and applying it over the surface. This will protect that plastic from future scratches, UV rays, and general damage. Once it looks bad, remove and reapply.
You can follow it up by buying clear vinyl, like 3M Scotchgard, and applying it over the surface. This will protect that plastic from future scratches, UV rays, and general damage. Once it looks bad, remove and reapply.
If your going to put clear vinyl on, may I suggest using Expel Ultimate.
It's got no orange peel effect. is very transparent and self healing. Looks very nice!
If your going to put clear vinyl on, may I suggest using Expel Ultimate.
It's got no orange peel effect. is very transparent and self healing. Looks very nice!
Scotchgard and Xpel ultimate are both fine. They both have self-healing properties

 06-08-15, 06:34 AM