Lexus: How to Replace Footwell Lights
If you can't see your feet in your Lexus when it's dark out, try replacing your footwell lighting. These lights are easily accessible and generally inexpensive.
This article applies to the Lexus IS, GS, ES, and RX (2005-2013).
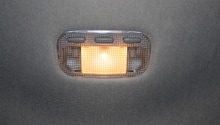
Footwell lighting illuminates the inside of the Lexus, namely the floor space for the front and rear passengers. In addition to safety, these lights also provide security. As with most car lights, footwell lights can burn out over time, providing an unusually dark interior. Replacing your existing footwell lights with more powerful ones is relatively simple and inexpensive.

Materials and Tools Needed
- Flathead screw driver (optional)
- New bulb
Step 1 - Secure replacement parts
Having the right replacement parts in place makes the process much easier. You can find the appropriate replacement part through a Lexus dealership, or search for the replacement part online, narrowing down options based on your Lexus model and year.
Step 2 - Locate the footwell lights
To find the car's footwell lights, first look under the steering column to the left, then search underneath the glove box on the right. During the search, you should be able to see the lightbulbs if they are illuminated. If not, simply look for a small bulb, which maybe by itself or in a cluster of buttons.

Step 3 - Remove and replace the bulbs
Starting with the left side first, place your thumb on the light itself and push upwards using plenty of force. However, be careful not to push so hard that you break the bulb. After applying pressure and pushing upwards, the light should pop out on its own. For the left side, simply replace the current bulb with your new one and reposition the bulb. Make sure it illuminates before moving to the right side.
The right side is a bit trickier than the left. After locating the light, you will need to remove the rubber or plastic cover on the outside of the light if your car has one. Then, pull on the left side of the bottom, where the bottom panel and glovebox meet. When pulling hard enough, the panel should come down in the corner. Once it does, slide your hands along the edge towards the right side of the car to remove the entire panel. Once the panel is off, you should be able to access the light, replacing the existing bulb with the new one.
Pro Tip
During this stage, you may find it easier to use a flathead screwdriver or a similar tool to pry off the panel.
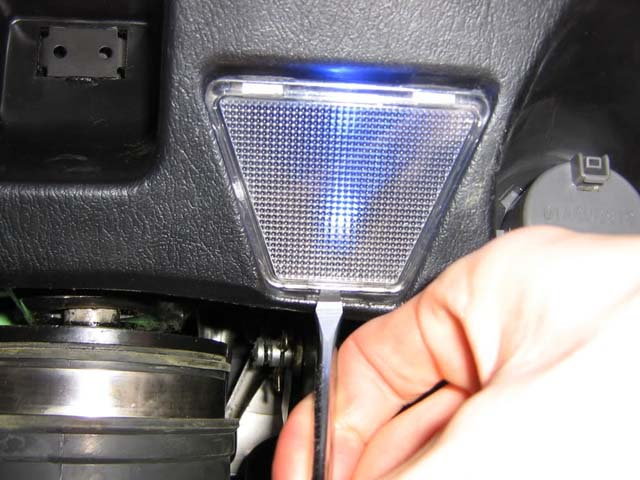
Figure 3. Using a flathead screwdriver to pry off the cover. 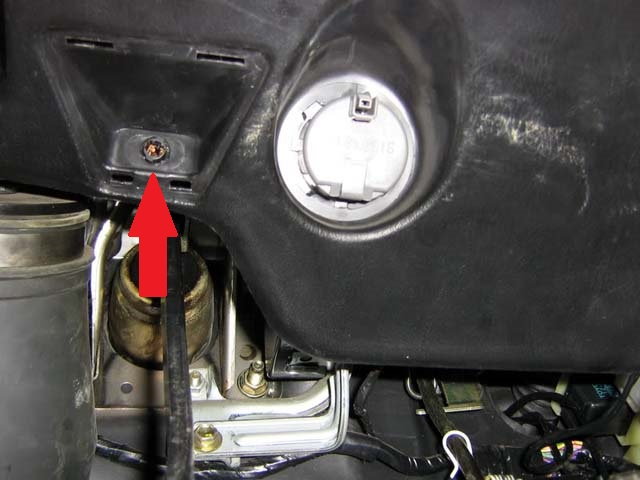
Figure 4. Removed bulb.
Step 4 - Replace panel
After the new bulb is in and you've made sure that it works properly, carefully replace the panel. Your Lexus likely has two designated holes for the panel towards the back. If so, be sure to securely put the panel back into the holes. Replace the rubber or plastic cover over the light when finished.

Related Discussion
- DIY: Lexus ES350 Footwell Lighting - ClubLexus.com

