Lexus: How to Install Black Pearl Style Emblems
Subtle and cool, Black Pearl emblems are one of the easiest ways to make a Lexus stand out from the crowd.
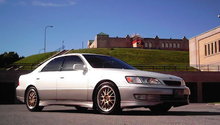
This article applies to the Lexus IS, GS, ES, and RX (2004-2014).
Want to change the look of your Lexus? With an hour's worth of work, you can change some of your factory "bling" to "stealth" by replacing chrome emblems with stylish Black Pearl versions. There are two ways to get the emblems. The official Black Pearl Badging from Sewell cost $400. Alternatively, these are also available on eBay and the forums occasionally. If that price tag is too steep, the other option is to create your own blacked out emblems.

Materials Needed
- Small plastic pry bar for grille emblem
- Hobby knife (i.e. X-Acto #11)
- Emblems
- Can of black Plasti Dip
- Masking tape
- Dental floss
- Adhesive remover
- Rags
- Green Scotch-Brite pad
- Automotive-grade double-sided tape for emblems
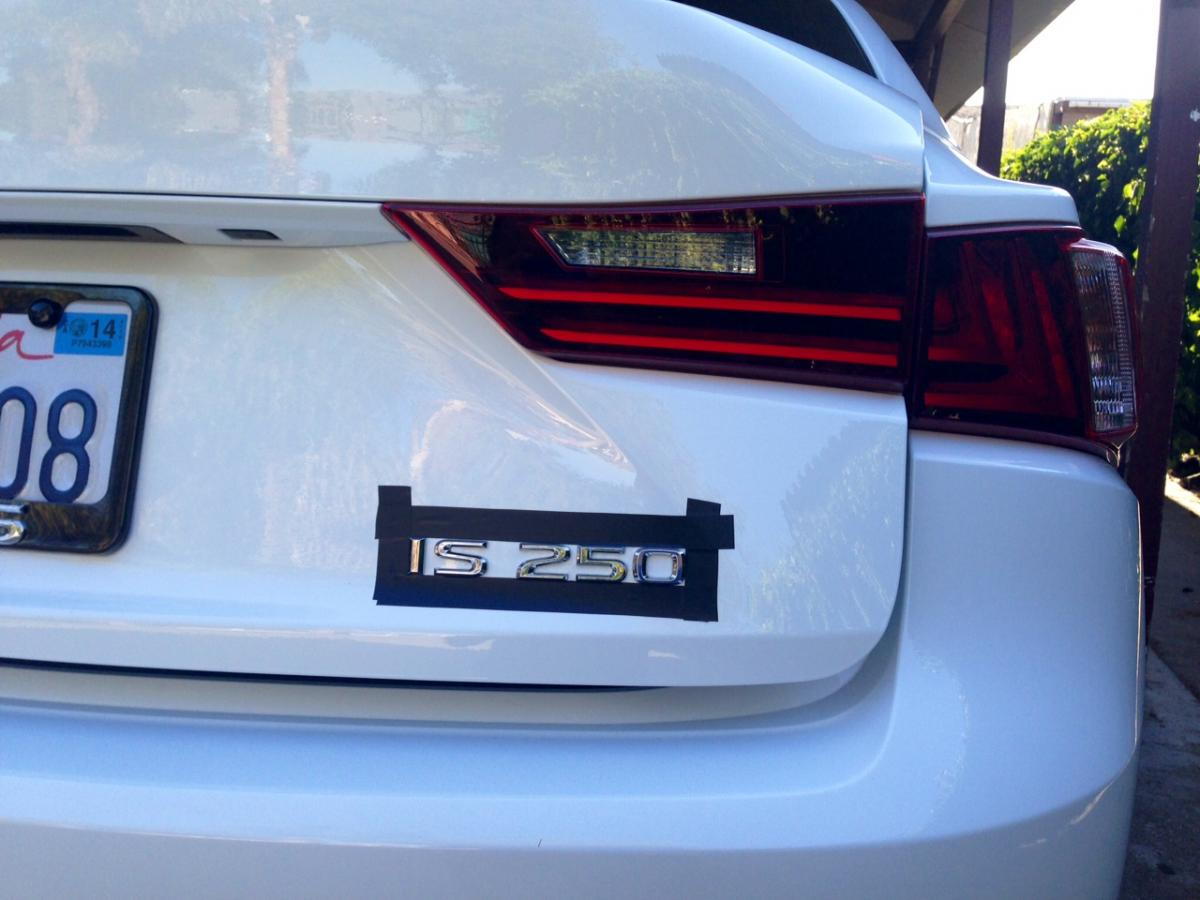
Step 1 - Mark location of existing emblems
Use masking tape to mark off the boundary where the emblems are, placing it tight against the emblems. Use a pencil to make marks for edges of letters inside boundary.
Pro Tip
Cheap masking tape can become hard to remove if left on for more than a day or two. Use blue painter's masking tape, which can be pulled up without leaving behind adhesive residue.
Step 2 - Remove emblems
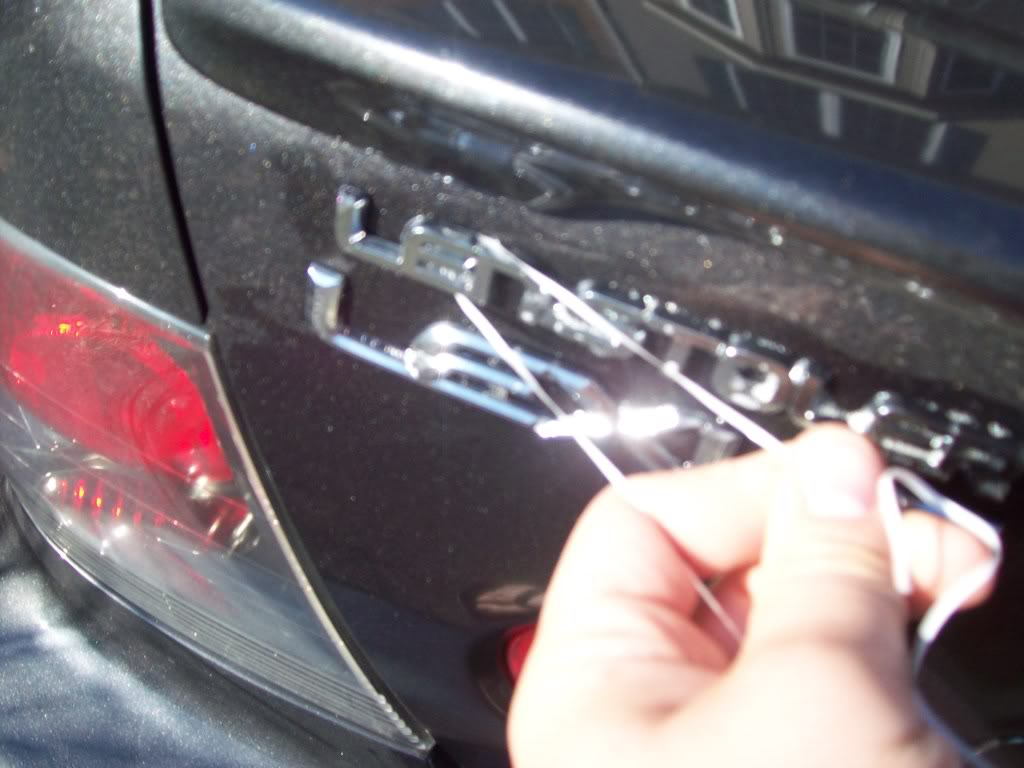
For the badges on the trunk lid, pull out a length of dental floss and wrap it around your two index (or pointer) fingers as if you're flossing your teeth. Wedge the floss between the emblem and the body of the Lexus. Move it downward in a sawing motion from top to bottom until the emblem is separated from the vehicle. If this is too difficult, heat up the emblem using a hair dryer. This will soften the glue and make separating the emblem from the body easier.
For large "L" badges, use a plasic pry bar to pull them away from the body. Badges are barbed for one-way installation. If you break them off don't worry; you'll be using double-sided tape to hold them on.
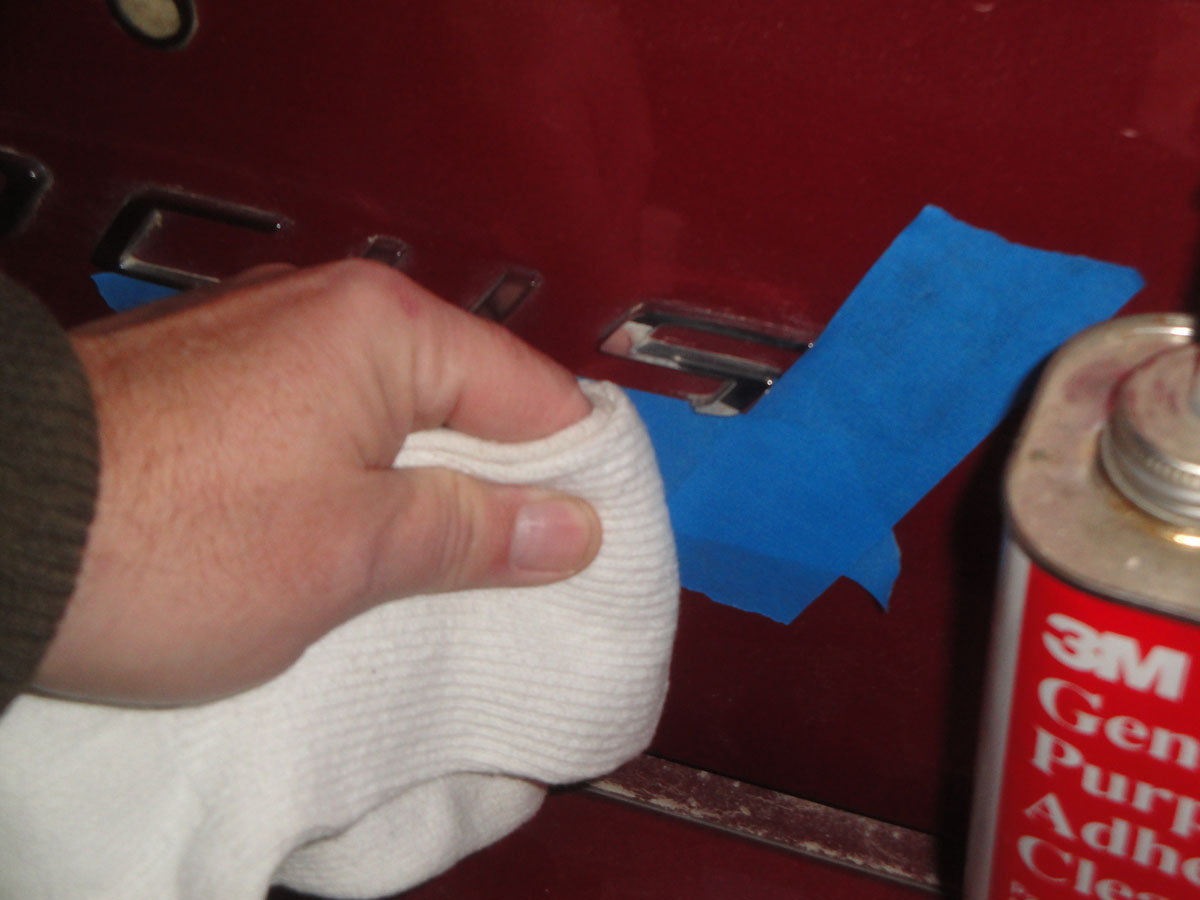
Step 3 - Remove adhesive residue
Soak a corner of rag with adhesive remover and wipe down the area where the emblems were to get rid of leftover adhesive. Since it is glue, this step might be a little tedious. Just keep at it until the surface is clean of residue.
Pro Tip
Use a professional-grade product specifically formulated for adhesive removal so you don't damage the paint.
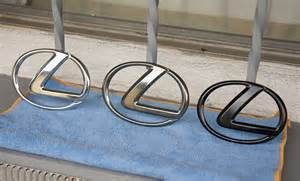
Step 4 - Coat emblems
If you are reusing old emblems clean them in soap and water, dry, and set aside. Scuff lightly with green Scotch-Brite pad to dull finish and give some "tooth" for coating to grab onto. Open can of Plasti Dip, dunk emblem, and let excess drip off. Set emblem on a non-stick surface like waxed paper to cure. If you're going to use new emblems, skip ahead to step 6.
Step 5 - Apply and trim double-sided tape
Cut pieces of double-sided tape slightly larger than emblems and remove one side and place emblems on tape. Using the hobby knife, trim off excess. If reusing large emblems that had mounting pins, trim tape off around them so pins can help position them in original locations.

Pro Tip
When trimming, make several light cuts instead of one heavy cut, and change blades if tape starts to tear.
Step 6 - Place emblems on car
Remove protective layer, exposing adhesive. Carefully line up emblem for placement and press into place. If you put it on crooked or out of line, break out the dental floss, cut the emblem off, and start over.
Pro Tip
Use a small magnetic-backed card with some thickness to help line up emblems on deck lid.
Step 7 - Cleanup and maintenance
Pull off masking tape, use adhesive remover one more time to clean up any residue, and you're now ready to cruise with a new look. If you need to touch up the Plasti Dip, use a small paint brush to dab it on.
Featured Video: Installing Black Pearl Style Emblems
Related Discussions
- Black Pearl Emblem DIY - ClubLexus.com
- Plastidip Lexus Emblems and Badges DIY - ClubLexus.com
- Homemade Black Pearl Style Emblems and Badges - ClubLexus.com
-
Lexus Trunk Debadging DIY - ClubLexus.com