
Goin' Figs / Skip the Daizens.
 04-22-14, 11:57 PM
#1
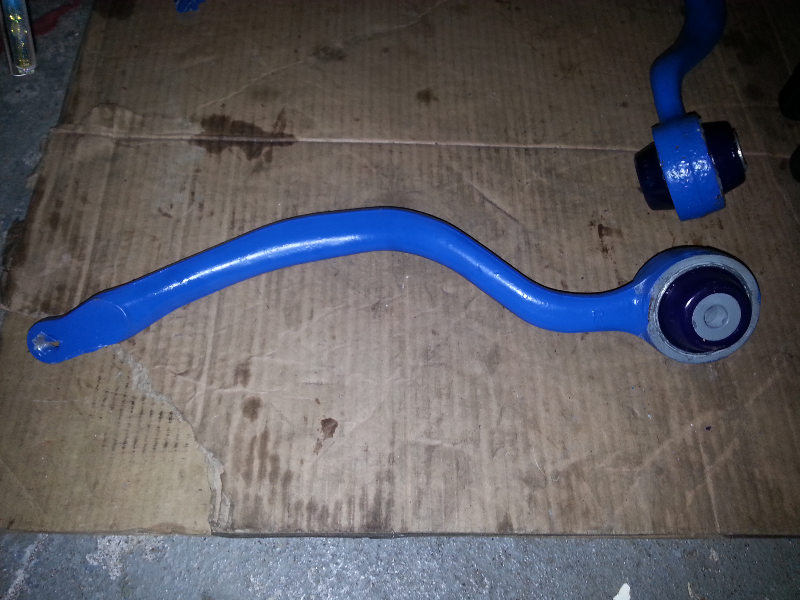
Decided to upgrade bushings (etc.) in front now that Figs has finally made available the #1 lower control arm bushing. The final piece of the puzzle. Also decided to switch out the aftermarket bushings I installed on the caster arms which "egg out" under load.
As I continue to install the new equipment I will follow this thread up with new pics. stay tuned
P.S. Sorry for the crude methods and offset pics.. I have to improvise sometimes and use whats at hand. And my phone keeps rotating the pics for some reason..
As I continue to install the new equipment I will follow this thread up with new pics. stay tuned
P.S. Sorry for the crude methods and offset pics.. I have to improvise sometimes and use whats at hand. And my phone keeps rotating the pics for some reason..
Last edited by Tank; 04-29-14 at 07:43 PM.
 04-24-14, 11:13 AM
#2
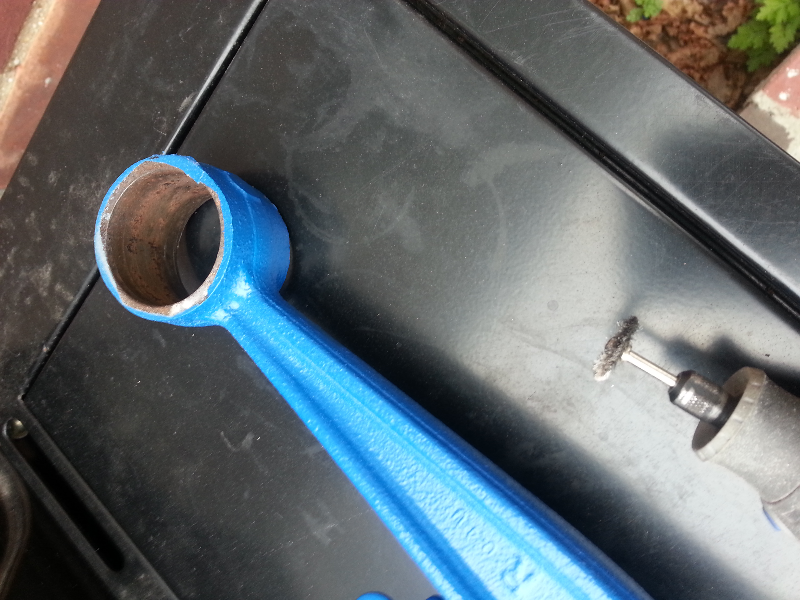
#1 LCA. According to the install instructions the lip on on side of the OEM bushing needs to be bent over with a chisel to allow the bushing to be pressed out from the other side.
I found this a little difficult to do. I guess my shop press wasn't strong enough (12 tons) and I had to improvise with what I had to use to press out the bushing so I chiseled the whole thing over.
I found this a little difficult to do. I guess my shop press wasn't strong enough (12 tons) and I had to improvise with what I had to use to press out the bushing so I chiseled the whole thing over.
Last edited by Tank; 04-24-14 at 11:22 AM.
04-24-14, 11:19 AM
#3
Before I bent the lip over with a chisel to make it look like a "crumpled star" I pressed out the rubber coated middle shaft part of the bushing. I felt it would be easier to press the bushing out if I removed this part first. I then used a 32mm deep socket to press out the bushing from the lip side.
04-25-14, 08:39 AM
#4
Thanks for the write up. As always if there is anything you encounter during the install that we can improve let us know.
Mike
Mike
__________________
Redefining Lexus Aftermarket Parts Since 2001
-- We are your Lexus suspension experts--
BCR - KW - PENSKE - OHLINS - HKS - GREDDY - STANCEPARTS
Links - Arms - SuperPro Poly Bushings - Solid Bearing Conversions - Motor Mounts
RB BBK's and 2P Rotors, G-Loc pads, Radium Fuel Systems
Custom Fabrication Design and Machining - Industrial 3D Printing - Laser Cutting
2018 USTCC Sportsman Class Champions - 2018 NASA ST5 National Champions
04-29-14, 08:01 AM
#6
Clean..
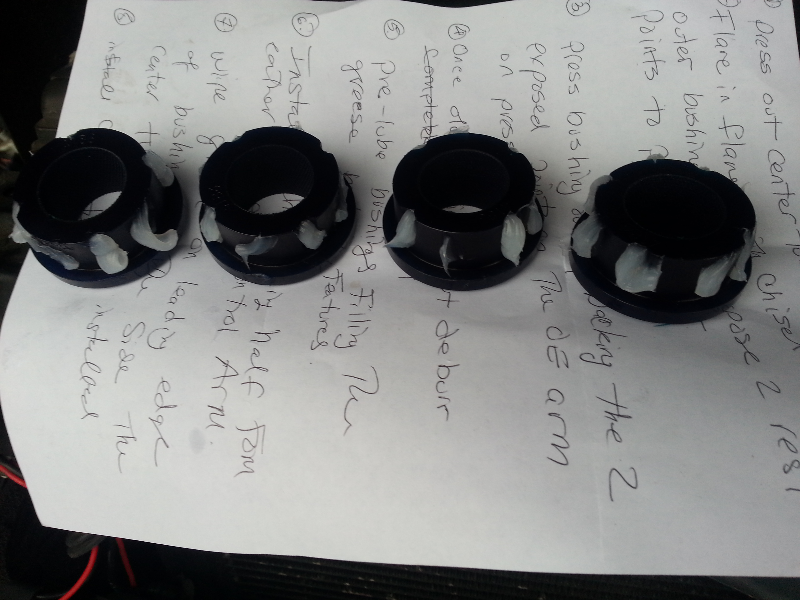
Lube

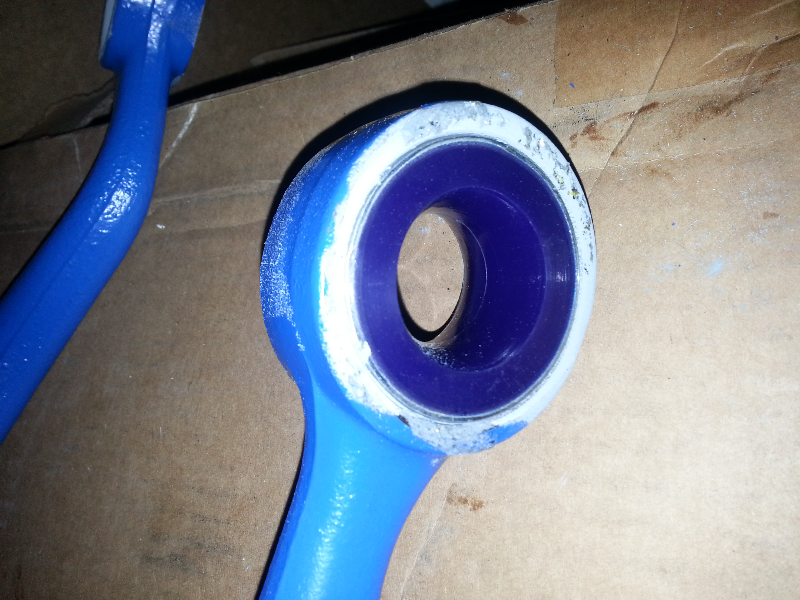
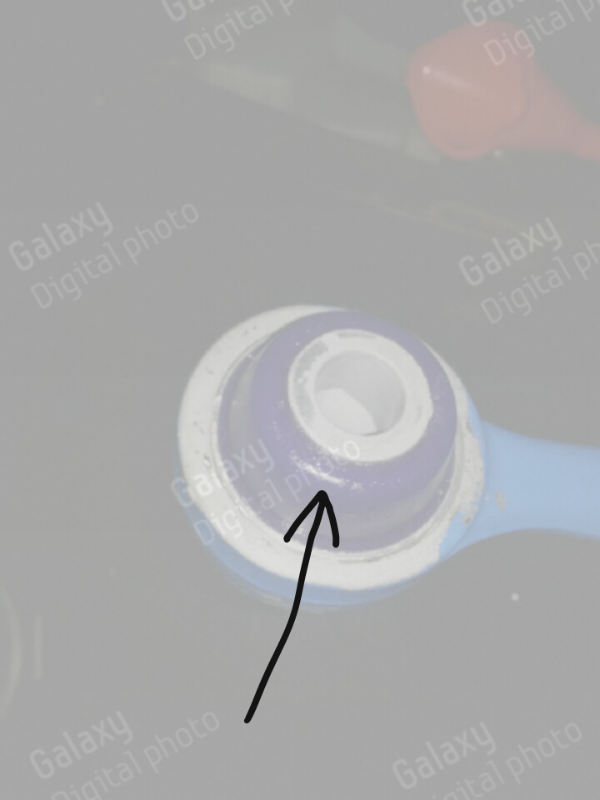
Insert.. you don't need a shop press to insert the bushings, only to insert the metal shaft. And you wont even need that much pressure. As per install instructions you need to rub a small amount of grease on the inside of the bushing on the side that you will be installing the shaft from.
Last edited by Tank; 04-29-14 at 07:38 PM.
Trending Topics
 04-29-14, 04:36 PM
#10
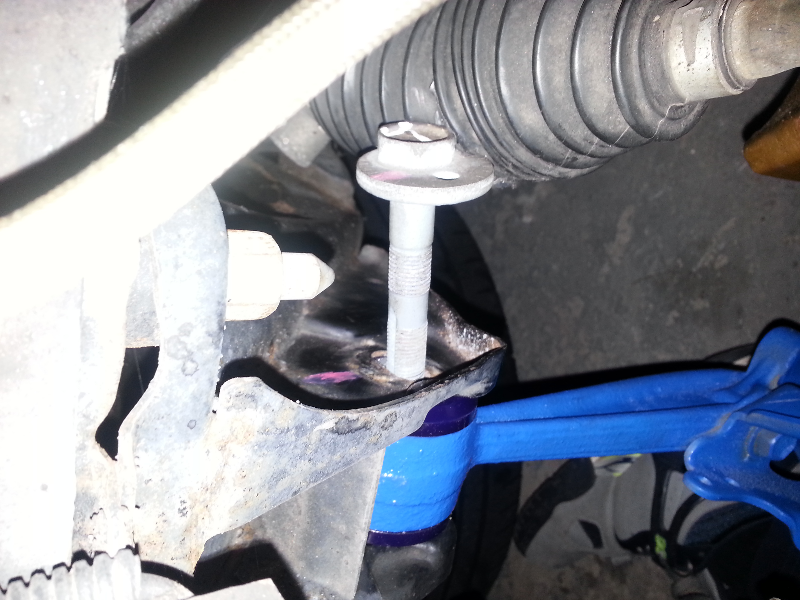
You might get stuck removing/inserting the camber adjustment bolt on eather side.. I loosened the steering rack mount bolts and was able to wiggle it in there.. just be careful with the tie rod boots.
Last edited by Tank; 04-29-14 at 07:41 PM.
 04-29-14, 05:19 PM
#13
Attachment 326589
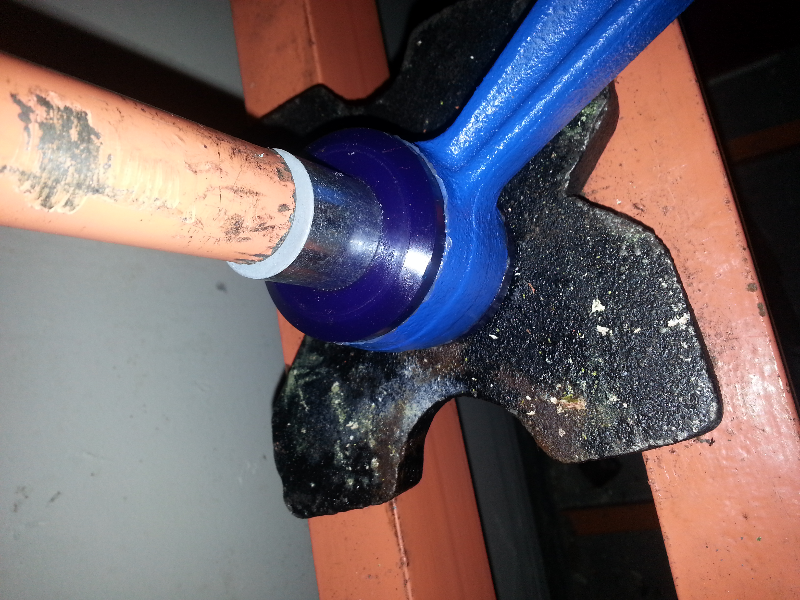
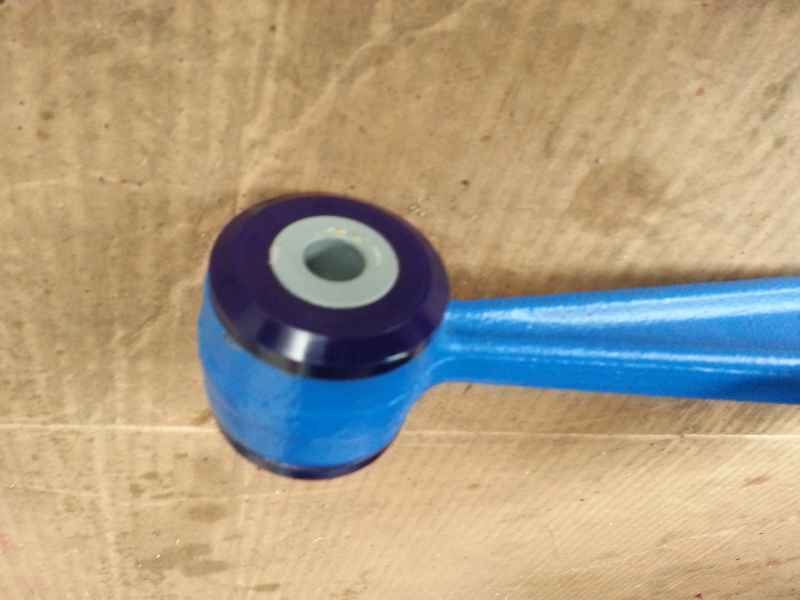
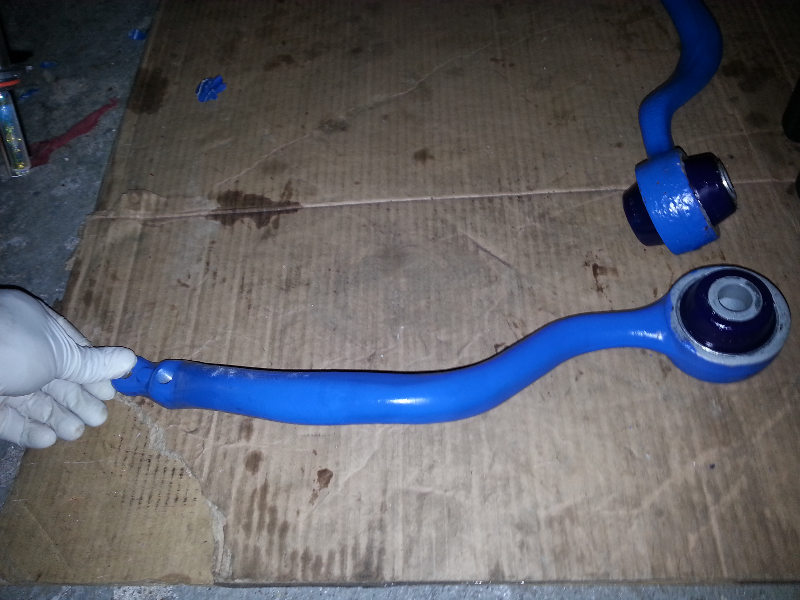
Finished product.. you shouldn't need the press to insert the metal shaft or the top and bottom parts of the bushing. I was able to press the rest of the parts in by hand which made it easier for me to re-install the arm. I ended up having to push the metal shaft back out about half way so I could thread the two mounting bolts on the LCA.
Finished product.. you shouldn't need the press to insert the metal shaft or the top and bottom parts of the bushing. I was able to press the rest of the parts in by hand which made it easier for me to re-install the arm. I ended up having to push the metal shaft back out about half way so I could thread the two mounting bolts on the LCA.
Last edited by Tank; 04-29-14 at 07:48 PM.
04-29-14, 05:28 PM
#14
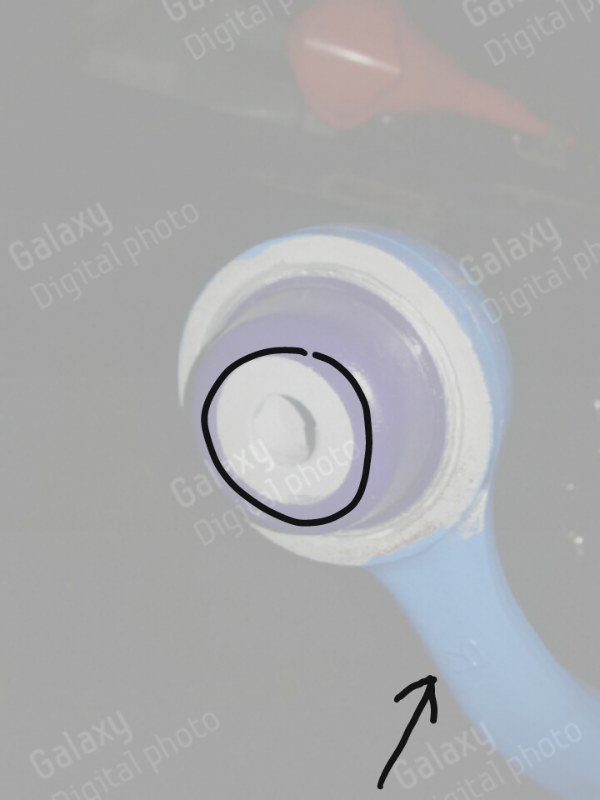
KEEP IN MIND..just like the OEM bushings one side of the metal shaft has a smaller hole than the other. The smaller side belongs on the side of the caster arm with the R or L on it.
The larger hole goes upward.
Right side (passanger side) as it would be mounted on your GS.
Any questions feel free to ask.
Good luck.
