SC 430 leather before and after
#1
Pit Crew
Thread Starter
SC 430 leather before and after
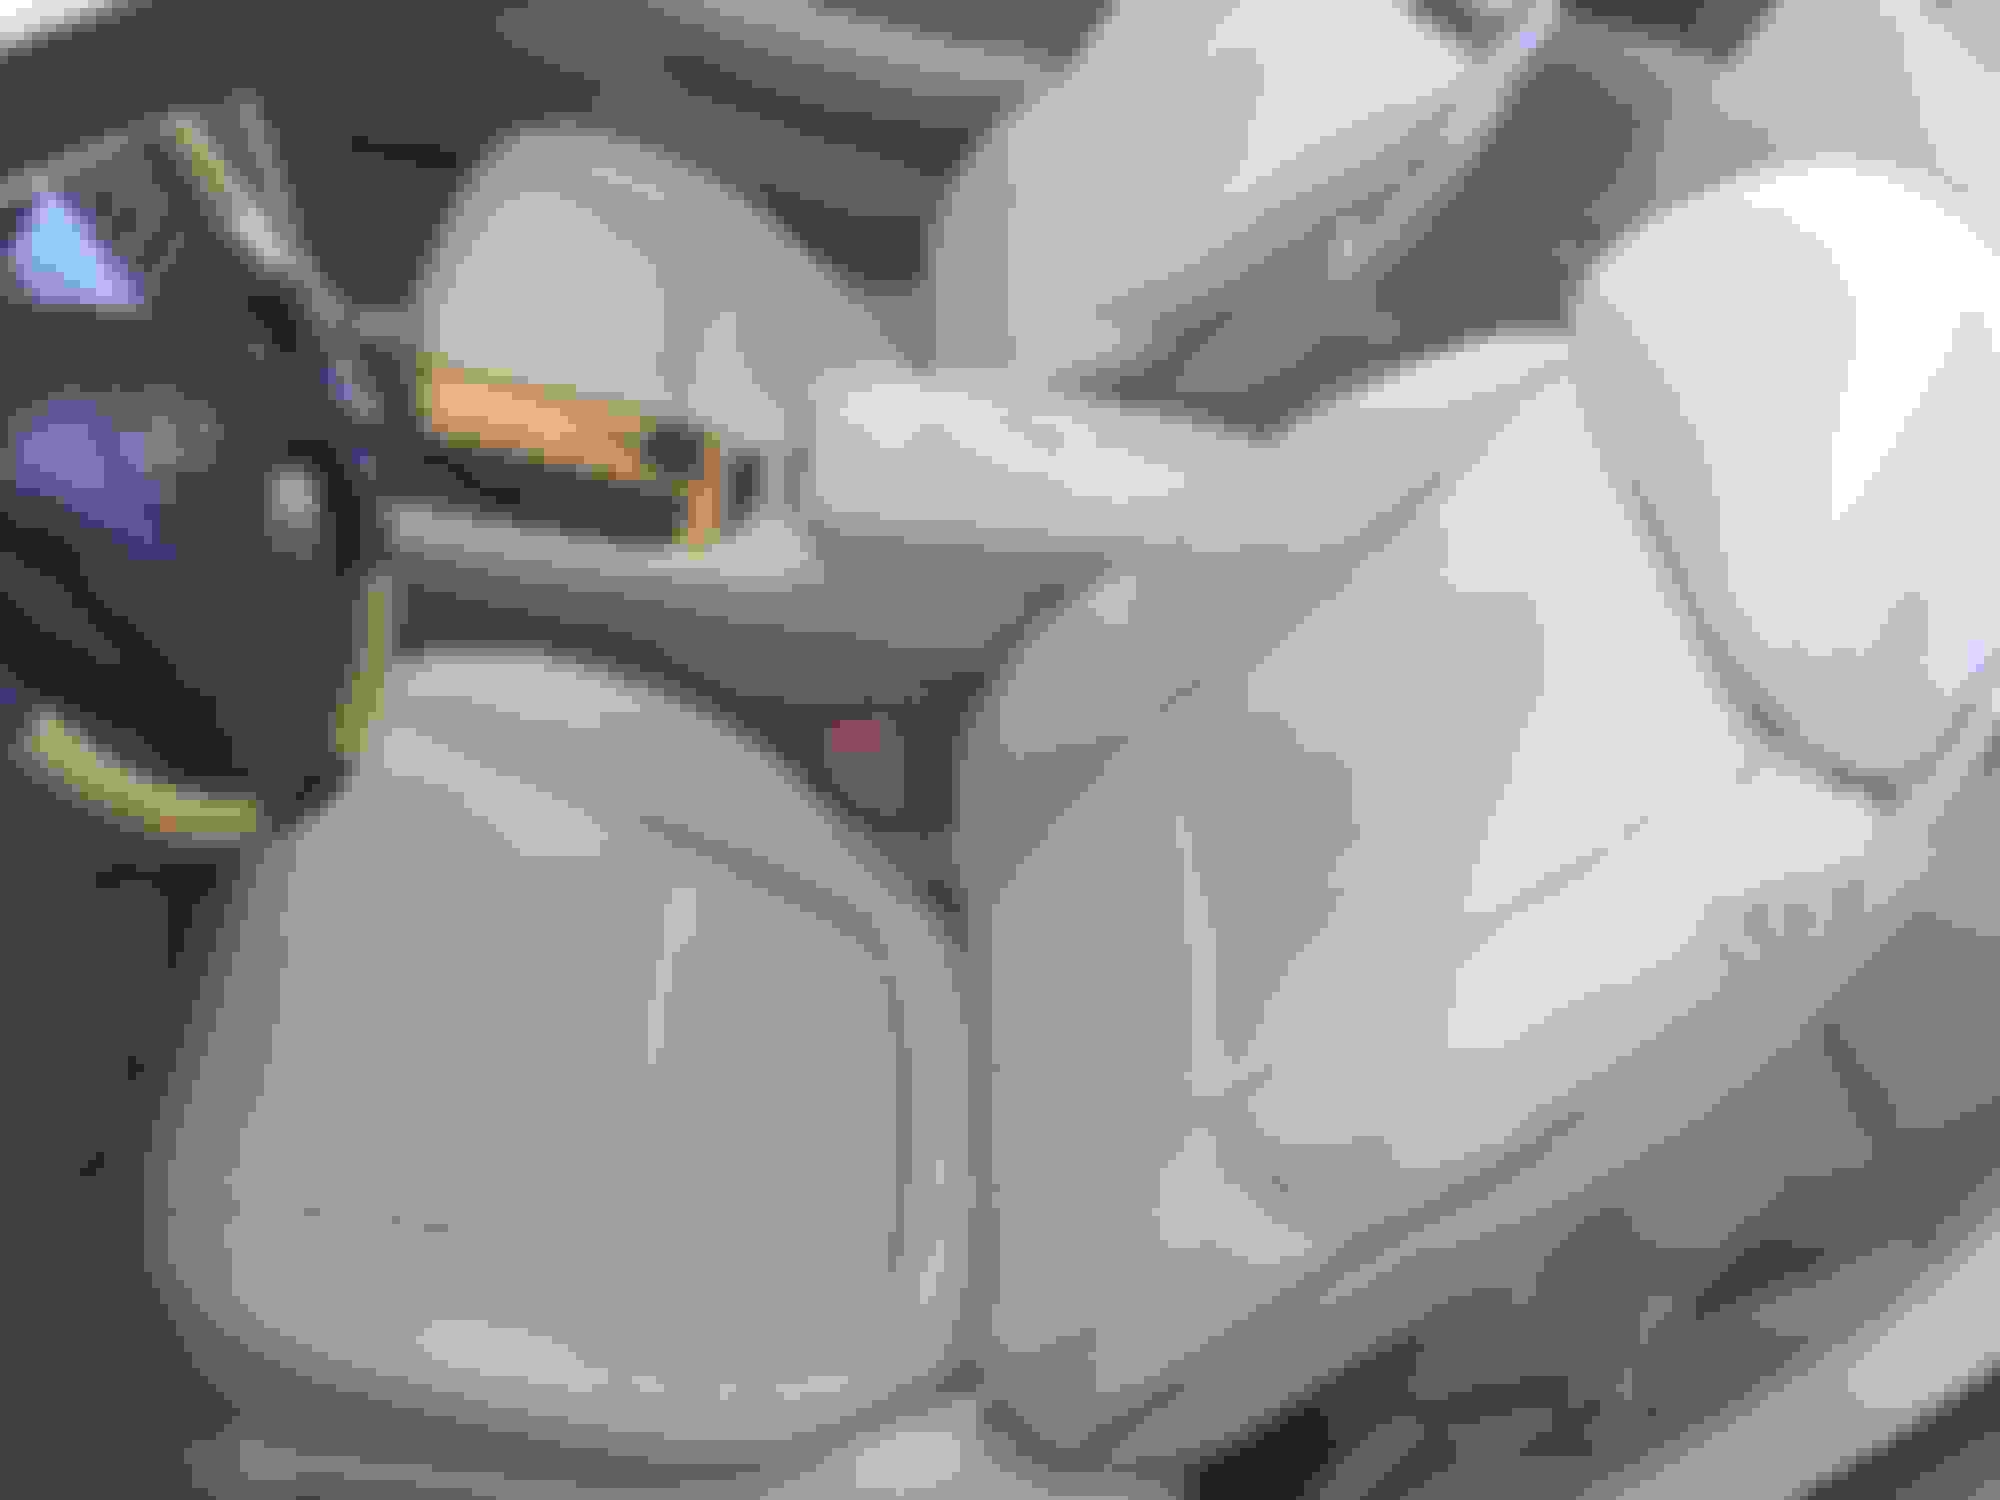
I thought I would post a couple pics of my leather after I dyed it. My leather had some worn spots, and I dyed the interior and it turned out pretty nice. The before pics look pretty bad, but I sanded some areas which made it look worse than it was, but I thought I would encourage guys to dye their cars if needed, its pretty simple.
I have dyed leather interior for years on my cars, but had to do it with spray guns and removing everything, but these days its pretty easy!
If you have questions, please ask, glad to assist. I bought my Sc from original owner and they really serviced it well at Lexus every 5k but they did not keep up with leather and body scratches (which I have removed all of them as well).
#2
I get to guess on what year and miles?
#3
Moderator
Nice work. Looks great! Thanks for sharing. What specific products/materials did you use to refinish the seats?
The following users liked this post:
foreste1 (01-23-17)
The following users liked this post:
foreste1 (01-23-17)
#5
Lexus Test Driver
Bravo, looks like brand new!!!
The following users liked this post:
foreste1 (01-23-17)
The following users liked this post:
foreste1 (01-23-17)
#7
Lead Lap
Nice job foreste1! You should be very pleased with that outcome.
The following users liked this post:
foreste1 (01-23-17)
Trending Topics
The following users liked this post:
foreste1 (01-23-17)
#9
Pit Crew
Thread Starter
I ordered from Leather world. http://www.leatherworldtech.com/Leat...its-s/1817.htm
I ordered small bottle of my color dye, sponge to apply, and their leather prep, along with the scuff pad. I had used brake cleaner in the past to clean leather really good before dye, but they told me their leather prep was water based and better for the leather. I looked locally for a water based cleaner and could not find one.
I scuffed up the leather any place I had worn spots with their scuff pad, then I went over whole seat with cleaning prep, and really got into all of the groves and creases. I then wiped it all off with clean terry towels, and let it dry for 48 hours without driving car.
Then I just simply applied the leather dye to the sponge they sent and dabbed it on lightly over areas that needed dye. I would let sit and dry for 30 minutes before coming back and doing the dye again. It took 3-5 coats before it was completely new again. Dont try and cover the areas with so much dye the first few rounds.
They say not to swipe the sponge back and forth, which is what it seems like you would do, but rather dab areas. I have always sprayed my leather in previous cars, and probably will do one final coat with my spray gun at some point, but you really dont need to, the sponge does work well.
Below is what I ordered for my cars, and I was able to do both front seats and arm rest and still have some left over. On my scratches on body I used Meguires rubbing compound and a little inexpensive orange buffer that cant do much harm to paint if you dont know what you are doing. Had to go over some scratches a few times, but they came out.
- 8oz Dye Colorant
- 8oz Color Prep & Cleaner
- Sponge
- Scuff Pad
- Gloves
- Instructions
The following users liked this post:
JDMFactory (01-23-17)
The following users liked this post:
foreste1 (01-23-17)
Thread
Thread Starter
Forum
Replies
Last Post
caverman
LS - 4th Gen (2007-2017)
22
09-16-19 04:01 PM
JJRHO
Automotive Care & Detailing
21
04-08-05 08:40 AM