
Refinishing my gray interior with black SEM
 03-29-11, 10:38 AM
#1
Pole Position
Thread Starter
iTrader: (3)

Join Date: Jan 2011
Location: CA
Posts: 382
Likes: 0
Received 0 Likes
on
0 Posts
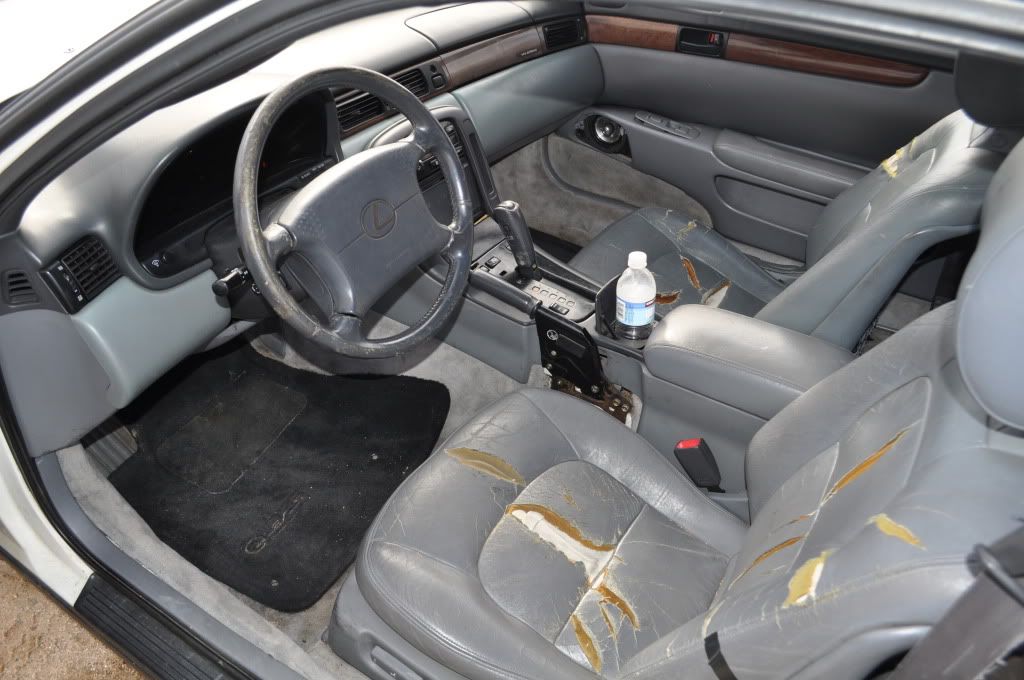
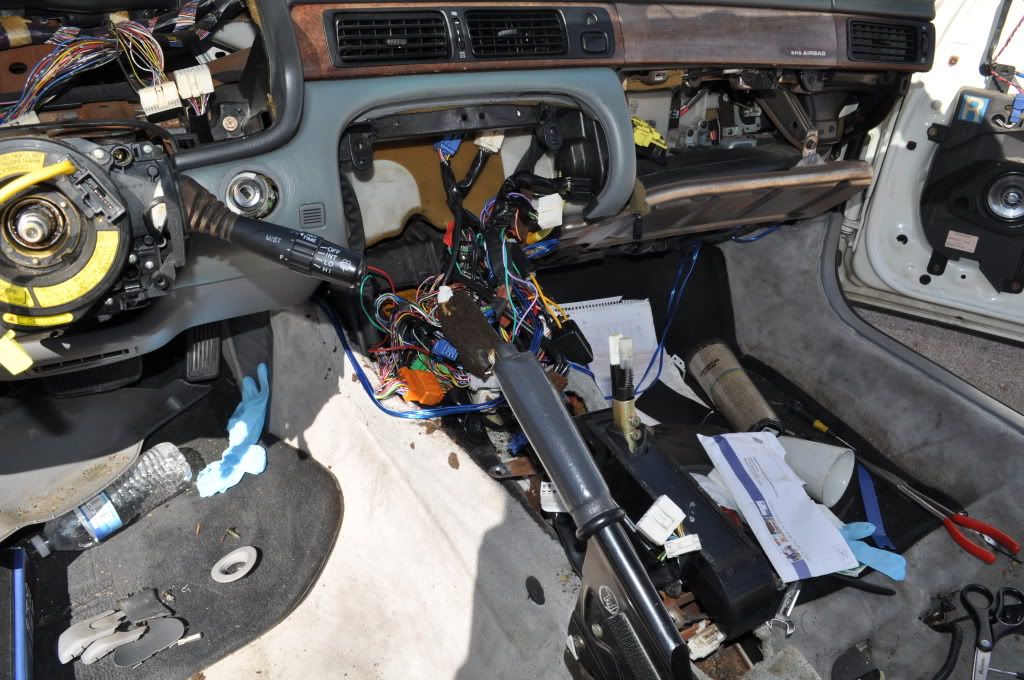
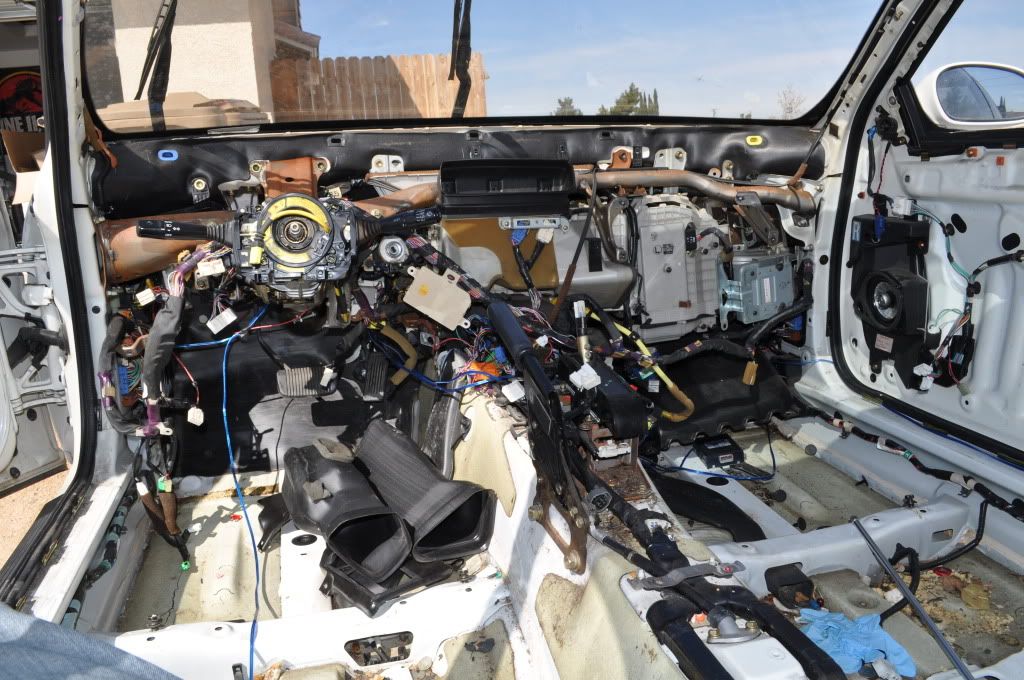
Ok I have been updating my build thread with this info as well, but thought I would start a thread dedicated to refinishing my interior.
Here is what I started with
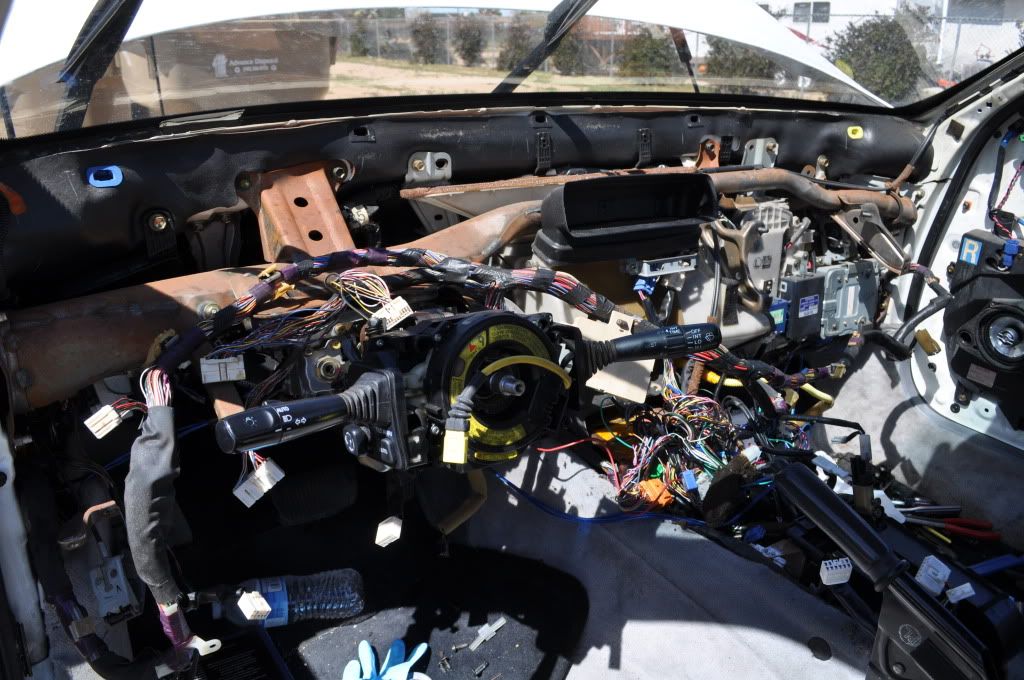
So I just started ripping stuff out. I was pretty amazed that after all of that I only broke like 3 tabs, which can repaired with epoxy.
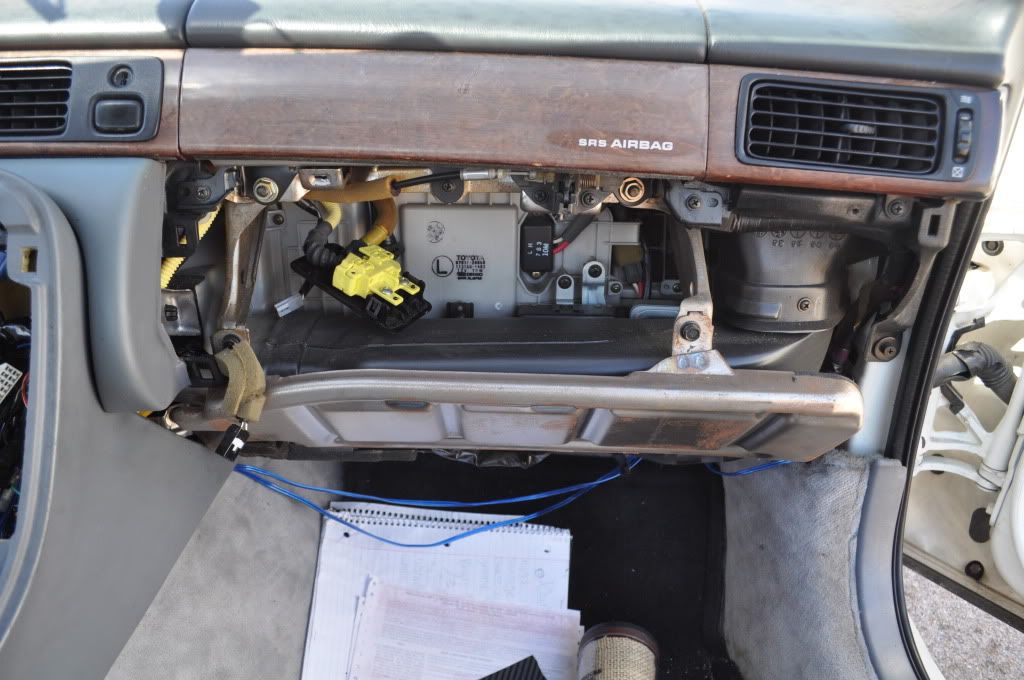
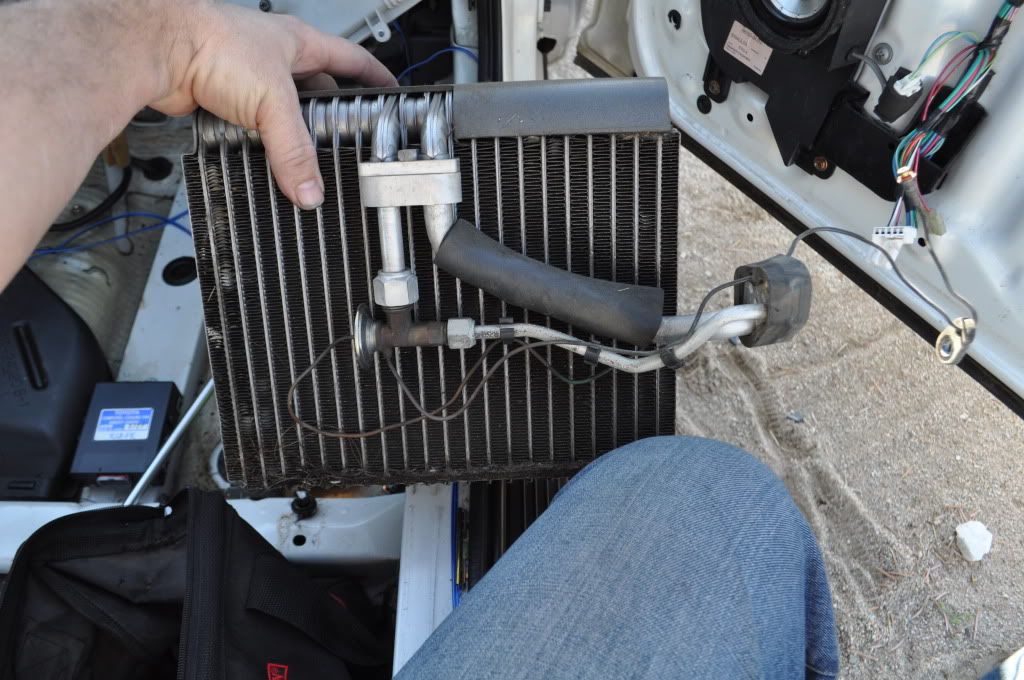
Figured that since I was in it this far I might as well change the AC expansion valve since I have no idea how old it is and my AC was not really cold to begin with
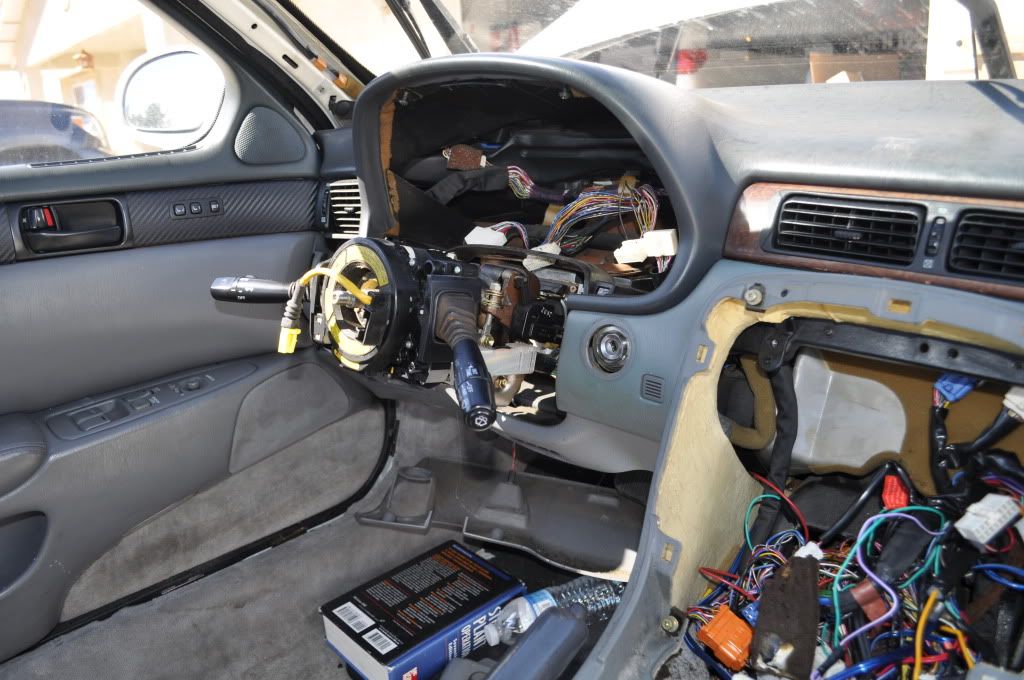
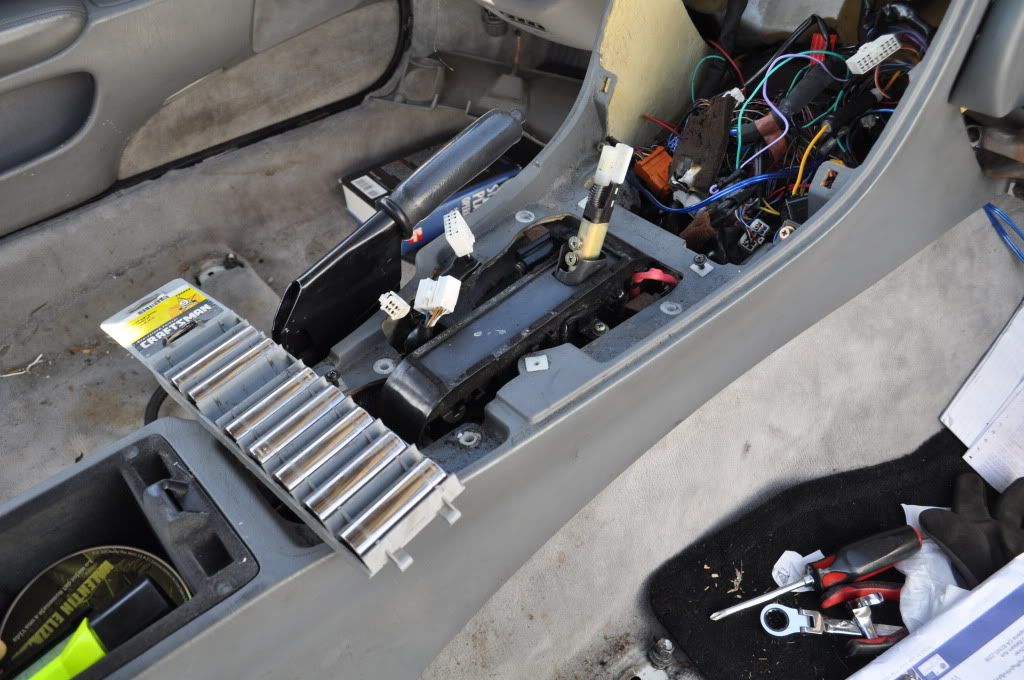
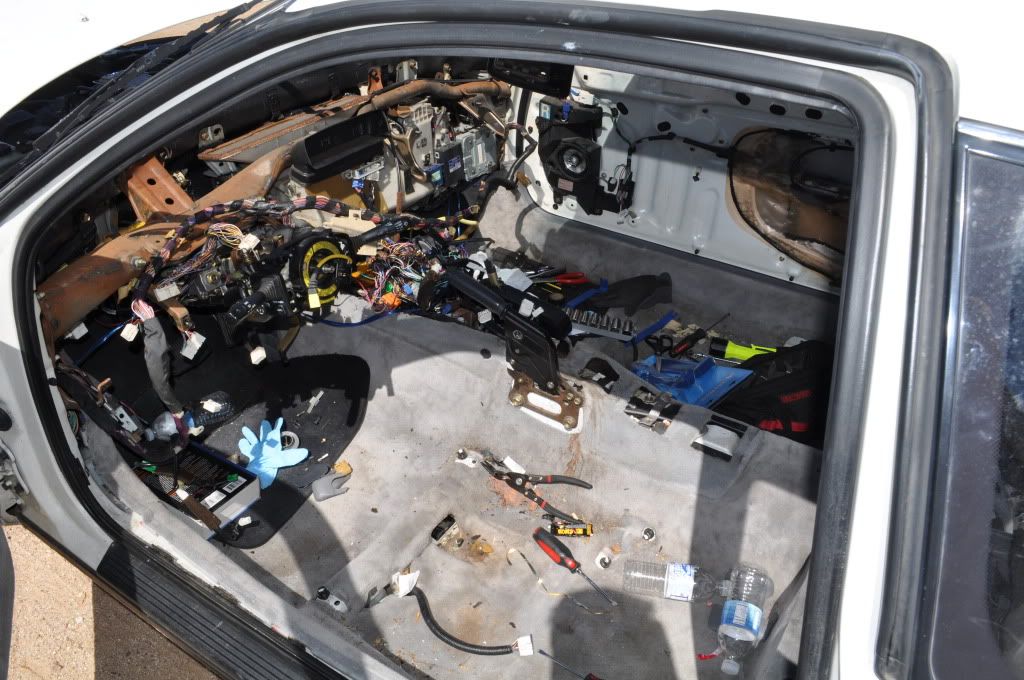
And here is were it stands as of 10:30am PST on 3/29/11
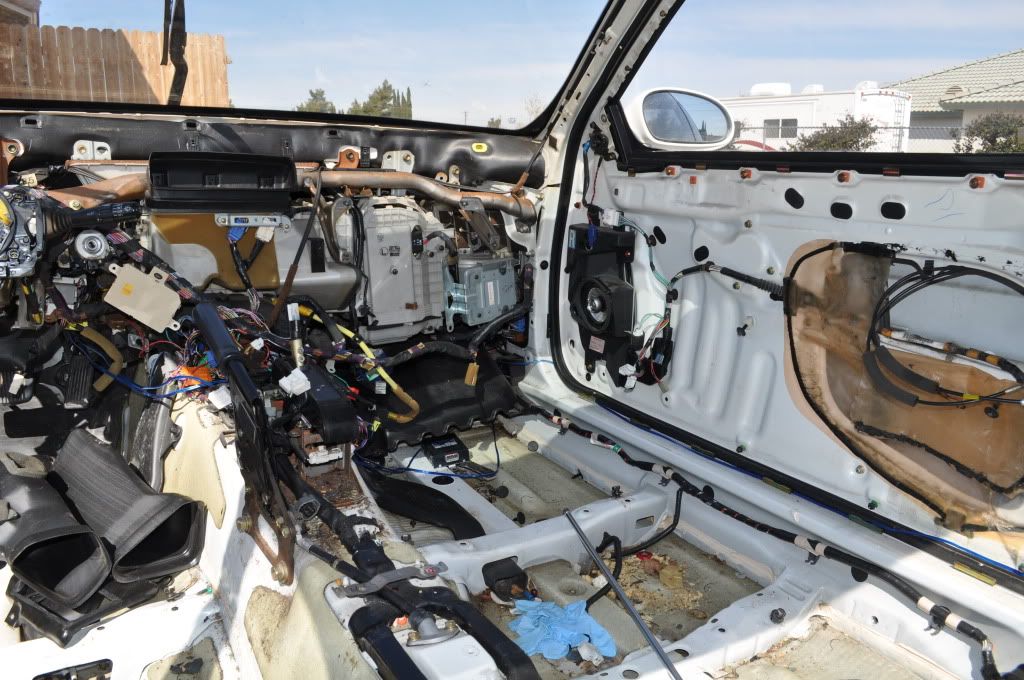
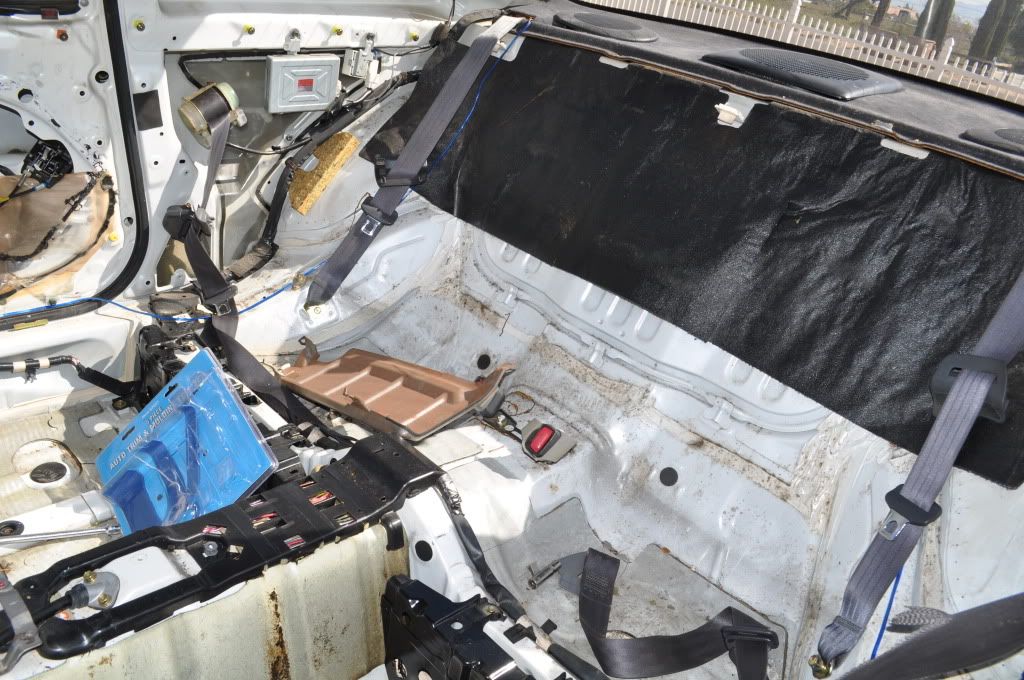
SEM paint is on order. PArts are all loaded in my truck so I can spend the night (I am power plant operator on graveyards) cleaning everything and disassembling trim for painting.
More to come..
Here is what I started with
So I just started ripping stuff out. I was pretty amazed that after all of that I only broke like 3 tabs, which can repaired with epoxy.
Figured that since I was in it this far I might as well change the AC expansion valve since I have no idea how old it is and my AC was not really cold to begin with
And here is were it stands as of 10:30am PST on 3/29/11
SEM paint is on order. PArts are all loaded in my truck so I can spend the night (I am power plant operator on graveyards) cleaning everything and disassembling trim for painting.
More to come..


 Wow it will be all worth it in the end

Trending Topics
03-29-11, 02:47 PM
#9
1JZ Single SC400
iTrader: (59)
Join Date: Jan 2009
Location: Alabama, Roll Tide!
Posts: 8,518
Likes: 0
Received 15 Likes
on
12 Posts
Brad,
You wasnt kidding about how tore up the leather was..I hope I gave you some inspiration to do a part of this!
Good luck and I am subscribed. Spring should be here tomorrow!
You wasnt kidding about how tore up the leather was..I hope I gave you some inspiration to do a part of this!
Good luck and I am subscribed. Spring should be here tomorrow!
04-03-11, 12:41 PM
#10
Pole Position
Thread Starter
iTrader: (3)
Join Date: Jan 2011
Location: CA
Posts: 382
Likes: 0
Received 0 Likes
on
0 Posts
Yeah it's a little scary. One cool thing is that the wire harness can only go in one way and the plugs are specific. So once you bolt it back up everything lays right where it is supposed to go. If you don't look at the wiring harness, there is not really that much there. Just jump in there and do it!
Last edited by brad11140; 04-03-11 at 12:46 PM.
04-03-11, 12:43 PM
#11
Pole Position
Thread Starter
iTrader: (3)
Join Date: Jan 2011
Location: CA
Posts: 382
Likes: 0
Received 0 Likes
on
0 Posts
Absolutely! Those tore up seats are probably going to go back I after I refurb everything until I can afford to buy the kit to fix them. SEM arrives tomorrow.
 04-03-11, 01:01 PM
#13
Pole Position
Thread Starter
iTrader: (3)
Join Date: Jan 2011
Location: CA
Posts: 382
Likes: 0
Received 0 Likes
on
0 Posts
It's really not. There are some great DIY on dash removal and most of it becomes painfully obvious once you start. Go get yourself a box of gallon zip lock bags and as you take stuff off put it in the bag and label it. One piece at a time. Before you know it there's nothing in the ca and you have a stack of parts in your garage to clean, repair, replace and refinish. And after it's all done, you will know your interior like the back of your hand.
04-03-11, 01:05 PM
#14
1JZ Single SC400
iTrader: (59)
Join Date: Jan 2009
Location: Alabama, Roll Tide!
Posts: 8,518
Likes: 0
Received 15 Likes
on
12 Posts
Thats the easiest way to do things with that many bolts, label it and place in ziplock bag. Unless of course you have done it a thousand times over, like me on a few things. But are we ever happy?
04-04-11, 09:34 PM
#15
Pole Position
Thread Starter
iTrader: (3)
Join Date: Jan 2011
Location: CA
Posts: 382
Likes: 0
Received 0 Likes
on
0 Posts
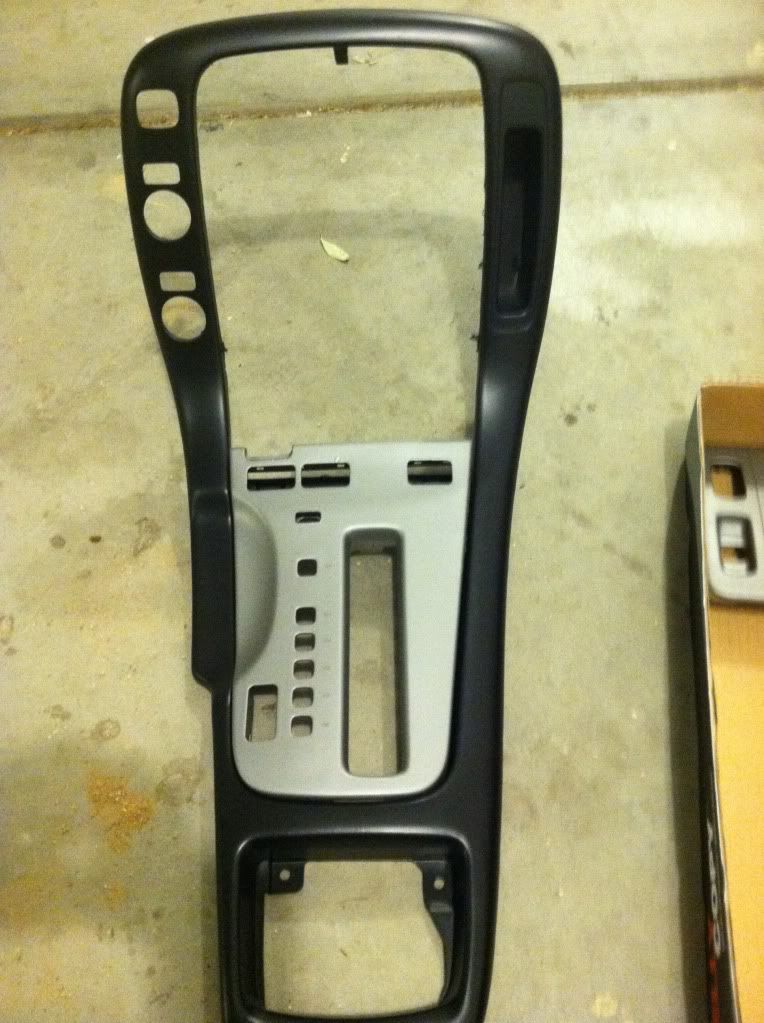
All of my SEM materials arrived in the mail this afternoon. So when I got home from work I had to try out a couple pieces of course. Here is a sneak peek at my color combinations. The trim in my Tundra is like this, black pieces with silver trim. I chose Landeau black and Titanium metallic. I have a can of high gloss to finish a few of the pieces.
Still trying to decide if I am going to finish the switches in the black, or the Titanium.
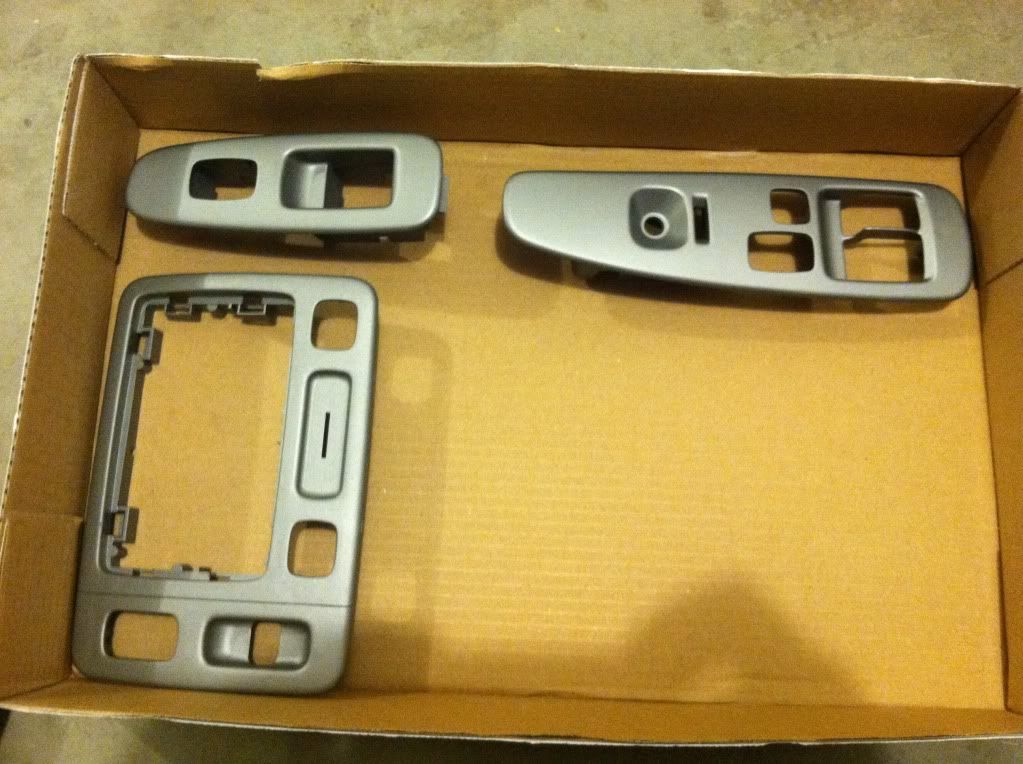
Still trying to decide if I am going to finish the switches in the black, or the Titanium.