When you click on links to various merchants on this site and make a purchase, this can result in this site earning a commission. Affiliate programs and affiliations include, but are not limited to, the eBay Partner Network.
I just installed my second Curt hitch and had the same problem remembering how the fascia went at the back center where the silver headed screws go. I kept trying to put the fascia lip under the bumper cover on both installs. Finally it all clicked and fell into place.
Great video and thanks for passing on the tips learned the hard way. Regarding the hitch being off-center, I had that happen on my last install where I had to loosen all of the bolts to center it too. PITA. Great reminder for us all.
Nice write-up!
I did the same install and I found if you turn fascia upside-down, there are traces of where the cut is supposed to go. No need for the masking tape measurements.
Also, for those without the towing-prep package, the rear 4-pin connector under the bumper will not work. You need to install towing lights controller. All of wires can be found in a connector hanging behind the right taillight. Put the fuse in under the hood, and you got power there.
Just tackled this on Sunday. Installed onto an '11 450h.
It took me about 2 hours start to finish, but I was "helped" by a 6 year old so there were a few distractions!
Just posted in Hybrid Forums (sorry) but just got a 2013 RX 450h and want to install hitch.
I do not have tow prep option so suspect i need the wiring stuff too.
I see a few Curt (and other hitches) on sale.... any idea on best?
And is this video applicable to my install?
Thx,
Originally Posted by vlad_a
Nice write-up!
I did the same install and I found if you turn fascia upside-down, there are traces of where the cut is supposed to go. No need for the masking tape measurements.
Also, for those without the towing-prep package, the rear 4-pin connector under the bumper will not work. You need to install towing lights controller. All of wires can be found in a connector hanging behind the right taillight. Put the fuse in under the hood, and you got power there.
hi all
I see that there are 2 types of trailer hitches. straight bar and a curved bar (over the muffler) 1: which one is better and 2: I guess less time to install
which brand is the best?
thanks
ROB
I bought a hitch from e-trailer.com a few months back and did the install at our weekend house up north. It was a really straight forward job. I went with a Curt hitch and a wiring kit. As of yet, I still haven't installed the wiring kit. We've used the hitch a few times for hauling our mt bikes via an hitch mounted bike rack.
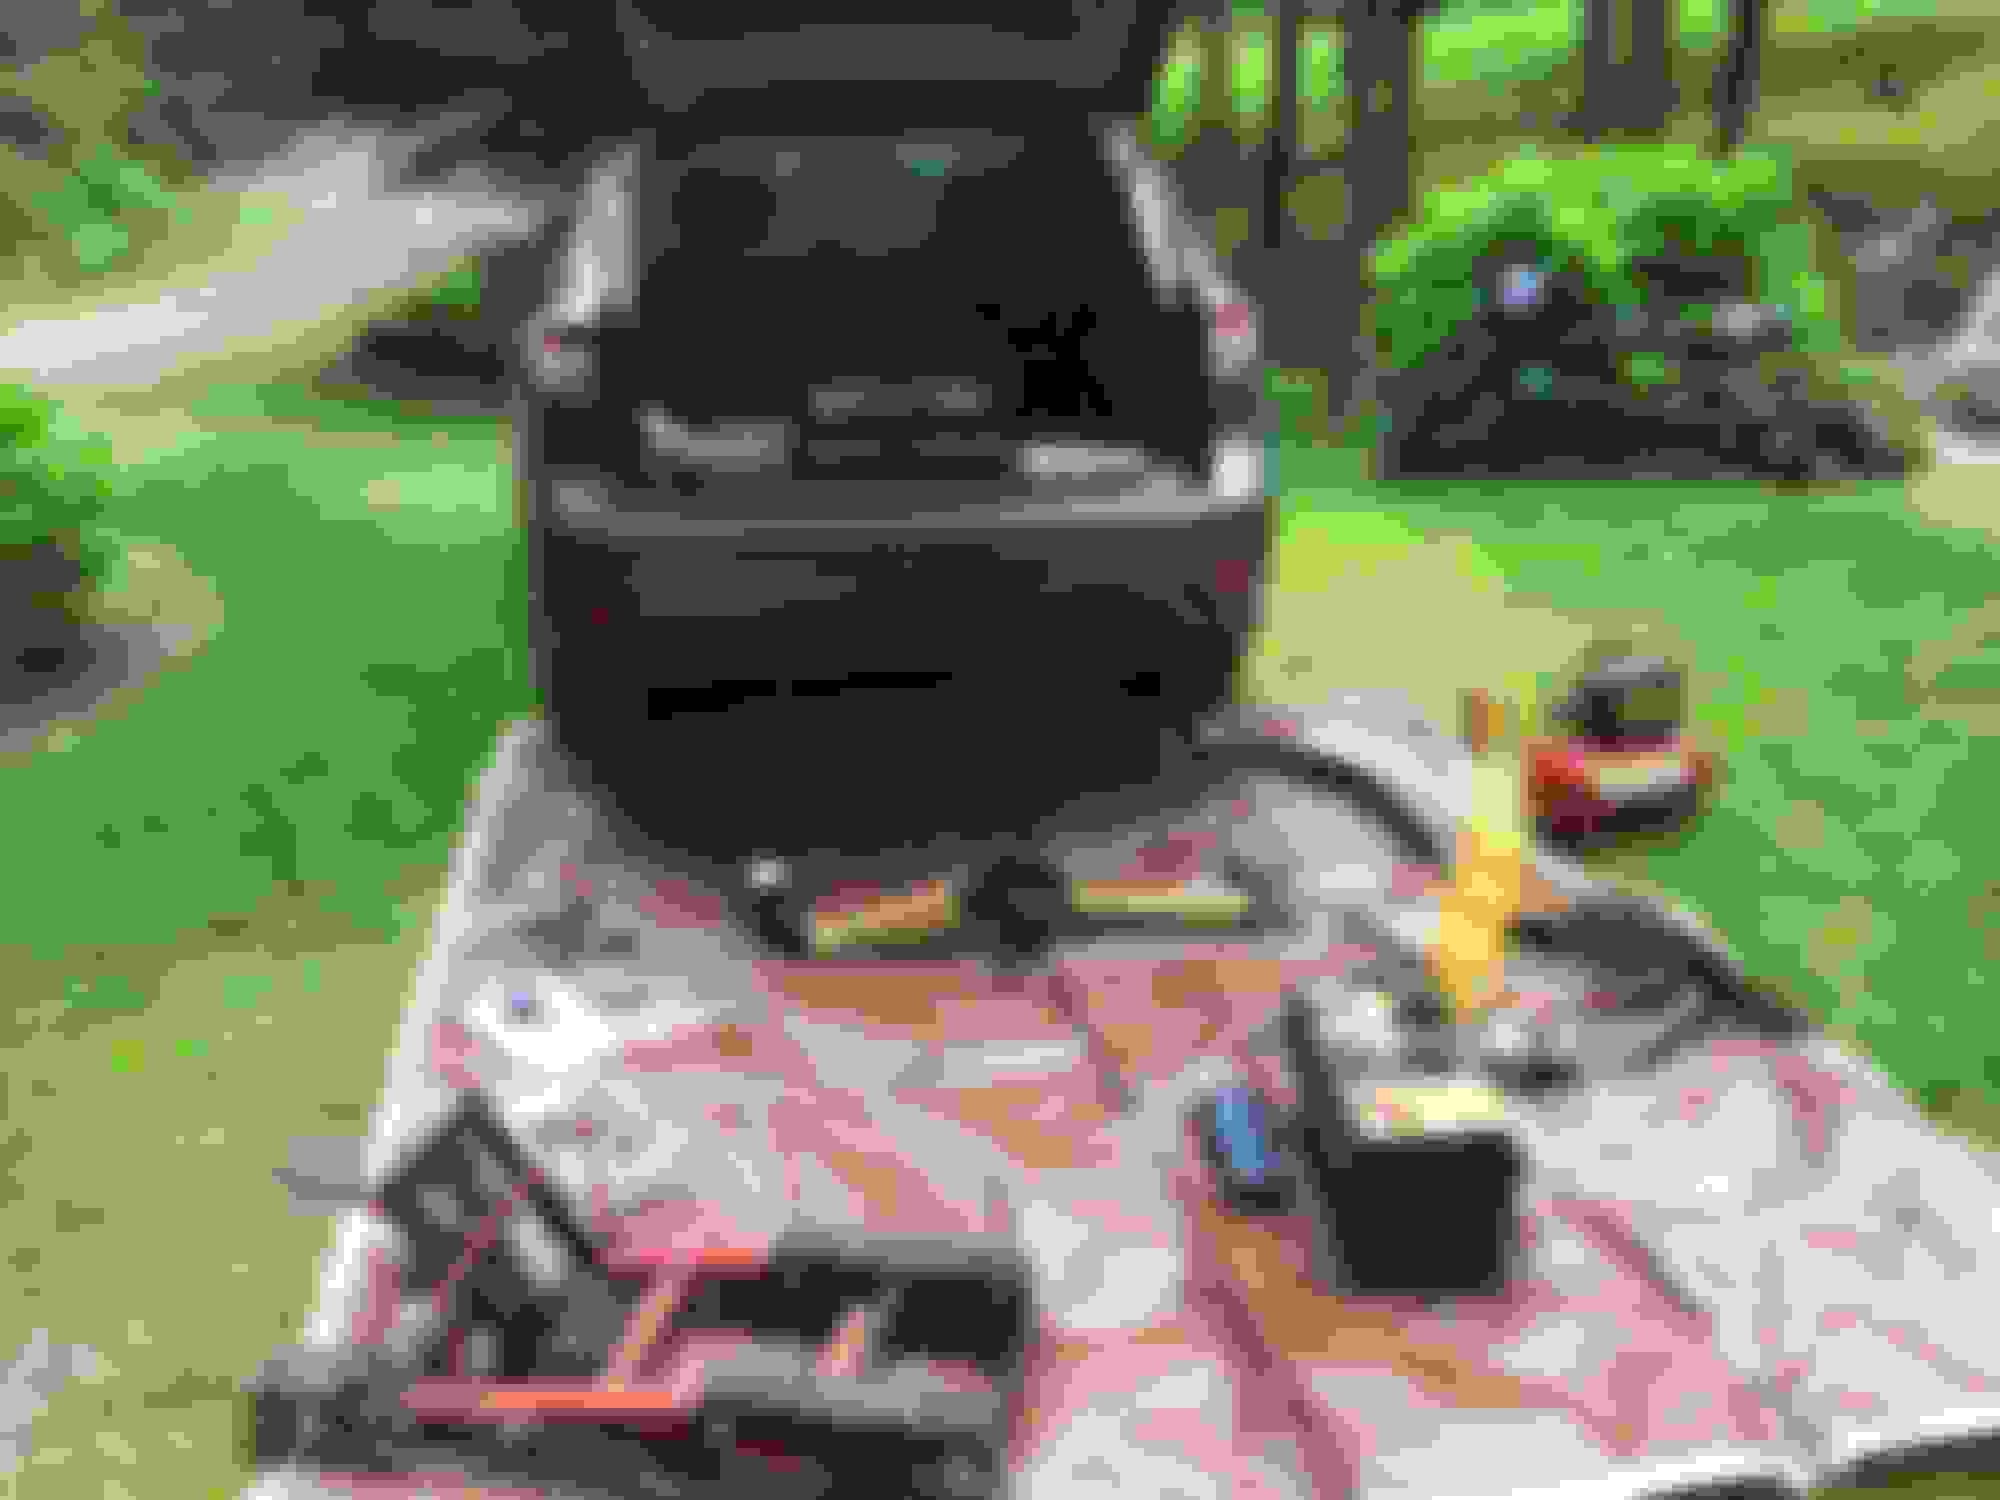
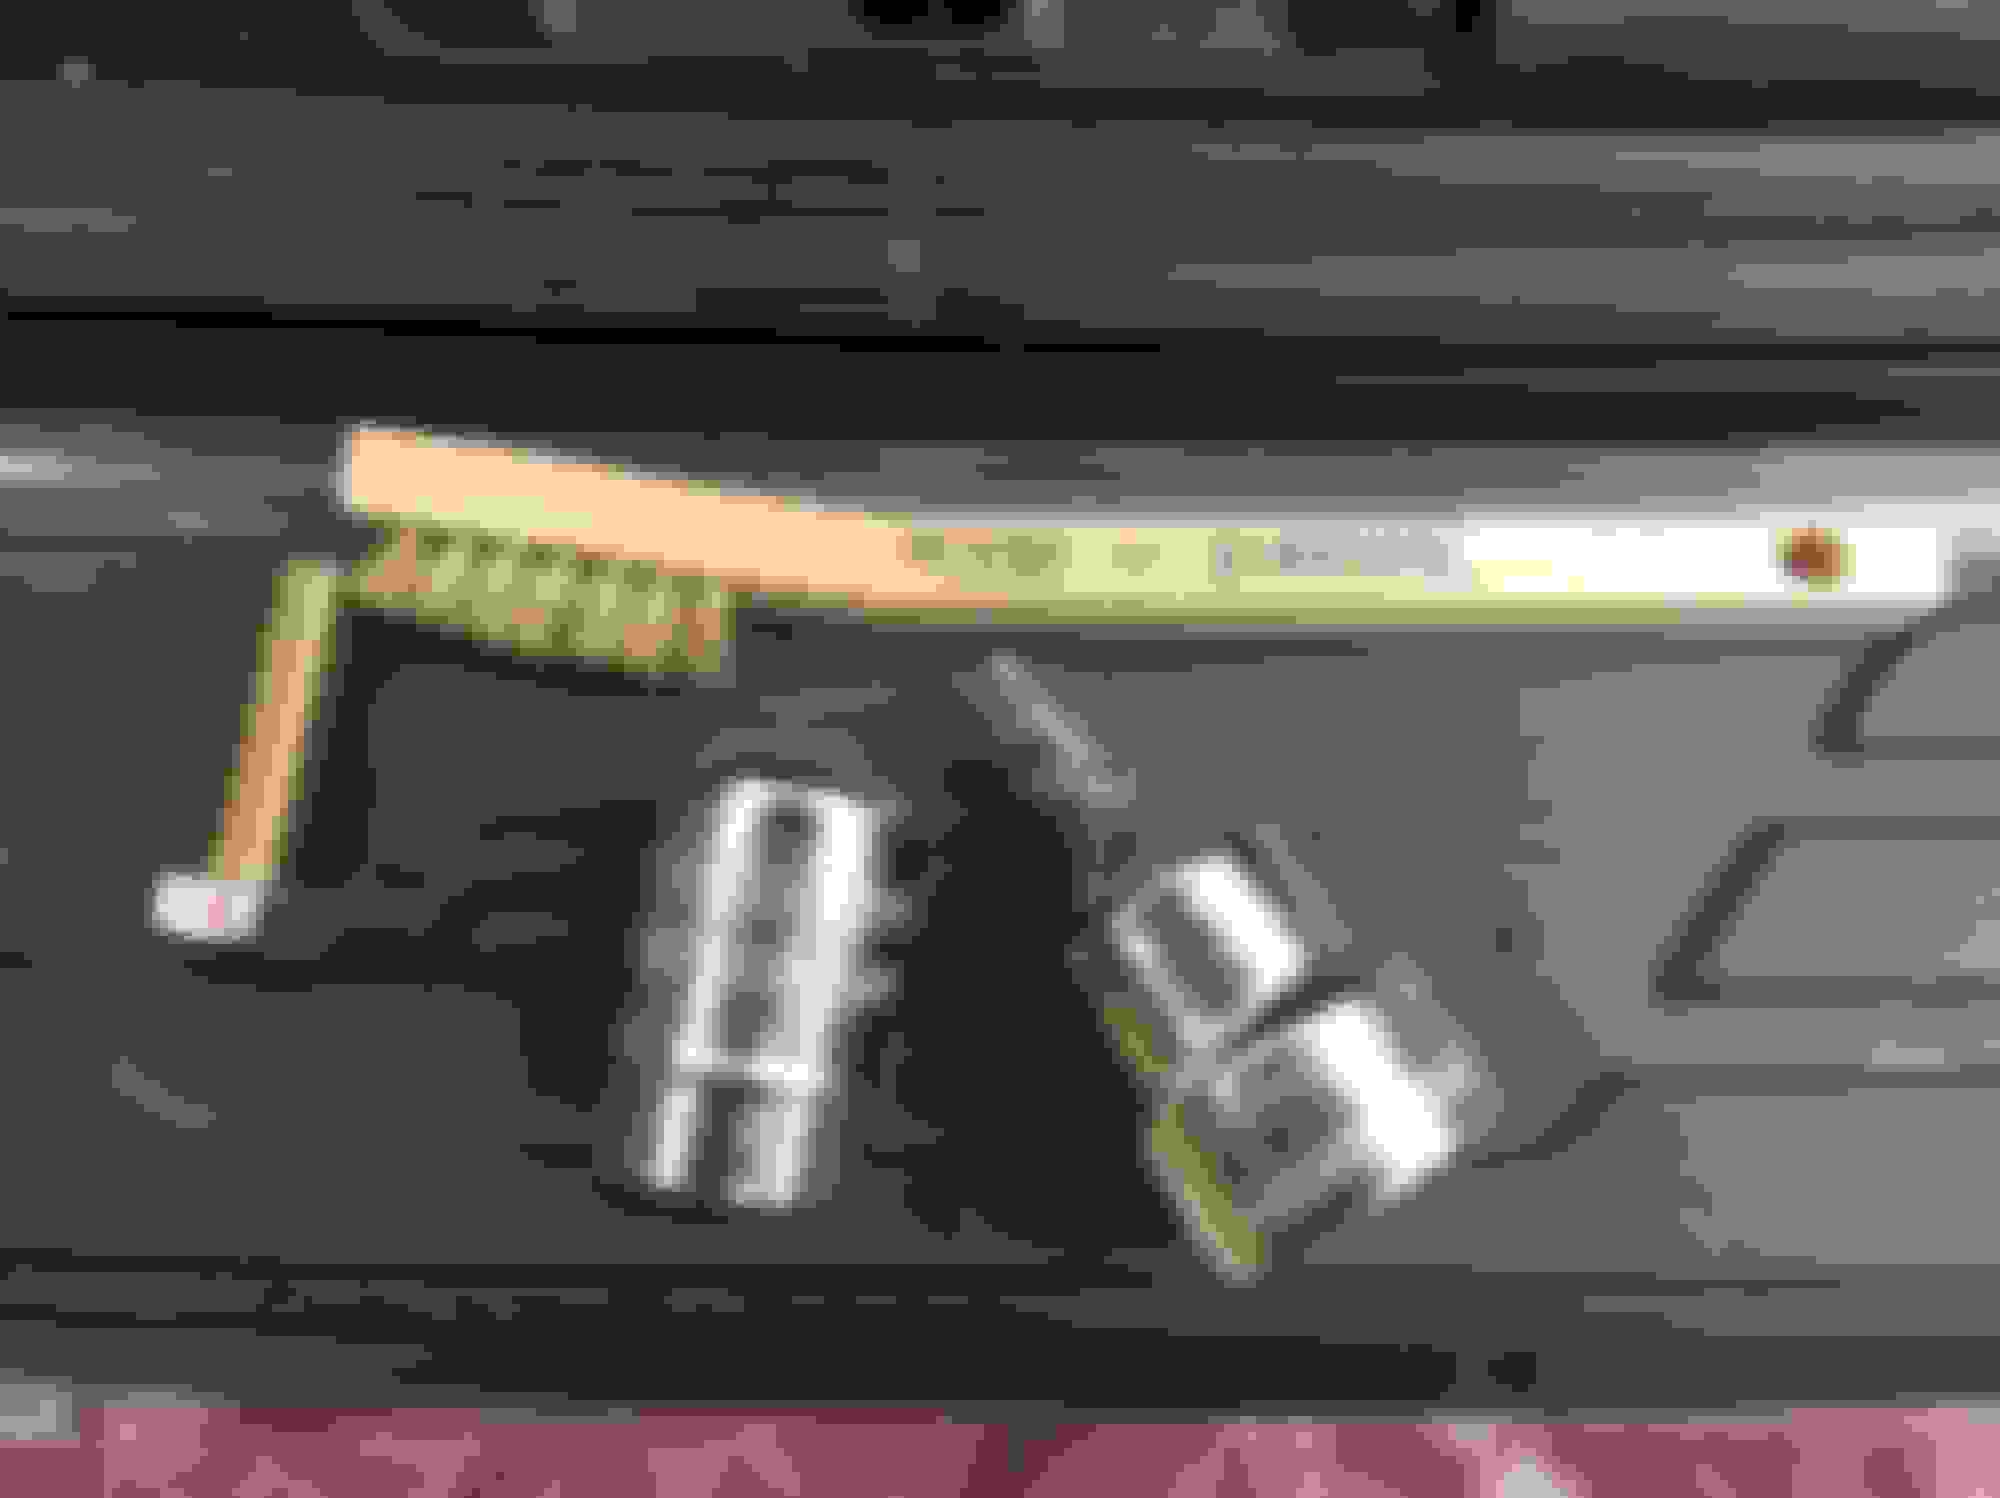
I was able to mount this hitch solo in under two hours. Kudos to Lexus for putting grommets on the unused welded nuts located in the frame rails. I spent a lot less time cleaning out threads and instead, was able to focus on mounting via the supplied bolts.
A few notes:
Using a motorcycle/ATV jack allows you to do this job solo. It's like a second set of hands.
I was able to get the hitch mounted without dropping the rear exhaust. I used a microfiber towel to protect the hitch when lining things up.
Removing the factory bolts wasn't that bad. I ended up using a 1/2" ratchet, extension and socket. I didn't need my impact at all.
Make sure you have a torque wrench so you can torque everything to spec.
I used some snips to cut the plastic which made life easier.
For a factory look, I ordered a 2" Lexus receiver cover from E-Bay. As you can see from the last pic, the hitch is tucked up close to the rear bumper. Overall, really happy with how this looks and ease of install.
Everything laid out and ready to go! The directions recommended a battery terminal cleaner for cleaning out the threads if needed. Towel over the rear exhaust to help with mounting and reducing scratches. Mechanical second set of hands. A few small cuts was al it took. Looks factory.


 10-14-12, 02:29 PM