
Intercooler Mounting & The Method You Chose. Post Pictures If You Have Any

 09-01-10, 10:00 AM
#32
Lexus Test Driver
iTrader: (6)

Join Date: Aug 2008
Location: ca
Posts: 1,574
Likes: 0
Received 0 Likes
on
0 Posts
^^ As far as "looks" go, yes it's very clean, but it does leave a bit to be desired in as much as the top 4" are totally blocked to any effective airflow by the bumper bar 
It's probably still more than adequate with the remaining exposed area though.
It's probably still more than adequate with the remaining exposed area though.


 02-06-11, 07:32 PM
#36
Intercooler Mounting & The Method You Chose. From : Boost Logic 750HP Front Mount Intercooler Kit. Lexus 92-97 SC300 and 93-97 Toyota Supra.
Parts:
� 5 Mandrel Bent Aluminum Intercooler Pipes
� 2.5� Silicone Couplers(3)
� 2� to 2.5� Silicone Reducer(1)
� 2.5� to 2.75� Silicone Reducer(2)
� 3� to 2.5� Silicone Reducer(1)
� 2.5� Clamps(12)
� 3� Clamps(3)
Remove plastic under panels.

Front Mount Installation
The area behind the bumper should look like this:

The top bracket of the intercooler is mounted in this location.

The bottom of the intercooler needs to be mounted on the lower radiator support.

The intercooler has 2 aluminum brackets on the side. These are mounted to the frame rail.
The passenger side:

The driver's side

The mounted front mount should look like this.

Intercooler Piping Install
#1 Intercooler Pipe
The compressor housing may need to be rotated to ensure correct fitment of the #1 intercooler pipe.

#2 Intercooler pipe
This intercooler pipe will fit underneath the power steering cooler lines and will go over the sway bar. The power steering cooler lines may need to be slightly bent upwards. The AC lines that run below the frame rail will need to be relocated downwards. To do this, you will need to cut the brackets that bolt the AC lines to the frame rail. DO NOT loosen the 10mm nuts holding the AC lines together. Doing this will cause all your freon to leak out.


The relocated AC lines to clear the #2 intercooler pipe..


#3 Intercooler Pipe
ATTN: For 92-97 Lexus SC300 vehicles, the AC Dryer will need to be relocated up to fit the #3 intercooler pipe. You will need to loosen the clamp around the AC dryer and carefully bend the AC lines up. The AC dryer will be relocated ~2" upwards.

The clearance between the AC dryer and #3 intercooler pipe.

Here is the #3 intercooler pipe installed.

Cutting the plastic panels to fit the new #3 intercooler pipe.
Drivers side plastic panels

#4 Intercooler Pipe
Cutting passenger side panel to fit #4 intercooler pipe

Fitting the #4 intercooler pipe.

#5 Intercooler Pipe.

Parts:
� 5 Mandrel Bent Aluminum Intercooler Pipes
� 2.5� Silicone Couplers(3)
� 2� to 2.5� Silicone Reducer(1)
� 2.5� to 2.75� Silicone Reducer(2)
� 3� to 2.5� Silicone Reducer(1)
� 2.5� Clamps(12)
� 3� Clamps(3)
Remove plastic under panels.
Front Mount Installation
The area behind the bumper should look like this:
The top bracket of the intercooler is mounted in this location.
The bottom of the intercooler needs to be mounted on the lower radiator support.
The intercooler has 2 aluminum brackets on the side. These are mounted to the frame rail.
The passenger side:
The driver's side
The mounted front mount should look like this.
Intercooler Piping Install
#1 Intercooler Pipe
The compressor housing may need to be rotated to ensure correct fitment of the #1 intercooler pipe.
#2 Intercooler pipe
This intercooler pipe will fit underneath the power steering cooler lines and will go over the sway bar. The power steering cooler lines may need to be slightly bent upwards. The AC lines that run below the frame rail will need to be relocated downwards. To do this, you will need to cut the brackets that bolt the AC lines to the frame rail. DO NOT loosen the 10mm nuts holding the AC lines together. Doing this will cause all your freon to leak out.
The relocated AC lines to clear the #2 intercooler pipe..
#3 Intercooler Pipe
ATTN: For 92-97 Lexus SC300 vehicles, the AC Dryer will need to be relocated up to fit the #3 intercooler pipe. You will need to loosen the clamp around the AC dryer and carefully bend the AC lines up. The AC dryer will be relocated ~2" upwards.
The clearance between the AC dryer and #3 intercooler pipe.
Here is the #3 intercooler pipe installed.
Cutting the plastic panels to fit the new #3 intercooler pipe.
Drivers side plastic panels
#4 Intercooler Pipe
Cutting passenger side panel to fit #4 intercooler pipe
Fitting the #4 intercooler pipe.
#5 Intercooler Pipe.
The following 2 users liked this post by TURBO819:
AirioSC300 (12-16-20),
GhostDog88 (03-30-17)
02-06-11, 09:15 PM
#37
Lexus Test Driver
iTrader: (6)
Join Date: Aug 2008
Location: ca
Posts: 1,574
Likes: 0
Received 0 Likes
on
0 Posts
Intercooler Mounting & The Method You Chose. From : Boost Logic 750HP Front Mount Intercooler Kit. Lexus 92-97 SC300 and 93-97 Toyota Supra.
...
...
...
#2 Intercooler pipe
This intercooler pipe will fit underneath the power steering cooler lines and will go over the sway bar. The power steering cooler lines may need to be slightly bent upwards. The AC lines that run below the frame rail will need to be relocated downwards. To do this, you will need to cut the brackets that bolt the AC lines to the frame rail. DO NOT loosen the 10mm nuts holding the AC lines together. Doing this will cause all your freon to leak out.


The relocated AC lines to clear the #2 intercooler pipe..

Here is the #3 intercooler pipe installed.
...
...
...
#2 Intercooler pipe
This intercooler pipe will fit underneath the power steering cooler lines and will go over the sway bar. The power steering cooler lines may need to be slightly bent upwards. The AC lines that run below the frame rail will need to be relocated downwards. To do this, you will need to cut the brackets that bolt the AC lines to the frame rail. DO NOT loosen the 10mm nuts holding the AC lines together. Doing this will cause all your freon to leak out.
The relocated AC lines to clear the #2 intercooler pipe..
Here is the #3 intercooler pipe installed.
02-07-11, 05:23 AM
#38
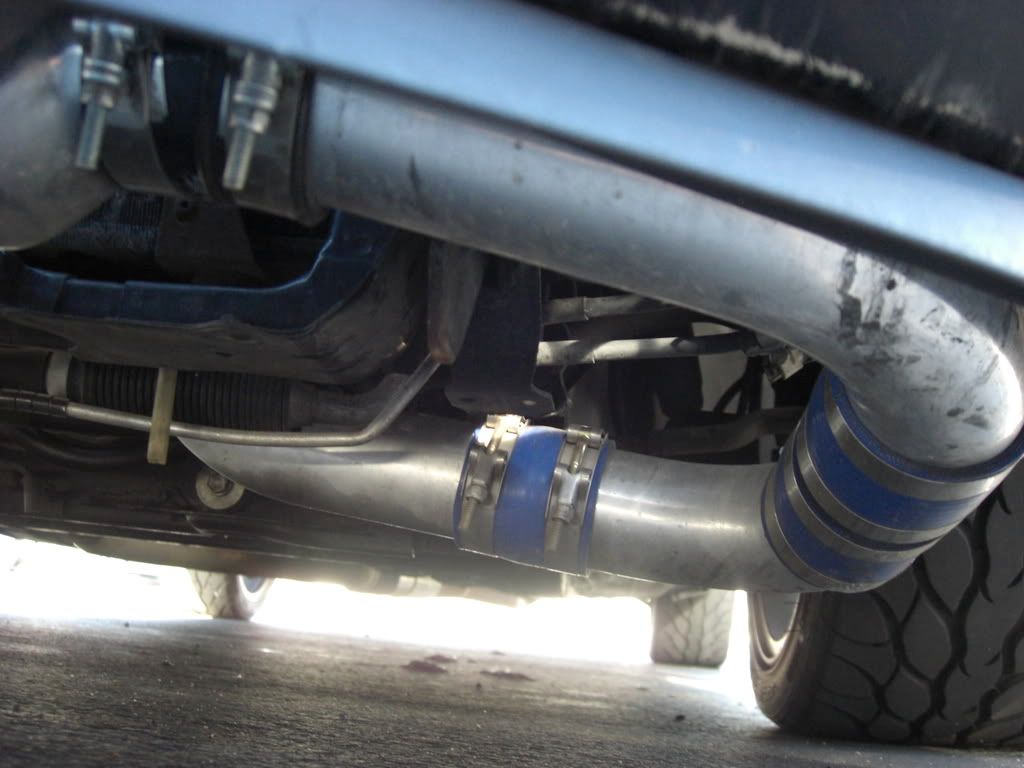
I can tell you from experience, if you do all that fitment of the #2 pipe over the sway bar with the front end off the ground like that, you are likely to run into a serious rubbing problem when the suspension comes back down under full weight and causes that sway bar to rotate backwards and upwards into the pipe. This is PARTICULARLY problematic if you are lowered at all in the front. Not wishing this on you; just wanted to give you a heads up is all.
 But thats not the system on my SCxxx. This is the Boost Logic NA-T FMIC System that I found.


 04-16-11, 09:03 AM
#42
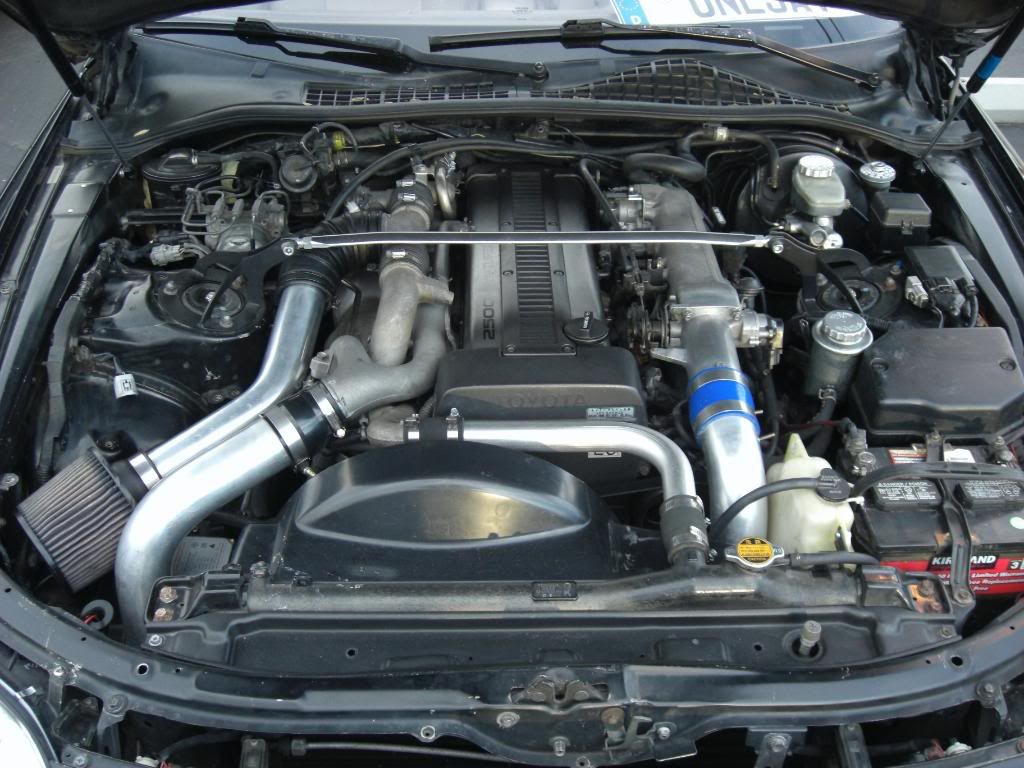
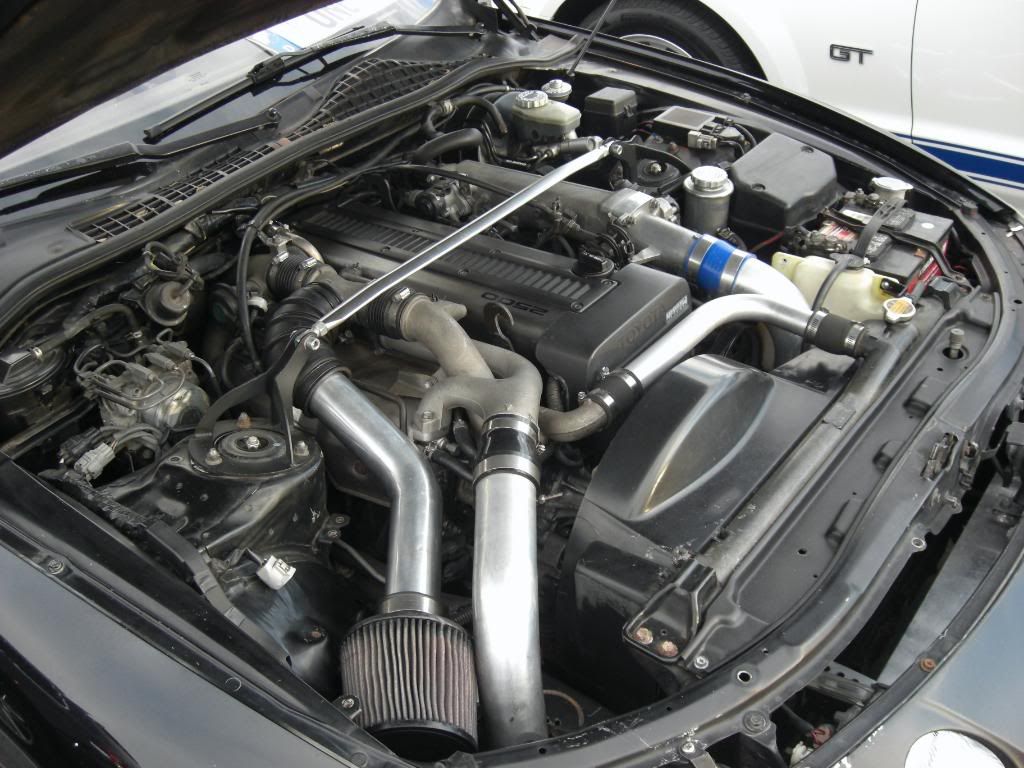
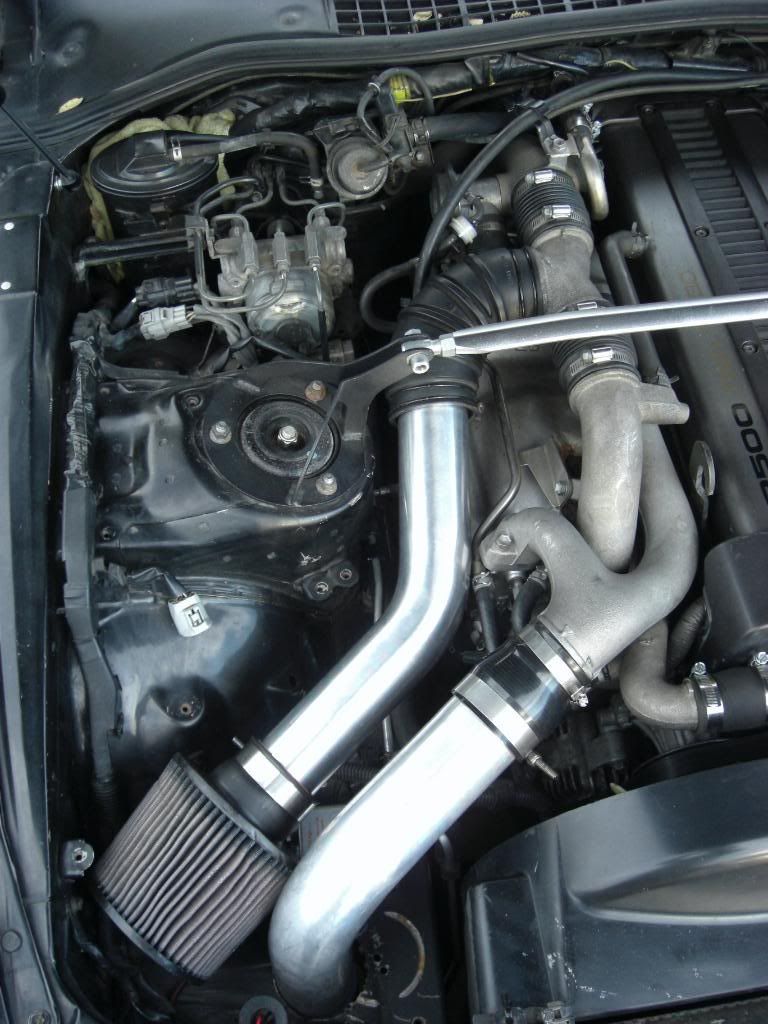
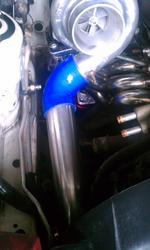
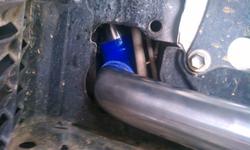
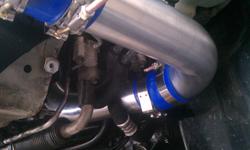
here is what i done with mine so far. i haven't decided on Blow Off Valve (BOV) location yet. maybe on the hot pipe somewhere after the 90 degree bendy coupler around where the altenator is located. enjoy...
click to see larger pics. its mostly finished. still needing another 90 degree pipe and longer 90 degree coupler. but what u see is the basic finished product.
31x12x3 intercooler with 2.5 piping.


click to see larger pics. its mostly finished. still needing another 90 degree pipe and longer 90 degree coupler. but what u see is the basic finished product.
31x12x3 intercooler with 2.5 piping.


