
The start of some V8 madness
 08-13-07, 08:46 PM
#61
Absolutely.
I am going to use Neil's 4-2-1 long tube headers with the 1 5/8" primaries. They run $550 AUD. I can piggyback shipping with the R154 kit.
"Long-tube headers are traditionally the best choice for creating lots of torque and bottom-end power, and have very few shortcomings, save for trying to shoehorn them into most applications." (Vette Web)
Low end torque will be critical with the centrifugal blower. If I can't get into boost, what is the point?
Neil makes headers with 1.75" primaries, but I fear that those will be too large and hurt my low end. I think he is able to get away with them because of his M90 pulling off idle. For perspective, aftermarket long tube headers for C6 Z06 Vettes use 1.75" primaries.
R&D is insane. I generally try to be informed as possible for any decision I make. Right now, I am weighing the clutch market: organic, carbon, kevlar, ceramic, feramic, etc.
 08-15-07, 03:53 PM
#62
The differential has been fully reassembled.
If you missed the deconstruction, these posts: #52 and #53 include a pictorial account of the steps taken.
Recall where we were last time. The ring was placed on the LSD, and two oppossing bolts were tightened to 47 ft*lbs. Later, once the ring returned to room temperature, the bolts were given an extra quarter turn.

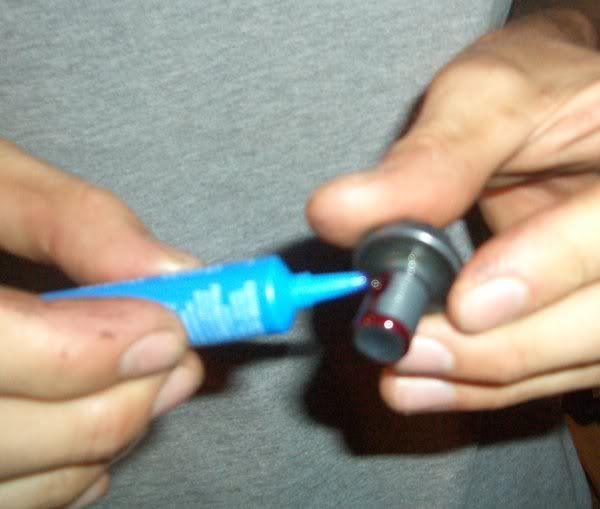
The remaining 8 bolts on the ring get tightened to the same torque specs, 47 ft*lbs plus one quarter turn, but these bolts received thread locker. I used Loctite Red.
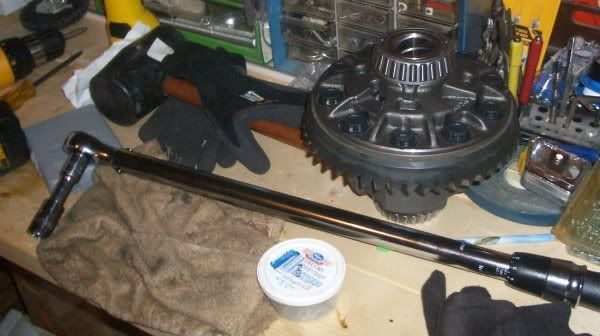
I started the bolts by hand to prevent cross-threading and continued to tighten as opposing pairs to prevent warping the ring. With all ten bolts torqued, this is what remained.

This shot includes the fully assembled LSD and ring with a torque wrench to emphasize how important torque specifications are on drivetrain parts. These ring bolts should not be simply tightened to your own satisfaction.
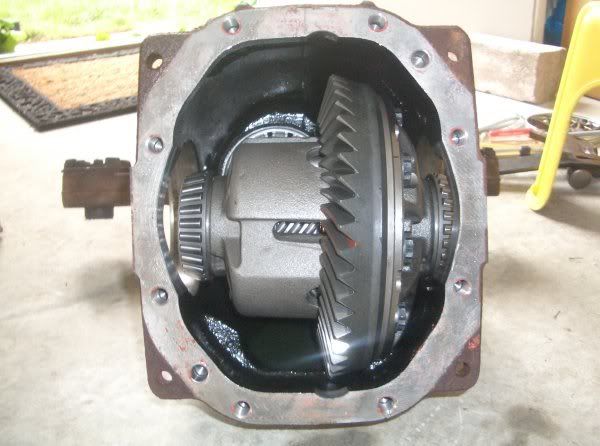
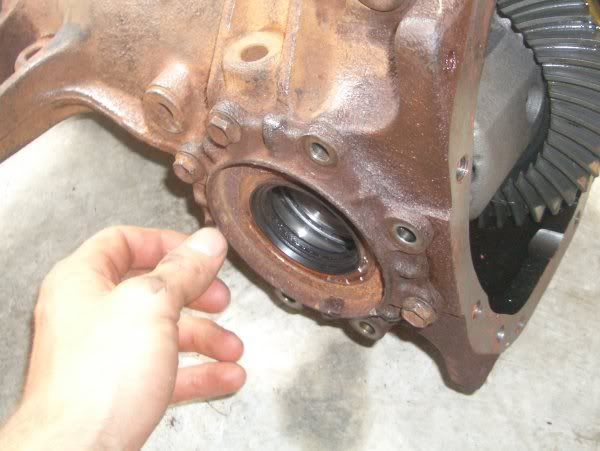
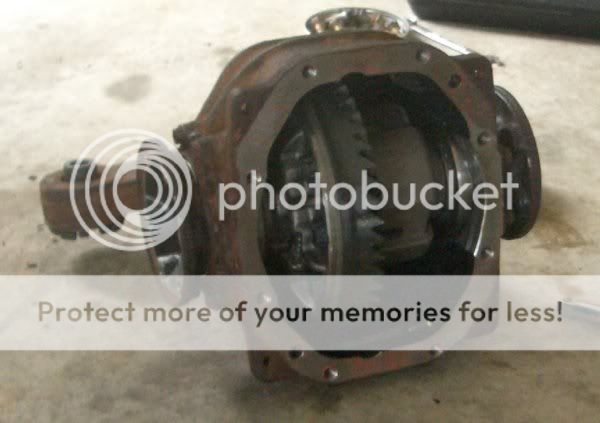
Returning the LSD to the differential housing involves starting it at the proper angle to get the carrier bearing opposite the ring (left in this photo) to clear the opening on the side of the housing. This is very intuitive.
The carrier retainers get installed next. I was very gentle. You do not want to harm the ring of bearings on either side of the LSD. Also, I made certain that the retainer bolts line up.
The retainer bolts get tightened to 16 ft*lb. I am starting these bolts by hand as well. Cross-threading a bolt at this phase of the game would have been heartbreaking.
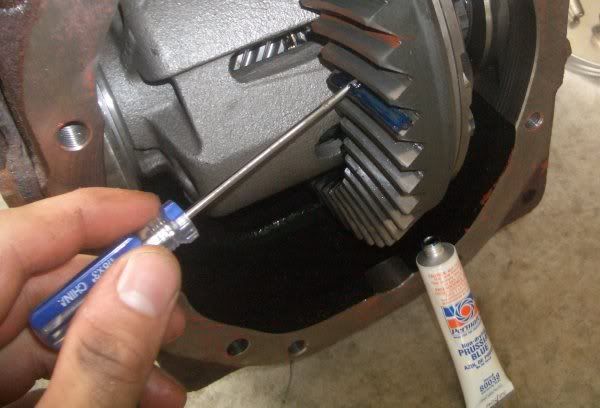
Applying Prussian Blue to a few teeth on different parts of the ring allows the contact pattern of the ring and pinion gears to be viewed. Make sure to coat both sides of the ring to assure you are aligned in both directions.
If you missed the deconstruction, these posts: #52 and #53 include a pictorial account of the steps taken.
Recall where we were last time. The ring was placed on the LSD, and two oppossing bolts were tightened to 47 ft*lbs. Later, once the ring returned to room temperature, the bolts were given an extra quarter turn.
The remaining 8 bolts on the ring get tightened to the same torque specs, 47 ft*lbs plus one quarter turn, but these bolts received thread locker. I used Loctite Red.
I started the bolts by hand to prevent cross-threading and continued to tighten as opposing pairs to prevent warping the ring. With all ten bolts torqued, this is what remained.
This shot includes the fully assembled LSD and ring with a torque wrench to emphasize how important torque specifications are on drivetrain parts. These ring bolts should not be simply tightened to your own satisfaction.
Returning the LSD to the differential housing involves starting it at the proper angle to get the carrier bearing opposite the ring (left in this photo) to clear the opening on the side of the housing. This is very intuitive.
The carrier retainers get installed next. I was very gentle. You do not want to harm the ring of bearings on either side of the LSD. Also, I made certain that the retainer bolts line up.
The retainer bolts get tightened to 16 ft*lb. I am starting these bolts by hand as well. Cross-threading a bolt at this phase of the game would have been heartbreaking.
Applying Prussian Blue to a few teeth on different parts of the ring allows the contact pattern of the ring and pinion gears to be viewed. Make sure to coat both sides of the ring to assure you are aligned in both directions.
08-15-07, 03:53 PM
#63
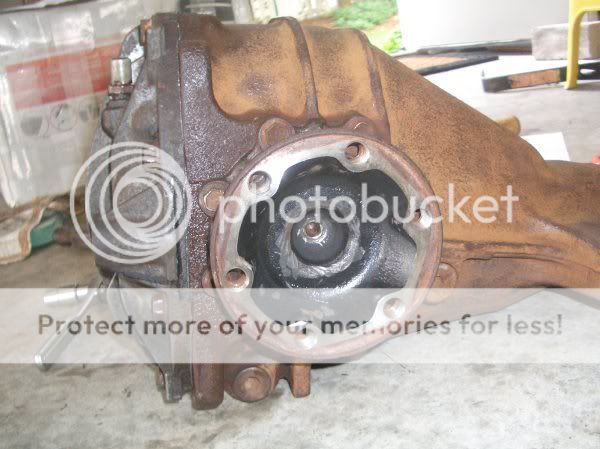
The companion flange was spun both forward and backward at least one full rotation to allow the Prussian Blue to do its magic. In my case, I needed to spin the companion flange 4.27 times in each direction.

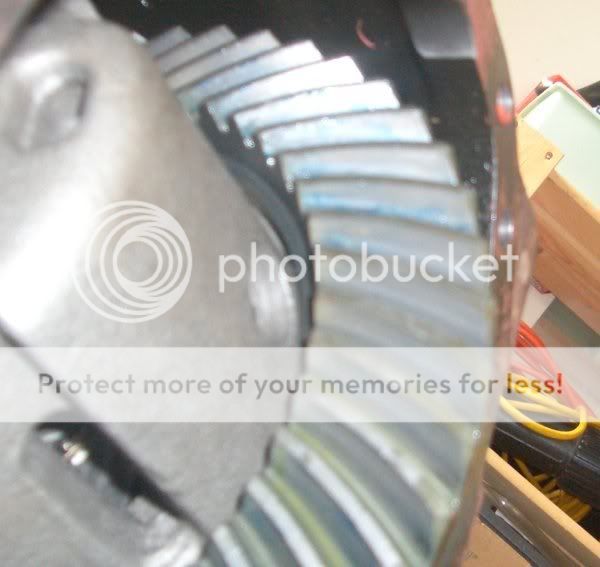
I wish I had noticed the camera had taken a poor photo here. You want the ring-pinion contact to be oval in shape and slightly inside of center on the ring. If the ring is out of alignment, the contact pattern will look triangular. I was good to go. The differential Gazi sent me was really in perfect shape.
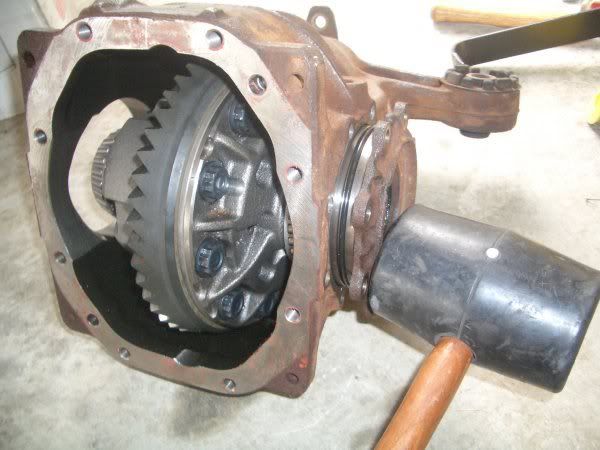
The axle shafts go in next. When installing, I was careful to make certain that the threading on the axle shafts meshed with the threading inside the LSD. At that point, I hammered away. I heard "thud", "thud", "thud", "thud", "ping". The ping signifies that you are all the way in.
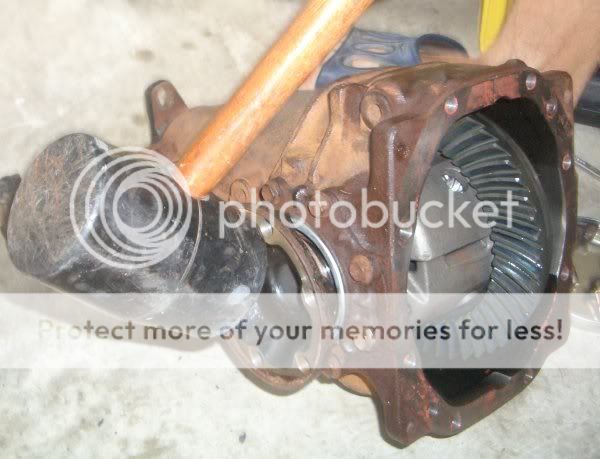
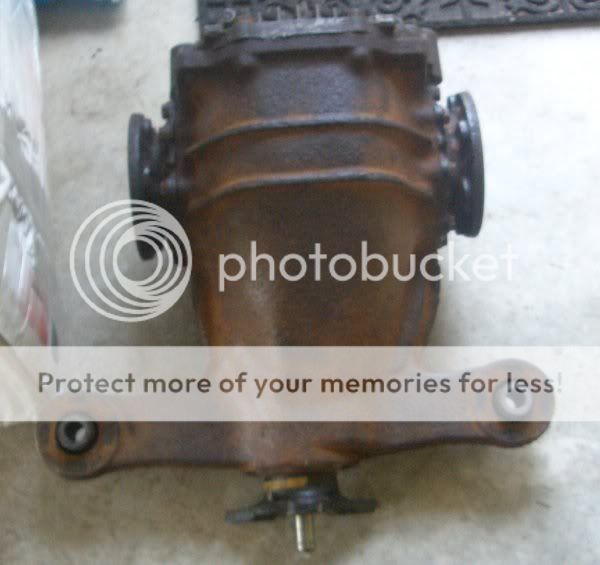
Obviously, the rear plate needs to be installed. But, this is one beast of a differential: 4.27 gears and a Torsen LSD.
The rear plate needs to be cleaned of any accumulated old sealant. I installed a bead of 500*F Silicon Gasket Maker along the perimeter of the rear plate, going around the inner half of the bolt holes.

I was officially compulsive about cross-threading at this point. I would have been furious of a mishap. Torque these bolts to 34 ft*lb.
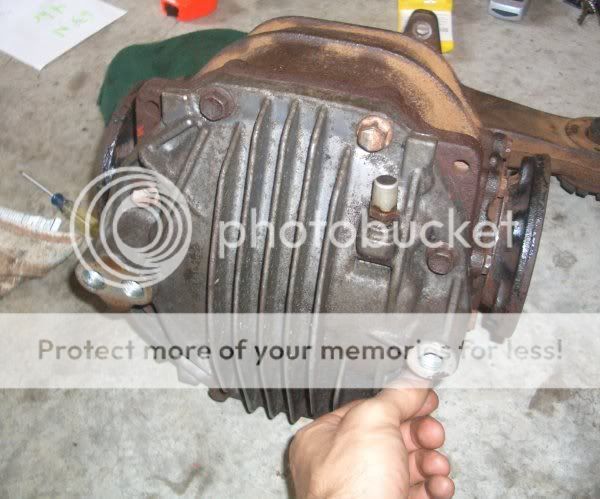
Notice the drain plug and fill plug below and to the right of the axle stub, respectively. Also notice the "breather plug" facing upward on the rear plate. This orientation is critical when you install the rear plate, or else your breather plug (15 ft*lb) will become an escape for the gear oil.
In this and the previous picture, you can notice the gasket oozing out slightly around the perimeter of the rear plate. This is reassurance that you did your job while sealing it up. The thread locker and gasket maker need 24 hours to cure. Installation is scheduled for tomorrow.
I wish I had noticed the camera had taken a poor photo here. You want the ring-pinion contact to be oval in shape and slightly inside of center on the ring. If the ring is out of alignment, the contact pattern will look triangular. I was good to go. The differential Gazi sent me was really in perfect shape.
The axle shafts go in next. When installing, I was careful to make certain that the threading on the axle shafts meshed with the threading inside the LSD. At that point, I hammered away. I heard "thud", "thud", "thud", "thud", "ping". The ping signifies that you are all the way in.
Obviously, the rear plate needs to be installed. But, this is one beast of a differential: 4.27 gears and a Torsen LSD.
The rear plate needs to be cleaned of any accumulated old sealant. I installed a bead of 500*F Silicon Gasket Maker along the perimeter of the rear plate, going around the inner half of the bolt holes.
I was officially compulsive about cross-threading at this point. I would have been furious of a mishap. Torque these bolts to 34 ft*lb.
Notice the drain plug and fill plug below and to the right of the axle stub, respectively. Also notice the "breather plug" facing upward on the rear plate. This orientation is critical when you install the rear plate, or else your breather plug (15 ft*lb) will become an escape for the gear oil.
In this and the previous picture, you can notice the gasket oozing out slightly around the perimeter of the rear plate. This is reassurance that you did your job while sealing it up. The thread locker and gasket maker need 24 hours to cure. Installation is scheduled for tomorrow.
Last edited by Blizzy; 08-15-07 at 03:57 PM.
 08-16-07, 09:55 PM
#66
Lexus Test Driver

Great writeup!
I'm looking forward to seeing how much the 4.27 and torsen combo drop your 0-60 times --- A 6.5 isn't bad, I'm wondering if it'll get it to a 6.2 or even better........ Looks like your just an R154 away from getting into the 5's already, and that blower should do good for 4's hopefully-- especially with tuning and full exhaust with headers.... That makes for a quick daily driver I think.....
Keep it up!
08-16-07, 10:49 PM
#67
I still have a 300-500 mile break in on the LSD (once I get it mounted...hopefully this weekend). But, once I get used to the brake boosting that the LSD can take, I would be stunned if I can't get one of the three trials at or near six.
The gears allow me to hit 60mph @ ~5250 in 2nd vs ~4750 in 2nd with stock gearing. From my experience, those ~500 revs are strong to very strong for our engine. Those will be a welcome addition to my 0-60 (and 45-65) arsenal.
I would be very surprised if I could break into the 4's, honestly. I bet I the s/c will most significantly improve my 45-65. But, tuning and a full exhaust are definitely in the works.
08-17-07, 10:21 AM
#71
Lexus Champion

Join Date: Feb 2004
Location: Michigan
Posts: 2,160
Likes: 0
Received 0 Likes
on
0 Posts

-hass
