When you click on links to various merchants on this site and make a purchase, this can result in this site earning a commission. Affiliate programs and affiliations include, but are not limited to, the eBay Partner Network.
where can i get the actuator part? my locks just budge a little when i press the button. they never lock or unlock fully. can you fix the old actuator or is the only way to fix it is get a new one.
mine does that same thing.. it barely wiggles and wont lock or unlock it will just barely move..
Thanks for all of the info you all have shared so far. I replaced the clip on mine about 6 months ago, but it failed, and the rod broke out of the actuator. I did notice that window track in the way, too.
Can either of you all who have successfully installed this give us any more hints ? Or maybe just a written step by step ? For example , was it hard to disconnect/connect anything related to the actual door handle connections to the actuator ?
I know how to do that notorious 'rod' clip, but can you all share anything else you can think of for others ?
I usually try to use used parts when I can, but I'm afraid I'm going to buy 'new' on this one since this problem seems to happen a lot and I figure why go through the apparent hell to install this, only to have it last not very long.
Thanks Dog,
I saw those links a long time ago but couldn't find them yesterday. I may try to fabricate the end of the rod after I remove the actuator from the door.
Did you remove the door handle before you removed the actuator ? thanks
Thanks Dog,
I saw those links a long time ago but couldn't find them yesterday. I may try to fabricate the end of the rod after I remove the actuator from the door.
Did you remove the door handle before you removed the actuator ? thanks
Removing the handle isn't required but it makes wiggling things out from behind the window track easier, at least it helped me. If I had to fix it again, I would buy it brand new or fab something permanent up like those links..
Thanks for all of the info you all have shared so far. I replaced the clip on mine about 6 months ago, but it failed, and the rod broke out of the actuator. I did notice that window track in the way, too.
Can either of you all who have successfully installed this give us any more hints ? Or maybe just a written step by step ? For example , was it hard to disconnect/connect anything related to the actual door handle connections to the actuator ?
I know how to do that notorious 'rod' clip, but can you all share anything else you can think of for others ?
I usually try to use used parts when I can, but I'm afraid I'm going to buy 'new' on this one since this problem seems to happen a lot and I figure why go through the apparent hell to install this, only to have it last not very long.
thanks much!
In a very vague way, its fairly straight forward.. There really only is one way to do it. You want to take that middle brace off, I think its 3 x 10mm screws, then get the actuator unclipped and unbolted, get the lines for the inside handle and lock loose. Then the hard part, you'll have to just be mean with it and pull it up towards the handle and pull/twist it out between the door sheet metal and the window track. It will seem like it doesn't fit but just keep pulling and twisting it and it'll come out. Installing the new one is much easier and exactly the same but backwards and you have to be very careful not to bend the rods now lol..
Kris said it well. You really just have to get in there. It's one of those things the first time seems very difficult the second time is almost easy. If you run into problems post up with pics if possible.
Thanks guys - I know exactly what you mean - I had both window regulators go out on the SC (we'd given the SC to our son as long as he needed it while he was at school at Ft. Rucker and both went out within a few weeks of one another and the clip broke on the passenger side) and fixed both in one weekend - the first one took a few hours, the next one took about 30 minutes.
I plan on tearing it apart this week and hopefully can find a piece of metal to attach to the end. The guy across the street has a welder and I'm sure he'll help me out...
I've fabricated an extension to the arm that broke, but I noticed the flat part of the arm(what's left of it) which inserts into the actuator is a little angled compared to the bend in the Rod. Should the flat part be perpendicular to the bend or is it normal to be angled like mine?
The clip has broken 2x and I'm sure the window has been rolled down but I'm not sure how it affected the rod when the window was rolled down..
I want to make sure there's no stress anywhere once I attach my extension and re-install the thang...
Before taking out the actuator, I wanted to remove the door handle to see if that'd help me access and check the actuator.
After removing the handle,. I couldn't believe the top of the actuator was so close to the door handle, so I just decided to see if I could do everything (install the new rod) from there instead of going through the pain of removing the actuator. I was further incentivised by the fact that I stripped the frikking bottom screw holding the rear window guide/track, despite using liquid wrench and an impact screwdriver...
I fabricated the end and just put it together yesterday. Didn't have to remove the actuator to get the new rod in!
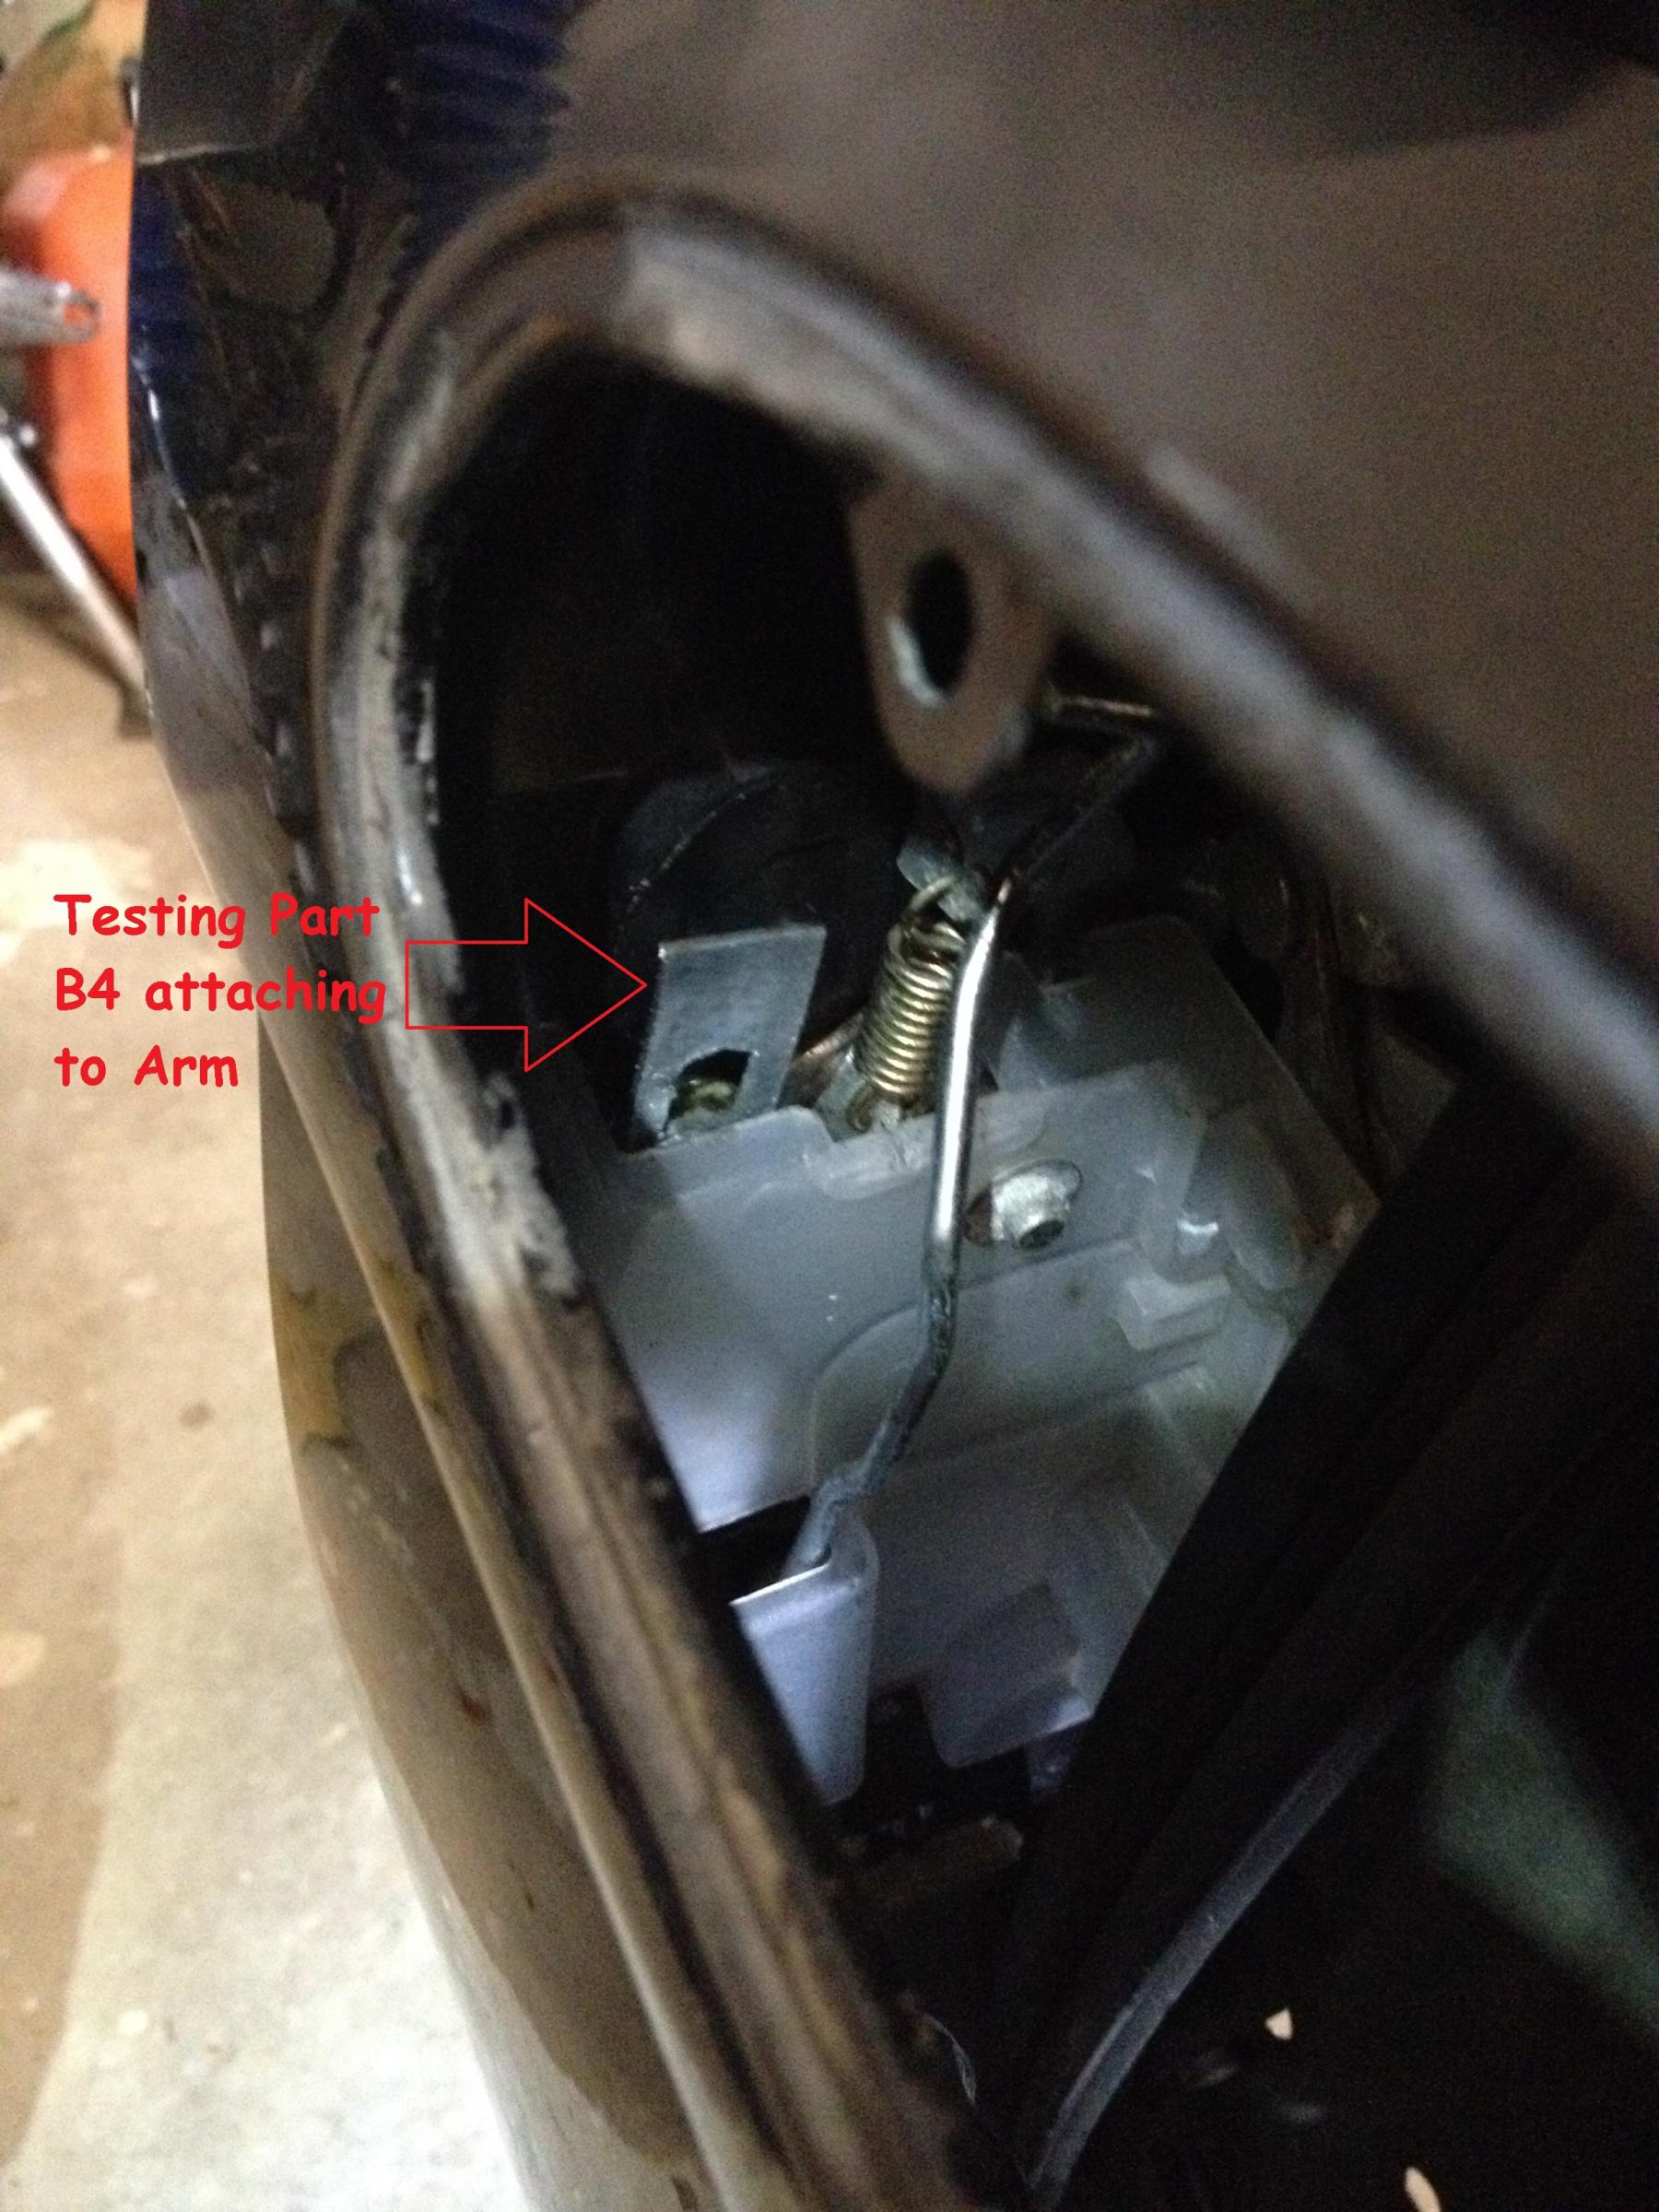
Upper pic is me testing the inner width of the new extension I made (from a 2X4 metail joiner I bought from the Home Depot building section). I wanted to make sure it slid into the **** in the actuator before I attached it to the broken end of the ****..
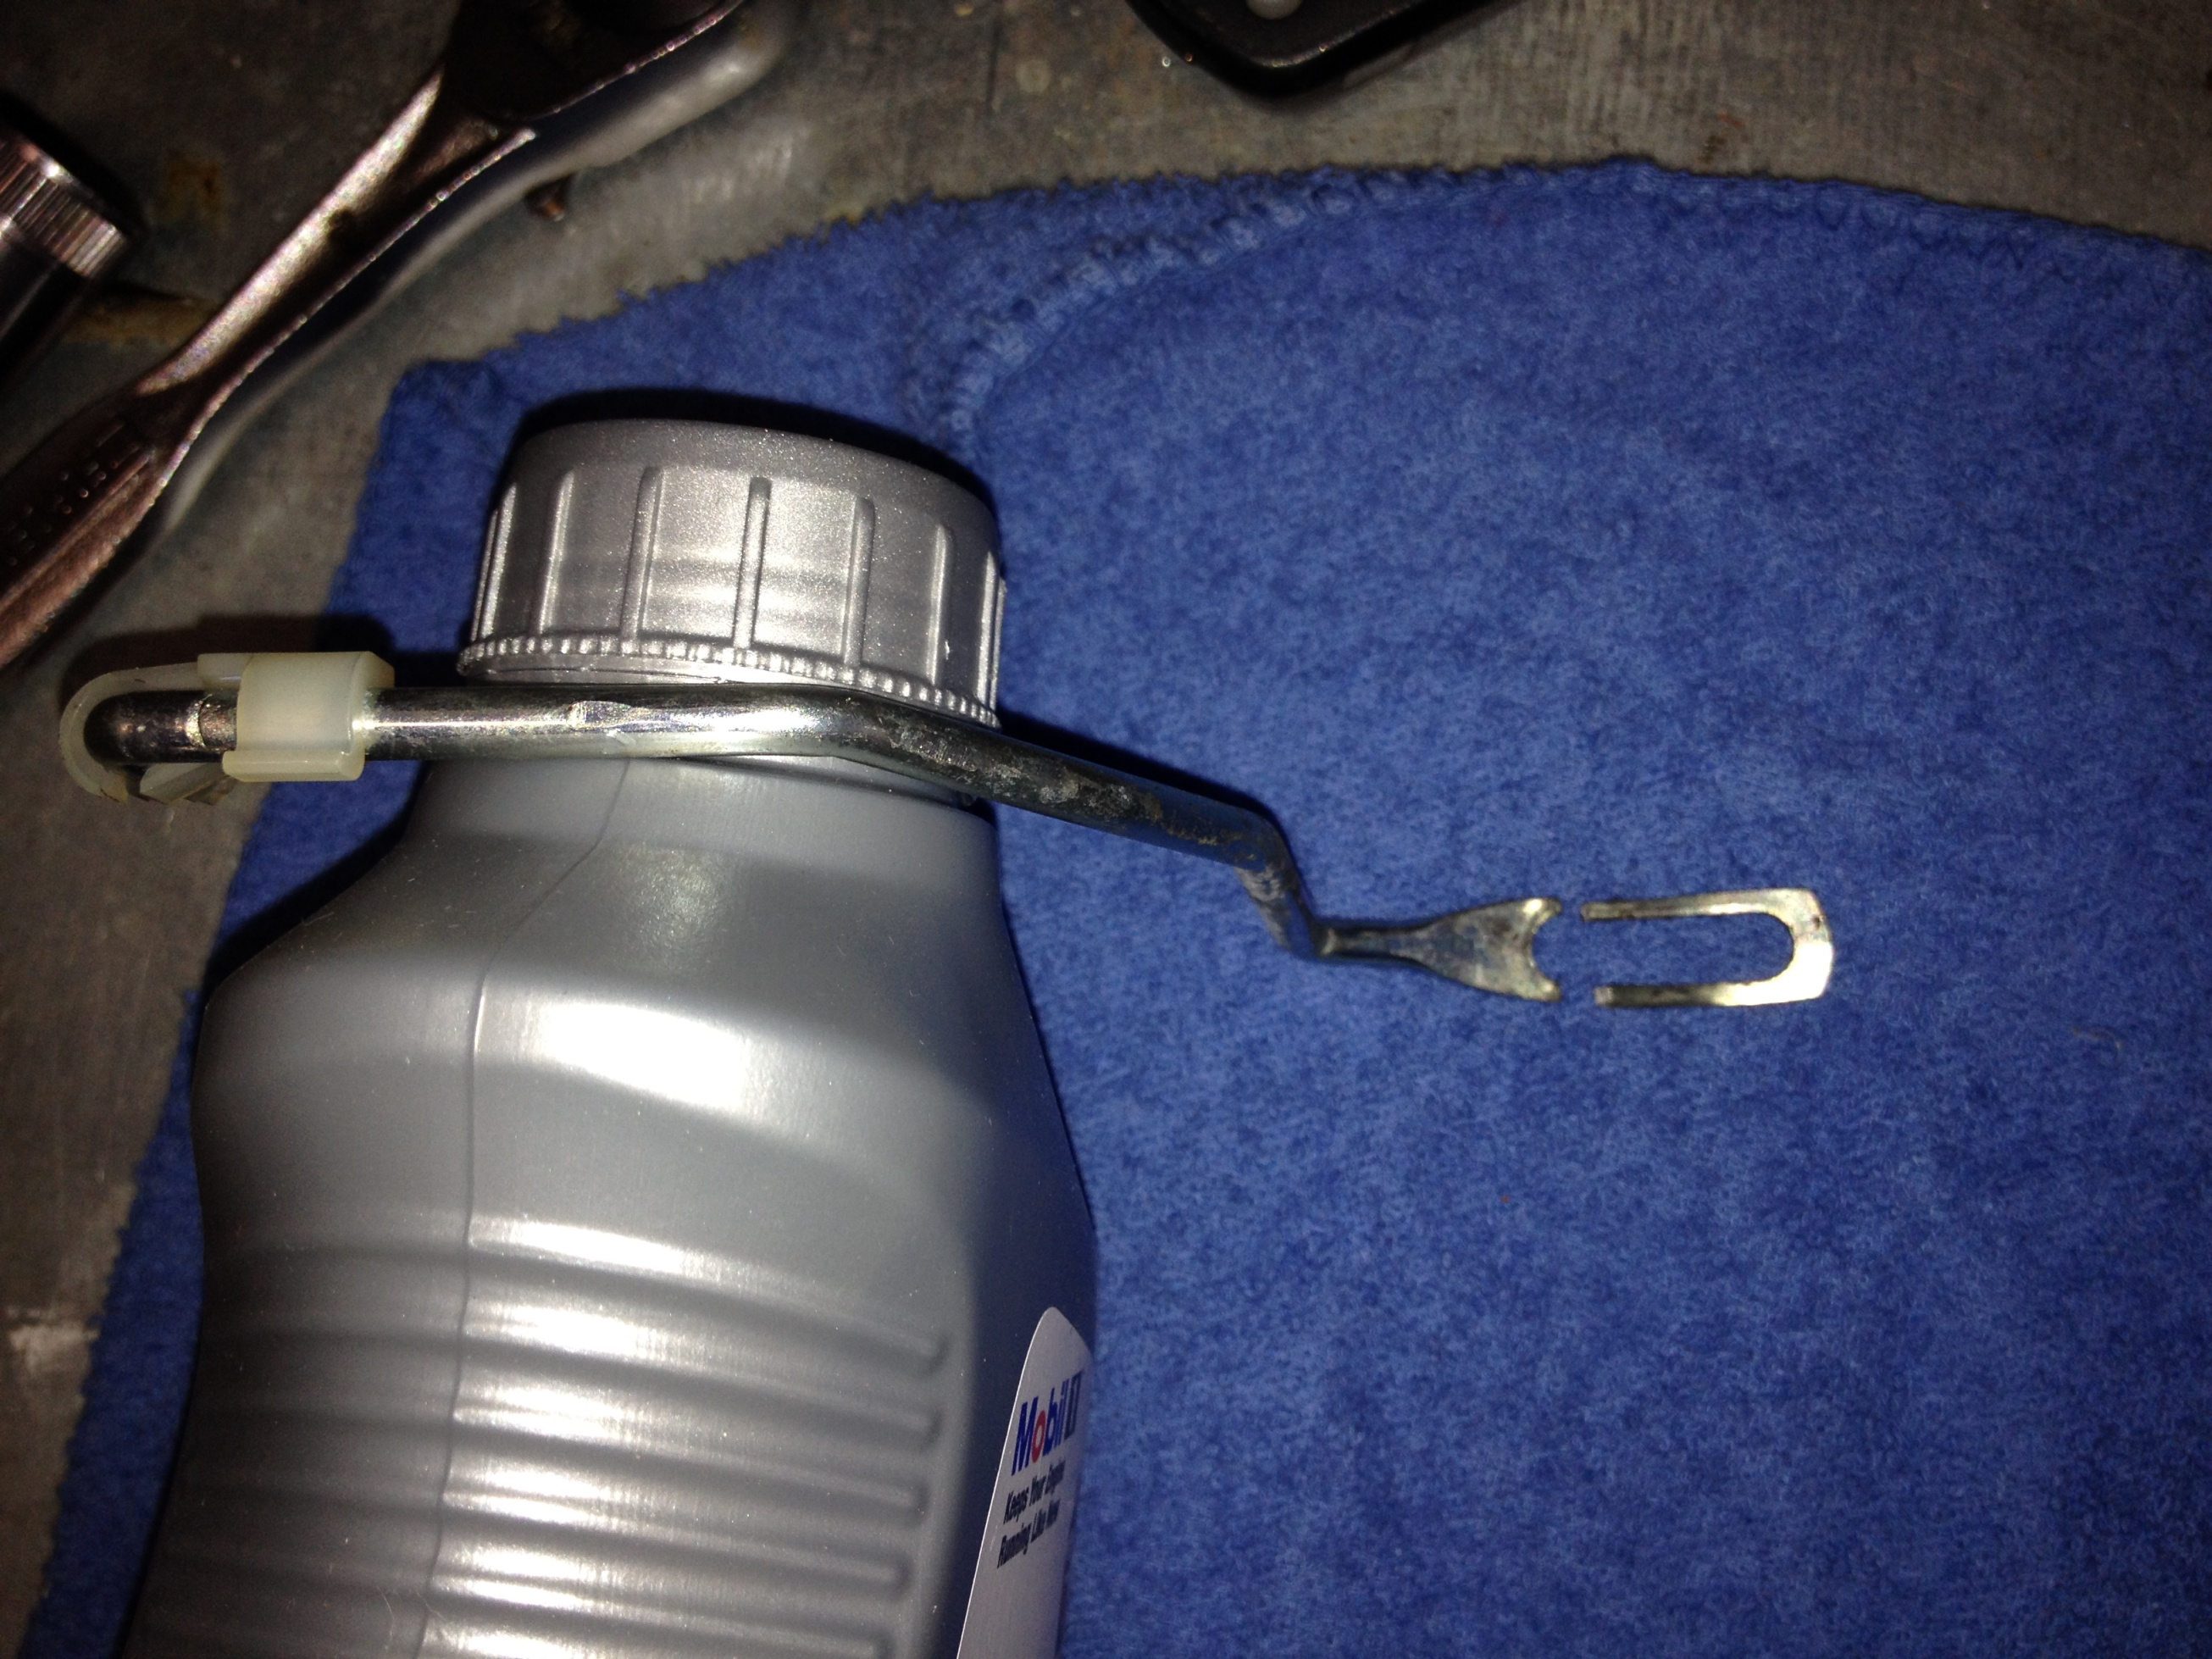
Below pic is the 2 pieces I found at the bottom of my door - I'd never seen the full complete pic of how this arm is supposed to look.
I'm putting notes together and will post a step by step in a day or so...
I removed that center beam (3 phillips screws); it'll grant you room to reach inside.
It might help to fix a flashlight in there ...
Look left, and there's the PITA ... I resorted to unbolting the actual door-handle (2 small bolts) and popping it out to make room with which to shimmy out the unit. It made all the difference in the world; just do it.
The problem when your actuator won't lock electrically but will manually is with the electrics in the actuator itself. You can take it apart and check the brass wipers and nylon gears, but that is about all you can do. Better to purchase a known good working one or new.
If you remove the lower screw that holds the window runner it will allow a little more room to manoeuvre the actuator around it.
My clip was good but the bar had snapped so i did the zip tie to the mid handle area to keep it in line, and now works awesome. Until it breaks again. Its located on page 10 of the diy. I was thinking there was no way to line it up that way, but it works. I put 2 zips on for good mesure.


 07-21-14, 01:40 PM