Front stage speaker install '02 SC430
 04-23-14, 10:58 AM
#1
Driver School Candidate
Thread Starter

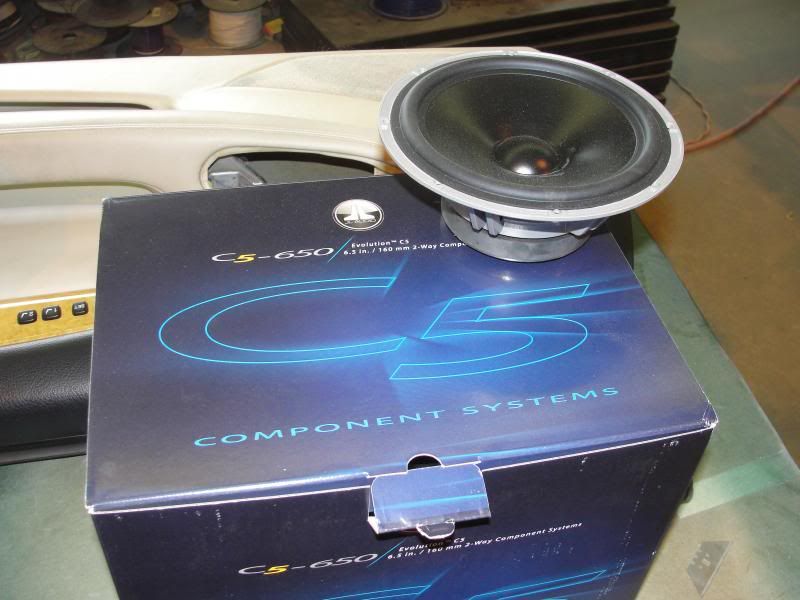
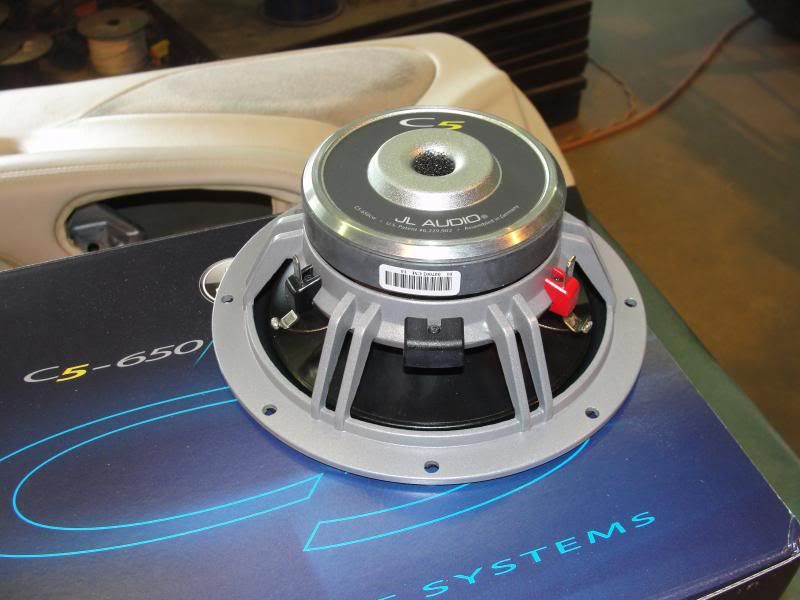
Hi. New here but thought I'd share some info and pics of a speaker install I did here at my shop yesterday. A customer brought in an '02 SC430 with fried 6x9's in the front doors. The customer wanted to keep his factory headunit and the ML amp. We decided on the JL Audio C5-650 component set. Excellent sounding speakers!


 04-23-14, 11:04 AM
#2
Driver School Candidate
Thread Starter
Whenever we install a new component set into a vehicle that has a factory amplifier and component speakers we need to determine the frequency range on the different speaker leads from the OEM amp. I determine this by using a RTA (real time analyzer) by Audio Control. This first pic shows the frequency range the 6x9 receives from the ML amp. As you can see there is nothing over 800 hz.
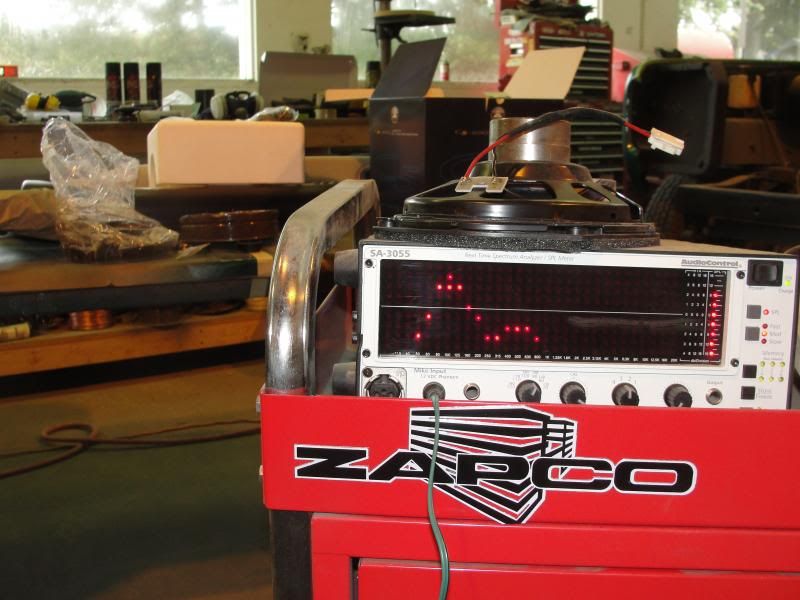
The 3" mid gets a much more usable signal as shown in this pic:
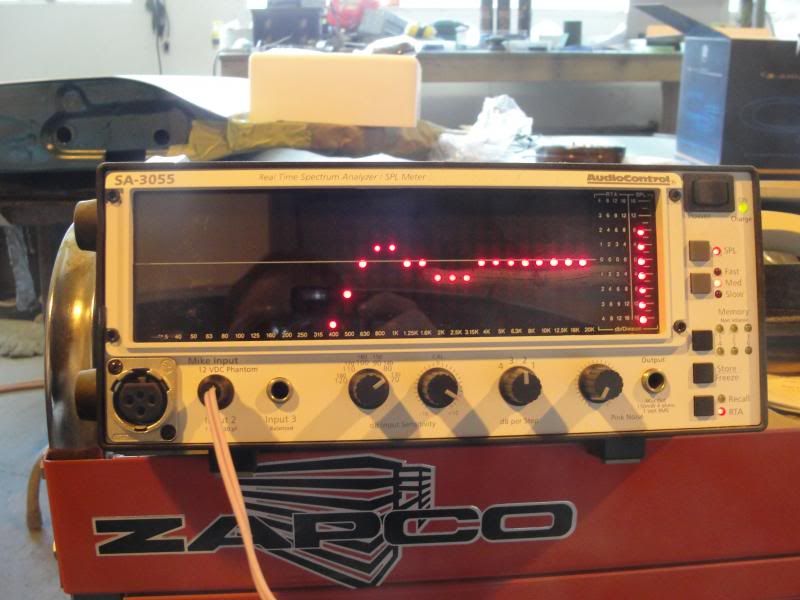

The 3" mid gets a much more usable signal as shown in this pic:
 04-23-14, 11:10 AM
#3
Driver School Candidate
Thread Starter
The ideal option with this type of setup would be to use an OEM integration unit that is capable of summing the two different outputs. We would normally use one of the Audio Control units like a LC7i or similar plus an aftermarket amp. The customer is planning on going this route but it will be a future add on. Currently the JL component set is receiving and mid-bass frequencies and this is not ideal but it was the best option at this point. Because the ML system has a subwoofer this helps out greatly. Again, not ideal but it sounds quite a bit better now than when it came in.
04-23-14, 11:18 AM
#4
Driver School Candidate
Thread Starter
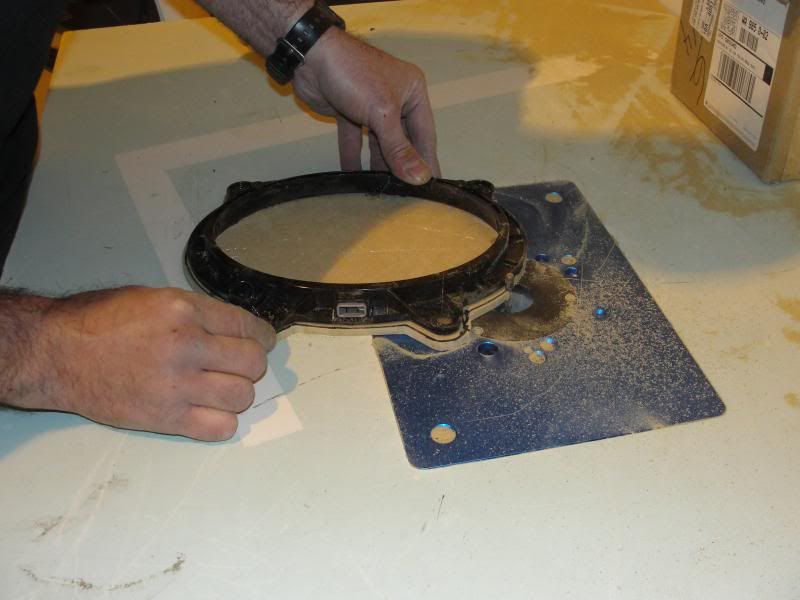
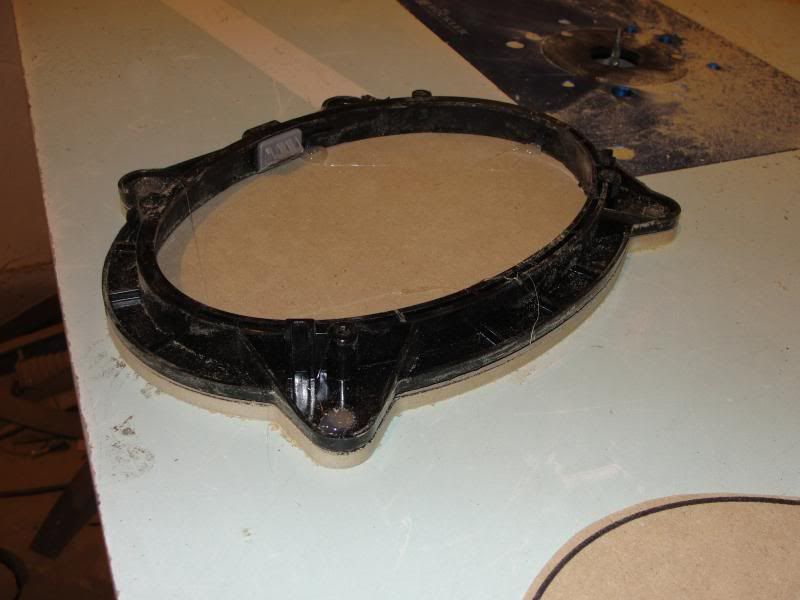
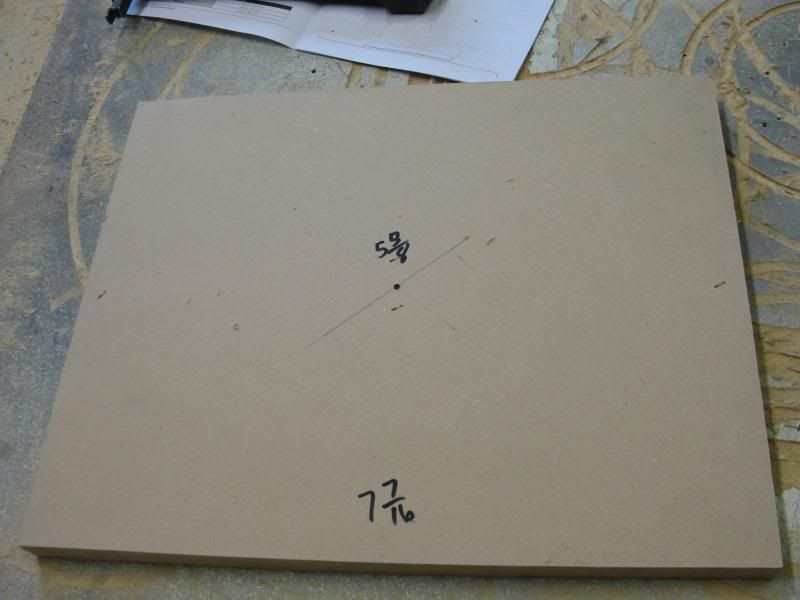
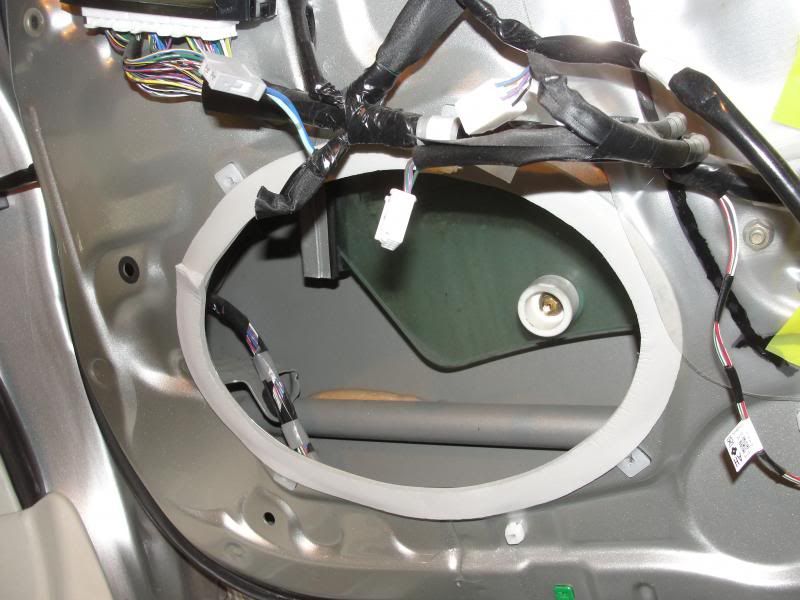
Next I duplicated the shape of the OEM 6x9 and fabricated a baffle for the JL 6.5" mid. Normally I would build this baffle out of HDPE plastic but the customer was not willing to spring for the extra cost so we settled on MDF. I first used one of the blown 6x9 mounting ring as a template. I used a flush trim bit on my router table to duplicate the shape. I always make a few at this point. A couple for the current install and a template to keep on hand for the next vehicle that might come in. This saves time later as I can build the speaker baffles in my down time before the customer shows up for their install.


 04-23-14, 11:28 AM
#5
Driver School Candidate
Thread Starter
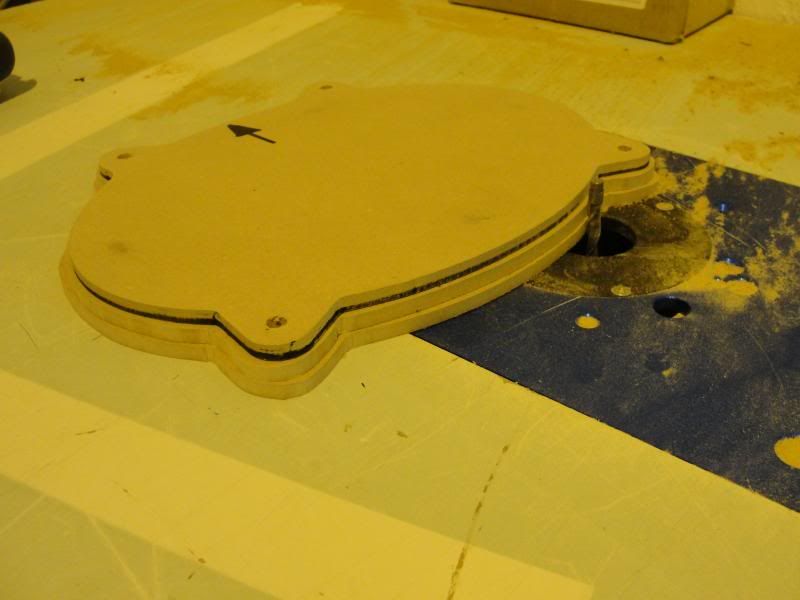
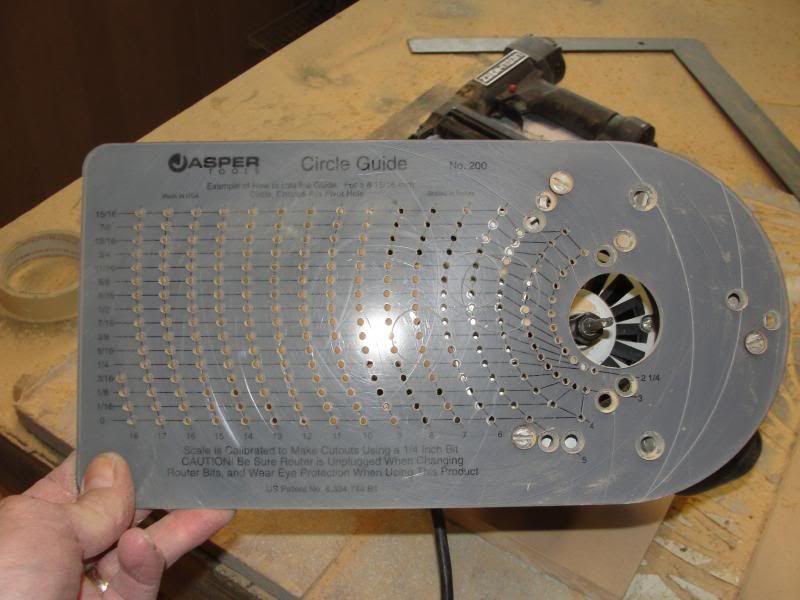
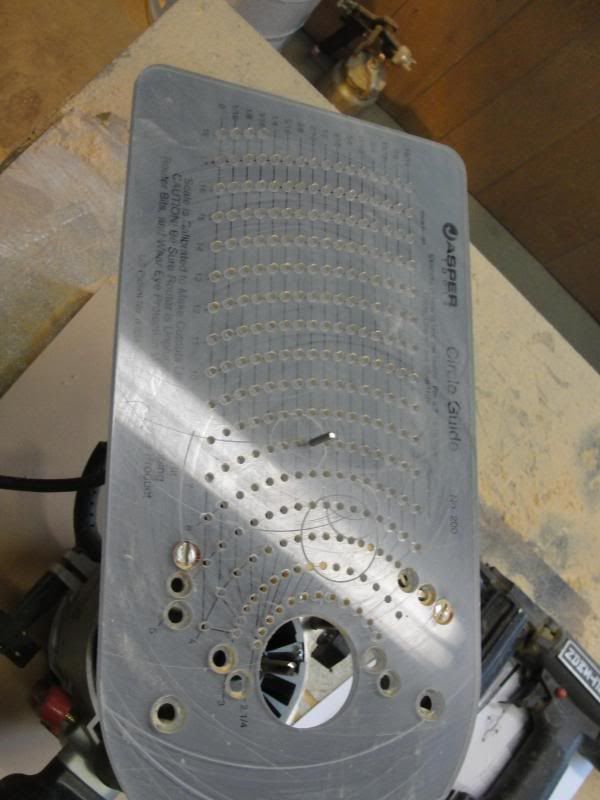
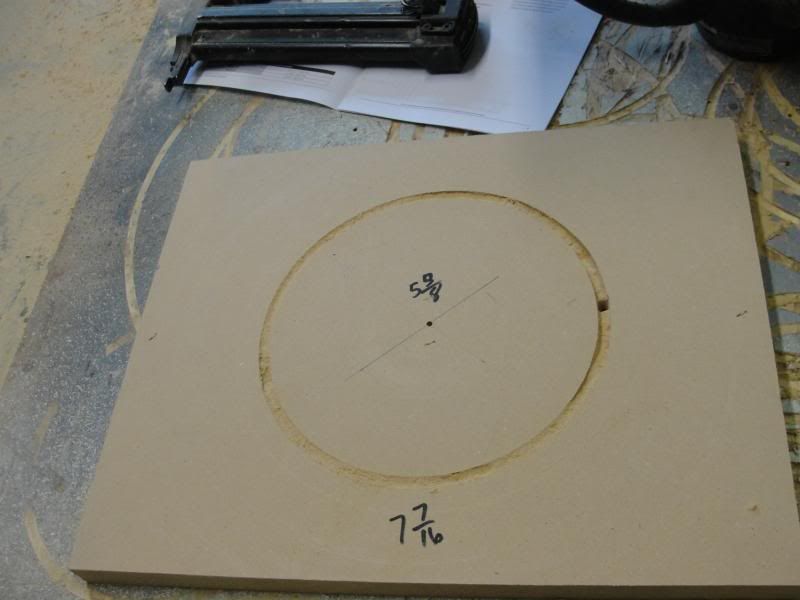
Next, I fabricate a ring that the speaker will mount to. With the window rolled down I determine how deep I can go without running into any moving parts like a window regulator. In this particular vehicle I determined that a 3/4" ring would be perfect. To cut circles I use a circle jig by Jasper tools. The next few pictures show this process. I first determine the size of my inner and out cuts based on the mechanical drawing of the speaker provided by the manufacturer. I'll then verify this measurement with a caliper if it's a company that I have not used before. When determining where to set the pin for your outer cut you must remember to add the width of the router bit on each side. I use a 1/4" bit so I set my pin at 1/2" more than my desired cut. Meaning if you want to cut a 7" hole you must set the pin at 7 1/2". You also have to remember to cut your outside hole first.


 04-23-14, 11:39 AM
#6
Driver School Candidate
Thread Starter
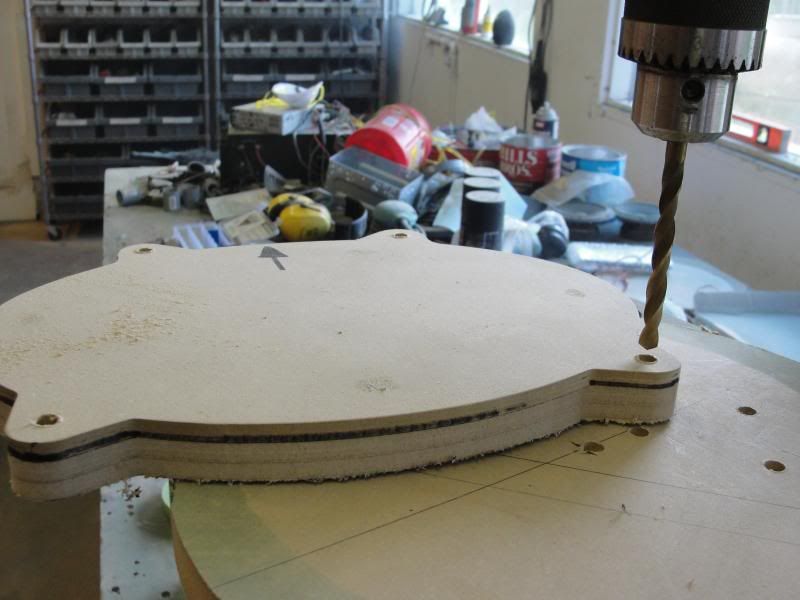
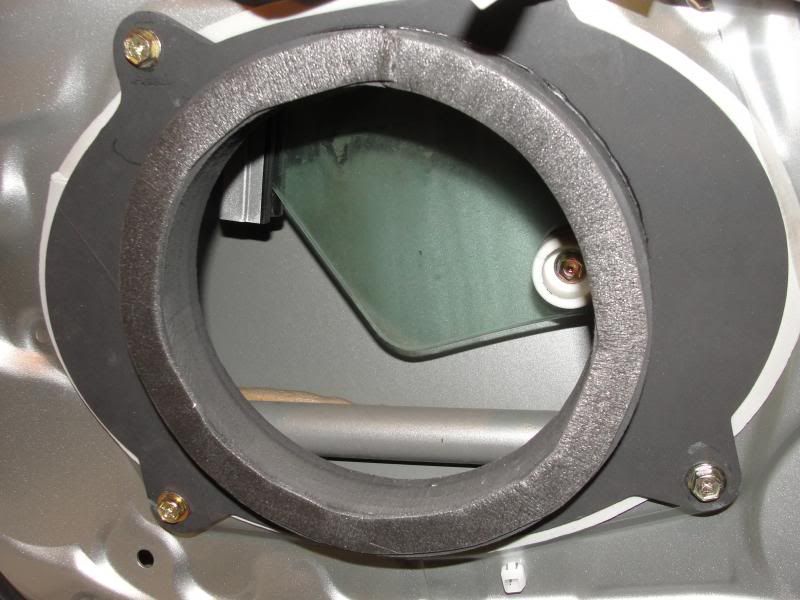
After my rings are cut I use a good quality wood glue and a nail gun to attach them to the baffles. Then we go back to the router table and the flush trim bit.


 04-23-14, 11:42 AM
#7
Driver School Candidate
Thread Starter
Next step is some closed cell foam tape (weather stripping from any hardware store) to isolate the baffles and the speaker. If we did everything correct up to this point our baffles should mount using the oem hardware.


Trending Topics
04-23-14, 11:44 AM
#8
Driver School Candidate
Thread Starter
And there you have it. My cam battery died before I could take pics of the tweeter install but that part was pretty straight forward. I installed it using the oem tweeter bracket and the hardware included in the JL component set. I hope this little write up is helpful in some way. Please feel to message me with any questions.

Thread
Thread Starter
Forum
Replies
Last Post
plistumi
Lexus Audio, Video, Security & Electronics
2
08-28-06 01:21 PM