

 12-15-14, 01:03 PM
Last edit by: IB Advertising
See related guides and technical advice from our community experts:
Browse all: Interior
- How to Wrap your Interior in Carbon Fiber Foil
Step by step instructions for do-it-yourself repairs
Browse all: Interior

DIY OEM Carbon Fiber Part Wrapping
 03-27-09, 11:38 AM
#62
Calf Implant Beta Tester
iTrader: (1)
Join Date: Aug 2008
Location: IL
Posts: 1,173
Likes: 0
Received 0 Likes
on
0 Posts
Called up Euro-Dyne and spoke to Jo.
He does not recommend using this stuff on any exterior parts and/or the engine bay. His explanation went a little something like this: "paint will chip, fabric will tear!" "fabric will burn!" Haha
Here are the pics from E90post... look at how shiny his trim is!
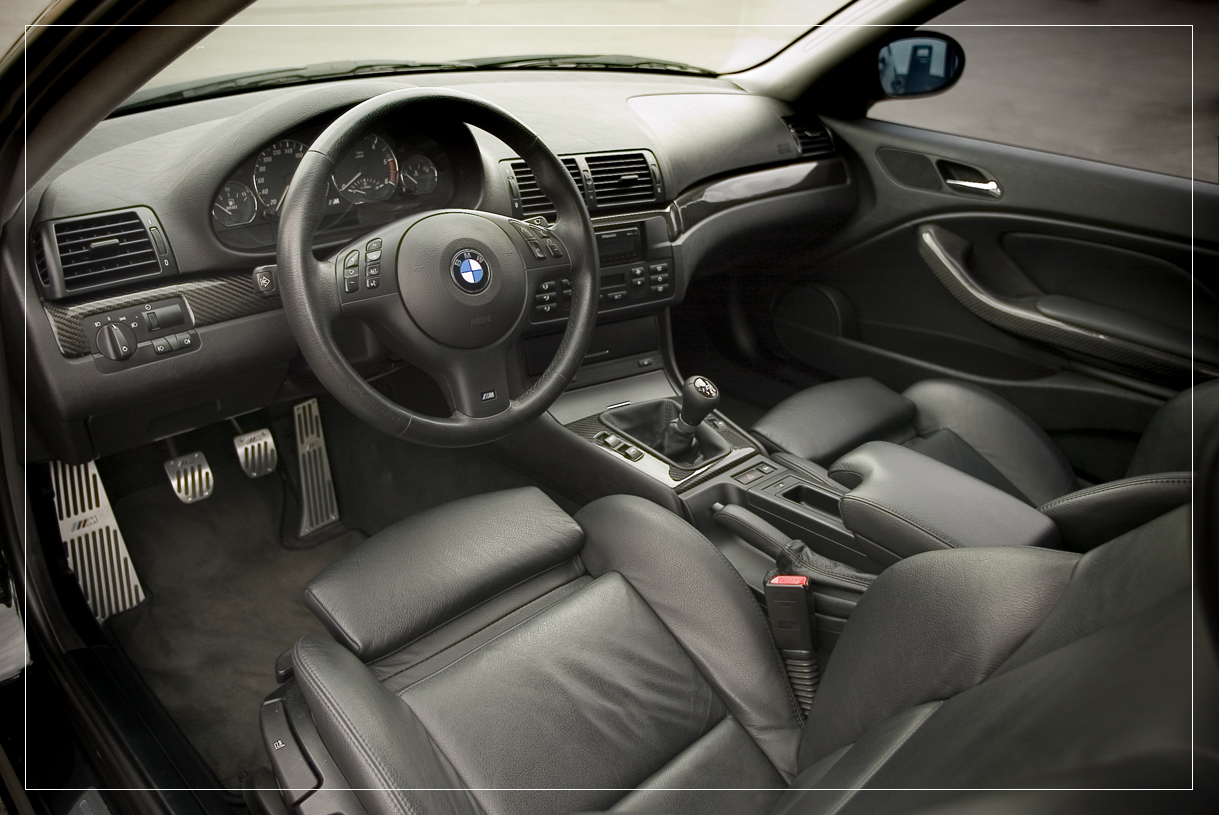
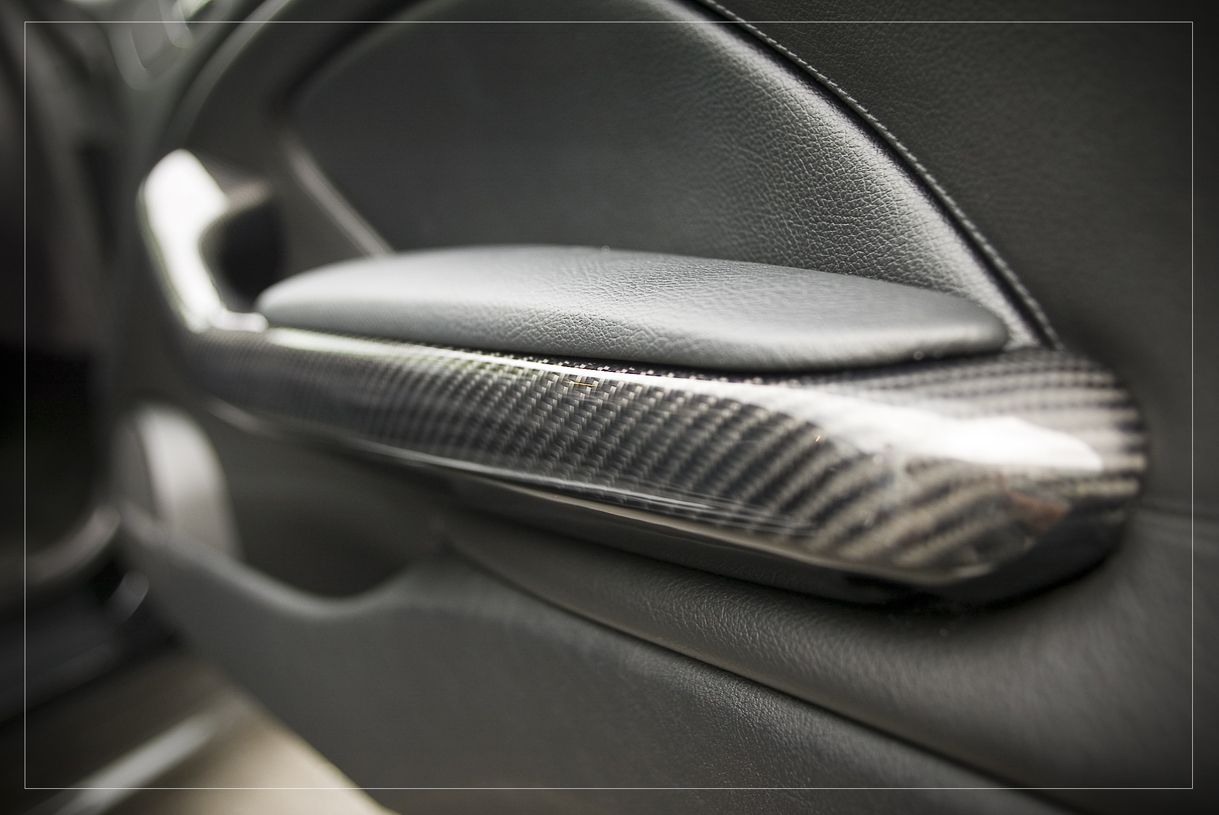

I'm gonna join E90post and PM him to see what he's done. I'll report back with my findings...
He does not recommend using this stuff on any exterior parts and/or the engine bay. His explanation went a little something like this: "paint will chip, fabric will tear!" "fabric will burn!" Haha
Here are the pics from E90post... look at how shiny his trim is!
I'm gonna join E90post and PM him to see what he's done. I'll report back with my findings...
03-27-09, 11:40 AM
#63
Calf Implant Beta Tester
iTrader: (1)
Join Date: Aug 2008
Location: IL
Posts: 1,173
Likes: 0
Received 0 Likes
on
0 Posts
Actually, I'm not sure he used the "CF fabric" the OP did... I think his trim pieces might be the real deal. Not fair!
After PMing him, unfortunately, his interior is actual CF... boooo
After PMing him, unfortunately, his interior is actual CF... boooo
Last edited by jmkiang; 03-27-09 at 11:58 AM.
03-27-09, 12:45 PM
#64
I'll see if I can test a part with clear coat this weekend. I don't think there is an issue with ripping the fabric if it has a protective layer like the clear coat. The only issue would be cracking over time.... It's probably easier to just buy real CF, use resin, clear it and be done. Real CF can be purchased for roughly the same price ($40 per yard)
03-27-09, 12:56 PM
#65
I just got my fabric today but gonna try this on it. I know this is not real carbon fiber (our material) but it still might work to get some kina clear coat on it. check out the link. let me know what you guys think. I think its do able. I know on the you tube clip it tells you to sand down the part but if we skip that and just go to the part that you put the clear resign on I think it will still work.
http://www.youtube.com/watch?v=6rTWaV1imzs
http://www.youtube.com/watch?v=6rTWaV1imzs

 03-27-09, 01:46 PM
#70

I think he means install wise lol.
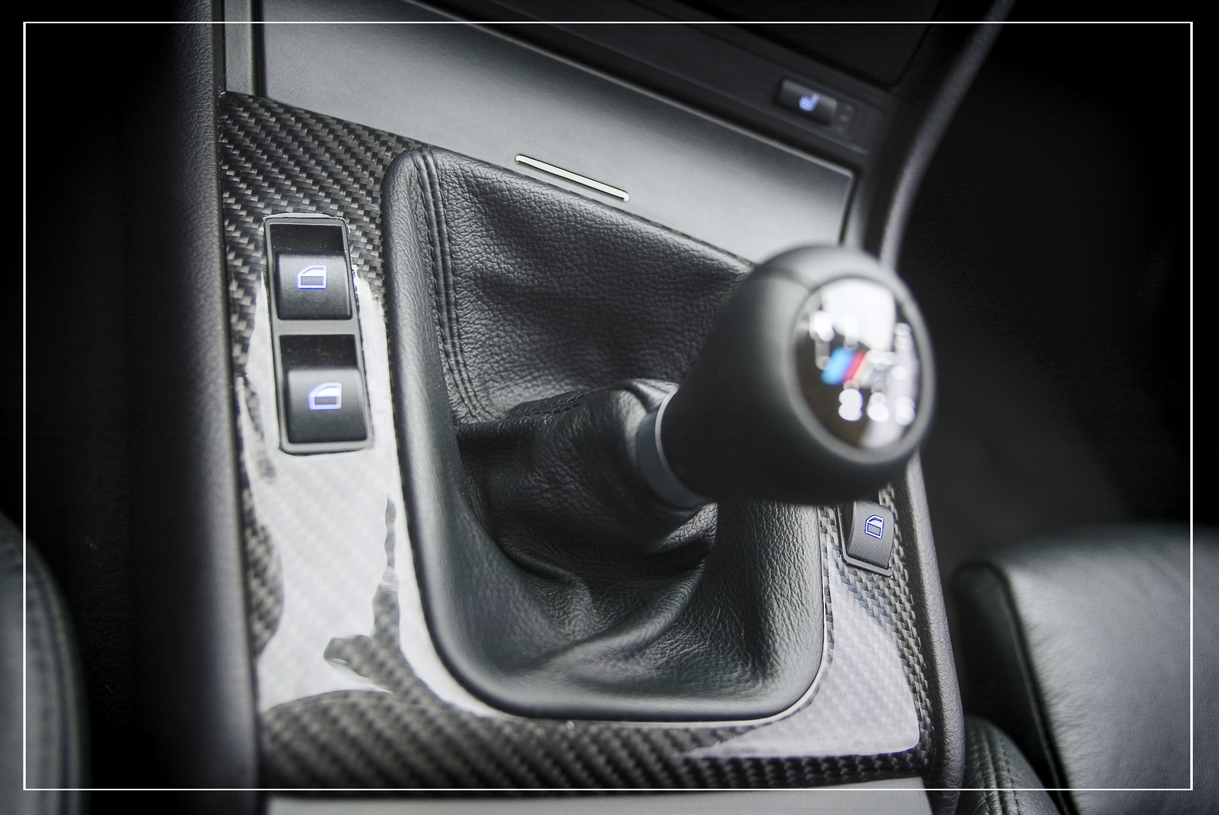
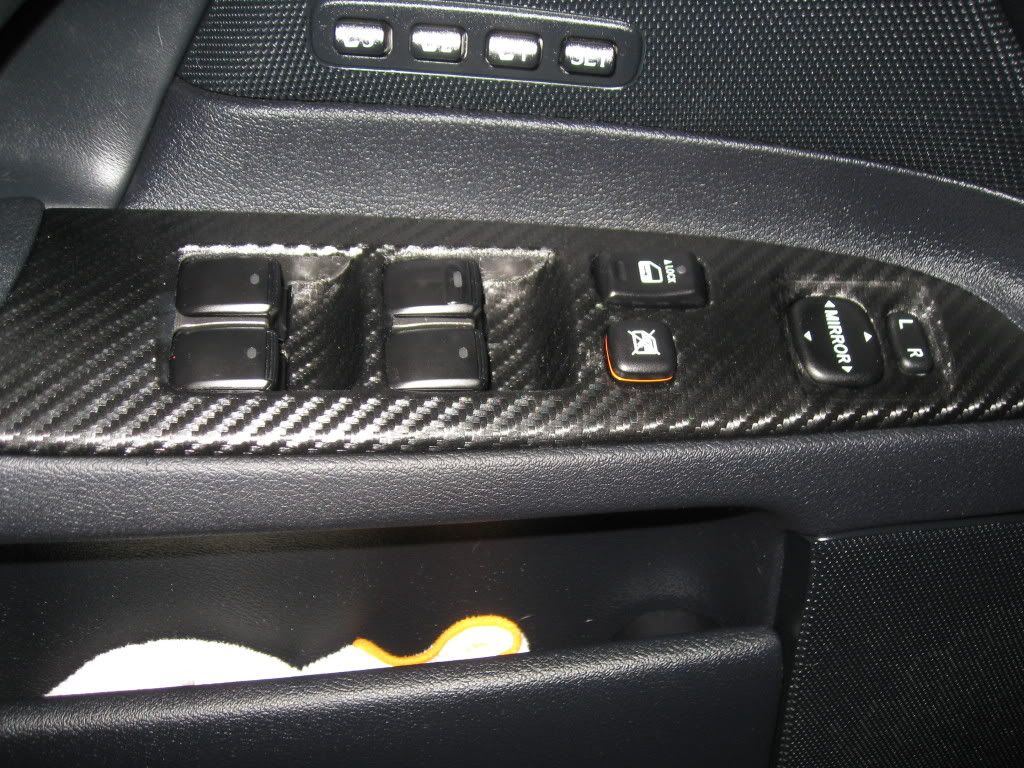
Looking good man. I kinda like you you wrapped the inner window switches etc.
BTW on your center ac vent put some adhesive remover on a qtip and rub the inside top part of your vent. You see the glue remaining lmao. I had the same problem too.
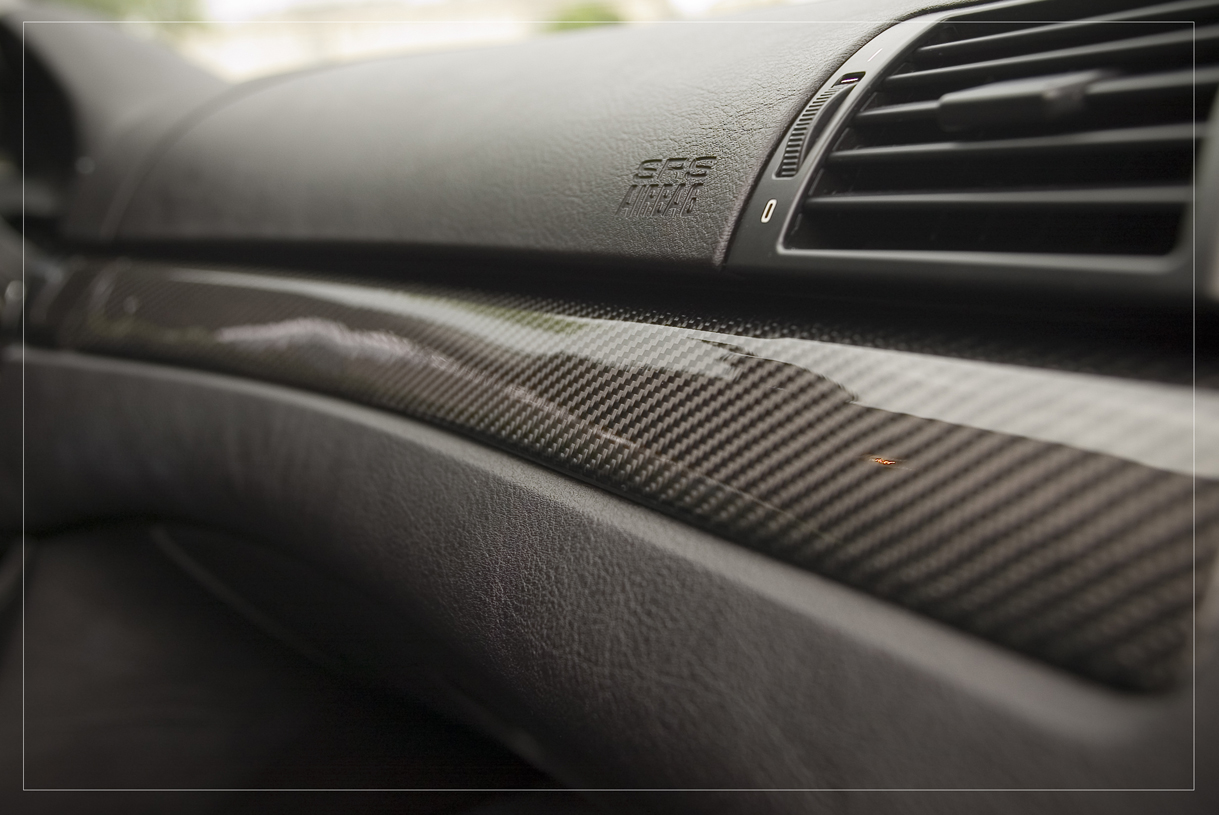
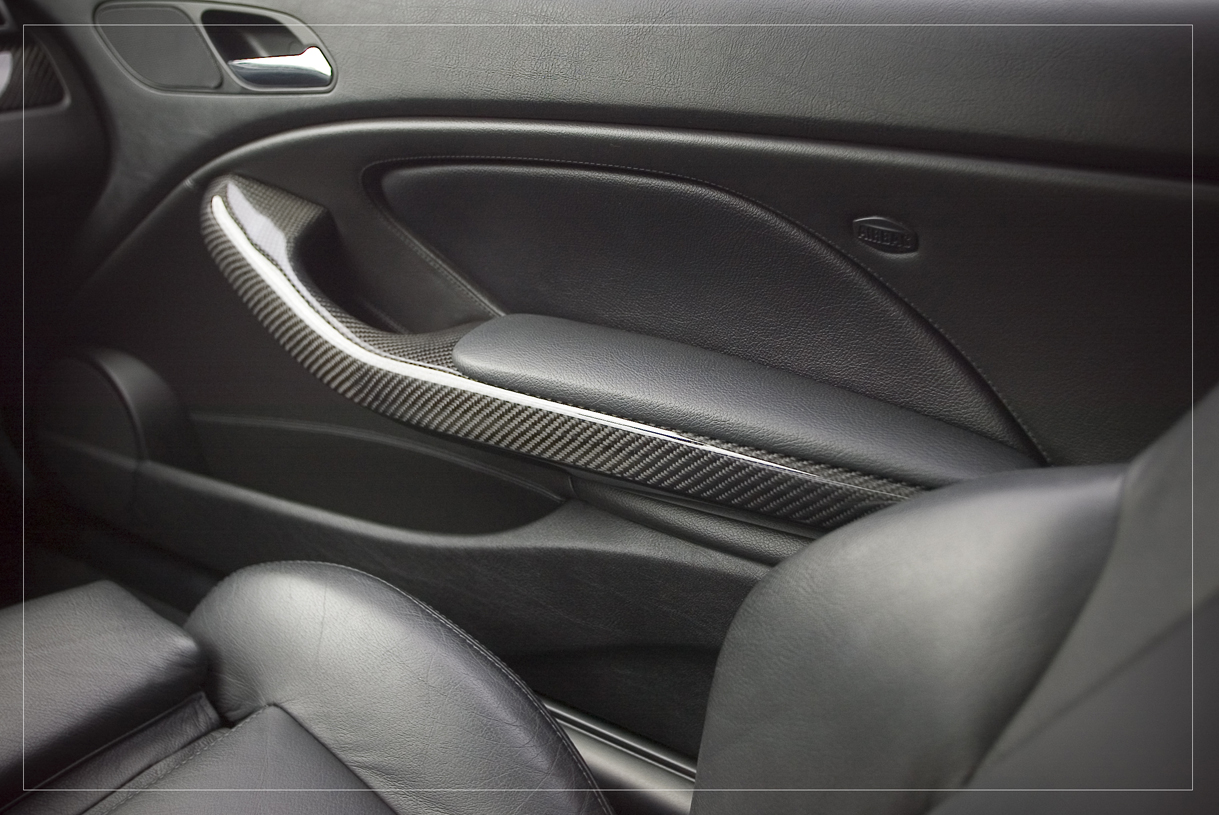
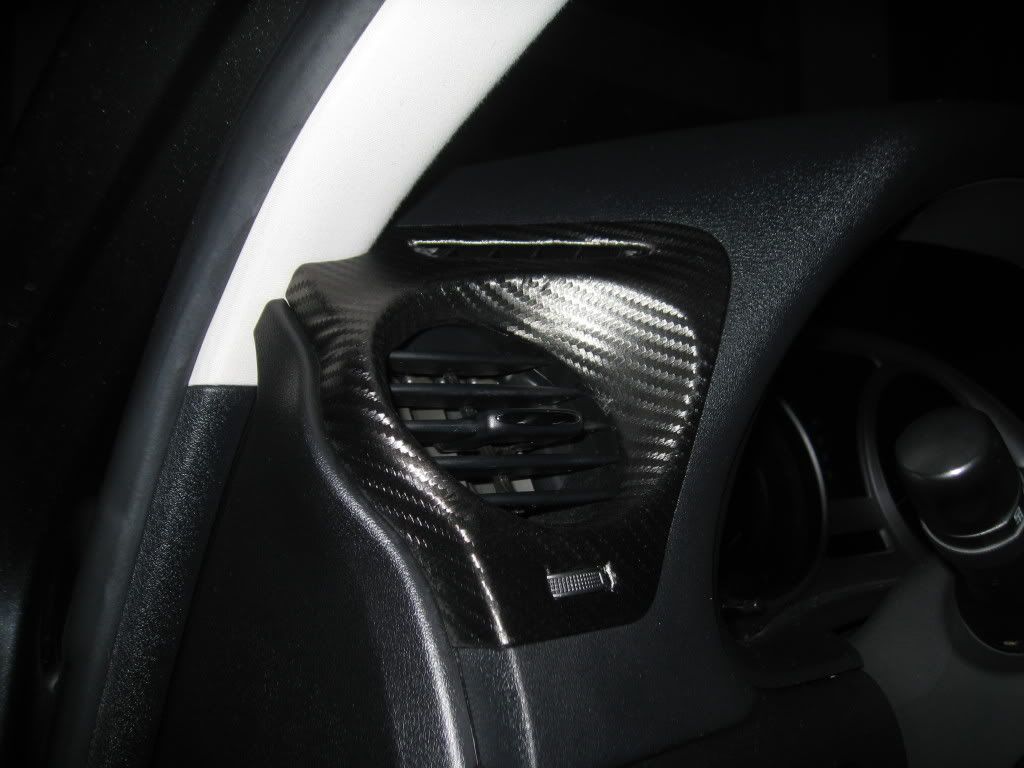
So I'm probably going to redo a few parts since I noticed I wasn't consistent in the direction of the weave on all my parts.... sounds trivial but I notice it and it's started to bother me. Since it's easy to redo, I'll just make it to my liking... but for now enjoy some pics of my work...
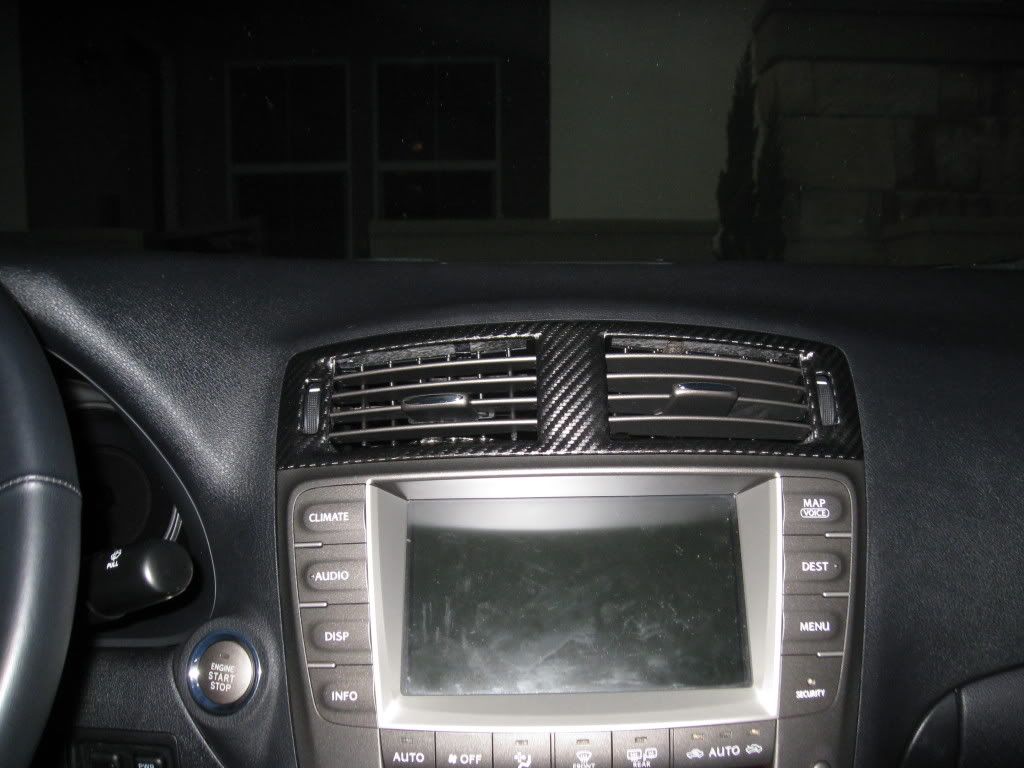

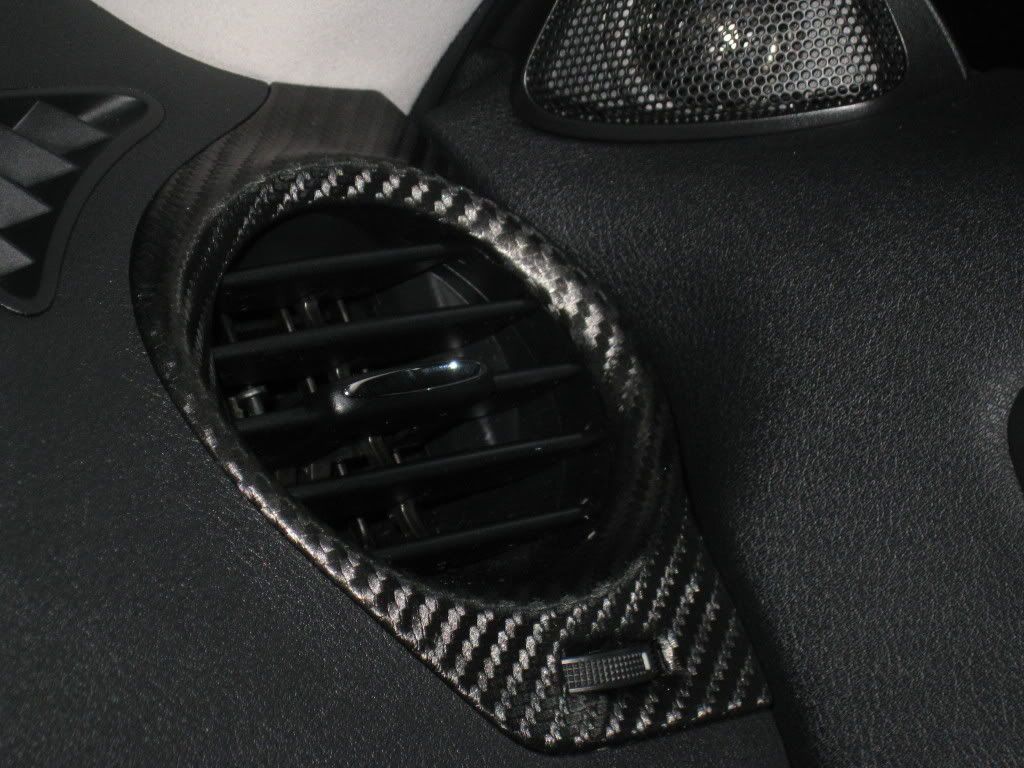
BTW on your center ac vent put some adhesive remover on a qtip and rub the inside top part of your vent. You see the glue remaining lmao. I had the same problem too.
03-27-09, 03:56 PM
#71
Papahoff, in terms of the window switches, I didn't have a choice but to wrap it inside. My window switch panels are different than yours... they don't have the ability to pull out all 4 switches as one unit... not sure if that makes sense, but the 3 dimensional part which curves down to accommodate your fingers is integrated to the switch plate... on yours it actually comes off with the switches.
I also didn't notice the extra resin until I took these pics... you can't see it when you are in the car, but now it bothers me so I need to removed it.
I also didn't notice the extra resin until I took these pics... you can't see it when you are in the car, but now it bothers me so I need to removed it.
03-28-09, 05:15 AM
#72
Lexus Champion
Papahoff, in terms of the window switches, I didn't have a choice but to wrap it inside. My window switch panels are different than yours... they don't have the ability to pull out all 4 switches as one unit... not sure if that makes sense, but the 3 dimensional part which curves down to accommodate your fingers is integrated to the switch plate... on yours it actually comes off with the switches.
03-28-09, 07:24 AM
#73
^^ I'm with ya bro, def looks cleaner on the one's with wood trim. It's much harder to do with our version of the plates.
You have to be very precise in cutting a flap, and then once you lay the flap in there, you have to go back and clean up any extra adhesive. I was worried that the material would fray, so I came back with a lighter and seared the egdes real quick. when you look at it in person it looks really good. I was def. worried that it would look crappy, but luckily it came out nice.
You have to be very precise in cutting a flap, and then once you lay the flap in there, you have to go back and clean up any extra adhesive. I was worried that the material would fray, so I came back with a lighter and seared the egdes real quick. when you look at it in person it looks really good. I was def. worried that it would look crappy, but luckily it came out nice.


