When you click on links to various merchants on this site and make a purchase, this can result in this site earning a commission. Affiliate programs and affiliations include, but are not limited to, the eBay Partner Network.
DIY: How to install an Aftermarket front Lip on your 3IS
I purchased an aftermarket front lip for my 2016 IS200t and installed it today. I had the lip shipped to my friend's body shop and he painted it for me. The color I painted it is Gray Mica Toyota 1C6. I originally planned to paint it Nebula Gray Pearl but my friend somehow ordered this Gray Mica which matches pretty nicely with the F-Sport grill, if not perfectly. Turned out nice in the end. I'll update my build thread with higher quality photos... the iPhone pics will do for now.
Step 1: Buy the lip. You can install it as is black or have a shop paint it. A shop should charge around $150-$200 to paint it.
Step 2: Lay a blanket out in front of your car so you don't scratch the lip and lay the lip down. Raise the front of your car some so you have room to work with. Don't forget to set your parking brake.
Step 3: It's better to have a friend help you lift both sides of the lip but I did it by myself. Use your painters tape to hold the lip to the car all around the car. Don't be too concerned about getting this perfect at this point. You are just holding the lip up so you can reference where the mounting holes are and drill them.
Step 4. Make sure you align the lip with priority being the left and right sides of the bumper. It should be flush with the edge of the bumper by the tire. You'll need to use your 10mm socket to remove the front air splats from the car. There's 3 screws each. (You'll reinstall these later after the lip is installed) Eyeball the lips plastic tabs and where they mount to the stock location of the car. Mark it with a pen, screwdriver, whatever. Personally I just eyeballed it and removed the factory 10mm screw then just drilled carefully straight into it. You may need to drill again to widen/enlarge the hole you made for fine adjustments of the lip. Don't worry. After you make the hole, install the factory screw. Move to the other side and do the same on the other corner. Then work your way towards the center using this same technique. Remove the tape once all factory screws (about 4 of them) are holding the lip up roughly (don't tighten all the way, still need to make adjustments.)
Step 5: Adjustments time. Stand up in front of the car and look down. Ensure the lip has an even fit all the way around the bumper. You'll see at this point, at least with this lip, it's all crooked, has gaps, etc. Looks horrible. This is where the self tapping screws come in. Install the philips-star head bit on your drill and take some self tapping screws and screw the lip onto the factory bumper where it needs it. Starting on the front corner edge by the tire. Hold the lip up and eyeball where you think the lip needs additional support/strength. You'll see the factory screws are insufficient to hold the lip up firmly and straight to the bumper. Look for gaps, push the lip upwards, and add screws. Make sure the screws go into the lip AND the factory bumper. I added screws all around the perimeter until I see no more gaps. No drilling required, the screws are self-drilling/tapping and go in incredibly easily. Do not overtighten or strip the bumper as you drill it in. Do this with caution. No biggy if you do, you just need to make more holes. Remember start at the corners and work your way inward. I found this technique to be very good! Don't forget to reinstall your air splats at the very end!
And here's the finished product along with some install photos!
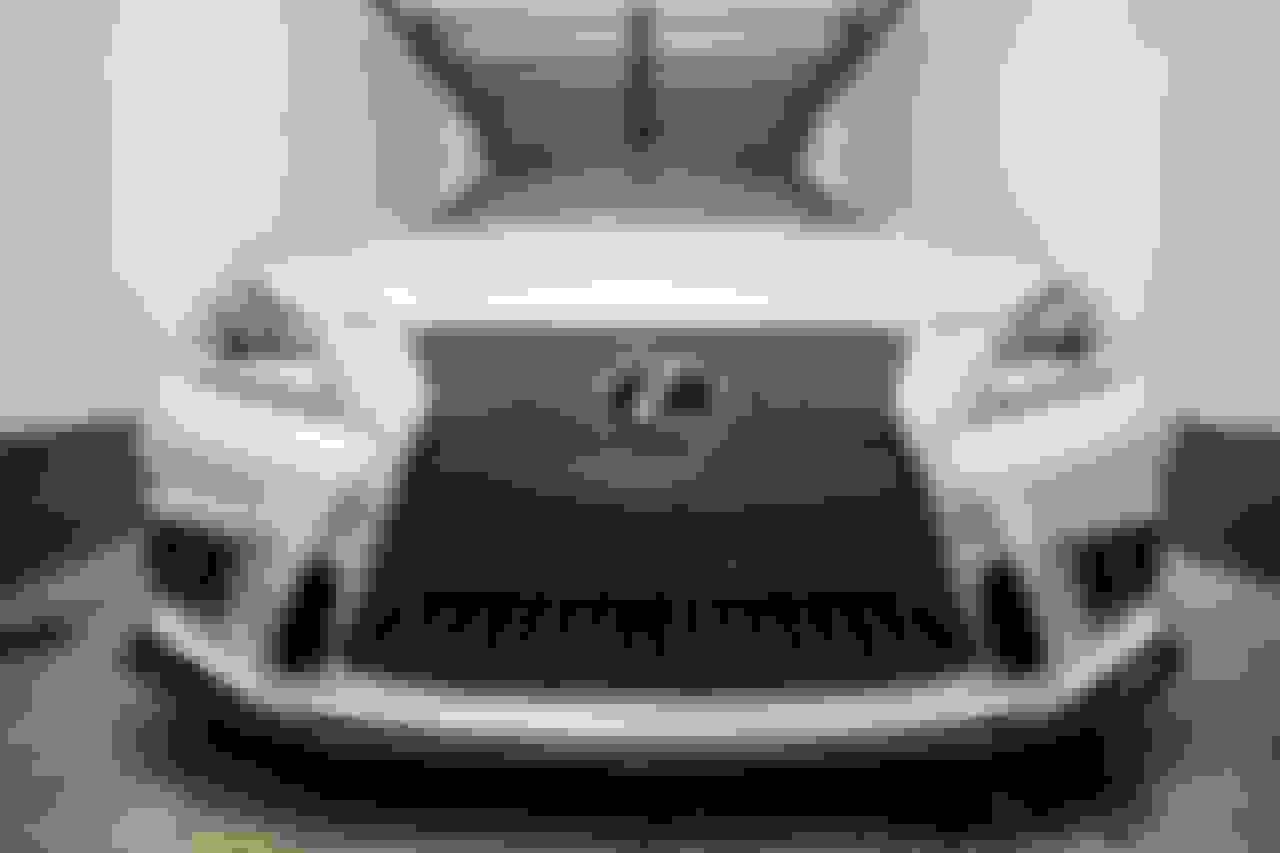
Finished product!
Another view... could use some wetsanding. I may do this in the near future.
Lay a blanket down so you don't scratch your lip!
Remove the air splats! Reinstall them last!!
Use tape to get your lip into rough position to start eyeballing where you need to drill
I love my Ryobi compact. Only $50. helps me around the house and for DIY projects. I can't remember the last time I charged the battery. The thing runs forever.
Thanks you'll notice the lip is slightly bowed up in the middle as commonly seen in other IS install pics. I had to fine tune my install and reposition screws and now I got it straight to the naked eye. so if you want it to look perfect you'll have to fine tune it =) Easy though... the higher quality lips might have a better so tuning isn't necessary. i'll take updated pics this week
Yes I'll take some probably Saturday with my real camera! The sides, on my install, were installed to fit flush with the bumper. Down to the millimeter. And I checked my lip today after fine-tuning it, it's laser straight. very happy with it! I notice some clear coat drips my painter didn't sand smooth on the sides near the tires.. gotta figure something out. sand it down probably and re-clear it.
From what I've seen the lip is a semi-gloss/matte finish. not totally mat but not totally semi-gloss. I did not see the lip personally because i had it delivered to my friend's body shop to paint
That look really good. I like color choice too. Nice paint job from your puddy.
May want to do it on mine sometime. OP, is your friend's shop somewhere in LA/OC area?
Yes it's near Sylmar. Let me know if you want a referral. I don't know the name. I don't even think it has a name lol. he does mainly Audi engine building but is starting to do more body and paint work of race cars
Updated pic as promised. Notice I straightened the front lip out with fine tuning of the screws. all the lip pics I've seen online have the front edge very crooked, bowing up etc. Install error.

 10-29-16, 09:58 PM