
Blacked out with STI-R Lenses
 05-04-11, 09:58 PM
#1
Rookie
Thread Starter

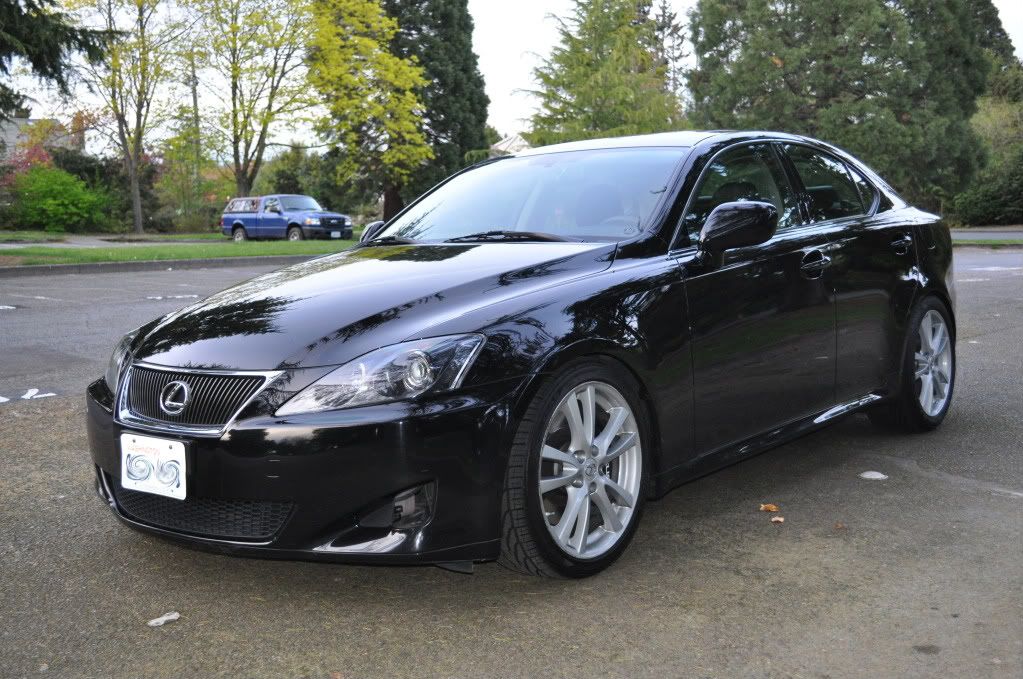
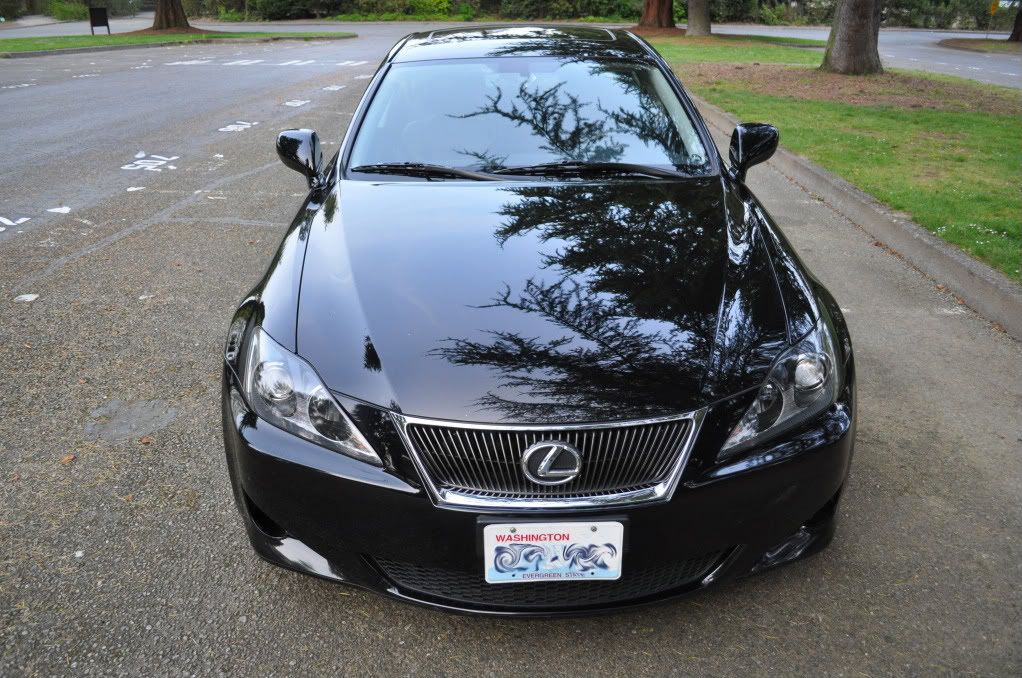
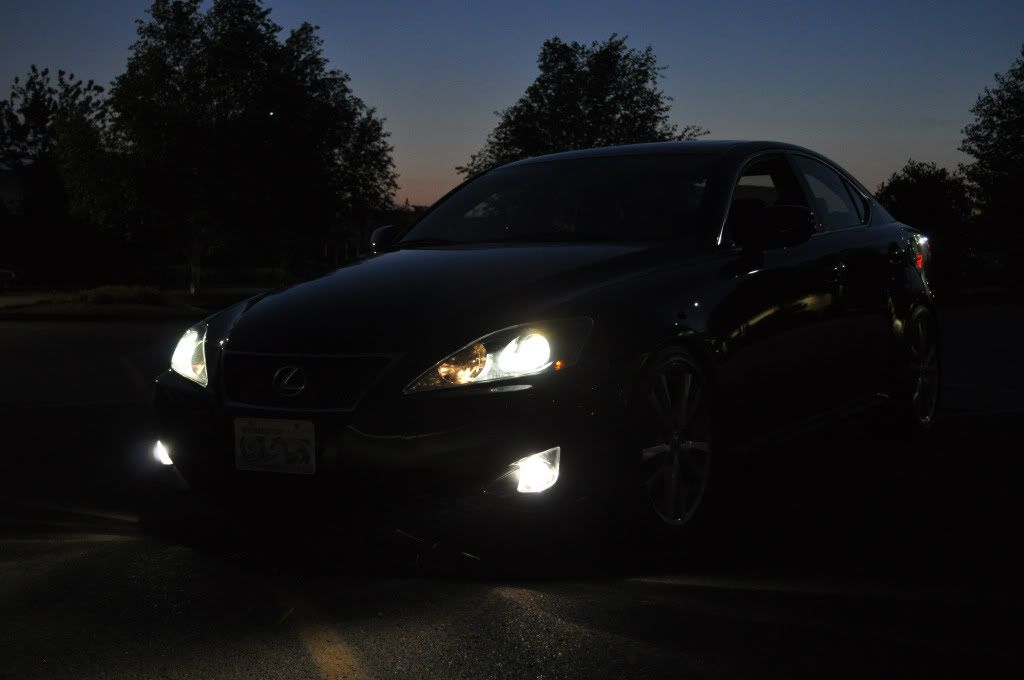
Just finished the blacking out process on the headlights for my IS this weekend. Here are some pictures:
Smoke film to go over the amber spot where the parking light led shines through:

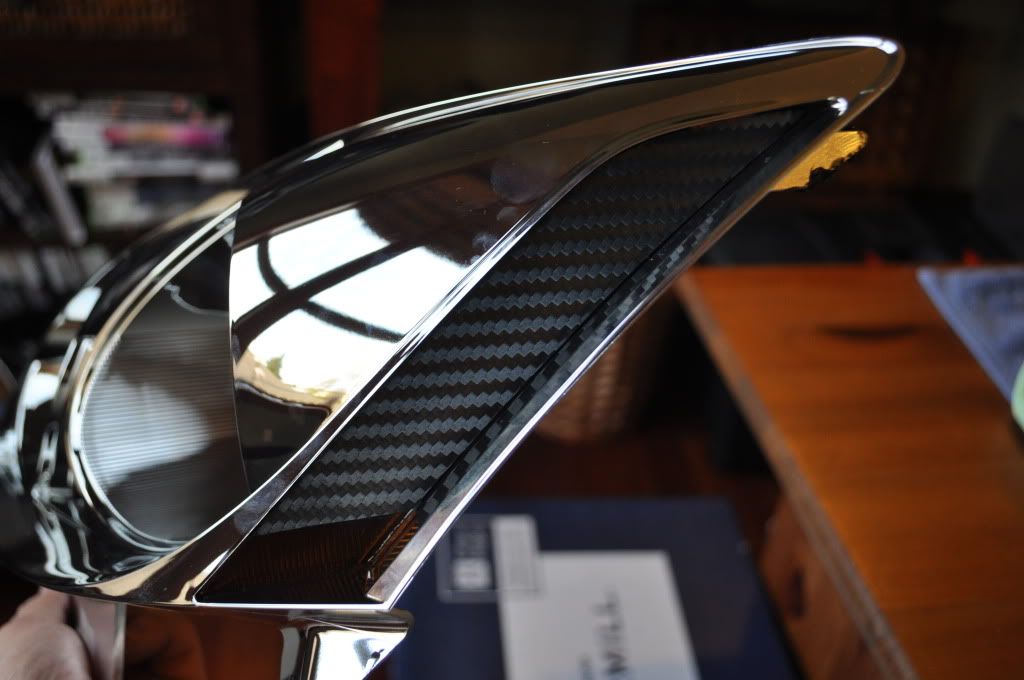
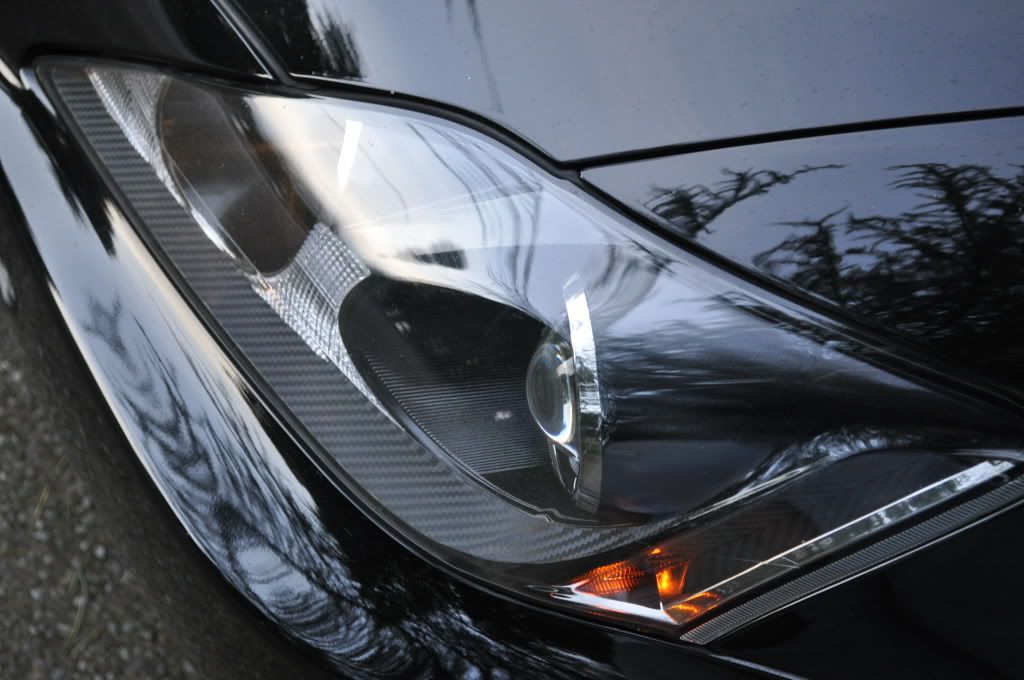
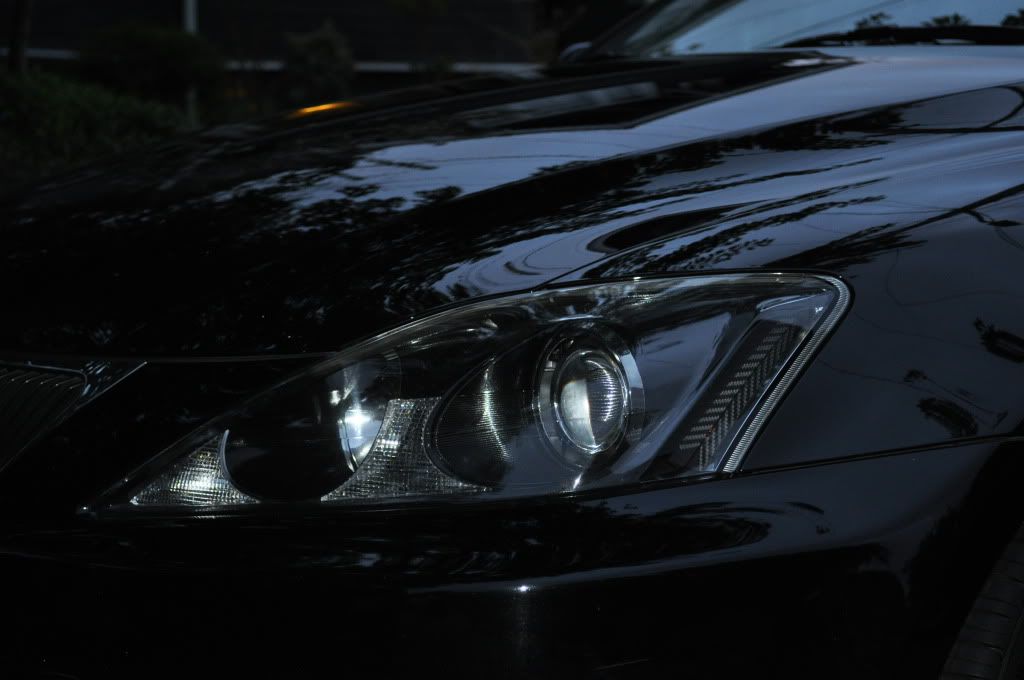
Carbon fiber lookalike 3D vinyl film:
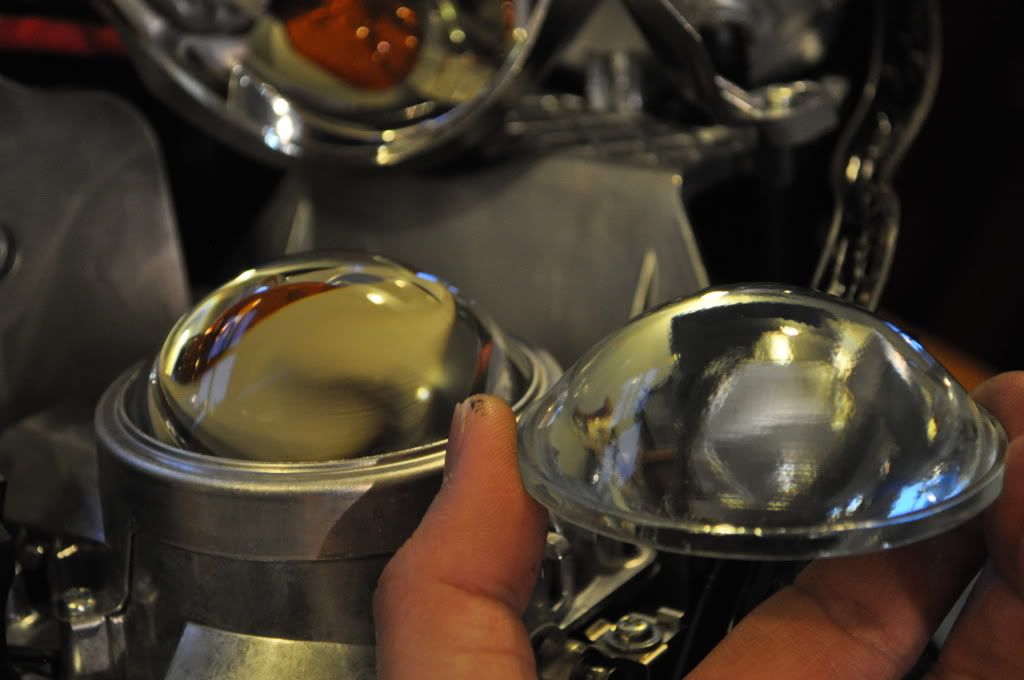
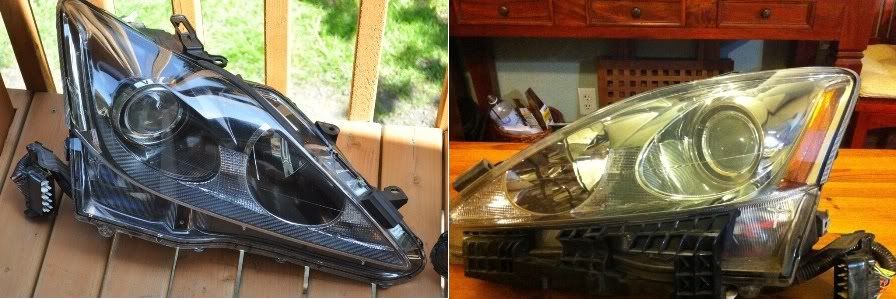
Clear STI-R Lenses installed on left vs the stock fresnal lenses on the right:
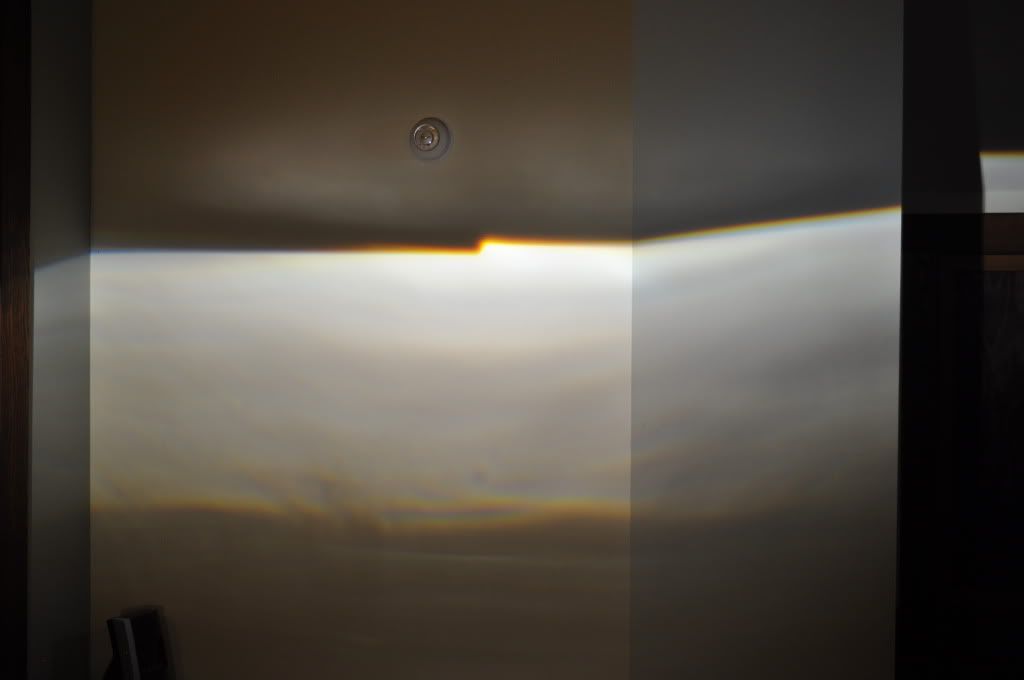
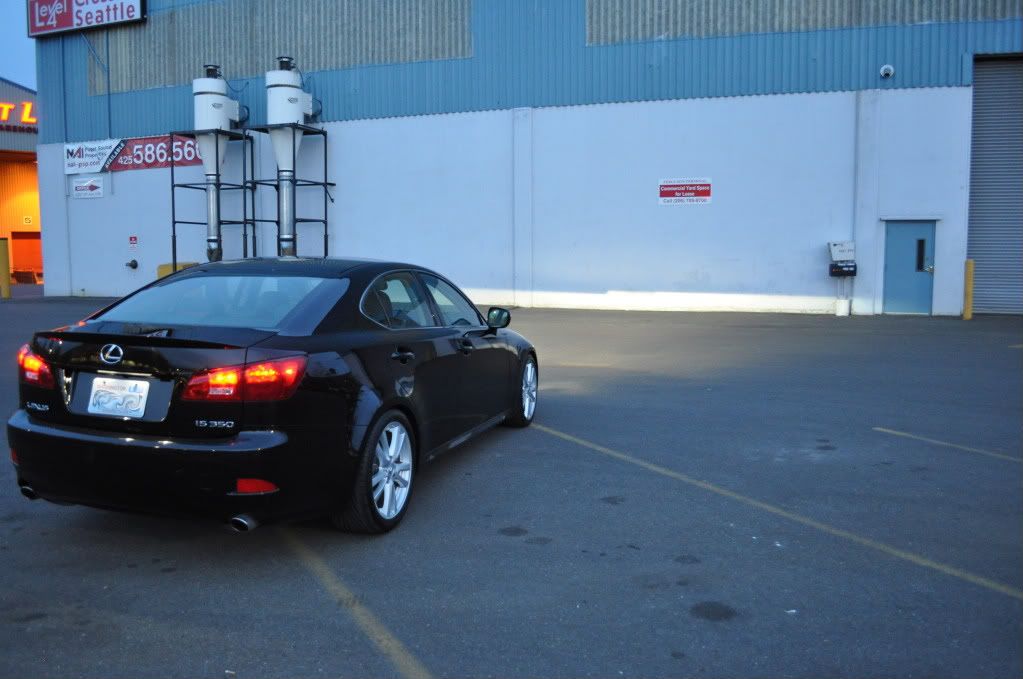
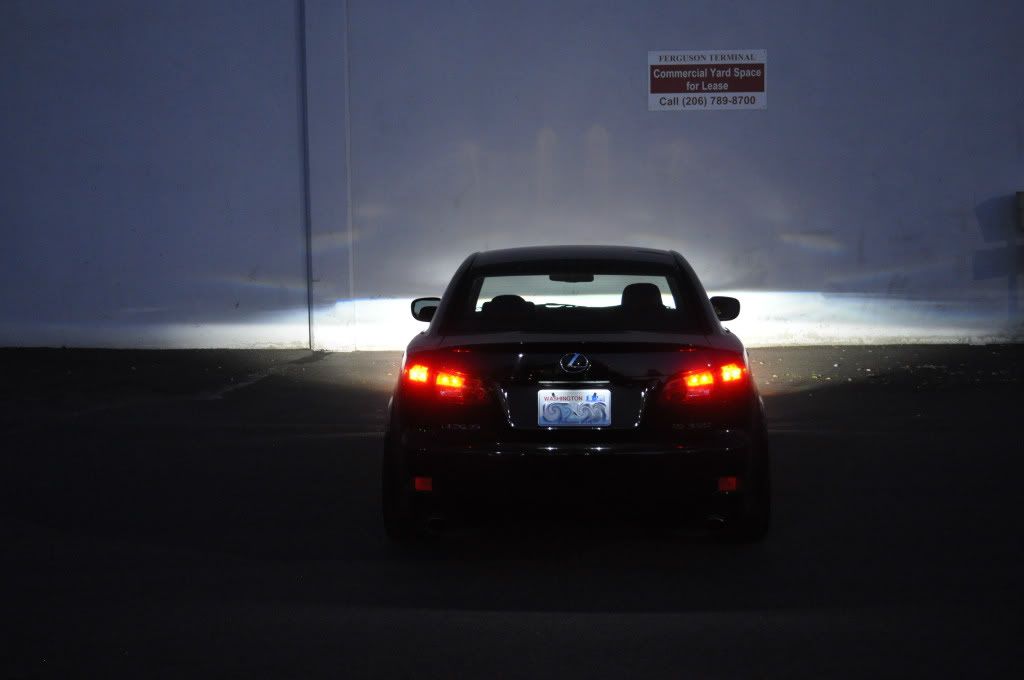
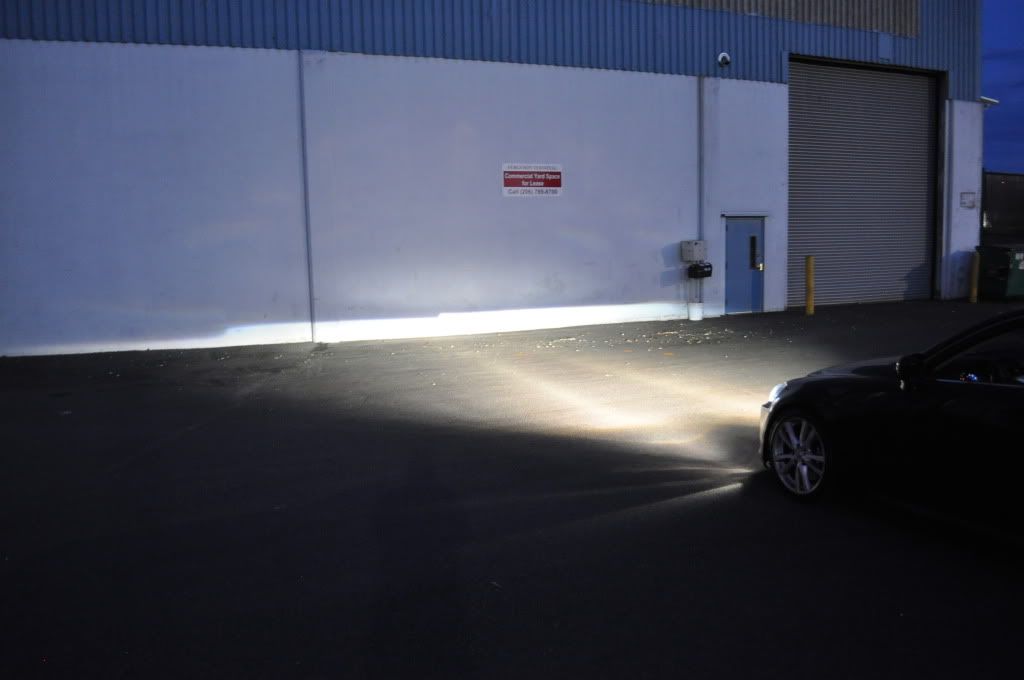
After output shot (forgot to take a before) - nice and sharp cutoff now:
Masked off:
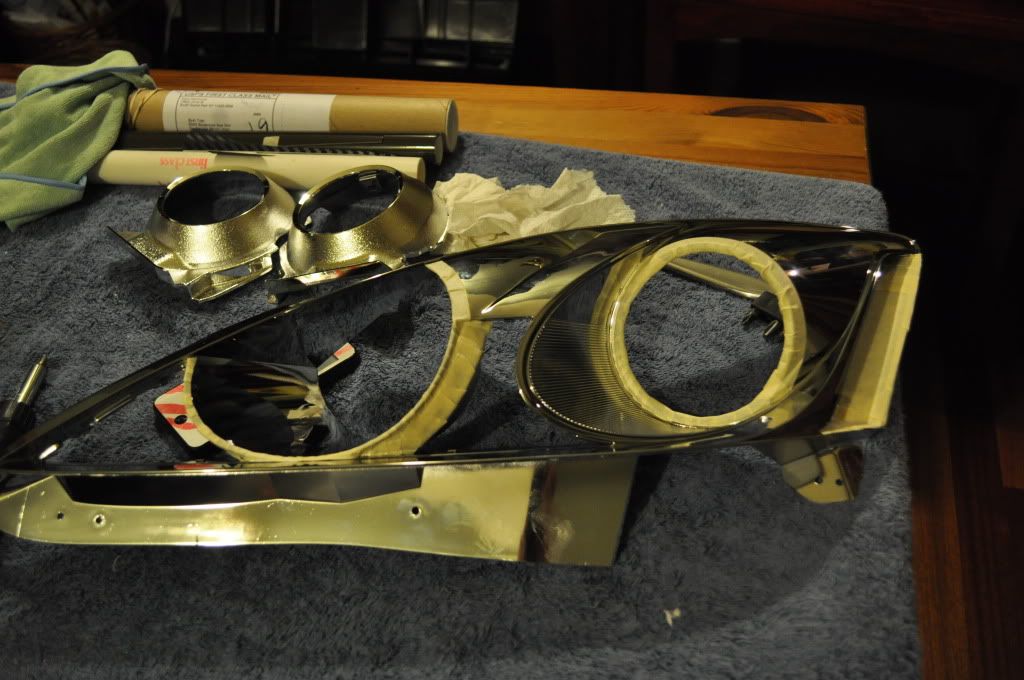
Primer:
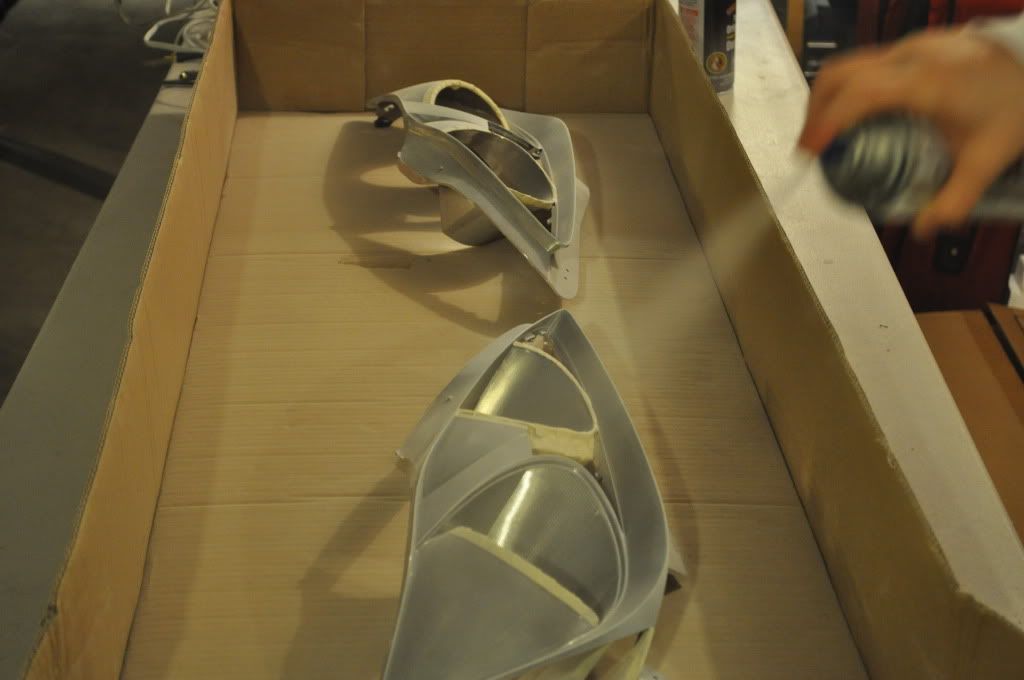
After painting...

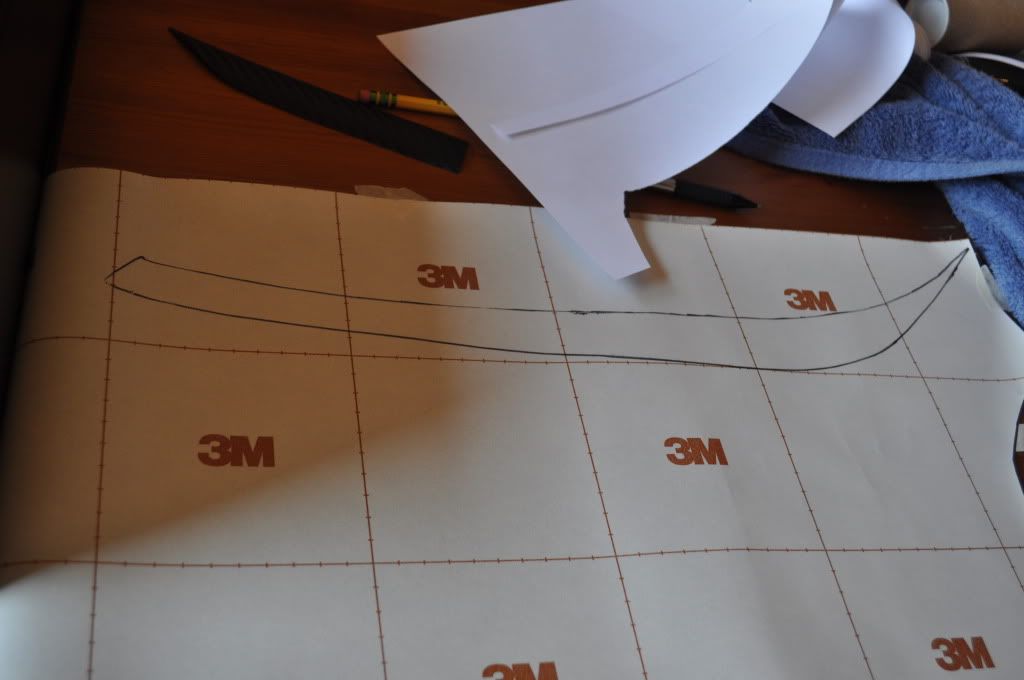
Stenciling more Carbon fiber film:
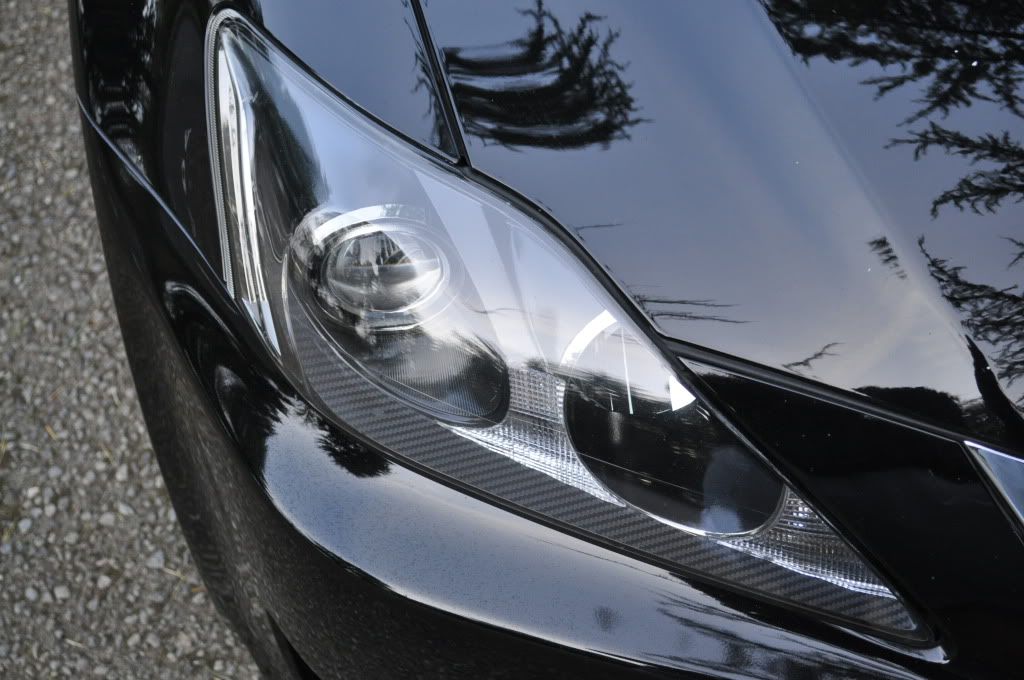
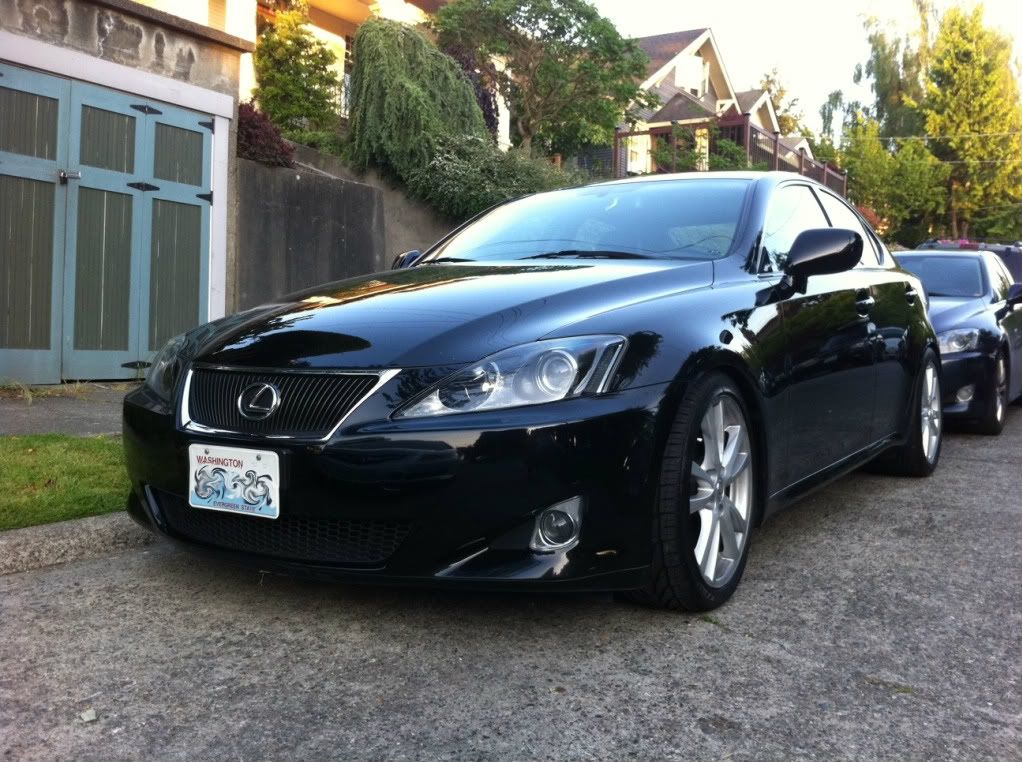
The results:
Oh yeah - forgot to mention that the foglights are off the car about to receive some Morimoto Mini H1's like JVX's car except I'll be keeping the bi-xenon functionality for dual high beams. Also props to Matt at theretrofitsource for supplying all the parts in my recent HID related projects.
As far as costs -
eBay (search these descriptions and you'll find it)
3M Windo-Weld Auto Glass Ribbon Sealer 3/8" by 15' Kit - $17.50
3M DINOC Carbon Fiber Vinyl 12"x48" with FREE 94 PRIMER - $27.99 (did not use primer)
SMOKED TAIL LIGHT TINT/SMOKE HEADLIGHT VINYL FILM 24" - $7.99
Theretrofitsource
STI-R Clear Lenses ($35-50 depending on value vs premium lenses)
Other Items
800 grit sand paper - $5
Krylon Black Paint - $3.00
Primer - $5 (optional of course)
Razor Knives (just the blade part) - $4
Microfiber Towels - $5-15
Compressed Air - $10-16 (optional)
Update 6/7/2011
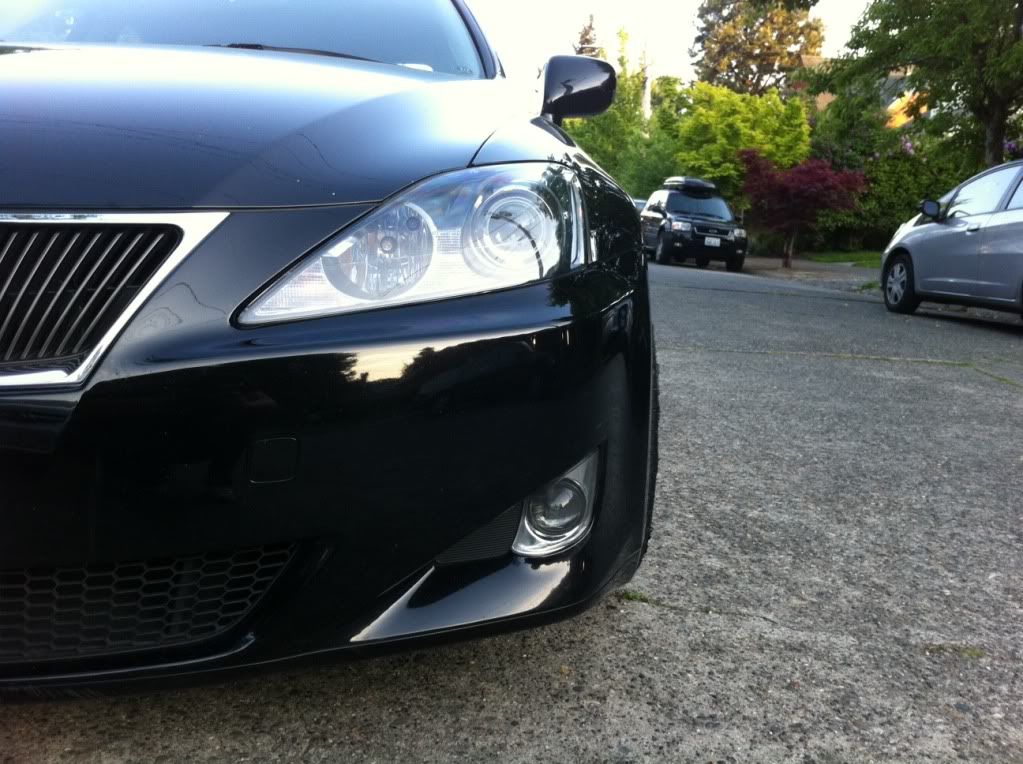
Here's the aftermath of the Mini H1 projector retrofit into the stock fog lamps. I did not alter the output and they are still Bi-xenon projectors having ability for both low/high beam; however, I've yet to tap into the high beam wiring to trigger the high beam shield actuator.
Like JVX said when he did his - you'll spend many hours grinding the existing aluminum reflector bowl of the fog lamps. I suggest a nice set of cutting wheels and an aggressive grinding disk (such as fiberglass) that won't attract aluminum to it. You have to grind nearly the whole back of the bowl away which took me like 4 hours alone using my dinky grinding media that came with my dremmel. Hindsight, I'd go buy better grinding/cutting disks to make the job go faster.
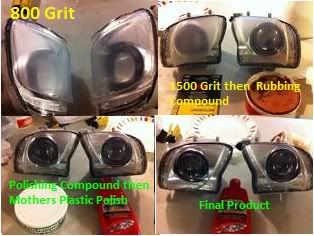
I also restored the pitted lenses using a combination of wet sanding with 800 grit, 1500 grit, then polishing with rubbing compound, polishing compound, and Mother's Clear Plastic Polish.
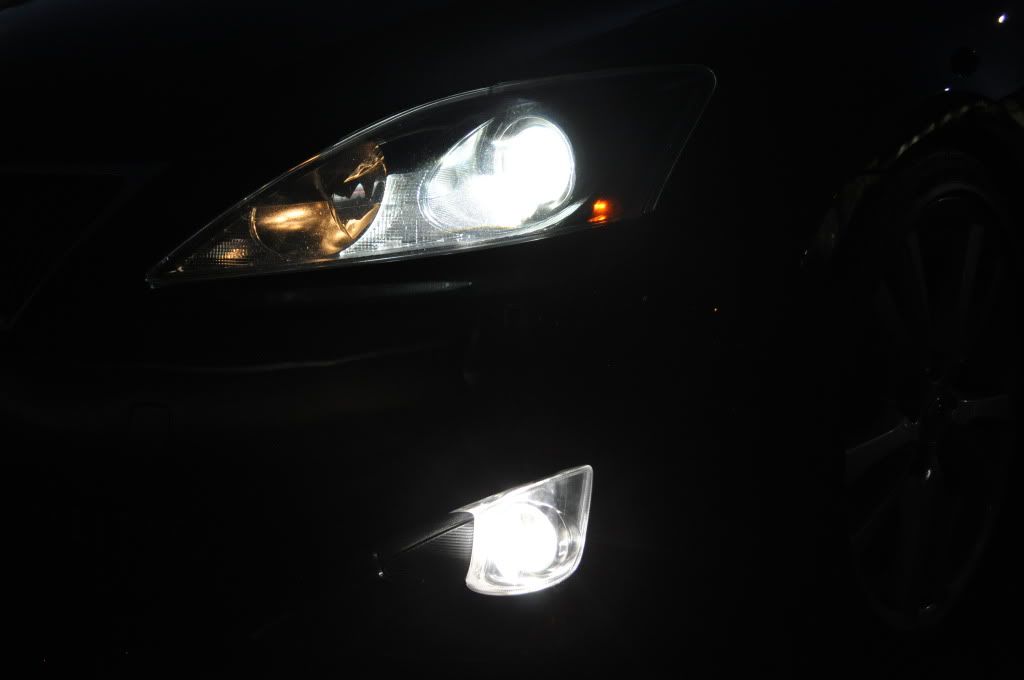
Output shots - I still need to wire the bi-xenon functionality so lowbeam only for now.
Notice how much wider the Morimoto Mini H1's are compared to the stock 2006 IS350 HID's.
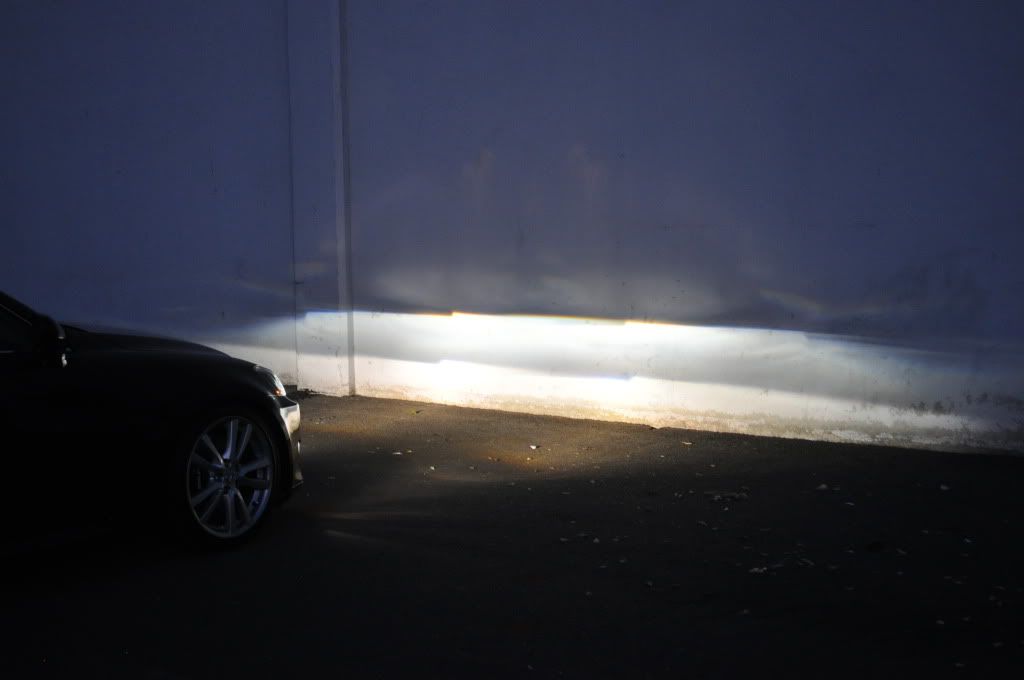
Also, the passenger side fog projector cutoff bows down on each side, so I still need to play with the bulb seating which seems to resolves the issue from what I read. As you can see, the passenger side would be wider like the driver side if the projector wasn't bowing.
Smoke film to go over the amber spot where the parking light led shines through:
Carbon fiber lookalike 3D vinyl film:
Clear STI-R Lenses installed on left vs the stock fresnal lenses on the right:
After output shot (forgot to take a before) - nice and sharp cutoff now:
Masked off:
Primer:
After painting...
Stenciling more Carbon fiber film:
The results:
Oh yeah - forgot to mention that the foglights are off the car about to receive some Morimoto Mini H1's like JVX's car except I'll be keeping the bi-xenon functionality for dual high beams. Also props to Matt at theretrofitsource for supplying all the parts in my recent HID related projects.
As far as costs -
eBay (search these descriptions and you'll find it)
3M Windo-Weld Auto Glass Ribbon Sealer 3/8" by 15' Kit - $17.50
3M DINOC Carbon Fiber Vinyl 12"x48" with FREE 94 PRIMER - $27.99 (did not use primer)
SMOKED TAIL LIGHT TINT/SMOKE HEADLIGHT VINYL FILM 24" - $7.99
Theretrofitsource
STI-R Clear Lenses ($35-50 depending on value vs premium lenses)
Other Items
800 grit sand paper - $5
Krylon Black Paint - $3.00
Primer - $5 (optional of course)
Razor Knives (just the blade part) - $4
Microfiber Towels - $5-15
Compressed Air - $10-16 (optional)
Update 6/7/2011
Here's the aftermath of the Mini H1 projector retrofit into the stock fog lamps. I did not alter the output and they are still Bi-xenon projectors having ability for both low/high beam; however, I've yet to tap into the high beam wiring to trigger the high beam shield actuator.
Like JVX said when he did his - you'll spend many hours grinding the existing aluminum reflector bowl of the fog lamps. I suggest a nice set of cutting wheels and an aggressive grinding disk (such as fiberglass) that won't attract aluminum to it. You have to grind nearly the whole back of the bowl away which took me like 4 hours alone using my dinky grinding media that came with my dremmel. Hindsight, I'd go buy better grinding/cutting disks to make the job go faster.
I also restored the pitted lenses using a combination of wet sanding with 800 grit, 1500 grit, then polishing with rubbing compound, polishing compound, and Mother's Clear Plastic Polish.
Output shots - I still need to wire the bi-xenon functionality so lowbeam only for now.
Notice how much wider the Morimoto Mini H1's are compared to the stock 2006 IS350 HID's.
Also, the passenger side fog projector cutoff bows down on each side, so I still need to play with the bulb seating which seems to resolves the issue from what I read. As you can see, the passenger side would be wider like the driver side if the projector wasn't bowing.
Last edited by binhster; 06-07-11 at 06:38 PM. Reason: Added photos of Morimoto Mini H1 fog lamp retrofit


