Running Board removal with a few pics
#1
Just finished removing mine; total time was < 2 hrs (not including some pre-reading on this site).
1. (Last night) The first side was slightly more than an hour since I wasted time trying to figure out where the clips were ... I spend quite a bit of time looking UNDER the running boards below the truck ... DOH!
2. (This morning) The second side took < 40min beginning to end.
Acknowledgement to the following guys for pre-reading info: Man777 (clips), RCsGX (diagram), & 470reasons (steps he took - I forgot to read this again before doing it otherwise would have known where clips are located!! ).
).
Attached is some info as referenced above, so you don't have to search for it again.
1. (Last night) The first side was slightly more than an hour since I wasted time trying to figure out where the clips were ... I spend quite a bit of time looking UNDER the running boards below the truck ... DOH!
2. (This morning) The second side took < 40min beginning to end.
Acknowledgement to the following guys for pre-reading info: Man777 (clips), RCsGX (diagram), & 470reasons (steps he took - I forgot to read this again before doing it otherwise would have known where clips are located!!
 ).
).Attached is some info as referenced above, so you don't have to search for it again.
#2
Now some pics. This is not a comprehensive step by step pictorial so I apologize for that. I just took a few as I went along for steps that were not a simple "unscrew." I understand there is a wide range of experience on the board so for those who typically don't DIY, I hope this can save you a few minutes here and there (and frustration).
There is one white connector for each running board that requires disconnection, located in the middle of the board underneath. It's a simple connection but can be frustrating sometimes trying to pry it loose with one hand while depressing the clip part with the other finger (or head of screwdriver). One of mine came out easy, the other I used pliers to hold the head.
There is one white connector for each running board that requires disconnection, located in the middle of the board underneath. It's a simple connection but can be frustrating sometimes trying to pry it loose with one hand while depressing the clip part with the other finger (or head of screwdriver). One of mine came out easy, the other I used pliers to hold the head.
#3
Ok, so these were a big PITA for me since I didn't realize what/where they were. On the first side I used a flat screwdriver and force ... it worked but I destroyed most of them. I don't know if I need these anymore so I looked for an easier way for the second side. Each clip has slight recessed pocket on each side - I'm assuming the Dealer has a tool which inserts here so I thought I'd make my own. I used a bobby pin that my wife left on "my" side of the sink.
At first I bent the pin over to insert on both sides. It worked but not as easy as I'd like. So I ended up using a pin for one side and a screwdriver on the other. This was easy enough.
At first I bent the pin over to insert on both sides. It worked but not as easy as I'd like. So I ended up using a pin for one side and a screwdriver on the other. This was easy enough.
#4
After removing all the clips and the 3 'L' brackets, there was one snap-in plastic rivet in the wheel well (black). I decided to just saw it off and not play around with trying to pop it out from underneath. That took about 10 seconds at most.
After removal of all connections the running board lowers but is still attached toward the front - there are 2 white connectors but all that is needed here is to hold the board and slide it toward the front wheel and it comes off - DONE!.
After removal of all connections the running board lowers but is still attached toward the front - there are 2 white connectors but all that is needed here is to hold the board and slide it toward the front wheel and it comes off - DONE!.
The following users liked this post:
barrsurf (09-12-20)
Trending Topics
#9
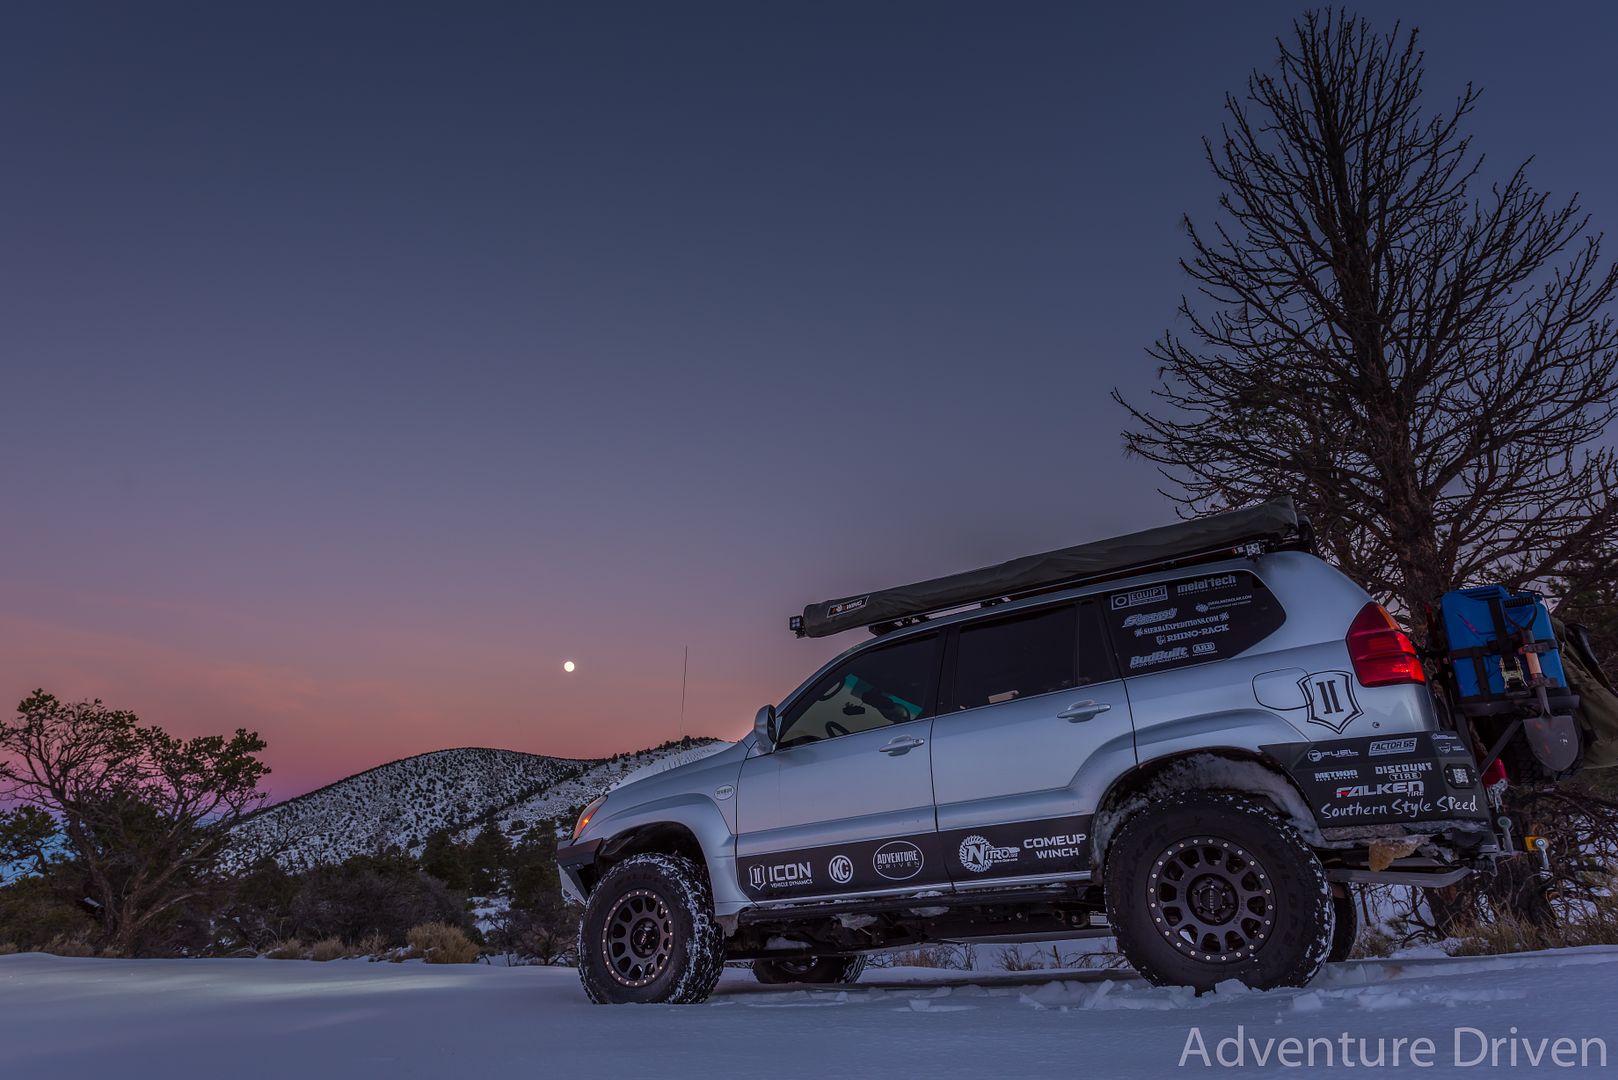
I ran around for months with the little white clips showing on the bottom of the fender flairs, we hated the unfinished look of it, so I cut the plastic off the running boards and attached it to the bottom of the fender flair. It is now a finished look, sorry I don't have a close up picture yet.
Seth


Seth


#10
Driver School Candidate
Join Date: Nov 2014
Location: California
Posts: 8
Likes: 0
Received 0 Likes
on
0 Posts
nice rig Seth. Just got my 06 GX, hoping the finished product(might take quite a while) will look something like yours. One of the best I've seen IMHO and I've seen some very nice ones.
Seth

 [/QUOTE]
Seth

 [/QUOTE]
Thread
Thread Starter
Forum
Replies
Last Post


