When you click on links to various merchants on this site and make a purchase, this can result in this site earning a commission. Affiliate programs and affiliations include, but are not limited to, the eBay Partner Network.
The paint on the roof trim molding on my 2004 GS300 started peeling off.
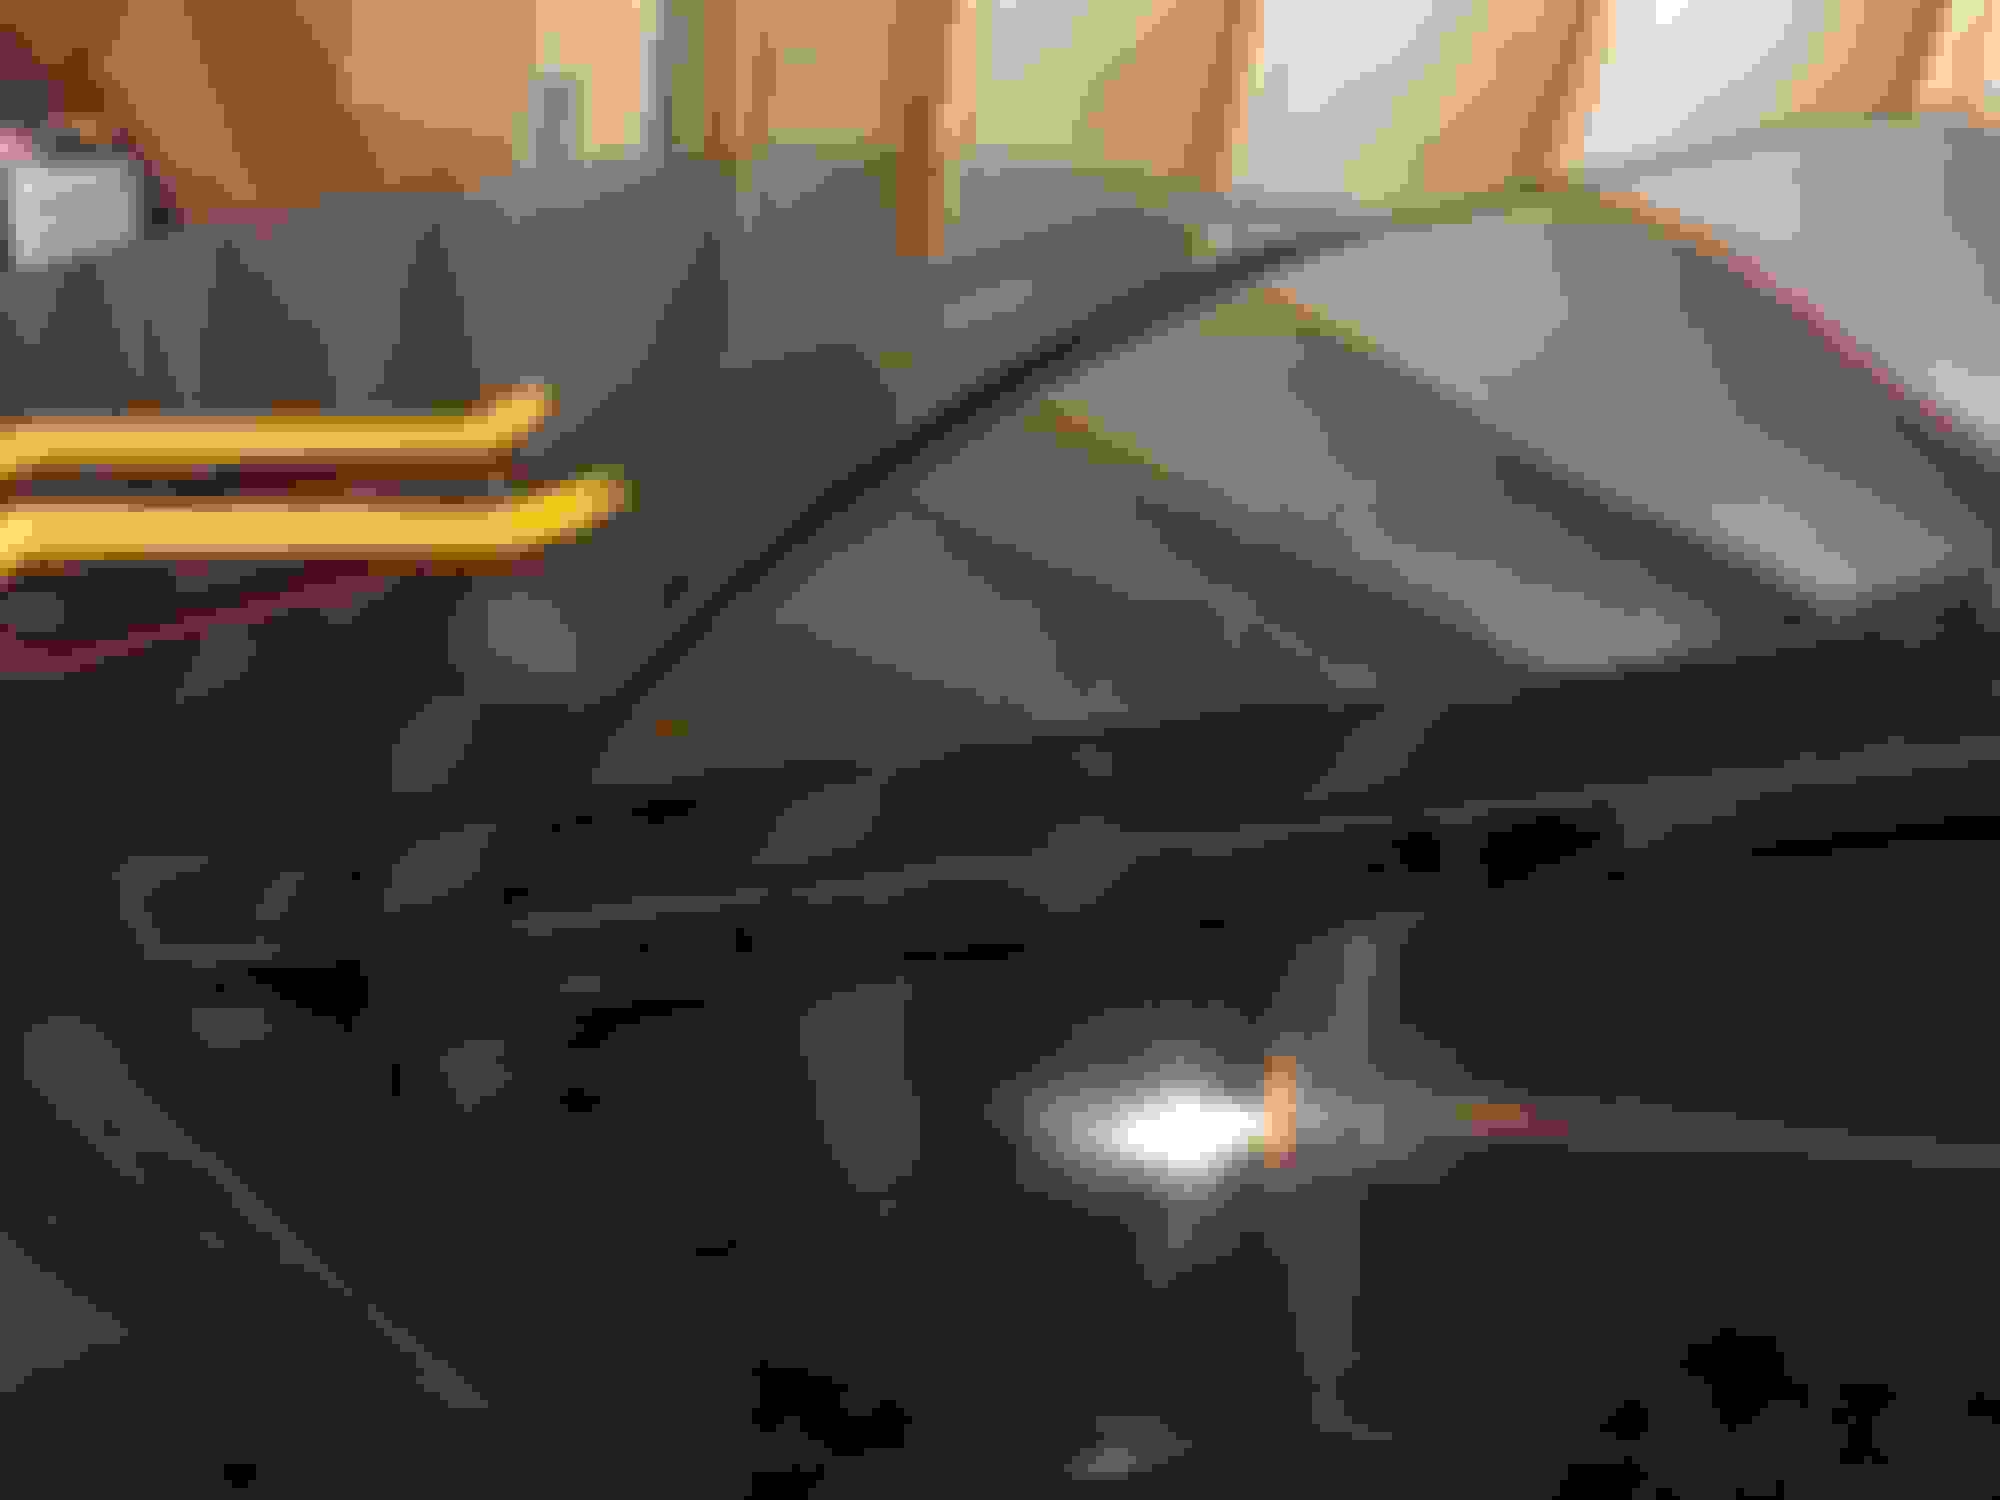
So I decided to fix it. I first removed it using the following tools. I removed it starting from the rear of the car. You just have to pry it off the car using the plastic panel tool. You have to use plastic or you will scratch the car. The roof trim molding easily pops off the clips on the car from rear to front.
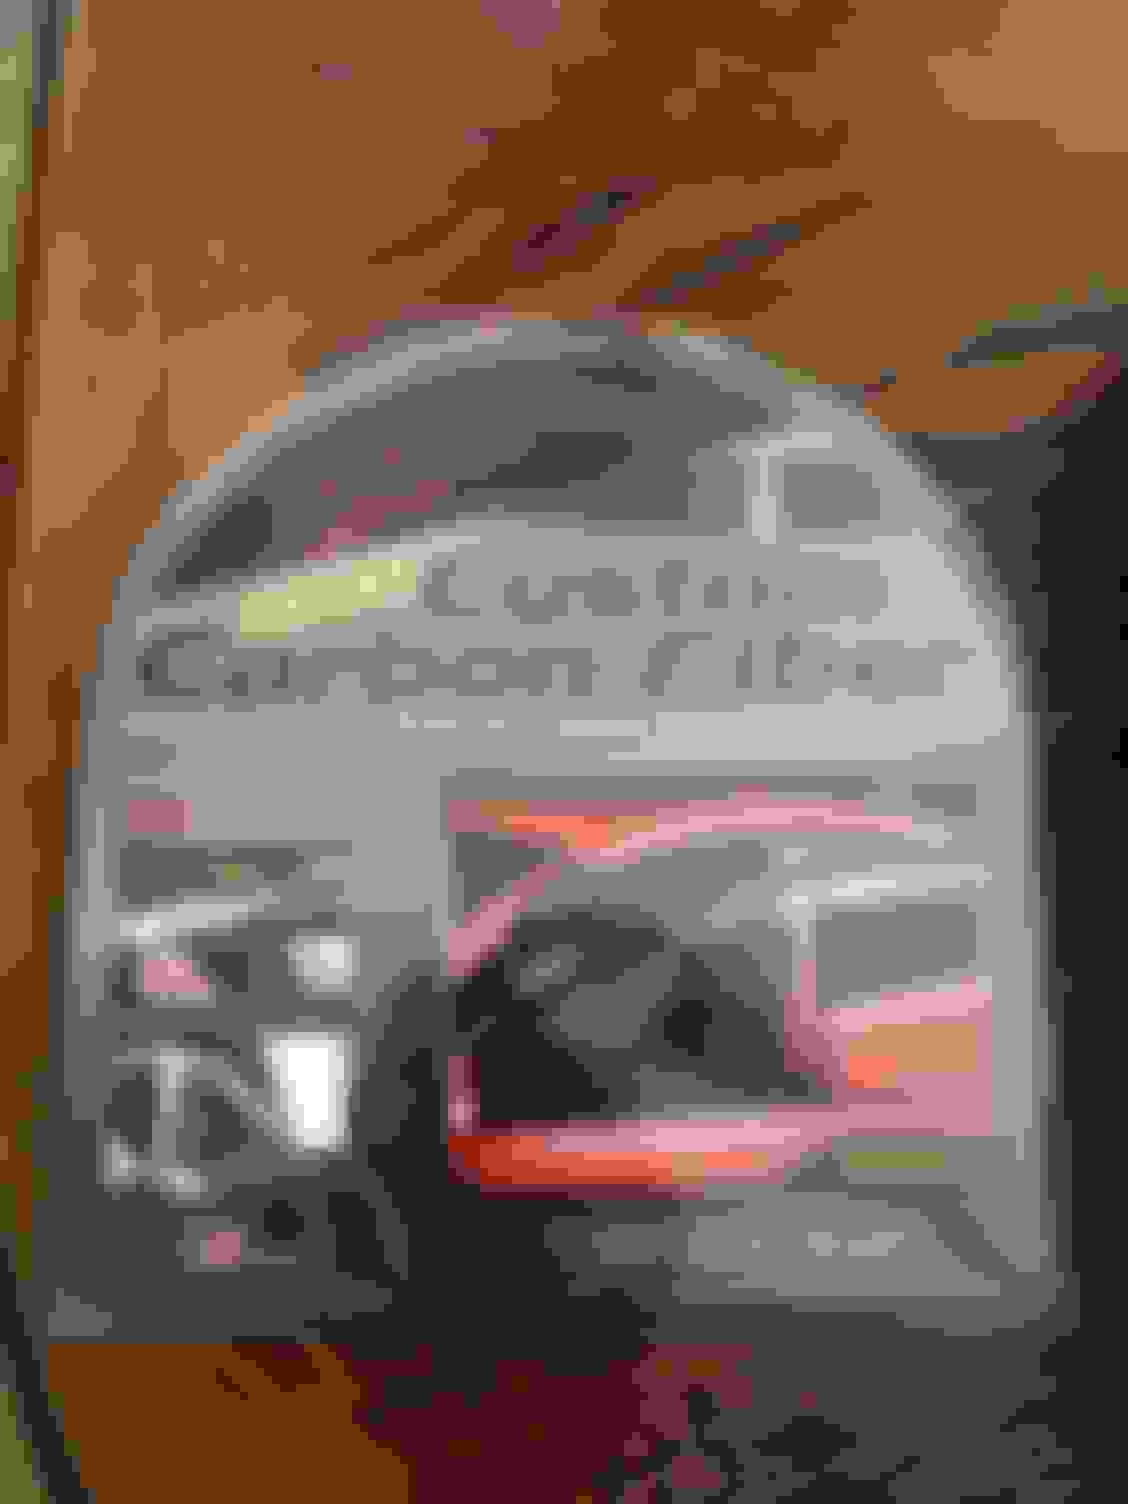
I hadn't decided yet how to fix it but after doing some research on the internet, I decided not to paint it but apply the following. It's a carbon fiber molding tape made by Cowles and can be attached to any surface with the 3M adhesive on the backing. I bought 2 of this one from Pepboys Ebay store. The trim molding is slightly longer than 10 feet, so I decided to buy two 12' length tapes.
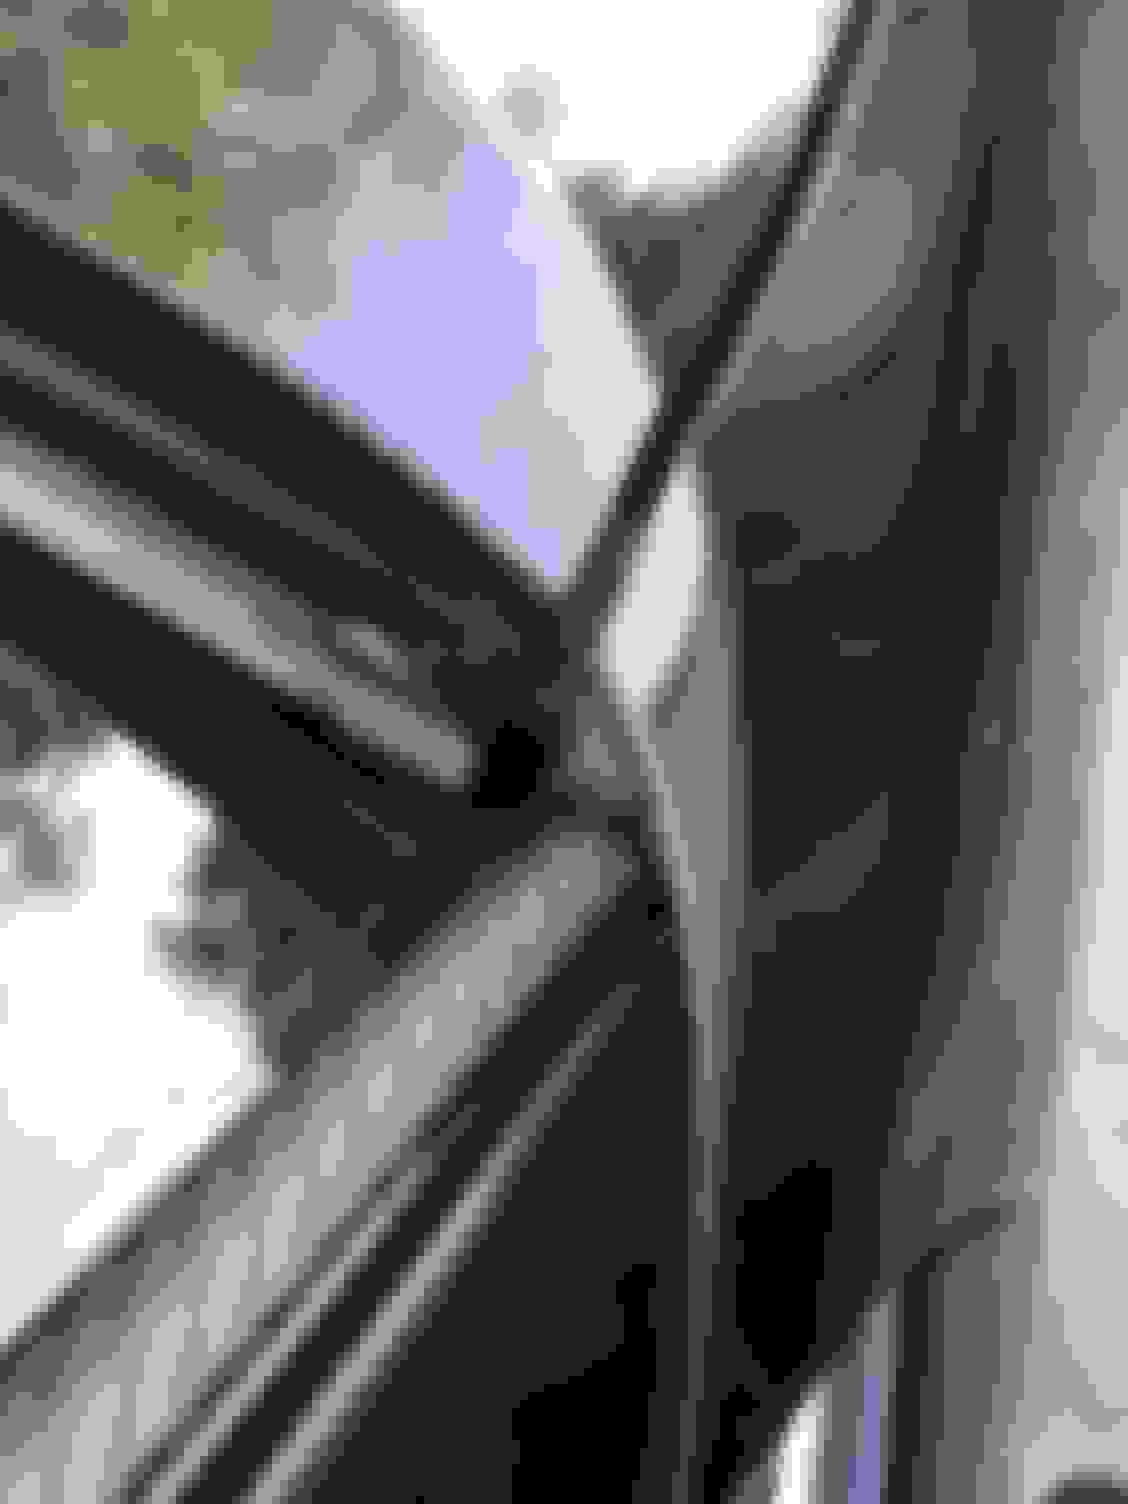
I just applied the tape throughout the whole length of the trim molding. I then reattached the roof trim molding to the car. I think you have to reattach the molding from the front because the molding sits inside a rubber boot under hood.
I also used the following rubber mallet to lightly pound the trim molding into the clips.
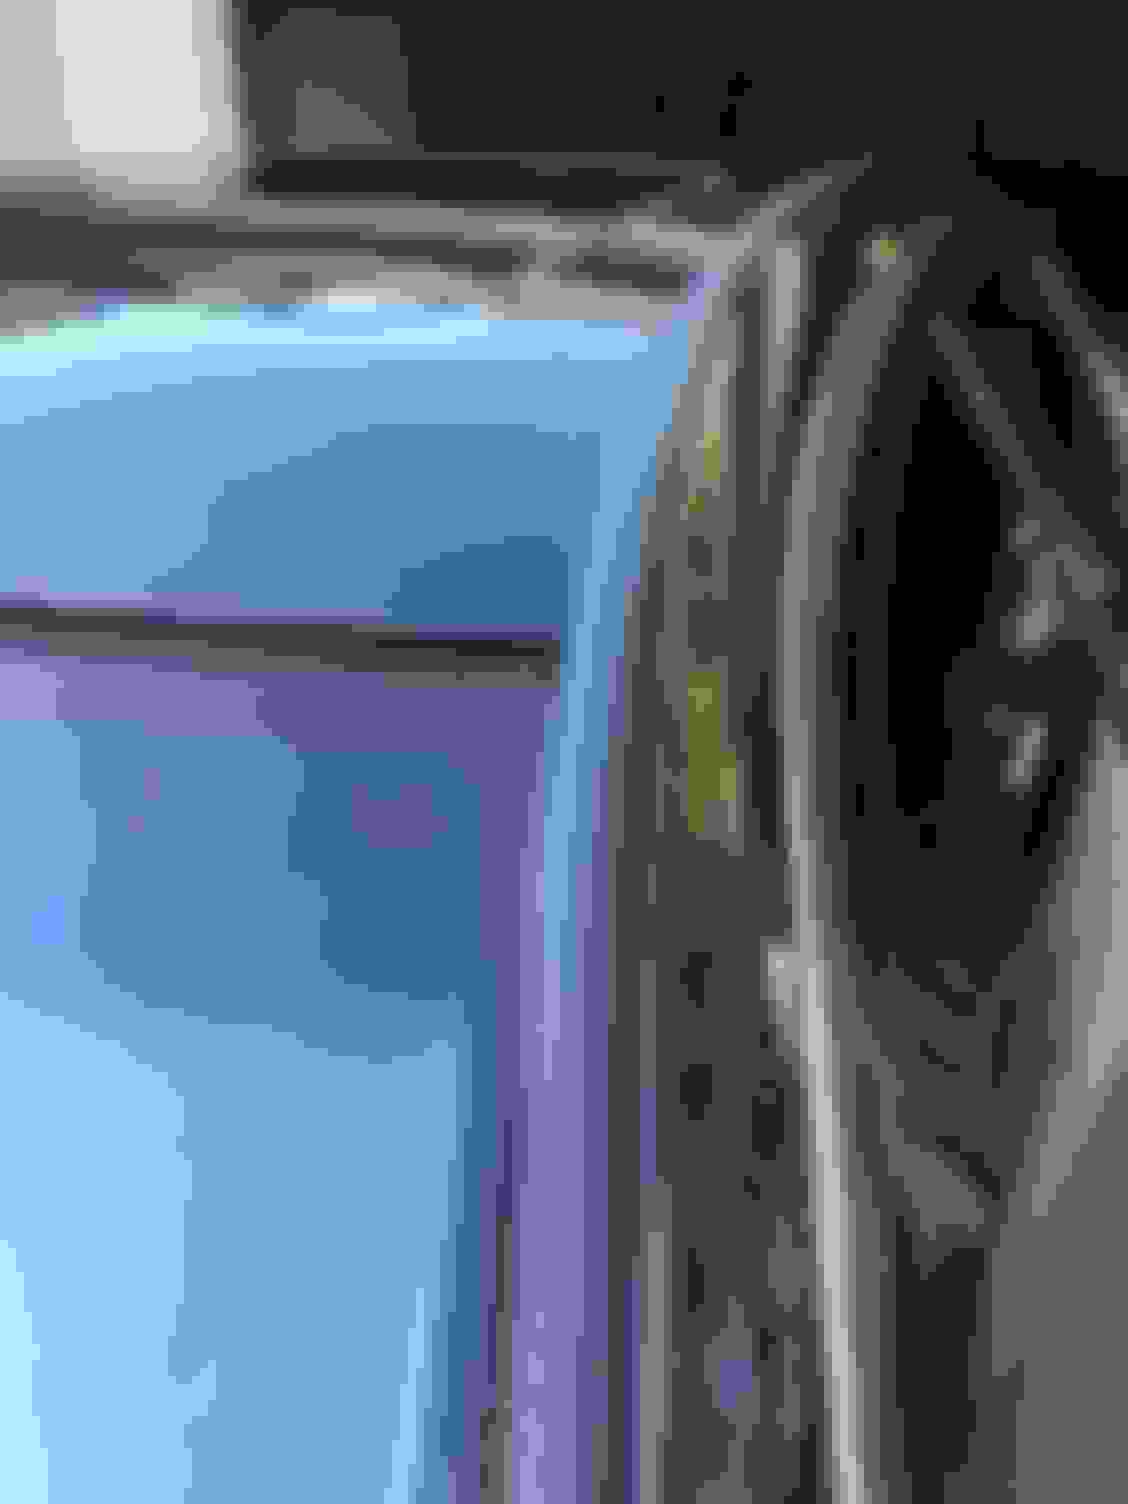
Looks good, but if it was slightly wider, it'd look much better.
Did you remove the vinyl off the molding? It's not paint, but rather a vinyl that they stick on top of the molding. It has like a bushed aluminum look underneath. I removed mine and left it bare. Looks good that way.
Looks good, but if it was slightly wider, it'd look much better.
Did you remove the vinyl off the molding? It's not paint, but rather a vinyl that they stick on top of the molding. It has like a bushed aluminum look underneath. I removed mine and left it bare. Looks good that way.
I agree that it would have looked better if it was a little wider or thinner. The molding was around 1" and the tape was 3/4". I just needed to be careful when i attached it to the molding so that it was centered.
I did not remove the remaining black vinyl paint on the molding. It would have showed some metallic color between the molding and carbon fiber tape and I wasn't sure how it was going to look.
 07-29-16, 07:28 AM