
Removing trunk liner


 03-03-07, 07:18 PM
#17
Driver School Candidate

Join Date: Feb 2007
Location: NJ
Posts: 6
Likes: 0
Received 0 Likes
on
0 Posts
I made the tool you mentioned. However, I didn't use a big enough gage and the metal tool bent on me. I then took two small flat screwdrivers and carefully pried the connectors off. The after market camera is now installed and works fine.
Thanks ESSEARCH for your help. Another reason for this forum.
oakplank
Thanks ESSEARCH for your help. Another reason for this forum.
oakplank
03-04-07, 07:26 PM
#18

Not sure if that's a good idea. The license plate lights are LED so there's not so much current running to them to begin with - adding the camera to draw more power may not be the best choice. Furthermore, if connected to the license plate light, then the camera would be on as much as your lights are on instead of just on when you are backing up. Wouldn't that shorten the life of the camera?
03-05-07, 12:11 PM
#19
Rookie
Thread Starter

Join Date: Oct 2006
Location: Ontario
Posts: 88
Likes: 0
Received 0 Likes
on
0 Posts
The reason for using the back-up light is to have the camera turn on only when in reverse. The distance from the licence plate to the back-up lights is only about one foot. I had to remove about 24 extra inches from the wire. For those who will be doing this instalation, be careful when shortning that wire. Part of the wire is the entena that sends the signal to the monitor. They have a sticker on the wire that says "do not cut above this point" (or something like that).
I believe that the dealer wasn't interested in any aftermarket "gadget" being added to a LEXUS.
The camera manufacturer said the power required is only 500mamp which is nothing as far as power draw.
I did the instalation myself and the car hasn't blown up yet.
I believe that the dealer wasn't interested in any aftermarket "gadget" being added to a LEXUS.
The camera manufacturer said the power required is only 500mamp which is nothing as far as power draw.
I did the instalation myself and the car hasn't blown up yet.
03-06-07, 08:31 AM
#20
Driver School Candidate
Join Date: Feb 2007
Location: NJ
Posts: 6
Likes: 0
Received 0 Likes
on
0 Posts
The reason for using the back-up light is to have the camera turn on only when in reverse. The distance from the licence plate to the back-up lights is only about one foot. I had to remove about 24 extra inches from the wire. For those who will be doing this instalation, be careful when shortning that wire. Part of the wire is the entena that sends the signal to the monitor. They have a sticker on the wire that says "do not cut above this point" (or something like that).
I believe that the dealer wasn't interested in any aftermarket "gadget" being added to a LEXUS.
The camera manufacturer said the power required is only 500mamp which is nothing as far as power draw.
I did the instalation myself and the car hasn't blown up yet.
I believe that the dealer wasn't interested in any aftermarket "gadget" being added to a LEXUS.
The camera manufacturer said the power required is only 500mamp which is nothing as far as power draw.
I did the instalation myself and the car hasn't blown up yet.
I would appreciate any advice in this matter. Thanks,
03-06-07, 01:09 PM
#21
Rookie
Thread Starter
Join Date: Oct 2006
Location: Ontario
Posts: 88
Likes: 0
Received 0 Likes
on
0 Posts
JARON5438
I removed the lisence plate and found a hole already there. The hole is only on the outside panel. You will need to drill through that hole to get by the inner panel. To complicate things, there's a bracket behind the inner panel. You will need to feel with your fingers between the bracket and the inner panel to see if everything is clear before you drill. It's quite tight there. Mine was okay (but just to be on the safe side). Hopefully, the American models are wired the same as the Canadian models.
It's not as bad as it sounds. Just go easy and everything will work out for you. Don't forget to dab a bit of paint around the hole you drilled to prevent future rust.
oakplank
03-07-07, 06:27 PM
#22
Driver School Candidate
Join Date: Feb 2007
Location: NJ
Posts: 6
Likes: 0
Received 0 Likes
on
0 Posts
JARON5438
I removed the lisence plate and found a hole already there. The hole is only on the outside panel. You will need to drill through that hole to get by the inner panel. To complicate things, there's a bracket behind the inner panel. You will need to feel with your fingers between the bracket and the inner panel to see if everything is clear before you drill. It's quite tight there. Mine was okay (but just to be on the safe side). Hopefully, the American models are wired the same as the Canadian models.
It's not as bad as it sounds. Just go easy and everything will work out for you. Don't forget to dab a bit of paint around the hole you drilled to prevent future rust.
oakplank
I removed the lisence plate and found a hole already there. The hole is only on the outside panel. You will need to drill through that hole to get by the inner panel. To complicate things, there's a bracket behind the inner panel. You will need to feel with your fingers between the bracket and the inner panel to see if everything is clear before you drill. It's quite tight there. Mine was okay (but just to be on the safe side). Hopefully, the American models are wired the same as the Canadian models.
It's not as bad as it sounds. Just go easy and everything will work out for you. Don't forget to dab a bit of paint around the hole you drilled to prevent future rust.
oakplank
I took the plate off and saw the hole you mentioned (there are actually two on my car.....one next to each of the plate mounting holes). It looks as though they might have been put in as possible alternate mounting locations for oversized plates if ever needed. In any case, it will work out fine for feeding the wire through. I think the material which has to be drilled is vinyl veneer on my trunk and rust should not be a problem. I will make sure though, to put some flexible sealer around it to prevent any possible leakage.
Thanks for the info,
Jaron
01-19-12, 11:00 AM
#23
Instructor
So I removed the trunk liner to install new CREE LED backup lights. The procedure is easy.
1. Snap off the plastic cover in the middle of the trunk liner.
2. Remove the black fasteners around the trunk liner. I found the fasteners popped off easy with my special tool
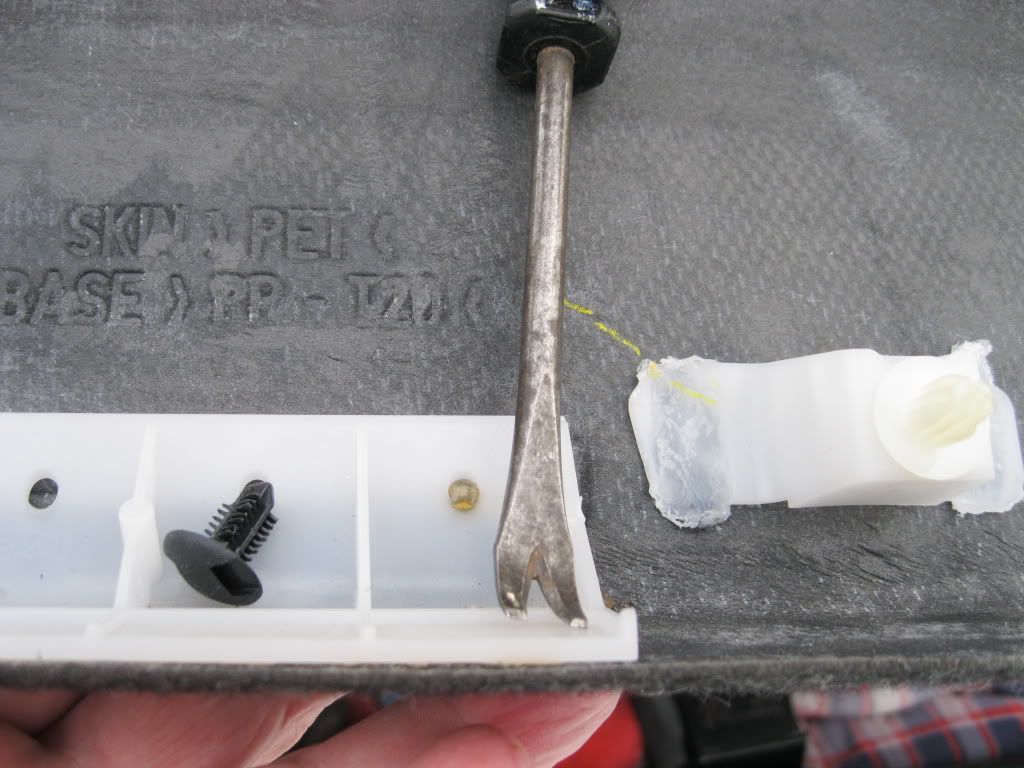
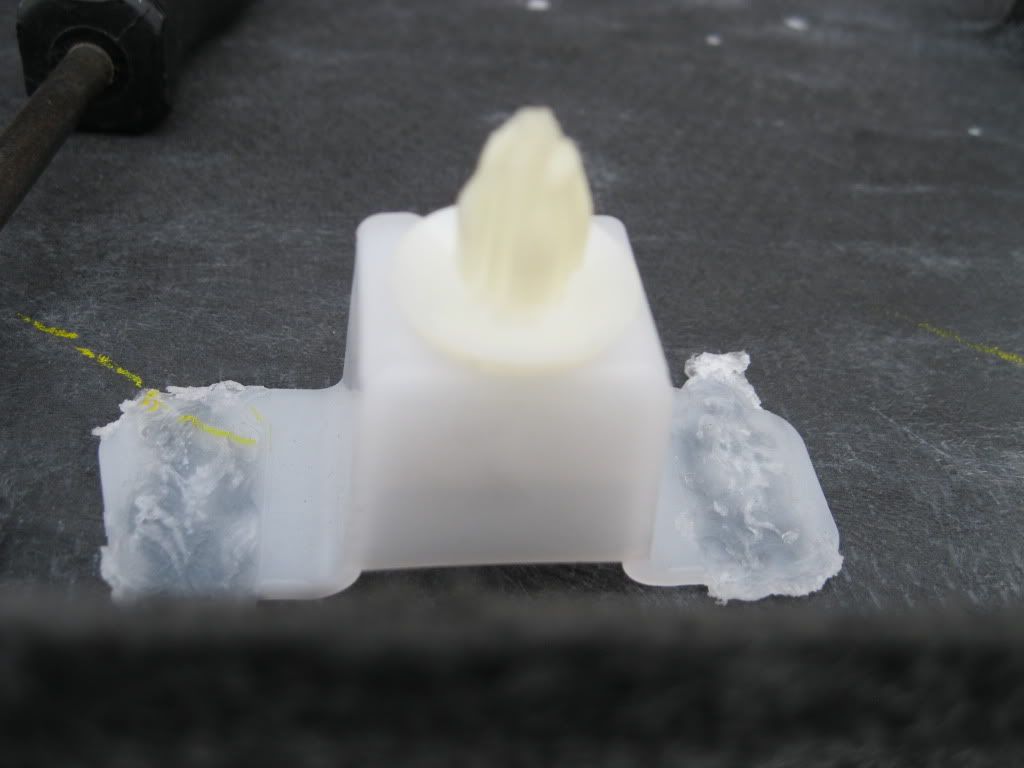
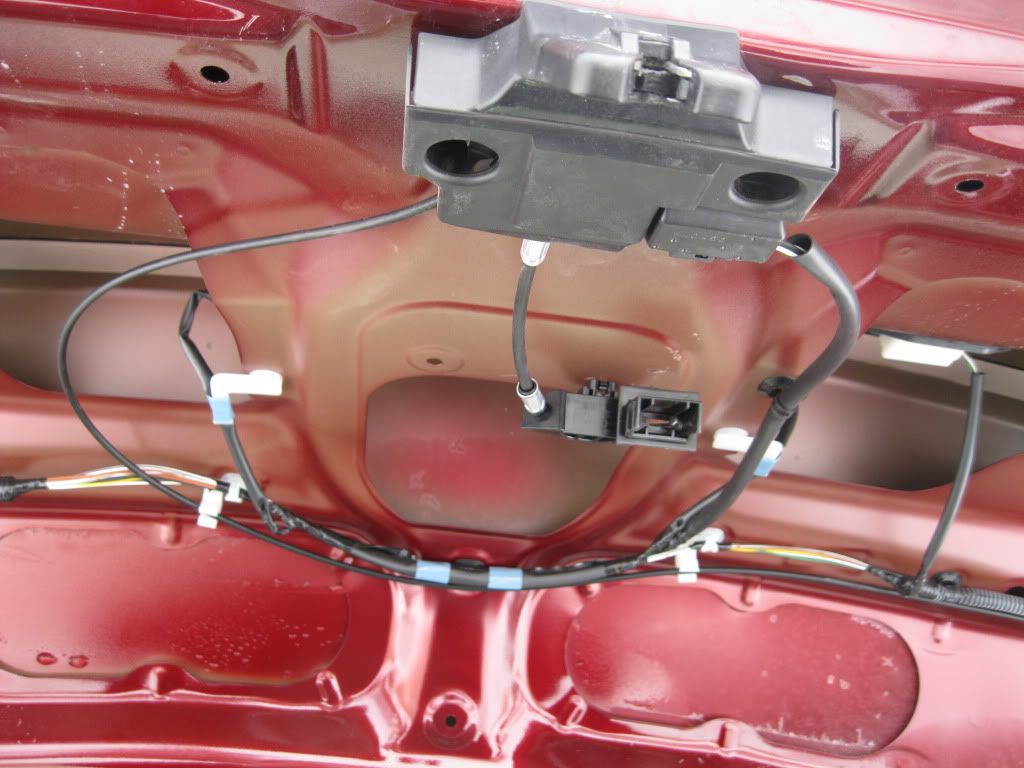
3. Unsnap the two white fasteners (little tug), on each side of the lock and expose the trunk lid. Pic is unfocused but they are the same type of white fasteners found in the pillars, mouldings,etc.
Love CL for this sort of info
1. Snap off the plastic cover in the middle of the trunk liner.
2. Remove the black fasteners around the trunk liner. I found the fasteners popped off easy with my special tool
3. Unsnap the two white fasteners (little tug), on each side of the lock and expose the trunk lid. Pic is unfocused but they are the same type of white fasteners found in the pillars, mouldings,etc.
Love CL for this sort of info
01-22-12, 07:57 AM
#24
Instructor
and now that I notice, in the last pic what is that plastic holder behind the locking mechanisn for? Why does it need to protrude throught the trunk liner? I thought it was a trunk light but there doesn't seem to be a bulb in there.

Thread
Thread Starter
Forum
Replies
Last Post