
R&R Rear caliper and Pads and more
 12-10-07, 07:06 PM
#1
Lexus Champion
Thread Starter
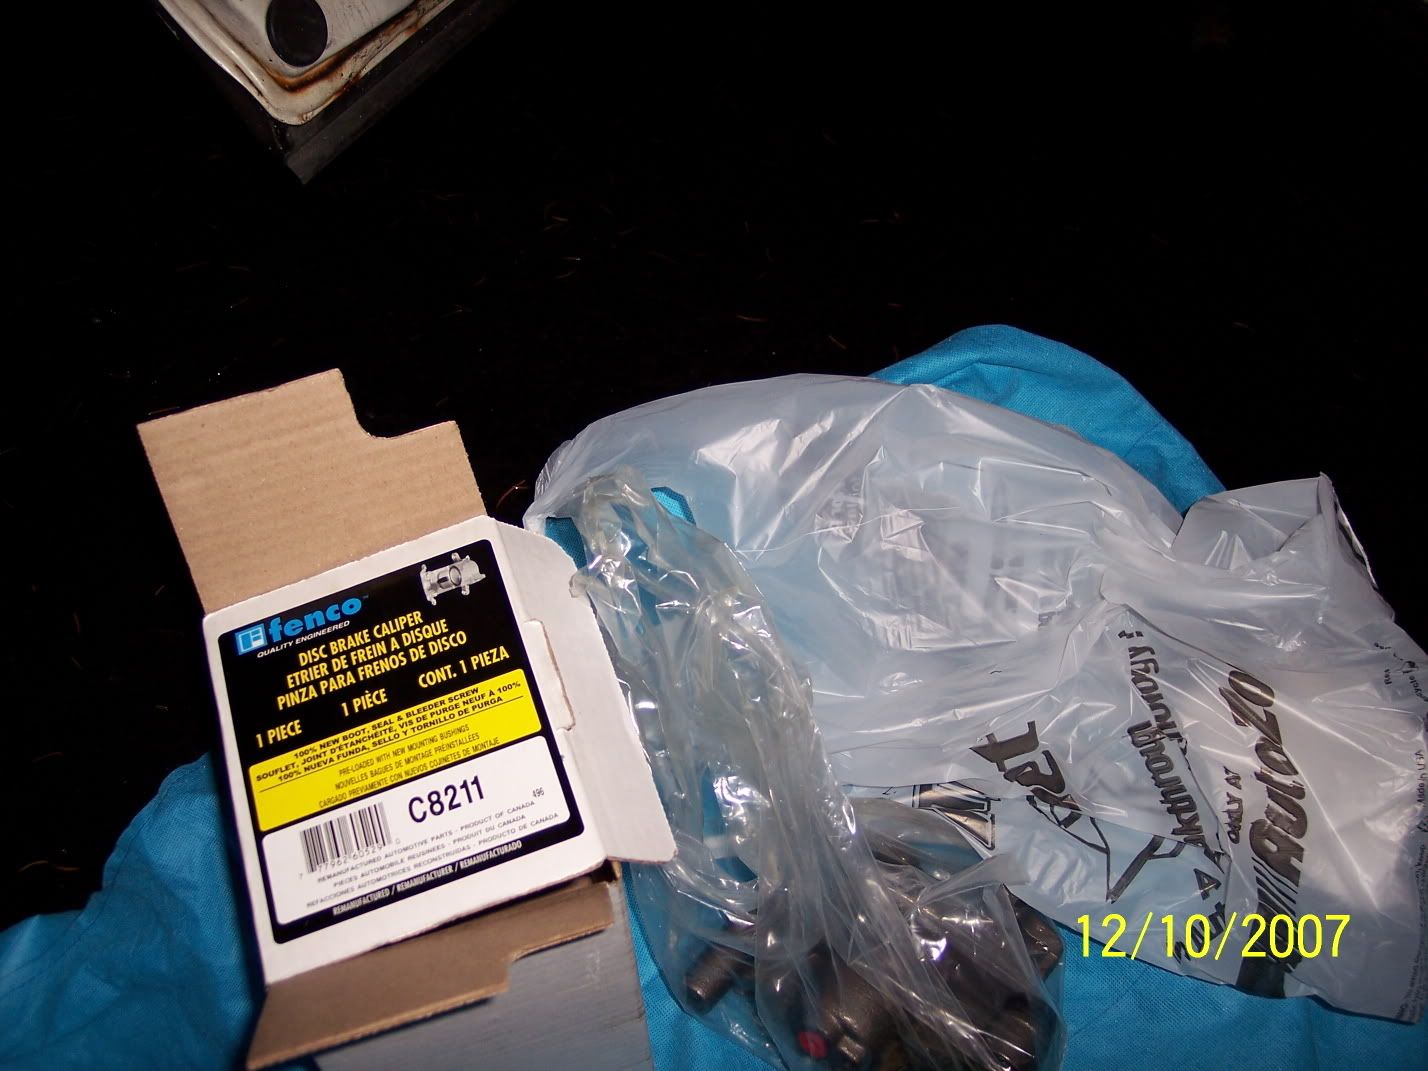
Well the old ones were starting to freeze up. They were basically stuck and wouldn't retract. The brake drag was very annoying, smelled bad, bad bad bad. Old, and expoosed to so many years of moisture, and being relatively low mileage, the calipers were dead. The fluid wasn't even that bad. So, off to autozone for replacement calipers and a thing of synthetic "better than DOT4 " dot4 brake fluid. I will replace the pads even though they are OK, and the shoes possibly [depends on price] once I get the rotors resurfaced. They look like crap!
Very easy to do the calipers on this car. REDICULOUSly I was expecting more fuss .....
This is a 1993 Lexus ES300 with 138,000 miles and a manual transmission[not making this up].
Takes about 1 hr start to finish per rear caliper if you're proficient and working on the driveway. In a shop[with lift], should take about 30-40 minutes. Give yourself 2 hours if doing one, and 3 hours if doing both so that you don't rush or rough ocean yourself.
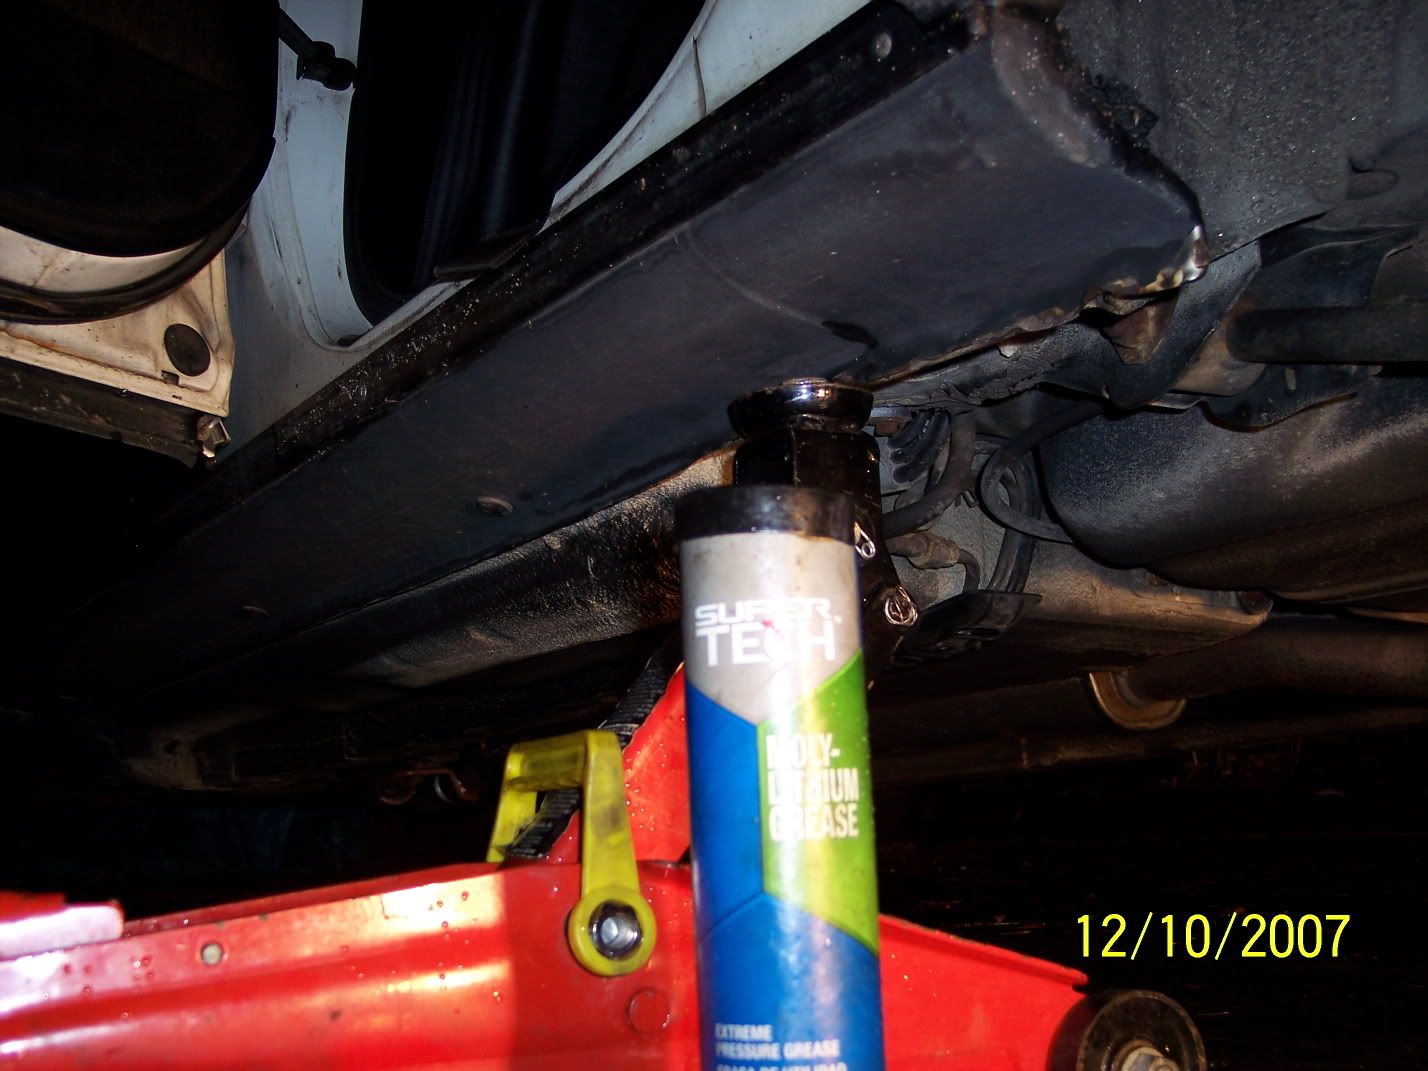
Tools: 12mm wrench or socket, `14mm wrench or socket, 8mm wrench, brake grease [i used the moly lithium grease gun tube], and tire iron, torque wrench, 21mm socket/impact socket
Optional: breaker bar, brake cleaner
Lift and support car safely. keep in park for automatics. keep it in first gear for manual. put chocks or brick or something in front of front wheels. release parking brake.
Use gloves/ work on it when it's cooled down
Remove wheel
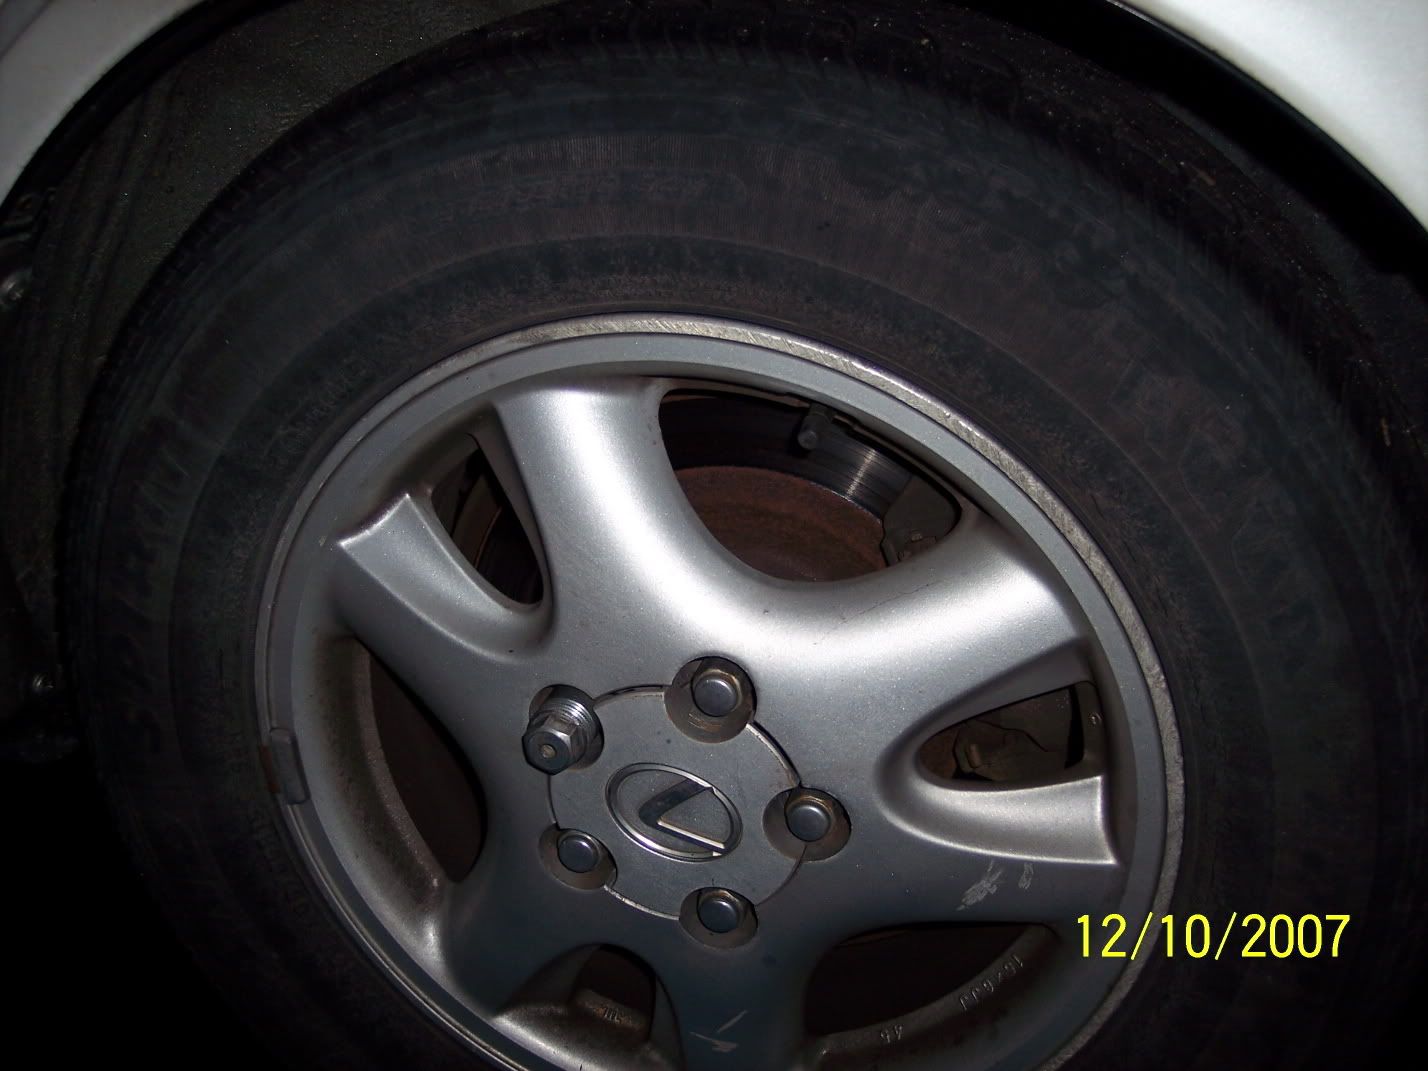
Spray area with brake cleaner
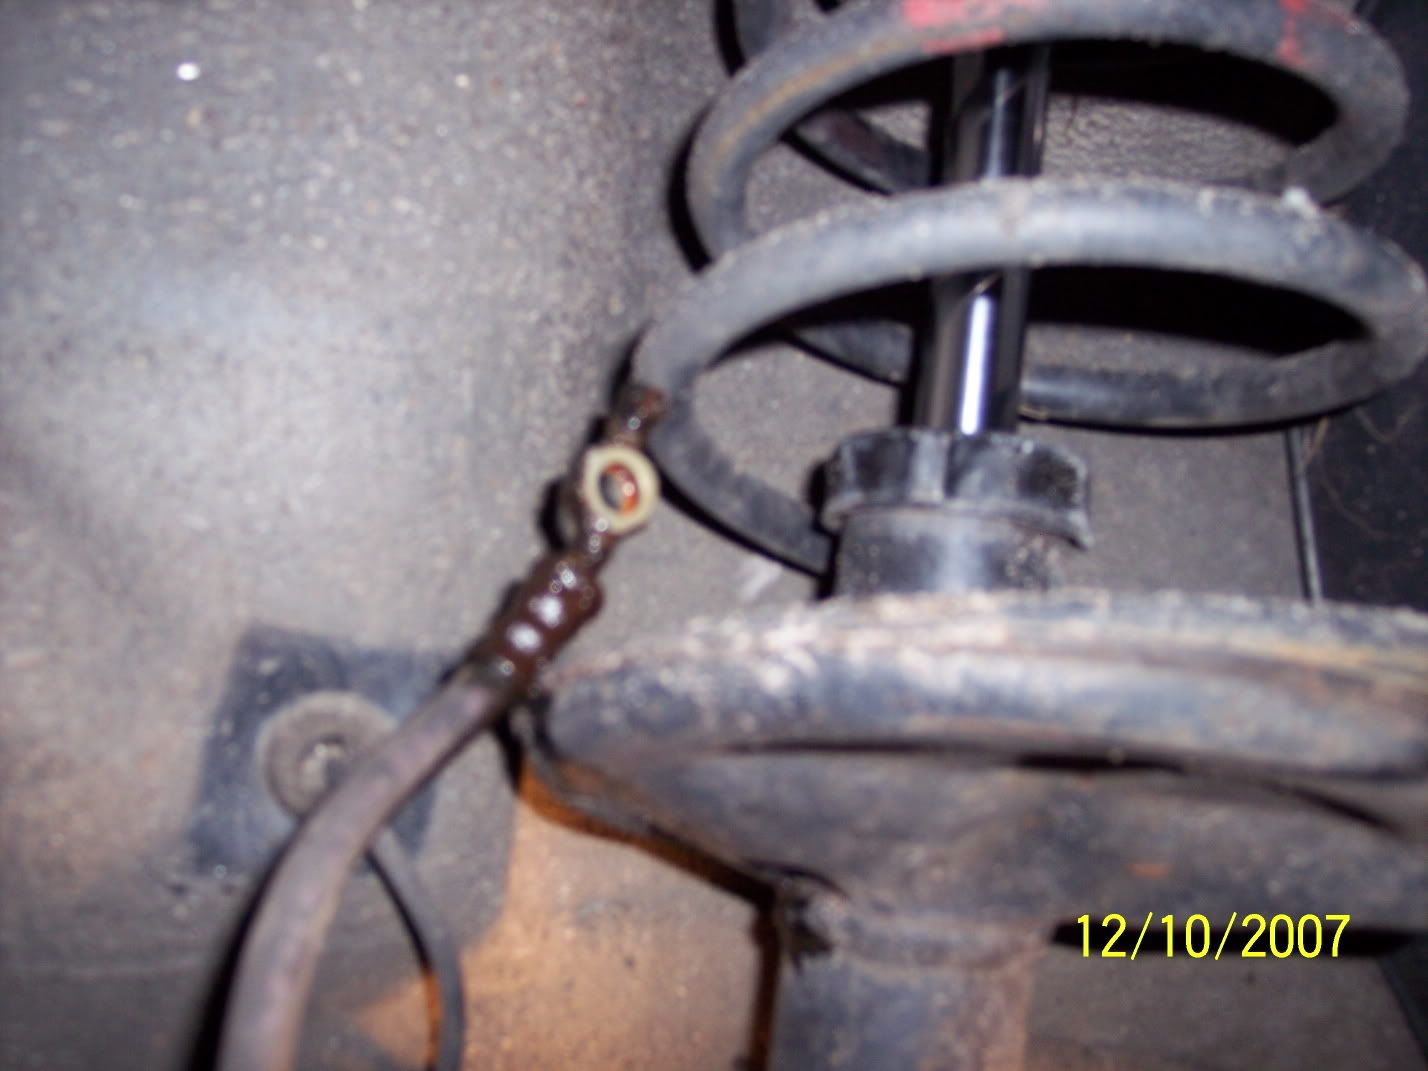
Remove 12 mm screw holding the brake line to suspension
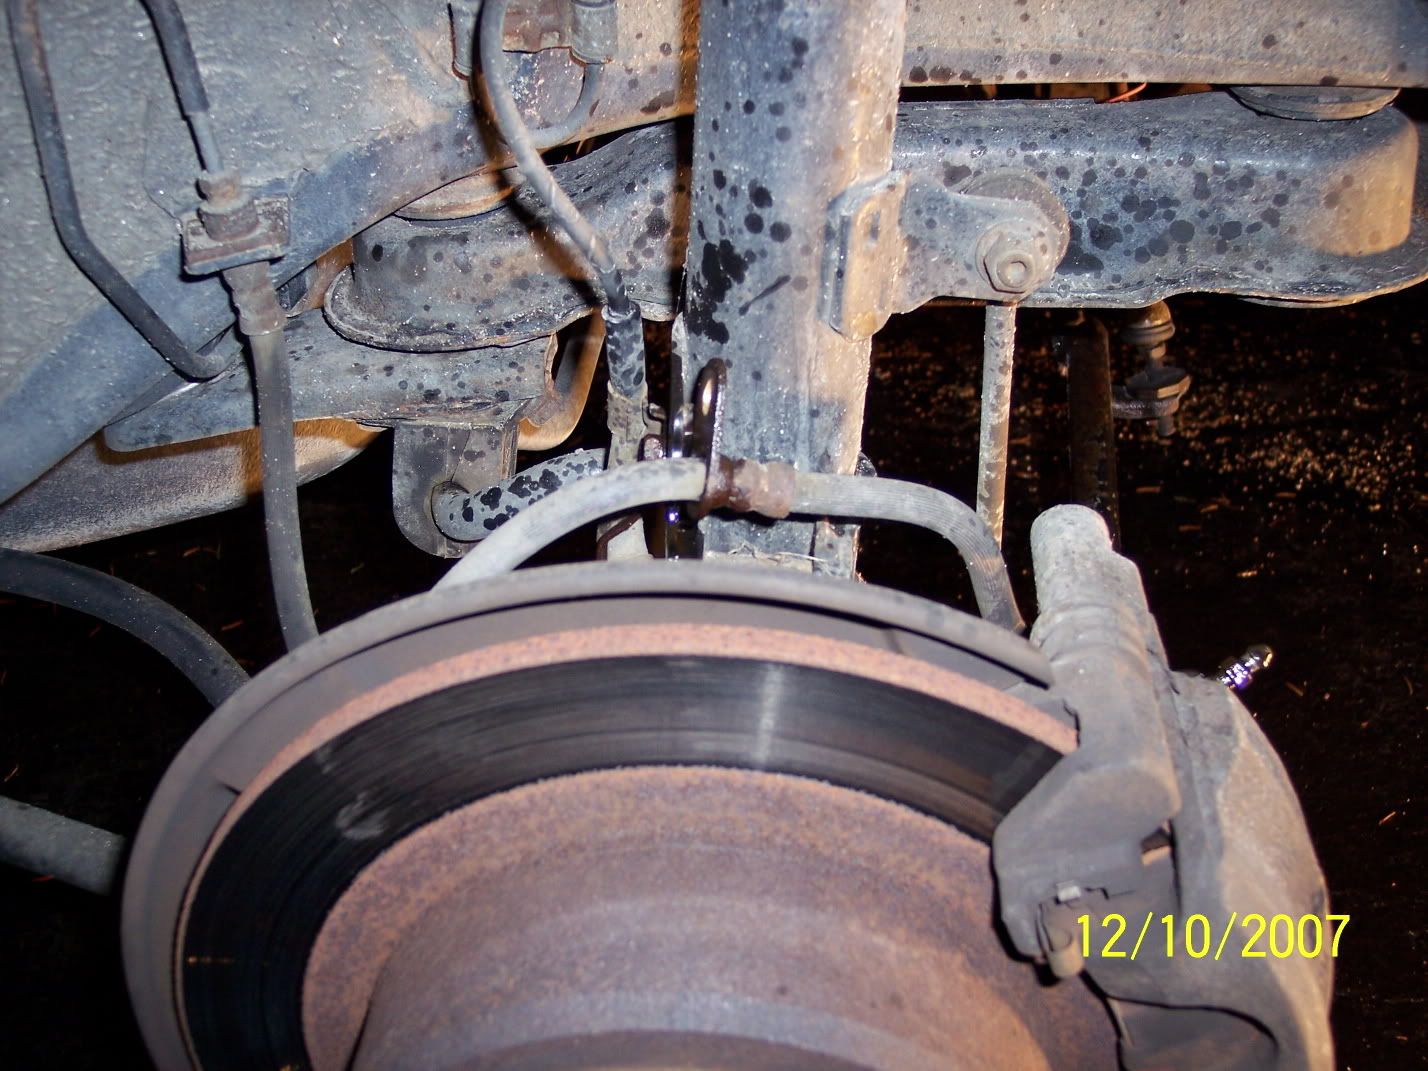
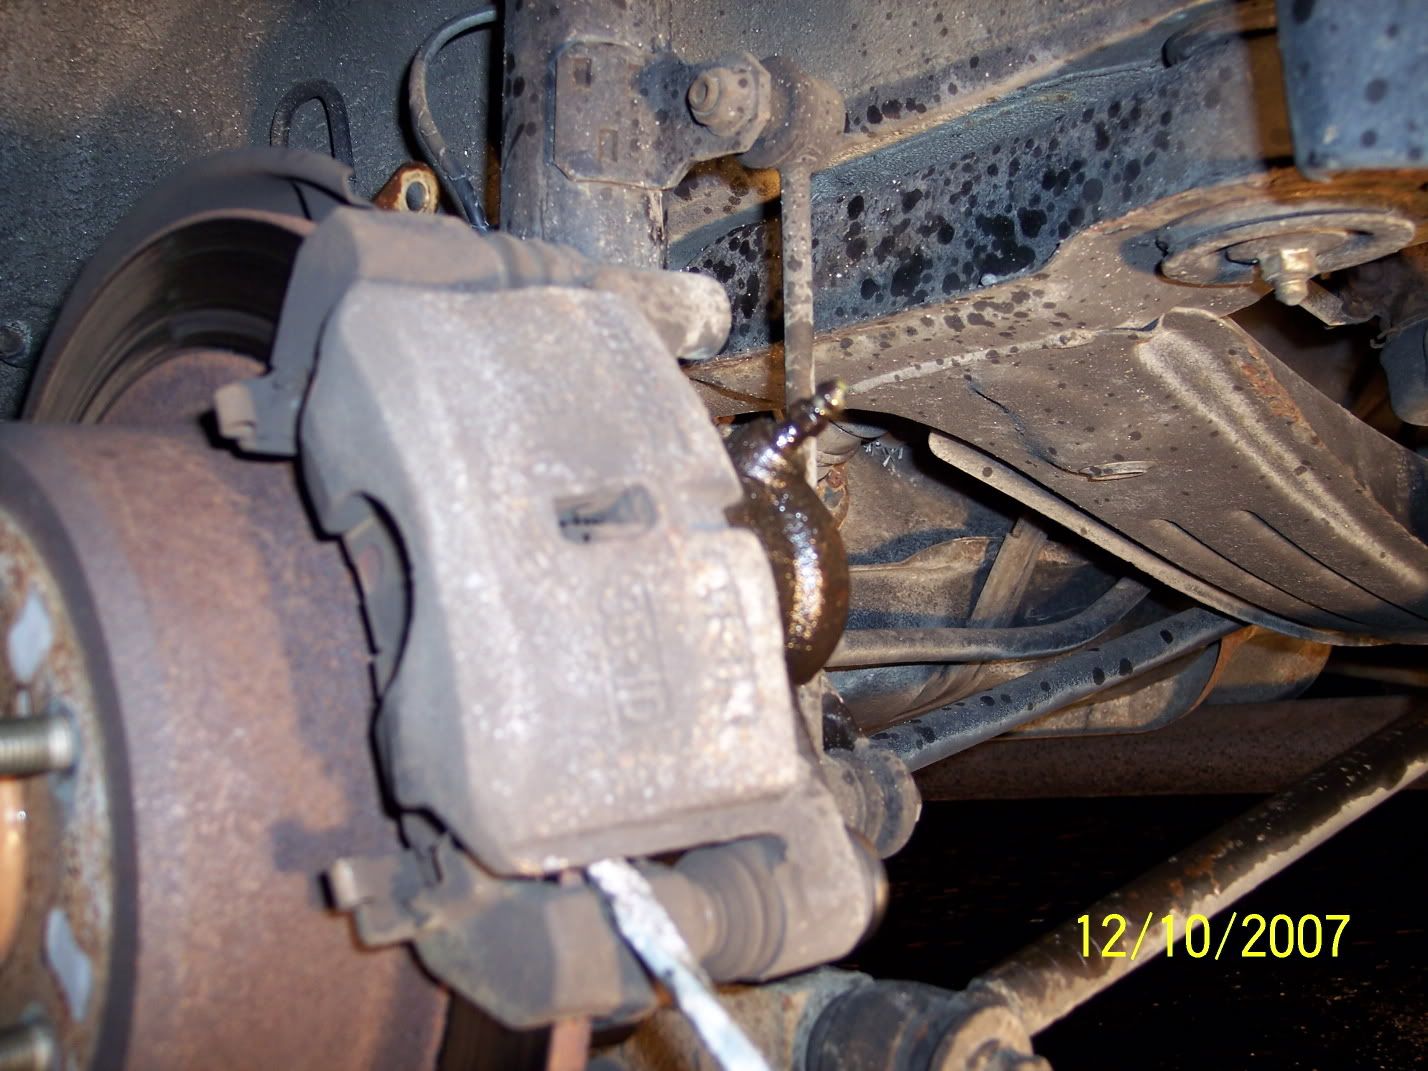
Break lose the 14mm banjo bolt connecting brake hose to caliper [tool in picture is not on it, its the nut in the middle of the back of caliper that basically holds the hose to it [and allows fluid to pass through]]
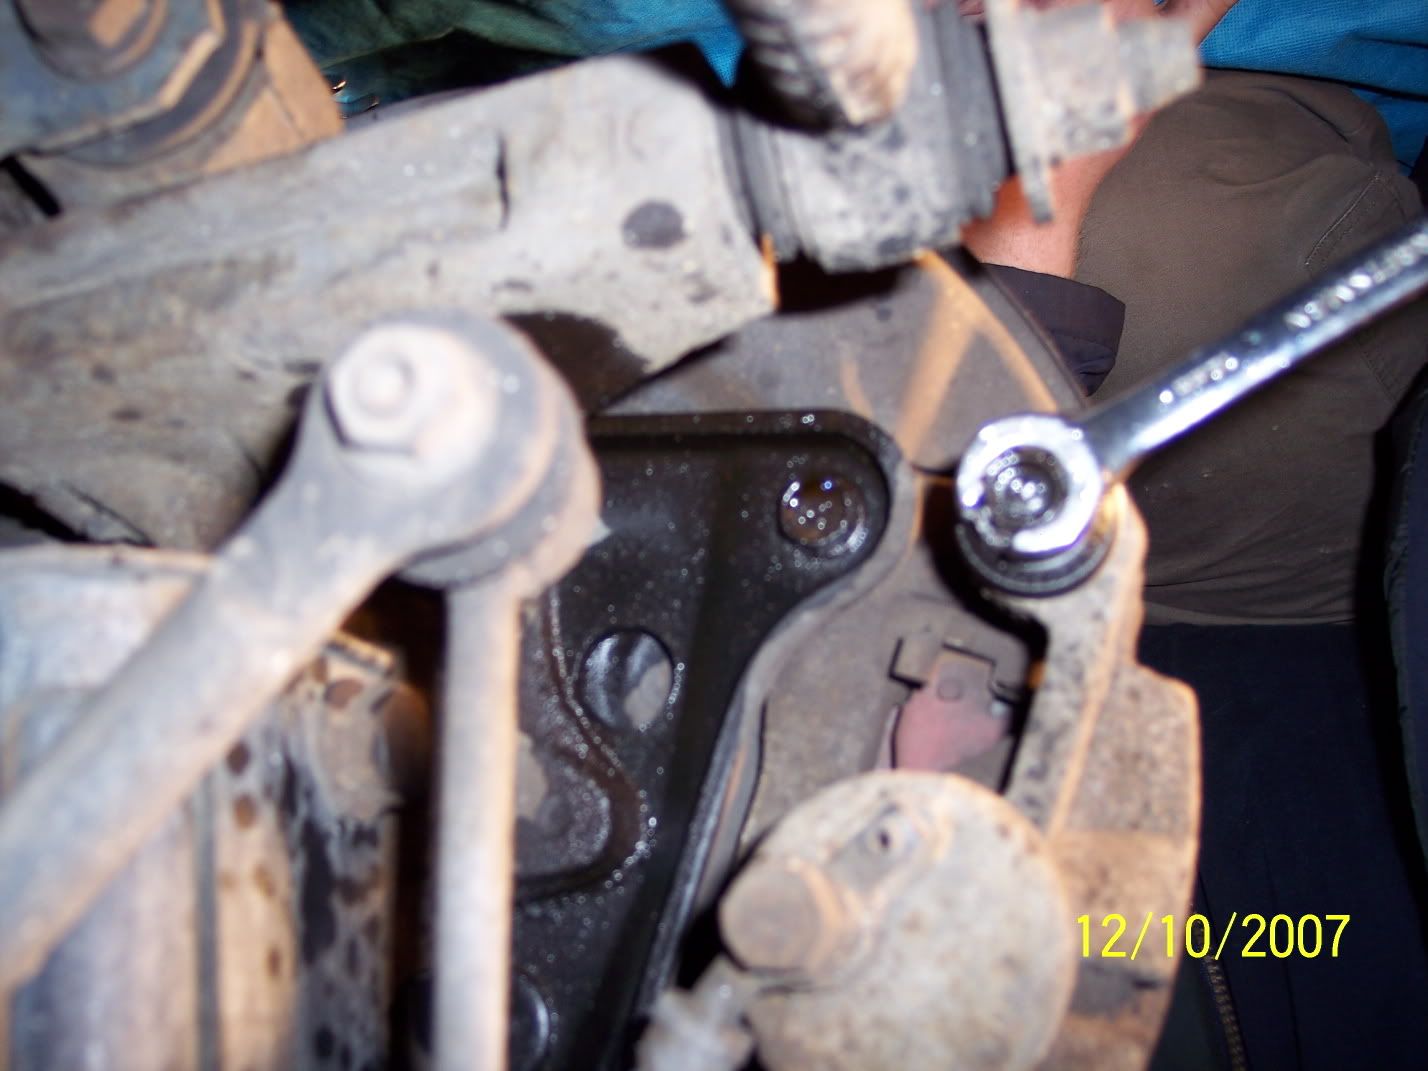
Remove the 12mm caliper screw at the bottom of caliper
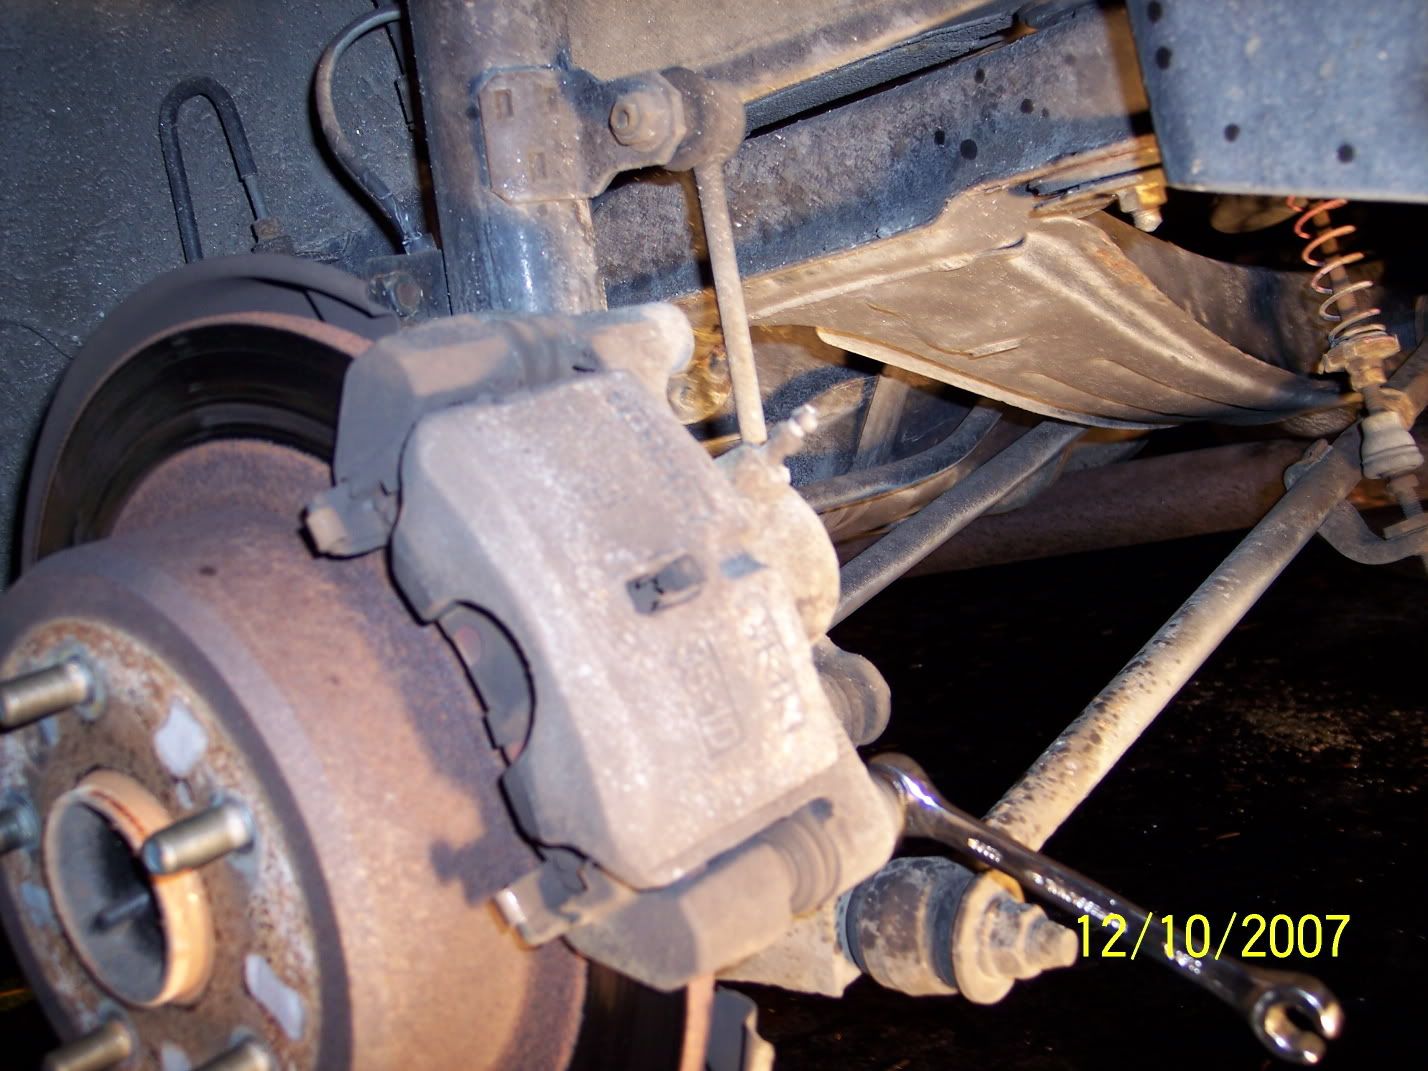
Lift caliper up and slide it off the upper pin [use screwdriver or pry bar if stuck on, like in this case]
Clean off area around banjo [to avoid debris getting in]
Remove it banjo
Keep brake line up
Grease up , then stick the new sliding bushing in the bottom part of the new caliper
Grease up the top / main pin
The caliper came with another pin that I didn't have use for. Maybe you will/should use it.
Then slide the caliper on the top main pin
Stick the bottom screw back on and tighten it up. There's a torque spec, I think it's 14 lb*ft, but I just used a wrench and tightened until it turned no more using 'experience'. One should always use his/her torque wrench and follow all guidelines in factory service manual.
Put the copper washed between head of banjo bolt and the part of the hose it goes on, and the other wash is between the caliper and the the same part of the hose. Make sure you removed the neat looking OEM lexus washers. You can't reuse them safely. They're cute with their trip-ointed looking schamizzle
There's a torque spec for the banjo bolt, I think it's 21 lb*ft, but I'm not sure. "What did you use," you ask? Yep, the wrench and real tight method. I'm not saying a newbie should do that though. One should always use his/her torque wrench and follow all guidelines in factory service manual.
Use 8 mm and turn [somewhere around around 1/4 turn] the bleeder nipple.
Do a brake bleed by pumping brake pedal to get fluid to fill the caliper. You dont w ant pedal to touch the floor and you want to be slow and smooth with the pumping [no jokes y'all]. then as the fluid comes out bleeder, tighen allowing only a little fluid out and then finally close it. then, pump it up three time, then hold the pedal, then someone cracks the bleeder to let air come out. you open, let fluid [you see air bubbles] and then tighten it even as its coming out. then you pump it up again, doing it all over again. the bleeder I tighten using feel of real tight, but I think the torque spec is specifically around 6 lb*ft [72 lb*inch I guess is the exact value]. You want to wait about 10 seconds in between repititions to allow little bubbles to sortof move around and such. By the way, I didn't mention this , but this method of brake bleeding requires [or ought to be done with] an assistant. There are different ways to do it. the idea is that the pedal should be firm when youre done and you dont have air in the lines/caliper. this is because air is compressible. You should not do this without experience, or a service manual, or help, or if you do not feel comfortable doing it. That's dangerous!
then when done, you put wheel back on, torque wheel nuts in criss cross to 76 lb*ft with the torque wrench and 21mm socket/impact socket.
test drive safe area and everything.
To do the pads too, you just take them off while the caliper is liften up, or when its off, but to get the rotor off to service the rotor or the parking brake system you have to get the support braket off. To do this, you yank the stabilizer link off using a 14mm wrench or socket, and a 5mm hex [right allen I did use]. tip is to use another jack to lift the suspension up to allow the link to slip out [removes the load on it]. then, you will have acceess at the topmost of the two brake support bolts. But at this point I'm digressing .......
One more thing, RON PAUL 2008 lol
Very easy to do the calipers on this car. REDICULOUSly
I was expecting more fuss .....This is a 1993 Lexus ES300 with 138,000 miles and a manual transmission[not making this up].
Takes about 1 hr start to finish per rear caliper if you're proficient and working on the driveway. In a shop[with lift], should take about 30-40 minutes. Give yourself 2 hours if doing one, and 3 hours if doing both so that you don't rush or rough ocean yourself.
Tools: 12mm wrench or socket, `14mm wrench or socket, 8mm wrench, brake grease [i used the moly lithium grease gun tube], and tire iron, torque wrench, 21mm socket/impact socket
Optional: breaker bar, brake cleaner
Lift and support car safely. keep in park for automatics. keep it in first gear for manual. put chocks or brick or something in front of front wheels. release parking brake.
Use gloves/ work on it when it's cooled down
Remove wheel
Spray area with brake cleaner
Remove 12 mm screw holding the brake line to suspension
Break lose the 14mm banjo bolt connecting brake hose to caliper [tool in picture is not on it, its the nut in the middle of the back of caliper that basically holds the hose to it [and allows fluid to pass through]]
Remove the 12mm caliper screw at the bottom of caliper
Lift caliper up and slide it off the upper pin [use screwdriver or pry bar if stuck on, like in this case]
Clean off area around banjo [to avoid debris getting in]
Remove it banjo
Keep brake line up
Grease up , then stick the new sliding bushing in the bottom part of the new caliper
Grease up the top / main pin
The caliper came with another pin that I didn't have use for. Maybe you will/should use it.
Then slide the caliper on the top main pin
Stick the bottom screw back on and tighten it up. There's a torque spec, I think it's 14 lb*ft, but I just used a wrench and tightened until it turned no more using 'experience'. One should always use his/her torque wrench and follow all guidelines in factory service manual.
Put the copper washed between head of banjo bolt and the part of the hose it goes on, and the other wash is between the caliper and the the same part of the hose. Make sure you removed the neat looking OEM lexus washers. You can't reuse them safely. They're cute with their trip-ointed looking schamizzle
There's a torque spec for the banjo bolt, I think it's 21 lb*ft, but I'm not sure. "What did you use," you ask? Yep, the wrench and real tight method. I'm not saying a newbie should do that though. One should always use his/her torque wrench and follow all guidelines in factory service manual.
Use 8 mm and turn [somewhere around around 1/4 turn] the bleeder nipple.
Do a brake bleed by pumping brake pedal to get fluid to fill the caliper. You dont w ant pedal to touch the floor and you want to be slow and smooth with the pumping [no jokes y'all]. then as the fluid comes out bleeder, tighen allowing only a little fluid out and then finally close it. then, pump it up three time, then hold the pedal, then someone cracks the bleeder to let air come out. you open, let fluid [you see air bubbles] and then tighten it even as its coming out. then you pump it up again, doing it all over again. the bleeder I tighten using feel of real tight, but I think the torque spec is specifically around 6 lb*ft [72 lb*inch I guess is the exact value]. You want to wait about 10 seconds in between repititions to allow little bubbles to sortof move around and such. By the way, I didn't mention this , but this method of brake bleeding requires [or ought to be done with] an assistant. There are different ways to do it. the idea is that the pedal should be firm when youre done and you dont have air in the lines/caliper. this is because air is compressible. You should not do this without experience, or a service manual, or help, or if you do not feel comfortable doing it. That's dangerous!
then when done, you put wheel back on, torque wheel nuts in criss cross to 76 lb*ft with the torque wrench and 21mm socket/impact socket.
test drive safe area and everything.
To do the pads too, you just take them off while the caliper is liften up, or when its off, but to get the rotor off to service the rotor or the parking brake system you have to get the support braket off. To do this, you yank the stabilizer link off using a 14mm wrench or socket, and a 5mm hex [right allen I did use]. tip is to use another jack to lift the suspension up to allow the link to slip out [removes the load on it]. then, you will have acceess at the topmost of the two brake support bolts. But at this point I'm digressing .......
One more thing, RON PAUL 2008 lol
Last edited by llcoolpass; 01-02-08 at 08:21 AM.
 12-11-07, 05:39 PM
#2
Lexus Test Driver
Nice write up. And I know youre not kidding, mine is a manual too. Even though its a new caliper, I like to put lube on the pad support plates, just my thing i guess. Did you have to adjust the e-brake shoes at all?
12-11-07, 09:43 PM
#3
Lexus Champion
Thread Starter
thanks!
i lubed up that stuff too. believe me, i do everything reall pretty when i do car work.
my parking break you asked about. well the shoes have meat on them. probably could just adjust them, then go and adjust the tension at the hand break lever. right now, it goes up too high [a guess would be 11 clicks]. I also can tell the p/s gets more grab first. I didn't adjust while, ''in there,'' since i was going to replace the shoes. but after buying 4 new dunlop sp sport [http://www.tirerack.com/tires/tires.jsp?tireMake=Dunlop&tireModel=SP+Sport+Signature&partnum=065VR5SPSIG&vehicleSearch=true&fromCompare1=yes&place=20&speed_rating=H&speed_rating=V&speed_rating=Z&speed_rating=W&speed_rating=Y&speed_rating=(Y)&minSpeedRating=H ] and deciding how to best spend the credit card company's money, I think im just going to adjust and be done with it : ) Because.... techinically, i need new rotors and pads in the rear.... and i shuld just do the shoes then too... one big sha-bang... but that whole $ issue...

Thread
Thread Starter
Forum
Replies
Last Post
xkazik
GS - 3rd Gen (2006-2011)
3
05-10-18 11:20 AM
cyberhiker
RX - 1st Gen (1999-2003)
9
08-25-11 06:26 AM