When you click on links to various merchants on this site and make a purchase, this can result in this site earning a commission. Affiliate programs and affiliations include, but are not limited to, the eBay Partner Network.
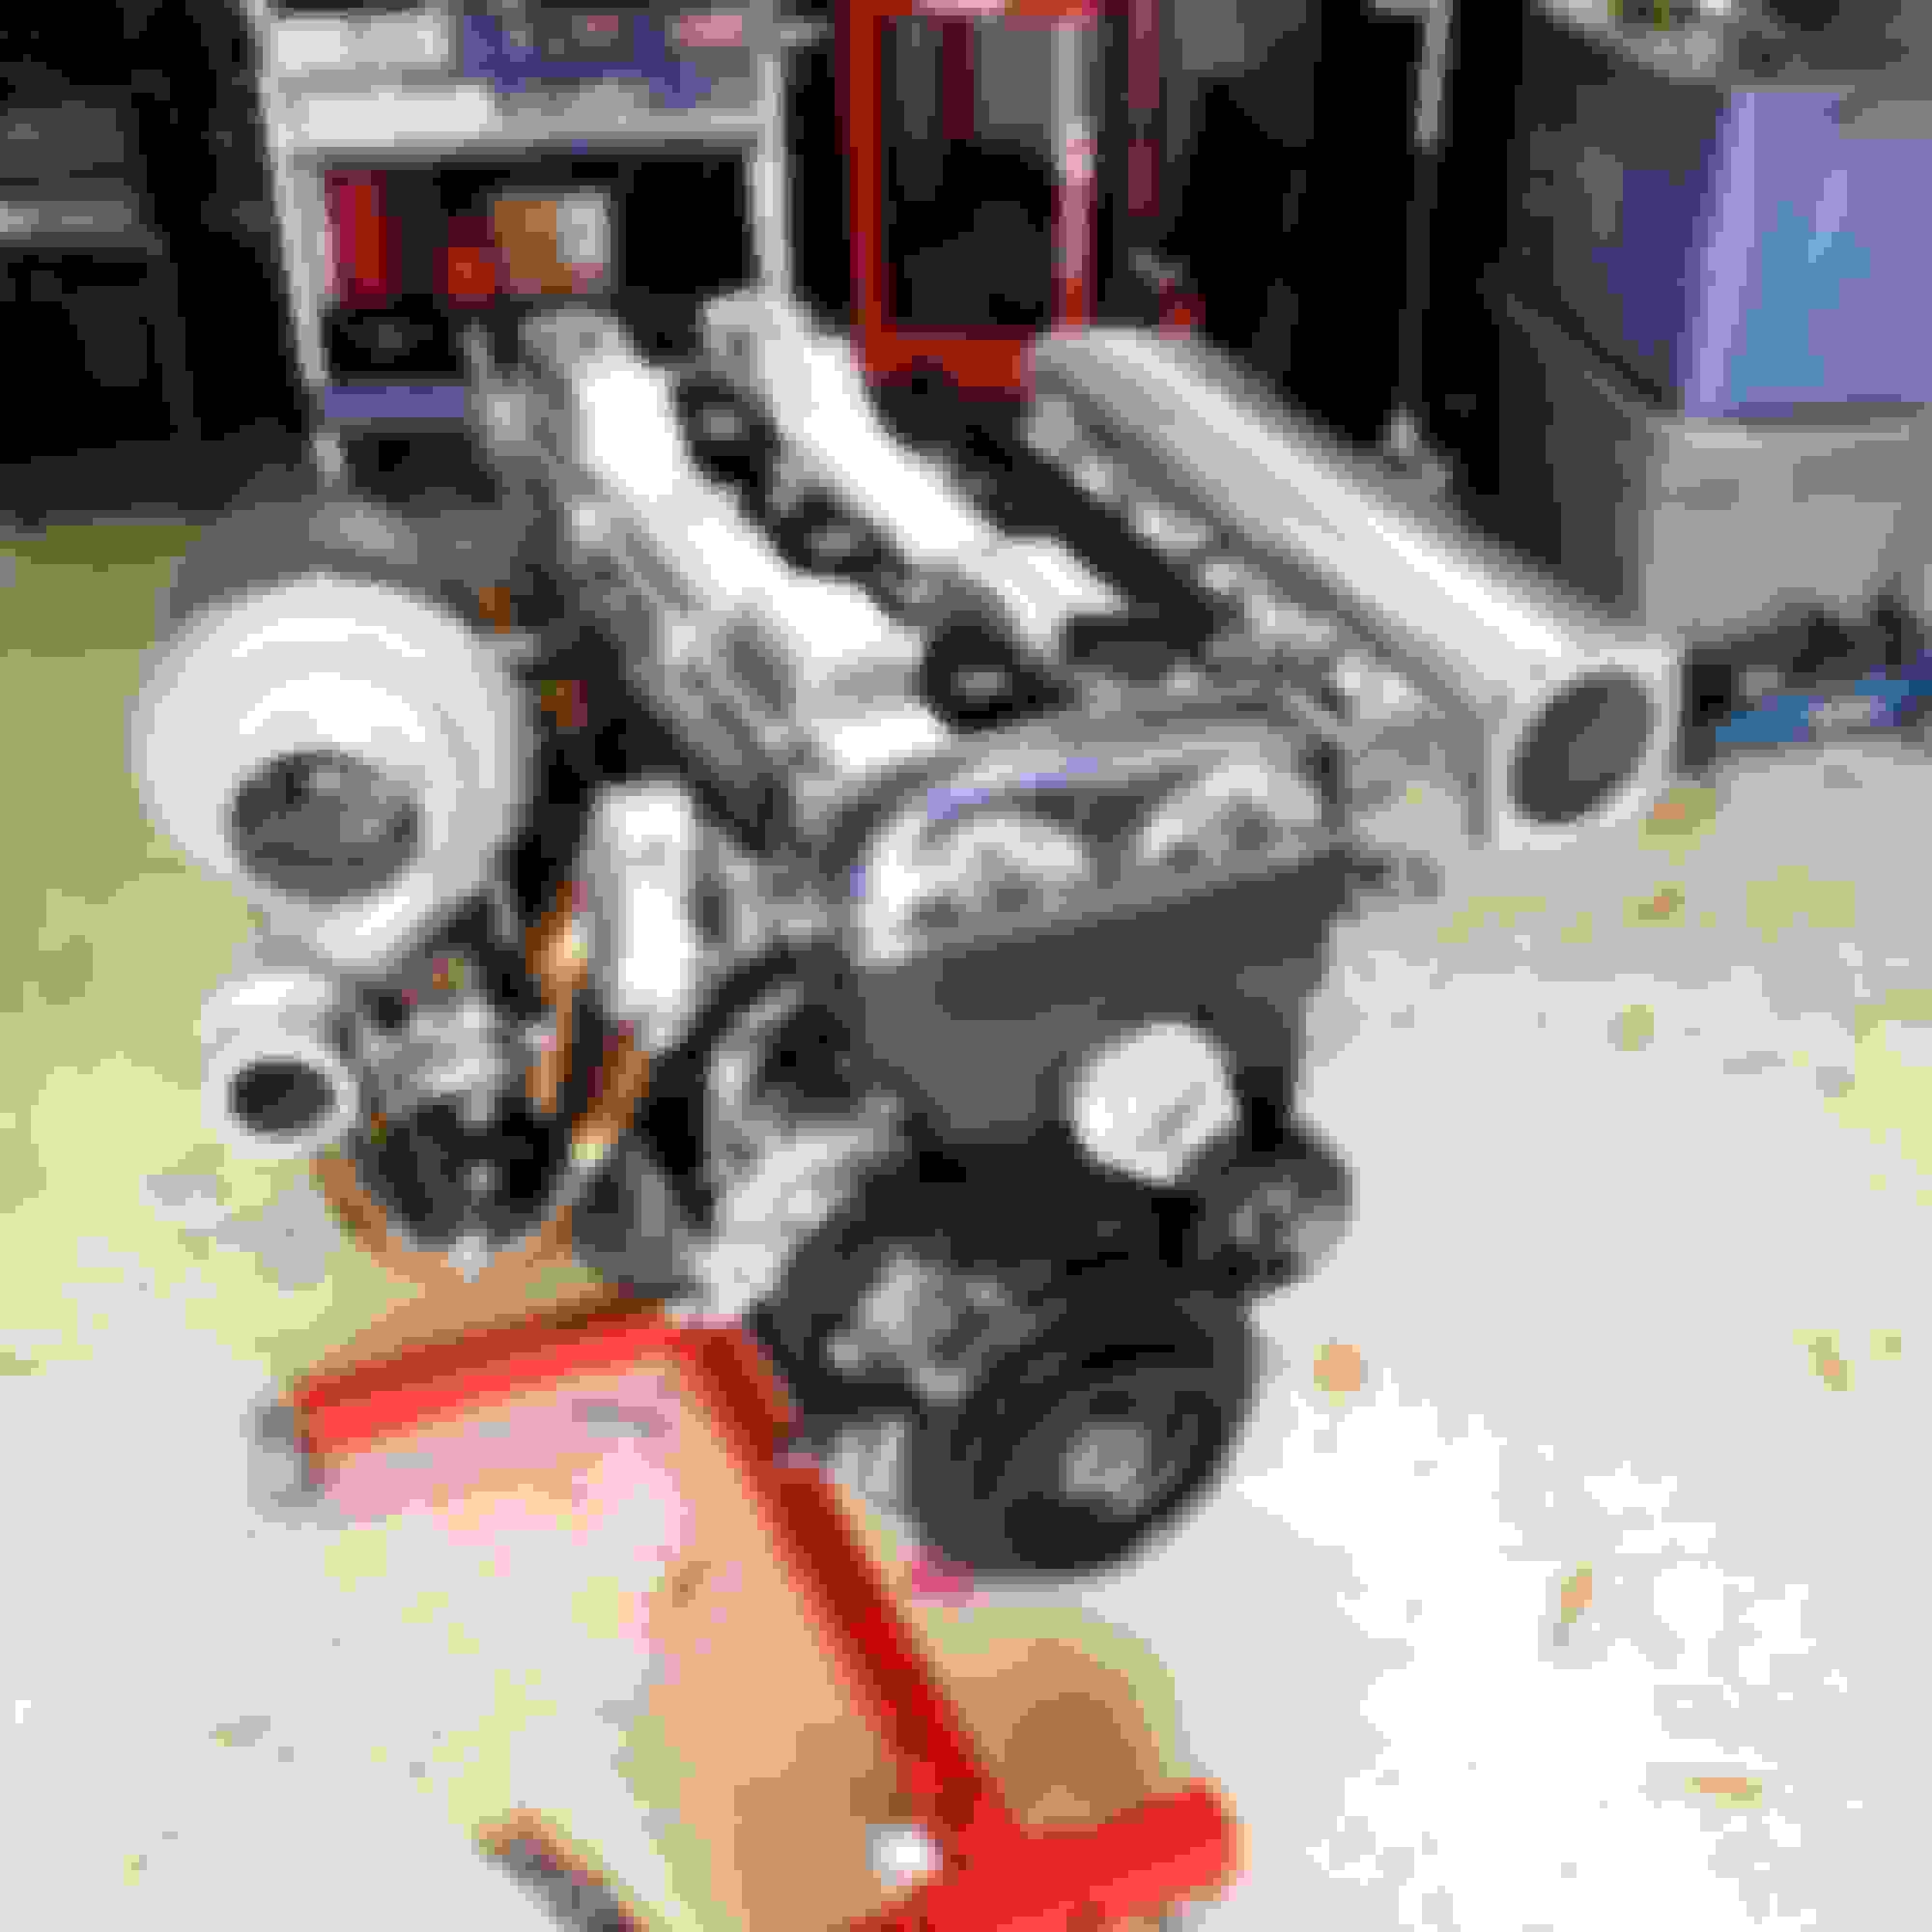
Got the timing covers, and my Fluidampr harmonic balancer installed now and and did a little customization of a GTE knockoff "greddy" clear timing cover to fit my engine, slapped on the water necks and distributor with the fancy cap I got from drift motion... Its starting to come together for real now... Finally lol.
Also, Started working on my coil pack bracket... found some inspiration on the internet and pretty much just took what I saw and am making my own version. Im probably going to jazz it up a little bit with a couple extra holes for "ventilation" or something to make it look different but hey, as long as it works right?
And that pretty much sums up this week's progress.
My shifter housing is currently in the mail on its way to driftmotion to be extended, and my transmission is at the shop waiting to be rebuillt with all the goodies ive got for it along with new synchros and bearings. gonna order my throttle body this week along with some sort of an idle air control valve (been looking at a handful of aftermarket options) and i should be working on the intake manifold this coming week along with finishing up the coil pack bracket. stay tuned
Nice template Dan, and props for trying something yourself. If I could make a suggestion, only a suggestion. It may or may not work? Take your template to a Hardware store, and have them cut you some heat resistant plexiglass 30 or 40mm thick. From there you'll be able to trace your outline, and use a cutting too-dremel perhaps? Once you get the desired cut, take and smooth out the edges? You'll be able to make your own mounting holes, plus you'll be able spot an immediate leaks if any? Then later if you decide, you could have it painted or powder-coated to your liking.
As far as the coil bracket goes, im only going to be using 4 bolts to hold it on... going to remove the studs for the valve covers at the front and rear and run a long bolt through the bracket into the head. I want to be able to pull the bracket off quickly if i need to swap plugs or whatever. it will also make fab time on the bracket go super quick. Planning on using 3/16" aluminum which is plenty rigid.
Ive got a plasma cutter at work so im going to rig up a jig with a couple straight edges and see what i come up with .
the GE head doesnt have the mounting holes in the casting for the coil pack bracket like the GTE's do, at least not our non vvti GE's. But heres to being different! lol.
im waiting on my trans still, and im in the process of sorting out my vacuum line and IACV stuff for the intake manifold. but as soon as that stuff is done then ill do an update before i stick the motor in the car. its getting pretty close though.
hey dan I read most of the stuff but don't remember. are you planning on using the over head intake or ffim? I only ask because the title says your na-t. and I haven't seen anything for ffim except for the iacv valve shopping. lol. but I do really like the way you made you gm coil bracket. I want to do that to my car but first want to go standalone/ffim/gm coil packs all in one go. I know itll be super expensive but I feel its way worth it.
hey dan I read most of the stuff but don't remember. are you planning on using the over head intake or ffim? I only ask because the title says your na-t. and I haven't seen anything for ffim except for the iacv valve shopping. lol. but I do really like the way you made you gm coil bracket. I want to do that to my car but fiI rst want to go standalone/ffim/gm coil packs all in one go. I know itll be super expensive but I feel its way worth it.
using an xs power ffim, and running a RMR 82.5mm throttle body (3.5" inlet). For idle control I'm using a Volvo style pulse width (2wire) iacv. Basically just gonna run reinforced vacuum hose from a weld in fitting on the IC piping through the valve and into another weld in fitting on the bottom of the intake manifold and mount the valve where the stock fuel dampener goes. It's not the prettiest setup but the valve was cheap (35$) and should work well.
I still haven't made the final bracket, actually thinking of having it cnc'd by a shop just down the road from work, if it comes out nice I may have a batch made and hook up you guys that need them too.
Its been a while since I updated. Ive been making steady progress on the build, been trying to make weekly parts orders to keep it rolling. As it sits now, Im pretty much ready to stab the motor in the car. Just a couple things like mounting the IACV and drilling/tapping the oil housing union bolt for my turbo feed, then its going in!
The transmission is sorted finally. Billet 1-2 and 3-4 forks, thrust washer, bearing retainer... the typical stuff. A buddy of mine had an Akina (ebay) bellhousing laying around so i grabbed it for cheap, it seems decent enough and it fit well. Did have to do some trimming to get the OS Giken movement alteration kit in there but its working well now.
Also received my Powerhouse Racing P/S kit and installed that in the bay with the driftmotion pressure line. Was really impressed with the PHR reservoir but very UNIMPRESSED with the quality of the AN Fittings and hose I received with it. I feel for the price you pay they should use swivel hose ends or at least offer them as an option. Nonetheless it should work just fine, and looks awesome.
As far as the motor goes, its pretty much ready to roll. Welded on the tial mvr wastegate flange, installed the arizona performance oil drain flanges and egr block off plate. I was really impressed with the quality of the flanges, definitely the nicest ive seen. Also picked up the RMR throttle body and even a greddy magnetic oil drain plug! lol.
Right now both manifolds are off of the motor, gonna put it in like that and then bolt everything up for real once its in the car. Ive been wrapping my manifold over the last couple evenings, its a pain in the *** and usually get frustrated after an hour or so and have to stop haha. I also put my thermostat housing on and have realized that im gonna have to be really creative when it comes time to hook up radiator hoses, wastegate dump pipe, and intercooler piping, its gonna be a tight squeeze in there and am sorta kicking myself for getting the 90deg compressor housing on my s366 now, oh well.
Nice build. On the fluid damper ,every one I have installed including mine I just did 2weeks ago has the timing mark wrong on the pulley. Its the 2 nd mark to the left of where you have it would be the correct mark for it to be tdc ..if I was you ,I would pull pulley off ,set crank by dot on pump then install pulley ..if you've done that already that means fluidamper has corrected the issue but mine was bought last year and mark was wrong

 01-31-15, 04:58 PM


 I want to do that to my car but first want to go standalone/ffim/gm coil packs all in one go. I know itll be super expensive but I feel its way worth it.