
8052JZ's NA-T Build


 10-31-16, 09:41 AM
#1082
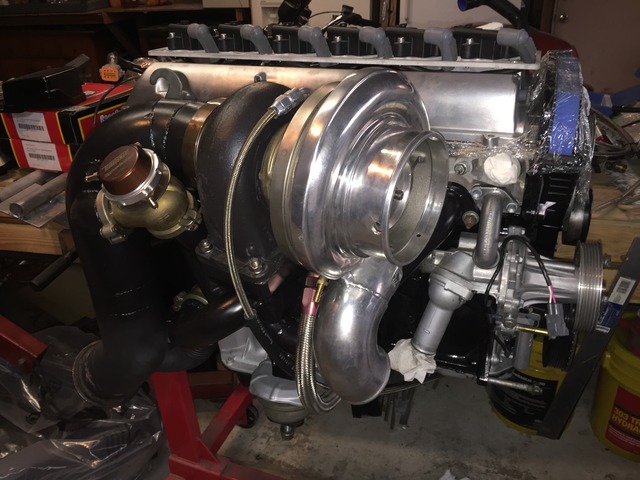
Moving slowly but started to move things over to the new motor. The old "blown up" motor still needs to be gone through to see what exactly failed

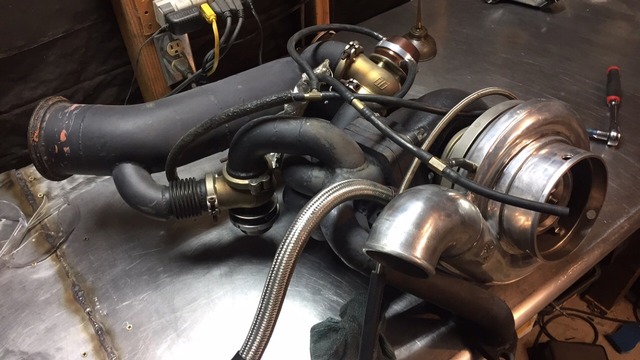
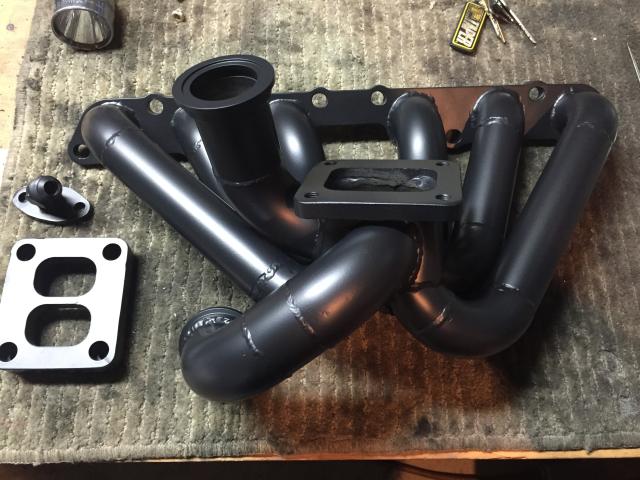
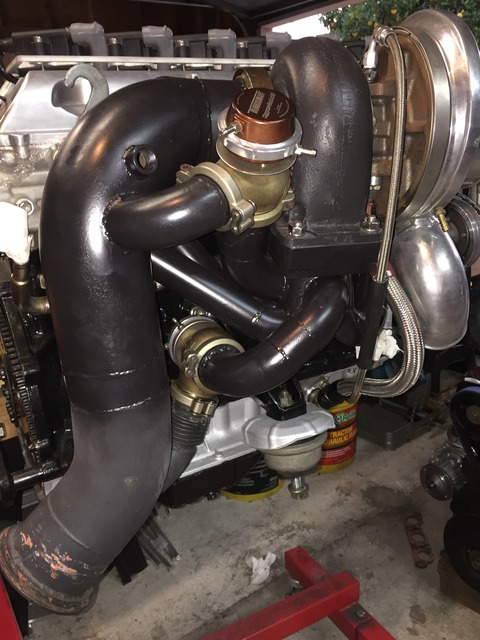
Turbo manifold will get freshened up. Ill be welding and replacing the current 1" T4 spacer to eliminate one sealing surface for the turbo. After welding, ill send it off to get surfaced to insure the sealing surfaced or nice straight.
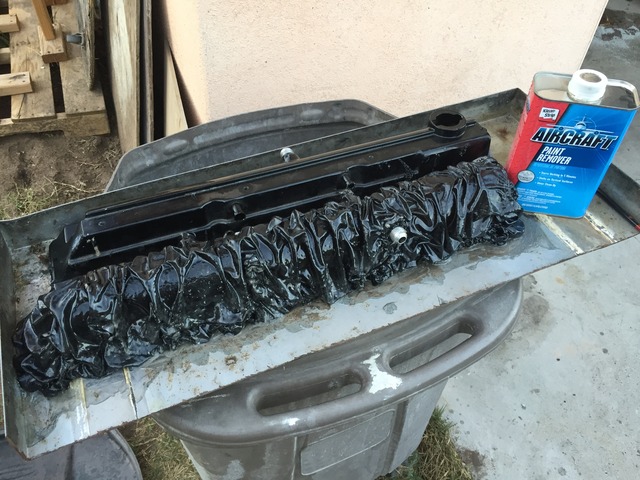
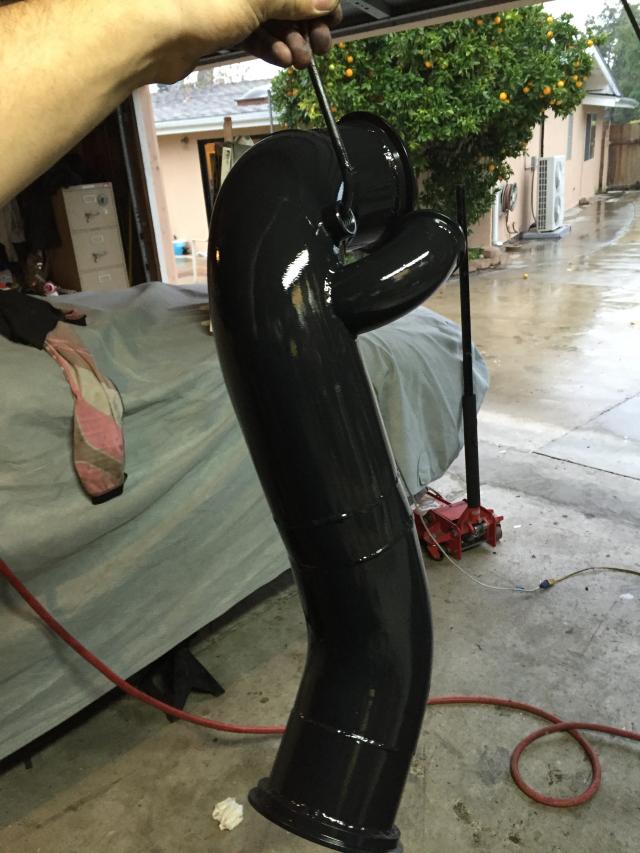
Then I decided to go with a wrinkle black engine this time around. I love the polished looked but the maintenance to keep it nice an clean is more than I care for. I plan to keep the fuel rail, cam gears, pulleys and stainless steel lines nice and shiny to give it some contrast to the wrinkle black. Valve covers, Intake manifold, catch can and and cold side piping will be wrinkle black.


Turbo manifold will get freshened up. Ill be welding and replacing the current 1" T4 spacer to eliminate one sealing surface for the turbo. After welding, ill send it off to get surfaced to insure the sealing surfaced or nice straight.

Then I decided to go with a wrinkle black engine this time around. I love the polished looked but the maintenance to keep it nice an clean is more than I care for. I plan to keep the fuel rail, cam gears, pulleys and stainless steel lines nice and shiny to give it some contrast to the wrinkle black. Valve covers, Intake manifold, catch can and and cold side piping will be wrinkle black.

 11-09-16, 09:22 AM
#1086
For the wrinkle black, I've got the powder and I all I need to do is rough up the polished parts I want to do.. Saves me tons on coating. It only costs me $60 in material's to run a batch of coat versus hundred if I were to send it off to a shop.
Here is my setup and jobs I did. I've done a few dozen sets of wheels and alot of random stuff for friends. I even made my own oven


Last edited by 8052JZ; 11-09-16 at 09:28 AM.
11-09-16, 09:26 AM
#1087
I recently started to play with ceramic coatings with a HVLP gun. Still working on my process. Sometimes the coating holds up great, sometimes not so much. You can see in my previous post where the manifold below didn't hold up to well with the coating but the exhaust housing for the turbo did. I think it might having something to do with temp and cure time even though it was all done at the same time.


Last edited by 8052JZ; 11-09-16 at 09:34 AM.

 11-29-16, 08:45 AM
#1092
Driver School Candidate

Join Date: Nov 2013
Location: CA
Posts: 43
Likes: 0
Received 0 Likes
on
0 Posts
lol! me and 8052JZ say the same thing we been trying to hitup the local meet that happens once a month... for about 9 months now, always busy or something or another.. oh well
12-08-16, 12:53 PM
#1094
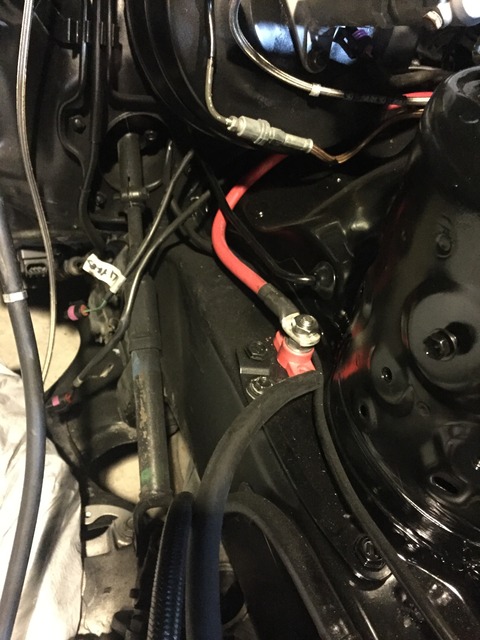
Slowly been working on the car but havnt done much. I redid the battery cables and added 1g wire from the alternator to fuse box to complimant a 200amp alternator. Also ran a cable to the trunk to relocate the battery.
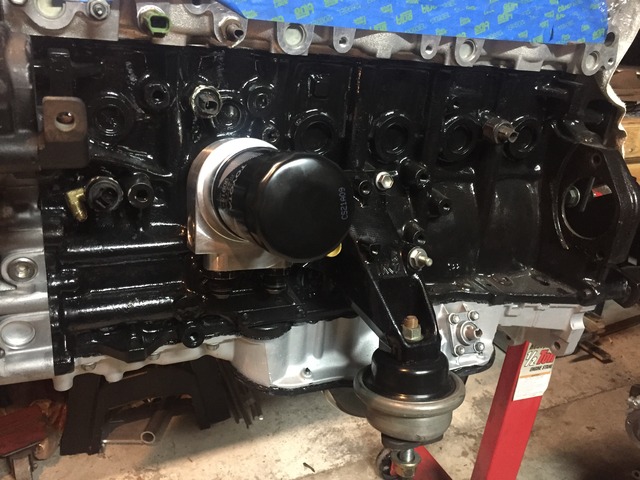
Also got the manifold flange resurfaced after welding on the 1" spacer. Then bolted that back onto the motor with the turbo. Also installed the cam/crank sensors. The Cam sensor needs a little bit of adjusting to get it perfectly aligned with the nub on the S3 cam. Might weld some tabs to bolt the sensor down or just fpig seal it.
Made an extention for the alternator wire that connects to the fusebox. Then Fuse box to positive battery pole that also feeds the starter.
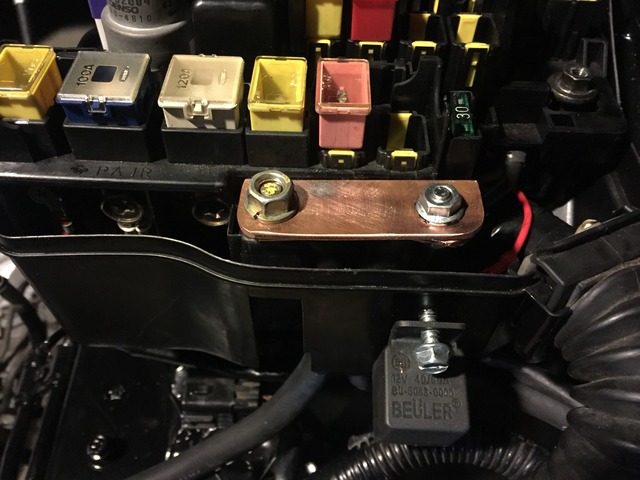
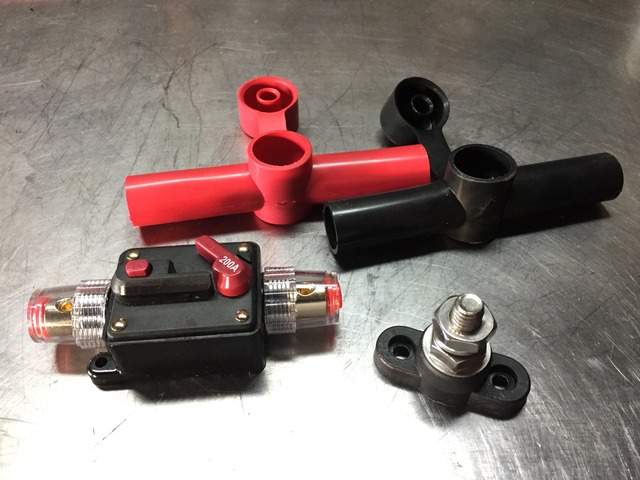
Parts I used. The 200 amp breaker will go after the kill switch.
And the GTE cam sensor on a GE head.
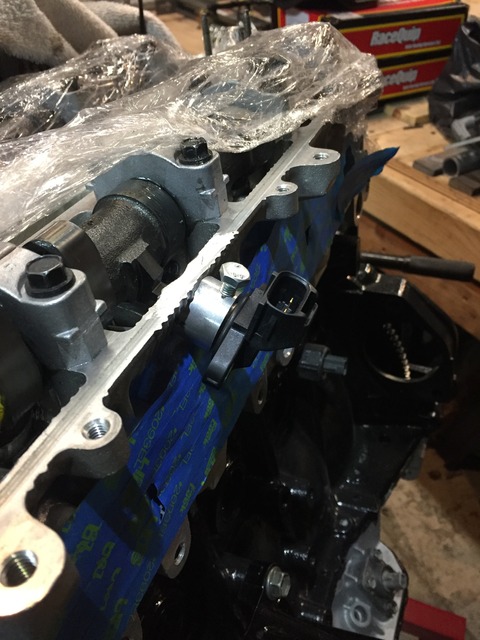
Also got the manifold flange resurfaced after welding on the 1" spacer. Then bolted that back onto the motor with the turbo. Also installed the cam/crank sensors. The Cam sensor needs a little bit of adjusting to get it perfectly aligned with the nub on the S3 cam. Might weld some tabs to bolt the sensor down or just fpig seal it.
Made an extention for the alternator wire that connects to the fusebox. Then Fuse box to positive battery pole that also feeds the starter.


Parts I used. The 200 amp breaker will go after the kill switch.


And the GTE cam sensor on a GE head.

Last edited by 8052JZ; 12-08-16 at 12:57 PM.