DoomLight's 1992 SC300 1JZ Swap & Build Thread


 05-23-12, 07:52 AM
#47
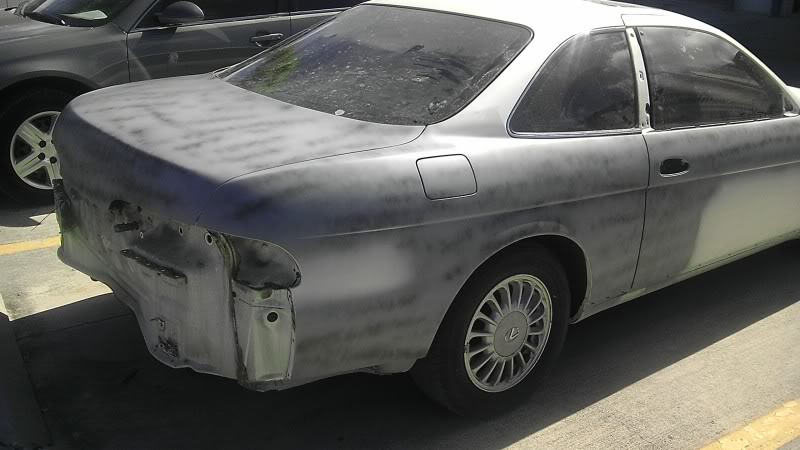
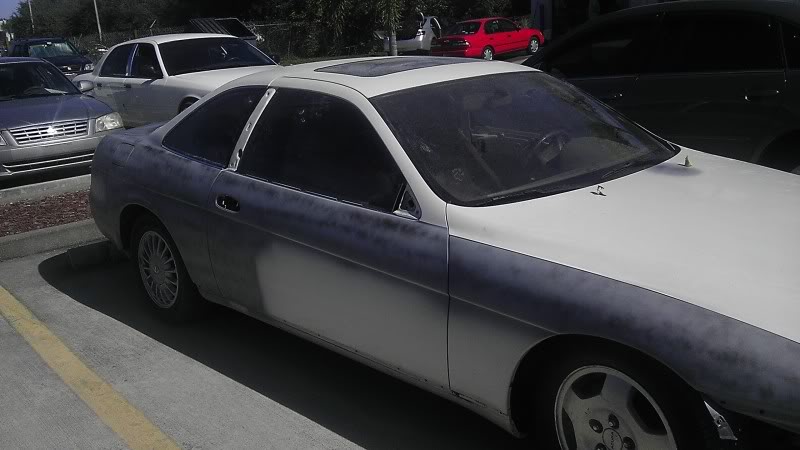
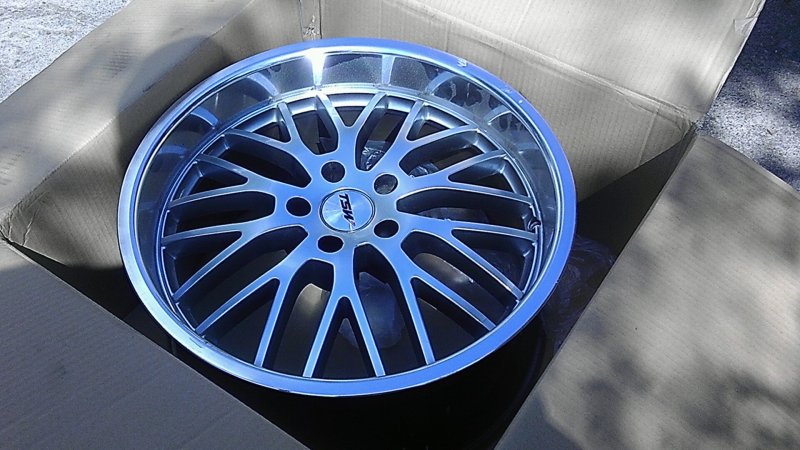
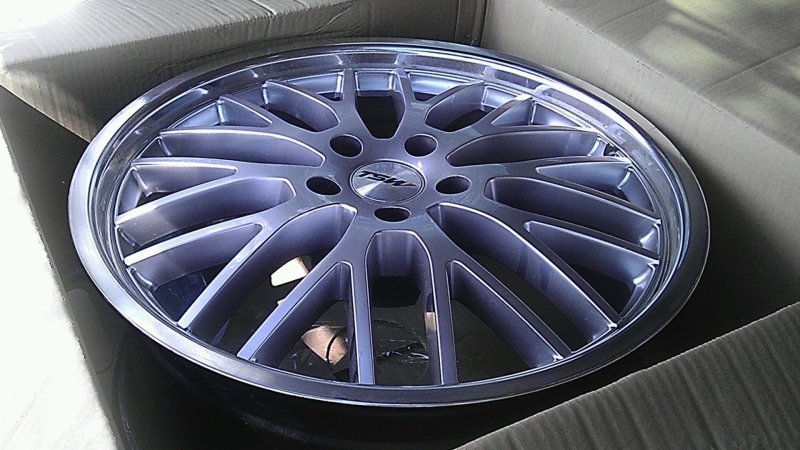
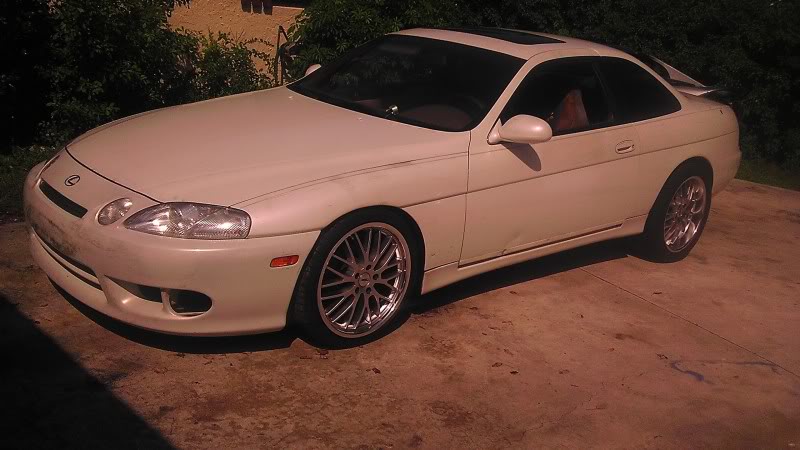
i been looking for wheels like crazy. i seen a few guys on here with the TSW Snetterton wheels and i just had to have them. TSW was on back order for new ones so i began trolling craigslist till i found a set. 650 for a set!
these came in +20 offset. so they were pretty flush. 5x114.3 19x8 front and 19x9.5 rear staggard.
did some tire research and got some 235/35/19 for the front. the rears were tricky... i started wth 285/35/19 too wide! lol my car SAT on the tires. after i dropped it. no good at all.
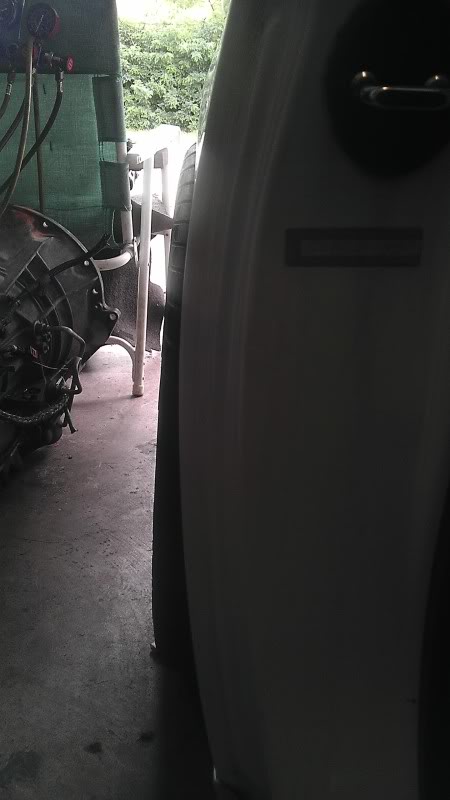
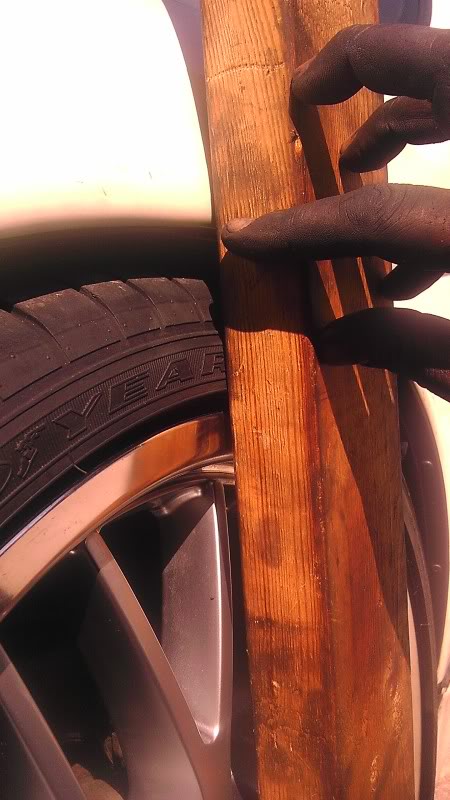
this is a shot from the door jamb. u can see how much it stuck out.
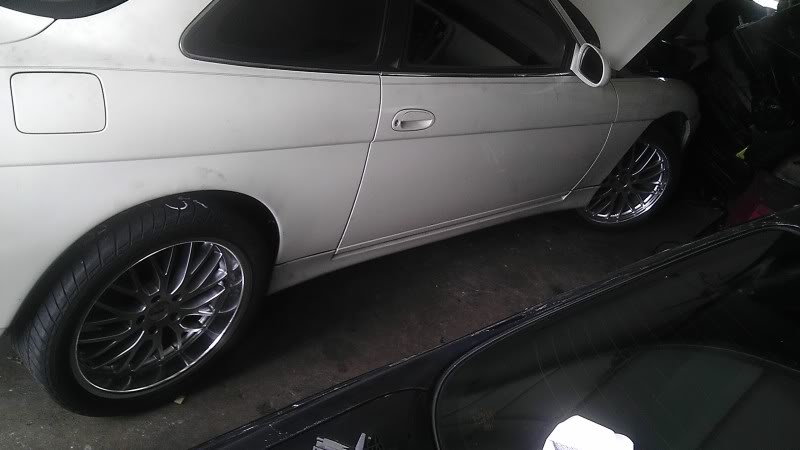
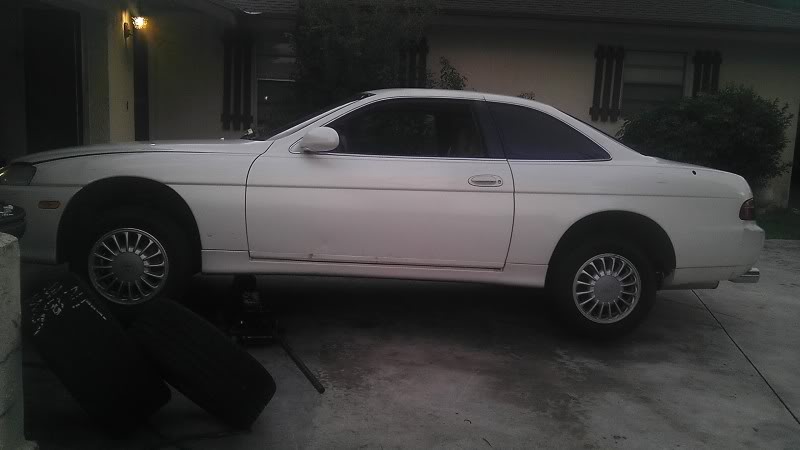
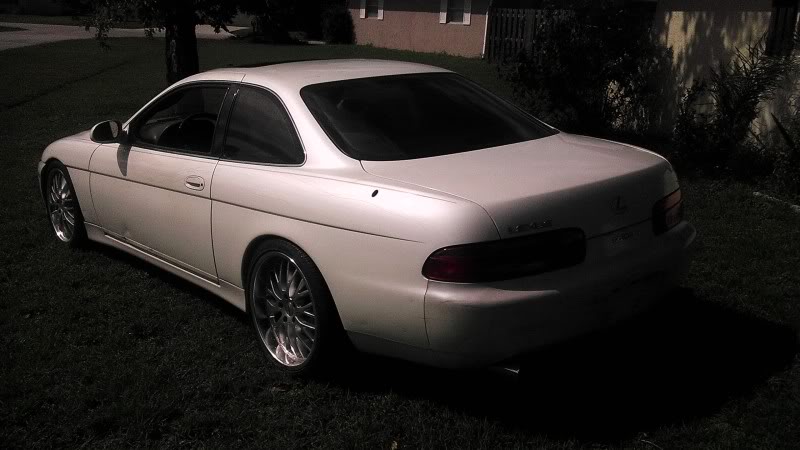
here is a shot of me swappin the wheels. from 15inch pizza cutters to 19inch steamrollers

these came in +20 offset. so they were pretty flush. 5x114.3 19x8 front and 19x9.5 rear staggard.
did some tire research and got some 235/35/19 for the front. the rears were tricky... i started wth 285/35/19 too wide! lol my car SAT on the tires. after i dropped it. no good at all.
this is a shot from the door jamb. u can see how much it stuck out.
here is a shot of me swappin the wheels. from 15inch pizza cutters to 19inch steamrollers
Last edited by DoomLight; 05-23-12 at 08:26 AM.
05-23-12, 07:58 AM
#48
ok i slacked off enough.
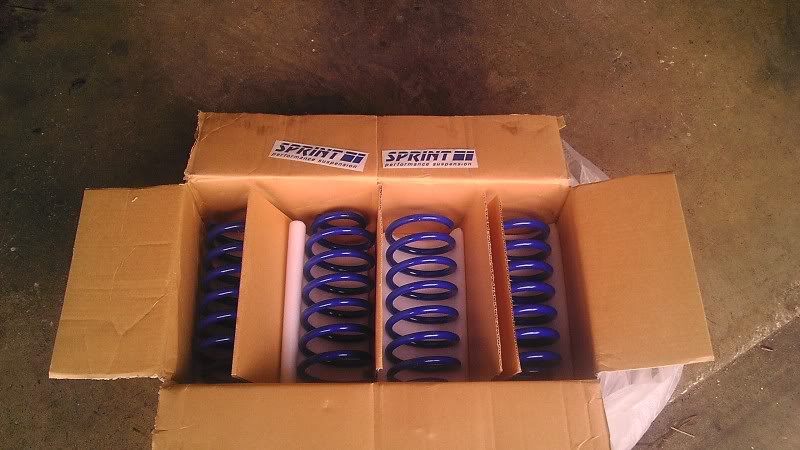
here is some pics of me installing lowering springs. this will work for now till i get coil overs 125 Versus 700. its a simple conclusion.
fresh out the box.
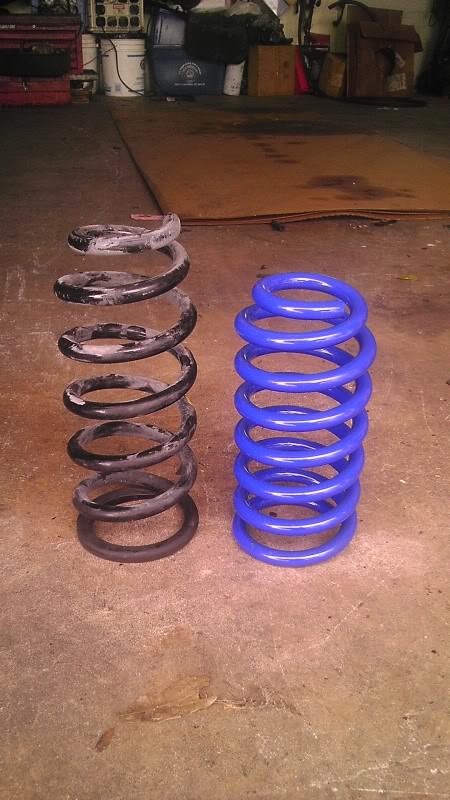
spring height comparison.
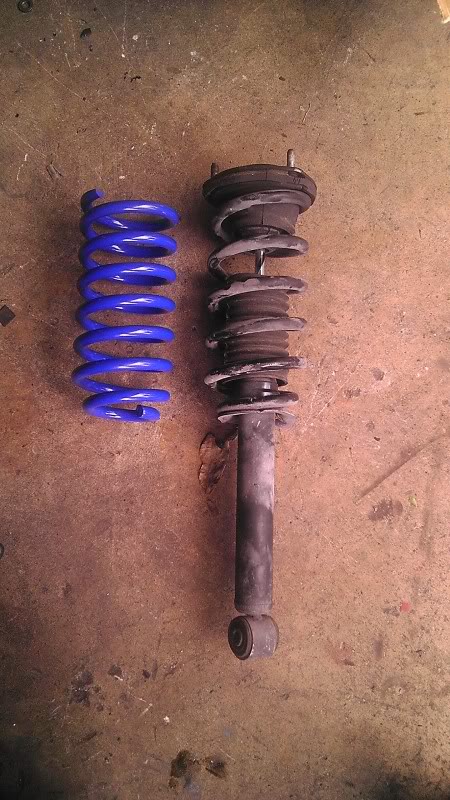
then installed on one strut.
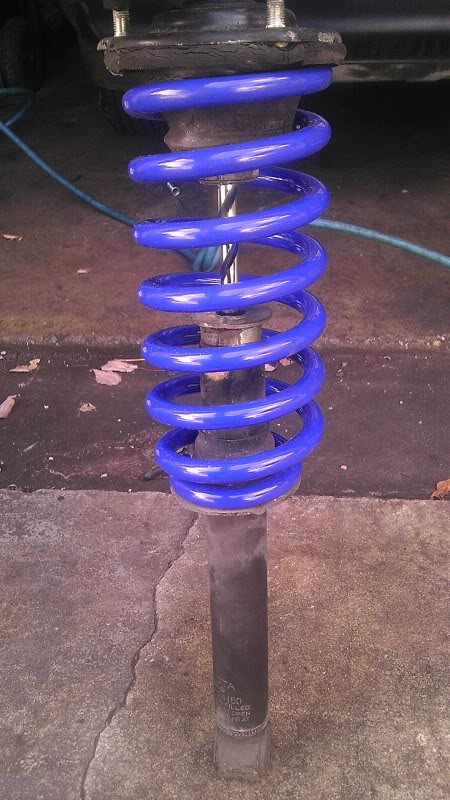
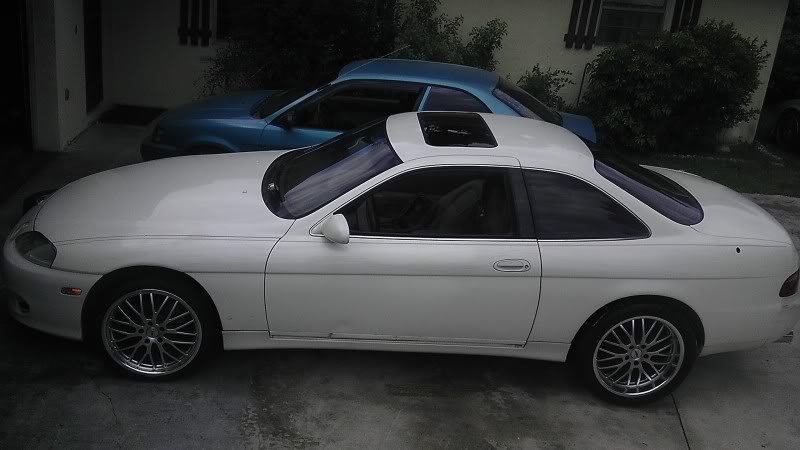
car was almost slammed lol
i used a block of wood to gauge the distance. looked like more than 2 inches.
the backs were crazy low. i used Supra mk4 lowering springs. by the way.
sorry for the lousy contrast. cell phone cameras go bonkers
here is some pics of me installing lowering springs. this will work for now till i get coil overs 125 Versus 700. its a simple conclusion.
fresh out the box.
spring height comparison.
then installed on one strut.
car was almost slammed lol
i used a block of wood to gauge the distance. looked like more than 2 inches.
the backs were crazy low. i used Supra mk4 lowering springs. by the way.
sorry for the lousy contrast. cell phone cameras go bonkers
05-23-12, 08:39 AM
#50
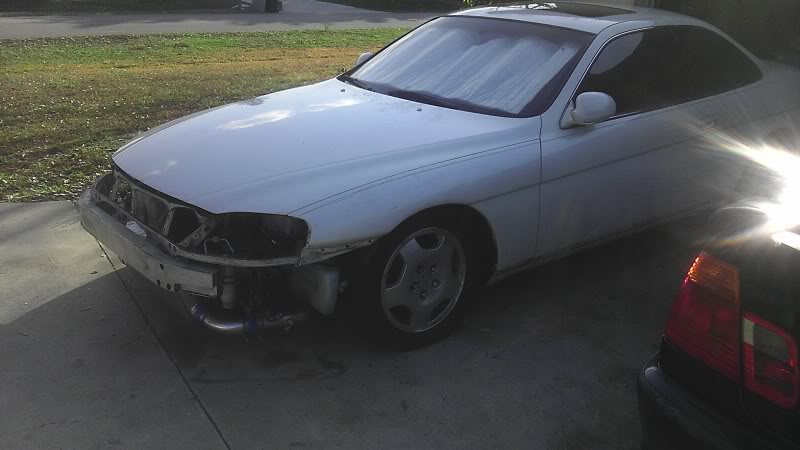
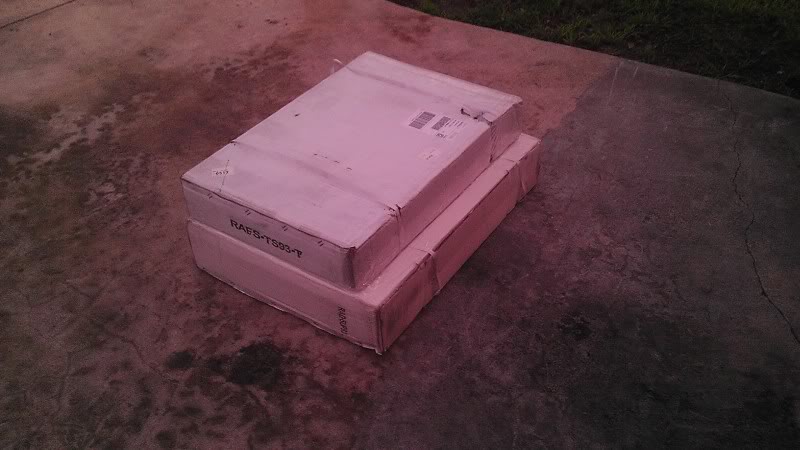
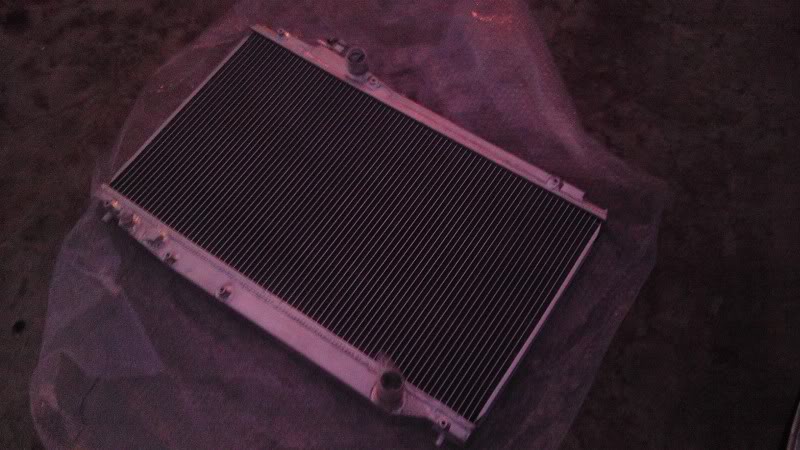
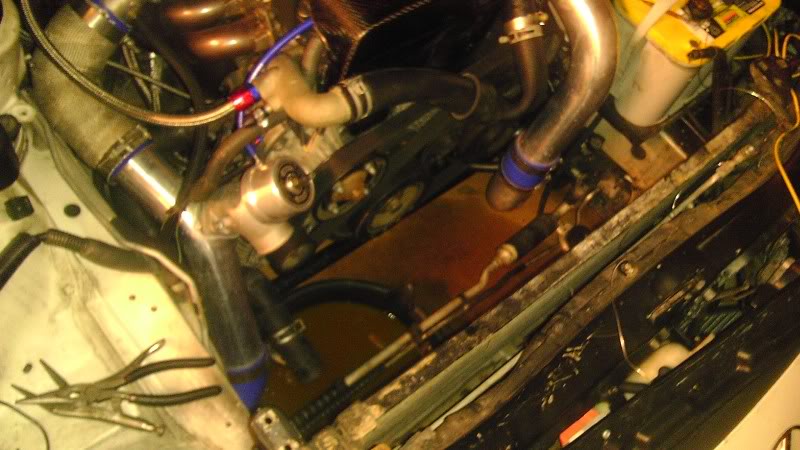
moving along. i realized my radiator was crap! it was old with 170k on it. so naturally i ordered up an aftermarket all aluminum radiator. i've read that for some reason these 1jz and 2jz GTE motors generate much more heat than the GE/Non turbo iterations. so i figured. a larger radiator was in order.
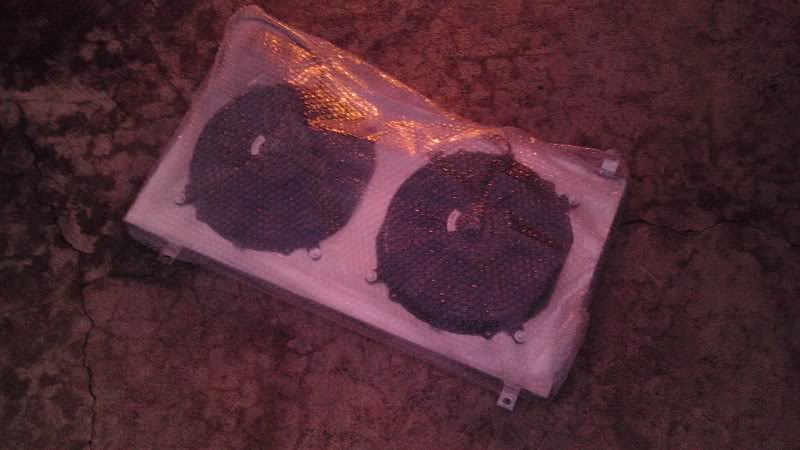
i ordered one with electric fans and shroud combo.
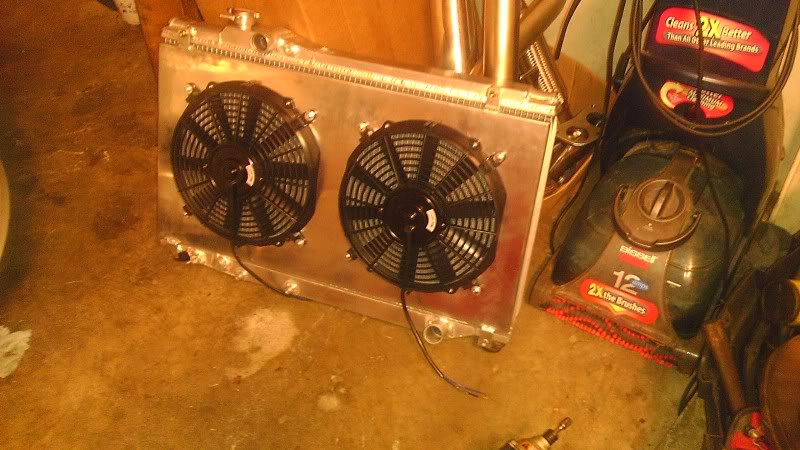
all bolted together.
so next i proceeded to remove the useless old one.
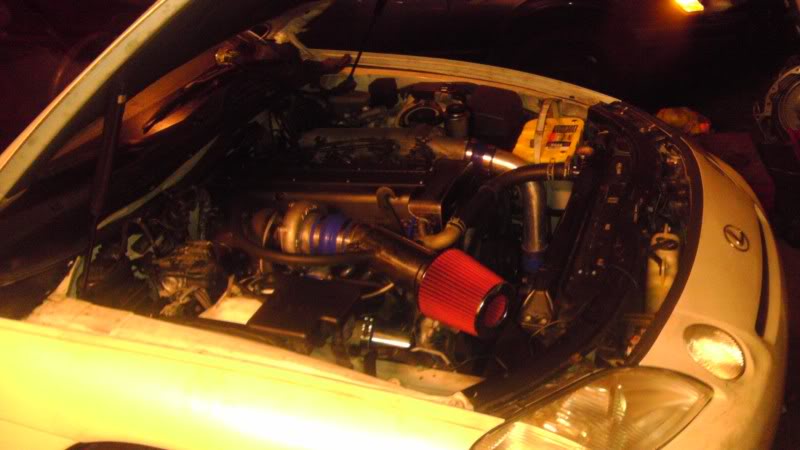
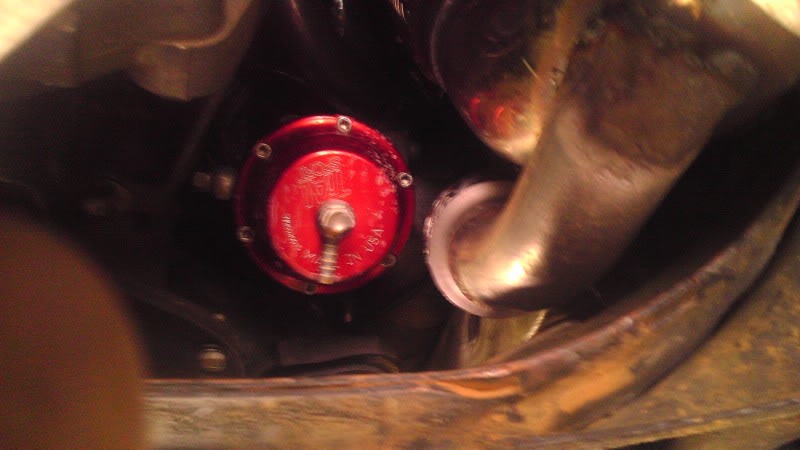
and its out. by the way u can see the big 50mm Greddy blow off valve I put on.
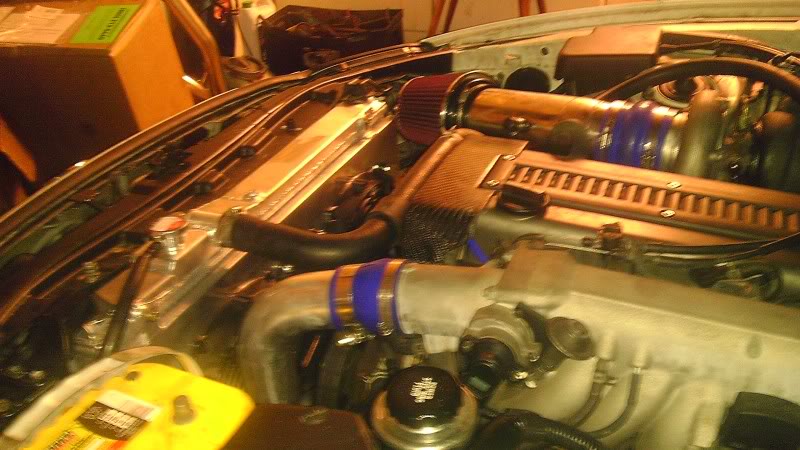
here is a few install pics.
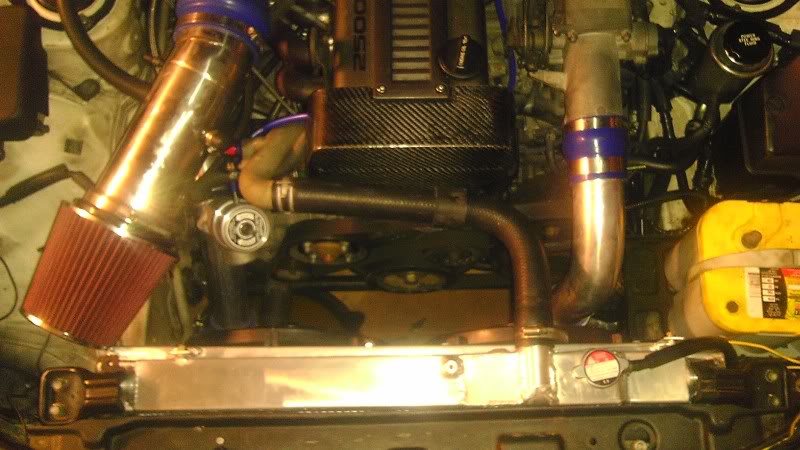
i have the fans hooked up to a relay and a honda fan switch that kicks the fans on at 170 degree's automatically. soon an AEM will control them. but for now this will have to do.
i ordered one with electric fans and shroud combo.
all bolted together.
so next i proceeded to remove the useless old one.
and its out. by the way u can see the big 50mm Greddy blow off valve I put on.
here is a few install pics.
i have the fans hooked up to a relay and a honda fan switch that kicks the fans on at 170 degree's automatically. soon an AEM will control them. but for now this will have to do.
05-23-12, 08:52 AM
#51
after a month. i located a SC400 diff for 60 bux. i put that in. because it matched the gears in the r154. the stock automatic diff was ridiculously short. it made the engine rev like a 1.6 liter 4 cylinder.
so here are a few diff change pics.
pulled up onto lift. and racked it up.
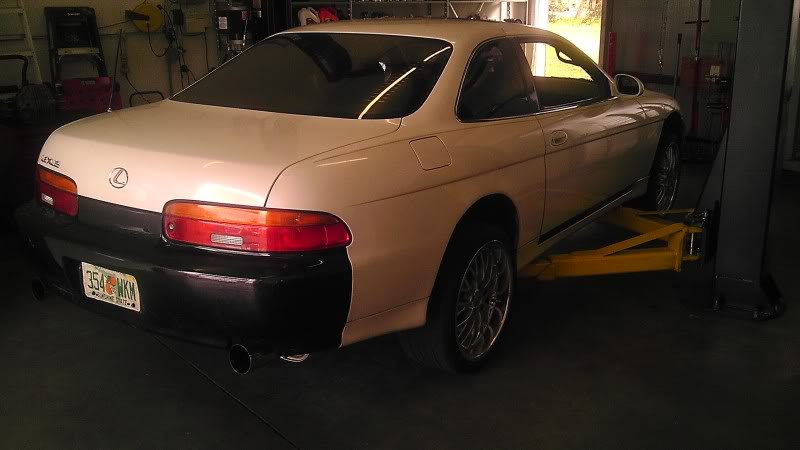
up in the air. time to snap a few underbody pics.

accessible wastegate access! not as easy as you think tho.
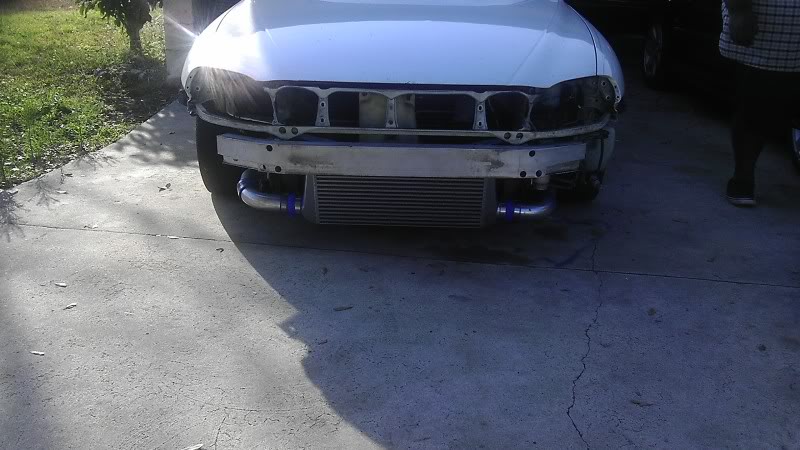
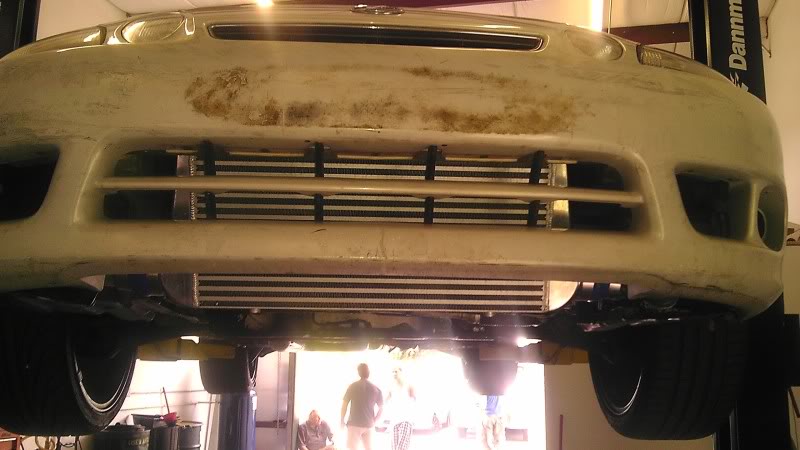
low mounted intercooler. i didnt have much room to work with. its tilted forward. and i am working making a skid plate to protect it.
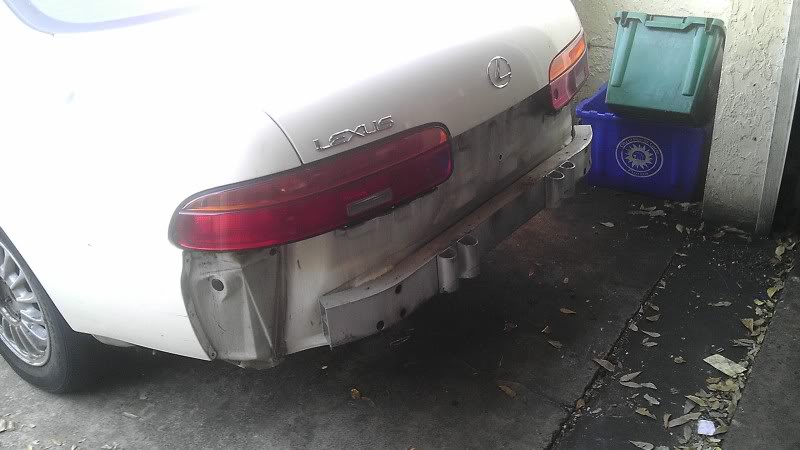
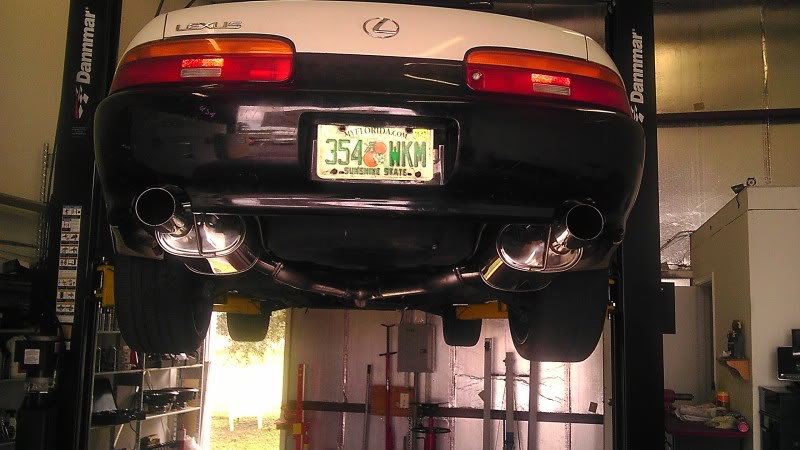
unhooked mufflers and piping.
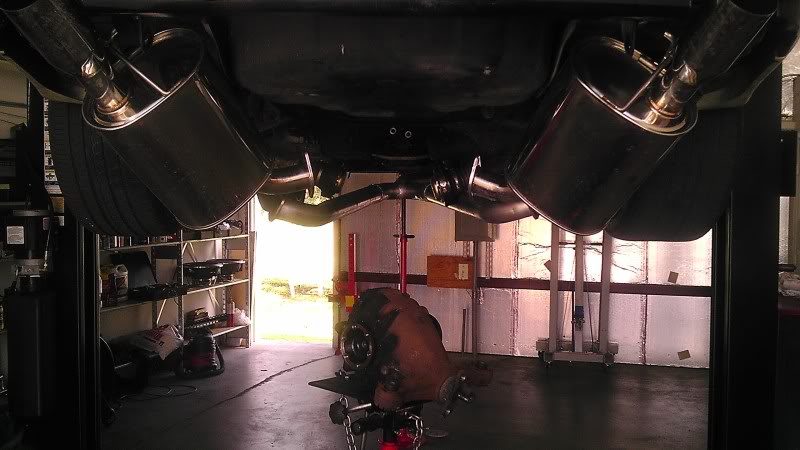

got the sucker out!
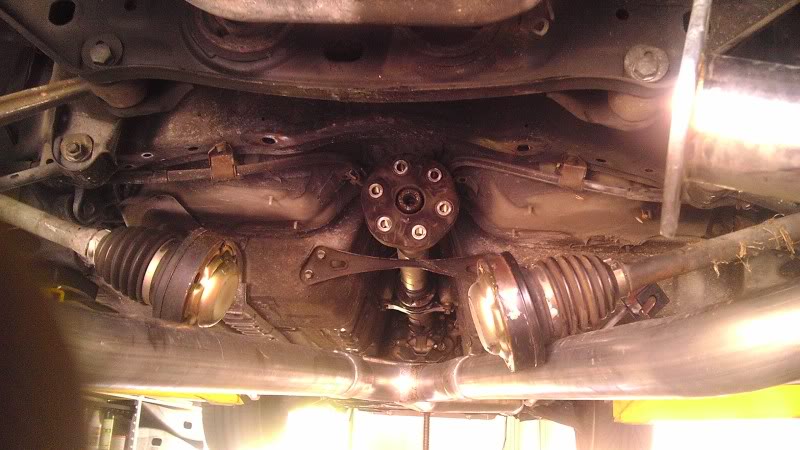
before i put it in. (no pics taken of this) i had to swap out the flange for the driveshaft. apparently there was a change. so if u do this. you need an odd ball socket. 35mm to be precise. get that.
here is a pic of the Diff before i put it in.
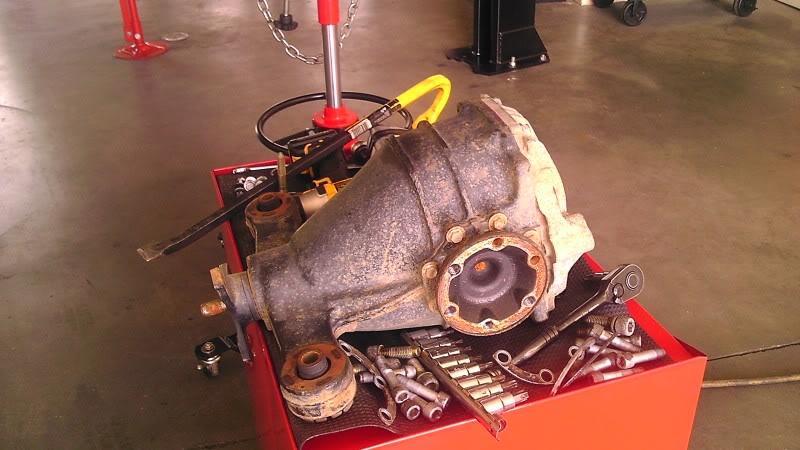
mission complete. no pics of it completed. its just a diff lol
so here are a few diff change pics.
pulled up onto lift. and racked it up.
up in the air. time to snap a few underbody pics.
accessible wastegate access! not as easy as you think tho.
low mounted intercooler. i didnt have much room to work with. its tilted forward. and i am working making a skid plate to protect it.
unhooked mufflers and piping.
got the sucker out!
before i put it in. (no pics taken of this) i had to swap out the flange for the driveshaft. apparently there was a change. so if u do this. you need an odd ball socket. 35mm to be precise. get that.
here is a pic of the Diff before i put it in.
mission complete. no pics of it completed. its just a diff lol
 05-23-12, 09:16 PM
#54
i got it from ebay, but dont tell anyone lol i might get hated on. lol actually its a good radiator. no problems with it so far. it could fit a little better on the bottom mounting points. but other than that. its works and the extra coolant capacity is welcomed.