2007 Lexus GS 350 with 300K Miles and Climbing - Part 1
Daily Slideshow: Club Lexus forum member mmade22 is no stranger to wrenching Lexus vehicles. A mechanic by trade, he shows us what he's done to his 2007 Lexus GS 350 to keep it running beyond.


Acquired with 46,000 miles
Forum Member mmade22 purchased this White Pearl 2007 Lexus GS 350 (above on the right) back in 2010. When he acquired the car, it had 46k on the odometer. Jonathan is a technician by trade who works on complex machinery from Japan so he's had a lot of experience when it comes to wrenching cars. "I drive my car 5,000 miles every 30 day," he told forum members in a thread back in 2010. "I need to do all the work myself to save some money and time."
When he first received the car, he gave it an oil change, tire rotation, and a complete detail inside and out. He also had a clear bra put on and had all the minor door dings taken out.
The Acura on the left was sold in one hour with 215k on the odometer. He did all the work to that car and it served him well. He informed the forum members, "I plan on doing the same to the GS."
Home Garage Advantage
Doing the 46K service in his own garage, Jonathan got started by buying a six pack of oil filters, two cabin filters, updated nav disk, and an F-sport filter.
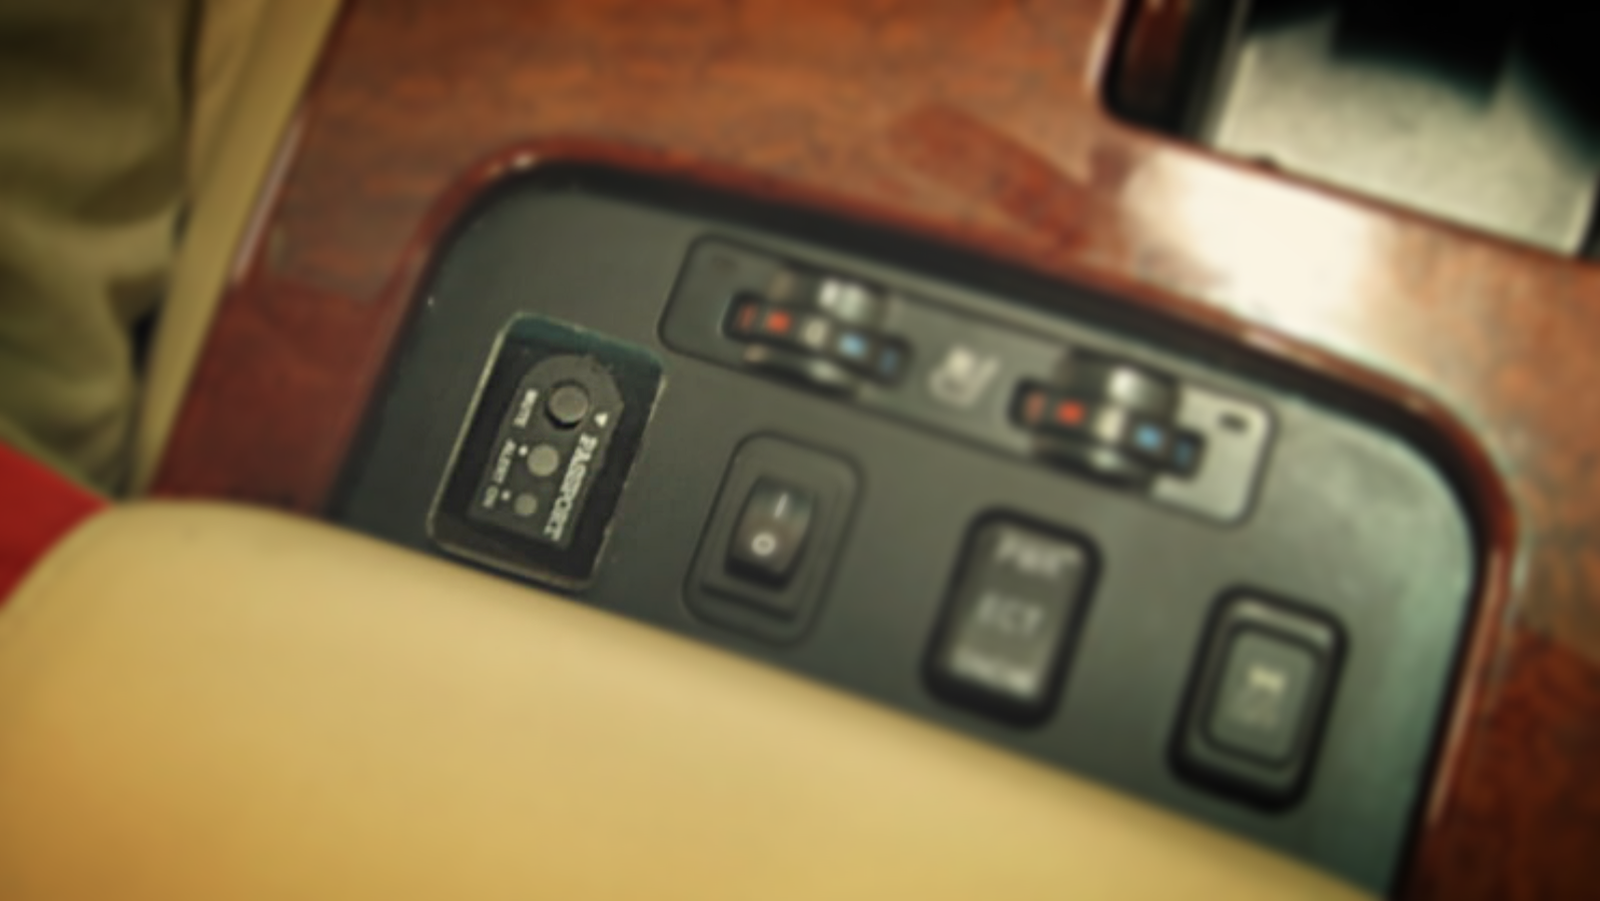
A Little Hard-Wiring
Jonathan soldered in an override switch into the VSS wire so he could plug addresses in on the go. Then he hard-wired his 9500i Passport (radar detector) and made a custom mute plate, mounting it where the change holder is usually found.
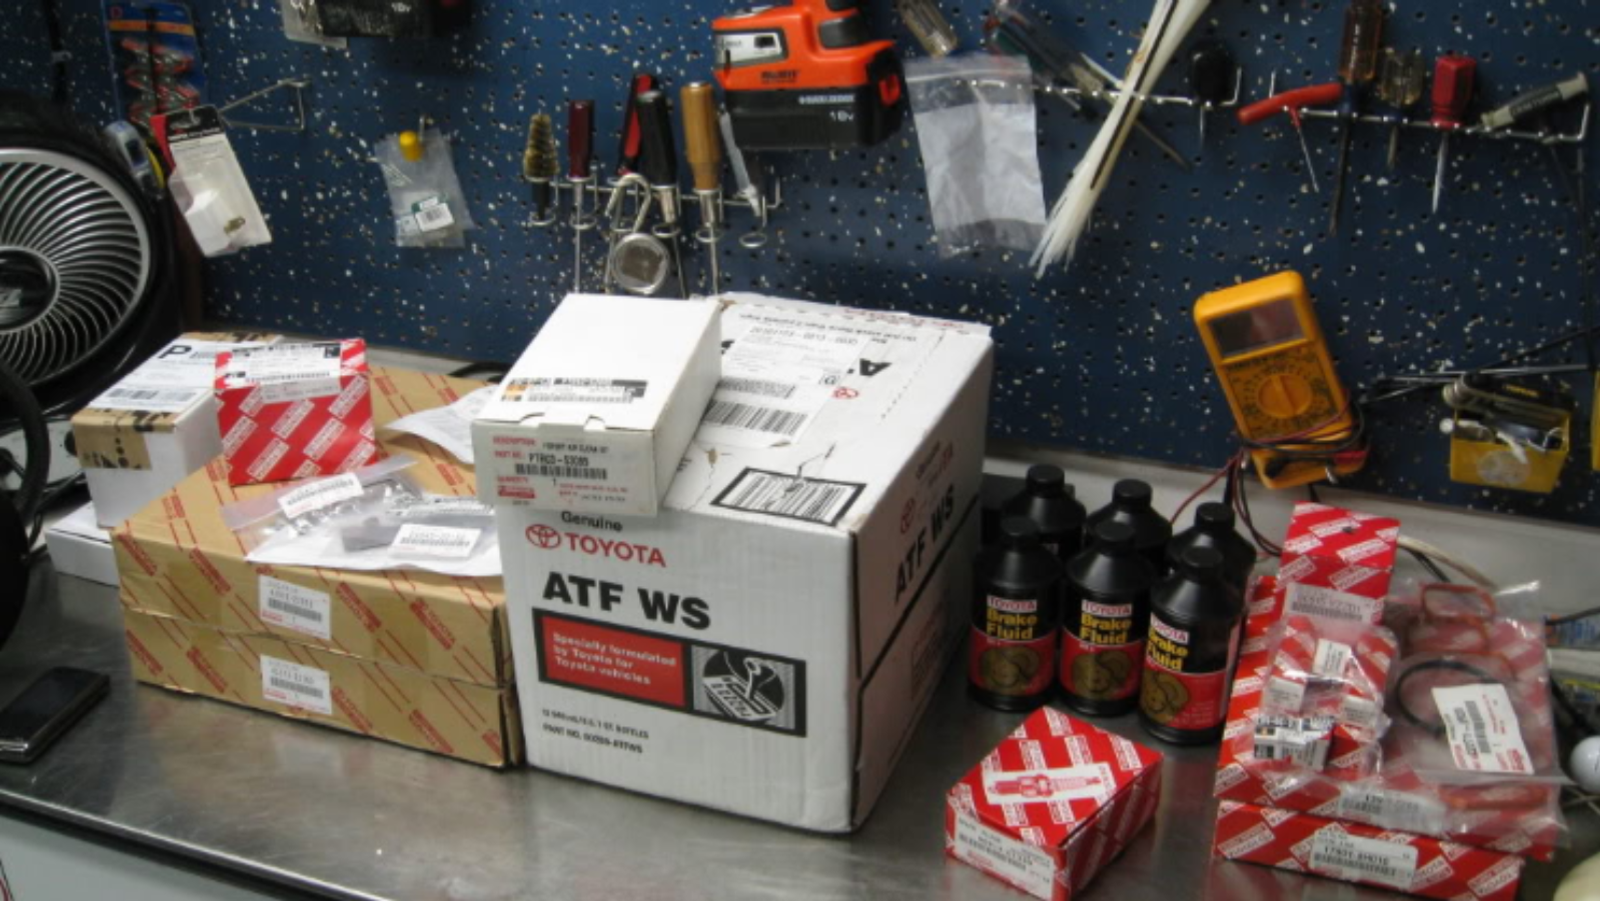
At 60,000 miles
Three months later, with a little over 60,000 miles on the odometer, Jonathan had to do the major service on his GS 350. He received two boxes of parts from his good friends at Sewell Lexus. He also had some filters, spark plugs and gaskets from a previous Lexus RX330 that he had owned.
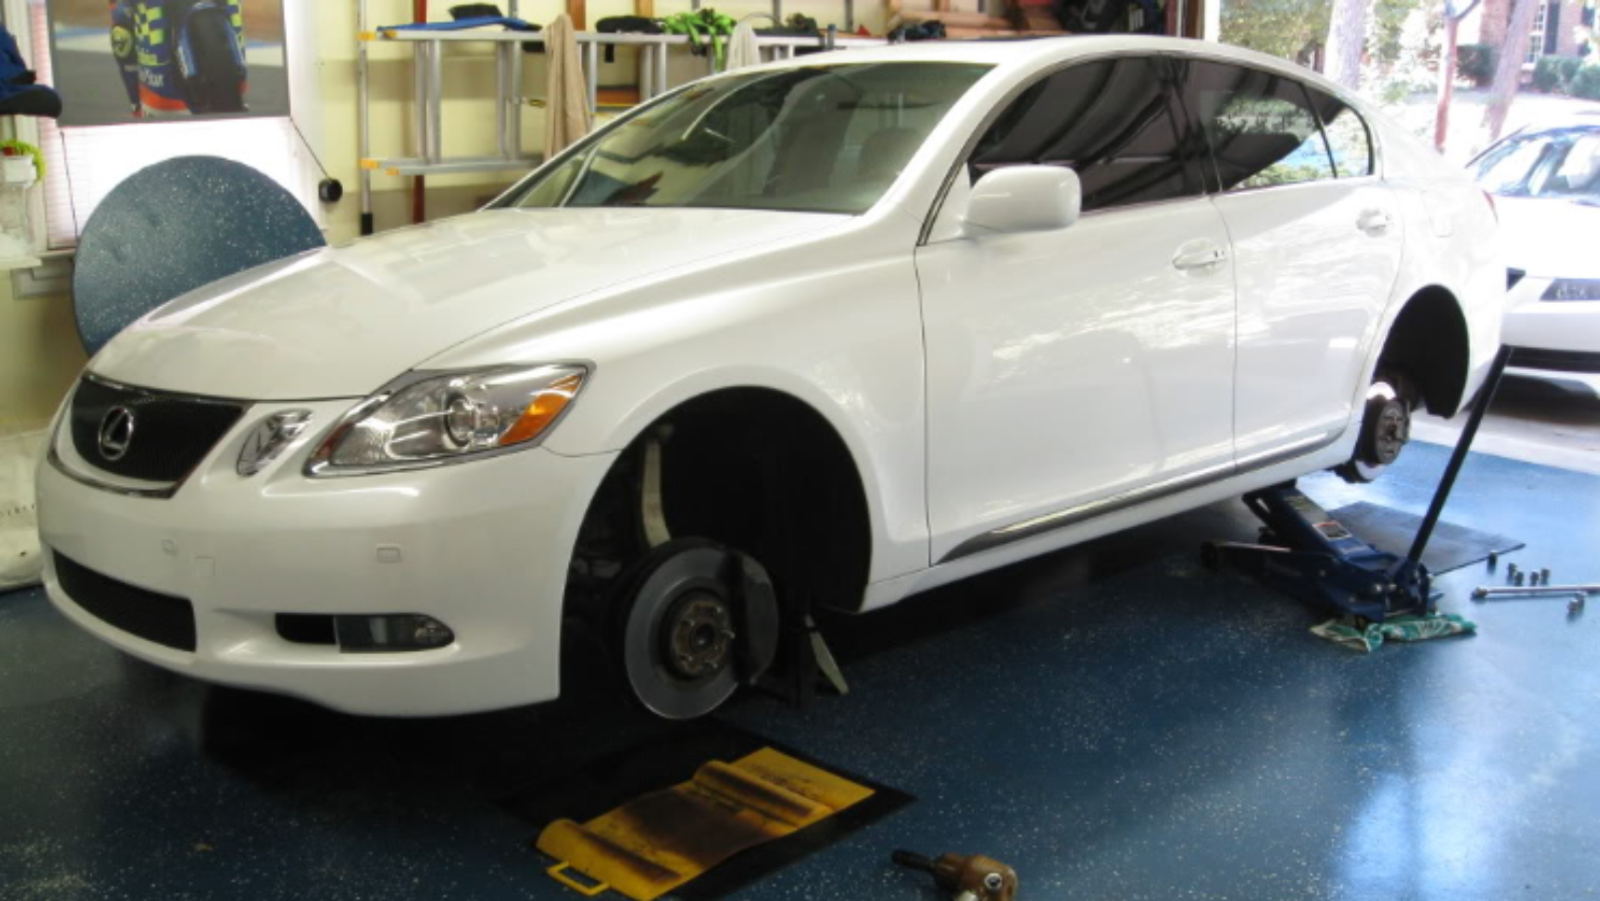
Off the ground
The first order of business was jacking the Lexus up onto some Jack stands.
Removing the Front Brakes
First on his list was changing the front brakes with new "low dust" pads and changing the rotors. "This brake system is easier than my Brembo setup on the TL," reported Jonathan. Pad removal, as you can see by the following images was pretty straightforward.
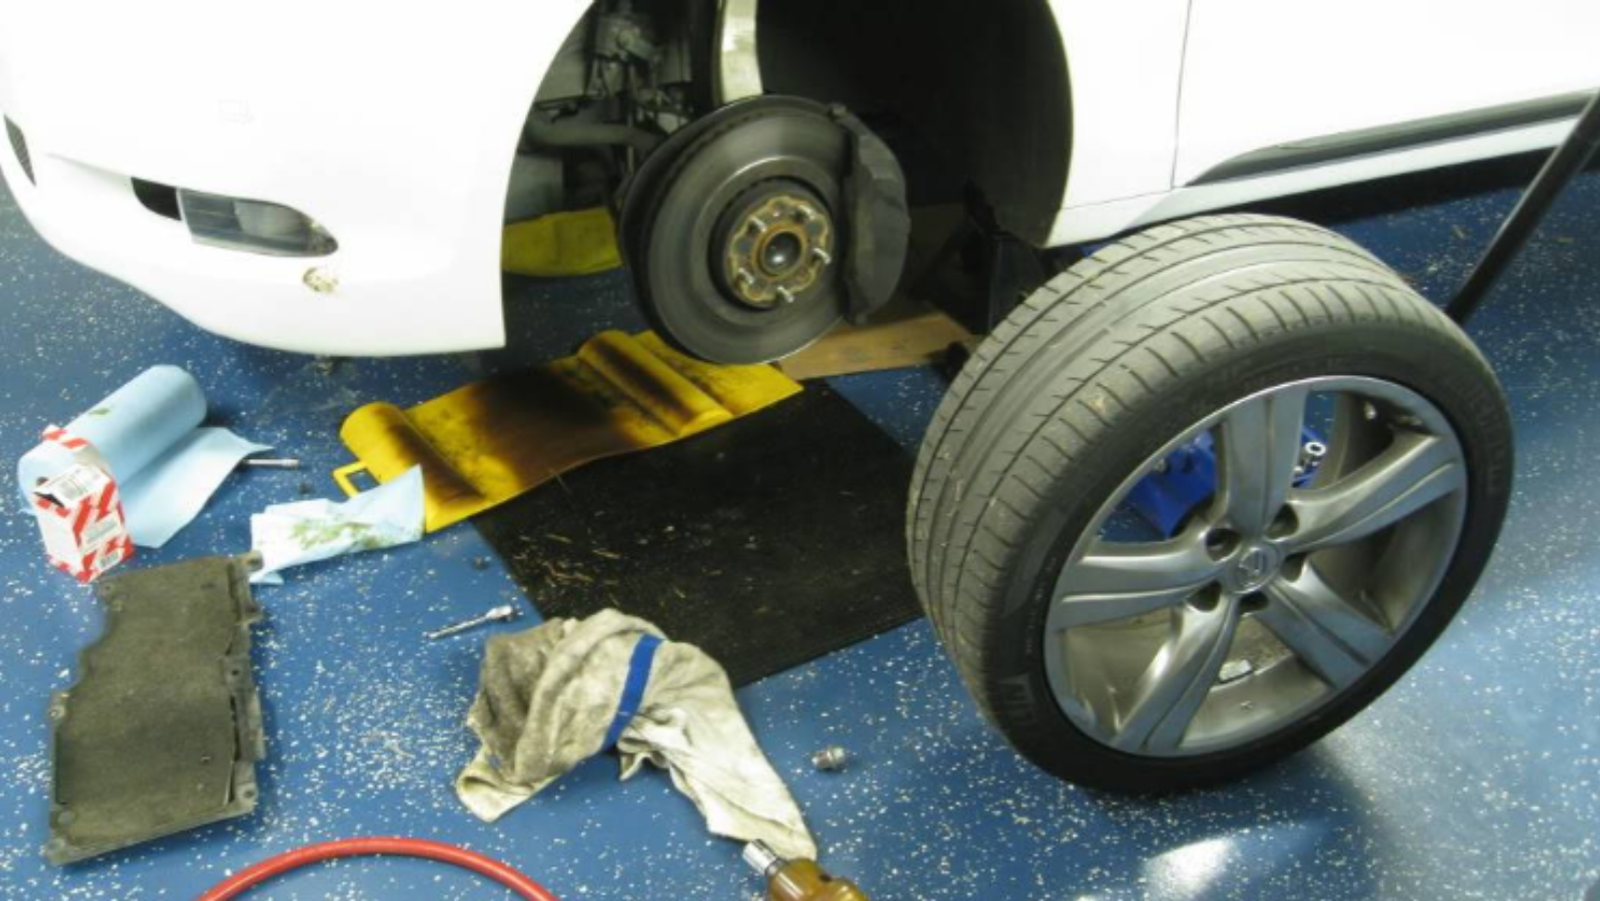
Getting the pads off
Suspending the Caliper
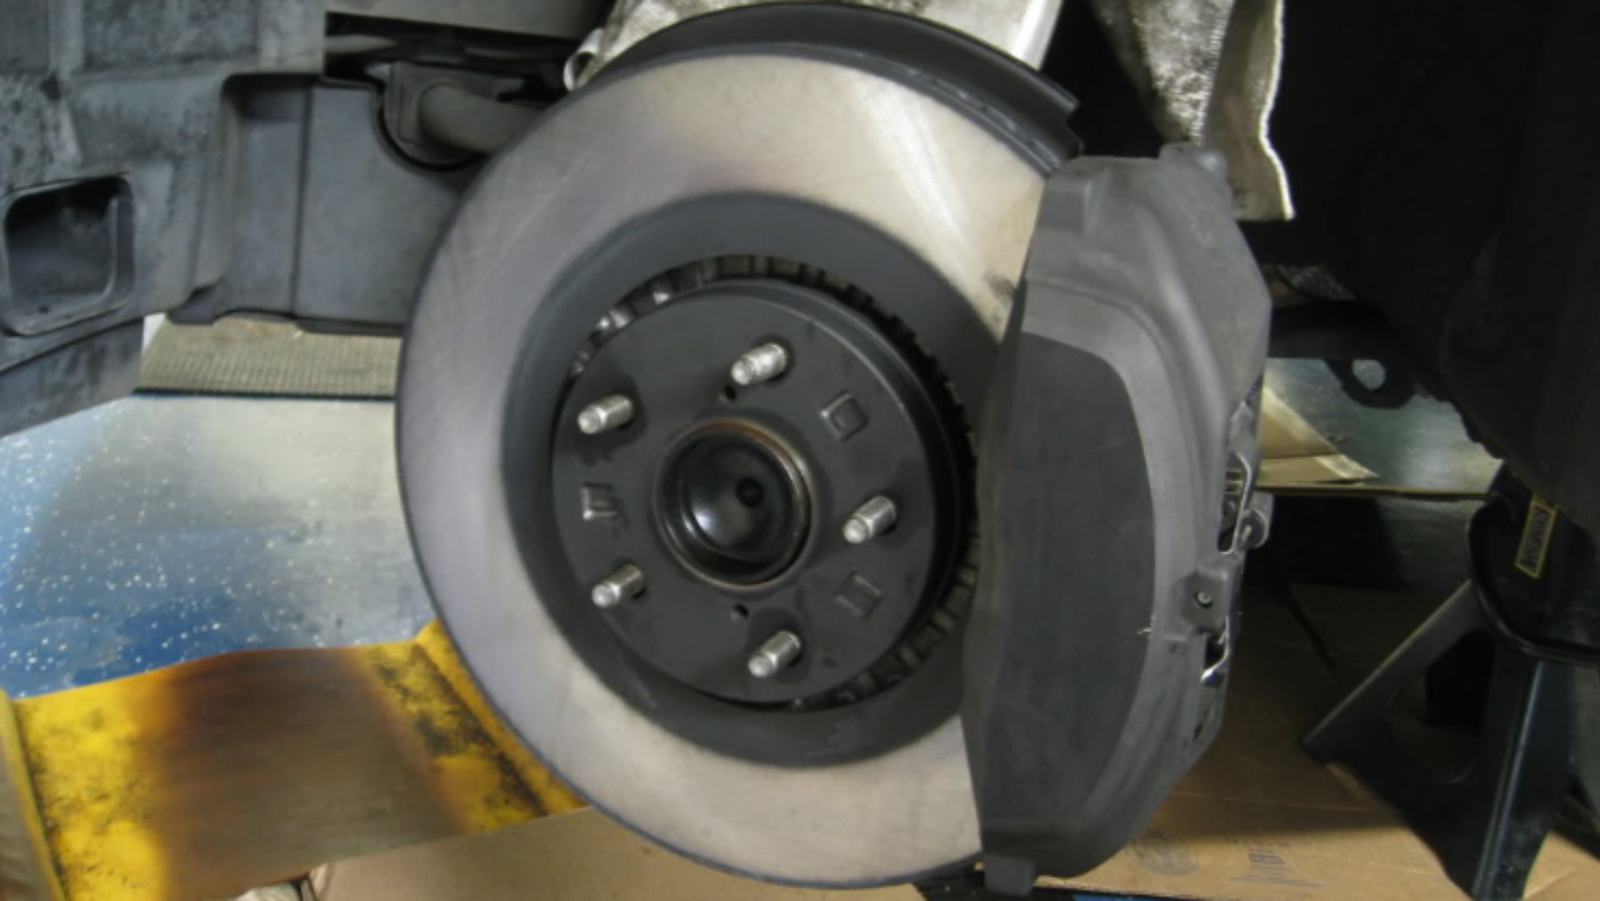
Removing the Rotor
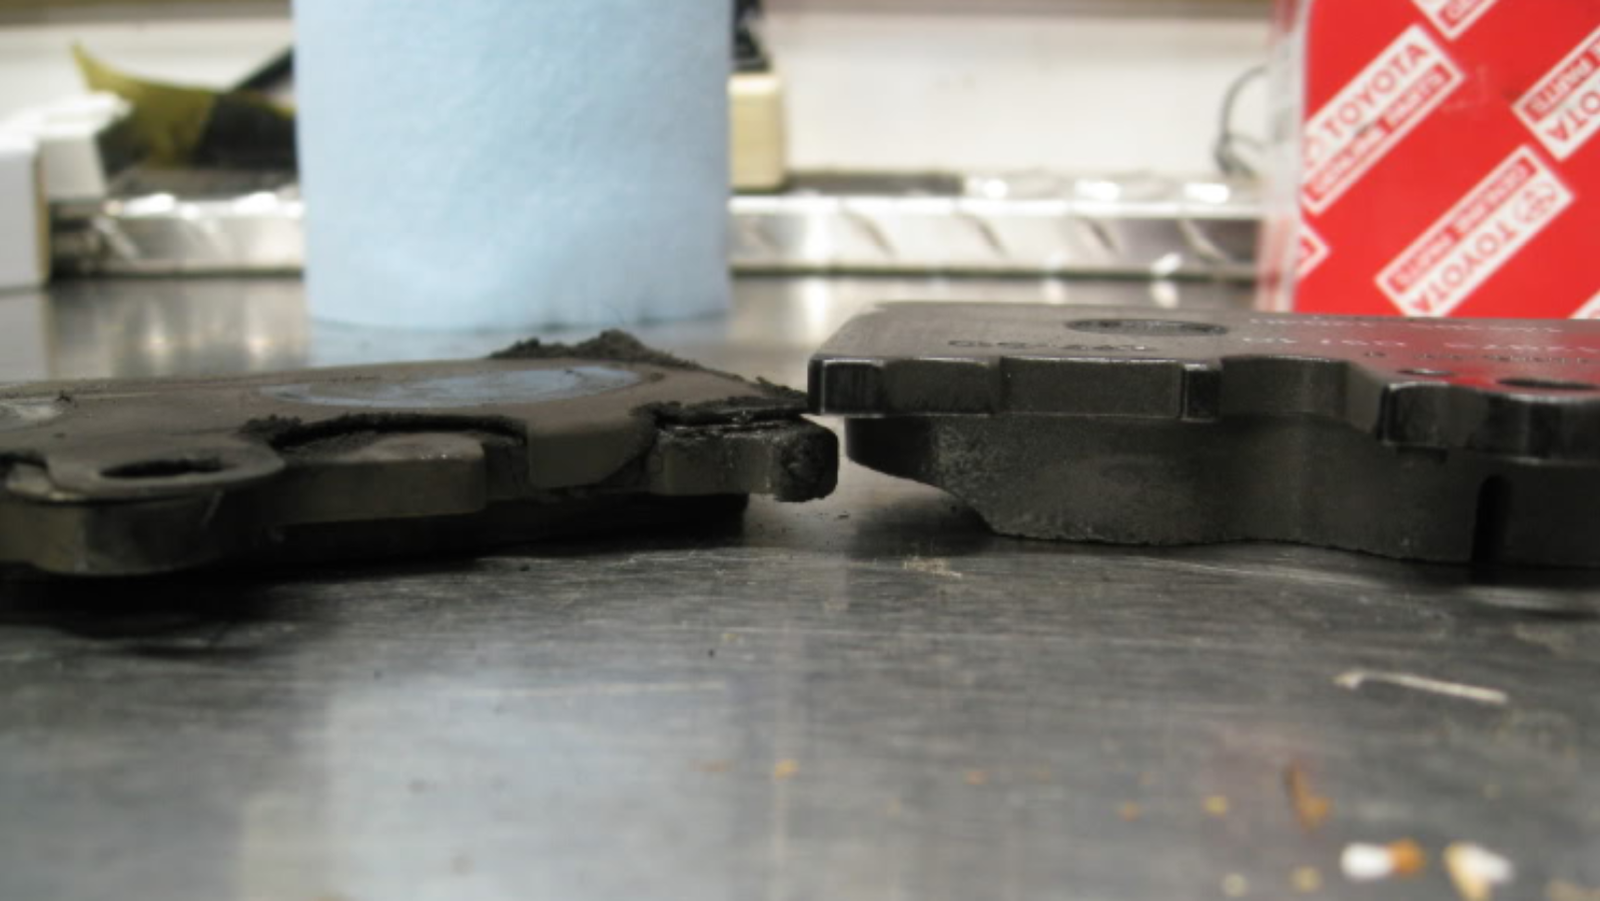
The Old and the New
Over time there's going to be a fair amount of rust and corrosion, as seen above.
Low Dust Pads
"The dusty ass pads had to go," explained Jonathan. "The jury is still out on the low dust ones as I still am seeing a lot of dust."
Cleaning the Brakes
Cleaned all the areas with Prestone Heavy Duty Brake Parts Cleaner and applied grease to the pistons to keep the noise squeal to a minimum.
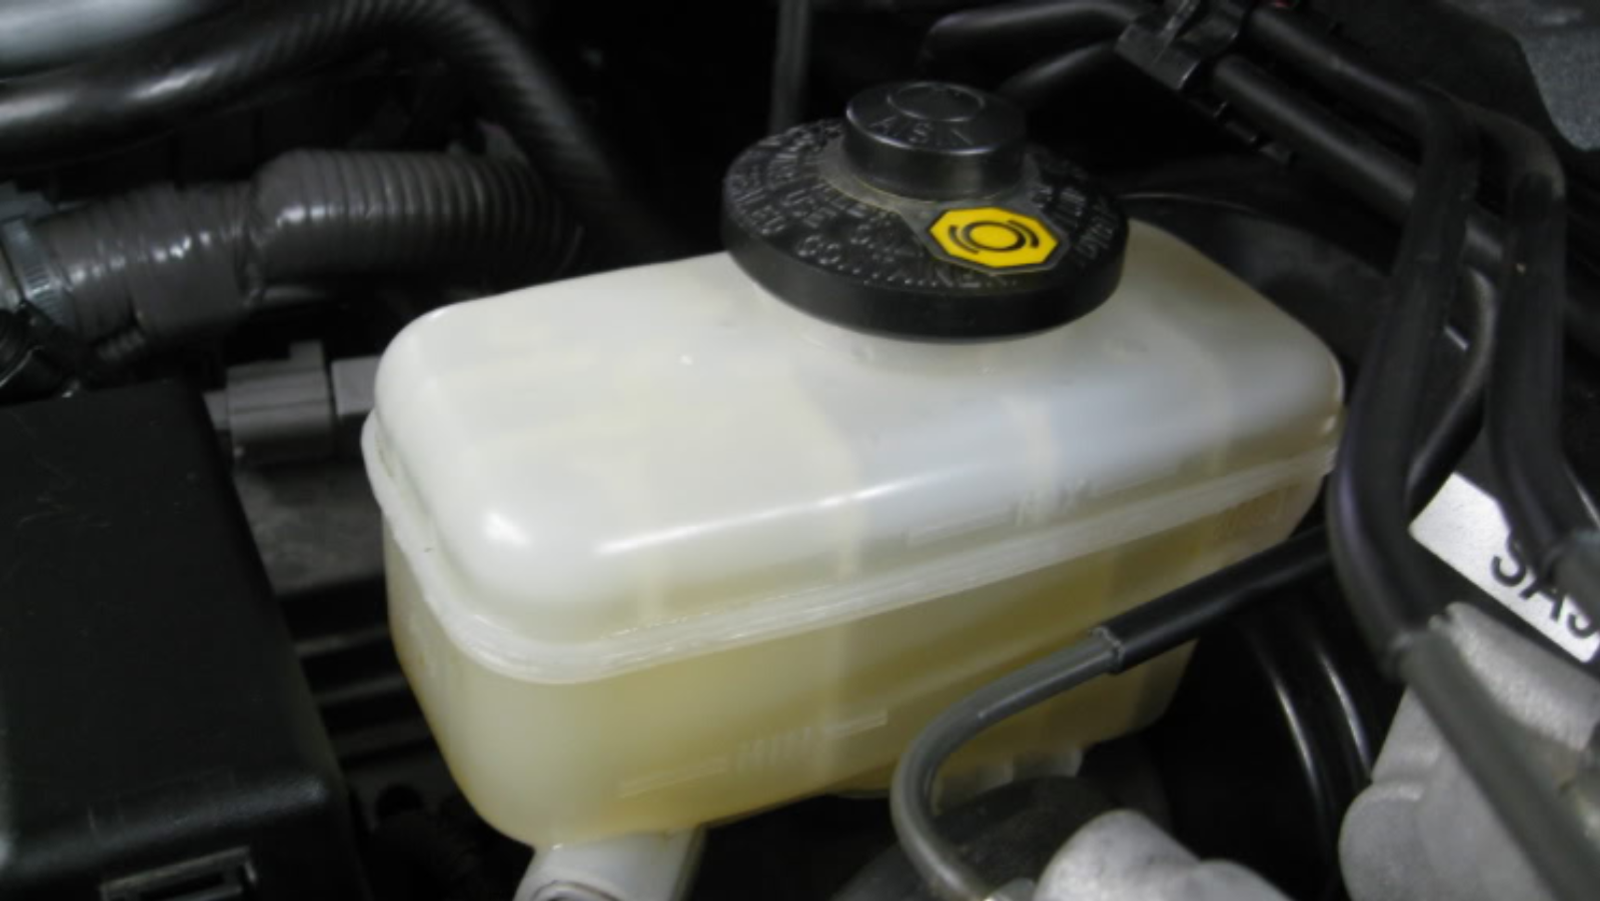
Bleeding the Brakes
Now it's time to bleed the brakes and get all the old fluid out. It always pays to have the right tools for the job. The Motive Products Power Bleeder above cost him $65 shipped and it paid for itself the first time he used it. There was no need to worry about getting air into the lines and no need to have anyone pump the brakes. "It's easy as Parcheesi," reported Jonathan.
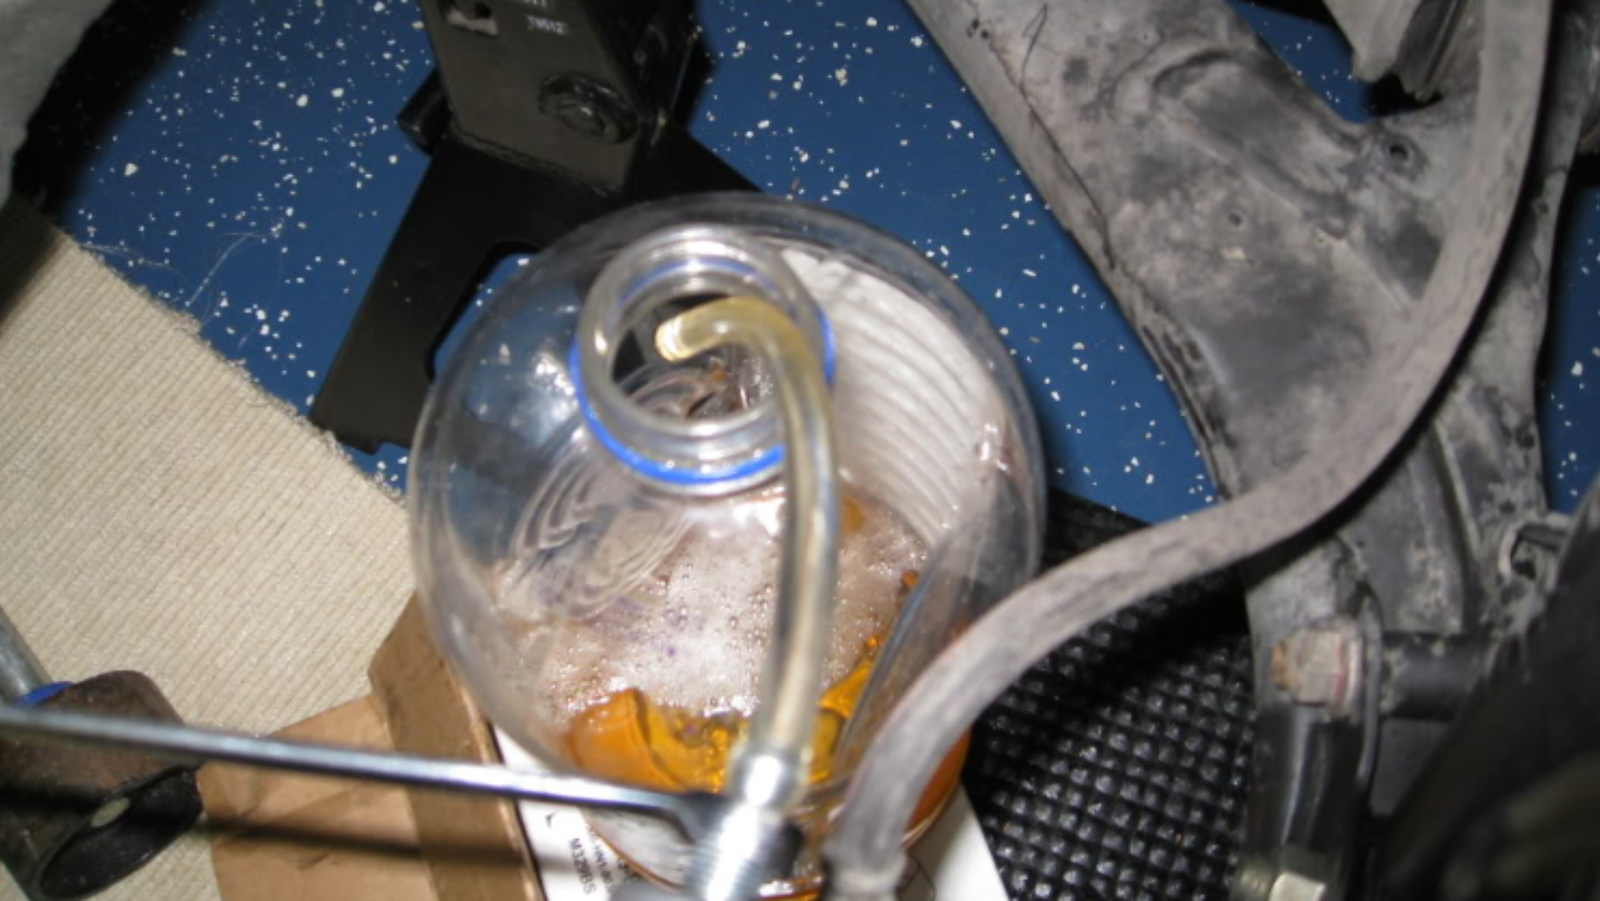
Apple Juice in the Master Cylinder and Brakes?
Jonathan used a turkey baster to remove most of the old fluid from the master cylinder. Then he used a 10mm wrench to bleed the brakes. Once out, it was obvious by the apple juice quality of the old fluid that it needed to go.
Turning Apple Juice to Lemonade
Once the old fluid was out, Jonathan filled his Lexus with Toyota Genuine Fluid 00475-1BF03 Brake Fluid. He then filled his brake bleeder pump with extra fluid and pumped it up to 15 psi and started at the right rear caliper going to the left rear caliper then working to the front passenger and finally the drivers front. He also used a 10mm wrench to plead the brakes.
In Part 2, Forum Member mmade22 will take us through his changing of the spark plugs, cabin filter, and air filter cleaning.
For help with your maintenance and repair projects, please visit our How-to section in the forum.