Lexus: Why are My Headlights Dim?
Dim headlights can stem from a simple broken wire to a bad alternator that got drenched in power steering fluid. Follow this guide to determine the cause of your lights' dim appearance.
This article applies to the Lexus IS, ES, LS, GS, and RX (2005-2013).
A dim headlight may mean there is a broken wire somewhere in the system causing an interruption in the electrical signal. Here's what to look for to diagnose this problem in the Lexus.

Materials Needed
- Wire stripper/crimping tool
- Soldering iron
- Battery tester
- Wire brush/battery terminal cleaner
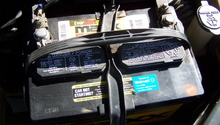
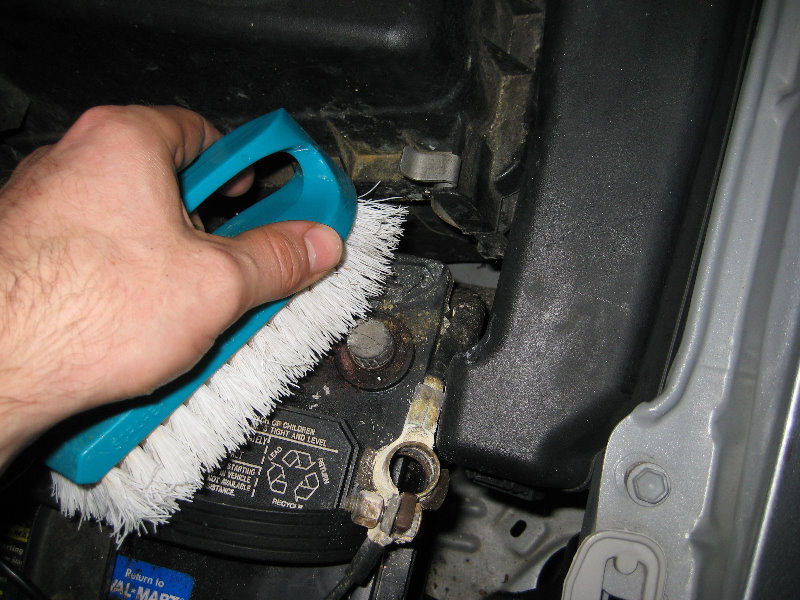
Step 1 - Clean battery terminals
Terminals may be losing conductivity. Corrosion is very common to occur at the battery terminals in many vehicles. This can cause loss of conductivity to the alternator.
- Disconnect the negative battery terminal, followed by the positive battery terminal.
- Use a wire brush or a battery terminal cleaning tool to clean any corrosion of the terminals.
- Re-install the battery terminals.
- Have the battery tested.
If the battery terminals are clean and test well, skip to step 2.
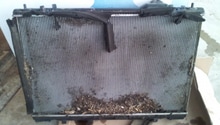
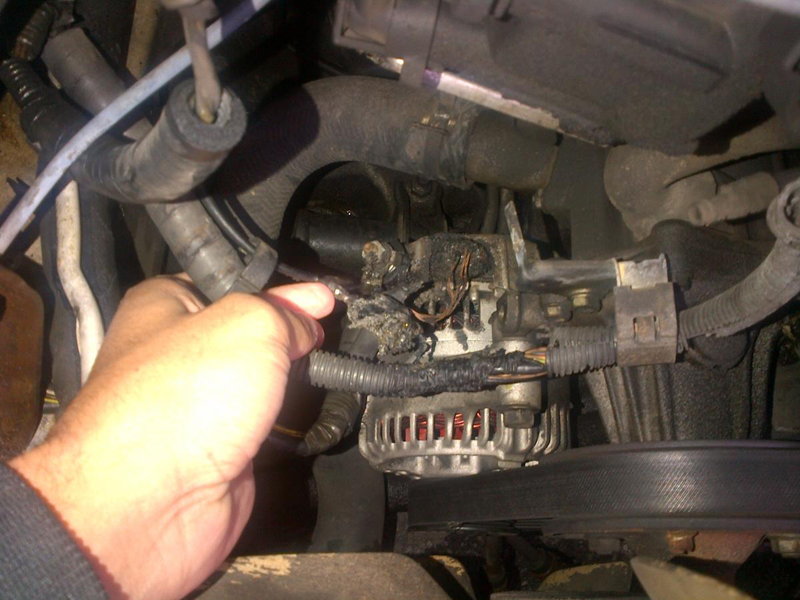
Step 2 - Inspect alternator
It has been found on some older Lexus models that a significant power steering leak can cause the alternator to malfunction.
- Locate the power steering pump assembly.
- Inspect the surrounding area for any leaks.
- If you find a leak, trace it to the alternator.
Pro Tip
If the leak has not made it to the alternator, it is best to address this leak now to avoid the problem getting to the point of affecting the alternator.
If there are no leaks, skip to step 3.
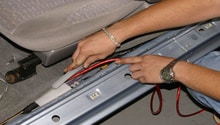
Step 3 - Inspect/repair trunk hinge wiring
It has been found that on older Lexus models, there is a wire loom fastened to the hinge of the trunk that can sometimes have wire breaks.
- Locate the wire loom and unfasten from the hinge (see figure 2).
- Unwrap the wire loom and inspect wires.
- If breaks are found, repair using solder and wire connectors (see figure 3).
- Re-wrap loom in new tape.
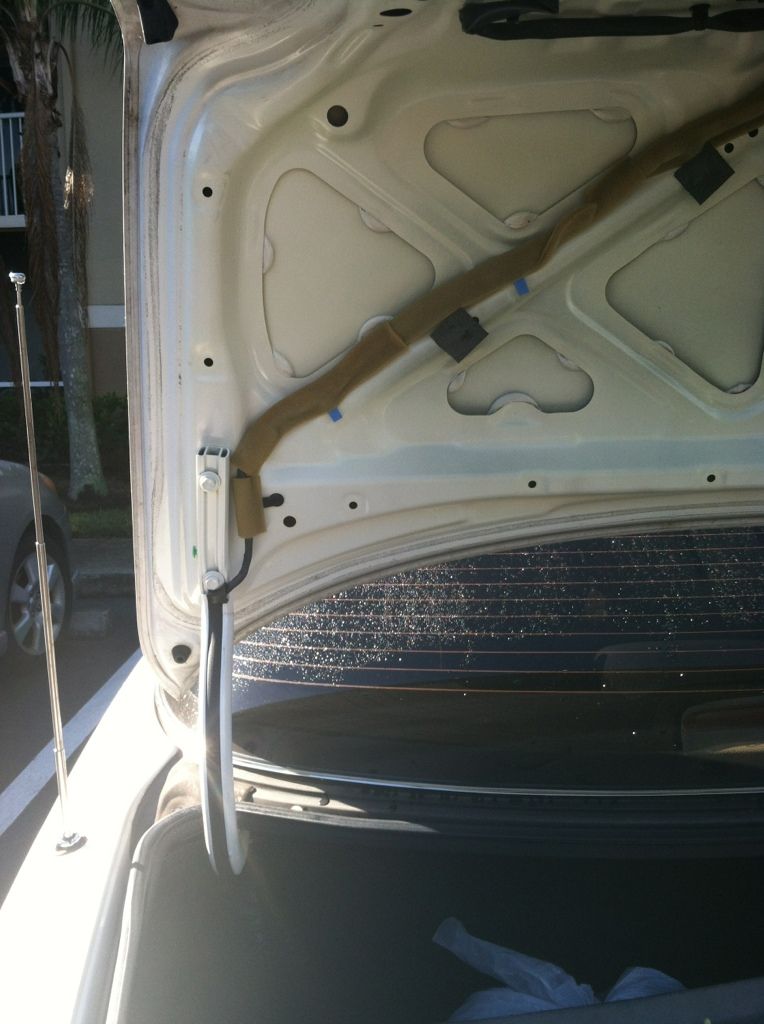
Figure 3. Wire loom location. 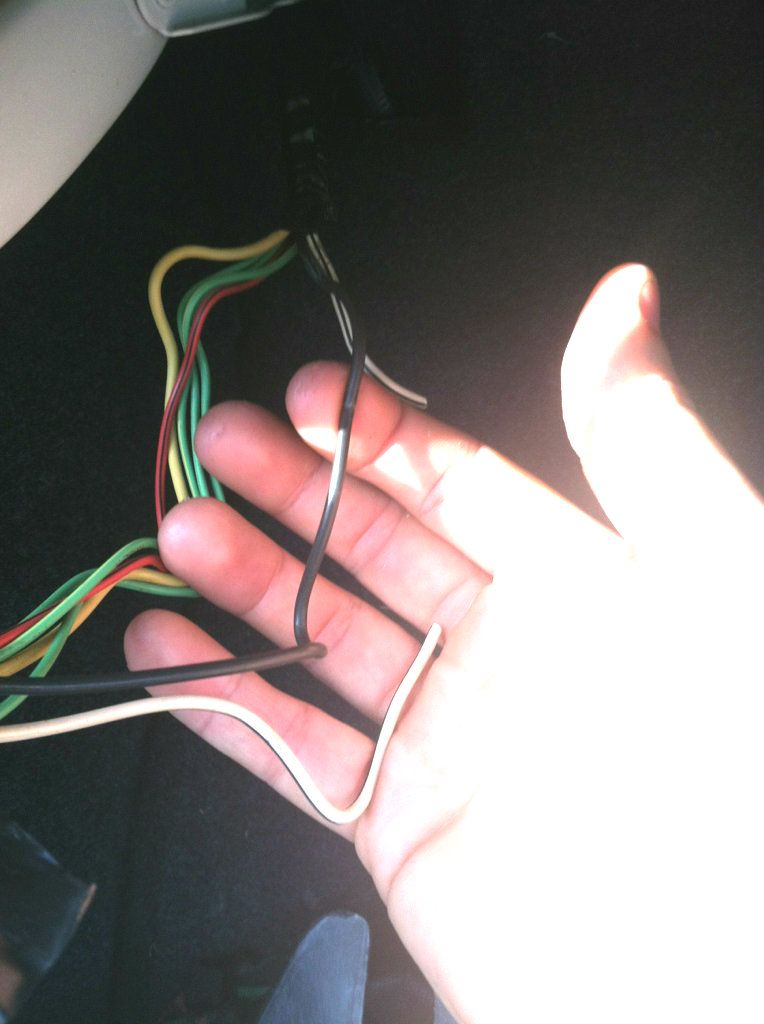
Figure 4. Inspect for breaks and repair.
Pro Tip
When repairing wire breaks, it is important to use solder and not wire connectors alone. Solder will solidify the repaired connection.
Featured Video: Why are My Headlights Dim?
Related Discussions
- Lights Dim When Brakes are Applied - ClubLexus.com
- Trunk Hinge Wiring Causes Electrical Problems - ClubLexus.com
- Power Steering Leak Causes Alternator Failure - ClubLexus.com