Lexus IS: How to Change Disc Brake Pads
Replacing the brake pads is a great DIY task for the novice Lexus IS 250 owner. Learning how to replace them will be incredibly helpful if you plan on owning your car past warranty or taking it to the track.
This article applies to the Lexus IS 250, IS 350, and IS F (2005-2014).
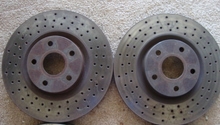
Squealing brakes are annoying to say the least, but luckily the sound serves as a warning sign that it's time to replace the pads. If they aren't replaced in a timely fashion, the rotors, which are more expensive to replace, can end up damaged. The change is pretty straightforward for the pads; anyone with some mechanical skill and strength could easily perform this task in their driveway. Even if one side of the car doesn't need pads, it's always best to replace them in pairs. That is, if you do the front driver side wheel you should also do the front passenger side.

Tools Needed
- New brake pads
- Brake cleaner
- WD-40
- Brake lube
- C-clamp
- Hammer
- Pin punch
- 13mm Socket
- Cheater bar or air wrench
- Towels
- Tire iron
- Floor jack
- Jack stand
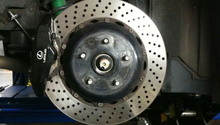
Step 1 - Remove the wheel
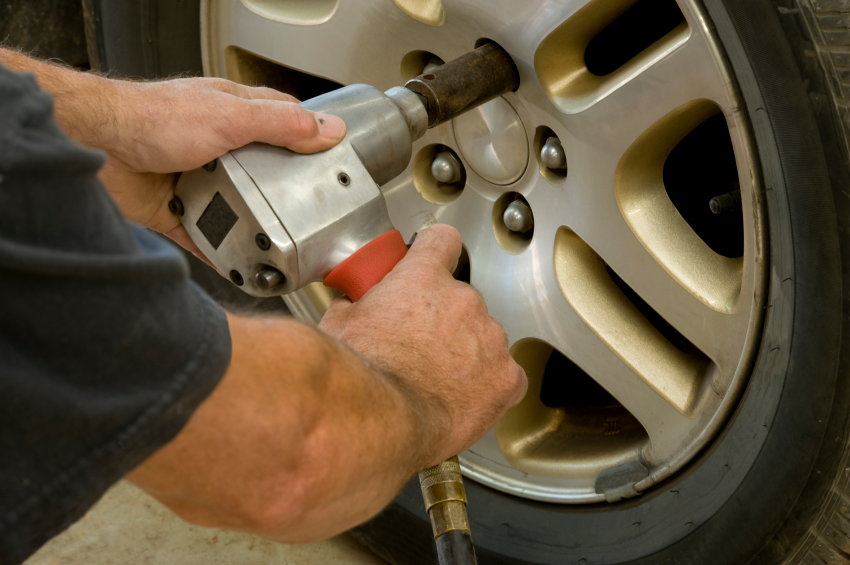
Set the parking brake while the car is still on the ground. Using the tire iron, loosen the lug nuts on the wheel but don't remove them. Using a jack, raise the car enough so that the wheel is off the ground and the vehicle can be supported by a jack stand. Finish removing the lug nuts and remove the wheel. Then, lower the car onto the jack stand.
(Related Article: How to Jack Up Your Lexus - ClubLexus.com
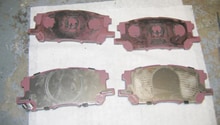
Step 2 - Remove old brake pads
Loosen the brake fluid reservoir cap under the hood. This will make compressing the brake caliper pistons much easier.
For IS 250
You'll need to completely remove the caliper to access the brake pads. You'll also need to remove the two bolts securing the caliper to the caliper bracket (see Figure 2). If you're having trouble removing the caliper, use a c-clamp to compress the brake piston. When that's done, pull the caliper out. The brake pads will be sitting on the bracket.
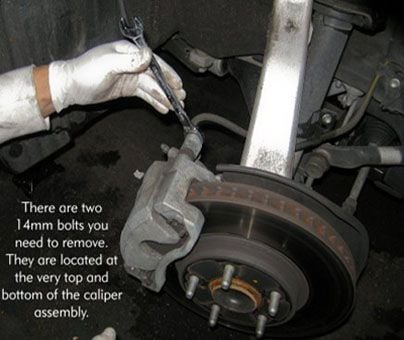
Figure 2. 14mm bolt location on caliper assembly. 
Figure 3. Removing the caliper. 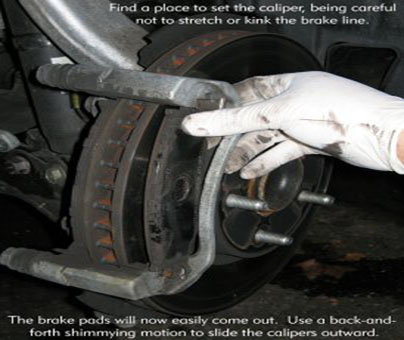
Figure 4. Removing brake pads.
For IS 350
Pull the pin from the rear of the brake caliper to free the anti-rattle clip (see Figure 6). Remove the anti-rattle spring after the pin has been removed. Use a c-clamp to compress the caliper piston (Figure 7) and free your brake pads (Figure 8).
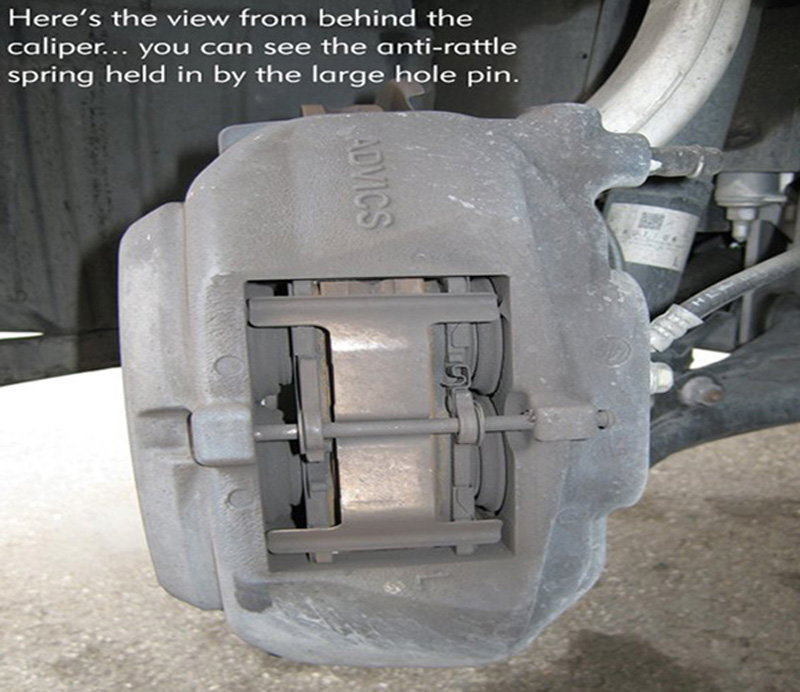
Figure 5. View of caliper and anti-rattle spring. 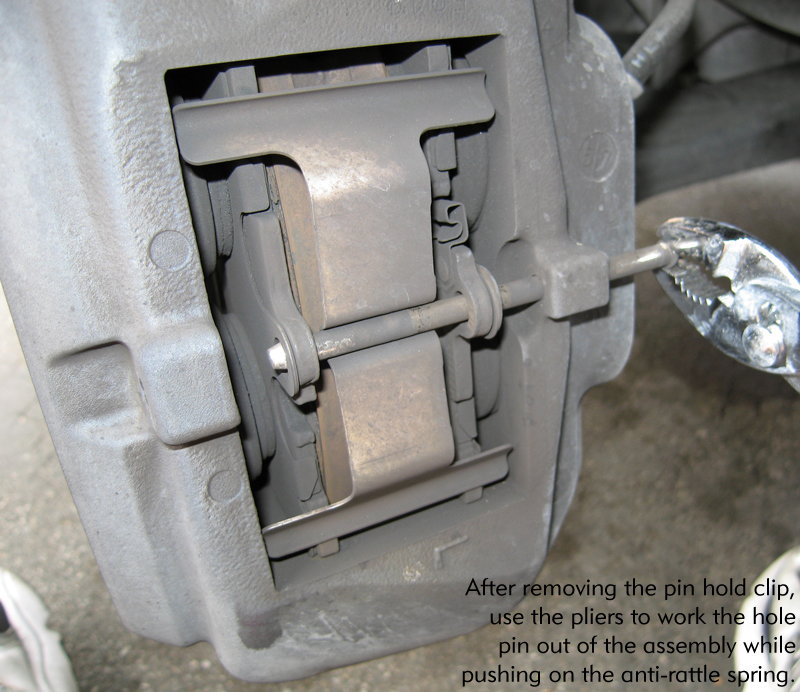
Figure 6. Working hole pin out. 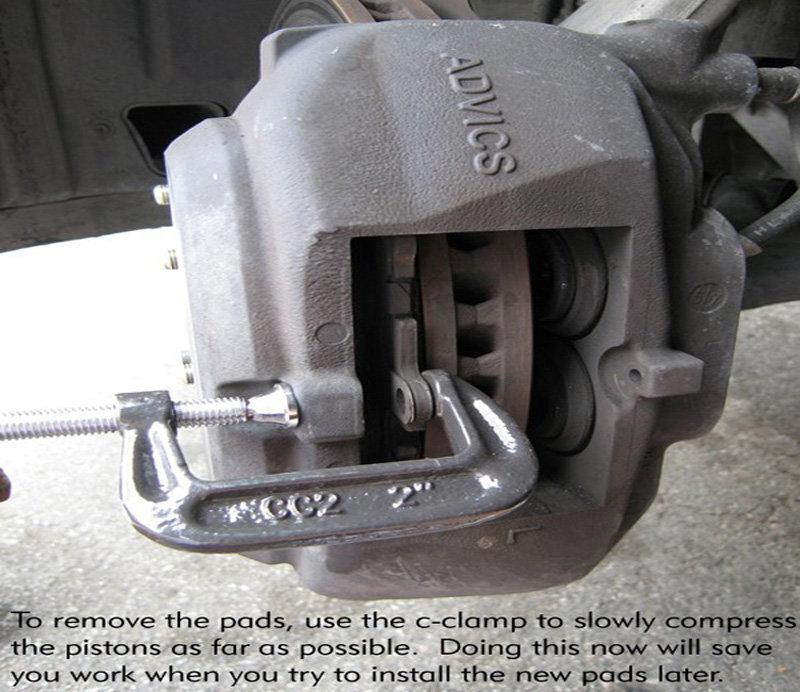
Figure 7. Using c-clamp. 
Figure 8. Removal of pads.
For IS F
The brake pad is held in with two pins, one bolt, an anti-rattle clip, and then tension from the pistons on the calipers. Depending on your size, you may need to get a little creative with how you lie underneath to access everything.
- Remove the top pin first using your hammer and pin punch. It only goes in and comes out one way. The end you'll be using the punch on is normally the outside with a cone shaped end, however it's been seen it on the inside as well.
- Remove the anti-rattle clip by sliding it around the lower pin. If you want, you can remove the lower pin, too. You could even use the upper pin to remove the lower pin as well.
- Remove the 13mm guide bolt using your socket. Spray it with WD-40 to help break it free. You might need to use your cheater bar for leverage.
- Using the C-clamp on the old brake pad pin holes, slowly compress the pistons all the way in. Be sure to alternate between upper and lower pin holes throughout compression to make sure it's done evenly. Do this for both pads.
- Remove the old pads by wiggling them out.
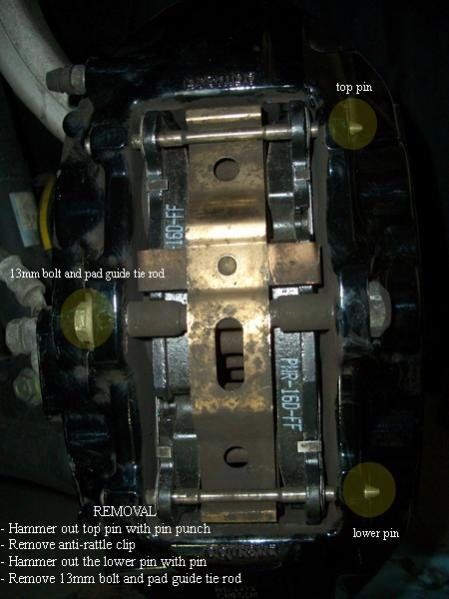
Figure 9. Pin and bolt locations. 
Figure 10. Compressing calipers.
Step 3 - Clean and prep pads and hardware
It's a good idea to clean the old hardware that will be reused. You'll want to spray down the brake shims, the pins, anti-rattle clip, and the guide bolt brake cleaner. Let it soak on there for a while, and wipe off the old grime from it. Apply a thin layer of brake lube to the side of the shims that will make contact with the brake pads.
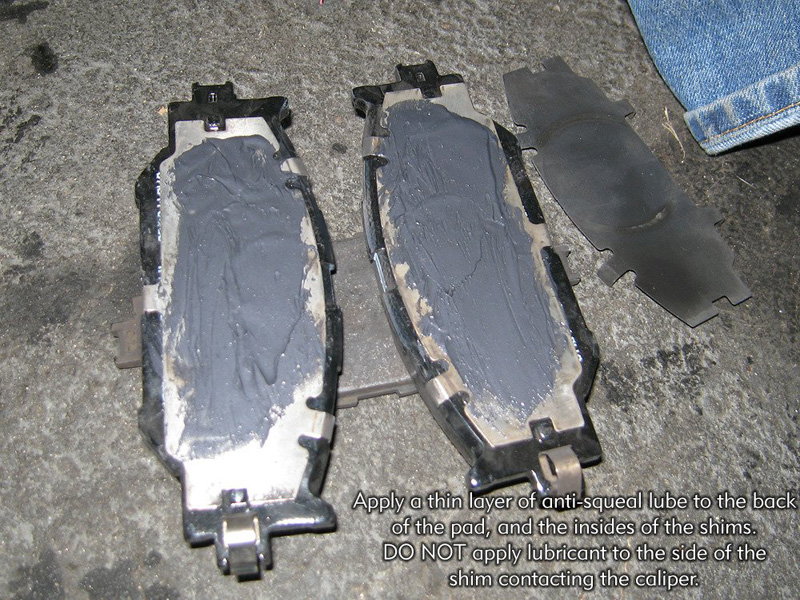
Figure 11. Applying anti-squeal lube to pad and shims. 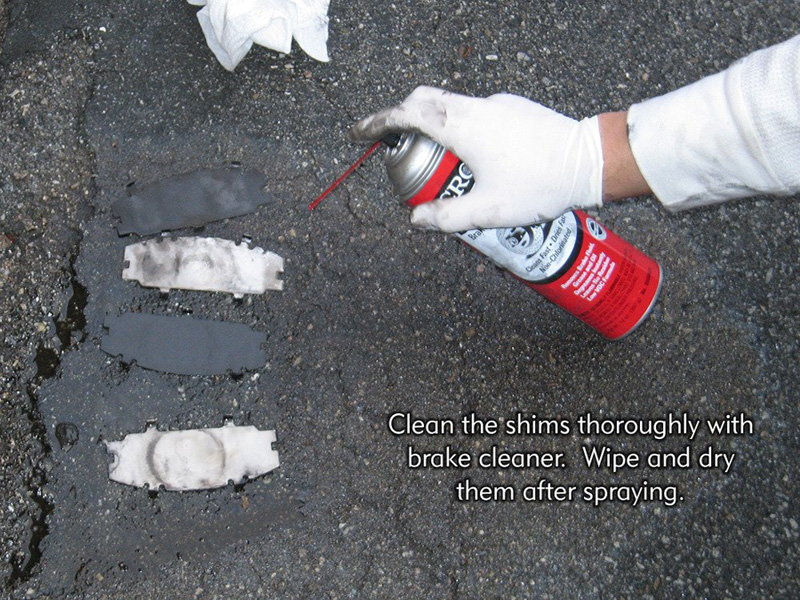
Figure 12. Compressing calipers.
Step 4 - Install new brake pads
Make sure the pistons are still fully compressed, which will make installing the pads much easier. Slide the new pads with the shims installed into place. The order should be rotor -> pad -> shim -> caliper. Re-installing the pads is the same as removal for the IS 250, IS 350, and IS F. Simply follow the removal installations for your setup in reverse. Be sure to install the lower pin first using your hammer. Next, install the guide bolt using the 13mm socket. Install the anti-rattle clip, and lastly, install the upper pin using your hammer.

Step 5 - Finish up
Make sure everything is tight, re-install the wheel, and lower the car onto the ground. Make sure to tighten the lug nuts in a crisscross pattern to ensure they're tightened evenly. Now it's time for the test drive, which is crucial for proper pad break-in. You'll want to speed up to about 40 mph, slow back down to around 10 mph, and repeat this process about 4-5 times.
Pro Tip
During this break-in period, it's very important to never come to a complete stop while braking, as this can mess up the pad seating.
Featured Video: How to Replace Disc Brake Pads in Lexus IS 250
Related Discussions
- DIY IS 250 Front Brakes - ClubLexus.com
- DIY IS 350 Front Brakes - ClubLexus.com
- DIY: IS-F Front Brake Pads - ClubLexus.com