Lexus IS: How to Apply Matte Vinyl Wrap
Wrapping your Lexus in vinyl is one of the biggest customization you can do for it. Continue reading to learn how to do it yourself.
This article applies to the Lexus IS (2005-2013).
Have you ever seen a matte car or custom color job and wondered how it’s done? Vehicle wrapping has become a highly effective way of transforming your vehicle and it doesn't require costly re-sprays. Furthermore, the vehicles original paintwork is left unaffected.

Materials Needed
- Sharp craft knife
- Vinyl cutter (optional)
- Vinyl wrap magnets
- Knifeless finish line tape (for butt joints)
- Vinyl squeegee with felt attached and a spare felt
- Heat gun
- Microfiber cloths
- Bug & Tar remover
- Clay bar and lubricant (optional)
- Flathead screwdriver (for panel removal)
- Clip removal tool (for panel removal)
- Vehicle wrap gripper magnets
There are plenty of vinyl wrap suppliers out there. Vinyl wraps are available in a wide variety of colors, patterns and textures. You can choose one according to your preference. You might want to stick to a good brand like 3M, Avery, or Hexis. The vinyl will often fail if you underestimate the conditions and stresses the material will be subjected to. UV radiation, stretching, abrasion, environmental pollutants, chemical cleaning and physical damage will all take a toll. The damage may not become apparent for many months. When choosing your wrap, note the lifespan indicated by the manufacturer. Also, be sure to choose vinyl designed for exterior automotive applications.
Note: This DIY requires removal of lots of body panels. Links to removal guides are provided at the end of this article.
Step 1 – Planning
Determine where all the joints will fall. Whether horizontal or vertical, use the natural lines of the vehicle. Use door panels or weld lines to cover overlaps. If you need a joint somewhere visible, it is best to use Knifeless finish tape to get a perfect butt joint.
Featured Video: Finish Line Knifeless Tape Butt Seam Demonstration
Pro Tip
Do not wrap in extremely hot or cold weathers. It won't adhere well and the adhesive will not cure properly during cold weather.
Step 2 – Wash and dry your car
Thoroughly wash the vehicle down with soap and water. Paying attention to door seals and wheel arches, allow it to dry for 24 hours. If you have any contaminants on your paintwork, use a clay bar and lubricant to remove. Any small contaminants left on the paintwork will look worse if left trapped beneath the wrap. De-grease the vehicle using Isopropyl alcohol. Alternatively, use a fast drying panel wipe with silicone killer and pay attention to all the recesses.
Step 3 – Remove trims
Remove all possible trims, so they can be individually wrapped at the end. Always pry trims off gently and evenly.
Step 4 – Apply vinyl to hood, sides and fenders
- Remove the side roof rail trims and start the vinyl application on the roof. Apply the vinyl to the flattest part of the panel first (create a base line) and work from side to side. Try to keep the vinyl as leveled as possible. Stretch the vinyl—without heat—over the whole area. Do not work the film into the more complicated areas such as the recesses until later.
- Next, start wrapping the hood. The roof and the hood are probably the two easiest panels to wrap. It is also a great practice for the more complex panels. Once again, keep the vinyl leveled.
- Next, you will need to wrap the side and doors. Take your time and do not use a heat gun. If you patiently and evenly apply the film, you will be able to work out any issues. Use the heat gun for extremely difficult situations. You can post-heat the surfaces. This post-heating must be carried out scrupulously on all areas where the wrap has been stretched to fit, especially in deep recesses. Do not overheat or you might damage the film.
- While it is unnecessary, you might want to remove the fenders to wrap. This will allow you to fold back enough excess behind the fenders, instead of cutting it on the edge and leaving a thin excess.

Figure 1. Roof wrapping. 
Figure 2. Wrapping the hood. 
Figure 3. Apply vinyl on the doors. 
Figure 4. Fender wrapped and installed.
Pro Tips
- When stretching the vinyl, always pull outwards from the largest area of the vinyl, so you can to spread the tension. This also applies when you use extra heat to soften and stretch the vinyl. Apply heat to a larger area to help avoid distorting the color.
- When cutting through the vinyl on the bodywork or around handles, you could stick electrical tape to the surface first. Change the blade frequently. The weight of the blade should be enough without having to apply extra pressure.
Step 5 – Apply vinyl to trunk lid and bumpers
- Remove the trunk's lower lid section and spoiler to wrap.
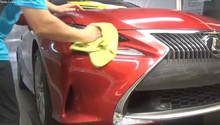
- The bumper covers are probably the most difficult panels to wrap due to the complex curves and recesses. By the time you get to the bumper, you should have picked up enough skills to be able to attempt it. Remove the bumper and apply the wrap.

Figure 5. Trunk spoiler wrapped. 
Figure 6. Front bumper wrapped and installed 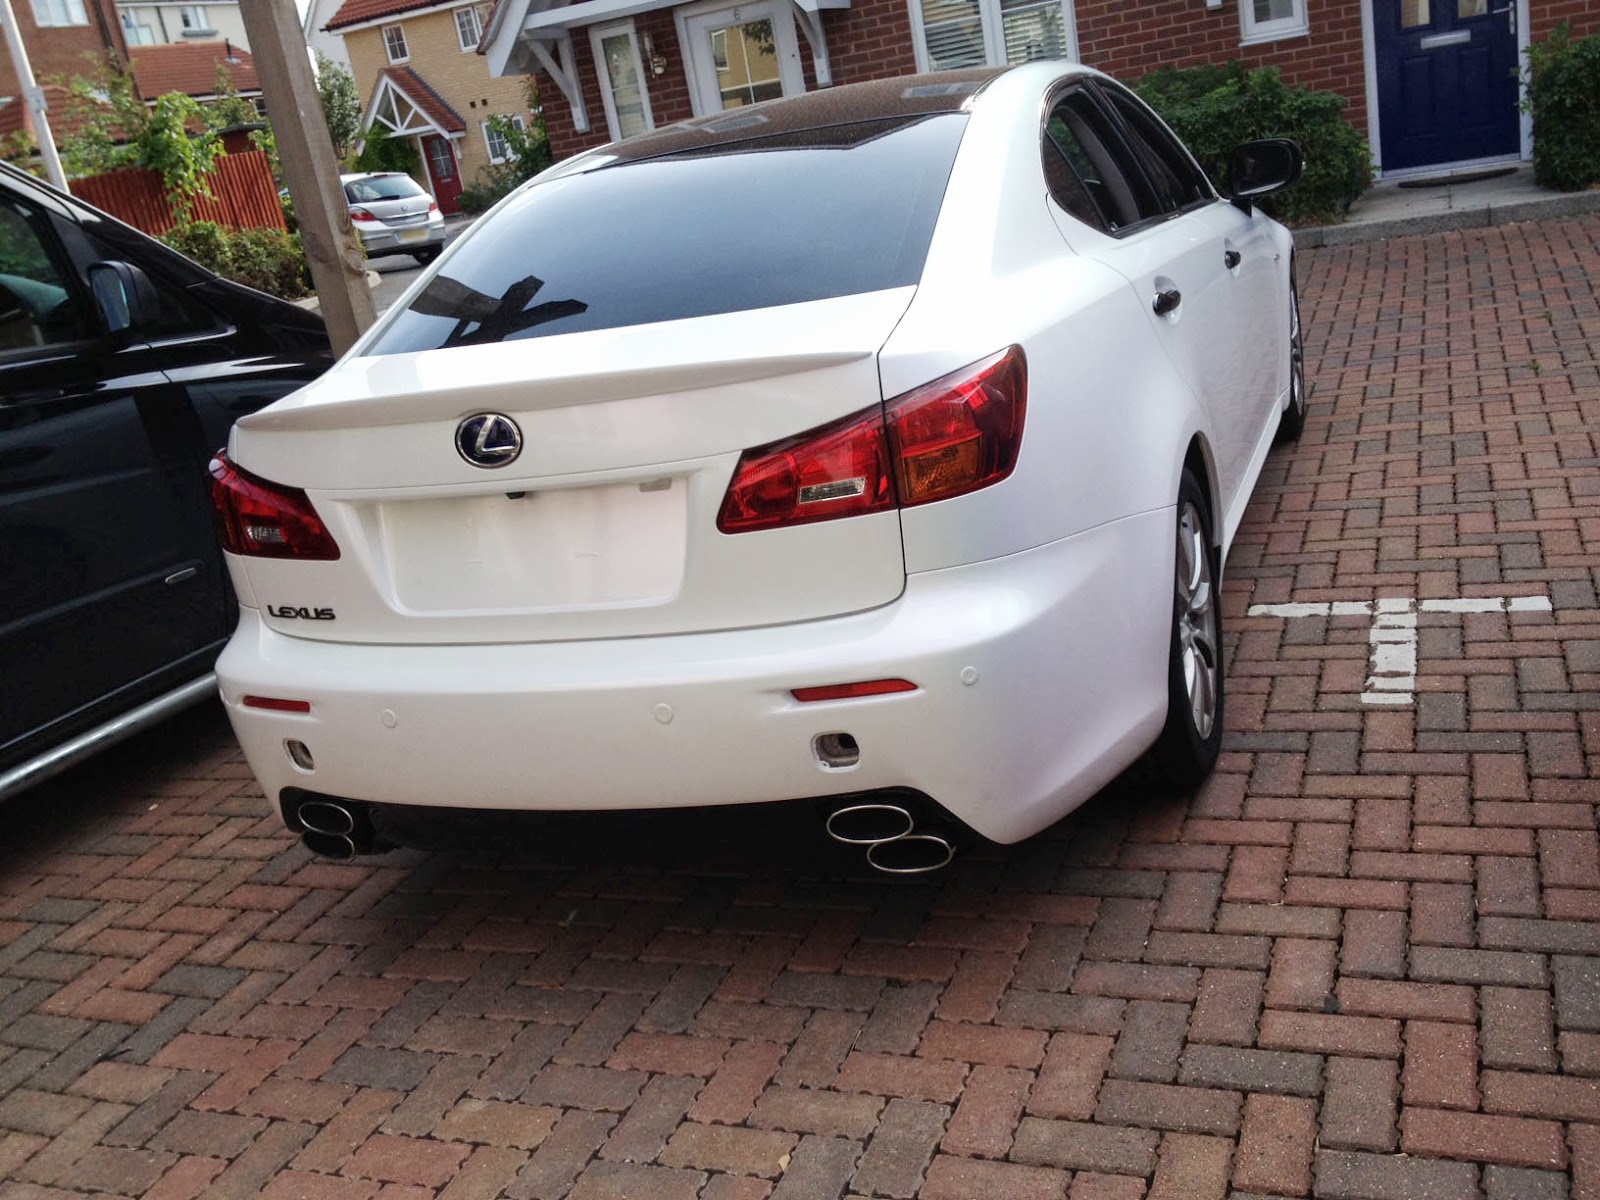
Figure 7. Rear trunk's lower lid wrapped and installed.
Step 6 – Remove side skirts and apply vinyl to trims
Next, remove the side skirts along with all the trims that were removed earlier and wrap with vinyl. Then, re-install.
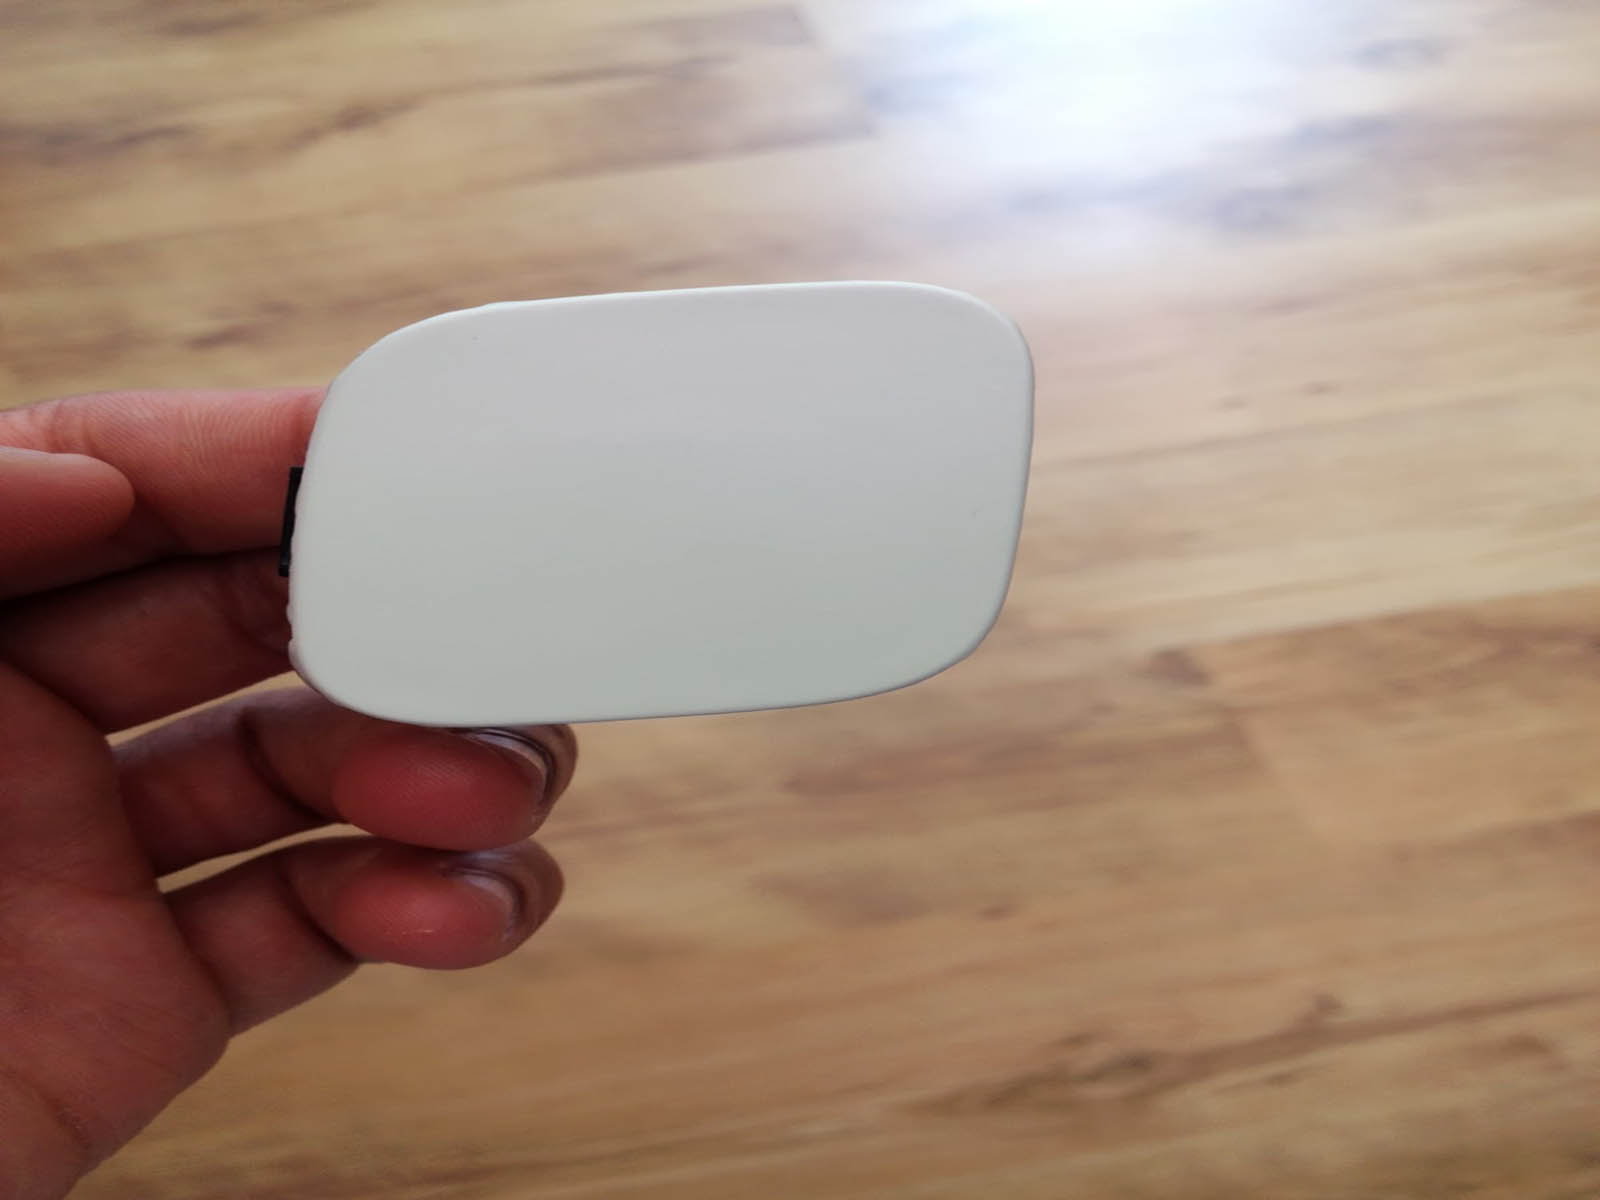
Figure 8. Wrapped bumper tow-hook cover. 
Figure 9. Wrapped F-Sport spoilers. 
Figure 10. Wrapped side mirror covers.
Related Discussions and Video
- Rear Bumper Removal Hidden Hitch Build - ClubLexus.com
- Rear Bumper Removal - ClubLexus.com
- JDM LED Side Signal Mirror Covers - ClubLexus.com
- Side Skirt Removal - ClubLexus.com
- DIY: LED Back-lit Door Handles - ClubLexus.com
- How to Remove the Bumper From a Lexus IS250/IS350 - YoutTube.com