DIY: Making your own Nobori Flag & Pole
 08-18-10, 08:08 AM
#1
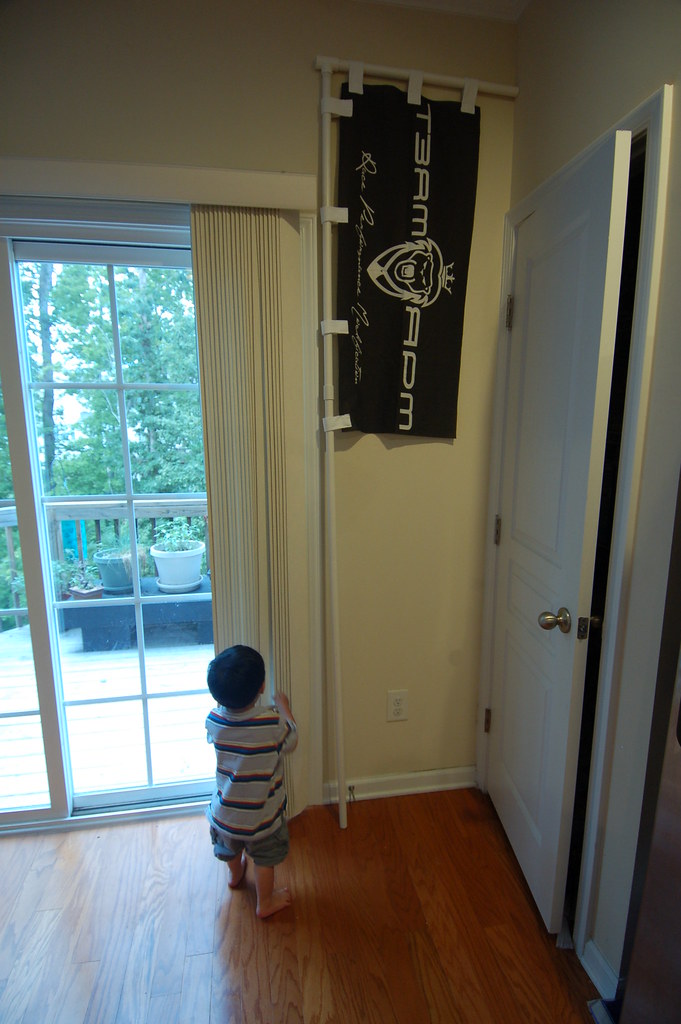
So, I am making Nobori flags with my team's logo for my upcoming ISO car meet and I thought I shared my process with you guys.
NOBORI:
1. Come up with your design in a very high resolution. Make sure whatever size you want, you design it in 300dpi. (This pretty much applies to any design you're making for any kind of printing use)
2. Get your design printed on fabric using a vendor such as www.spoonflower.com, it's cheap to get them printed, costs around $18/yard with a 48" printable area. When you upload your image on the site, you can create your own pattern off your design, so what I did was made my design really big so that when I looped the design to become a pattern, I'll have two designs. That way, I was able to make 2 flags off one yard. You can print as many colors as you like too, very legit stuff.
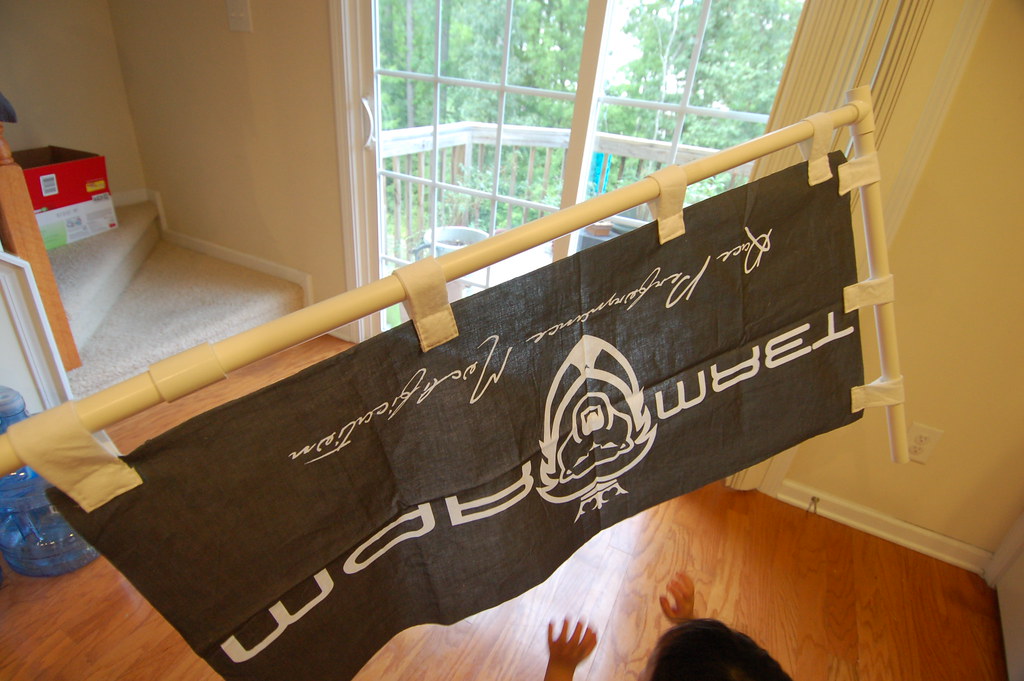
3. When you get your custom fabric in, cut it into the flag shape that you want. For mine's, I just had to cut it in half to make two flags. So each of my flags were 36" in height and 24" in width. Make sure you use a sharp pair of scissors. (I was using a semi dull one and it frayed the edges, so I had to redo my cutting)
4. Buy a roll of fabric ribbons to make the loops for the flag to go around the flag pole. For my flag size, I made 3 loops equidistant from each other on the top edge, and 4 loops equidistant from each other on the side edge. (I actually didn't buy the fabric ribbons, I just cut up a pillowcase I had and made my own ribbons..........umm.........I would highly suggest you just get the fabric ribbon, your life would be much easier, haha).
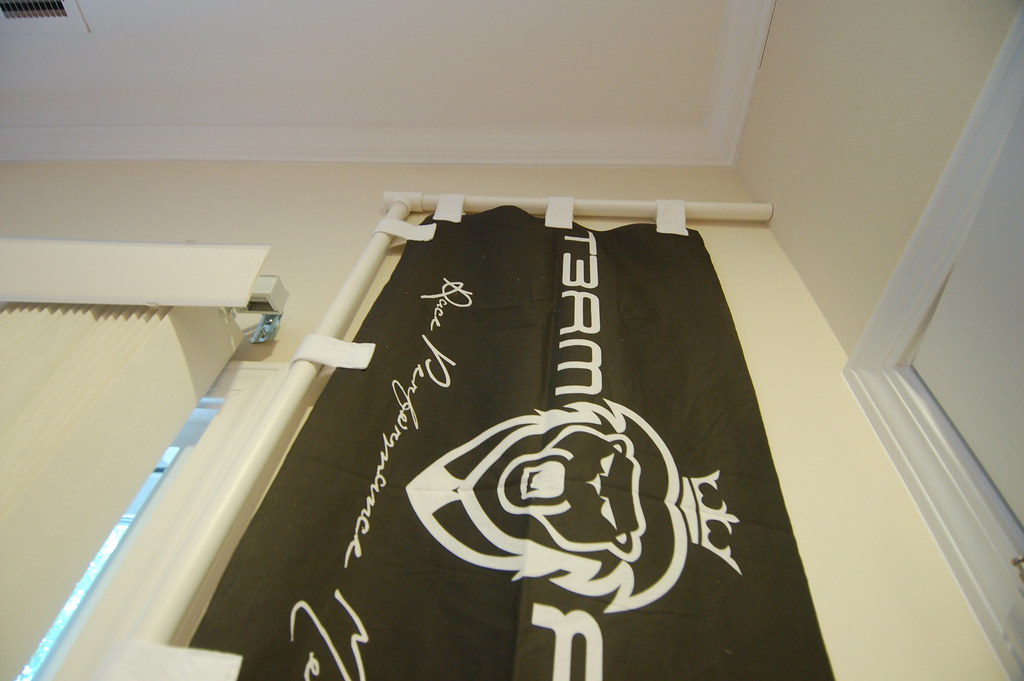
5. Cut the ribbons up to make a loop and fold them over your flag (one side on the front, and the other side on the back). Then sew a box around the loop and the flag in the area that the loop meets with the flag. I didn't have a sewing machine, so I hand sew every loop, but it's mad time consuming. I don't even know how to sew, but it wasn't that bad. I would recommend using a sewing machine though, it'll be so much easier.
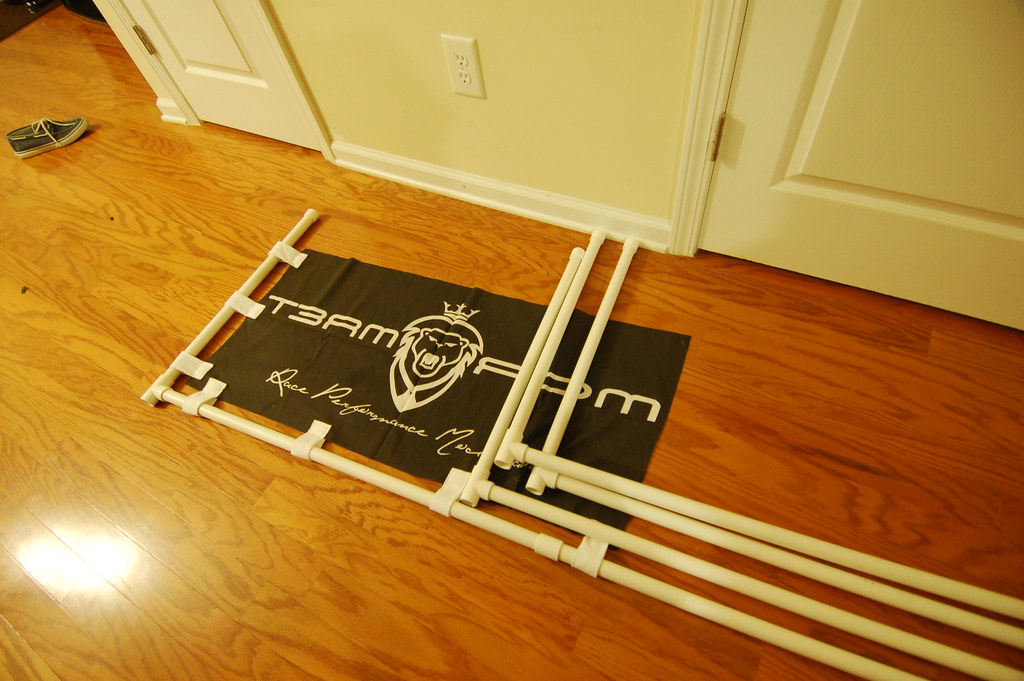
Pix:

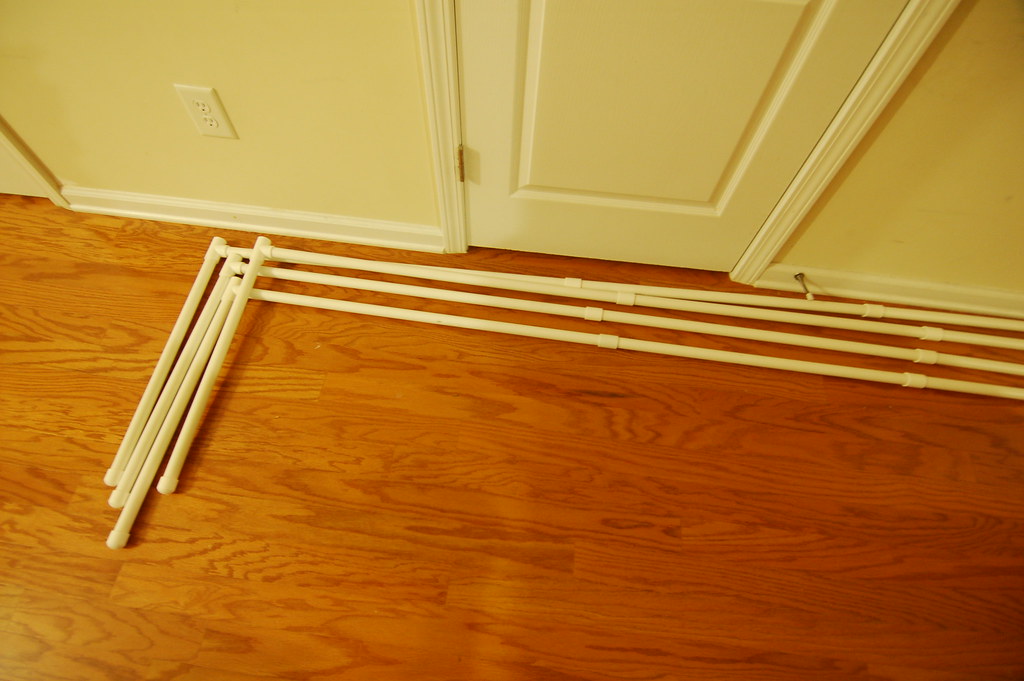
NOBORI POLE:
For the Nobori poles, you can make it any size you want but here are my specs to keep costs to about $5 to make a pole:
Materials:
*Two 3/4" x 10' pvc pipes
*Two 3/4" couplings
*One 3/4" Tee
*One 3/4" Cap
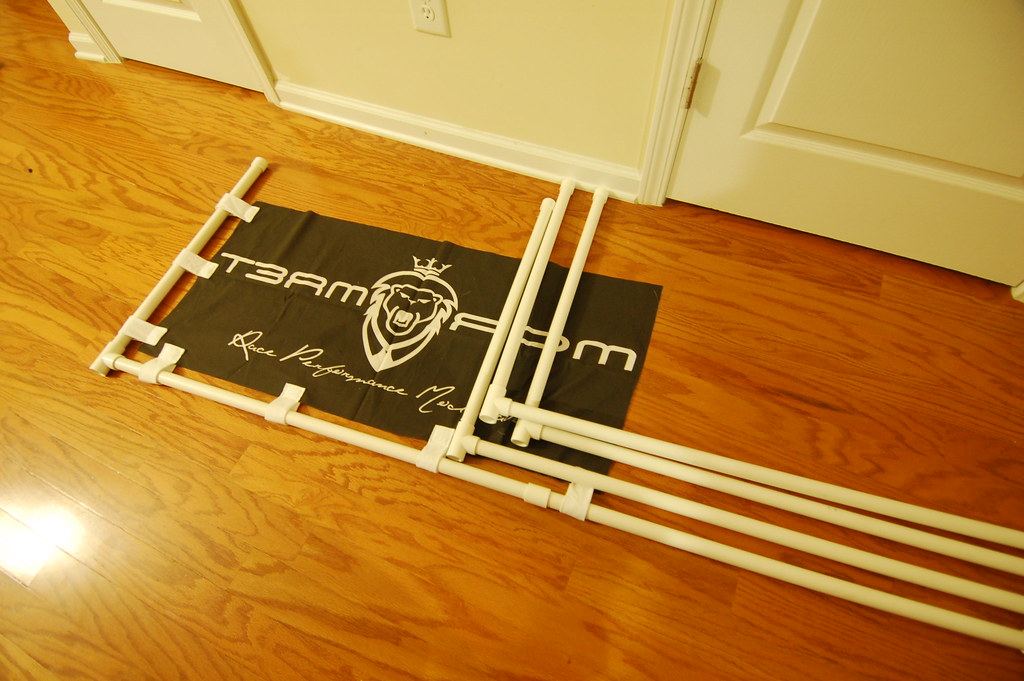
1. Take one of your pole and cut it in half.
2. Take the other pole and cut it so that you have one piece that is around 2.5' long
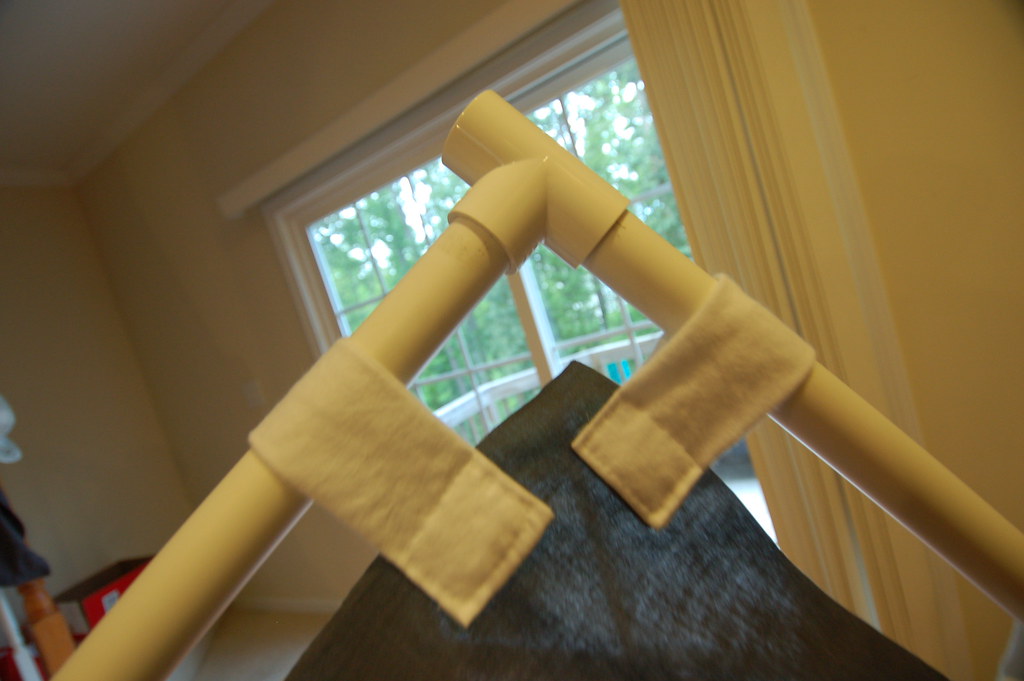
3. the 2.5' long pipe will connect to the tee and will go horizontally on top of the flag pole.
4. Put a cap at the other end of the 2.5' long pipe
5. Remove the text on the side of the pipes. I used a Razor Blade to scratch off the text, it comes off very easily.
6. Connect the rest of the pipes to the tee and use the couplings to extend them. The reason I cut the pieces and couple them together is so that they can break down and fit easily into my car.
Pix:


NOBORI:
1. Come up with your design in a very high resolution. Make sure whatever size you want, you design it in 300dpi. (This pretty much applies to any design you're making for any kind of printing use)
2. Get your design printed on fabric using a vendor such as www.spoonflower.com, it's cheap to get them printed, costs around $18/yard with a 48" printable area. When you upload your image on the site, you can create your own pattern off your design, so what I did was made my design really big so that when I looped the design to become a pattern, I'll have two designs. That way, I was able to make 2 flags off one yard. You can print as many colors as you like too, very legit stuff.
3. When you get your custom fabric in, cut it into the flag shape that you want. For mine's, I just had to cut it in half to make two flags. So each of my flags were 36" in height and 24" in width. Make sure you use a sharp pair of scissors. (I was using a semi dull one and it frayed the edges, so I had to redo my cutting)
4. Buy a roll of fabric ribbons to make the loops for the flag to go around the flag pole. For my flag size, I made 3 loops equidistant from each other on the top edge, and 4 loops equidistant from each other on the side edge. (I actually didn't buy the fabric ribbons, I just cut up a pillowcase I had and made my own ribbons..........umm.........I would highly suggest you just get the fabric ribbon, your life would be much easier, haha).
5. Cut the ribbons up to make a loop and fold them over your flag (one side on the front, and the other side on the back). Then sew a box around the loop and the flag in the area that the loop meets with the flag. I didn't have a sewing machine, so I hand sew every loop, but it's mad time consuming. I don't even know how to sew, but it wasn't that bad. I would recommend using a sewing machine though, it'll be so much easier.
Pix:
NOBORI POLE:
For the Nobori poles, you can make it any size you want but here are my specs to keep costs to about $5 to make a pole:
Materials:
*Two 3/4" x 10' pvc pipes
*Two 3/4" couplings
*One 3/4" Tee
*One 3/4" Cap
1. Take one of your pole and cut it in half.
2. Take the other pole and cut it so that you have one piece that is around 2.5' long
3. the 2.5' long pipe will connect to the tee and will go horizontally on top of the flag pole.
4. Put a cap at the other end of the 2.5' long pipe
5. Remove the text on the side of the pipes. I used a Razor Blade to scratch off the text, it comes off very easily.
6. Connect the rest of the pipes to the tee and use the couplings to extend them. The reason I cut the pieces and couple them together is so that they can break down and fit easily into my car.
Pix:
Last edited by romeo291; 08-18-10 at 08:15 AM.


Thread
Thread Starter
Forum
Replies
Last Post
IC350
IS - 3rd Gen (2014-present)
5
11-10-14 10:20 AM