Suspension and Brakes Springs, shocks, coilovers, sways, braces, brakes, etc.

DIY Coilovers Install

Thread Tools
 
Search this Thread
 
Old 12-27-18, 07:15 PM
  #1  
hbradberry
Rookie
Thread Starter
 
hbradberry's Avatar
 
Join Date: Feb 2018
Location: Georgia
Posts: 64
Received 8 Likes on 8 Posts
Default DIY Coilovers Install

Hey guys, got some Tein Street Basis Z's and figured I would make a write up installing them. It took 8 hours total with 3 people, keeping in mind it was our first time installing coilovers. Only thing that gave us trouble was not having the specialty tools, but we found ways around that. Hope someone can use this thread to install their own coils.
The following users liked this post:
tiguy99 (05-14-19)
Old 12-27-18, 07:25 PM
  #2  
hbradberry
Rookie
Thread Starter
 
hbradberry's Avatar
 
Join Date: Feb 2018
Location: Georgia
Posts: 64
Received 8 Likes on 8 Posts
Default Fronts

Step 1:
First, safely jack up the car and check that it is stable. Then, remove the wheels from the car.
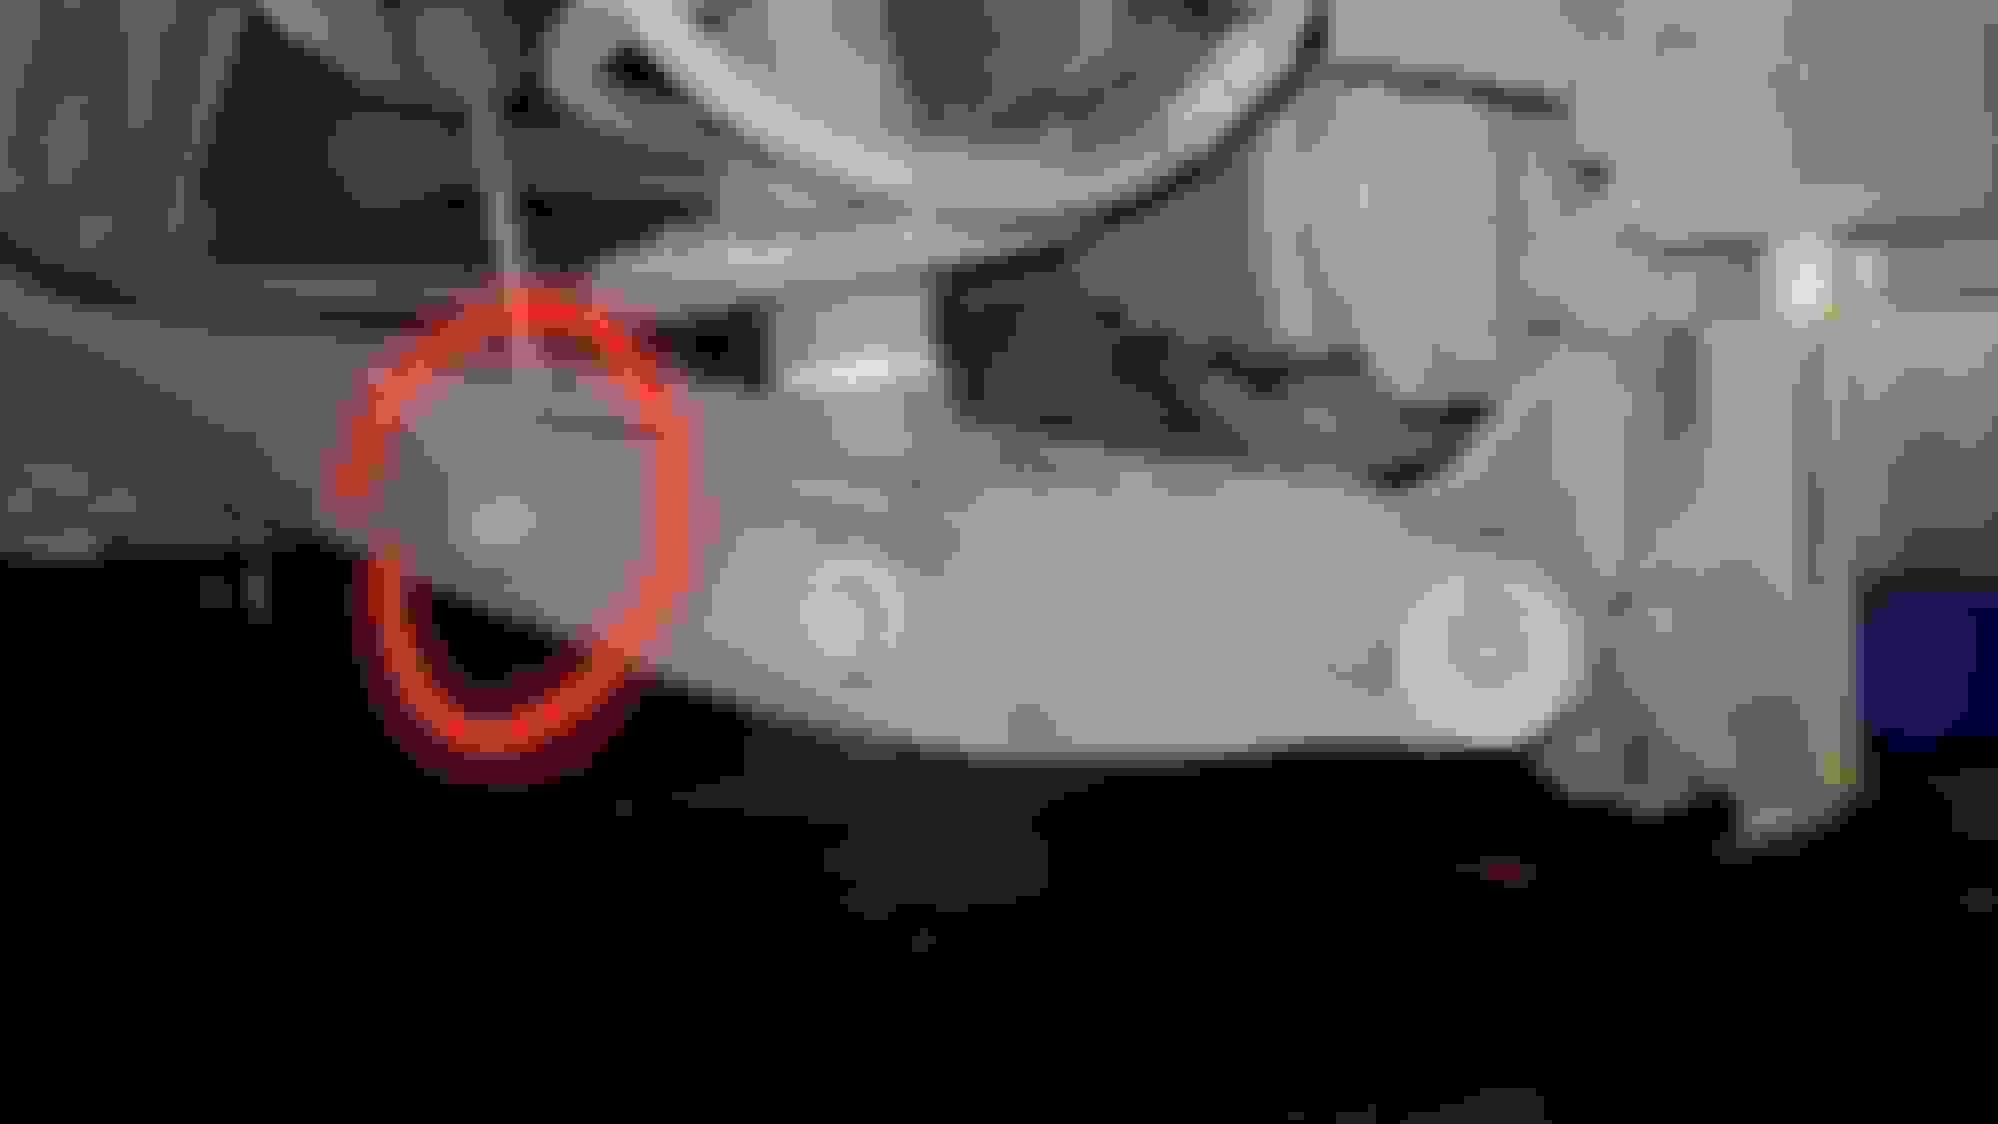
Step 2: ​​​​
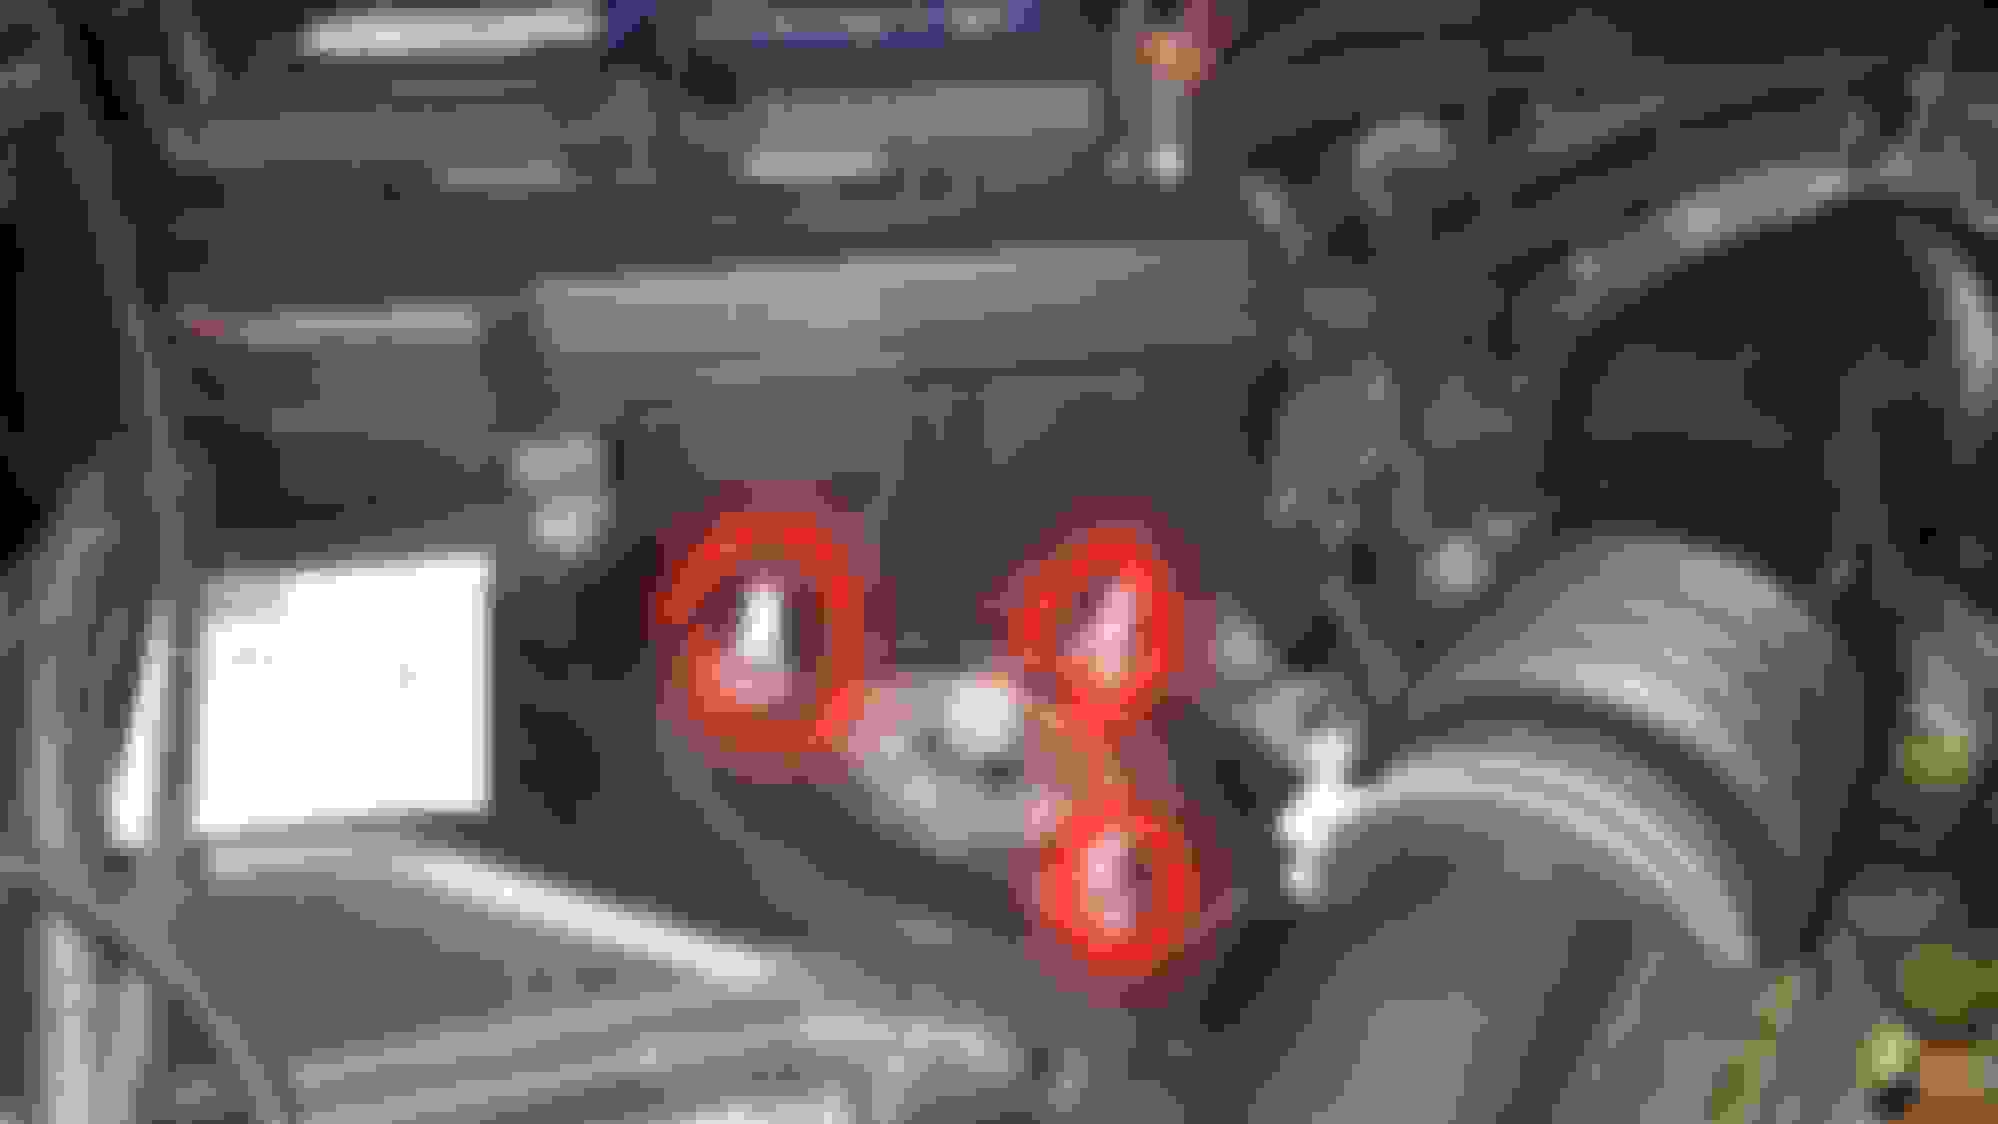
Remove bolt from ABS speed sensor (42 ft-lbf).

Step 3: ​​​​​Remove upper control arm pin and bolt (64 ft-lbf).
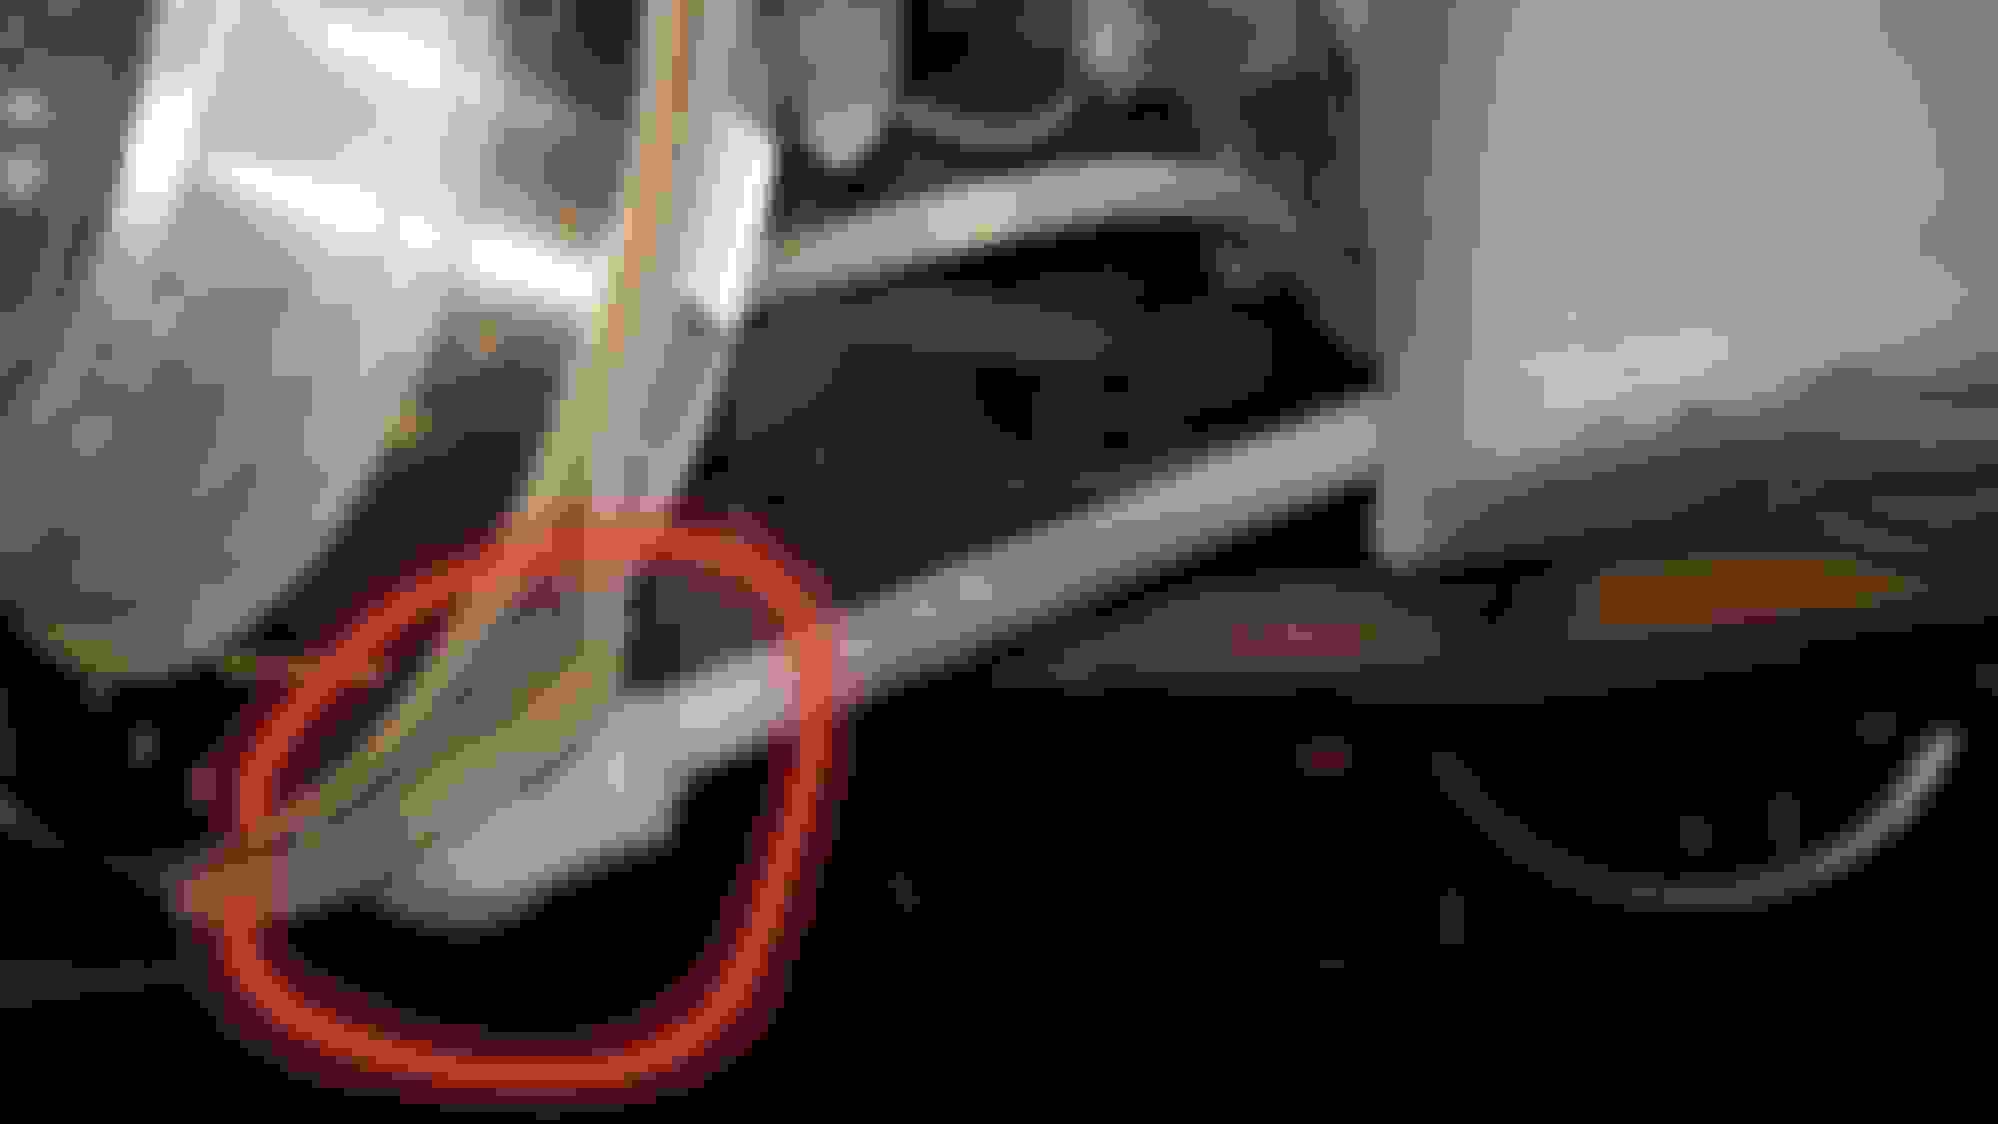
​​​​​​If you do not have the specialty tool, like us, you can remove the pin and loosen the bolt until it is flush with the stud. Then use a hammer to knock it loose and remove it. We used a metal rod so we didn't have to swing a hammer around all those suspension parts.
After it is knocked loose, you can use something like wire to hold everything up and out of the way and also to keep the assembly from falling.

​​​​​​Step 4:
Remove sway bar nut and bolt (41 ft-lbf).

Step 5:
Remove bolt and nut from bottom of shock absorber (116 ft-lbf).

Step 6:
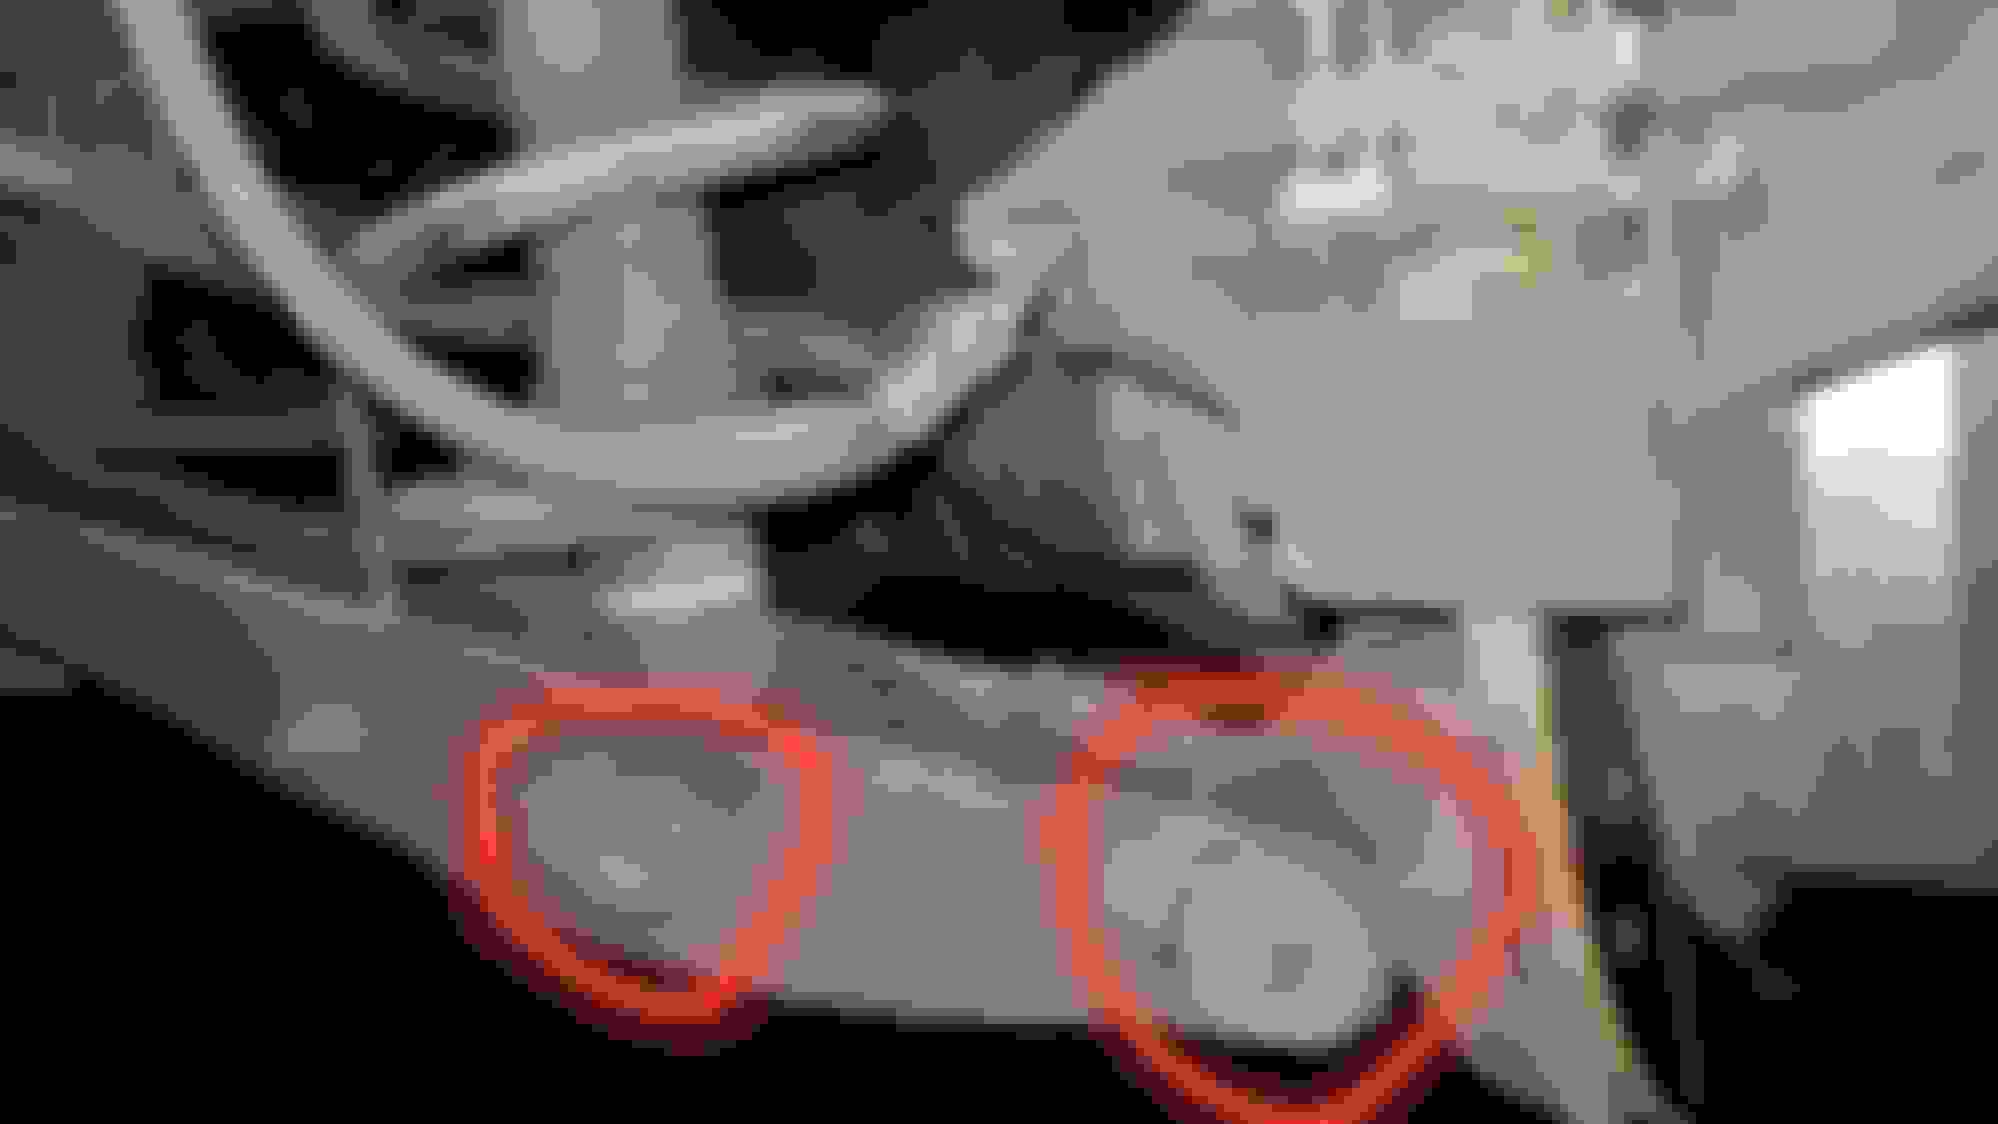
Remove 3 bolts from strut tower (41 ft-lbf).IMPORTANT: If you're reusing top hats, loosen the the piston rod lock nut, the center one, before taking the shock absorber out. Do not take the nut off all the way, just loosen it. This is because it will be hard to break loose once the shock absorber is out.

Step 7:
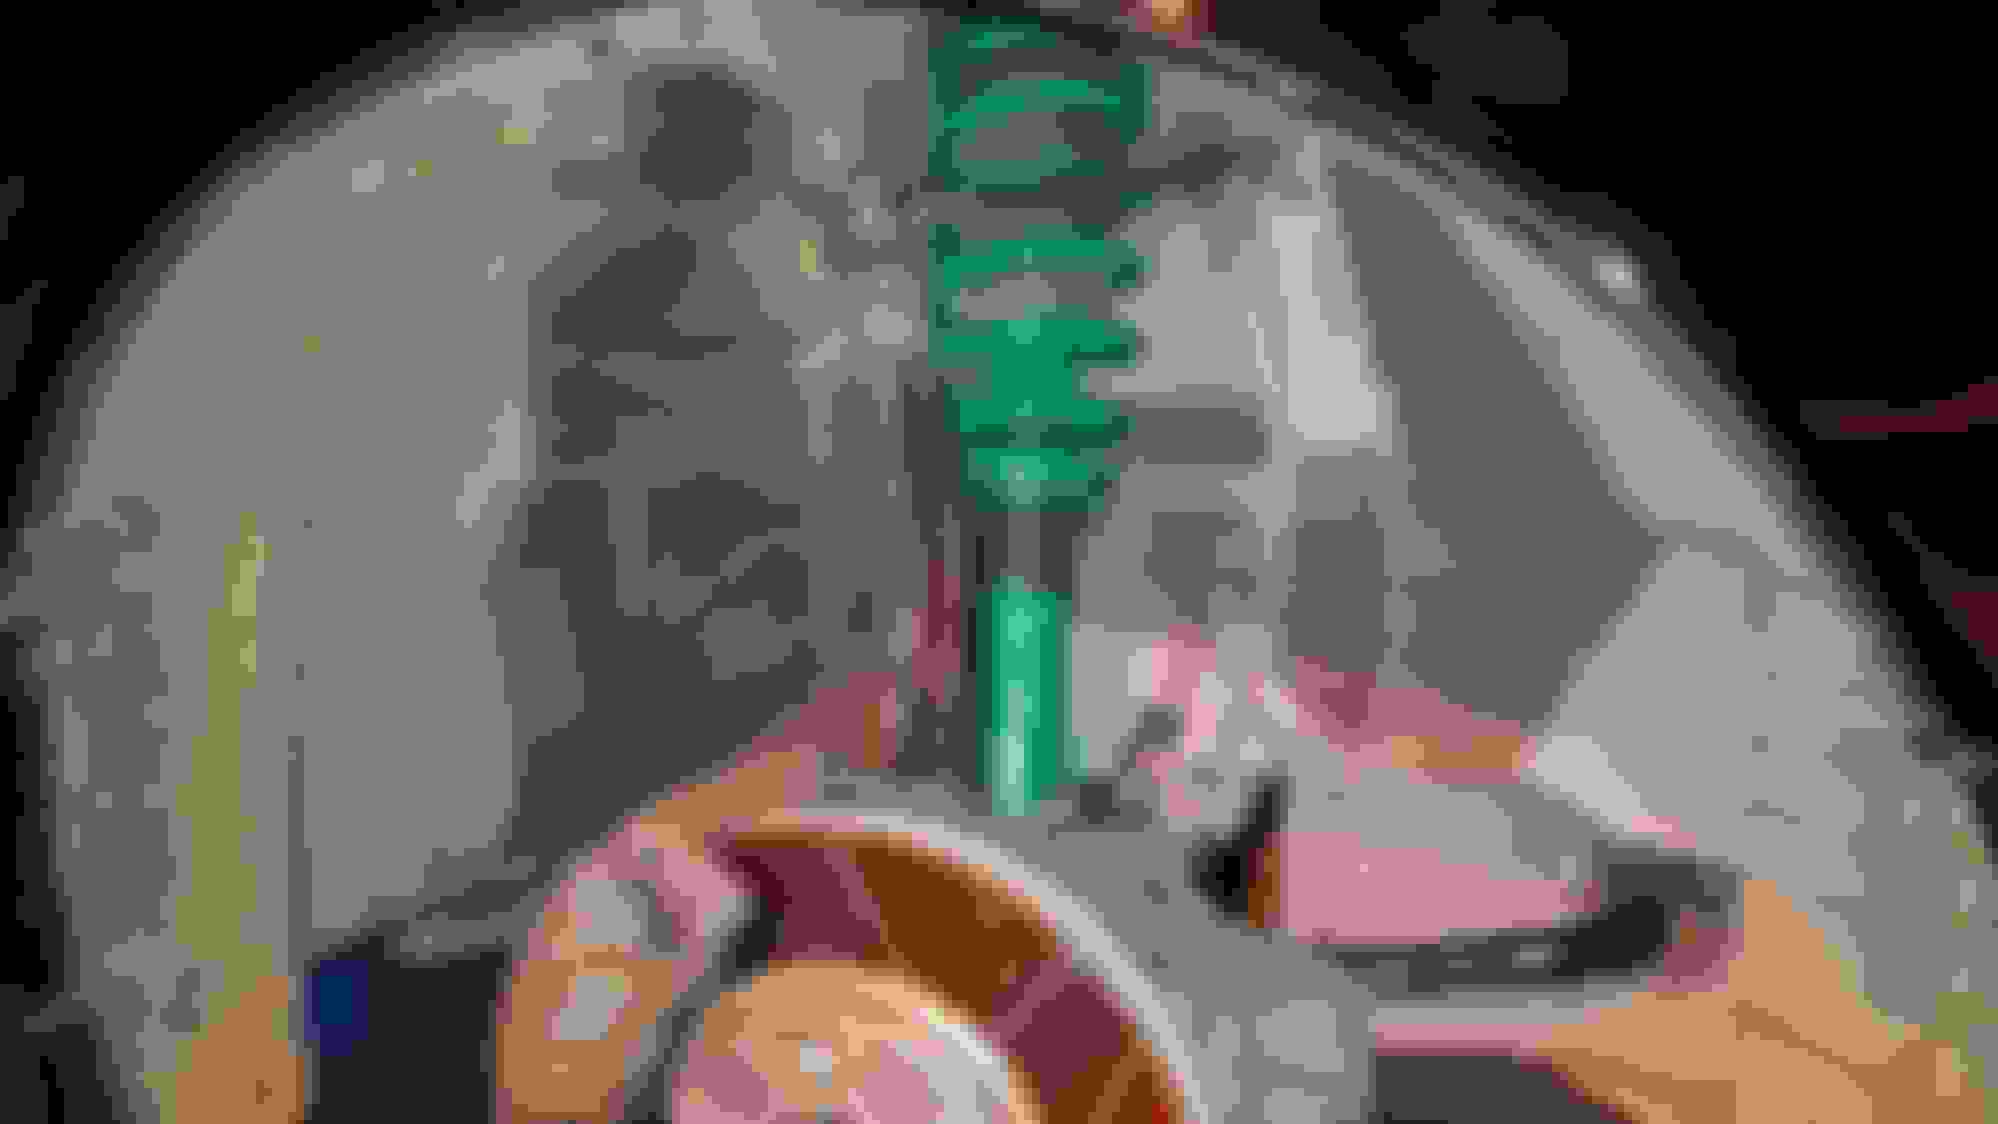
Remove the shock absorber. We pulled it out underneath the brake line.

Step 8:
Take some time to clean your parts up, then, install your coils and follow these steps backwards.
Old 12-27-18, 07:33 PM
  #3  
hbradberry
Rookie
Thread Starter
 
hbradberry's Avatar
 
Join Date: Feb 2018
Location: Georgia
Posts: 64
Received 8 Likes on 8 Posts
Default Rears

Step 1:
Remove trim above the wheel well in trunk.

Step 2:
Remove bolt connecting the 2 lower suspension arms (55 ft-lbf).

Step 3:
Remove 2 bolts on main lower suspension arm (both 81 ft-lbf).

Step 4:
​​​​​​Remove sway bar bolt (22 ft-lbf) and let main lower suspension arm dangle out of the way.

Step 5:
Remove 3 nuts on strut tower (47 ft-lbf). Loosen center bolt if you're reusing top hats, do not remove it. We had to use an adjustable wrench to hold the piston in place, it just wanted to spin without it.

Step 6:
Remove 2 bolts on shock absorber (13 ft-lbf) and remove it. To Install your new coilover, follow these steps backwards.
Old 12-27-18, 07:34 PM
  #4  
hbradberry
Rookie
Thread Starter
 
hbradberry's Avatar
 
Join Date: Feb 2018
Location: Georgia
Posts: 64
Received 8 Likes on 8 Posts
Default After you're done

Make sure to double check all of your bolts and the bushings while you have your car on jacks. Once you have double-checked, put your wheels on and carefully lower you car. You will need an alignment ASAP after coilovers or any other suspension mods, don't put it off. Thanks for reading and if you have any questions feel free to ask!
Old 12-29-18, 12:28 AM
  #5  
AzGsTwan
Driver School Candidate
 
AzGsTwan's Avatar
 
Join Date: Oct 2018
Location: AZ
Posts: 36
Received 3 Likes on 3 Posts
Default

Great write up bro, it will definitely help people out.
Old 12-30-18, 12:22 AM
  #6  
slammry
Driver School Candidate
 
slammry's Avatar
 
Join Date: Jul 2011
Location: So Cal
Posts: 25
Received 0 Likes on 0 Posts
Default

thanks for the write up
Old 02-08-19, 06:53 PM
  #7  
kaliehulum
Driver School Candidate
 
kaliehulum's Avatar
 
Join Date: Mar 2003
Location: California
Posts: 45
Received 9 Likes on 3 Posts
Default Coilovers

[Make sure that you get the car a 4 wheel alignment.

​​
Old 02-08-19, 07:56 PM
  #8  
afgcfan
Driver School Candidate
 
afgcfan's Avatar
 
Join Date: Jul 2017
Location: Illinois
Posts: 17
Received 0 Likes on 0 Posts
Default

Awesome write up, do you have the pics of what the car looked like before and after?
Old 02-12-19, 07:19 AM
  #9  
TrueGS300
Racer
 
TrueGS300's Avatar
 
Join Date: Nov 2018
Location: CA
Posts: 1,774
Received 463 Likes on 377 Posts
Default

I have the same setup, really enjoying it. Can go much lower, but its at the height I want for functional daily driving.


Old 02-14-19, 05:57 PM
  #10  
hbradberry
Rookie
Thread Starter
 
hbradberry's Avatar
 
Join Date: Feb 2018
Location: Georgia
Posts: 64
Received 8 Likes on 8 Posts
Default

Originally Posted by afgcfan
Awesome write up, do you have the pics of what the car looked like before and after?
Before:

After:


Definitely worth the money
Old 02-14-19, 05:59 PM
  #11  
hbradberry
Rookie
Thread Starter
 
hbradberry's Avatar
 
Join Date: Feb 2018
Location: Georgia
Posts: 64
Received 8 Likes on 8 Posts
Default

Originally Posted by TrueGS300
I have the same setup, really enjoying it. Can go much lower, but its at the height I want for functional daily driving.


Our cars are like long lost siblings! Same height and everything. Powerstop brake kit?
Old 02-14-19, 06:24 PM
  #12  
TrueGS300
Racer
 
TrueGS300's Avatar
 
Join Date: Nov 2018
Location: CA
Posts: 1,774
Received 463 Likes on 377 Posts
Default

Ya we have similar taste . Even our style of wheels is similar. Yes they are just the cheap power stop pads and rotors. Decided to paint calipers while I was at it.
Old 02-14-19, 06:44 PM
  #13  
hbradberry
Rookie
Thread Starter
 
hbradberry's Avatar
 
Join Date: Feb 2018
Location: Georgia
Posts: 64
Received 8 Likes on 8 Posts
Default

Originally Posted by TrueGS300
Ya we have similar taste . Even our style of wheels is similar. Yes they are just the cheap power stop pads and rotors. Decided to paint calipers while I was at it.
I'm loving my powerstop kit, the best feeling is being confident in your brakes. It's saved me many times
Old 02-15-19, 11:42 AM
  #14  
Revive
Lead Lap
iTrader: (1)
 
Revive's Avatar
 
Join Date: Nov 2010
Location: Florida
Posts: 653
Received 7 Likes on 7 Posts
Default

If you flip the front lower shock mounting bolt around on reinstall you no longer have to disconnect the sway bar end link.
The following users liked this post:
ClarkGS430 (05-30-19)
Old 03-12-19, 10:15 AM
  #15  
Scorp79
Driver School Candidate
 
Scorp79's Avatar
 
Join Date: Mar 2019
Location: Florida
Posts: 4
Received 0 Likes on 0 Posts
Default


Originally Posted by Revive
If you flip the front lower shock mounting bolt around on reinstall you no longer have to disconnect the sway bar end link.
I installed the same same coilovers.. have you guys experienced a clunking noise afterwards.??.


Quick Reply: DIY Coilovers Install


All times are GMT -7. The time now is 06:19 AM.