When you click on links to various merchants on this site and make a purchase, this can result in this site earning a commission. Affiliate programs and affiliations include, but are not limited to, the eBay Partner Network.
DoLuck Floor Support Bars install (chassis braces)
As far as I know, I think I'm the only guy ever to put DoLuck chassis braces on a SC/Soarer.
These bars utilize factory mounts and holes to bolt to the chassis. There is no drilling or welding required to install these.
Overall, install isn't bad. Just time consuming. Install note: There is no other way to install this braces besides the car sitting on the ground. You want the chassis as straight as possible. If you have this on a lift , the arms will get in the way. In theory you could use an alignment rack. You can't use jackstands at the jackpoints because they will interfere with the install. I guess you could use jackstands on the framerails, but you have to make sure they won't cause the frame to slightly warp/bow. Because if it does it will affect install.
This is what the bars look like. There's only one bar in this pic (the driver's side) because I had already got the passenger side bar mocked up on the car when i decided it was probably a good idea to take a pic of the bar(s) BEFORE I put them on the car
First, find the two threaded bolt holes in the front of the chassis directly behind the front wheels. They are just inboard of the front jack point on the pinch welds. More than likely, they are partially covered with rubberized undercoating. You will need to clean these up. You might have to cut any blocking undercoating away with a razor. As for the threads themselves, they aren't deep enough to use a tap so I just used some extra bolts I had to clean up the threads with some CRC freeze off (it dissolves light rust) as lube. It took a long while, but I did manage to clean the threads up this way. You don't want to strip these because the front of the bar bolts to the chassis using these.
The rear of the bar bolts using a DoLuck supplied bracket and utilizes two preexisting holes in the SC chassis. One hole is used to insert the bracket, and the other hole is for the bolt. One rubber plug is directly inboard from the rear jack point, and the other is immediately aft of this one - pretty much in the start of the wheel well. Remove both.
You will need to take the driver and passenger seats out because you need to get under the carpet and it's practically impossible to lift the carpet high enough with the seats bolted down. Even unbolted, seats are heavy and it's just way easier to do all of this with the seats out. If you're doing this in a garage or on a driveway, I suggest doing one side at a time just because just one side can take a few hours or more. Once you have the carpet pulled up at the edges, you want to pop out the cabin water drain plugs. One is at the base of the front seat footwell directly in front of where the front seats bolt down, and the other is in the rear seat footwell.
Here's the hardware mocked up in the rear seat footwell
And the hardware in the front seat footwell
Now here is where I differ from the Supraforum posts. Those guys talk about using sealant to seal the cabin drain plugs once you have the washers bolted in. I did not want to do this. I wanted a weatherproof seal that has no chance of rusting with age. Something that kept water out of the cabin but also protected the edges of the chassis just like the OEM plugs did. So after looking at the drainplugs for a good while, i decided that I could cut the centers out of them, turning them into giant grommets.
Here's a pic of what that looks like (this is also what the hardware will look like for final install. Notice the thick washer on top of the DoLuck bar bracket
Mocking the bar up on the car is probably the most complicated part. The Supraforums posts say to put the bolt and giant washer in the drain plug holes first and use the nuts to support the bar that way you can move it around. I did this for the passenger side.
It is rather awkward holding this 8ft long aluminum bar elevated off the ground while also trying to hold the bolt in the passenger cabin so that you can get the nut on the bolt. GET SOMEONE TO HELP YOU HERE. I understand why this is probably the best way to put the bar on the car because if the car has ever been in an accident, YOU WILL NOTICE IT NOW.
For the driver's side I was alone and I put the bar on by threading bolts into the front 2 holes then feeding the big bolt thru the chassis hole to the bracket. Both methods worked for me in the end.
I have lots of purple electrical tape that I rarely use. I found it rather useful to put 5 layers on each edge so the concrete wouldn't gouge the bar
Once the bar is mocked up, thread in the two small bolts in the front. Don't tighten anything down
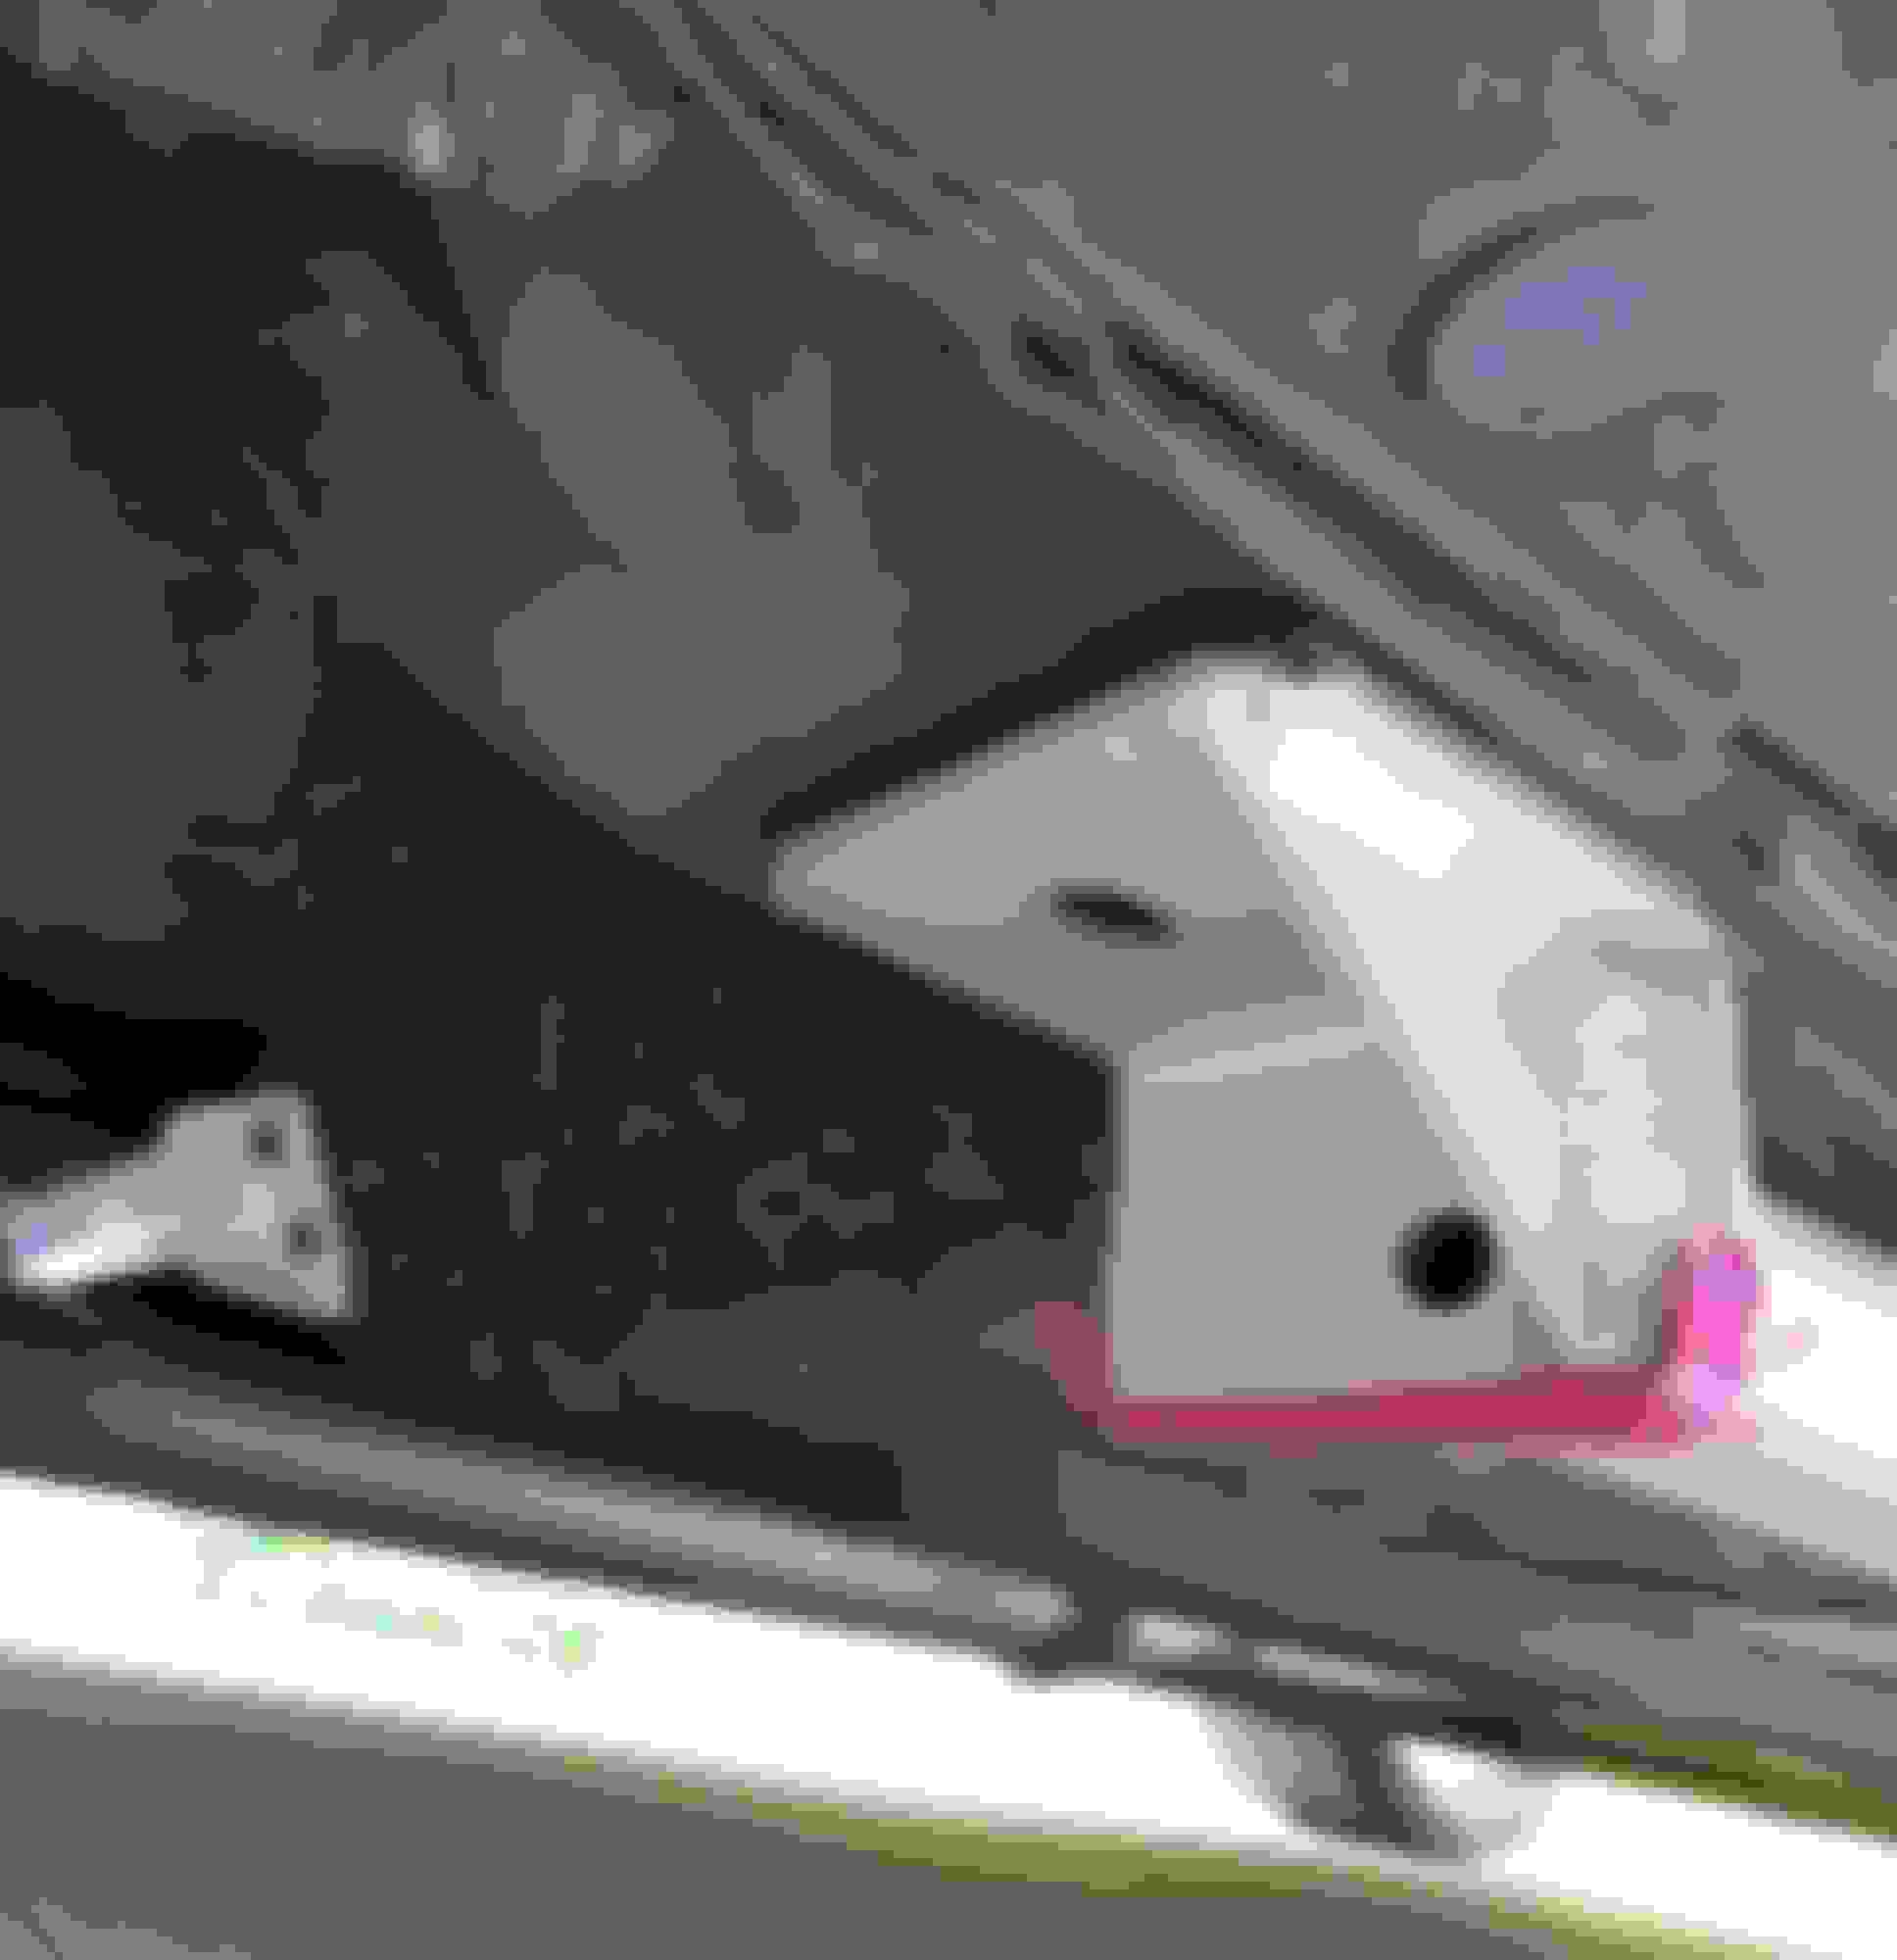
This is the rear of the bar. You can see where the big rubber plug is. *I put it back in for this picture* The other rubber plug was located directly above where the bar is now
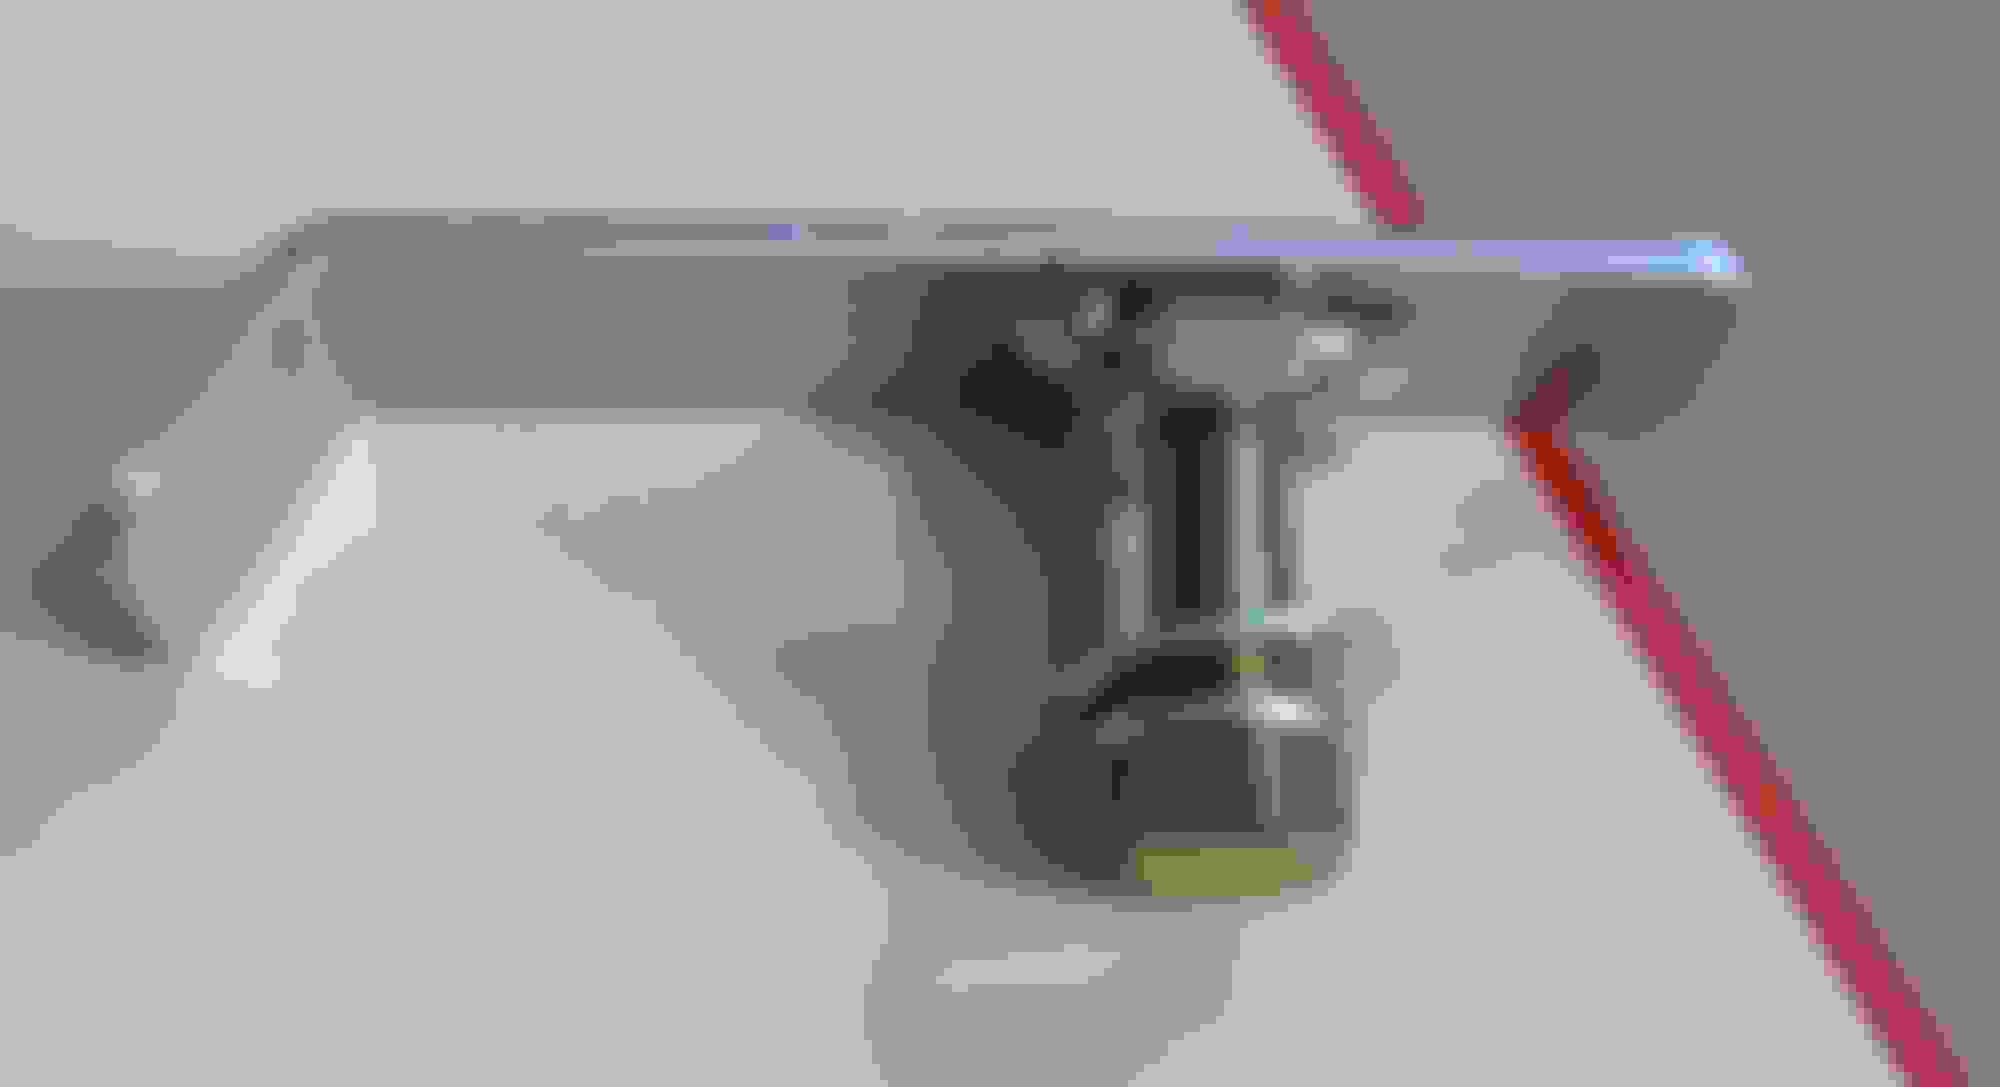
This is the DoLuck supplied bracket. You will feed this into the big hole and the bolt goes thru the bar from below
This is what it looks like when you insert the bracket. It might seem weird at first that this simple thing works but it does. The nut slides inside a hole that's raised up inside. Once you feed the bolt thru from below, it because a very secure mounting.
Now that you have the bar pretty much bolted together but not tight, you can go back to the floor drain holes and prepare the hardware so that it's ready for tightening. Remove the nuts holding the bar thru the floor holes and let it be supported by the 2 front bolts and the rear bolt. Next lift up the carpet and remove the bolt and the giant washer and place the big thick washers on top of the bar brackets.
Here's a pic of how the hardware goes:
*INSIDE OF CAR* BOLT - GIANT WASHER - [modified drain plug grommets I made earlier] - CHASSIS - THICK WASHER - DoLuck Bar BRACKET - NUT *OUTSIDE OF CAR*
NOTE: DoLuck gives you 4 thick washers for the floor mounts. They are the same thickness but 2 are significantly larger than the others.
JZA80 owners put the larger washers in the rear (There's no certainty in that install - they seem to be working off an educated guess).
However, with the design of the SC/Soarer I believe our cars would benefit with the larger washer in the front, which is close to the halfway point of the doors. Almost directly below the top of the windshield.
**NOTE**: The instructions that came with the DoLuck bars don't say how it should go. I translated the pages using google translate and page 1 is just warnings. Page 2 is basic install instructions generic to all cars the bars are offered for. Page 3 & 4 are JZZ30 specific but they are just 5 small B&W photocopies of pics of the bars installed on a Soarer. They are so low-res that they are completely useless. Which is why I looked into the Supraforums posts in the first place.
This was me repeating all the above steps on the driver's side.
Once you have everything fitted, tighten everything down by hand. The front and rear bolts are maybe 10 ft.lbs at most (I doubt I'm that strong with hand tools in awkward positions).
The center bolts and washers are unique. Tighten them until they stop. The big aluminum washers will cave downward and then stop when they bottom out on the thick washers. This is what secures the brackets to the chassis. I gotta admit, whoever thought of bolting these down this way was sort of a genius. When the bolts stop moving, you're done! And you'll know it when it happens.
There is one part of the install that I haven't done yet. DoLuck supplies 2 giant sheetmetal screws that are meant to further reinforce the front of the bar on either side. In order to install these, you will need to drill a pilot hole into the chassis in the middle of the hole in the bar. After this, you would need to impact gun the bolt into the chassis. From what I've read in SupraForums, only half of the owners do this step. I dug thru multiple posts about the bars and didn't read one post about this being critical or not to the install. The track guys said it helps. The street guys have all the positive effects without it.
After I did all this, I decided to weatherproof the install a bit. Where the rear of the bars bolt into the chassis, I put a ring of 3M strip-caulk around the bottom hole. The 3M strip caulk is the exact same stuff Lexus used to hold the plastic water guards in the doors. The black tar strips that after 20+ years are still gooey? Yup, that's this stuff. That should keep moisture out forever. I also replaced the kit supplied washer with a larger one that completely covers the hole in the bar.
Now the rear bracket bugged me. The last thing I want on my car is a big gaping hole on either side of the wheel well that water can pour into. So i started brainstorming ways of putting the OEM plug back in and keeping the bracket. At first I was considering cutting off the angled part of the bracket. But instead I noticed that the angled part pretty much matched the angle of the wheel well... just 90 degrees off. I played around with the bracket inside the hole, wondering if it could even work "upside down". I discovered that if you rotate the bracket top-bottom so that the nut is on top instead of inside the hole (per the DoLuck instructions) the bracket can fit 100% in the hole and the big OEM rubber plug can go back in it's place, protecting the chassis from water splashed up by the rear wheels. IN ORDER TO MAKE THIS HAPPEN YOU WILL NEED LONGER BOLTS I don't remember how long the bolt is because I just used two bolts I had lying around but they are about 15-20mm longer than the supplied bolts. It's a bit awkard to hold the bracket upside down, and if you have big hands this will be a problem... but I managed to tighten everything down as tight as I did before. And the original rubber plug fits in the OEM hole. Just as snug as it was before *YAY*
I've had them on the car for about 2 weeks now
Pros: I don't really notice a difference while driving, but crossing over driveways, curbs, ramps, and uneven pavement, they made the creaks go away
Pros: as big as they look, they only hang at the level of the stock frame rails. I didn't lose any ground clearance. The lowest thing under my car before and after is my exhaust.
Cons: These interfere with jacks and jackstands on the pinchwelds. I normally jack up the front of the car from the tow hooks but this definitely interferes with me jacking up the rear of the car. From this point on, I will probably have to jack the car up from the diff.
Cons: YOU CANNOT JACK THE CAR UP ON THESE. At least, it is not recommended. I'm sure with the steel ones it was possible but with these aluminum ones I wouldn't risk it.
Cons: It is not as stiff as a weld-in cage.
Overall, you can get better results with a bolt-in cage. An improvement over that would be a weld-in.
Before people ask where did you get these? How much did they cost? How long did you wait? I will answer that now. SP Engineering in California threw these bars on ebay a little over 8 years ago when they got out of building imports and decided to focus exclusively on exotics. Apparently they were special ordered for a customer in the mid to late 00s and he cancelled his order. The shop had been sitting on them for a couple years. I paid $400 shipped for them and they sat in the corner of my bedroom up until 2 weeks ago. According to one of the Supraforums threads, the MVP groupbuy took 6 months to be fulfilled by DoLuck. I have no idea how long individual orders would take, maybe 6-9 months.
Here's a shot of what they look like on my car. That's them directly below the doors.
A few years ago I saw a clean SC400 parked outside the Bass Pro in Gurnee Mills that had these installed (they look the same to me). I remember thinking at the time what the heck those things were. It was a pre 97 SC with the higher side skirts so they were really visible on that car.
 09-06-18, 05:55 PM