When you click on links to various merchants on this site and make a purchase, this can result in this site earning a commission. Affiliate programs and affiliations include, but are not limited to, the eBay Partner Network.
yeah you can, just need to pop the ball joint and get a long wrench to the chassis bolts. At least that's how mine went
So you didn't have trouble removing the chassis bolts? I rotated my tires this weekend. It did seem the chassis bolts sit behind the spring. There should be enough room to clear once removing.
Any news on the press in ball joint? I'm receiving my OEM arm this weekend. It looks like I can remove the upper arm without removing the spring assembly itself. I won't know until I actually start remoing everything though.
i haven't actually gotten around so doing the Moog ball joint by itself yet. got some ichiba v1's and had to rip apart my rear end (hub/axle removal on both sides). huge PITA, very frustrating. so i'm putting off installing new joint. however, a mechanic friend just did a ball joint install on his SC. it is definitely possible to do just the joint install without the entire arm assembly, but it is jut much more difficult and time consuming because of the pressing required. but a good C-clamp or the loaner kit from autozone will suffice. so with the arm already pressed, very easy. with just the joint, certainly possible, just more time consuming (but still potentially way cheaper).
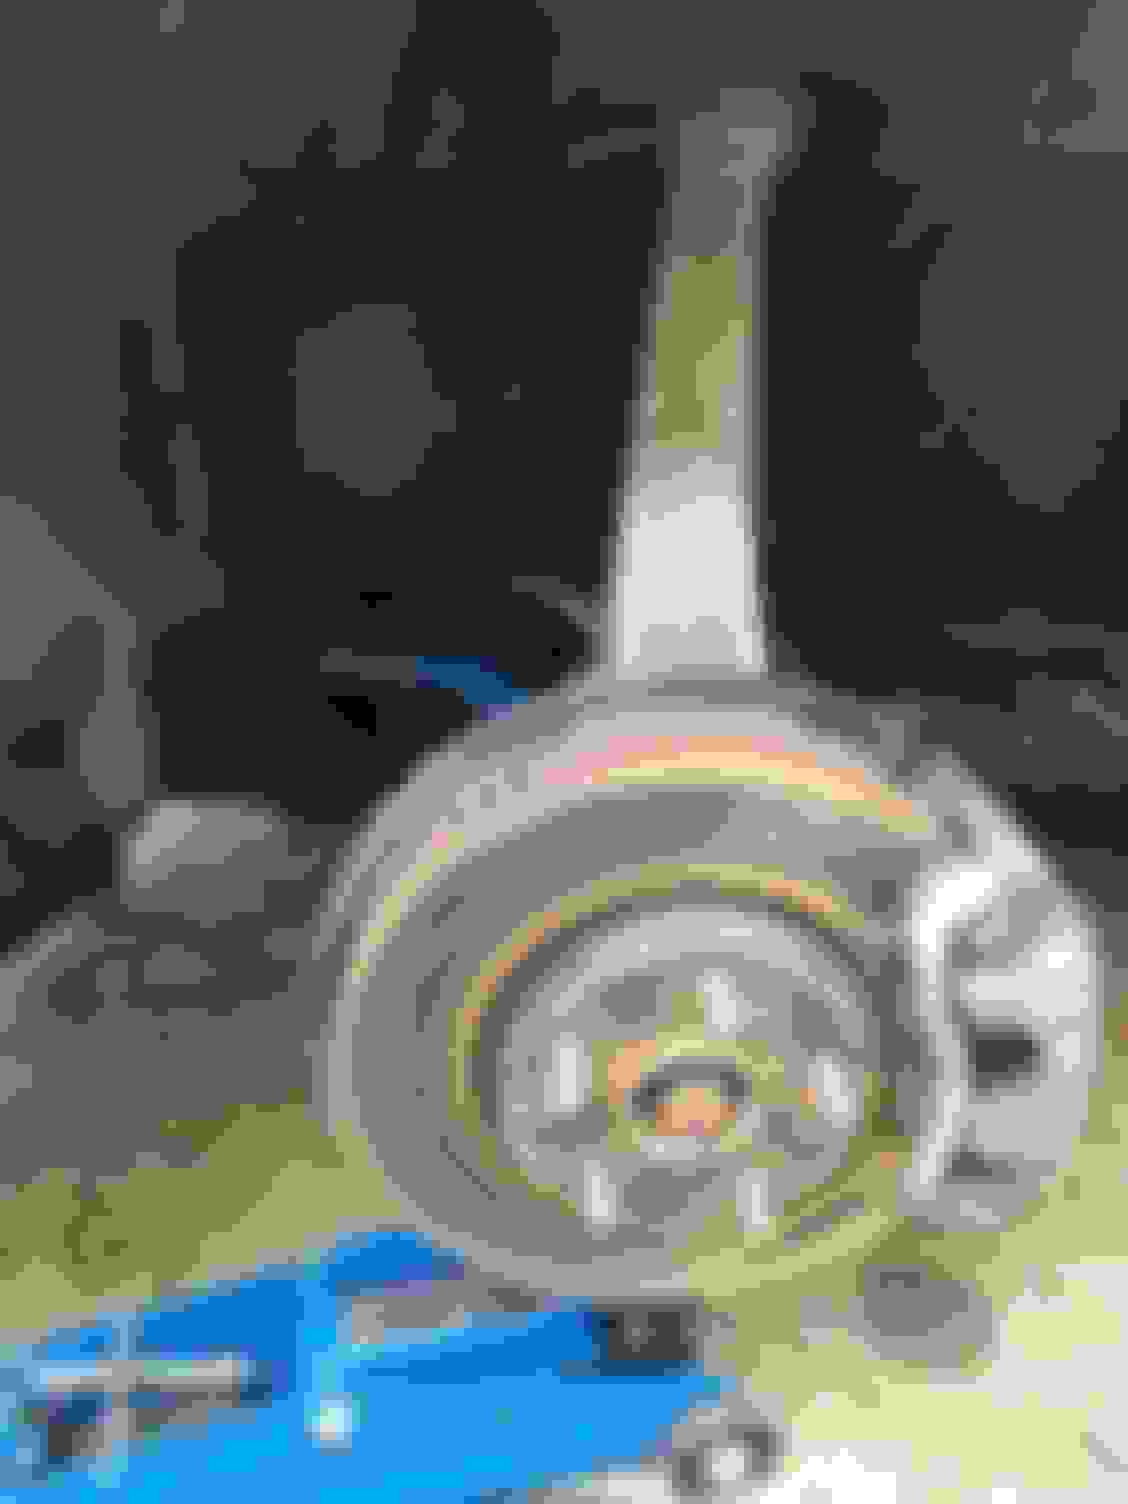
Well my UCA came in today. I just installed it not as bad as I thought. About 1 hours worth of work. The poping noise is gone, but I still have a small faint one now. I'm thinking it's the lowers now. Will buy all new ones from Rock Auto. Also planning to rebuild my old one with a new press in one. I'm taking it to work on Monday to press the ball joint. It should be fairly easy to do with a 55 ton press.
^ Nice! Easy enough right? No need to remove the spring. Definitely looks like that ball joint was far gone for a while.
Yeah it looks that way. It did have a lot if play once I got the lower arm high enough. It just moved around fairly easy. The clunking noise is gone. Yet I still have a small squeaking noise while turning at slow speeds. It's gotta be the inner or outer tied rods. As far as I can tell the lower ball joints are still good.
Yeah it looks that way. It did have a lot if play once I got the lower arm high enough. It just moved around fairly easy. The clunking noise is gone. Yet I still have a small squeaking noise while turning at slow speeds. It's gotta be the inner or outer tied rods. As far as I can tell the lower ball joints are still good.
The lower carrying the weight of the nose / springs load usually have a tiny bit of play in them. Under load they have to be pretty loose to clunk. Was there any tears in the boot on the top to let water in? Looks like hint of rust there.
You may know this but as for checking the inner tie rod, get the tires on solid surface and with a helper, have them rock the steering wheel back and forth maybe an inch or bit more. Grab the racks boot and squeeze until you can pinch the ball and socket. As the load from wheel being turned transitions, if there is slop in the socket you can feel it move through the boot. Its too bad photobucket went the way it did or I'd post a gif.
When the joint gets real loose you can feel it by hand. Leave one tire on the ground and jack the other side at the LCA. Grab the tire at 3 and 9 O-clock and rock it back and forth. If you feel any play confirm it is not the outer tie rod end. May need a helper for this.
What is your opinion of ride quality of those poly bushings you have on the LCA. Did it up the vibes and cabin road noise?
At the 3, and 9 o'clock. I had some play left to right horizontal movement. This was before I swapped the FUCA. I didn't bother to check again after the install. Once I get the new parts in this week. I'll have have to do some more inspection before replacing parts.
The RR USRS adds some NVH maybe 10-15% in cabin. Once you get used to them it's completely like stock. They're a major upgrade. It was the first mod I did actually. I was so tired of my tires cambering out on hard braking. The nose dive is completely gone. Pair that with the Fsport sway kit, and chassis brace. IMO best upgrades for the 2IS whether RWD, or AWD. I'm still on stock suspension right now. Eventually I'll probably get some BC coilovers.
So are you running a zero toe up front and have control of inner tire wear?
Looking at the pivot points for deflection and given the rack is ahead of the axle it seems that during heavy braking the lower ball joint would move rearward, this would decrease caster as the upper and lower ball joint align vertically, then to a lesser extent, as the tip of the LCA sweeps rearward, the camber would go ever slightly postive. That said because caster while going straight is not a tire wearing attribute, it seems it's the toe change that takes the big hit while braking.
My last set of tires was the HTR. I really never had any inner tire wear. They finished pretty solid after about 2.5 years. They seemed to wear out very evenly.
I just got my new Michelins recently. First rotation after 5k my driverside is showing inner wear. It probably due to the upper arm issues, and what's still causing issues. Either rods or lower ball joint. When it comes to specs on alignments that's beyond me. I did get the car aligned. The tech said that he didn't have to do much tweaking at all. The rears was dead on spec. It was just the driver side front he tweaked pretty much.
I spent like 7 years at frame/alignment shop. For the most part even cars w wild camber numbers can achieve decent wear if toe and pressure are tailored to the vehicles loading and driver style.
When I grabbed mine back in July the front inners were pretty bad already. Between low pressure and being toed out 1/4", I knew I needed to adjust ASAP.
Bumped the pressure on the nose to 43psi and toe it in 1/16" to combat the damage done.
I got another 7k out of them before replacement.
I have some low mileage ISF LCAB coming. I'll run those lor a bit and toss some figs poly in my old brackets. Put the toe and zero and watch them.
Keep on eye on the tires. The name plate rating on the piller is a starting point only and for max load. Most of us run around empty and can drop the rear pressure to preserve the center section and bump the front pressure to preserve the edges as these scrub a lot in the parking lot regardless of toe settings.
Well my UCA came in today. I just installed it not as bad as I thought. About 1 hours worth of work. The poping noise is gone, but I still have a small faint one now. I'm thinking it's the lowers now. Will buy all new ones from Rock Auto. Also planning to rebuild my old one with a new press in one. I'm taking it to work on Monday to press the ball joint. It should be fairly easy to do with a 55 ton press.
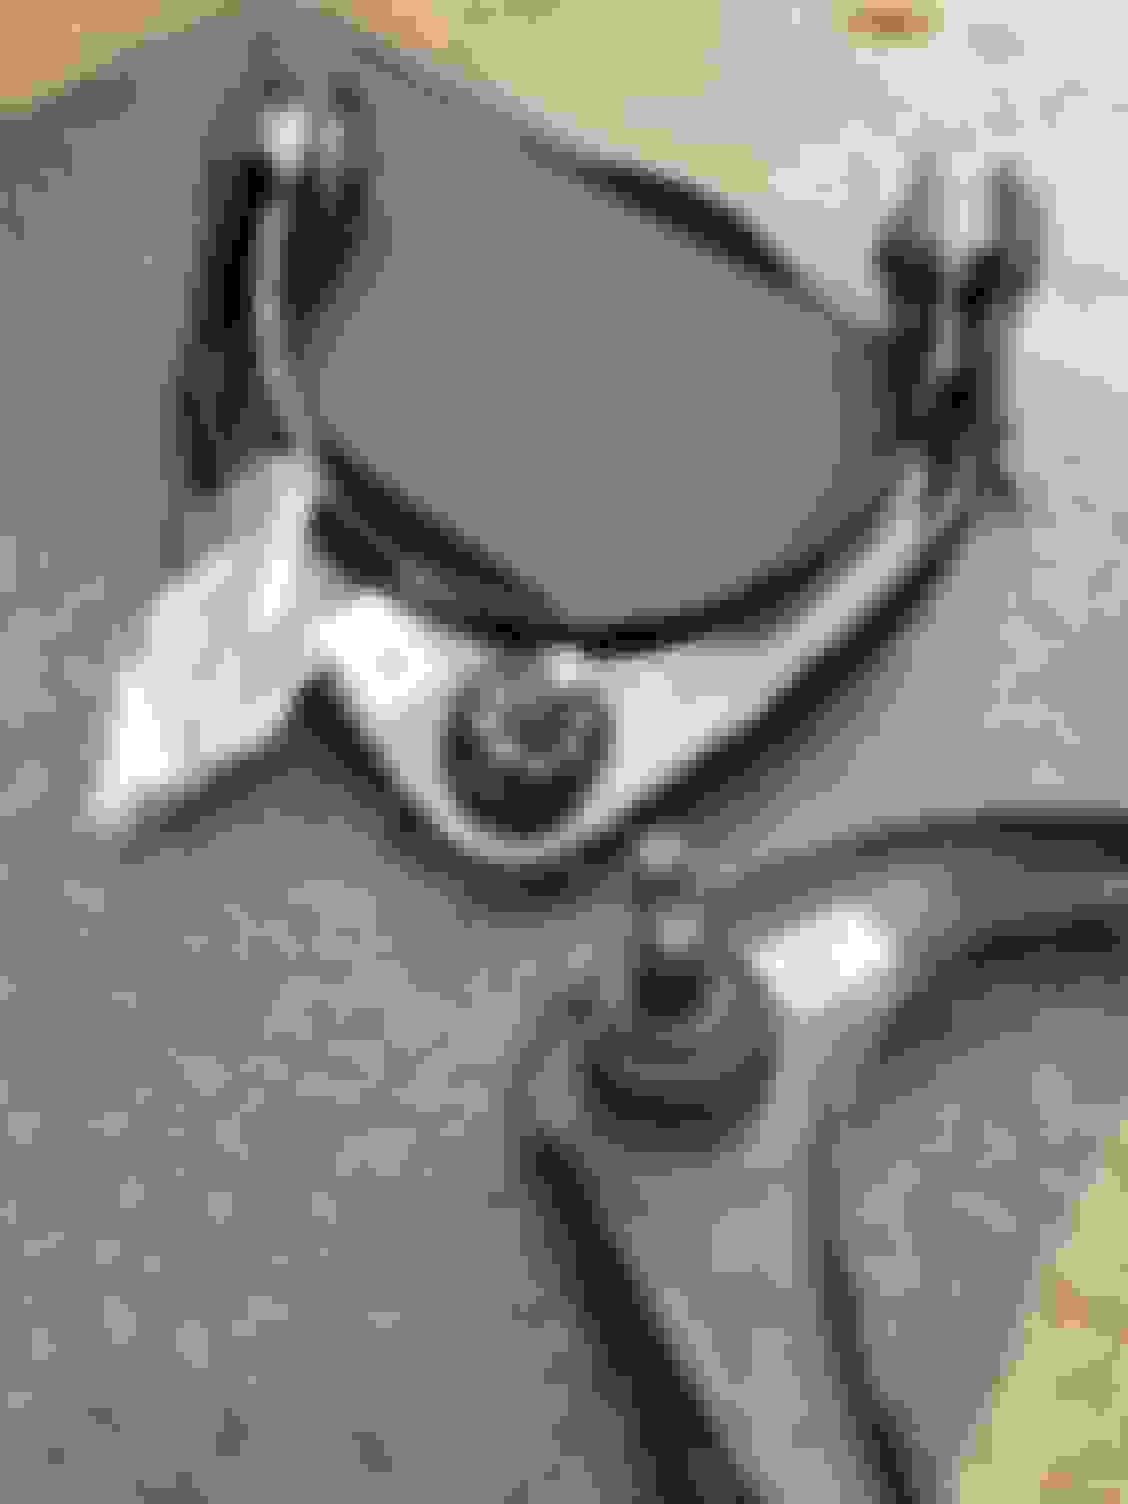
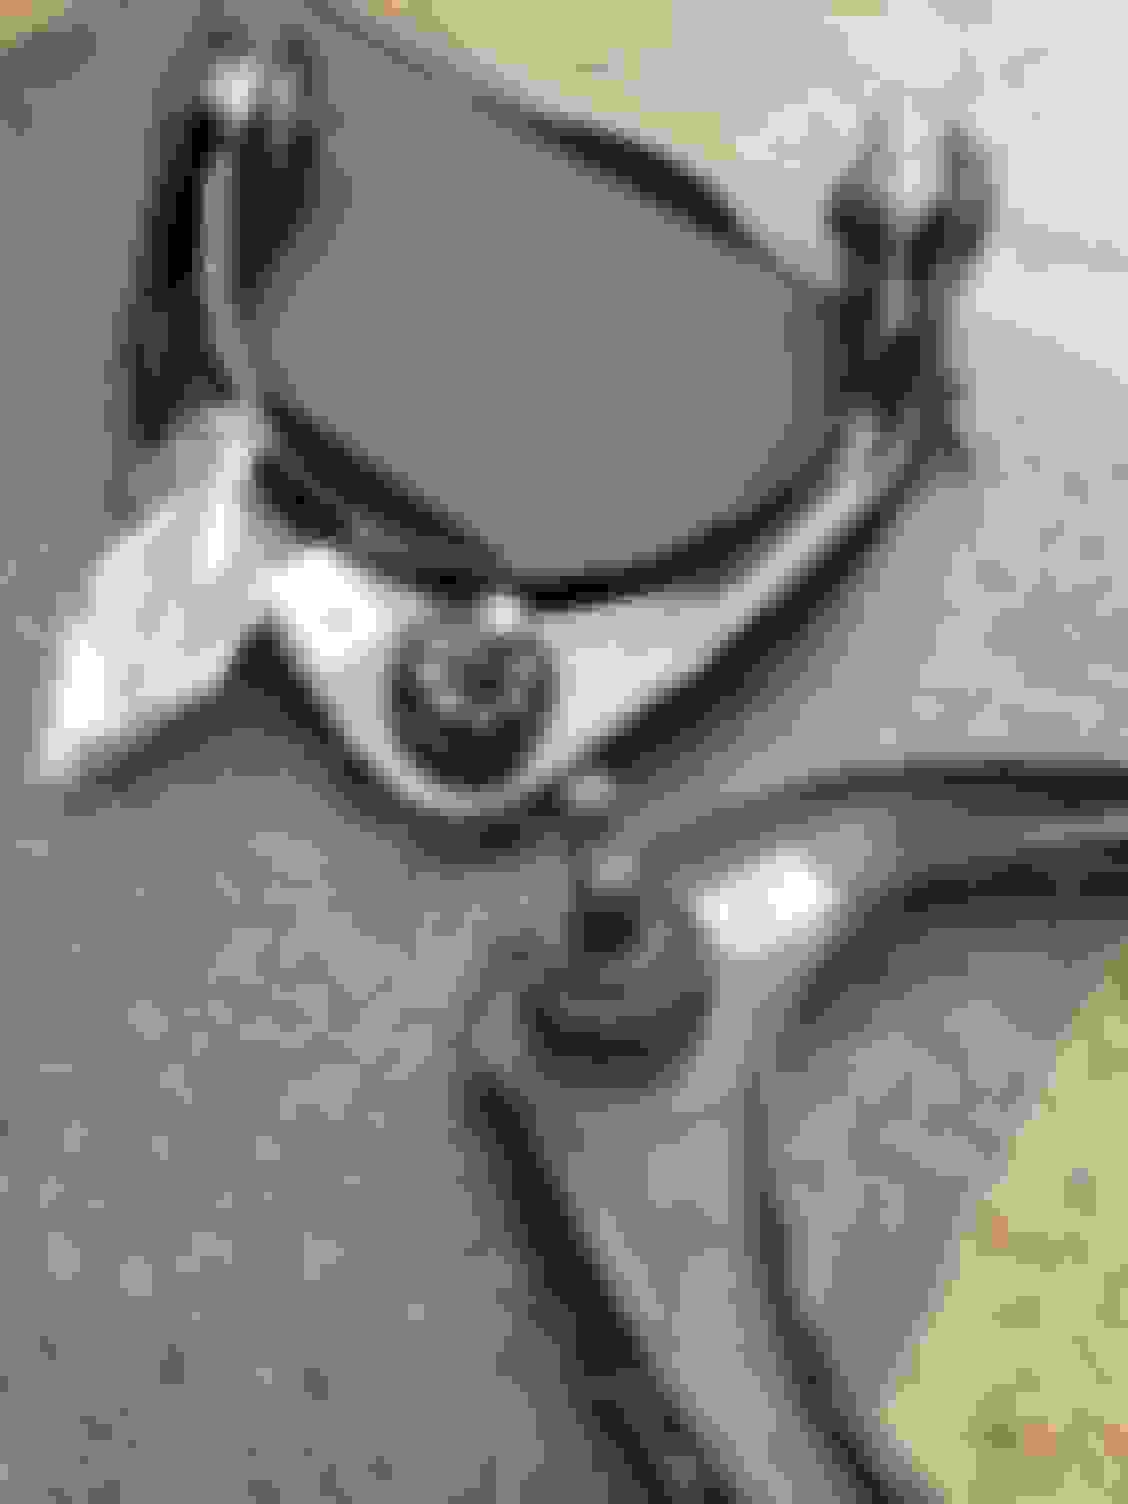
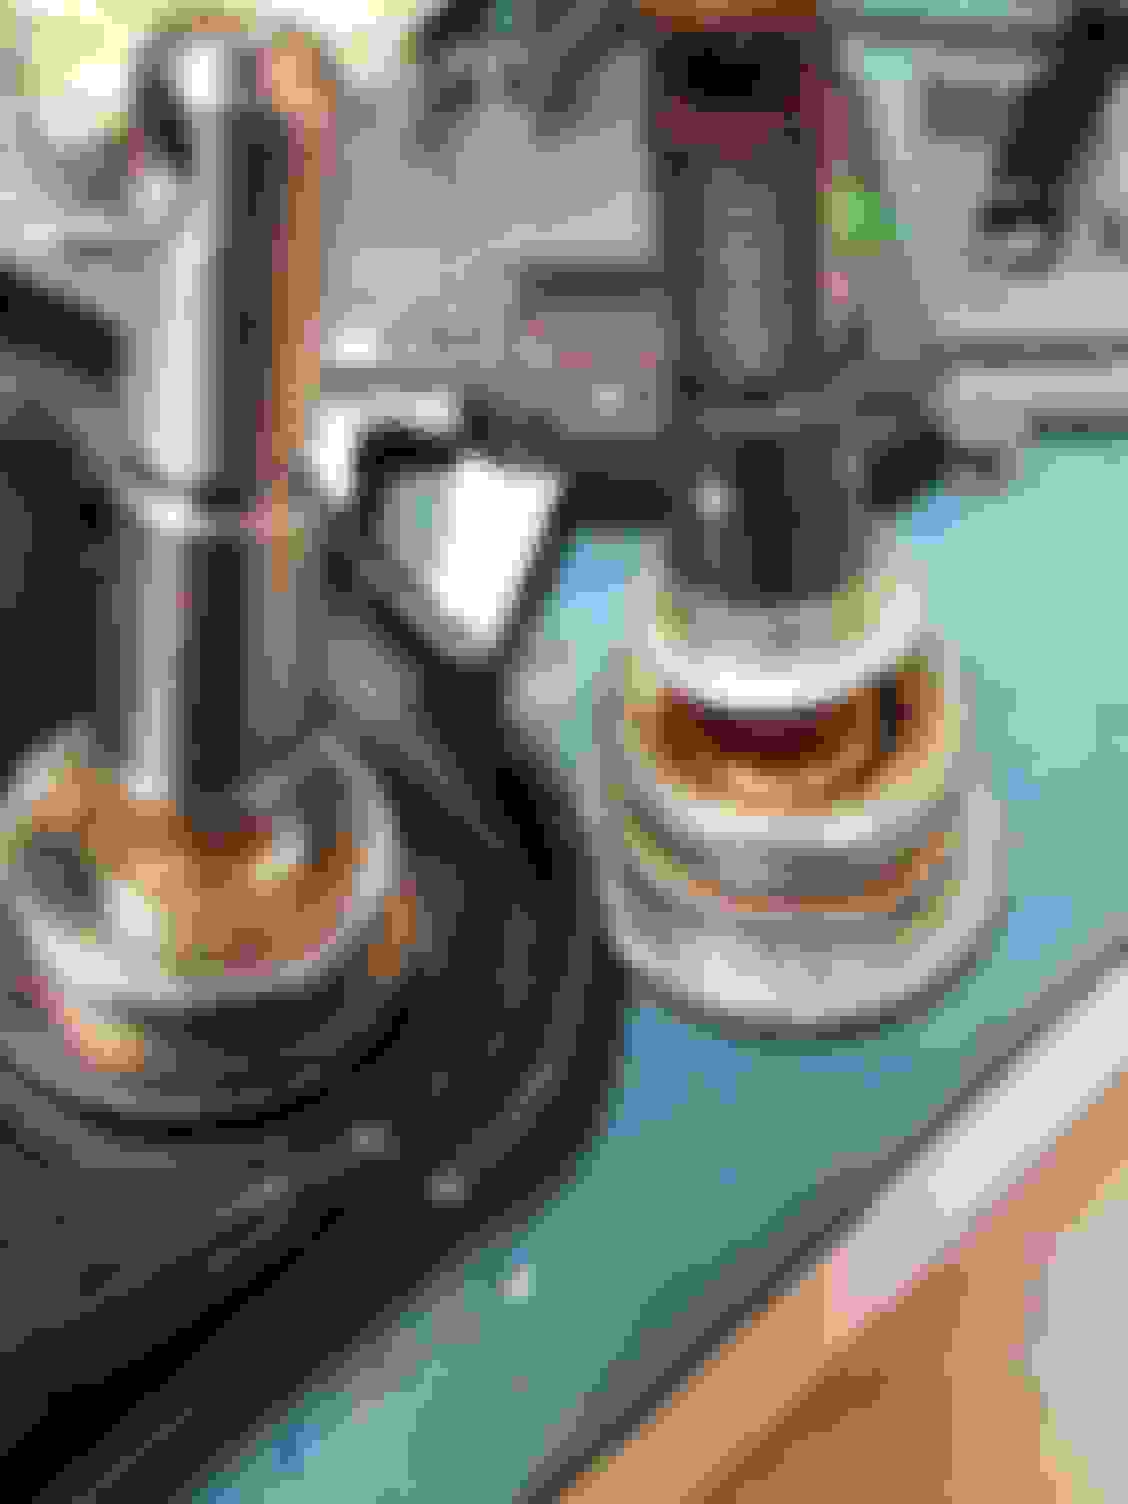
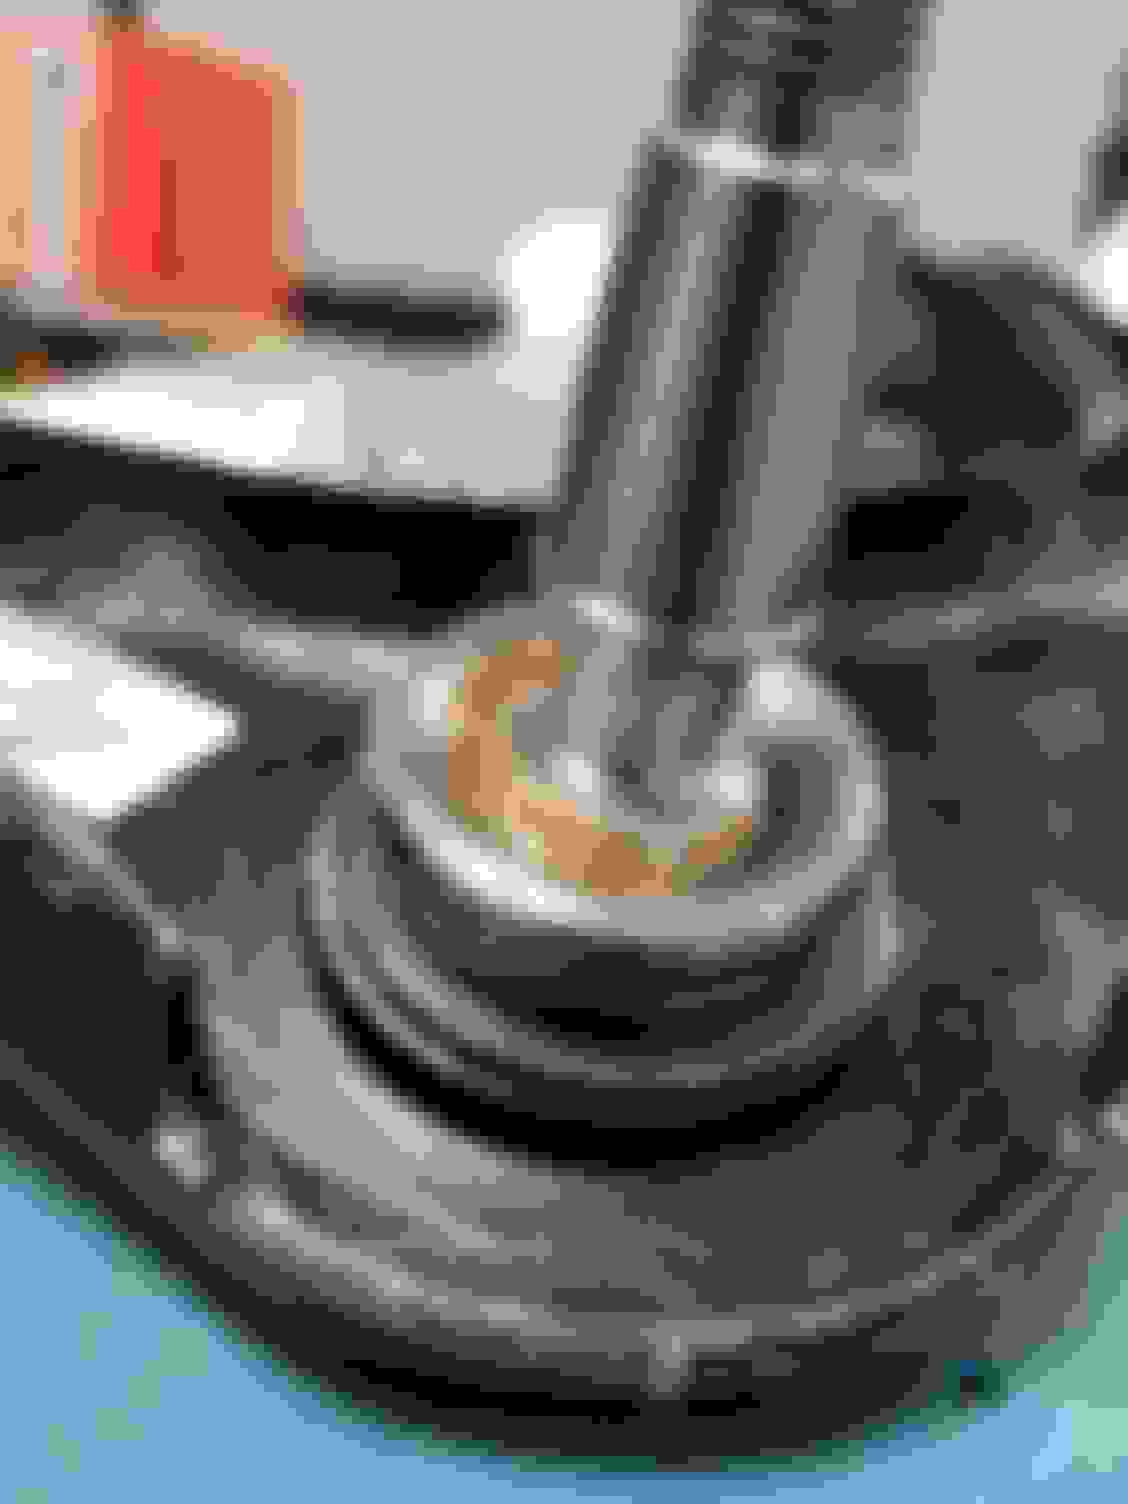
Ok I was able to pop the ball joint out with a standard table vise. See pics below you sandwich the control arm in between. like using a bushing press. Just make sure everything is aligned straight before closing the vise. Now still waiting for my new Moog ball joint to arrive to press it back in. See picks below for reference I used what I found at work.
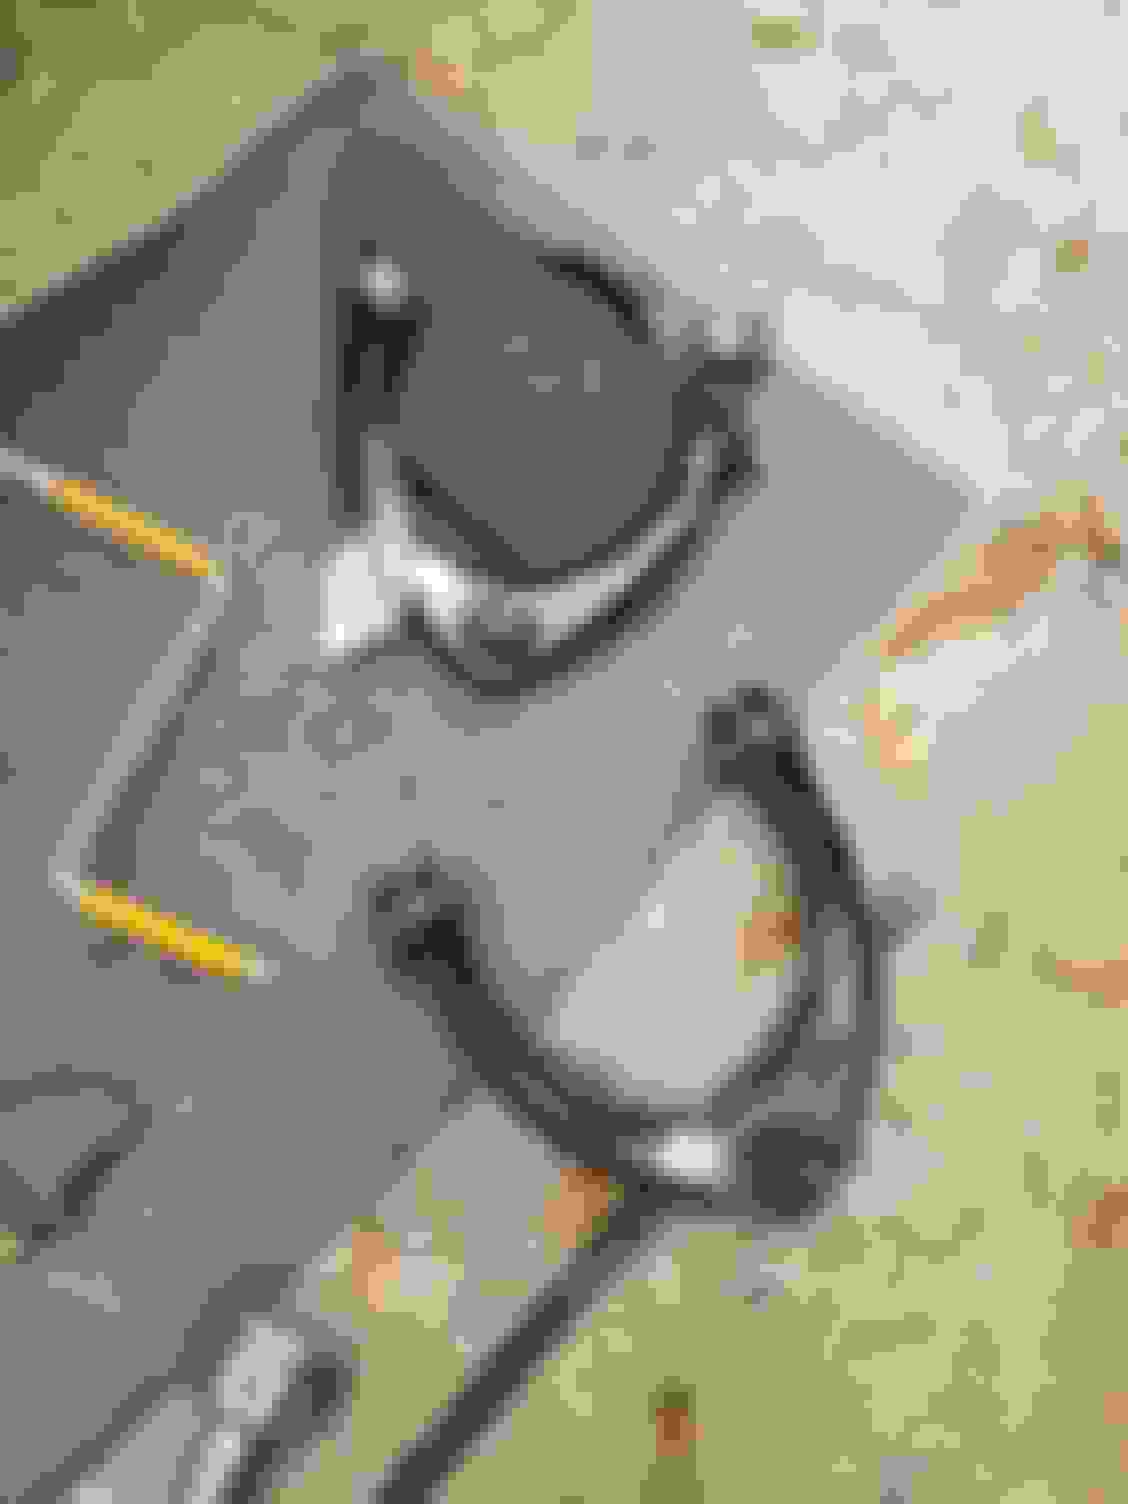
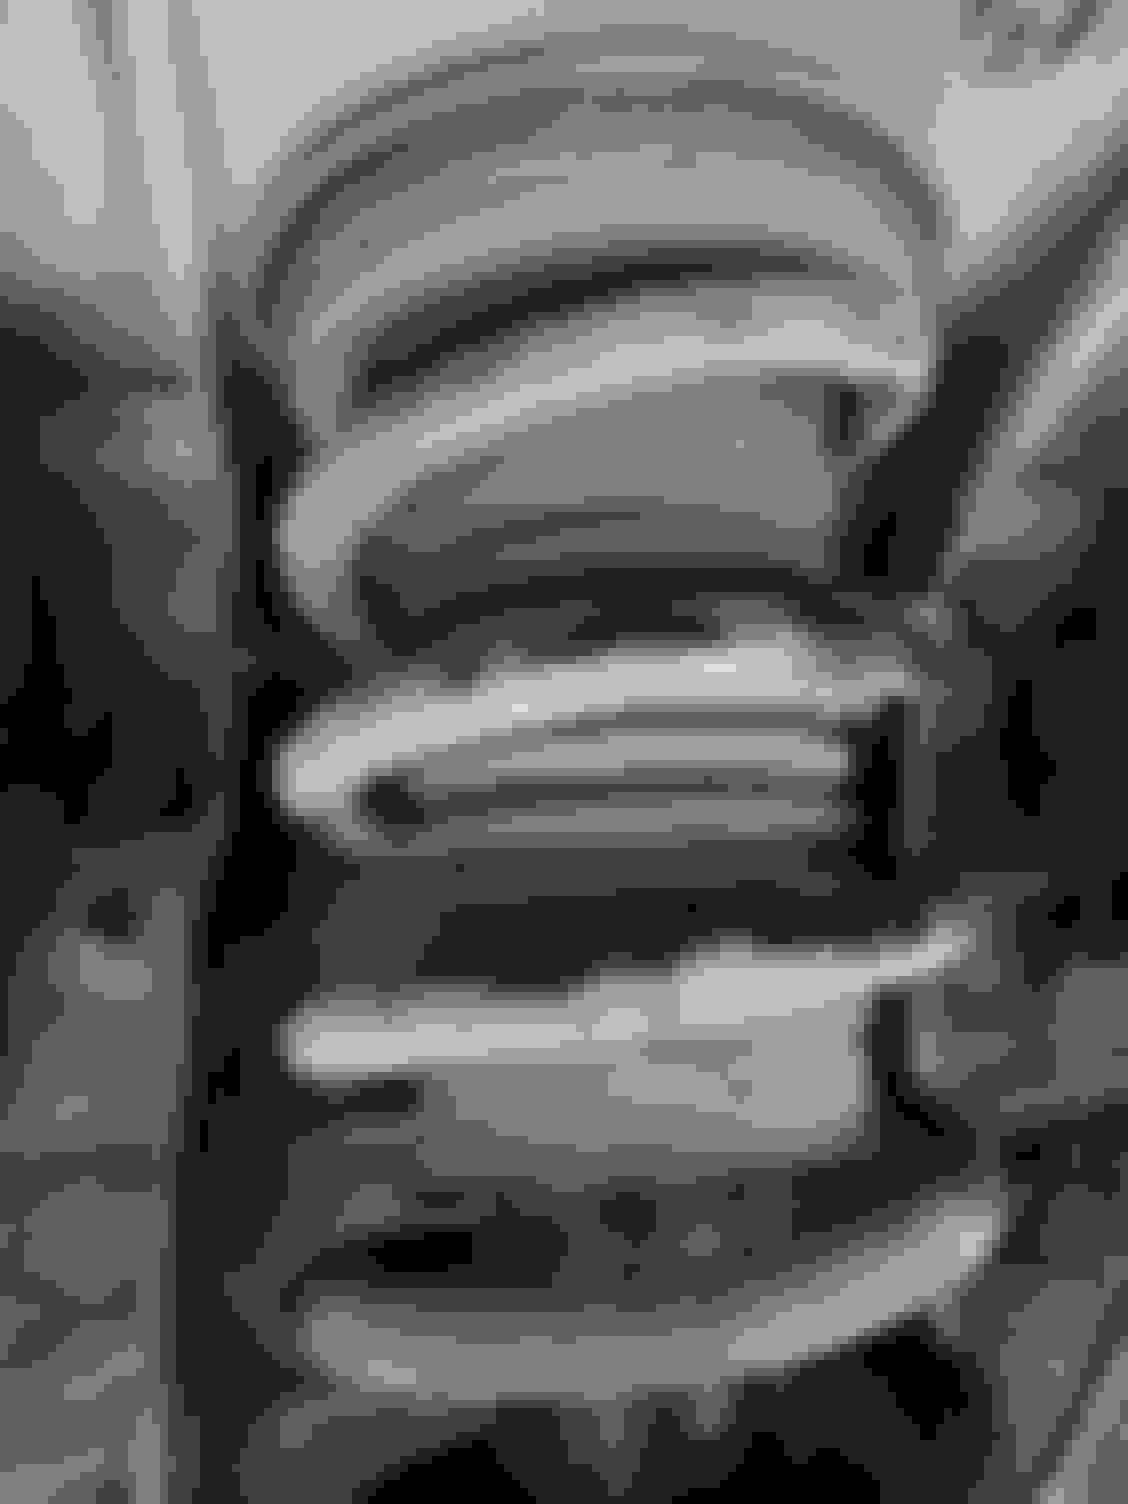
Update: I think it's best to get the OEM one on this. Instead of rebuilding it. I did fine up until it was time to put the retaining ring in place. Talk about PIA I had to use a mixture of retaing ring tools, and flat head screw drivers. Once in place it remains slightly open. Due to opening wide to clear the top part of the ball joint. At this point it won't return to it's concentric form. Leaving the clip to shift out of place. I think it would be dangerous if it's not truly centered to the retaining groove. Also the pics below show the differences OEM vs Aftermarket. The the balljoint shaft measurements on the MOOG ball joint are different too.
Update: I think it's best to get the OEM one on this. Instead of rebuilding it. I did fine up until it was time to put the retaining ring in place. Talk about PIA I had to use a mixture of retaing ring tools, and flat head screw drivers. Once in place it remains slightly open. Due to opening wide to clear the top part of the ball joint. At this point it won't return to it's concentric form. Leaving the clip to shift out of place. I think it would be dangerous if it's not truly centered to the retaining groove. Also the pics below show the differences OEM vs Aftermarket. The the balljoint shaft measurements on the MOOG ball joint are different too.
Well thanks for your efforts! Aside from the retaining ring though it seems like it would be a feasible solution
Update: Since last post I went ahead, and replaced the LBJ's, OTR's all with Moog parts. The inner tie rods we're still good at around 70k miles. Everything else needed replacement. The Moog parts are definitely stiffer than OEM the ride is a little harsher, but not much. I've had the rebuilt FUCA in about 1 month now with no problems.
One suggestion is once you replace the ball joint. Add grease with a needle point attachment on your grease gun to fill the boot. You don't want to put too much just enough till the boot swells a little compressed. finally below is the replacement retaining ring from McMaster-Car # 98541A134. The one supplied by Moog is PITA to work with. You'll need a retaining plier that's capable for 1.00" DIA or larger opening.
Last edited by MikeFig82; Mar 21, 2018 at 05:05 PM.