DIY: Remove stock abs/vsc master cylinder ---> Install power brake booster & master
 03-05-12, 06:00 PM
#1
My disclaimer: this may not be 100% complete as some fabbing/creativity is involved. Do this at your own risk. I am not liable for any reason if you attempt this.
This is what i did to remove the entire ABS/VSC/TRAC system out of my 03 GS300.
parts i used:
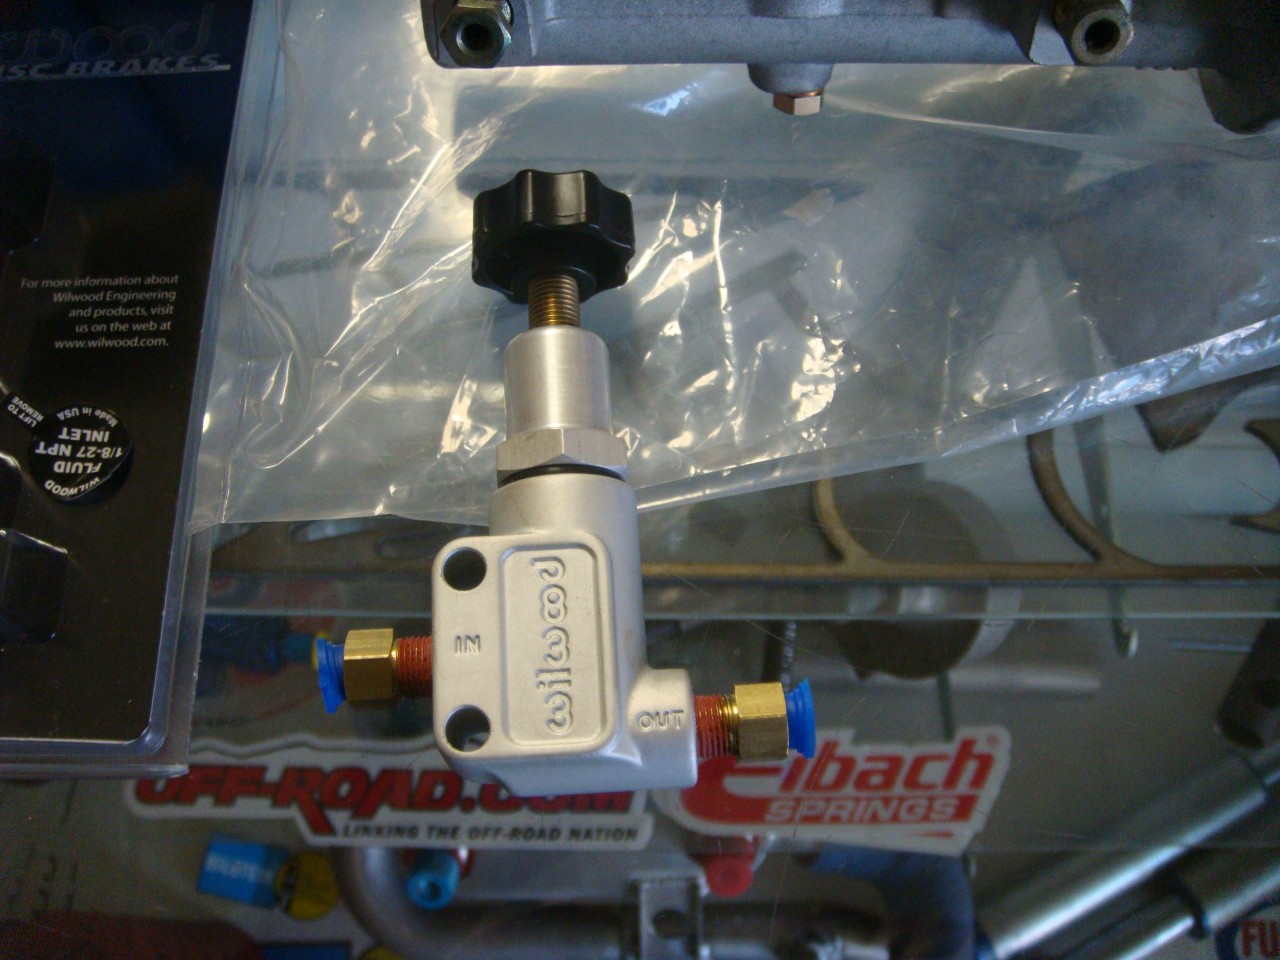
Wilwood prop valve
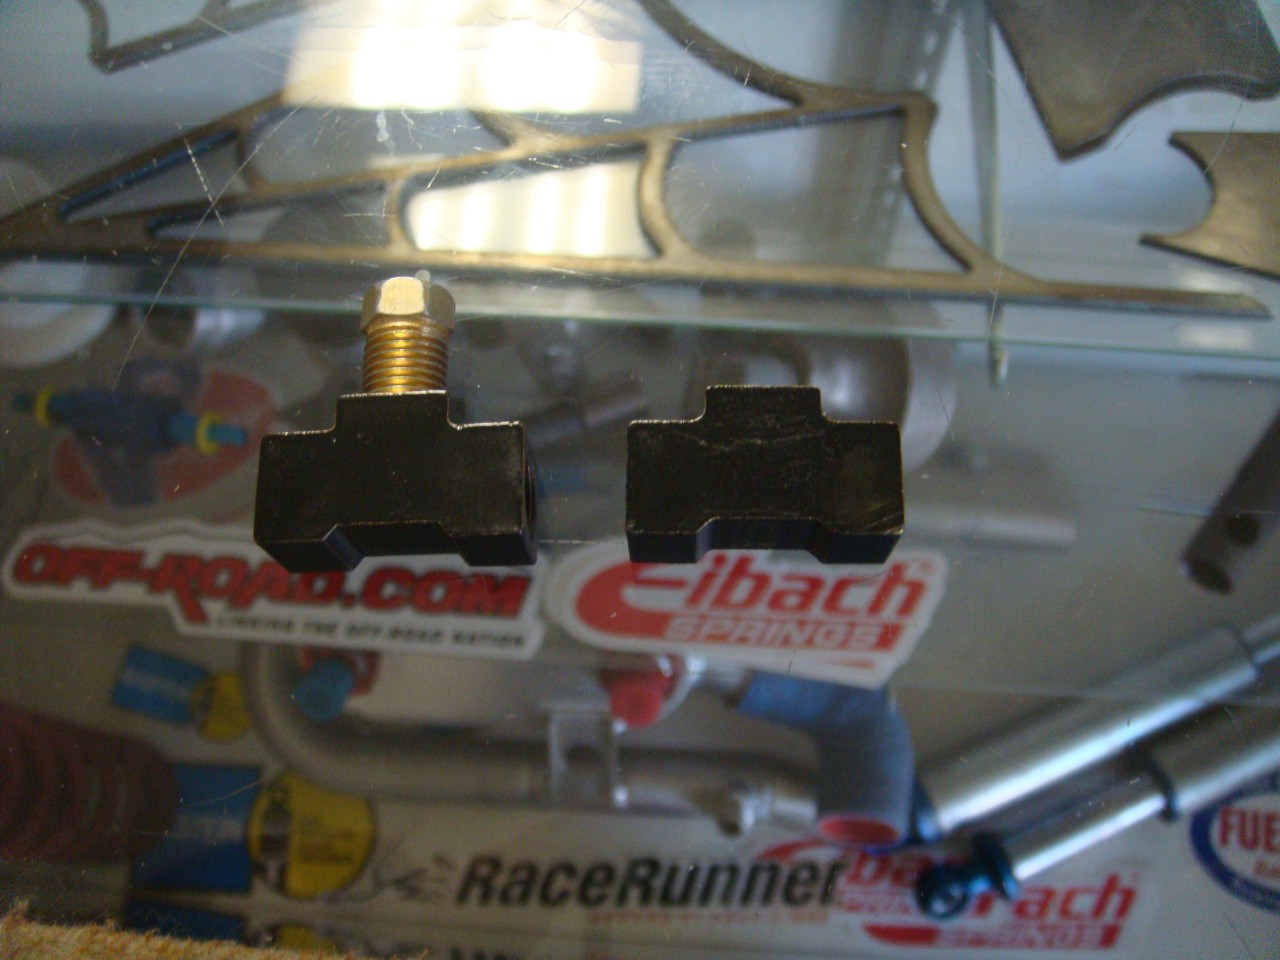
3/16 compression tee's
new gaskets
new nuts with built in lock washers
the booster and master cylinder are from a 2000 Toyota Avalon. The booster bolt pattern is identical to the GS, so no drilling/modifying/hacking up the firewall. Help from a friend at Toyota for that tip!
1. remove all fuses, relays, buzzer, abs/vsc ecu
- remove 3 relays next to the unit
- remove abs ecu under dash
- remove buzzer next to ecu under dash
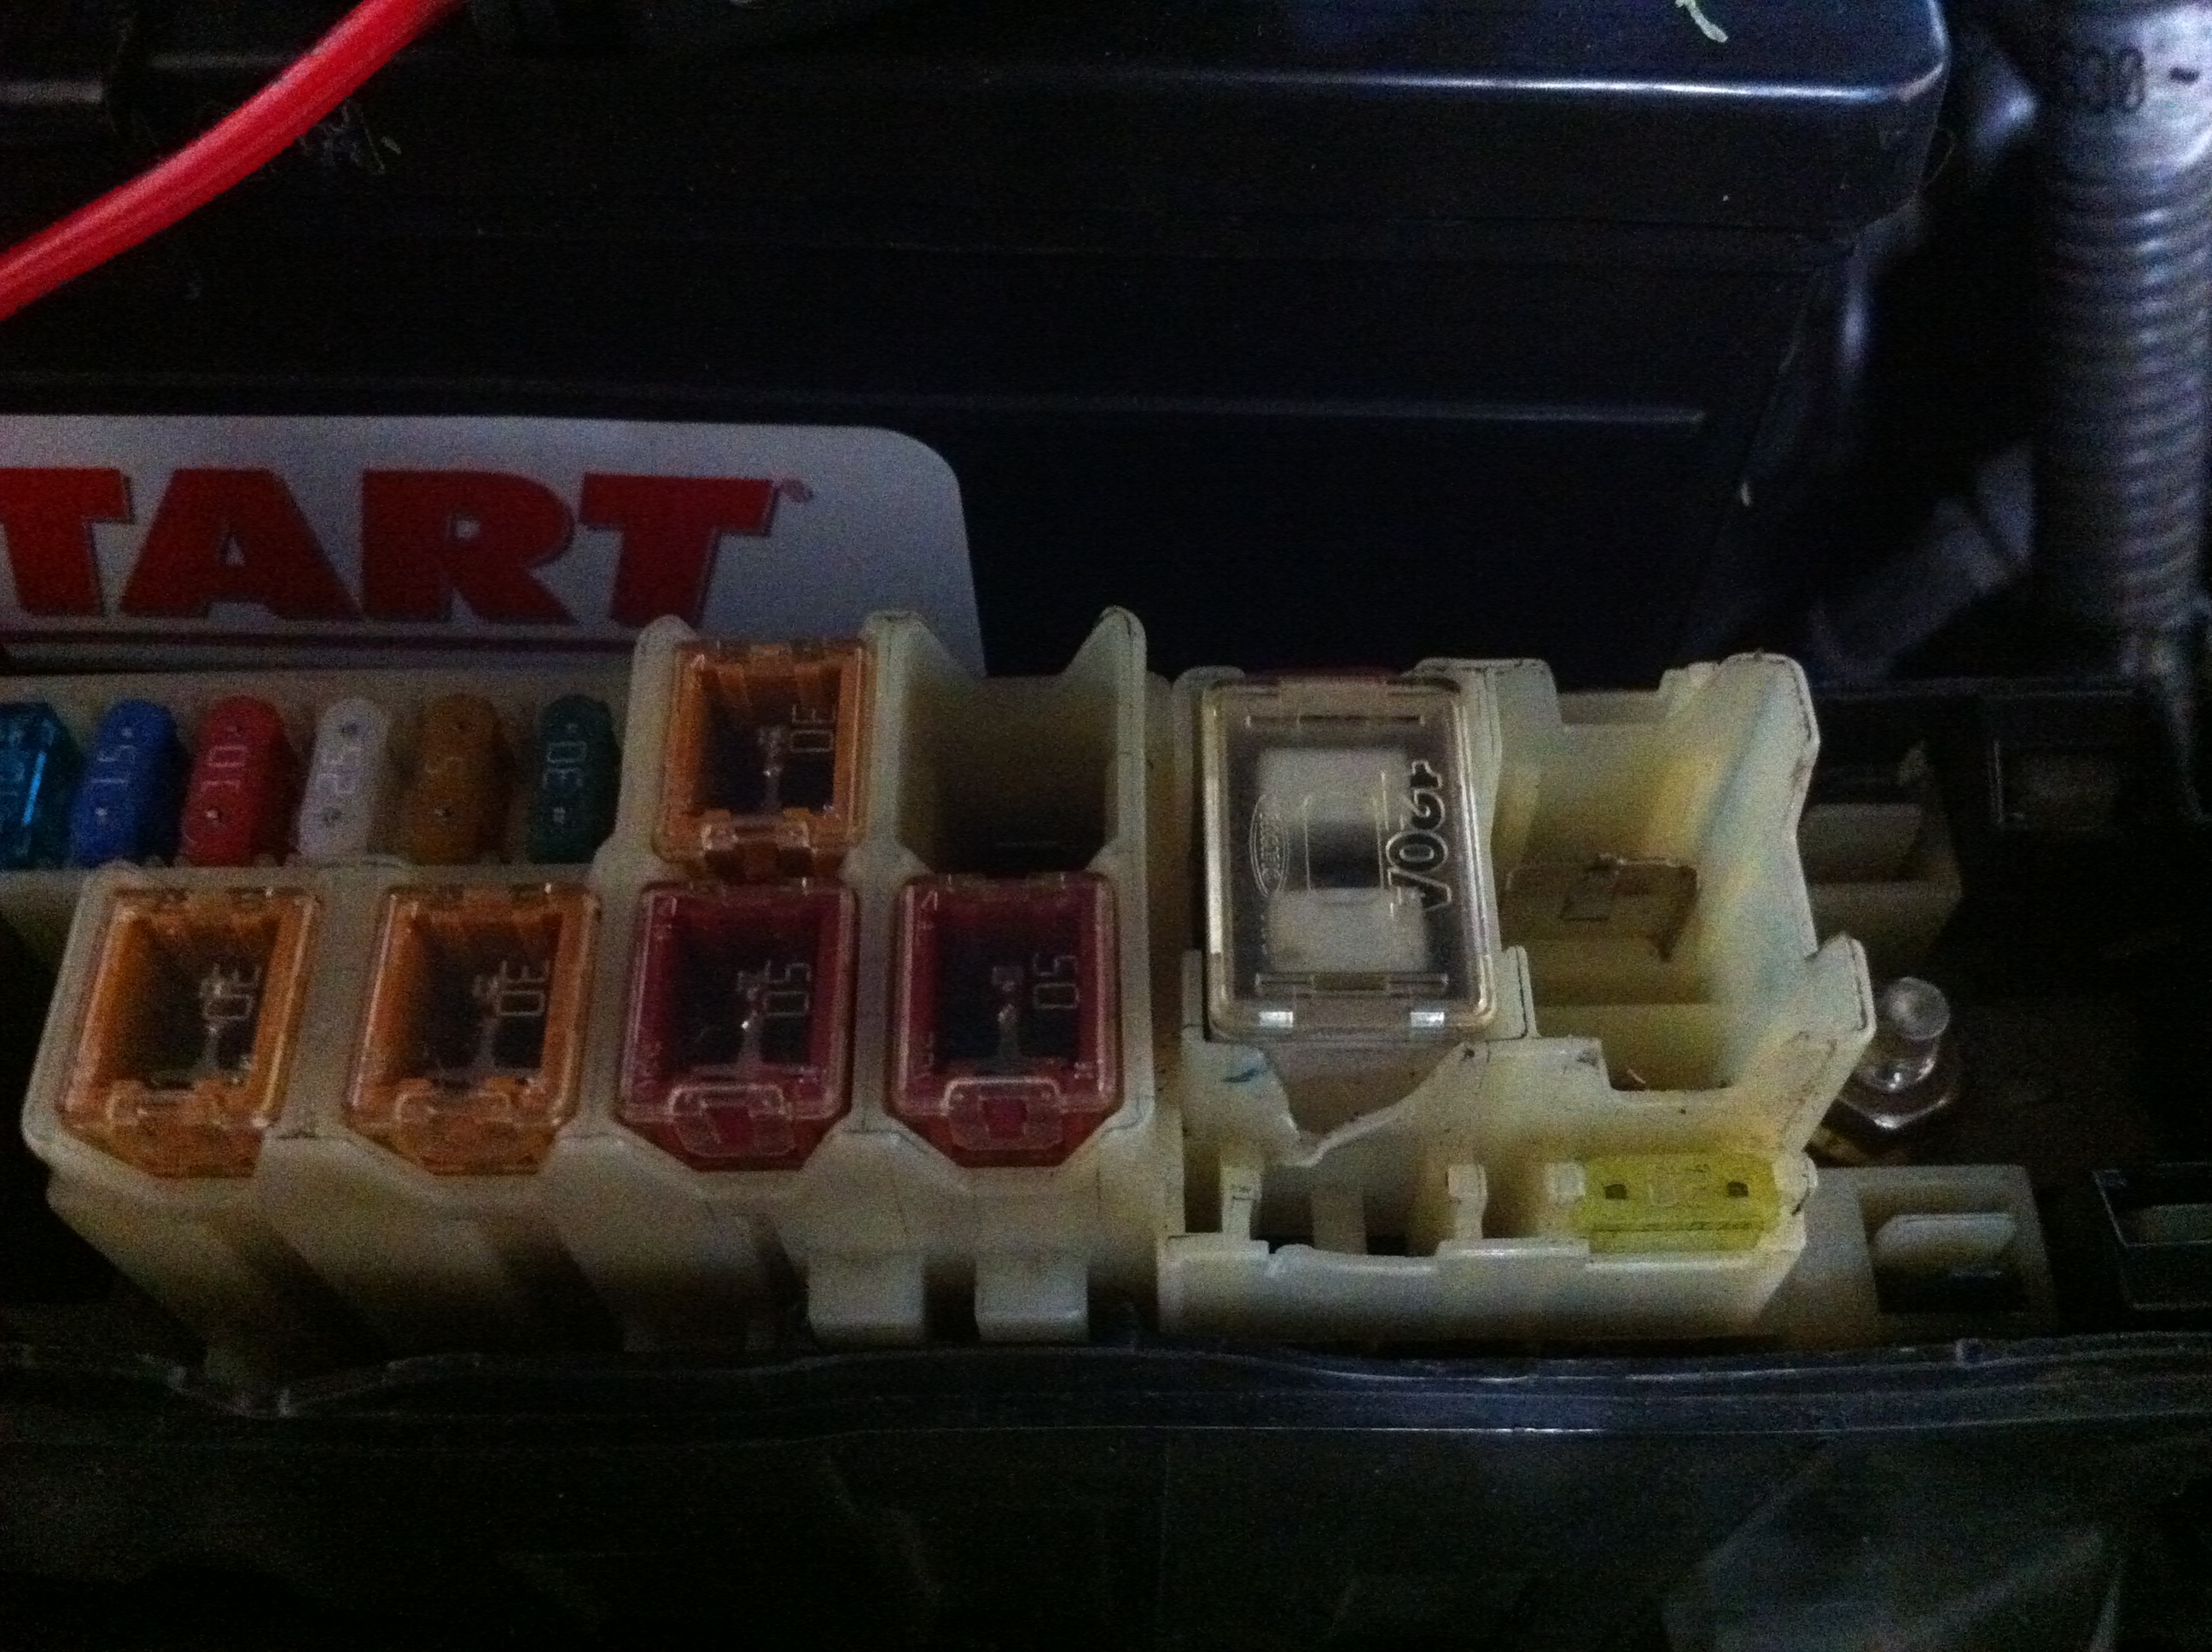
- remove 100a fuse next to battery (yellow circle)
- remove 40a fuse next to battery (grey circle)
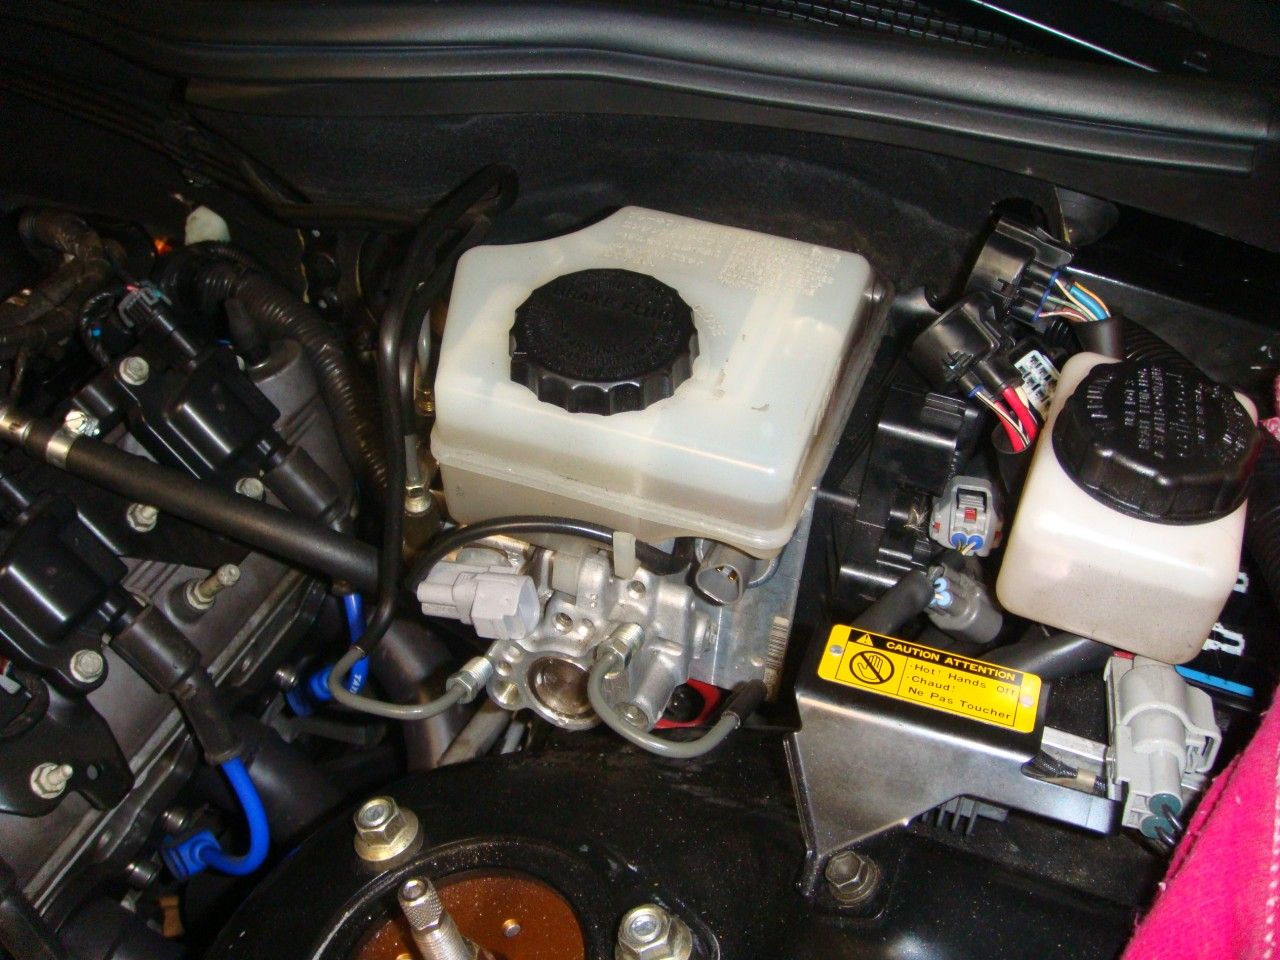
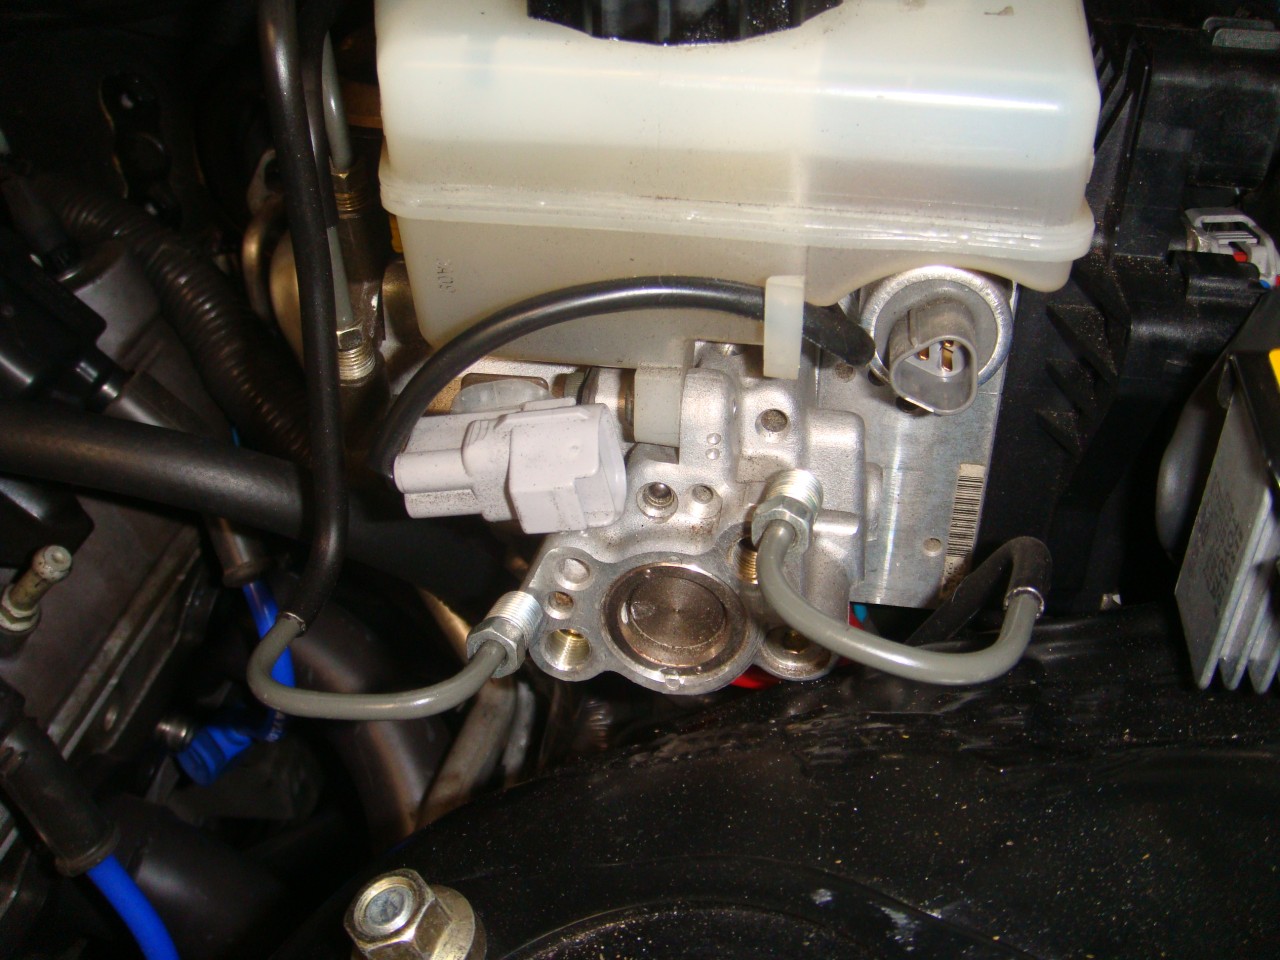
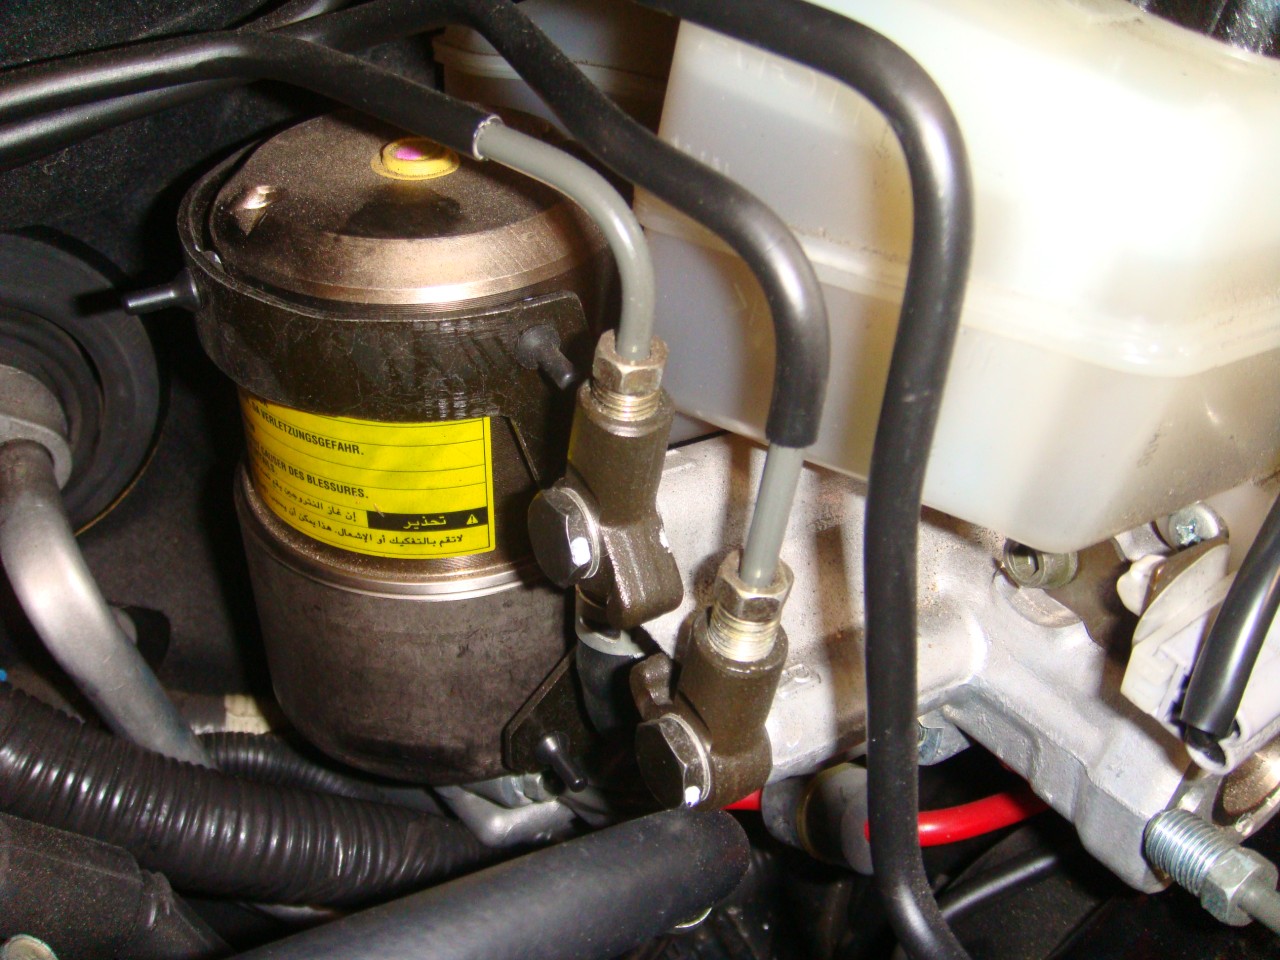
2. remove stock unit
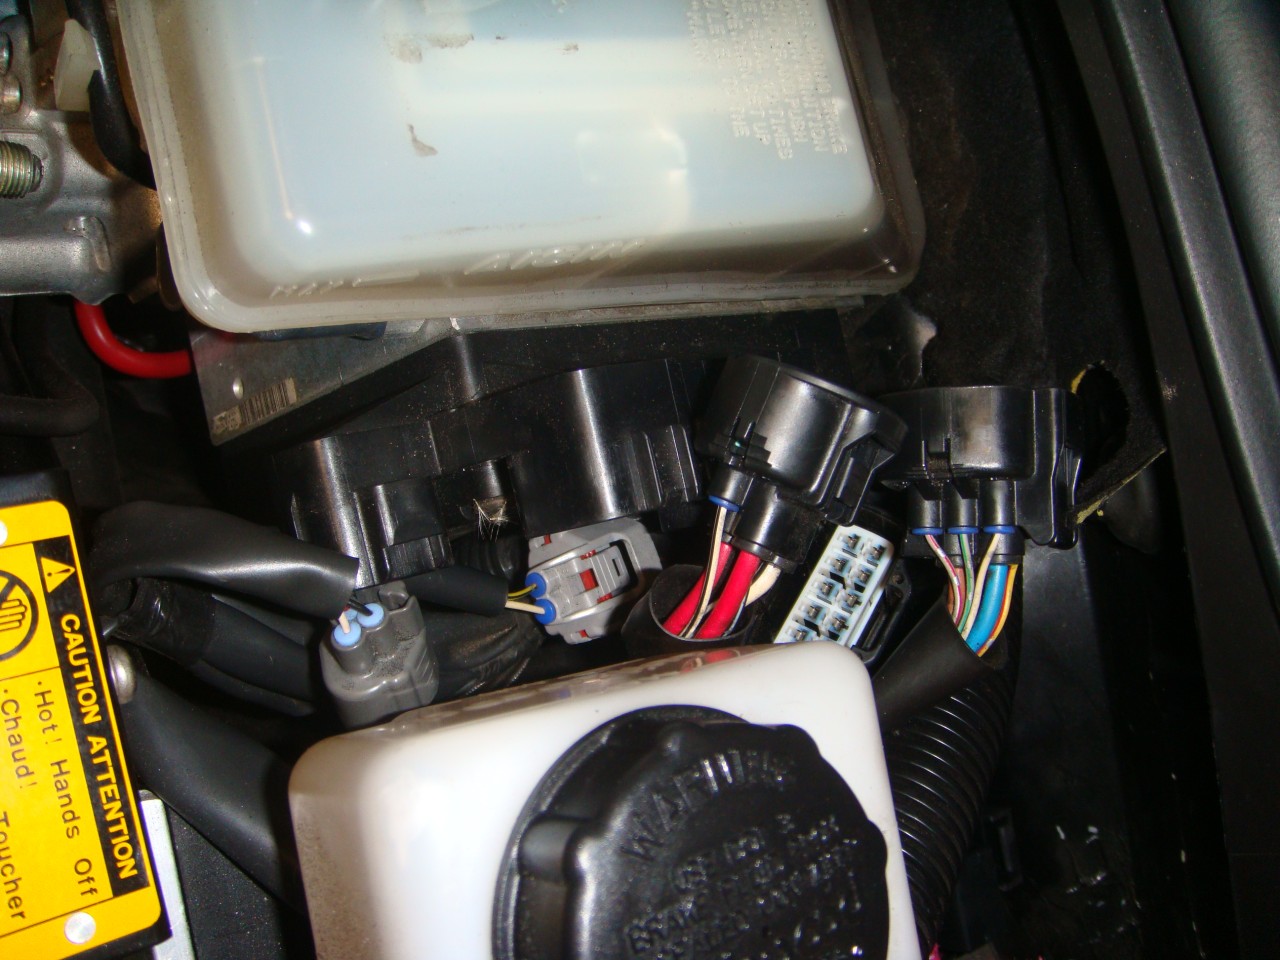
-unplug all harnesses to the unit
- remove bolt betwen pedal and booster
- remove 4 bolts under dash at pedal assembly
- remove 2 front lines from unit
- remove 2 rear lines from unit
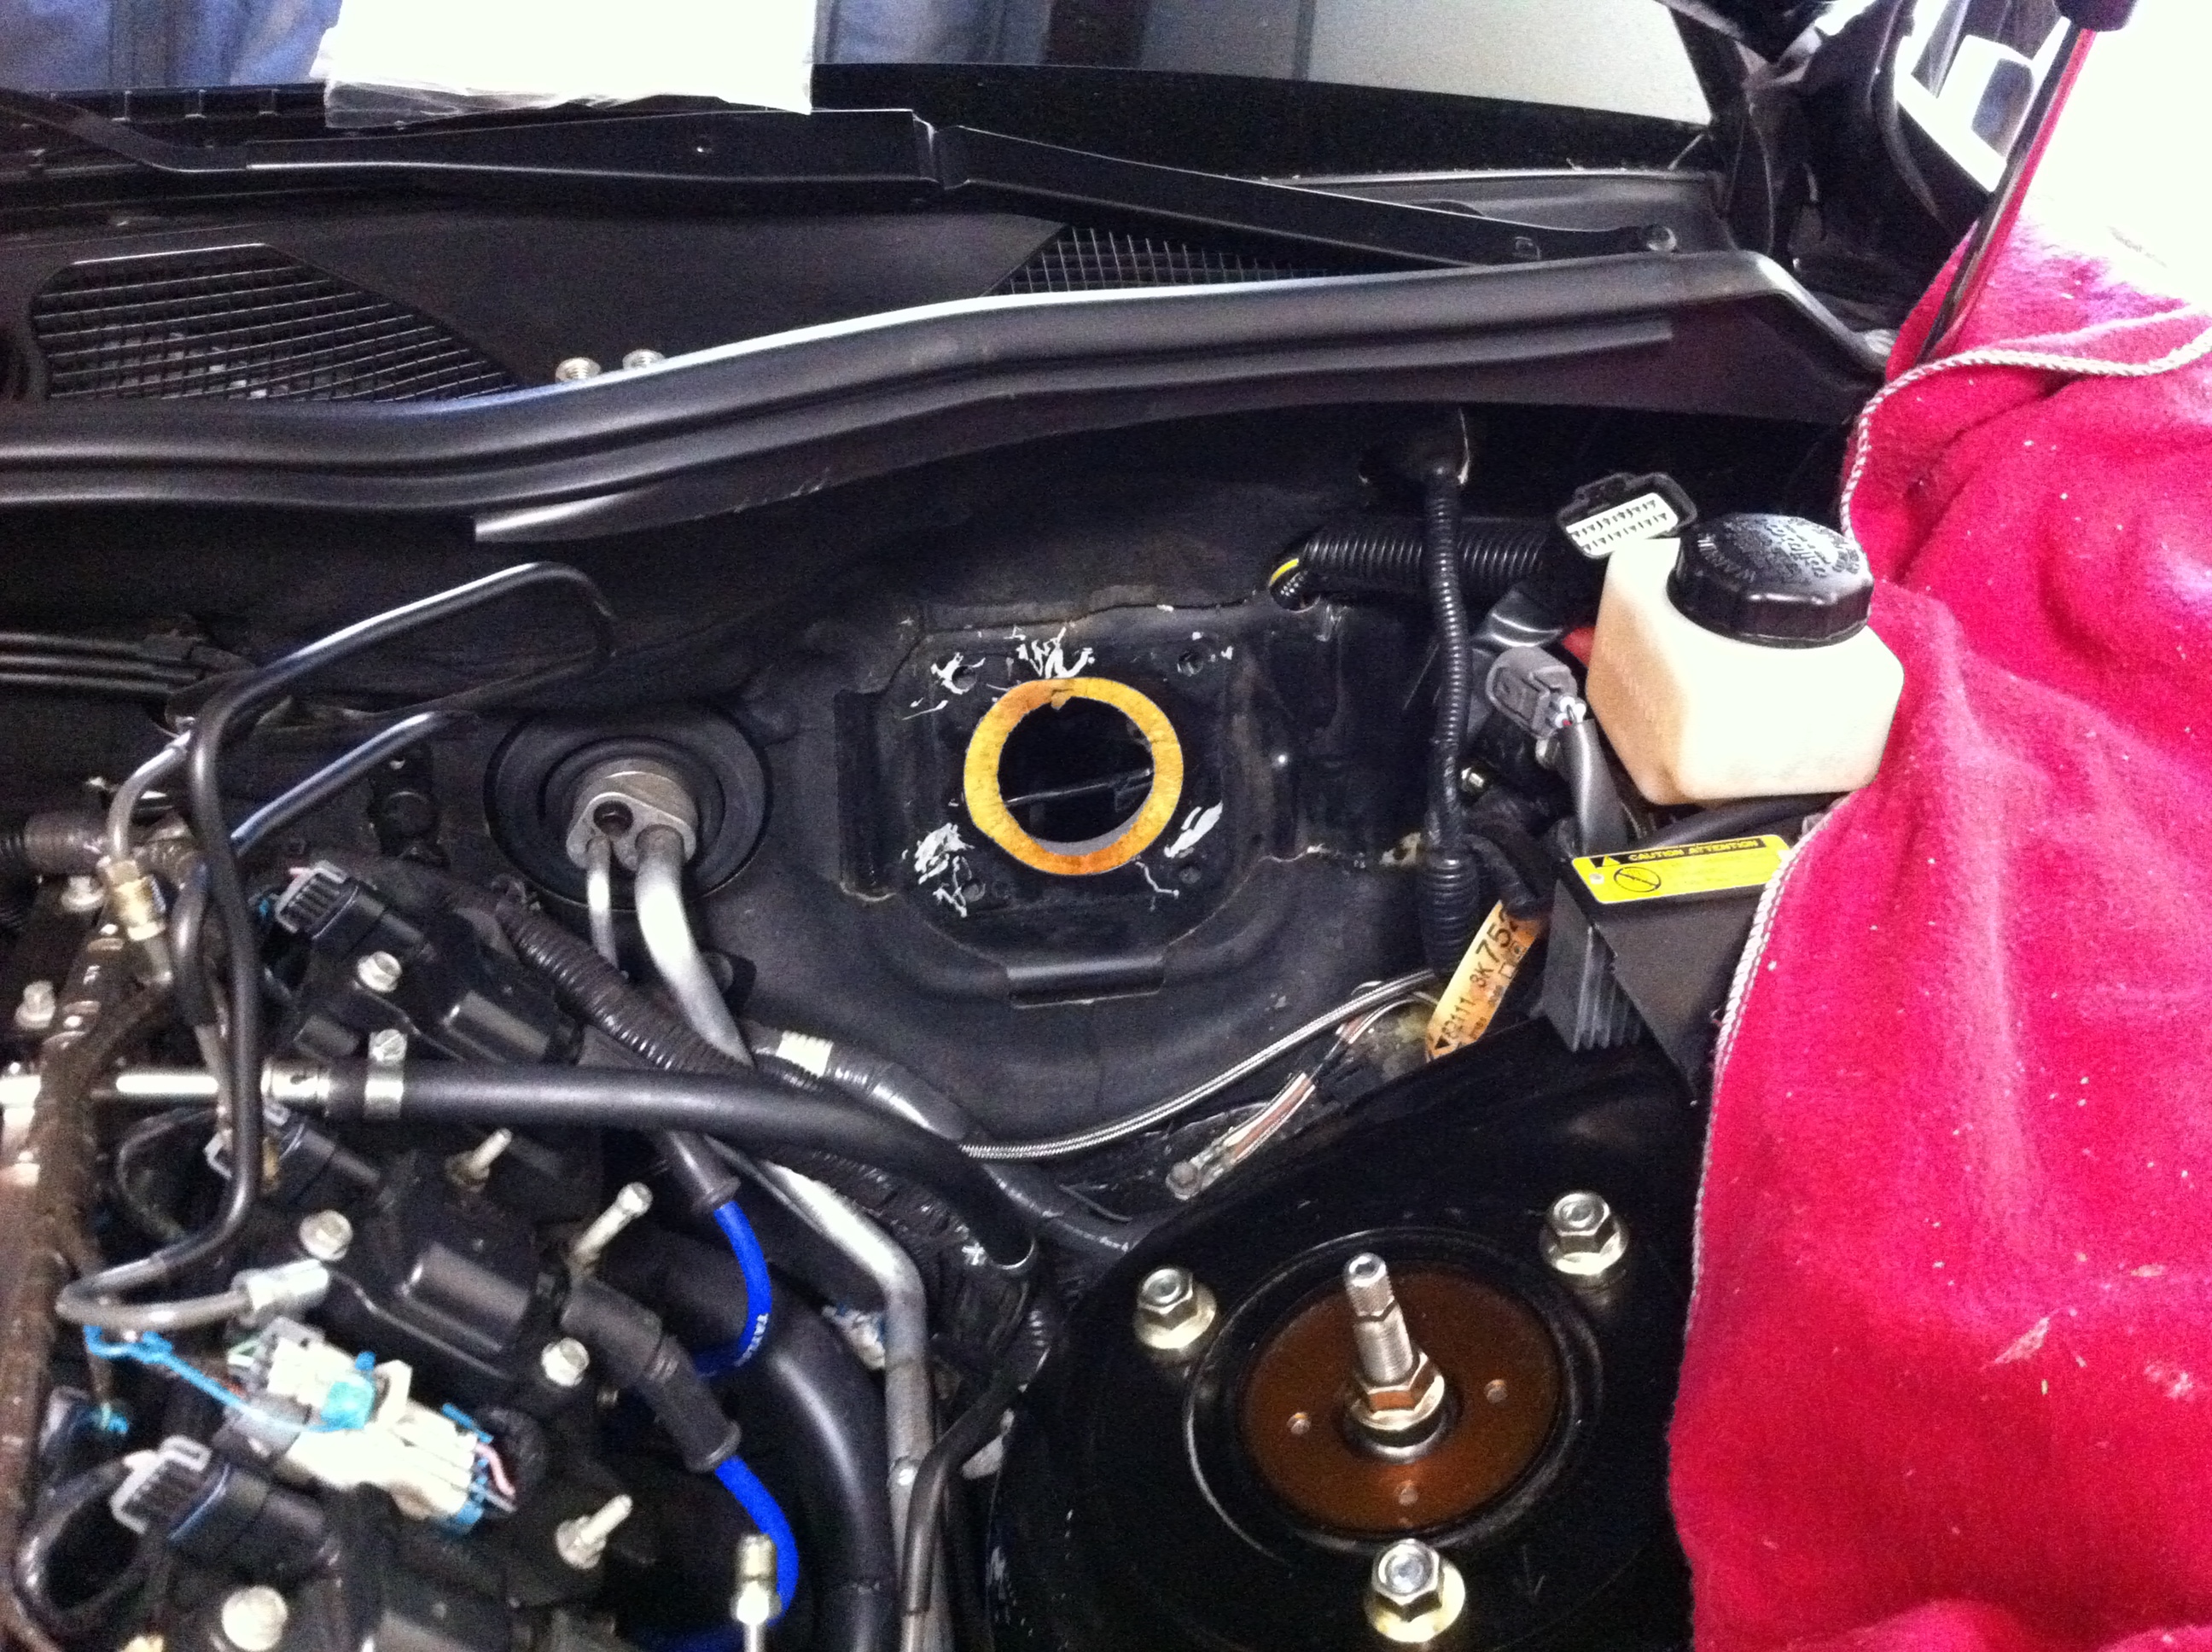
carefully remove the whiole unit
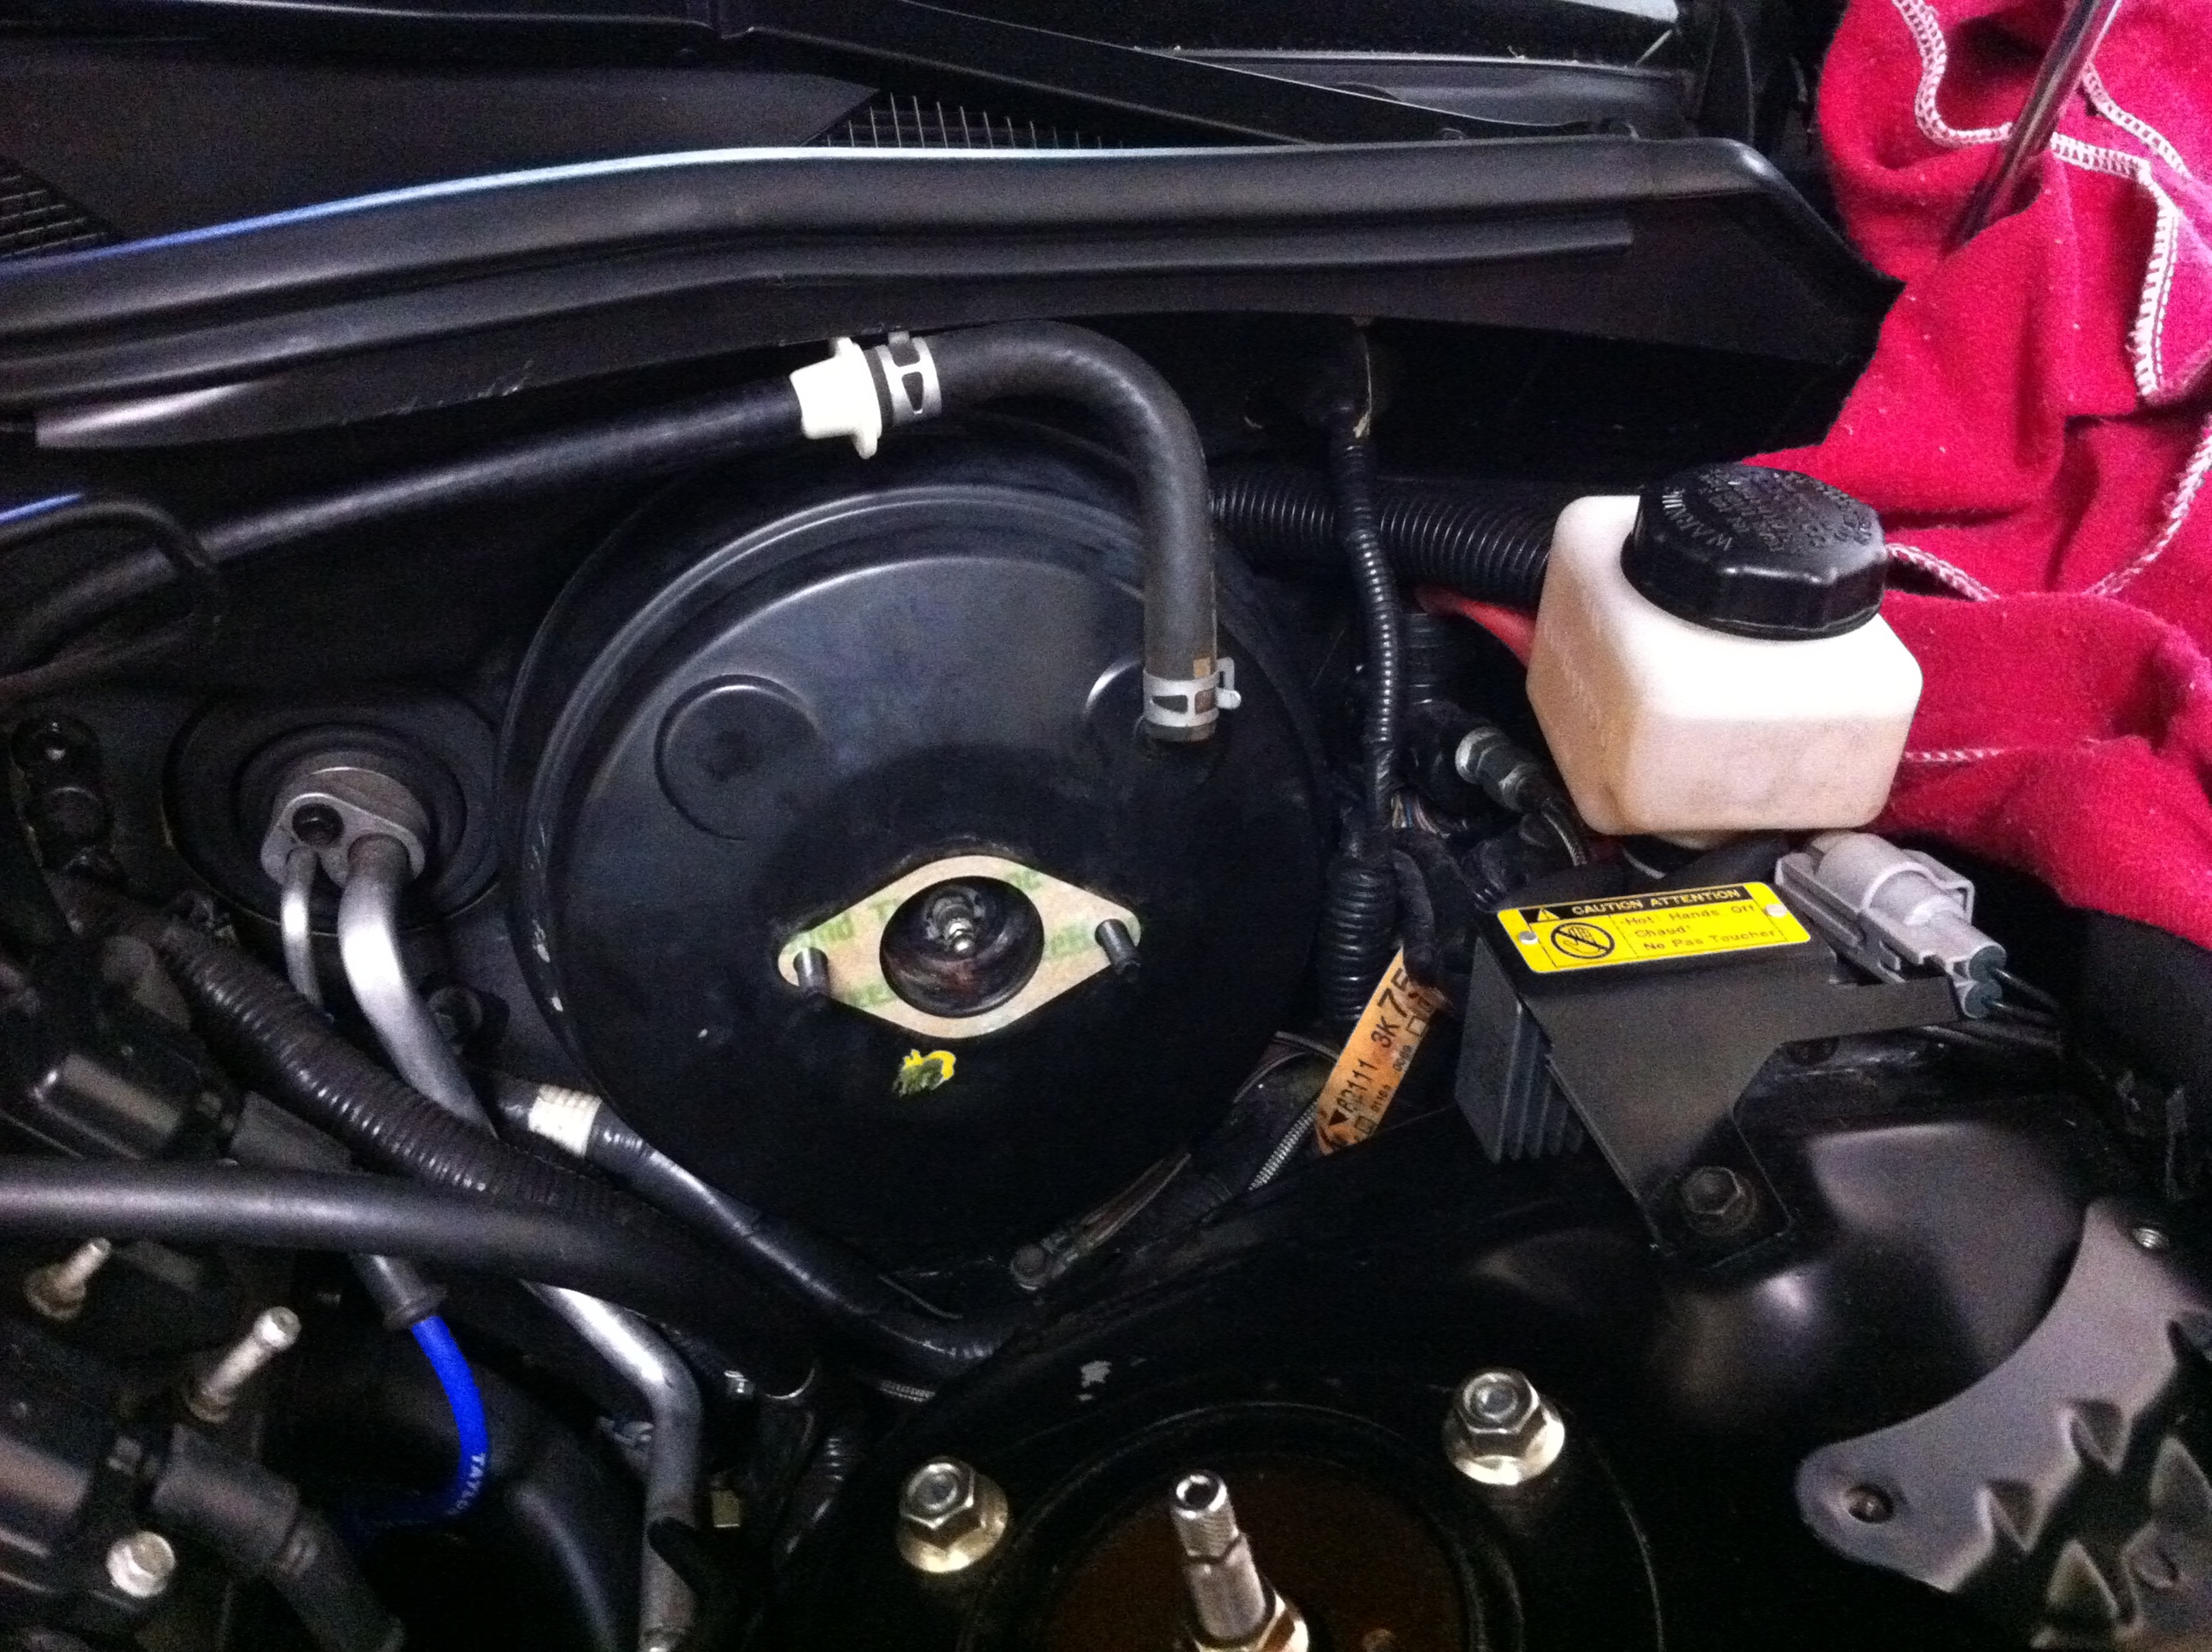
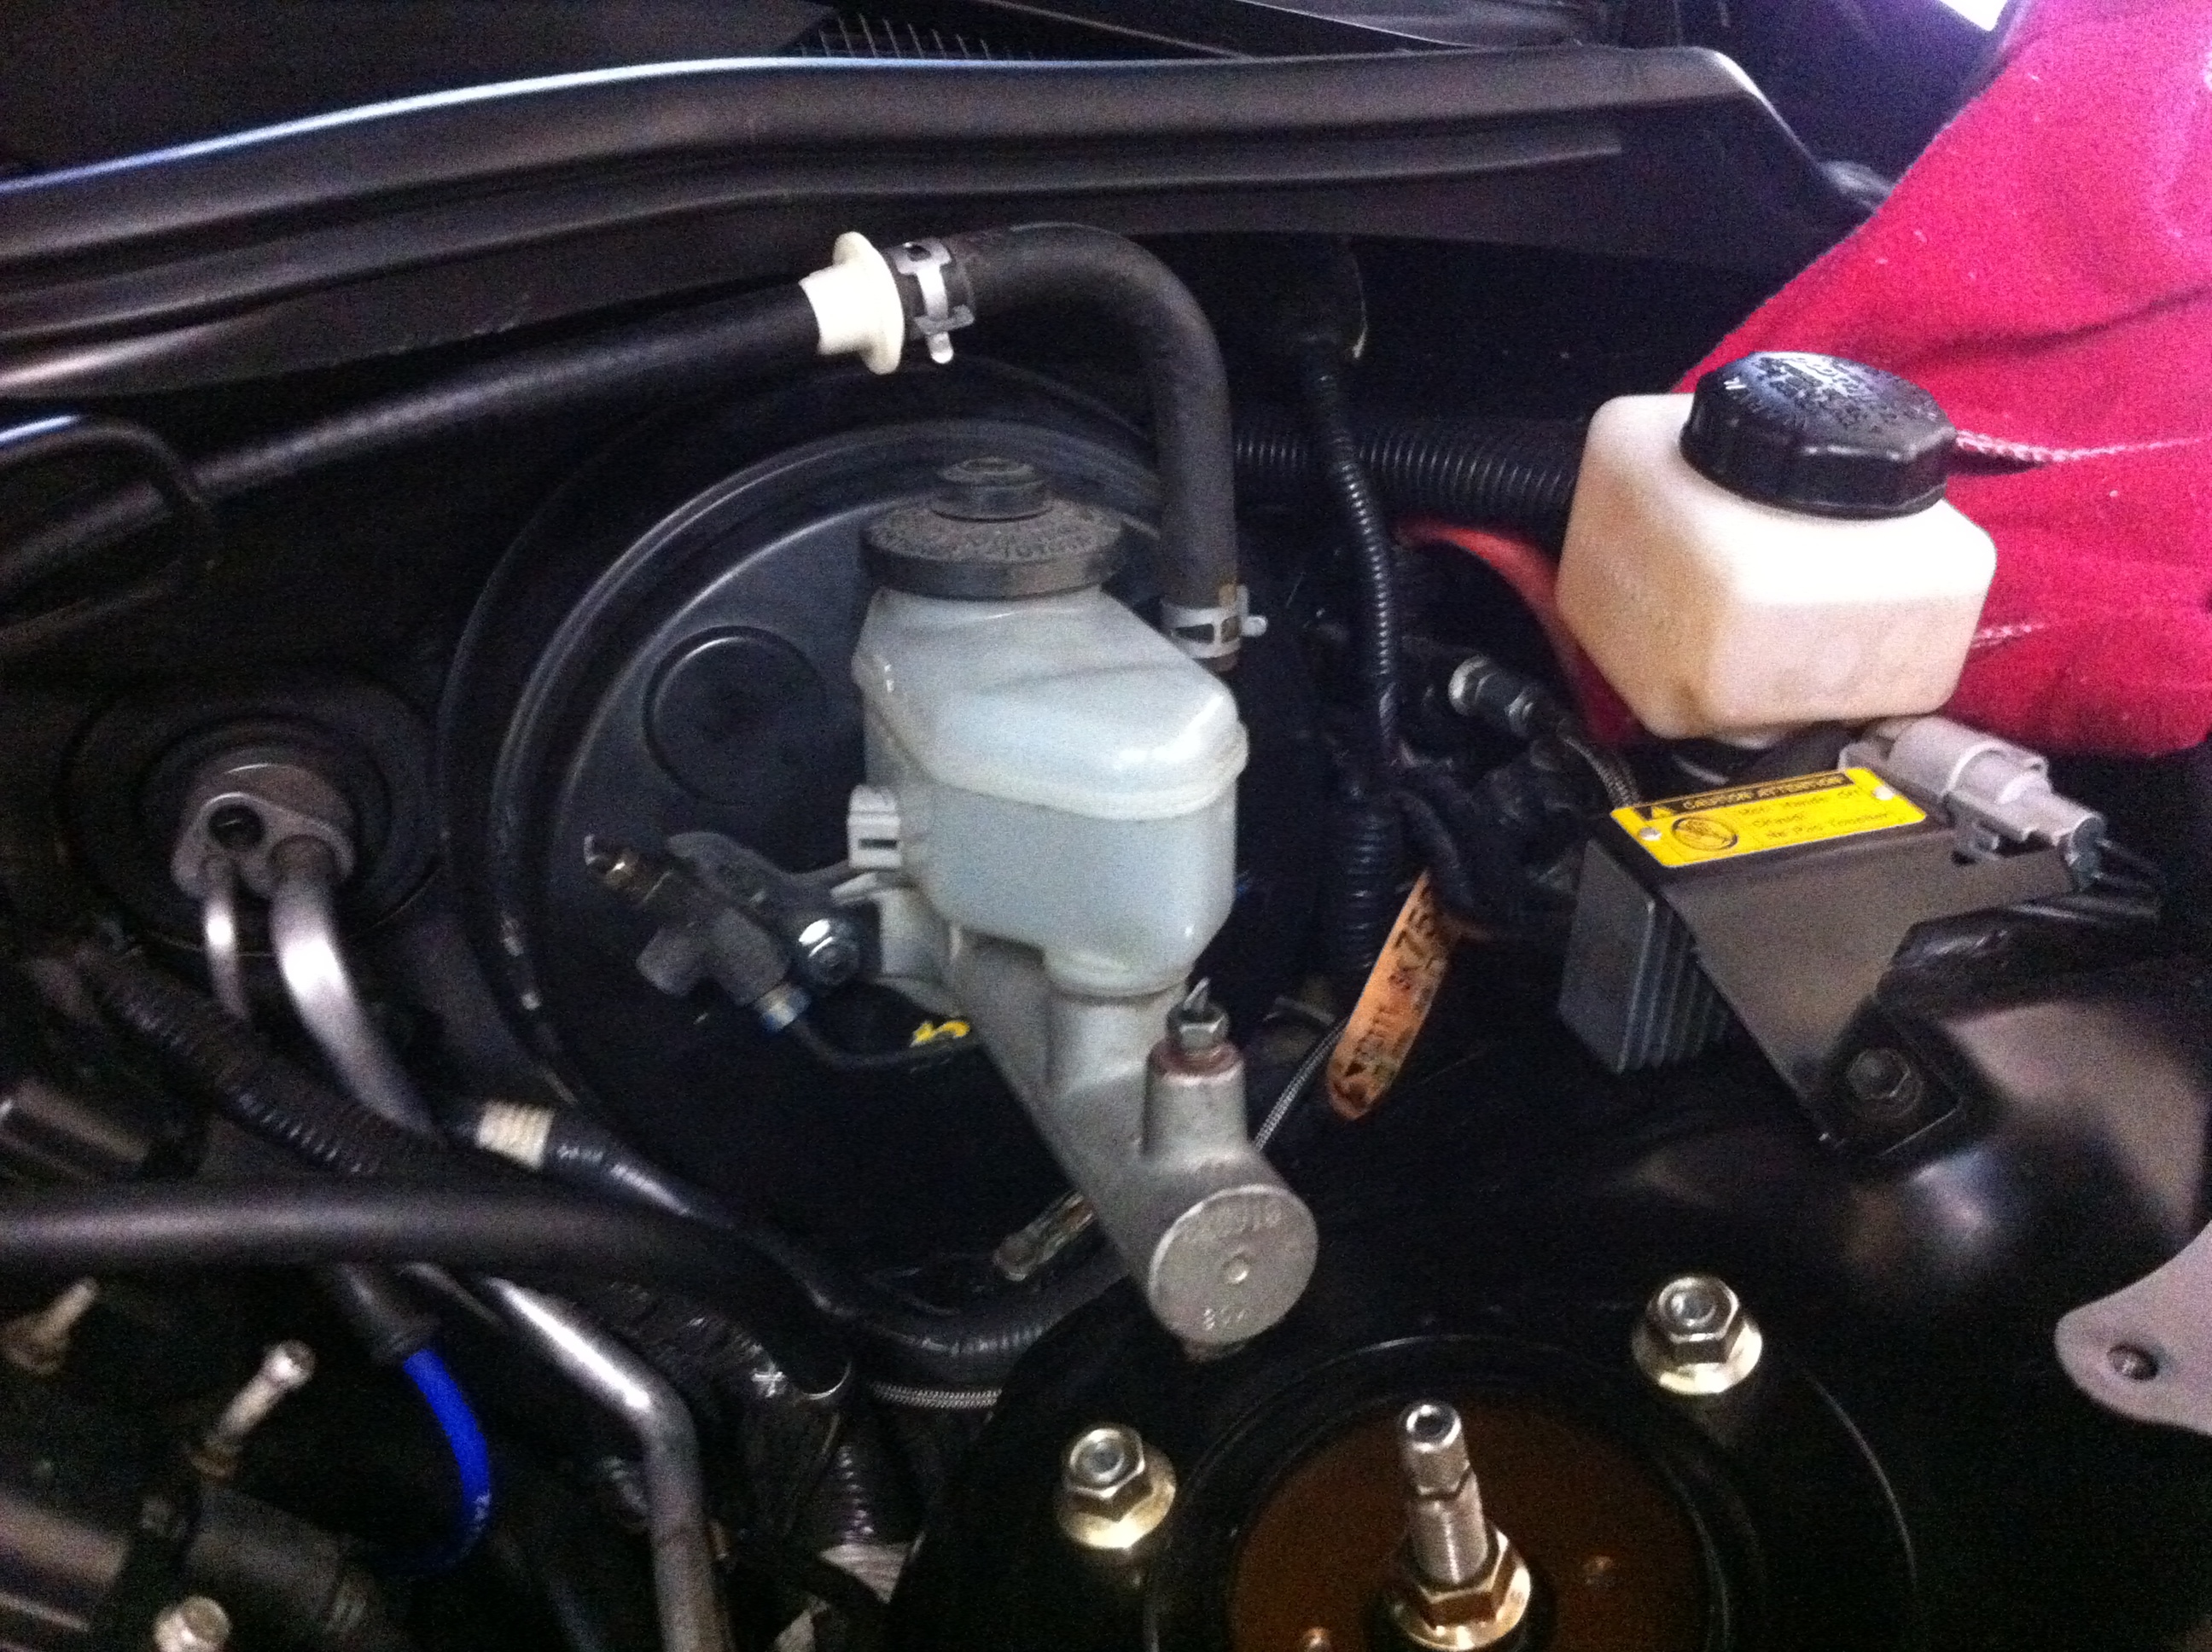
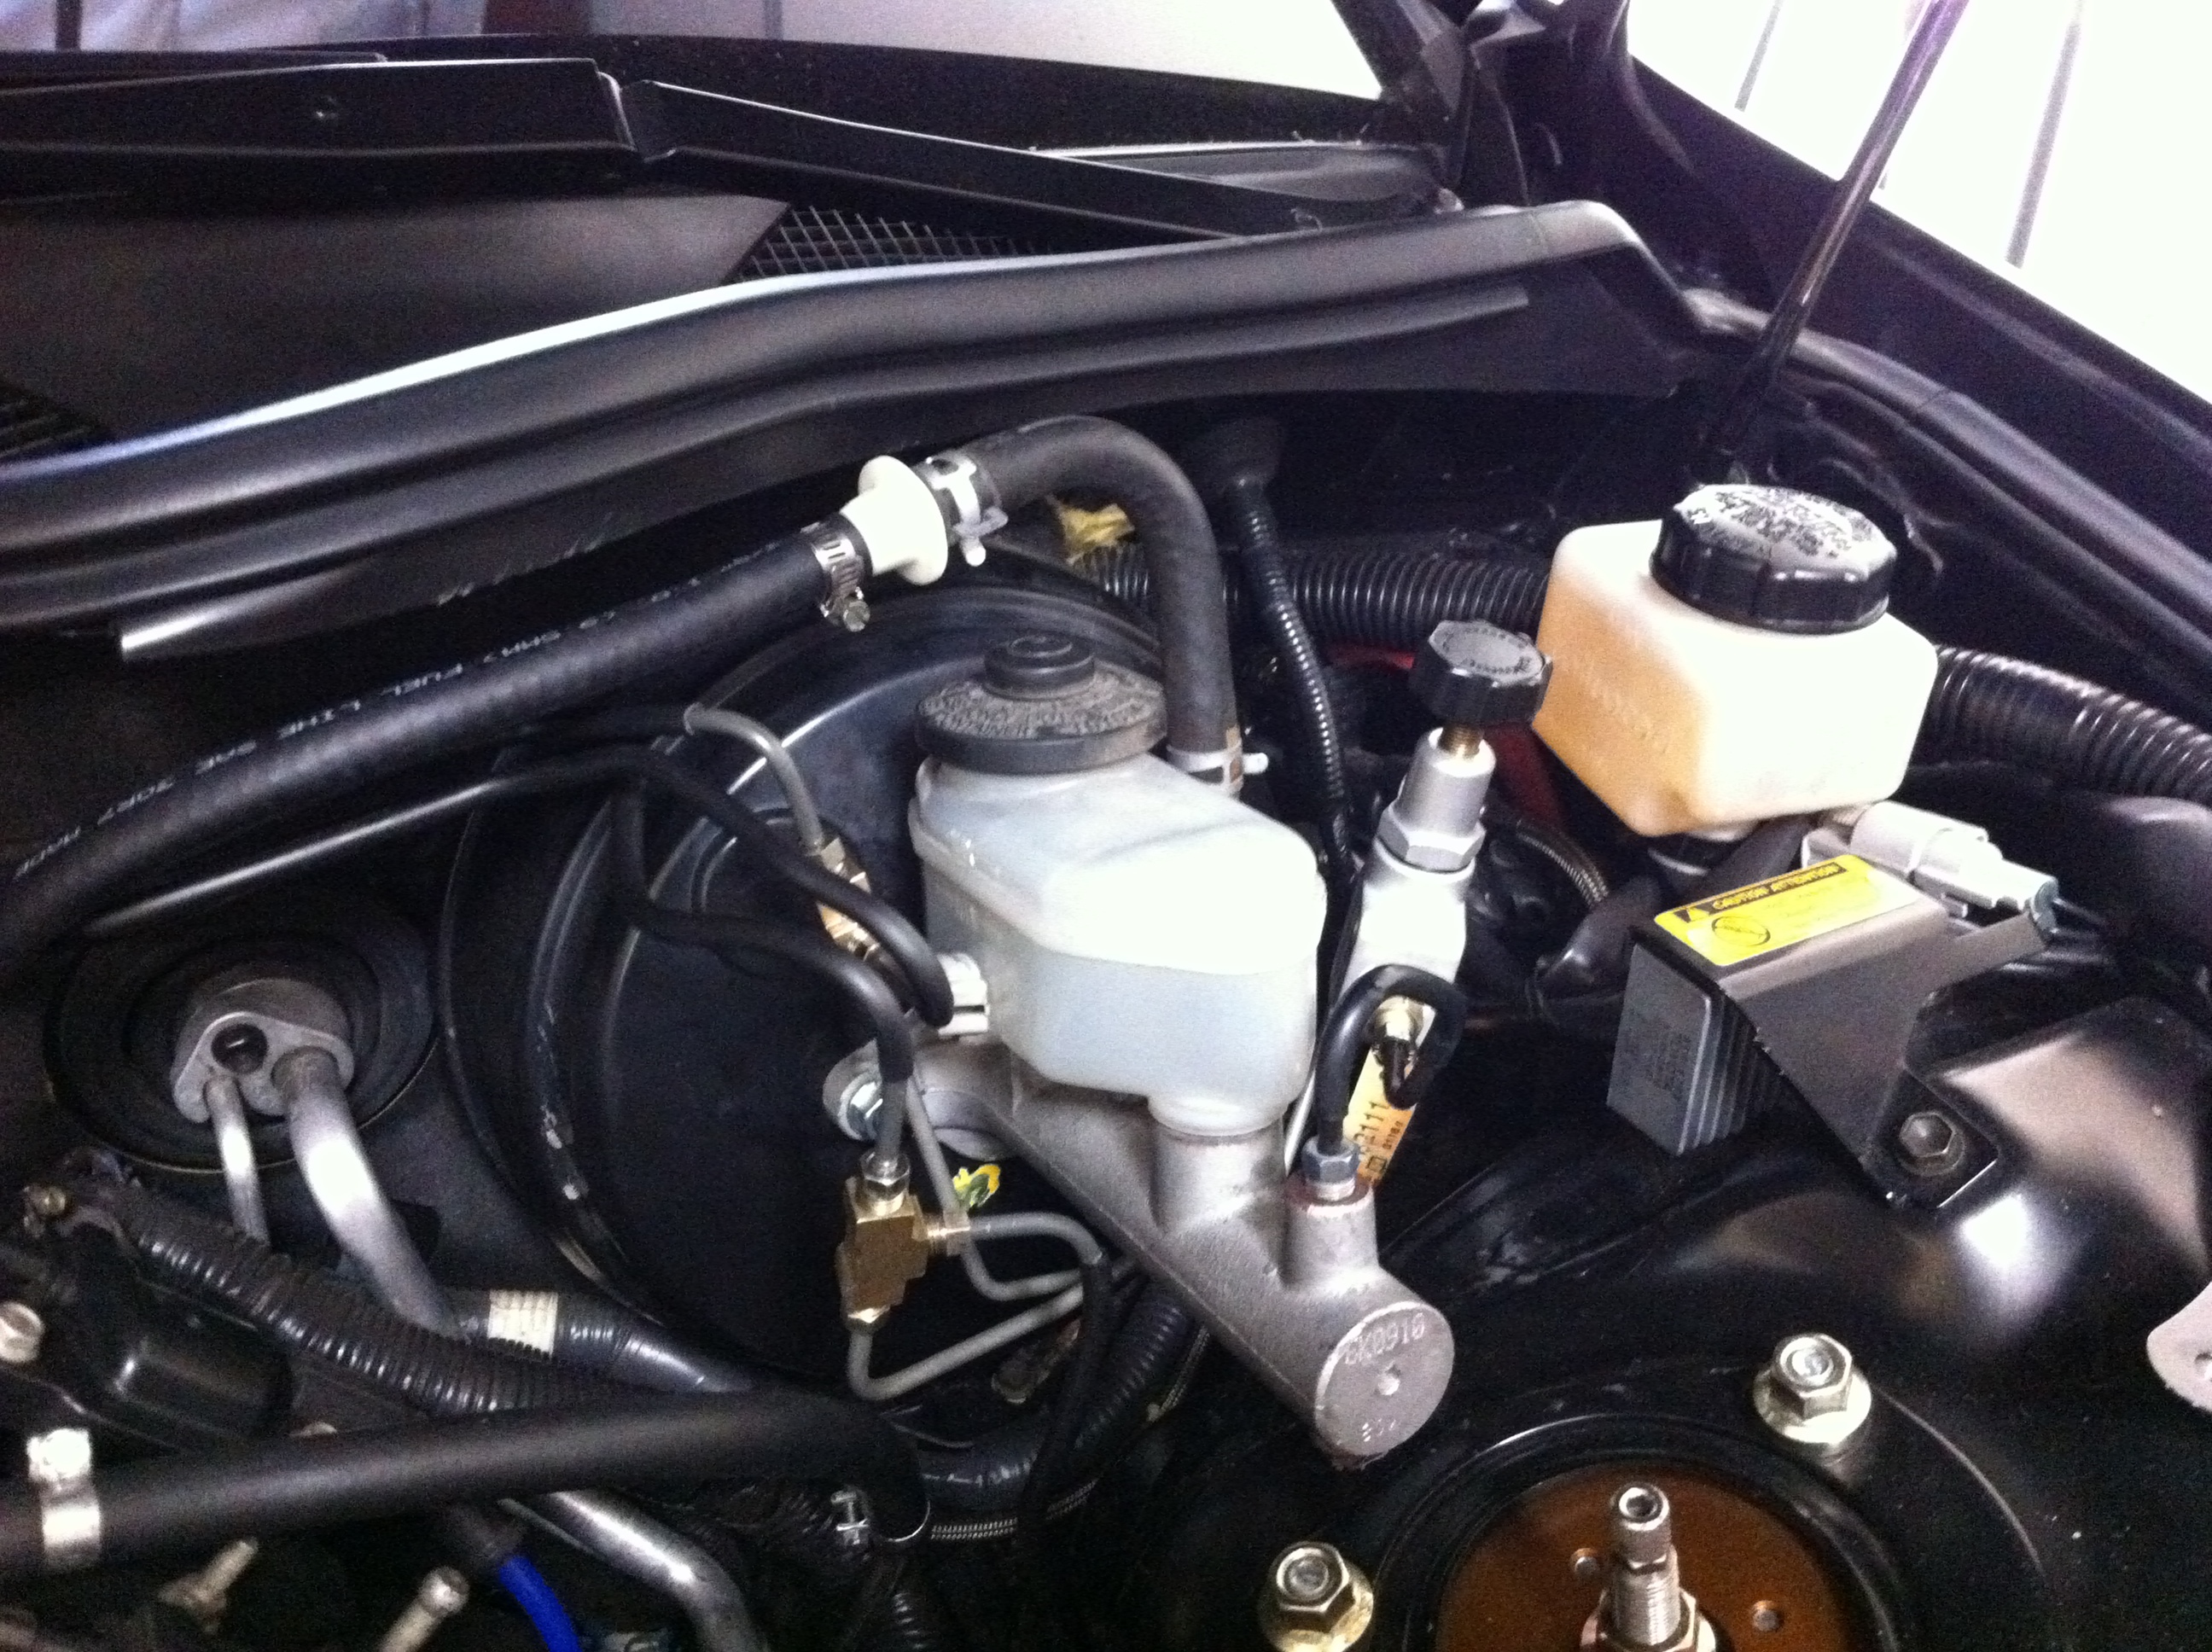
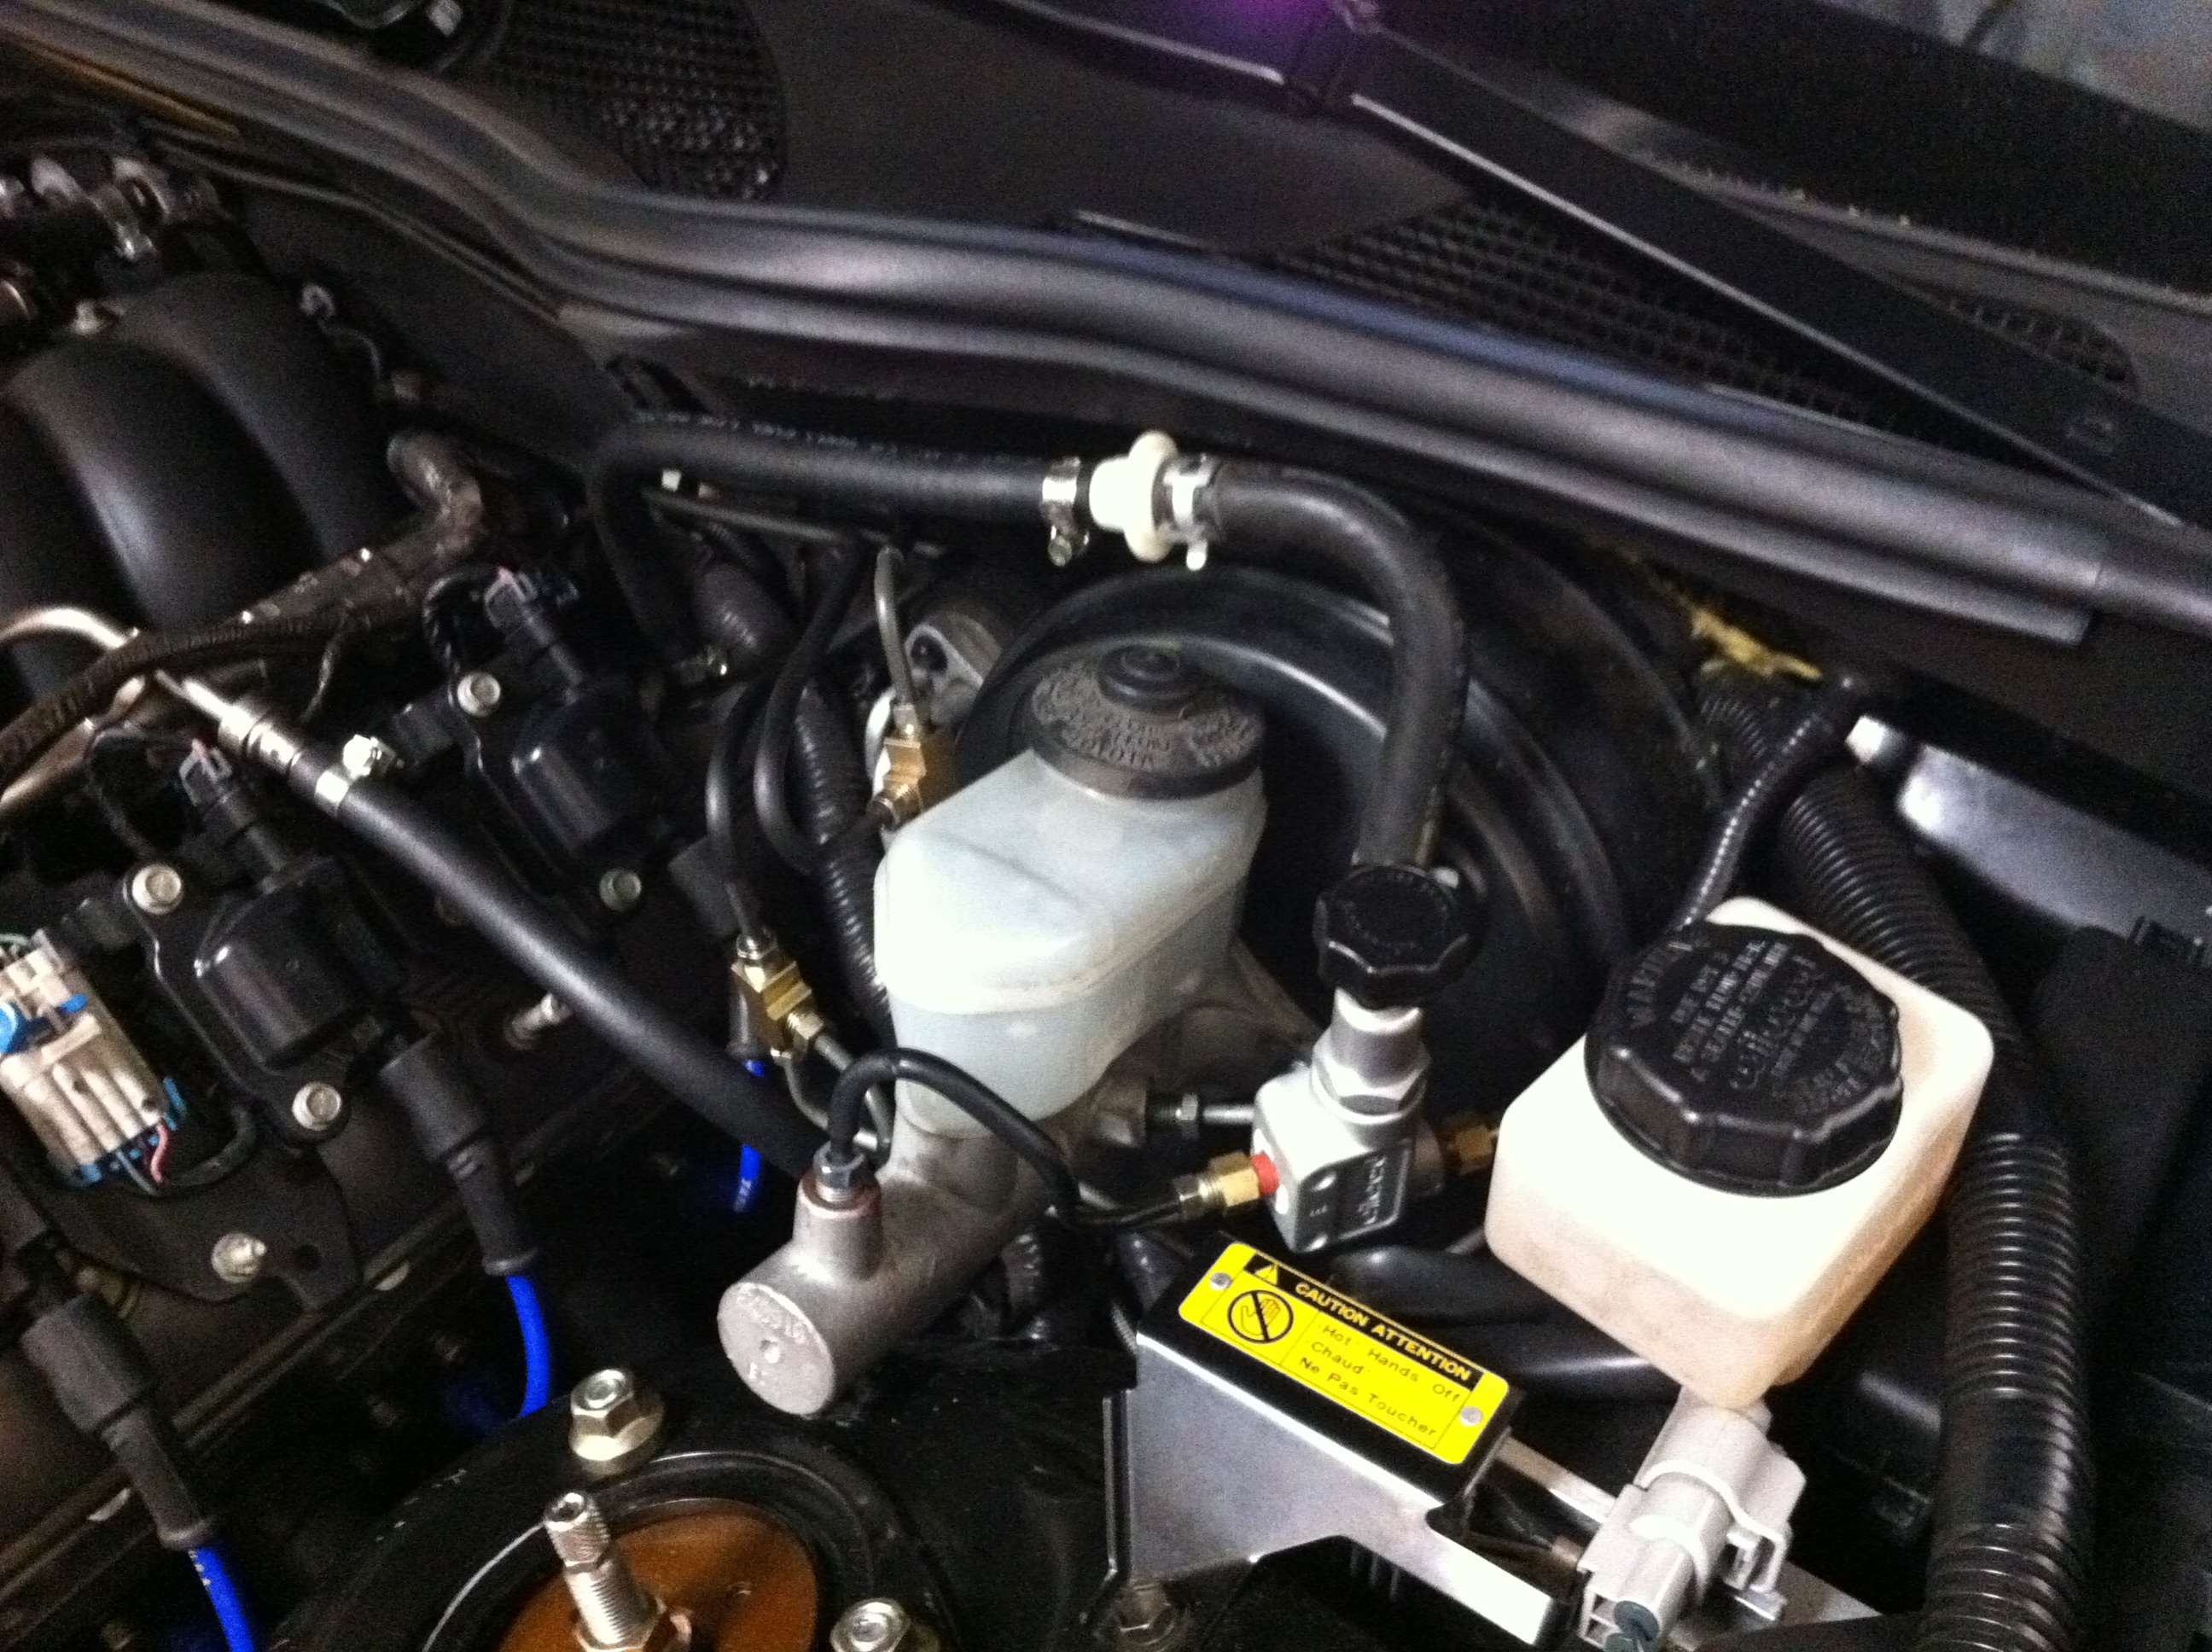
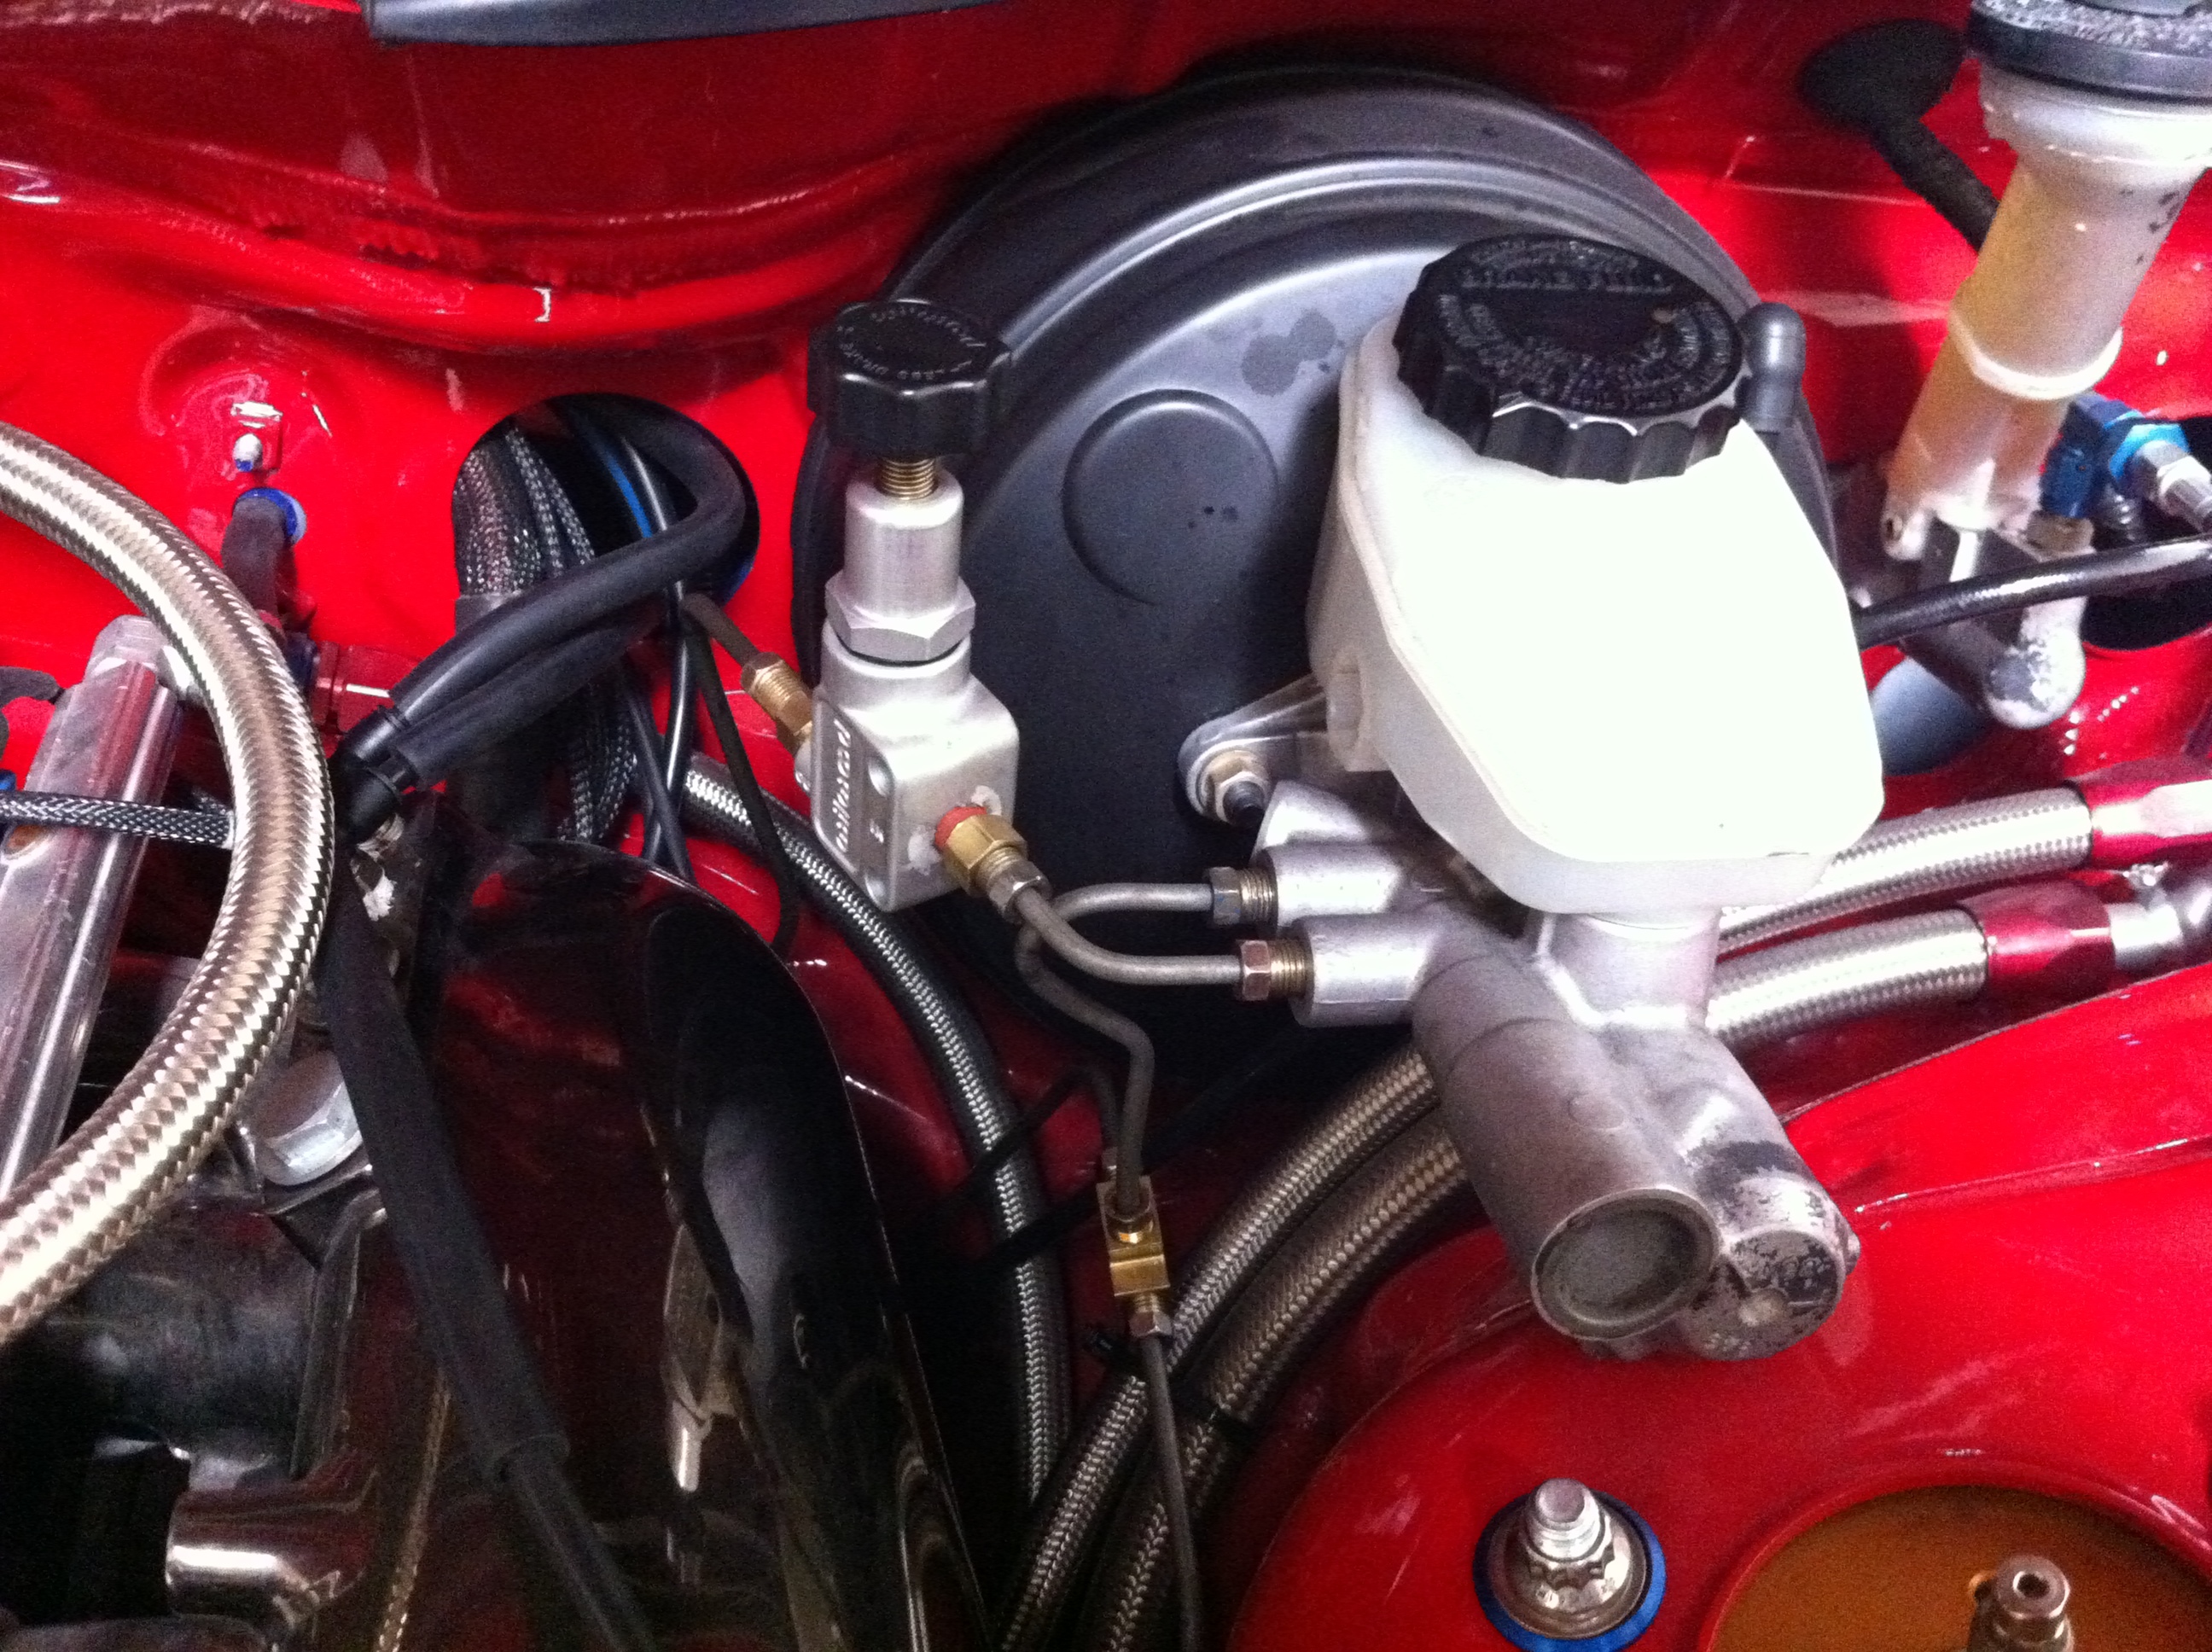
3. install new booster/master
- install booster alone with gasket and nuts.
- install master cyl with gasket and tighten
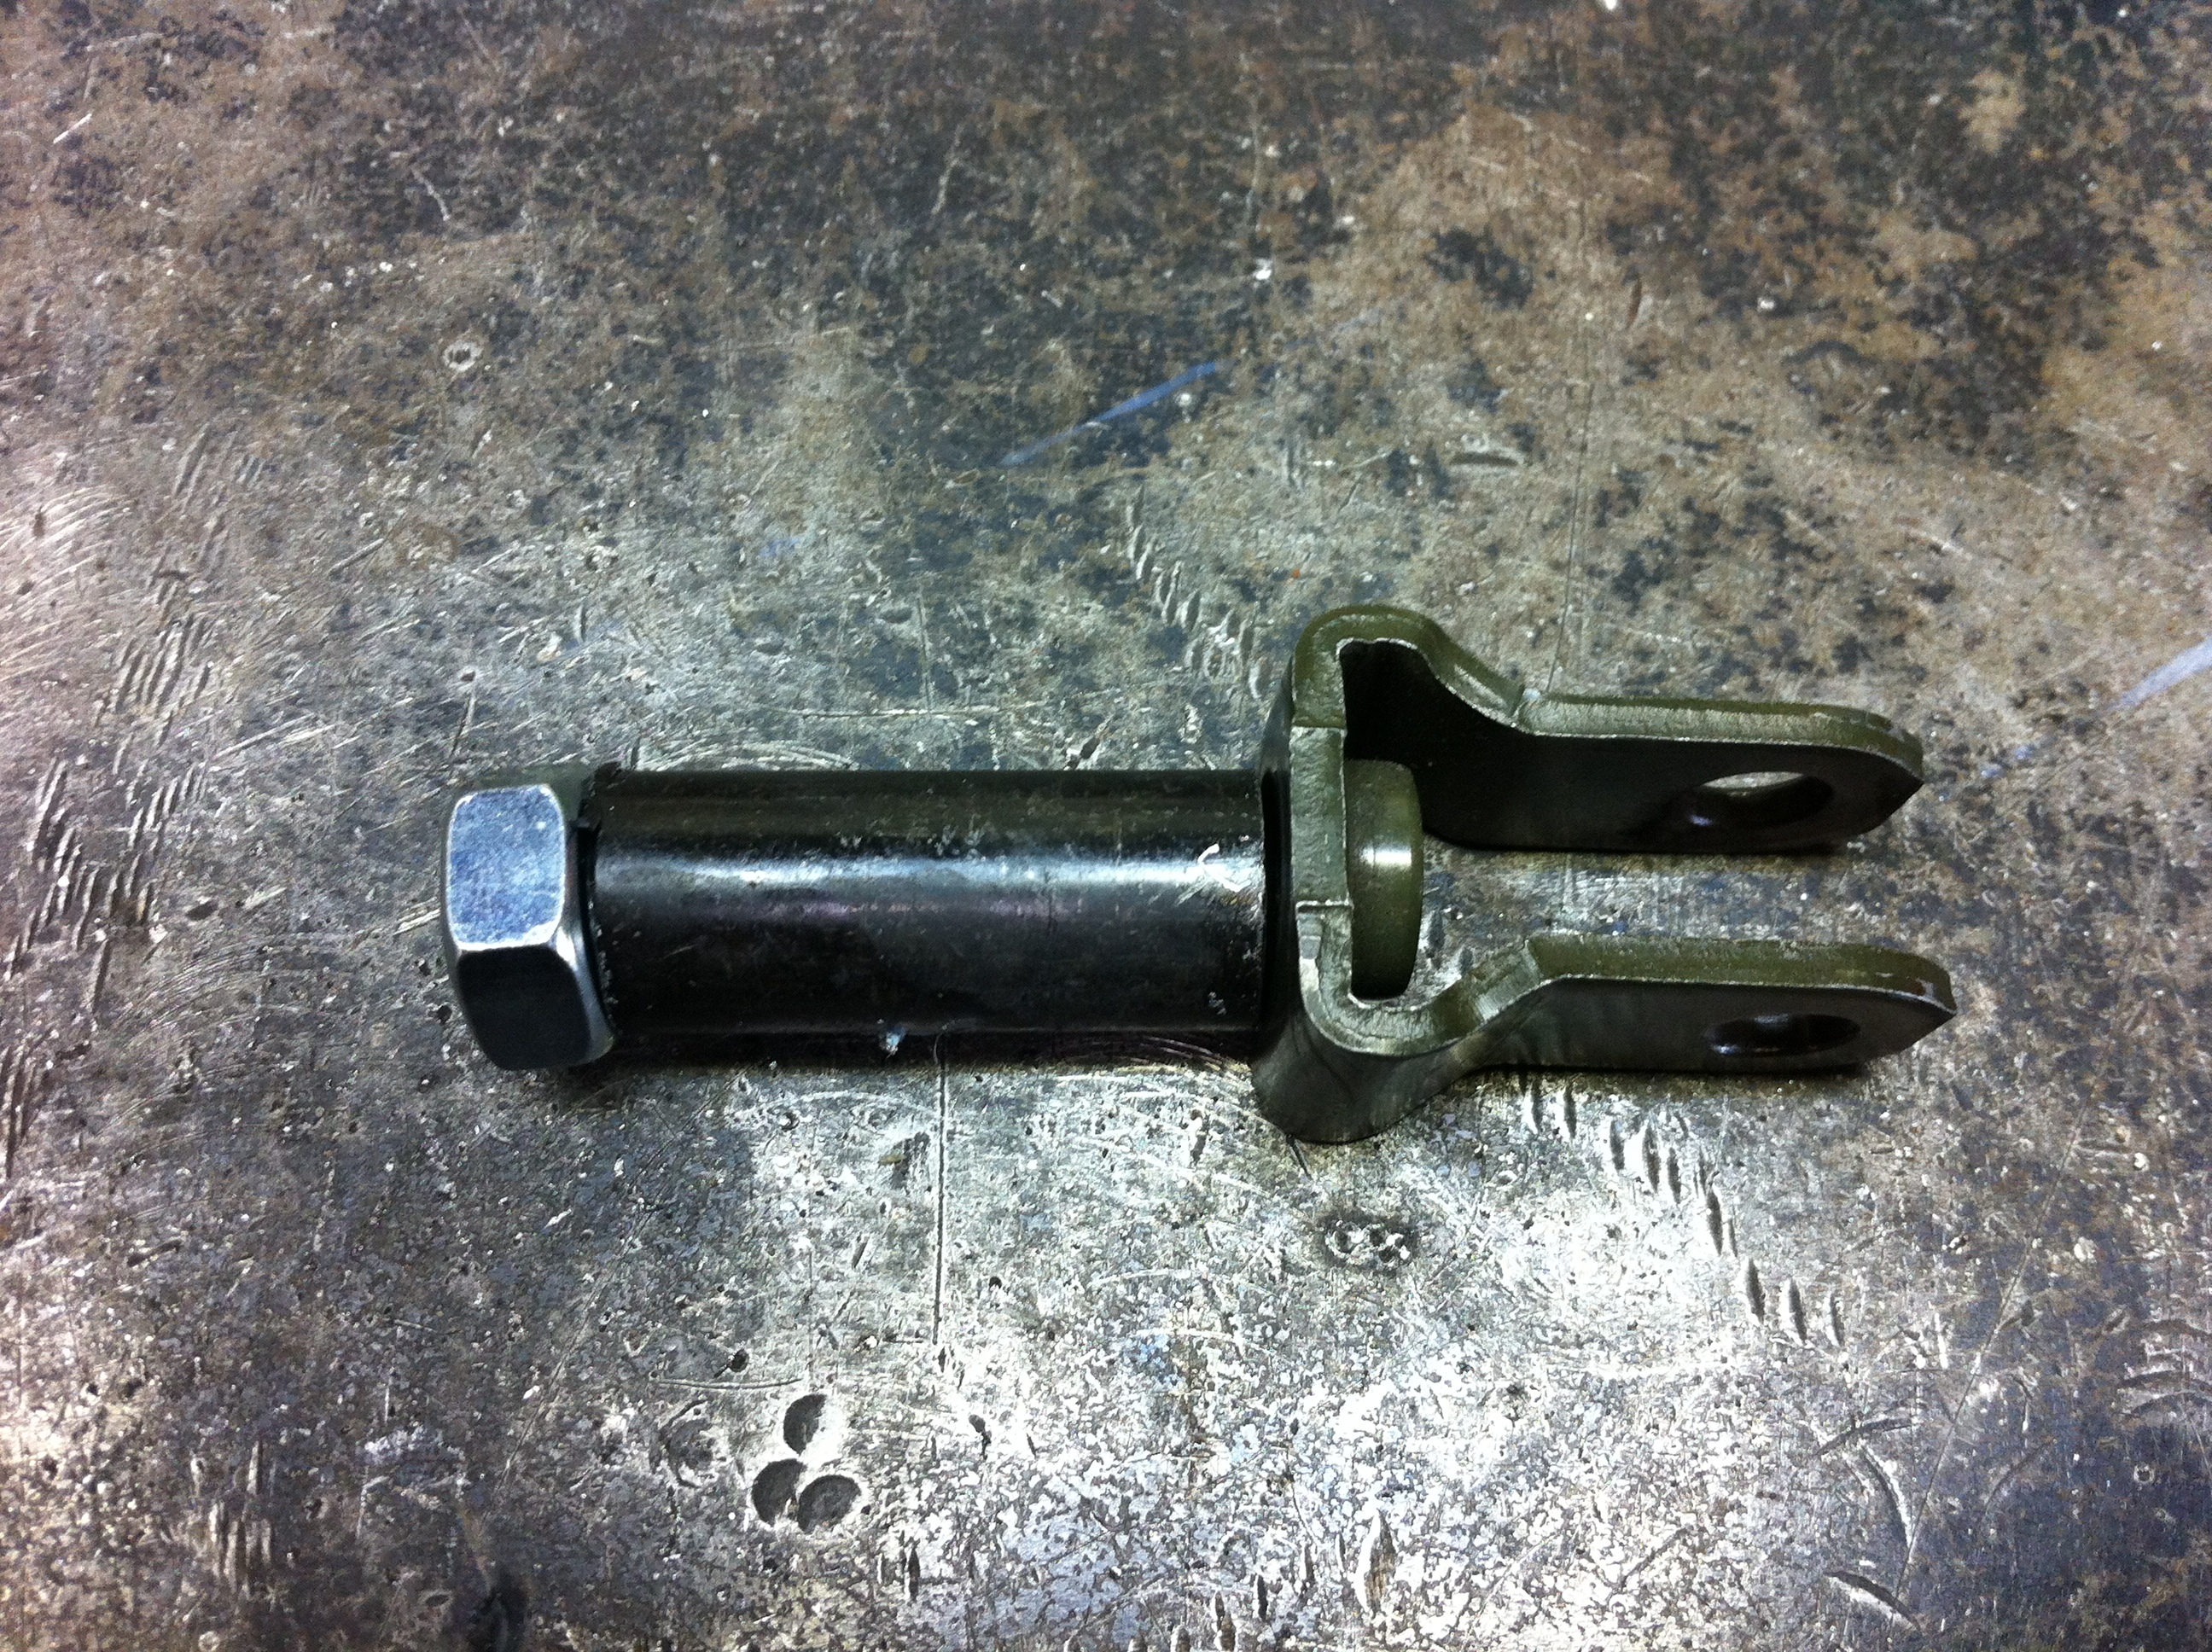
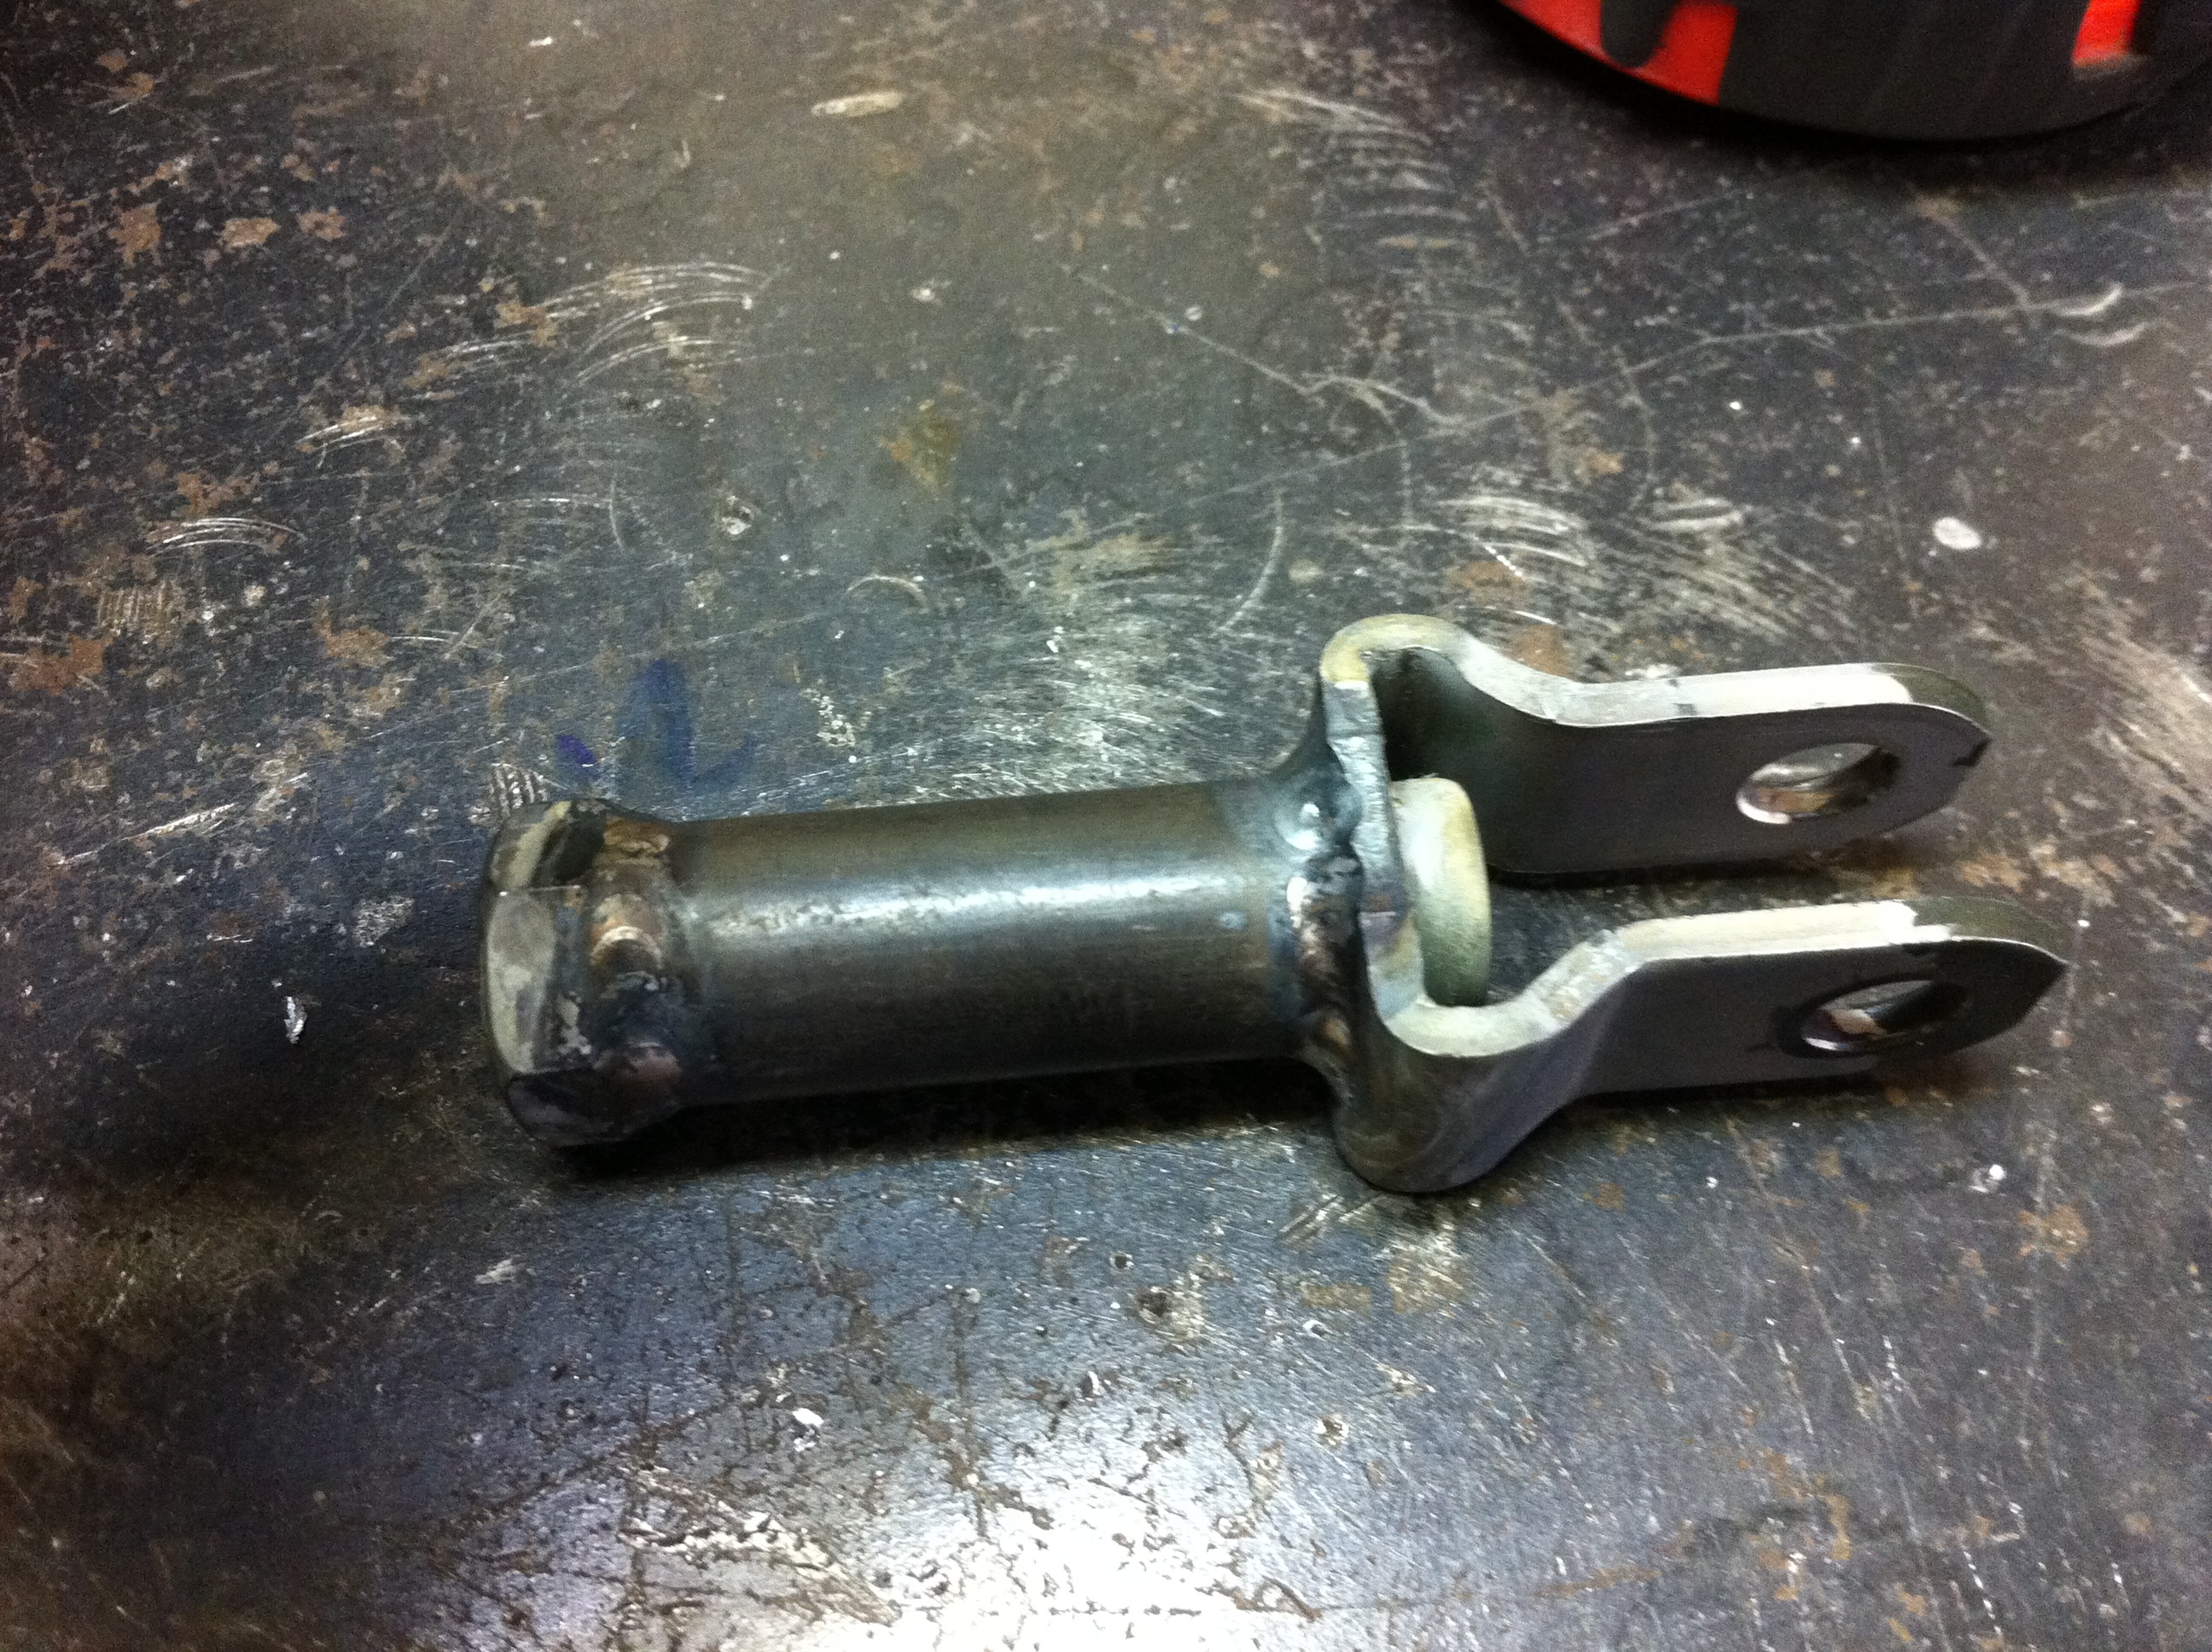
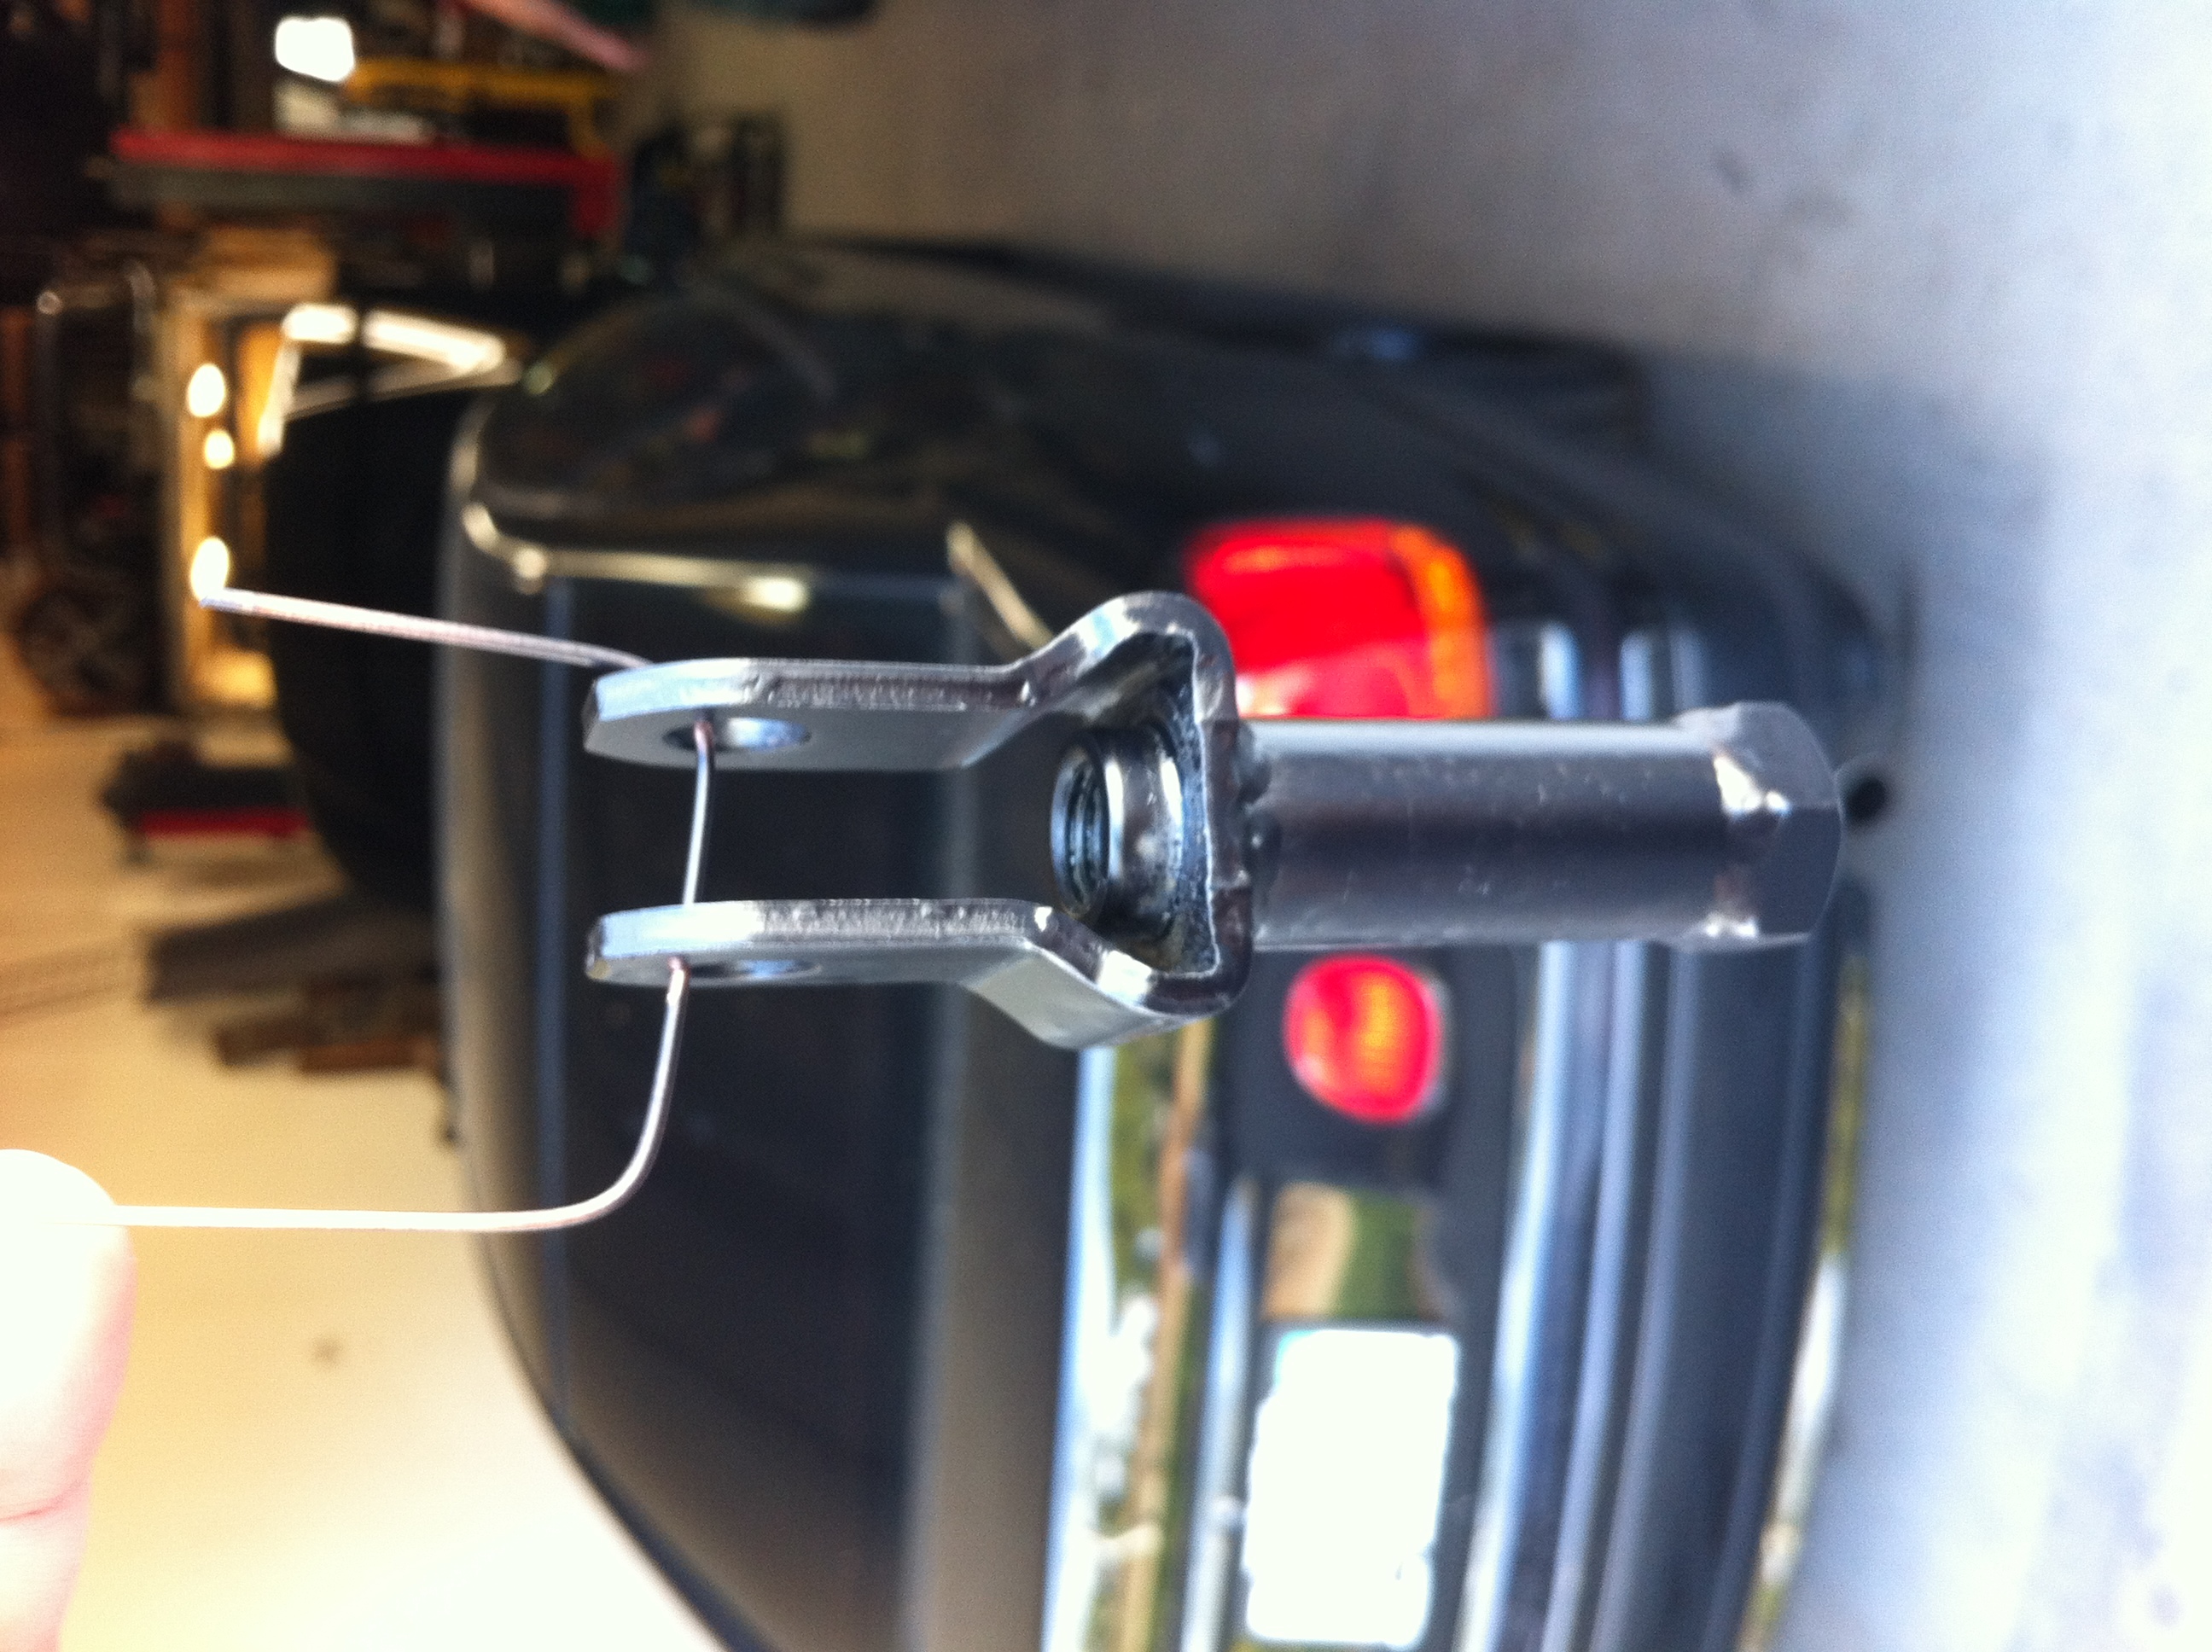
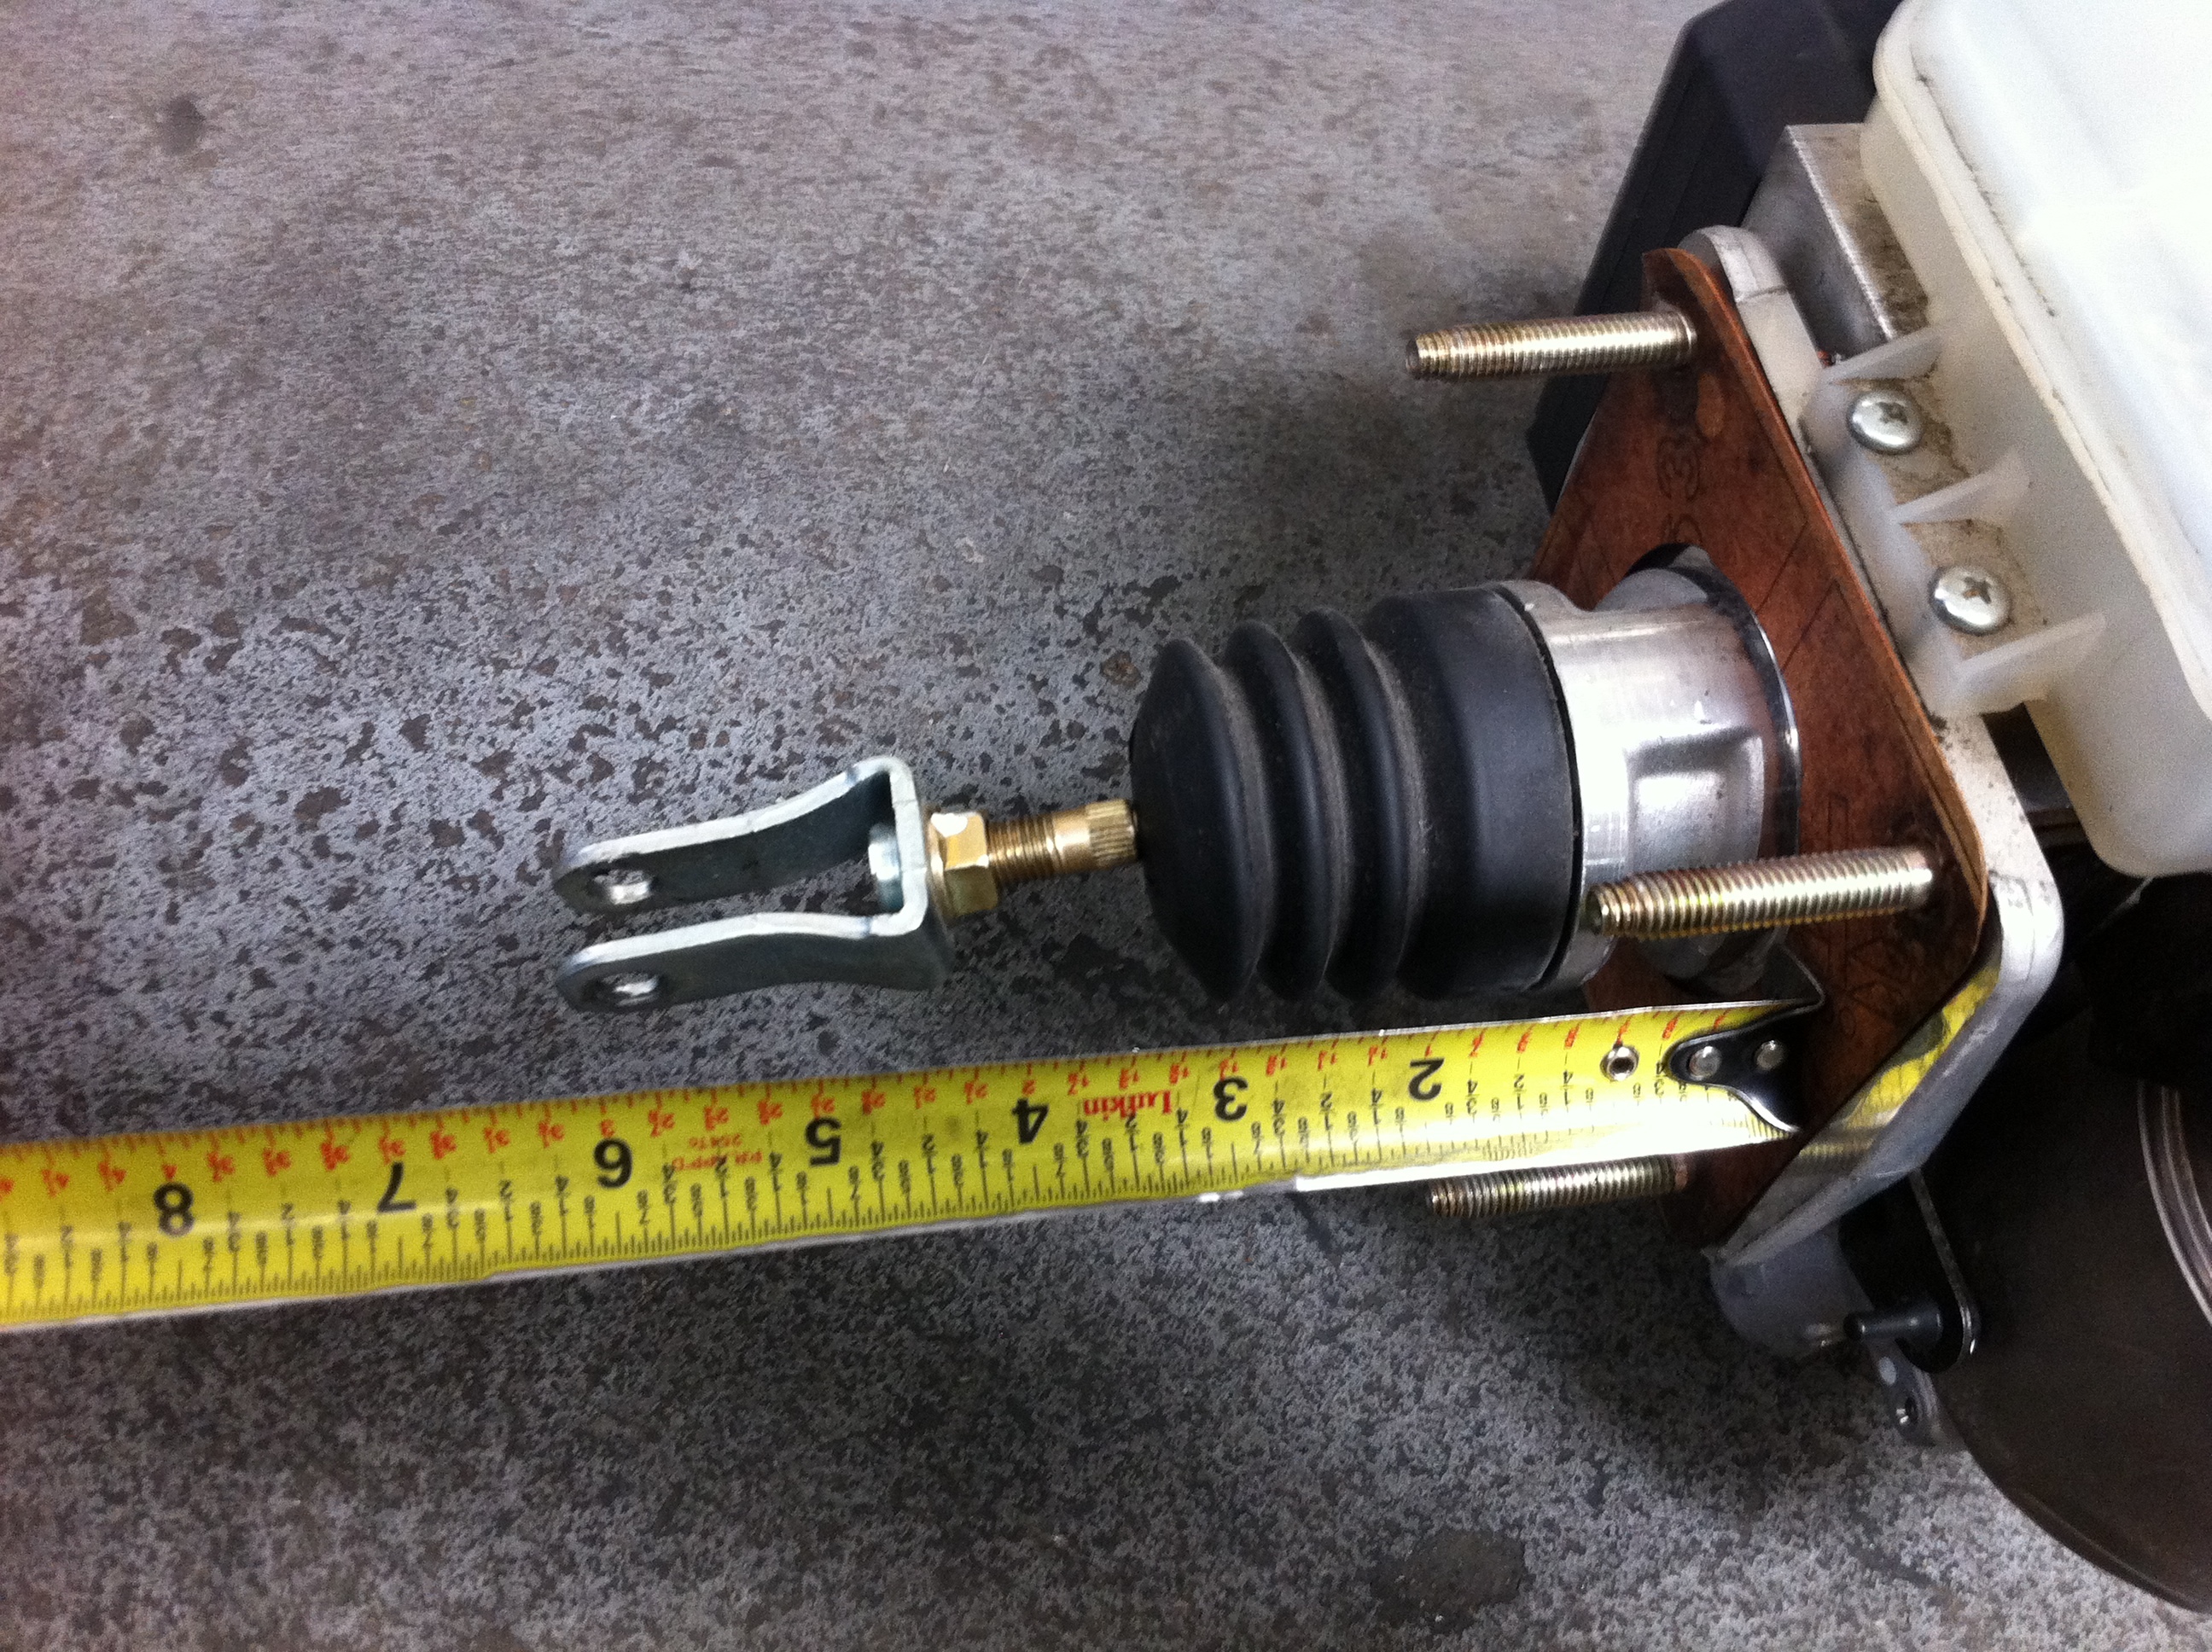
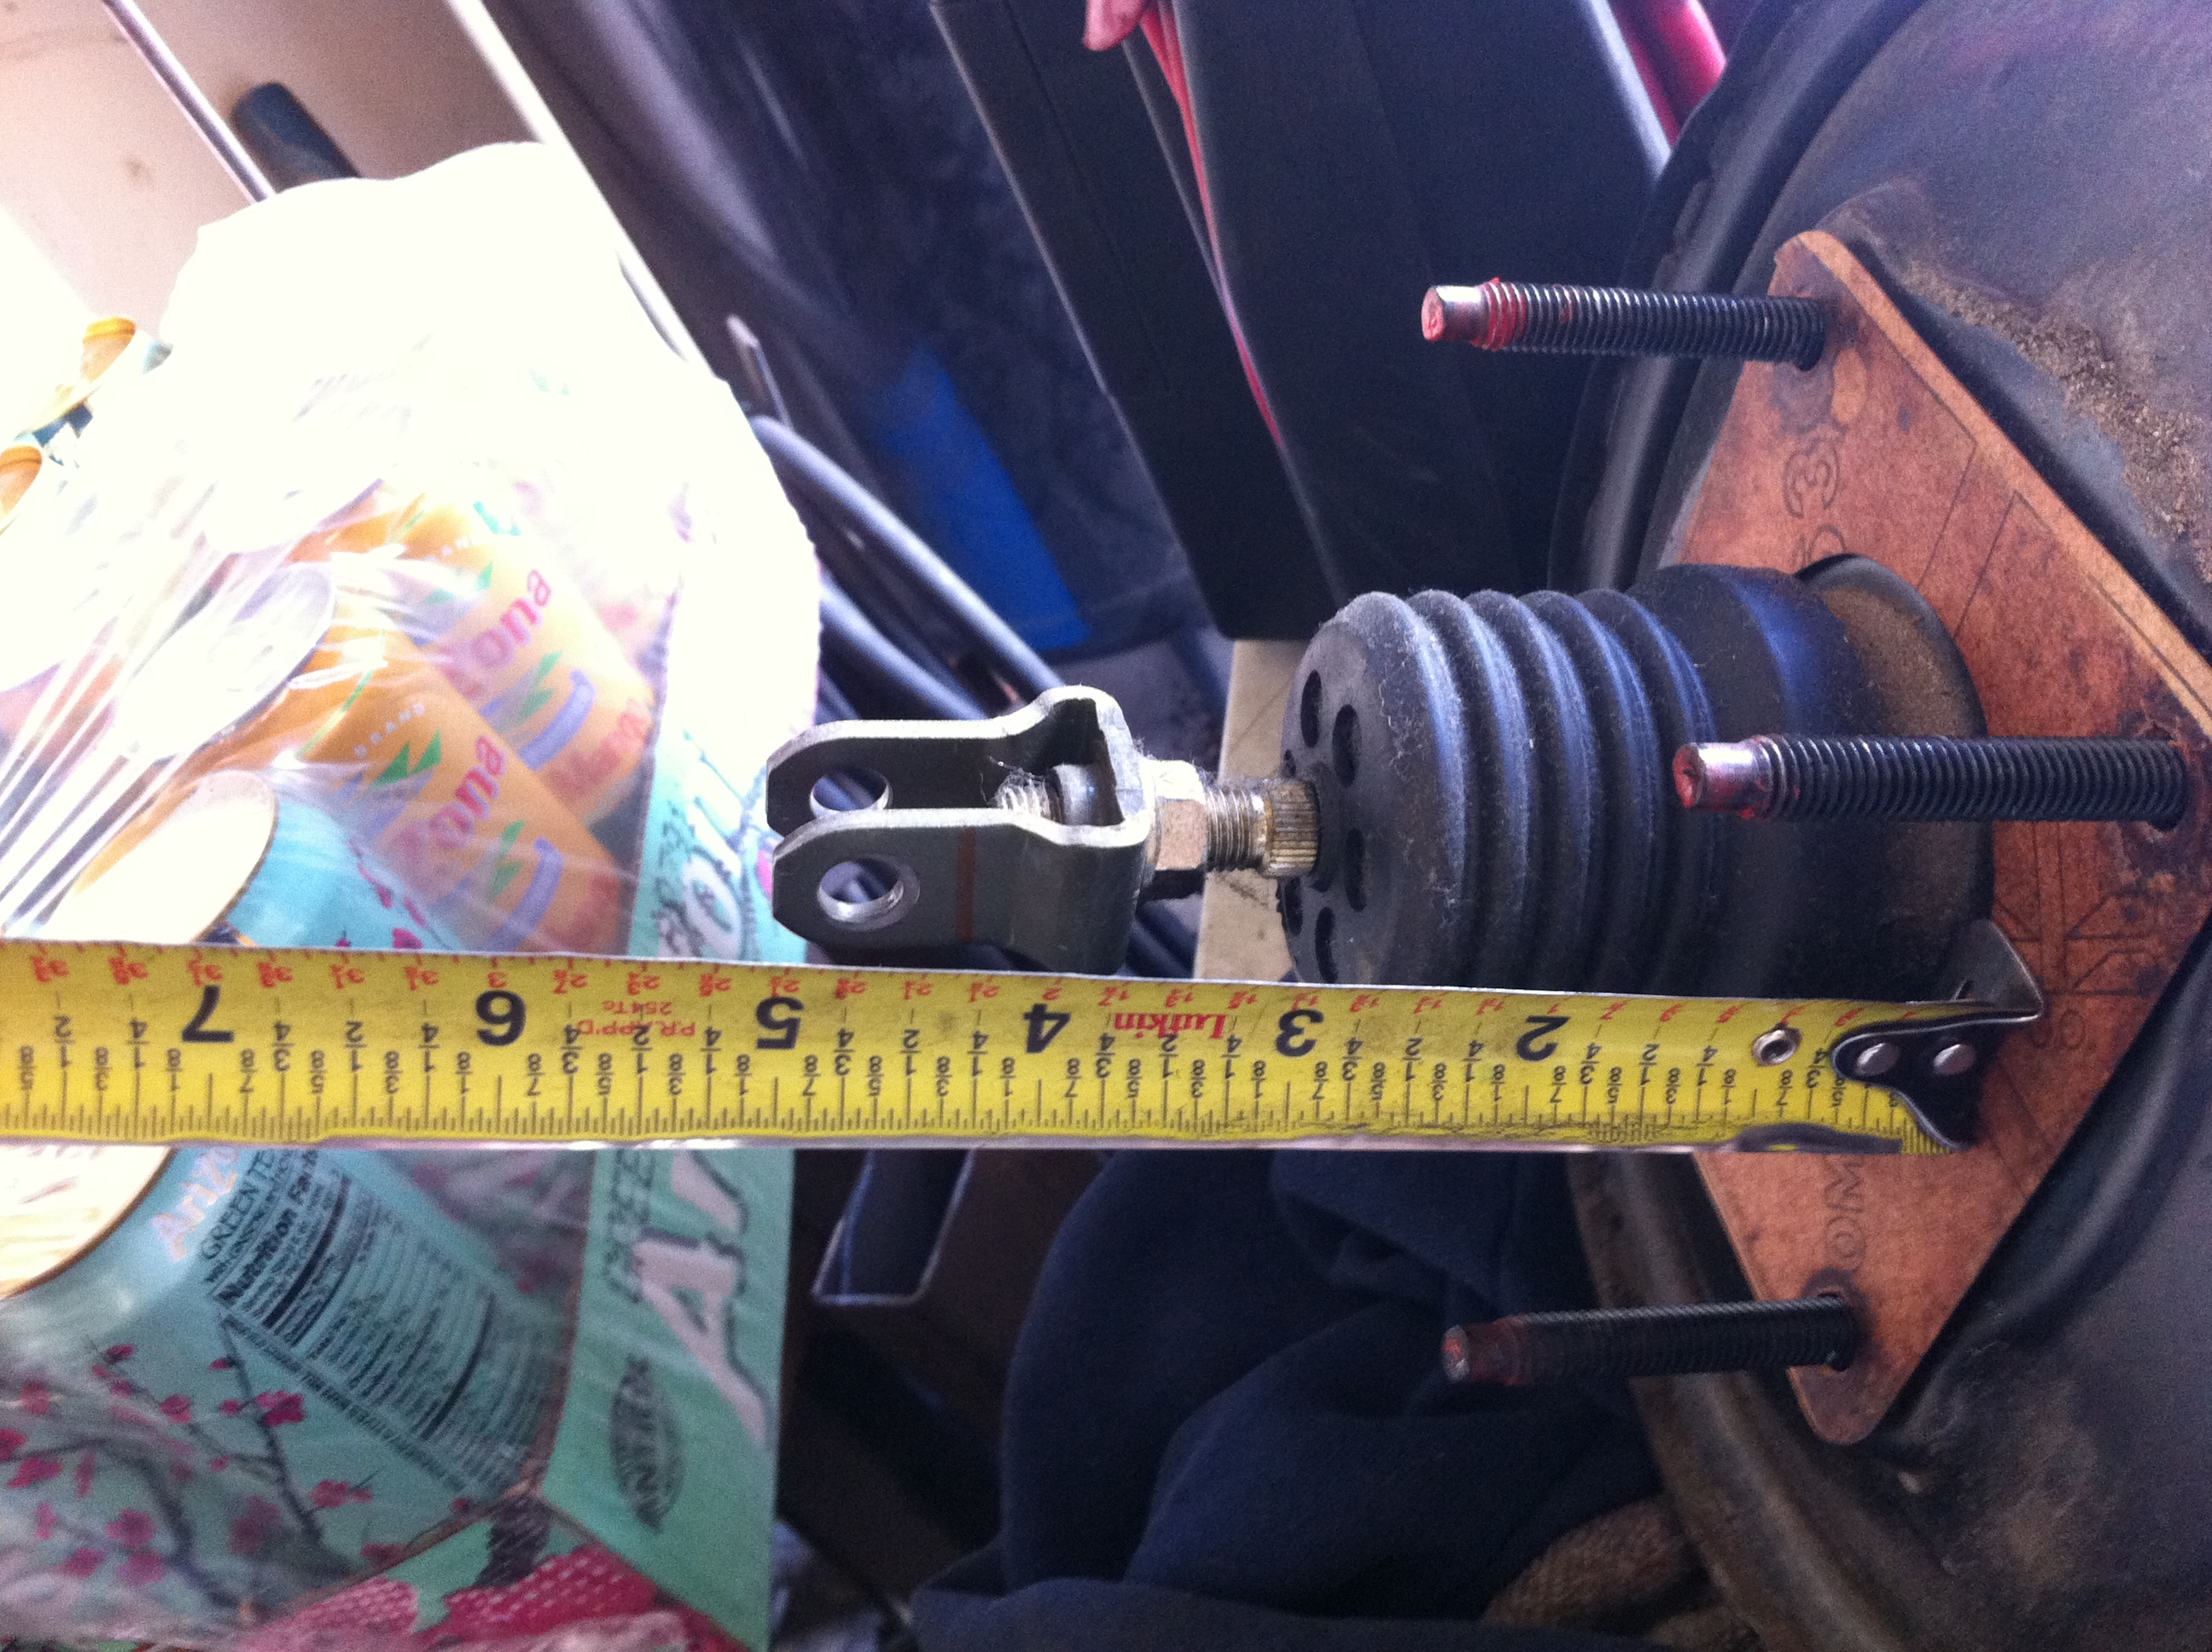
- measure distance and make a spaces to thread on booster to attach to pedal
4. new lines
- cut, then crimp the lines inverted double flare the old lines to size and length
OR get stainless lines made
- put the 2 rears into a Tee and then to willwood prop valve OUT
- put the wilwood IN to the master furthest away from the firewall
- put the front lines into a Tee and then to the master closest to firewall
- bleed the lines and follow wilwoods instructions to set and test and dial in the prop valve. BE CAREFUL AND UNDERSTAND HOW IT WORKS BEFORE YOU GO ADJUSTING IT.
This is what i did to remove the entire ABS/VSC/TRAC system out of my 03 GS300.
parts i used:
Wilwood prop valve
3/16 compression tee's
new gaskets
new nuts with built in lock washers
the booster and master cylinder are from a 2000 Toyota Avalon. The booster bolt pattern is identical to the GS, so no drilling/modifying/hacking up the firewall. Help from a friend at Toyota for that tip!
1. remove all fuses, relays, buzzer, abs/vsc ecu
- remove 3 relays next to the unit
- remove abs ecu under dash
- remove buzzer next to ecu under dash
- remove 100a fuse next to battery (yellow circle)
- remove 40a fuse next to battery (grey circle)
2. remove stock unit
-unplug all harnesses to the unit
- remove bolt betwen pedal and booster
- remove 4 bolts under dash at pedal assembly
- remove 2 front lines from unit
- remove 2 rear lines from unit
carefully remove the whiole unit
3. install new booster/master
- install booster alone with gasket and nuts.
- install master cyl with gasket and tighten
- measure distance and make a spaces to thread on booster to attach to pedal
4. new lines
- cut, then crimp the lines inverted double flare the old lines to size and length
OR get stainless lines made
- put the 2 rears into a Tee and then to willwood prop valve OUT
- put the wilwood IN to the master furthest away from the firewall
- put the front lines into a Tee and then to the master closest to firewall
- bleed the lines and follow wilwoods instructions to set and test and dial in the prop valve. BE CAREFUL AND UNDERSTAND HOW IT WORKS BEFORE YOU GO ADJUSTING IT.