When you click on links to various merchants on this site and make a purchase, this can result in this site earning a commission. Affiliate programs and affiliations include, but are not limited to, the eBay Partner Network.
I don't want to reopen the handful of dashcam threads that are out there - but want to ask about some installation questions.
For those that installed a dashcam with a hardwire kit, how did you run the fusebox wire? Where did you tap into?
Bonus question: For those that also wired in the rear dashcam - how did you route the cable?
For reference, I have the Thinkware Q800 pro with the rear cam/hardwire kit ($350 CAD) - the U1000 wasn't worth it at $200 more.
I watched a bunch of YouTube videos and decided it couldn't be so hard that I couldn't tackle it.
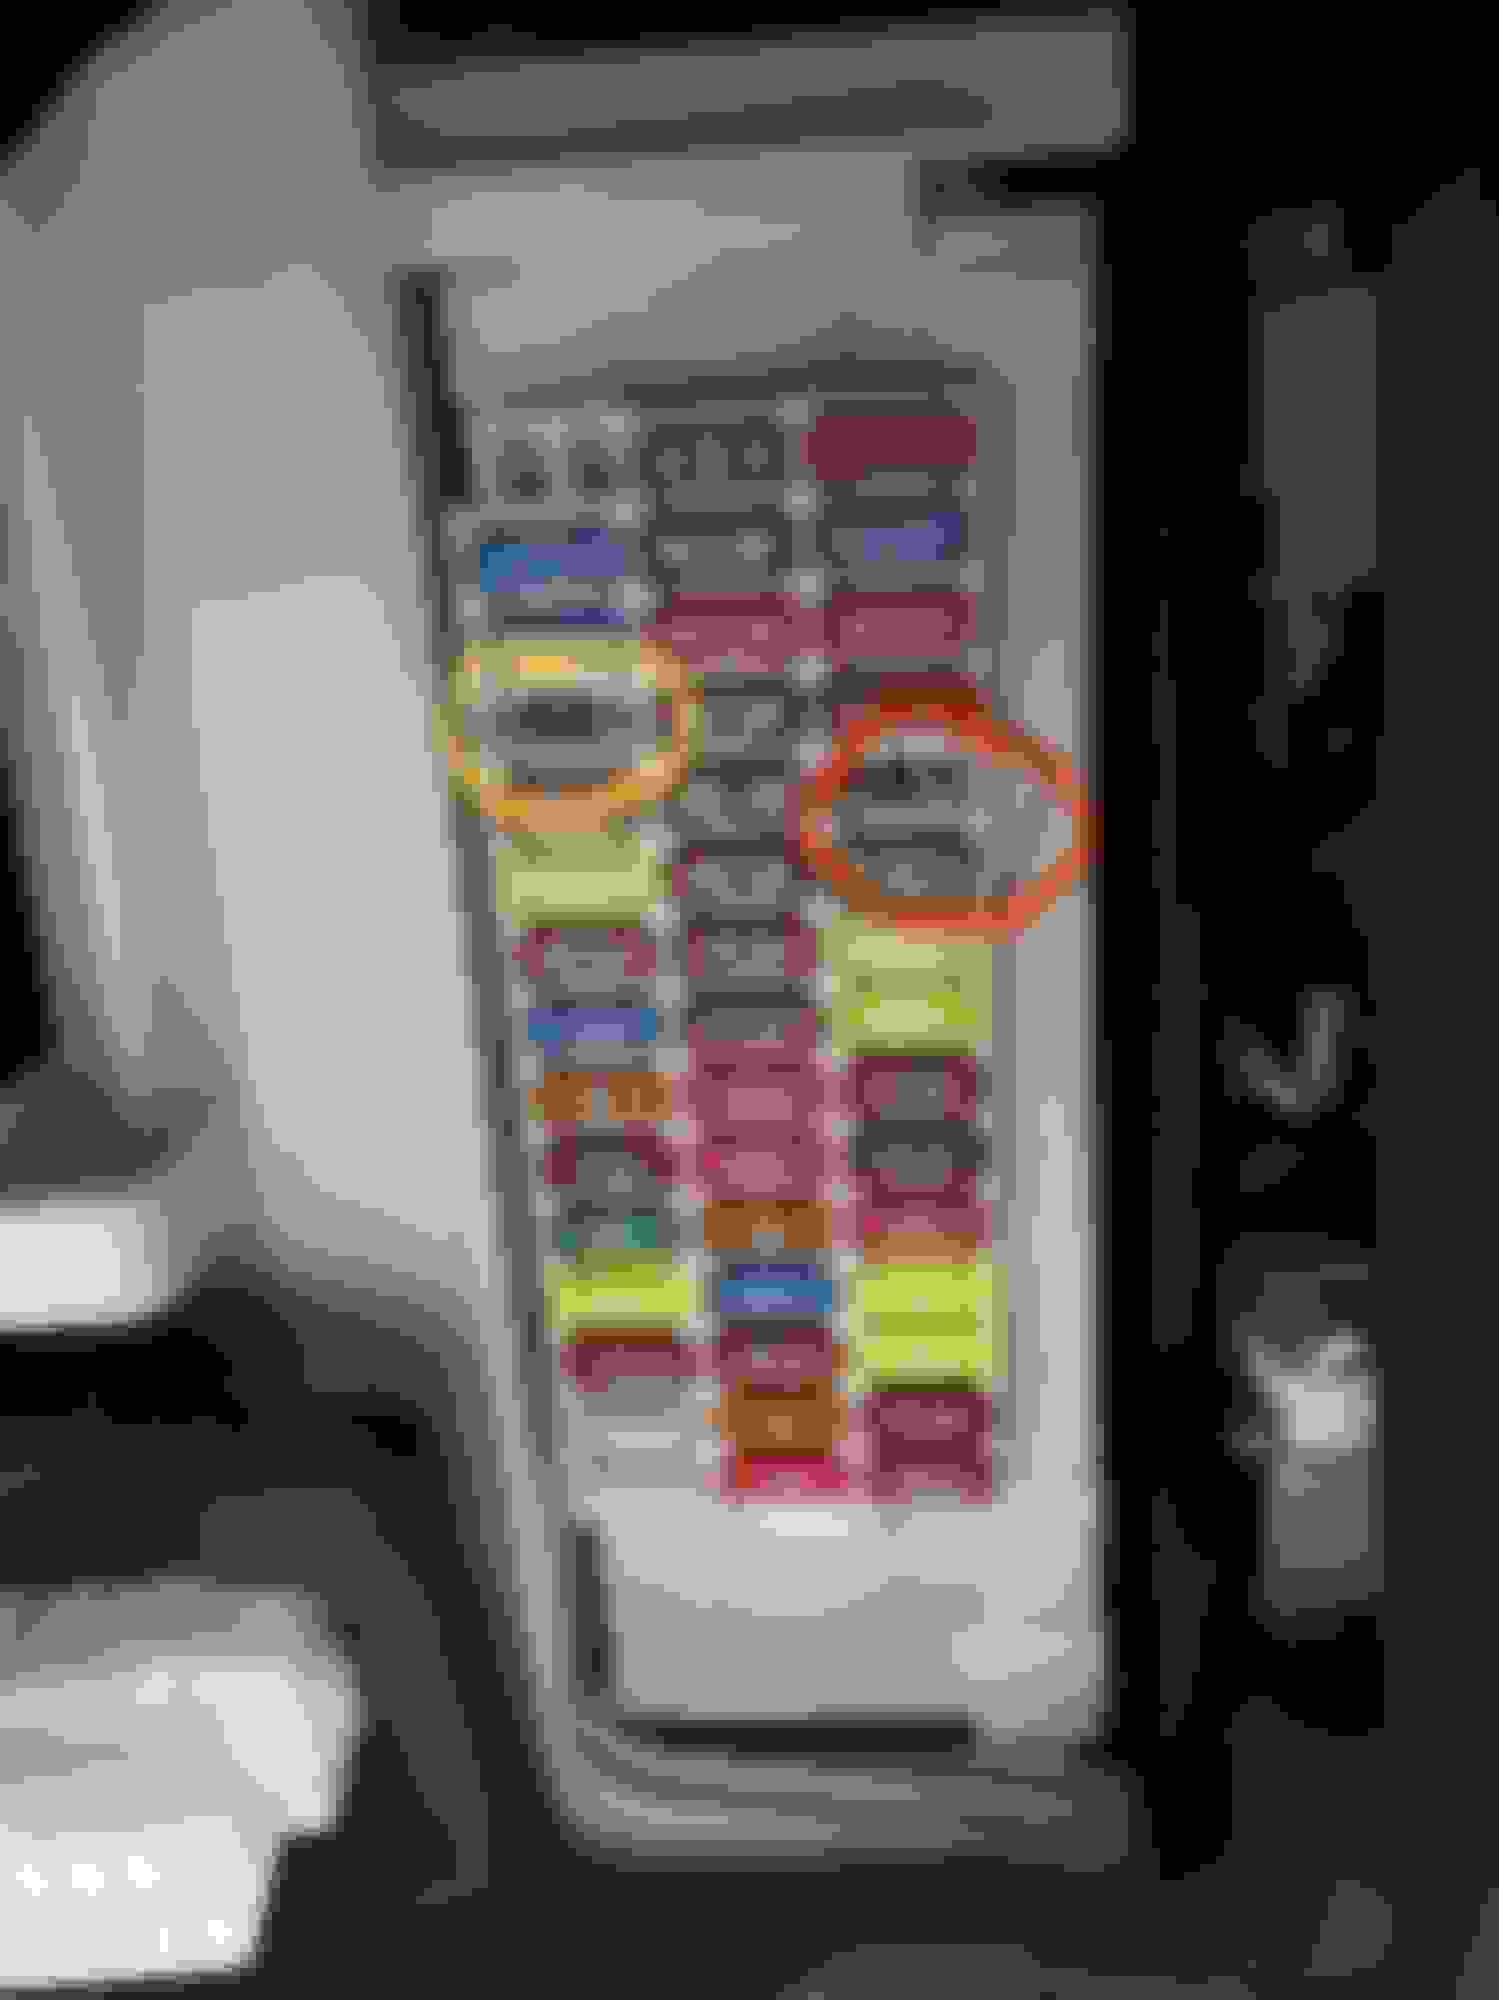
So I picked up my multimeter, grab a bunch of tools and went down with my dashcam. I decided how i was going to route the cables. I decided to use the fuse box under the driver side of the dash. I found there were a couple of fuse slots and chose to use those instead of tapping an existing guide; just to avoid any potential (though not likely) issues. Testing with the multimeter, I found that the slots marked below would do. The Red circled slot has power even when the car is off and the yellow circled slot only had power when the car was on.
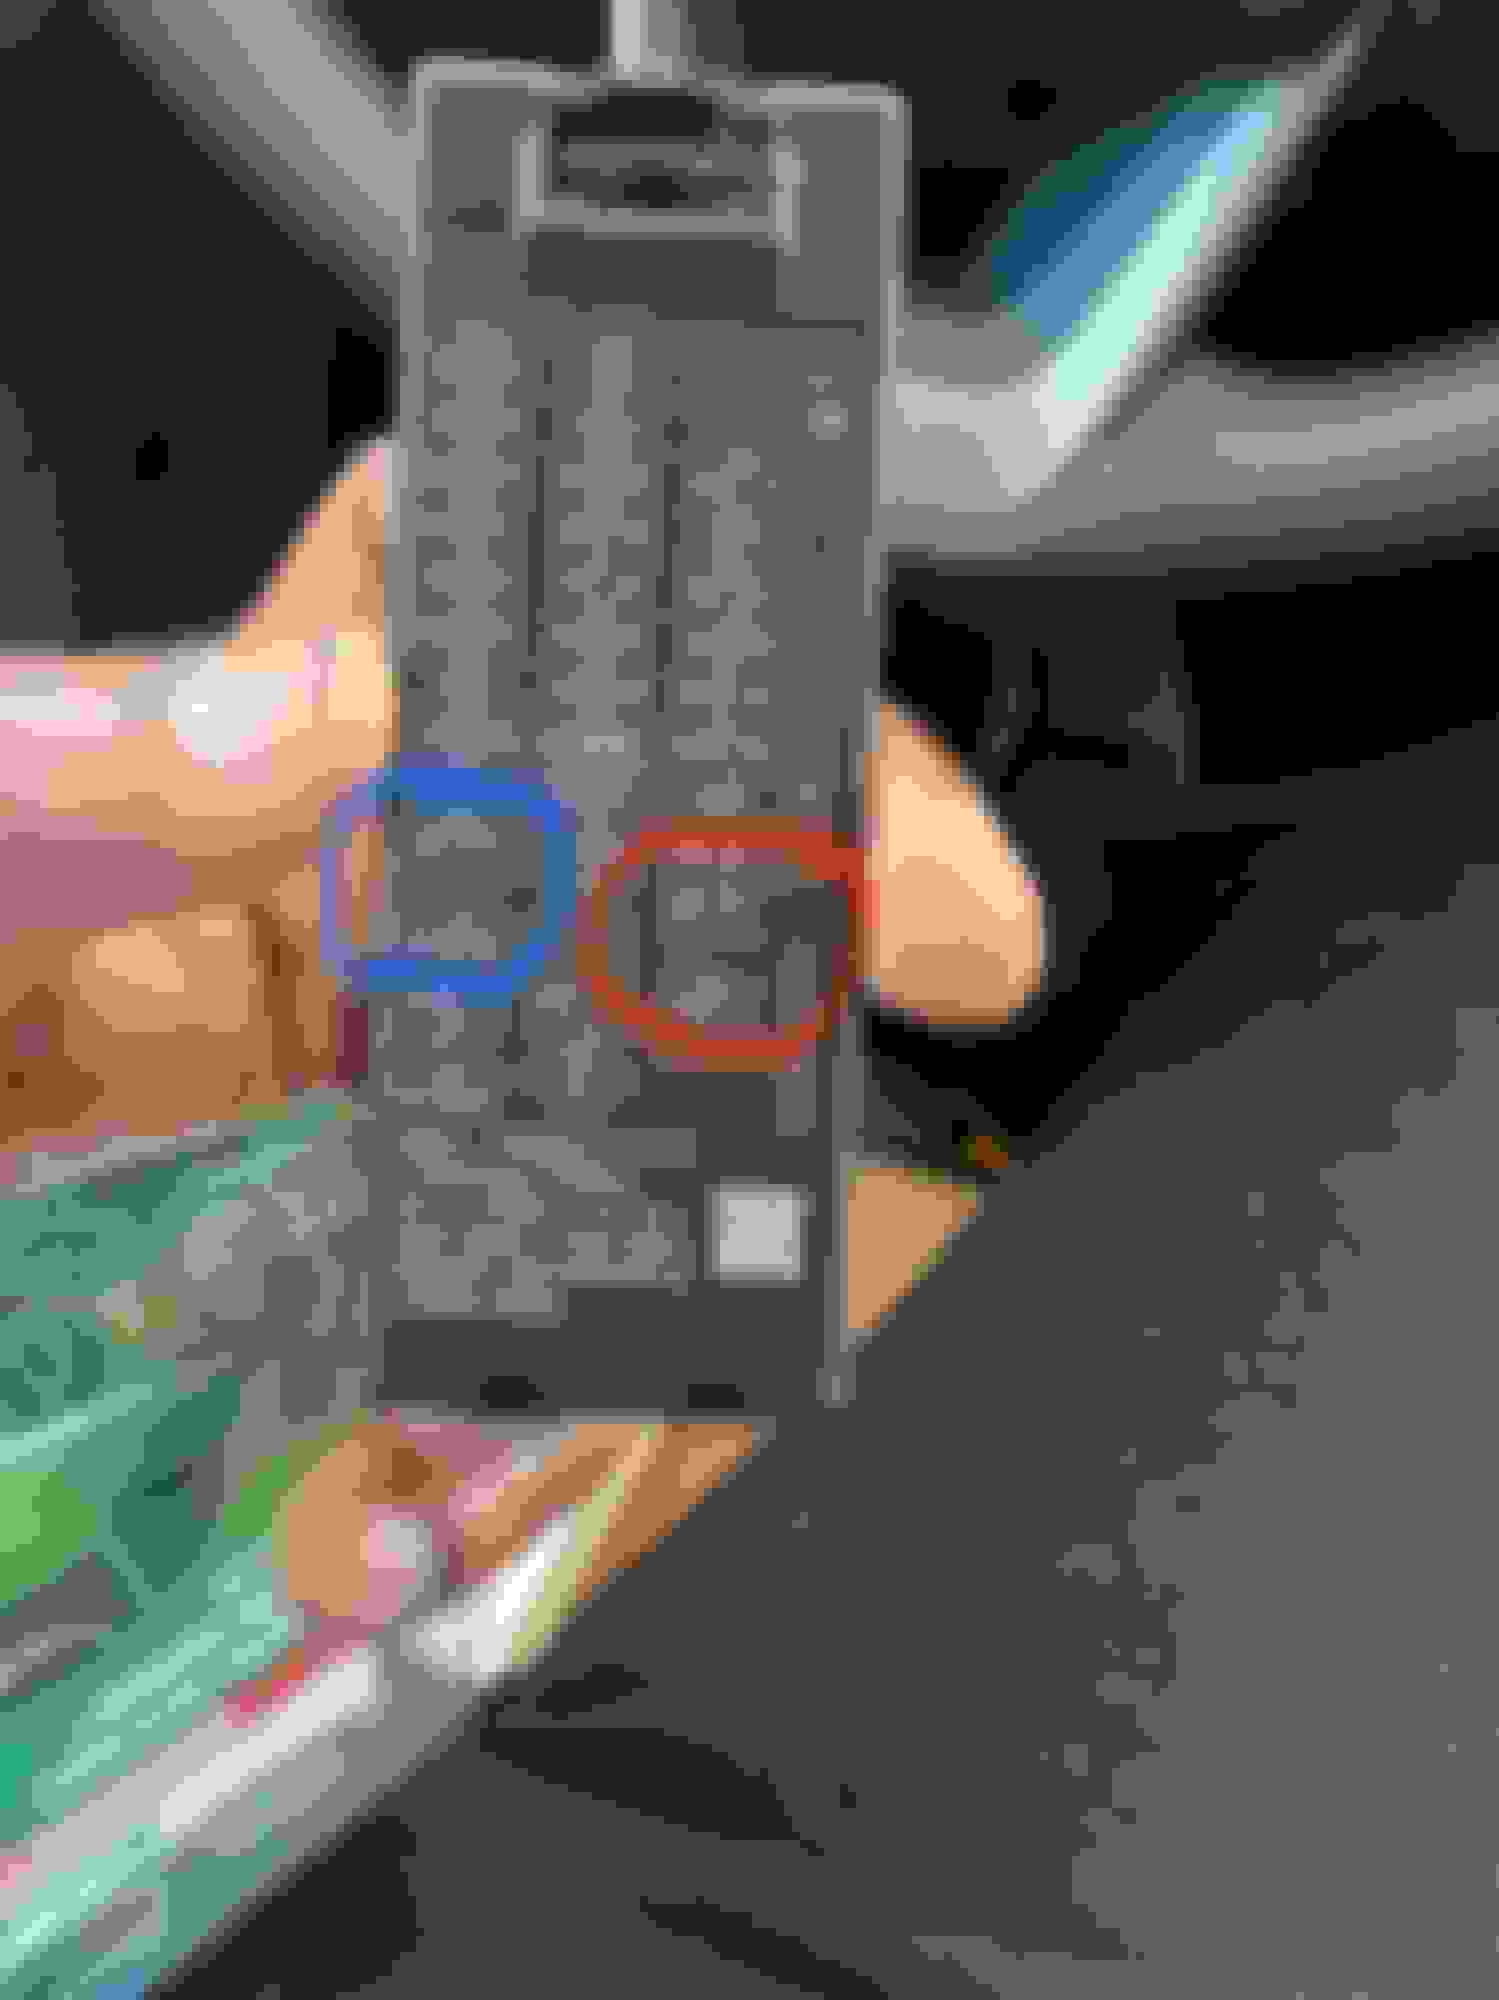
That corresponds to these slots of you're looking at the fuse box cover. Red is for always on and blue is the one which is one only when the car is running.
Then I ran my cables, loosened the panel just to the left of the footwell to allow me some room to route the cable. Once you loosen it, there's a 10mm bolt which you can use for the ground cable.
Once grounded, it was just a matter of connecting my fuse taps to the wires and then plugging them in to those earlier identified slots. I was going to use 2 10A fuses but I ran out and had only one. So for the fuse tap that was connected to the always on, I used a 15A fuse. I might swap that out later for a 10A once I get some more fuses, but the 15A would have to do for now.
Then it was just a matter of tightening the lose panel and testing the camera. If you're for a dual channel solution, make sure to test your rear camera before you mount it so you don't put it upsidedown😜. The fuse box cover will not fit once the taps are in so remember to keep the cover in a safe place for future reference.
Here's what the fusebox looks like after installing the taps.
In all, because I kept on going up and down to find a tool or get some supplies, it ended up taking me about 90 mins. But if you have everything with you and are very organized, it shouldn't take more than an hour.
Even a novice with little experience can tackle this under 2 hours after watching a couple of YouTube videos. There's the official Thinkware video as well as a couple of other good ones that were very useful for me. Links to those videos are below.
I don't want to reopen the handful of dashcam threads that are out there - but want to ask about some installation questions.
For those that installed a dashcam with a hardwire kit, how did you run the fusebox wire? Where did you tap into?
Bonus question: For those that also wired in the rear dashcam - how did you route the cable?
For reference, I have the Thinkware Q800 pro with the rear cam/hardwire kit ($350 CAD) - the U1000 wasn't worth it at $200 more.
Thanks!
Following as I also just ordered the thinkware F200 Pro and want to do the same
I watched a bunch of YouTube videos and decided it couldn't be so hard that I couldn't tackle it.
So I picked up my multimeter, grab a bunch of tools and went down with my dashcam. I decided how i was going to route the cables. I decided to use the fuse box under the driver side of the dash. I found there were a couple of fuse slots and chose to use those instead of tapping an existing guide; just to avoid any potential (though not likely) issues. Testing with the multimeter, I found that the slots marked below would do. The Red circled slot has power even when the car is off and the yellow circled slot only had power when the car was on.
That corresponds to these slots of you're looking at the fuse box cover. Red is for always on and blue is the one which is one only when the car is running.
Then I ran my cables, loosened the panel just to the left of the footwell to allow me some room to route the cable. Once you loosen it, there's a 10mm bolt which you can use for the ground cable.
Once grounded, it was just a matter of connecting my fuse taps to the wires and then plugging them in to those earlier identified slots. I was going to use 2 10A fuses but I ran out and had only one. So for the fuse tap that was connected to the always on, I used a 15A fuse. I might swap that out later for a 10A once I get some more fuses, but the 15A would have to do for now.
Then it was just a matter of tightening the lose panel and testing the camera. If you're for a dual channel solution, make sure to test your rear camera before you mount it so you don't put it upsidedown😜. The fuse box cover will not fit once the taps are in so remember to keep the cover in a safe place for future reference.
Here's what the fusebox looks like after installing the taps.
In all, because I kept on going up and down to find a tool or get some supplies, it ended up taking me about 90 mins. But if you have everything with you and are very organized, it shouldn't take more than an hour.
Even a novice with little experience can tackle this under 2 hours after watching a couple of YouTube videos. There's the official Thinkware video as well as a couple of other good ones that were very useful for me. Links to those videos are below.
Testing with the multimeter, I found that the slots marked below would do. The Red circled slot has power even when the car is off and the yellow circled slot only had power when the car was on.
...
That corresponds to these slots of you're looking at the fuse box cover. Red is for always on and blue is the one which is one only when the car is running.
Thanks, really useful post, exactly what I was looking for. Did you come across any adverse effects on the batttery when connecting to the always-on slot? I'm doing the same with my Nextbase 622GW, and it says it has low voltage cutoff to make sure it doesn't run the battery down, but not sure how this affects hybrid system performance. Any observations would be most welcome!
Thanks, really useful post, exactly what I was looking for. Did you come across any adverse effects on the batttery when connecting to the always-on slot? I'm doing the same with my Nextbase 622GW, and it says it has low voltage cutoff to make sure it doesn't run the battery down, but not sure how this affects hybrid system performance. Any observations would be most welcome!
my ThinkWare dashcam has been installed for just over 4 months now. Not a single issue. I�ve left it plugged in for an extended period of time as I was away for a conference, came back and all was fine.
I�ve also been using the Parking recording as well - and that seemed to not have any affect on the battery either.
I think it�s safe to say that it�s probably a non-issue. That being said, we just got our first snow, and time will tell how it works in sub-zero weather.
Originally Posted by Jubbrwocky
Thanks, really useful post, exactly what I was looking for. Did you come across any adverse effects on the batttery when connecting to the always-on slot? I'm doing the same with my Nextbase 622GW, and it says it has low voltage cutoff to make sure it doesn't run the battery down, but not sure how this affects hybrid system performance. Any observations would be most welcome!
Just like @Ihave1cat says, I've notice no adverse effects at all. I did go on a trip at the end of July with a different car and left the Lexus parked for about 8 days and there was no issues. I returned and the car started fine.
I've been using my Thinkware dashcam since I installed it early in July and no issues whatsoever. I even forget it's there. I'm only reminded it's there when the voice notifications for parking or regular recording start.
You'll have no problem whatsoever. The car is smart enough to manage the battery and power
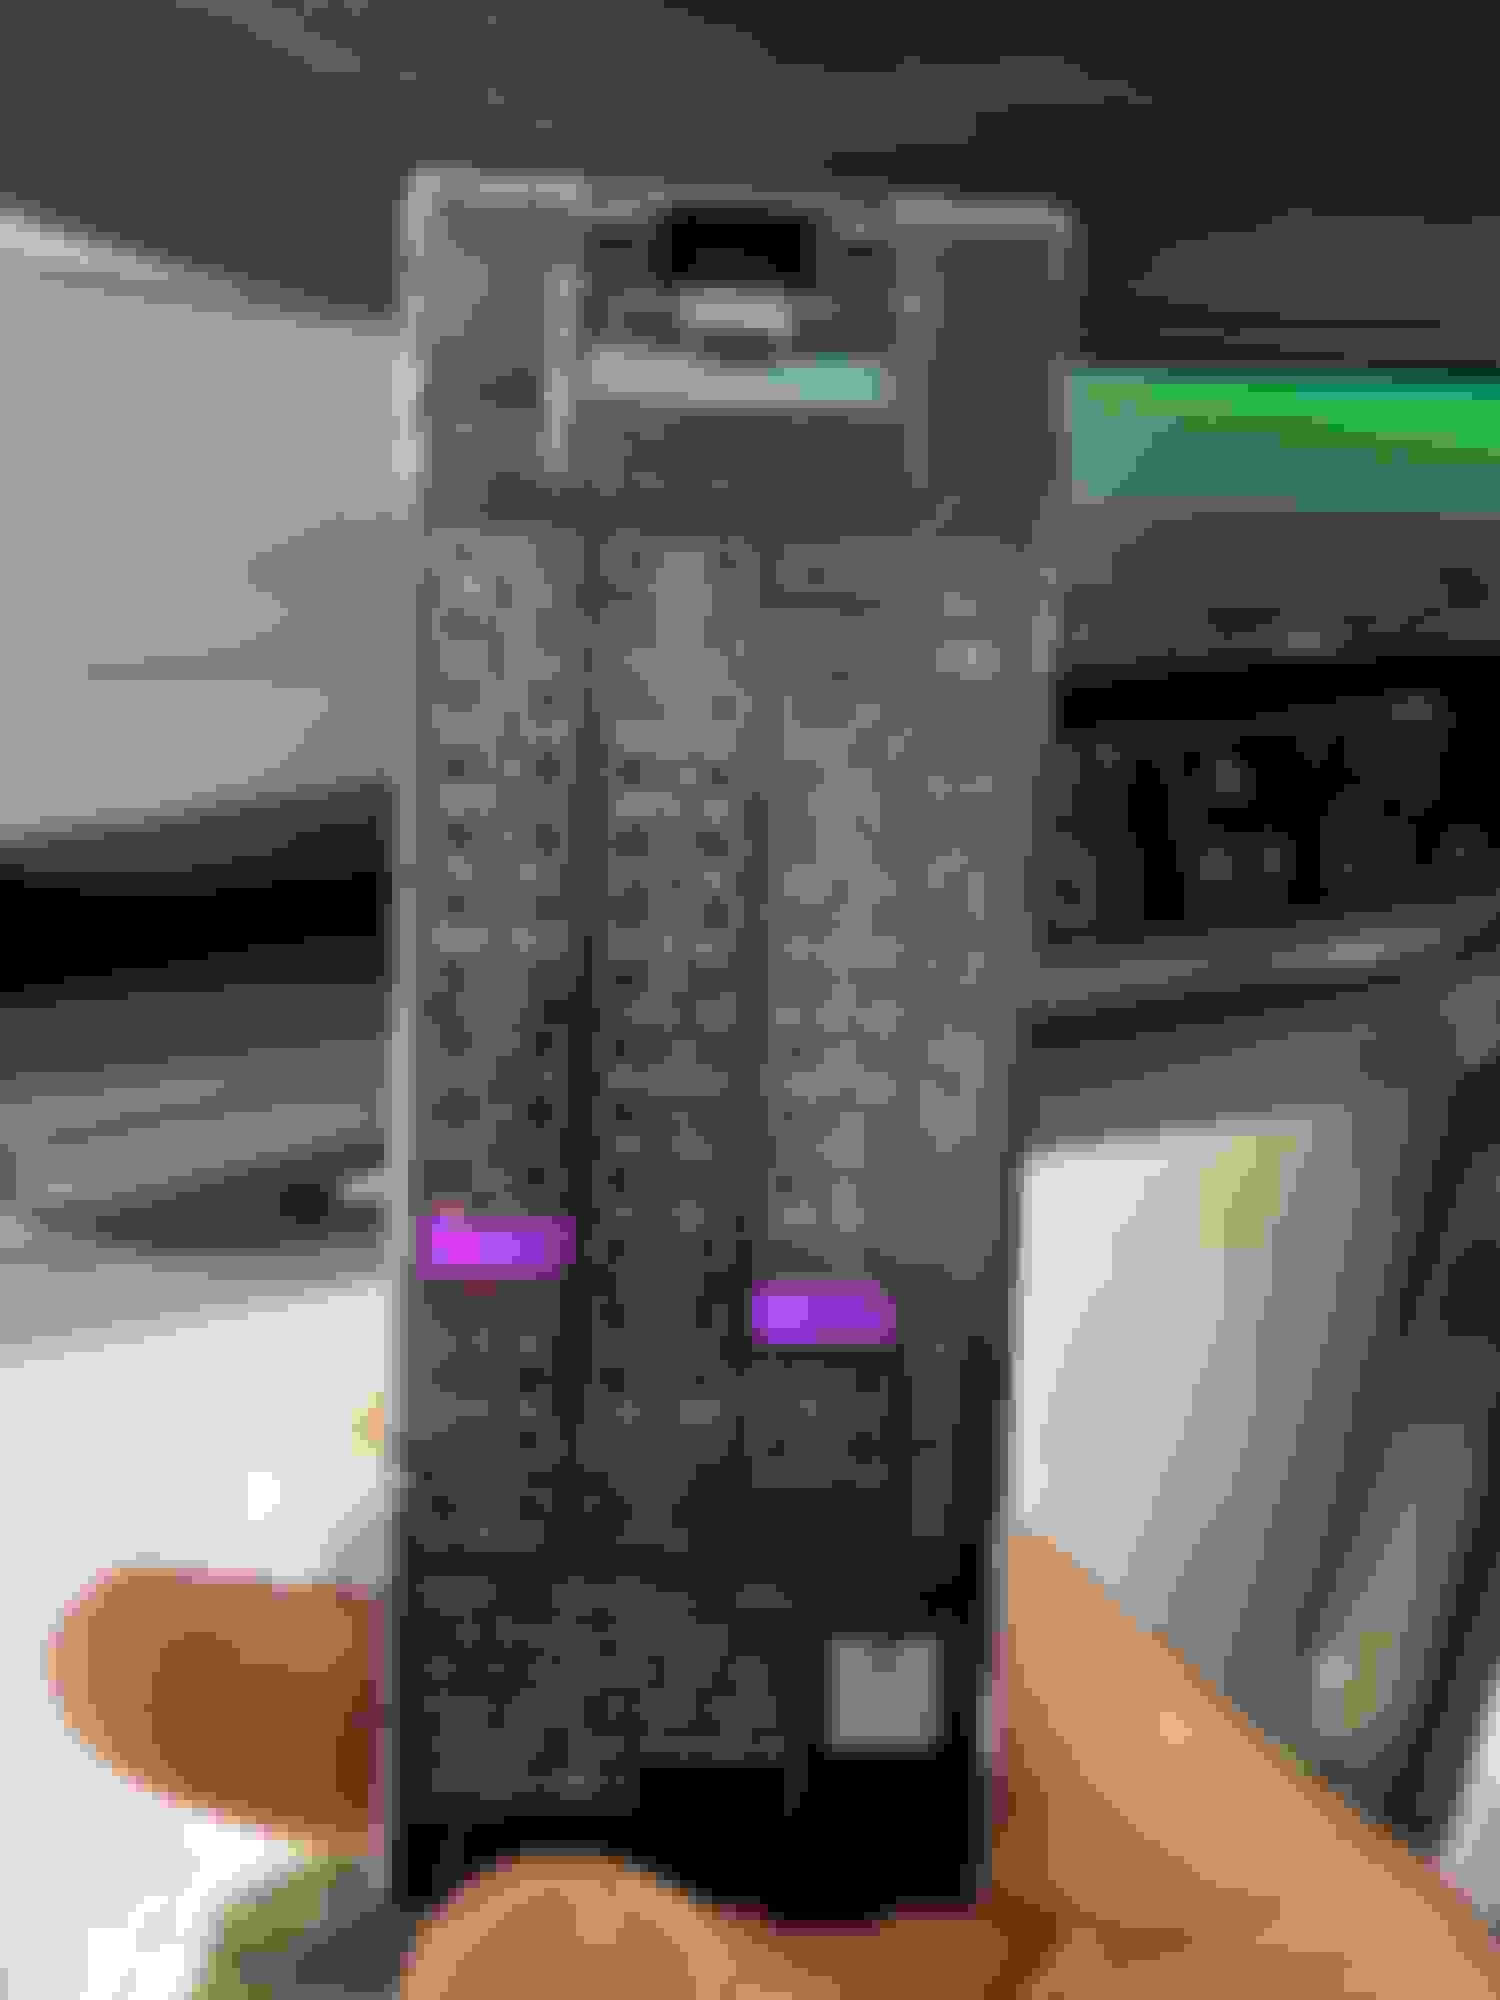
Just wanted to confirm, it�s the purple highlighted fuses here right? And what size are does fuses? Will this work? Glarks 12V 5 Pack Car Add-A-Circuit Fuse TAP Adapter Mini ATM APM Blade Fuse Holder with 120Pcs 2A 3A 5A 7.5 A 10A 15A 20A 25A 30A 35A Fuse Set, Total 130Pcs https://a.co/d/1NfDujQ
Originally Posted by LStoneX
I watched a bunch of YouTube videos and decided it couldn't be so hard that I couldn't tackle it.
So I picked up my multimeter, grab a bunch of tools and went down with my dashcam. I decided how i was going to route the cables. I decided to use the fuse box under the driver side of the dash. I found there were a couple of fuse slots and chose to use those instead of tapping an existing guide; just to avoid any potential (though not likely) issues. Testing with the multimeter, I found that the slots marked below would do. The Red circled slot has power even when the car is off and the yellow circled slot only had power when the car was on.
That corresponds to these slots of you're looking at the fuse box cover. Red is for always on and blue is the one which is one only when the car is running.
Then I ran my cables, loosened the panel just to the left of the footwell to allow me some room to route the cable. Once you loosen it, there's a 10mm bolt which you can use for the ground cable.
Once grounded, it was just a matter of connecting my fuse taps to the wires and then plugging them in to those earlier identified slots. I was going to use 2 10A fuses but I ran out and had only one. So for the fuse tap that was connected to the always on, I used a 15A fuse. I might swap that out later for a 10A once I get some more fuses, but the 15A would have to do for now.
Then it was just a matter of tightening the lose panel and testing the camera. If you're for a dual channel solution, make sure to test your rear camera before you mount it so you don't put it upsidedown😜. The fuse box cover will not fit once the taps are in so remember to keep the cover in a safe place for future reference.
Here's what the fusebox looks like after installing the taps.
In all, because I kept on going up and down to find a tool or get some supplies, it ended up taking me about 90 mins. But if you have everything with you and are very organized, it shouldn't take more than an hour.
Even a novice with little experience can tackle this under 2 hours after watching a couple of YouTube videos. There's the official Thinkware video as well as a couple of other good ones that were very useful for me. Links to those videos are below.
Just wanted to confirm, it�s the purple highlighted fuses here right? And what size are does fuses? Will this work? Glarks 12V 5 Pack Car Add-A-Circuit Fuse TAP Adapter Mini ATM APM Blade Fuse Holder with 120Pcs 2A 3A 5A 7.5 A 10A 15A 20A 25A 30A 35A Fuse Set, Total 130Pcs https://a.co/d/1NfDujQ
Yup, you've got the right slots marked. That set of fuse taps will also work. Get a set of micro fuse taps.
 06-28-22, 09:50 AM